
You can log in to the Activation King photo booth application in two ways: Login with Activation King (account login via the system browser) or Login with Email Code (one-time verification code sent to your e-mail). You can also change the interface language at the bottom of the login screen. After successful login you will automatically be directed to the Control Panel (Event Management).
- Active internet connection — if there is no connection, the login buttons will not appear, Waiting for internet connection warning will appear instead
- A valid email address — if 'Sign In with Email Code' is selected, the verification code will be sent to this address (a first-time email user will automatically create an account and start a free trial)
- An existing Activation King account for the Login with Activation King method
step by step
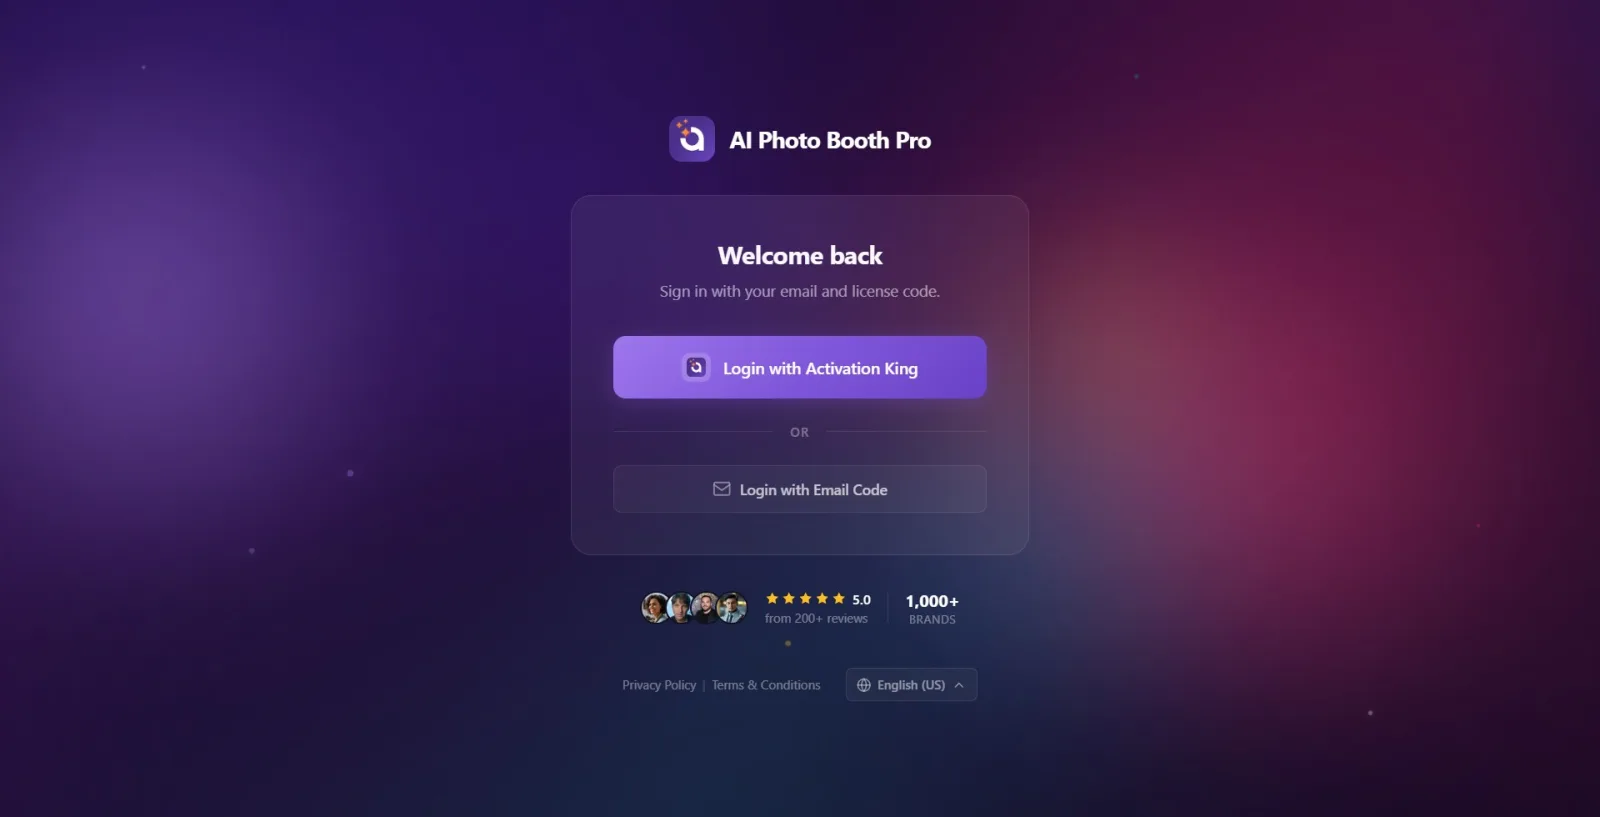
Step 1 · Open the login screen and wait for it to be ready
Login screen
When you open the application, the login screen appears. The app logo and name are on the top, with the title Welcome back and the caption Sign in with your email and license code. on the middle card. If there is no internet connection, Waiting for internet connection warning instead of login buttons; Checking your account warning appears when the application checks the account in the background at startup. Once these checks are completed, login options appear. (If the device has been logged in before, this screen will be skipped and the panel will open directly.)
🔎 Elements on the screen: Welcome back title; preparation warnings: Waiting for internet connection / Checking your account
Step 2 · (Optional) Select interface language
Home screen (footer bar)
Tap the language selection button (globe icon + name of the currently selected language) at the bottom of the home screen; Select the language you want from the drop-down list. Options: Deutsch, English (US), Español, Français, Italiano, Português, Română, 'Turkish', Polski, Русский, Čeština. The language you choose is instantly applied and remembered (the same language appears on the next startup). You can change the language at any time before logging in or during the OTP steps.
🔎 On-screen elements: Language button in the footer (globe icon + current language name); flag badge + language name (e.g. 'TR' + 'Turkish') on each row in the drop-down list
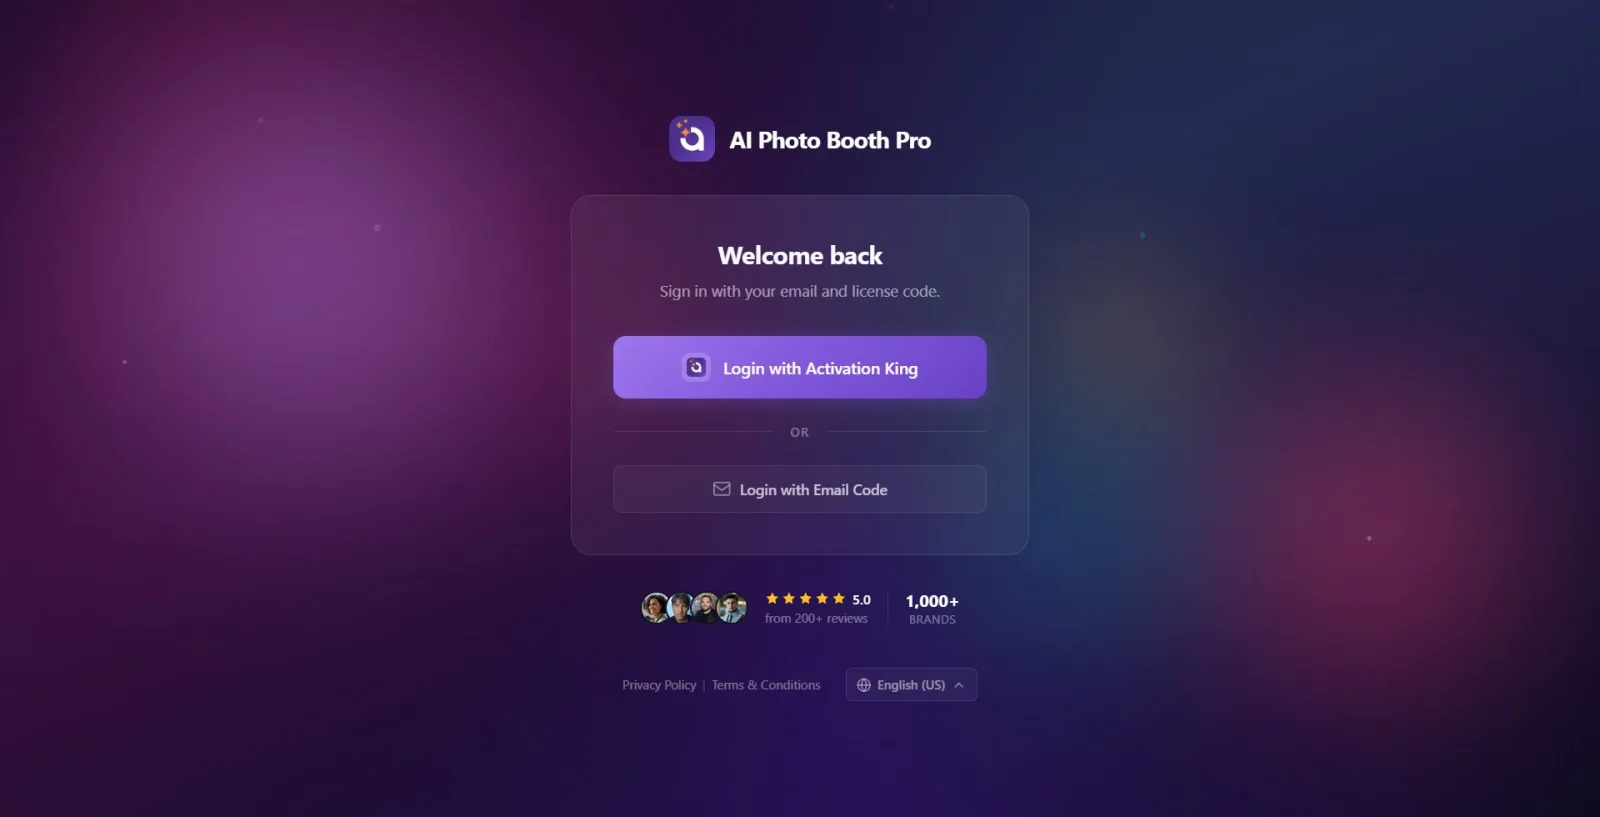
Step 3 · Choose your login method
Login screen
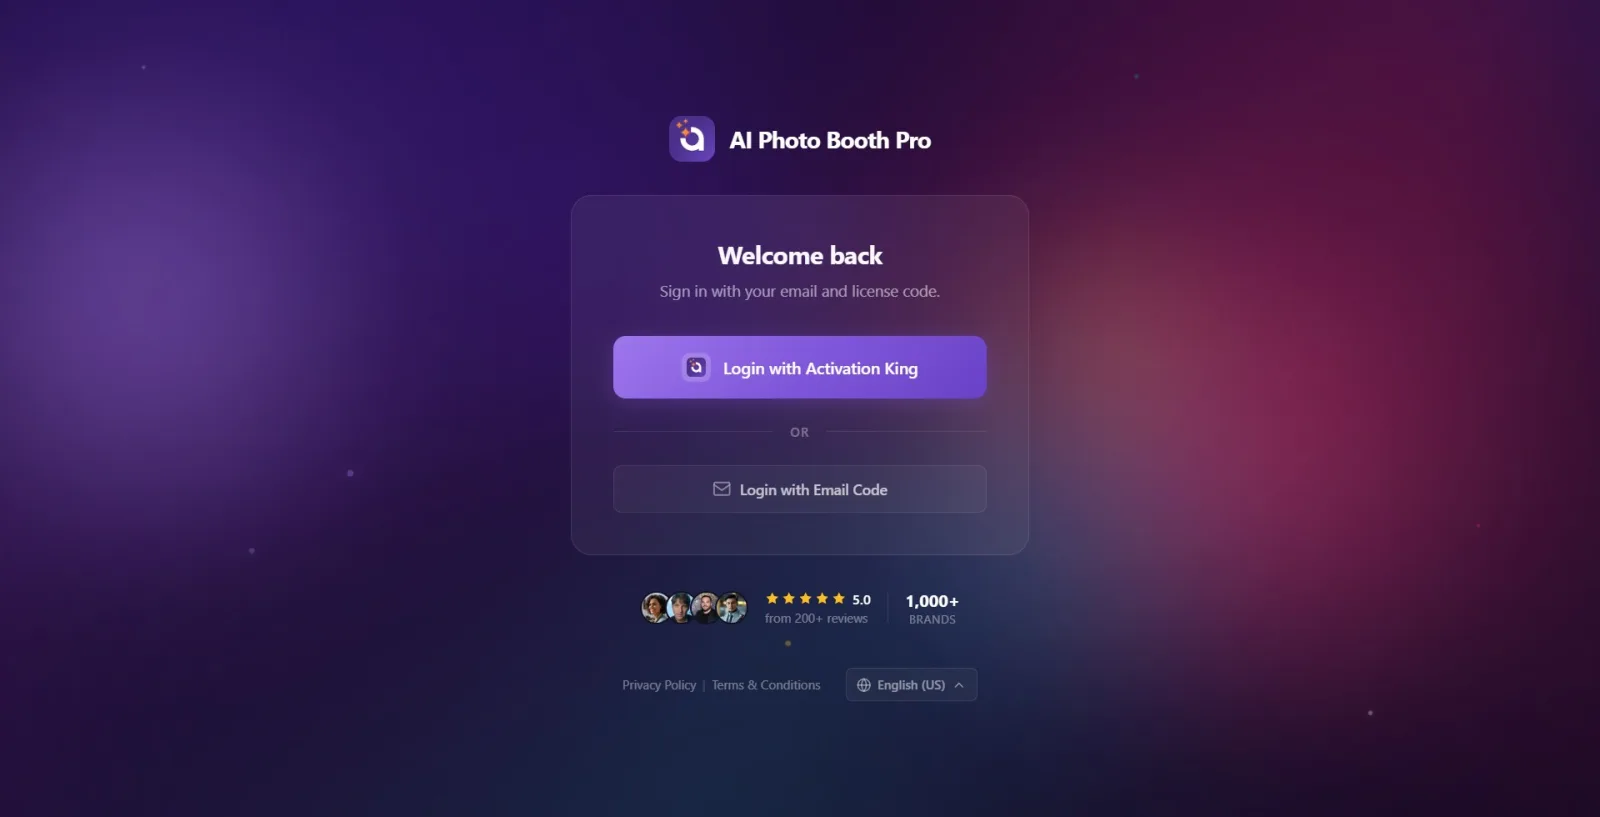
The card has two login options. The top purple button Login with Activation King takes you to the account login page in the system browser (Step 4). The Login with Email Code button following the or separator at the bottom starts the login flow with the single-use code sent to your e-mail (Step 5). Choose the method that suits you.
🔎 Elements on the screen: Login with Activation King (primary button) · or separator · Login with Email Code (secondary button)
Step 4 Method A — Login with Activation King (via browser)
Login screen → system browser
Tap the Login with Activation King button. The app opens your system browser (Windows: default browser, Android: Chrome tab, iOS/Mac: Safari session) and redirects you to the Activation King login page. Meanwhile, a loading screen with Authenticating... appears in the application. Log in with your account in the browser; When the process is completed, you will automatically return to the application. On Windows and Android, there's a 'Cancel' button on the loading screen — you can tap it to return to the login screen if you close the browser or give up.
🔎 Items on the screen: Login with Activation King button; Authenticating... loading screen; (Windows/Android only) Cancel button
Step 5 · Method B — Tap Login with Email Code
Login screen
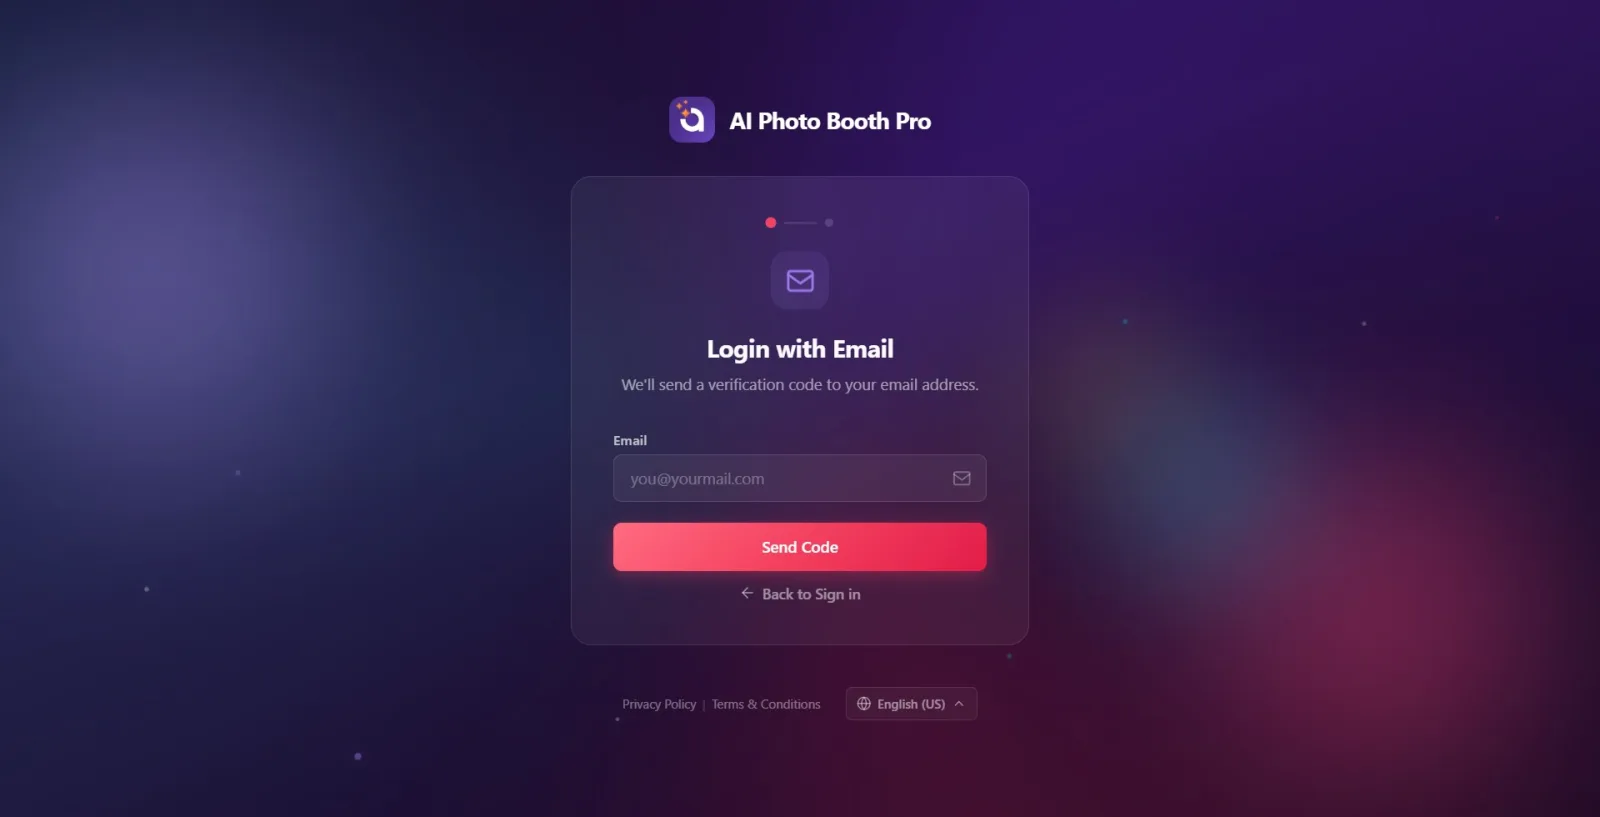
Tap the Login with Email Code button. The first step of the email login flow opens: title Login with Email, subtitle We'll send a verification code to your email address. The two-dot step indicator at the top of the card indicates that you are on the first step.
🔎 Items on the screen: Login with Email Code button; next screen Login with Email title + two-dot step indicator
Step 6 · Enter your email address and request a code
Login via Email (step 1)
Type your address in the E-Mail field (when the field is empty, the you@yourmail.com sample hint appears in it). Then tap the Send Code button (the Enter key on the keyboard also works); The button changes to Sending... when the code is sent. If you leave the field blank, the Please enter your email address. warning appears. If the code cannot be sent, the message from the server or the Failed to send verification code. warning appears. If you want to cancel, you can return to the main login screen with the Back to Sign in link below.
🔎 Elements on the screen: text box labeled E-Mail (example hint you@yourmail.com); Send Code button (Sending...); Back to Sign in link
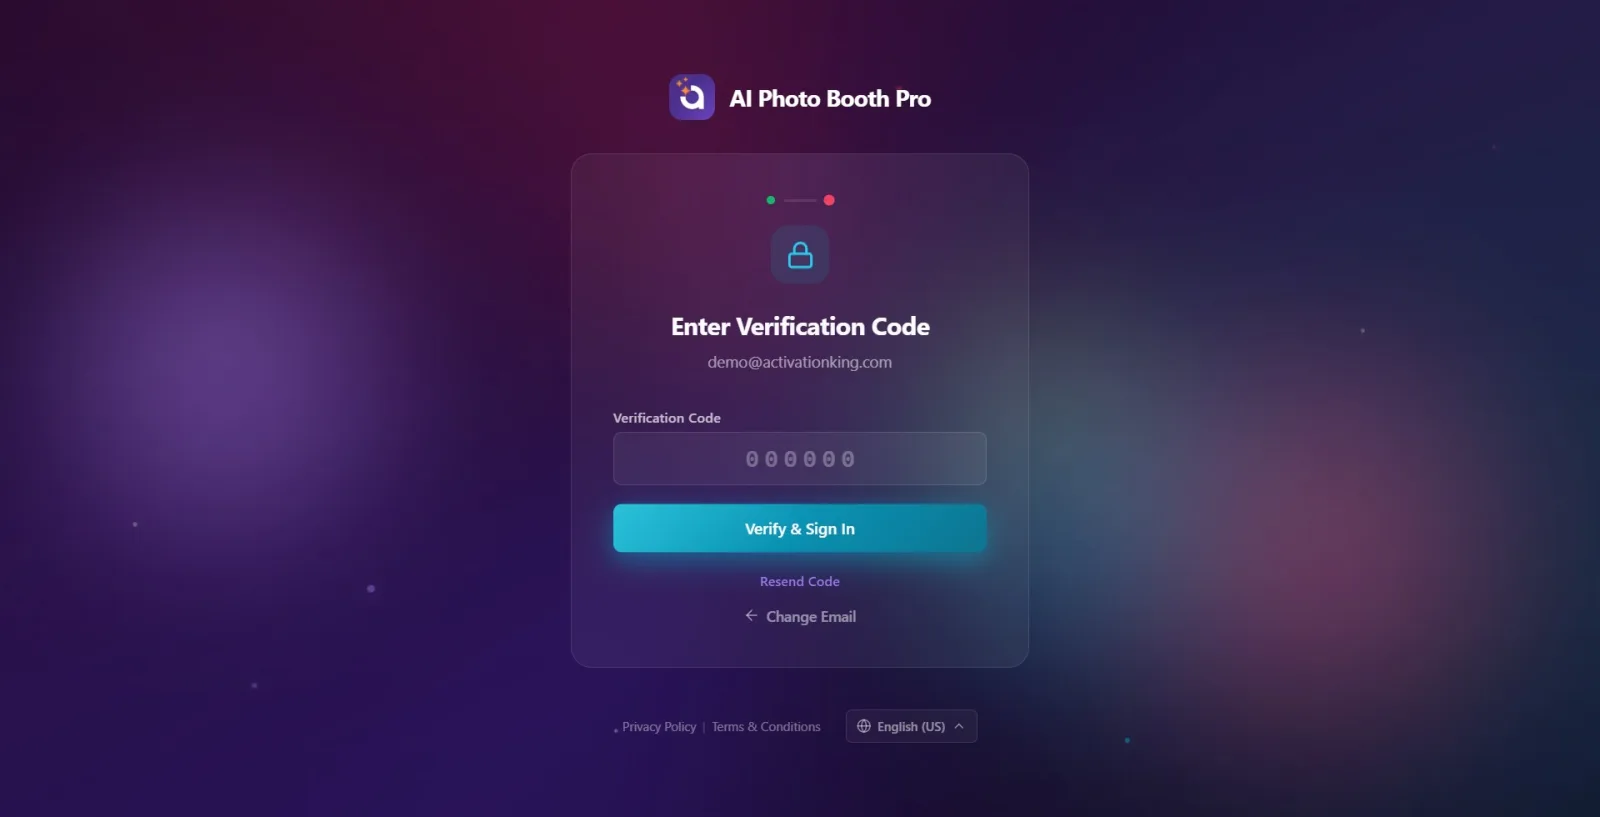
Step 7 · Enter verification code and log in
Enter Verification Code (step 2)
Enter the 6-digit verification code sent to your e-mail into the Verification Code field (the field only accepts numbers, maximum 6 digits; your e-mail address to which we sent the code will be written in the subtitle of the card). Tap the Verify & Sign In button (Enter also works); The button changes to Verifying... during verification. If the code is empty, Please enter the verification code. warning appears. If the code is incorrect, the message Verification failed. Please try again. and your remaining attempts (e.g. '3 attempts left') will be shown.
🔎 Elements on the screen: Verification Code field (6 digits, numbers only, hint '000000'); Your e-mail address to which the code was sent in the subtitle; Verify & Sign In button (Verifying...)
Step 8 · If the code does not arrive or you are blocked (send again / change email)
Enter Verification Code (step 2)
If the code has not arrived, request a new code by tapping on the Resend Code link (resending may be suspended for a short time). If you entered the wrong email, go back to the previous step and correct the address with the link Change Email. If you make too many wrong attempts, the code field will crash and say 'Too many failed attempts. Please request a new verification code.' warning appears — in this case, you can reopen the area by getting a new code with 'Resend Code'.
🔎 Items on the screen: Resend Code link; Change Email connection
Step 9 · Login successful — you will be directed to the panel
Loading → Control Panel (Event Management)
Once the login is successful, a short loading screen will appear and you will be automatically directed to the Control Panel (Event Management); You do not need to take any further action. If you log in with an email for the first time, your account will be created and a free trial will start. If your account requires payment/subscription, a payment (paywall) screen will open instead of the panel and you will not be able to proceed to the panel without completing the payment (the Completing your purchase... screen will appear while the payment is being processed on mobile).
You can change the language at any time — the language selector sits at the bottom of the login screen, and your choice is remembered on the next launch.
Login with Activation King uses your current session in the browser; If you are already logged in to the browser, you can return without entering any information again.
The verification code is 6 digits and consists of numbers only; you can copy and paste the code from your email application.
If the code does not arrive, check your spam/junk email folder, then tap Resend Code.
A first-time email login automatically creates an account and starts a free trial — there is no separate sign-up (sign up) step.
If you accidentally close the browser while waiting for OAuth (Windows/Android), tap Cancel on the loading screen and start over; The screen does not stay stuck.
Looking for login buttons when there is no internet — only the Waiting for internet connection warning appears until the connection is restored, then the buttons appear.
Entering an expired or outdated code — the validity of the code is limited; If you get an error, request new code with Resend Code (old code becomes invalid).
Trying to enter more than 6 digits or letters in the code field — the field only accepts 6 numbers.
Not realizing that the field crashes after too many incorrect attempts — with the 'Too many failed attempts...' warning, trying the old code again will not work, requiring new code to be requested.
Wrongly typing the email address and waiting for the code — the code goes to the wrong address; Correct address with Change Email.
Considering that the panel does not open even though the login is successful, it is a mistake - if your account requires payment, the paywall screen appears first, and when the payment is completed, you can proceed to the panel.
Related topics
Control Panel (Dashboard) Creating an Event Signing Out of the Application Subscription and Payment (Paywall)
