
Before this: What is White-Label and How is it Used?
The App tab of the White Labeling page allows you to customize the app's own branding (app name and two logos); settings are stored at the account level and are reflected within the app, in the left sidebar and on the home screen when the main 'Enable WhiteLabel' switch is on. This tab is only open on the Ultimate AI plan.
- Ultimate AI subscription must be active — White Labeling is only available on the Ultimate plan; In subplans, the page appears locked.
- The account must be logged in; Since brand data is stored at the account level, it is not necessary to select a separate event.
- Logo images to be uploaded must be ready: one horizontal (rectangular) logo and one square (1:1) logo, in supported image format (JPG/PNG etc.) and no more than 50 MB.
Step by step
Step 1 · Open the White Labeling page
Settings → White Labeling
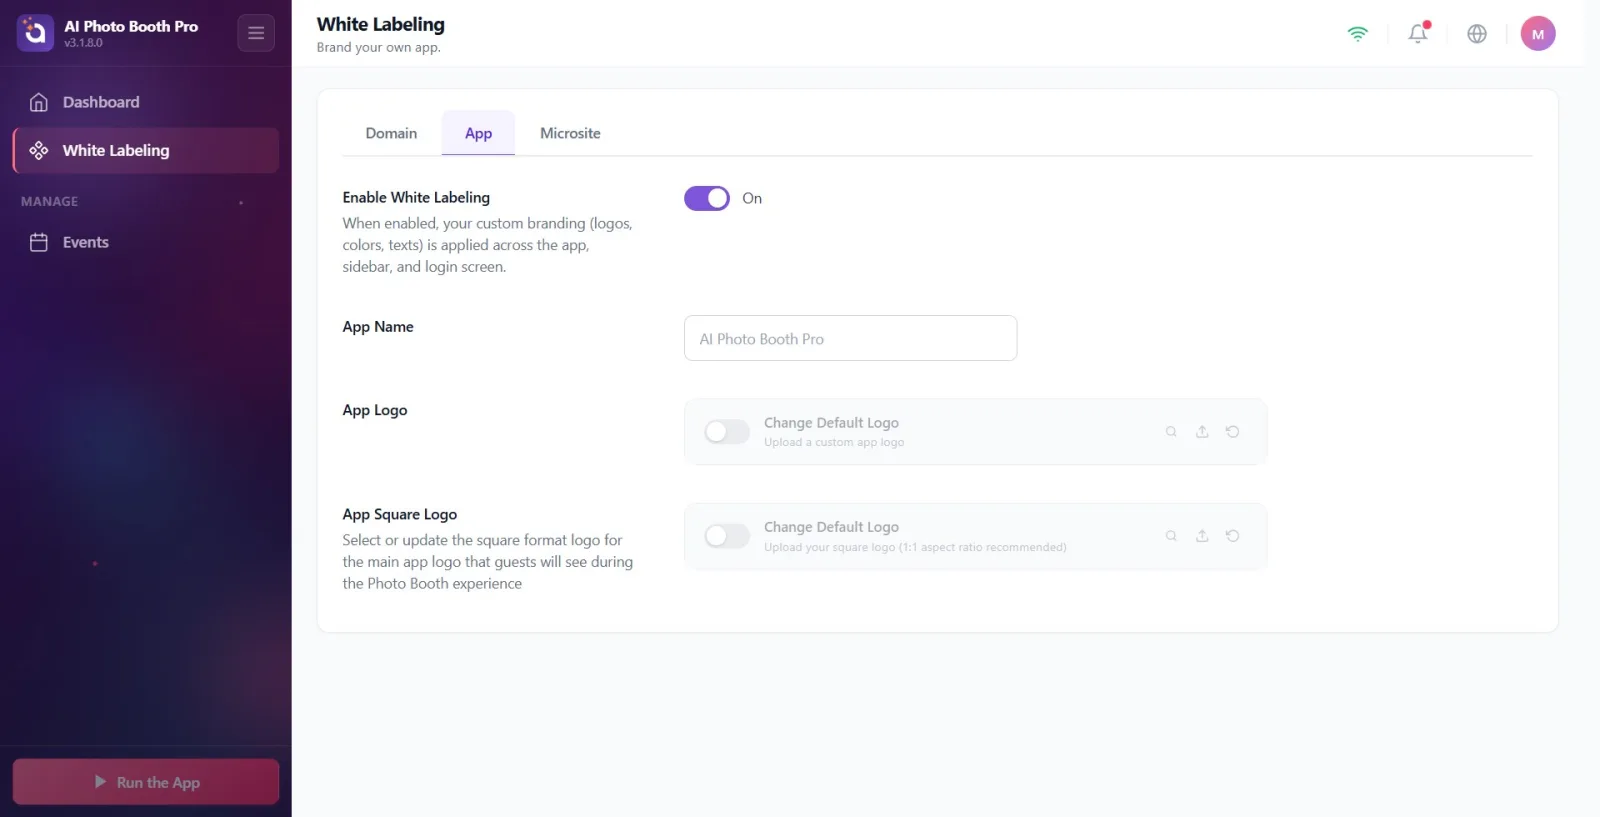
Open the Settings menu and enter the White Labeling page from the menu on the left. The page title is White Labeling and the subtitle is Brand your own app..
🔎 Items on the screen: White Labeling item in the left setup menu; page title White Labeling, subtitle Brand your own app.
Step 2 · Verify Ultimate plan requirement (lock status)
White Labeling (Ultimate unlocked)
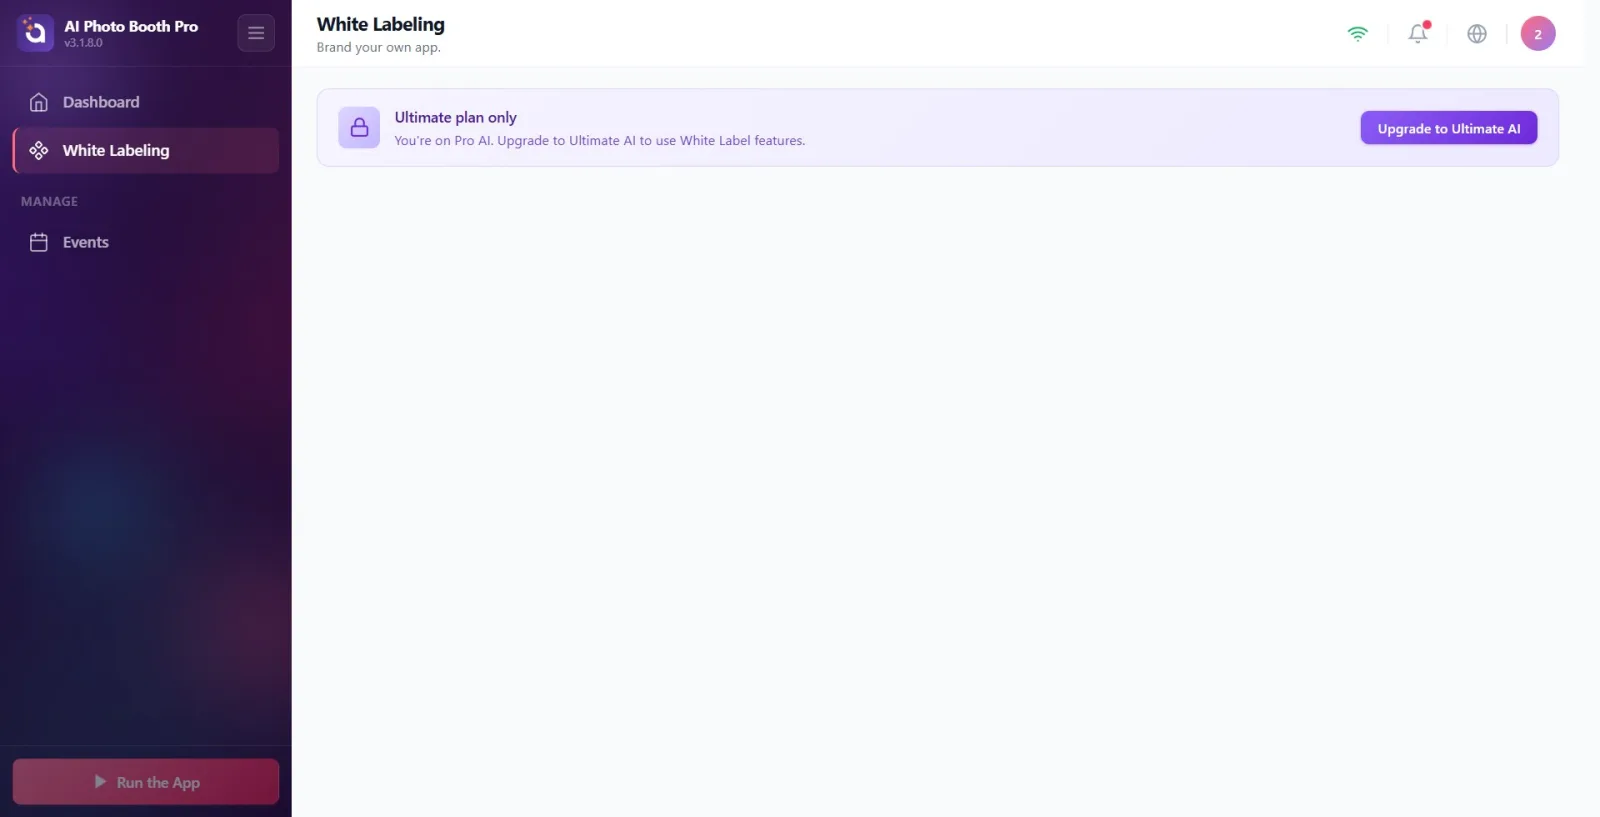
White Labeling is only available on the Ultimate plan. If your plan isn't available, you'll see a locked alert on the page: header Ultimate plan only, under 'Your account is {0} now. Upgrade to Ultimate AI to use White Label features.' ({0} is replaced by your current plan name) and the Upgrade Ultimate AIa button. When you press the button, the subscription payment screen (paywall) opens. If your plan is Ultimate, this warning will not appear at all, the tabs will come directly.
🔎 Elements on the screen: Lock banner: 'Exclusive to Ultimate plan' title, description with plan name and 'Upgrade to Ultimate AI' button.
Step 3 · Switch to App tab
White Labeling → App
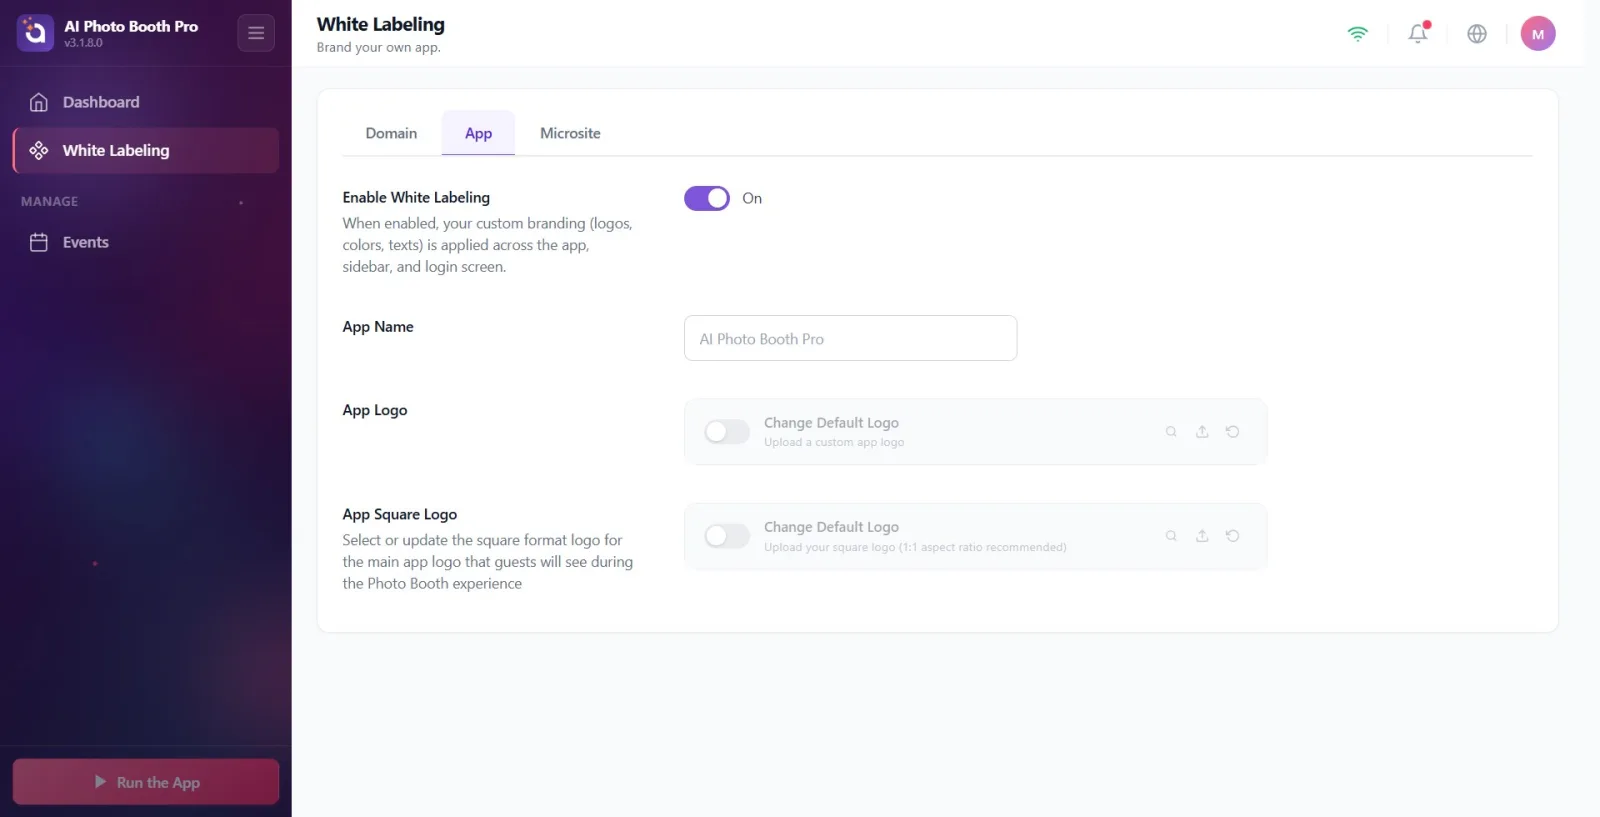
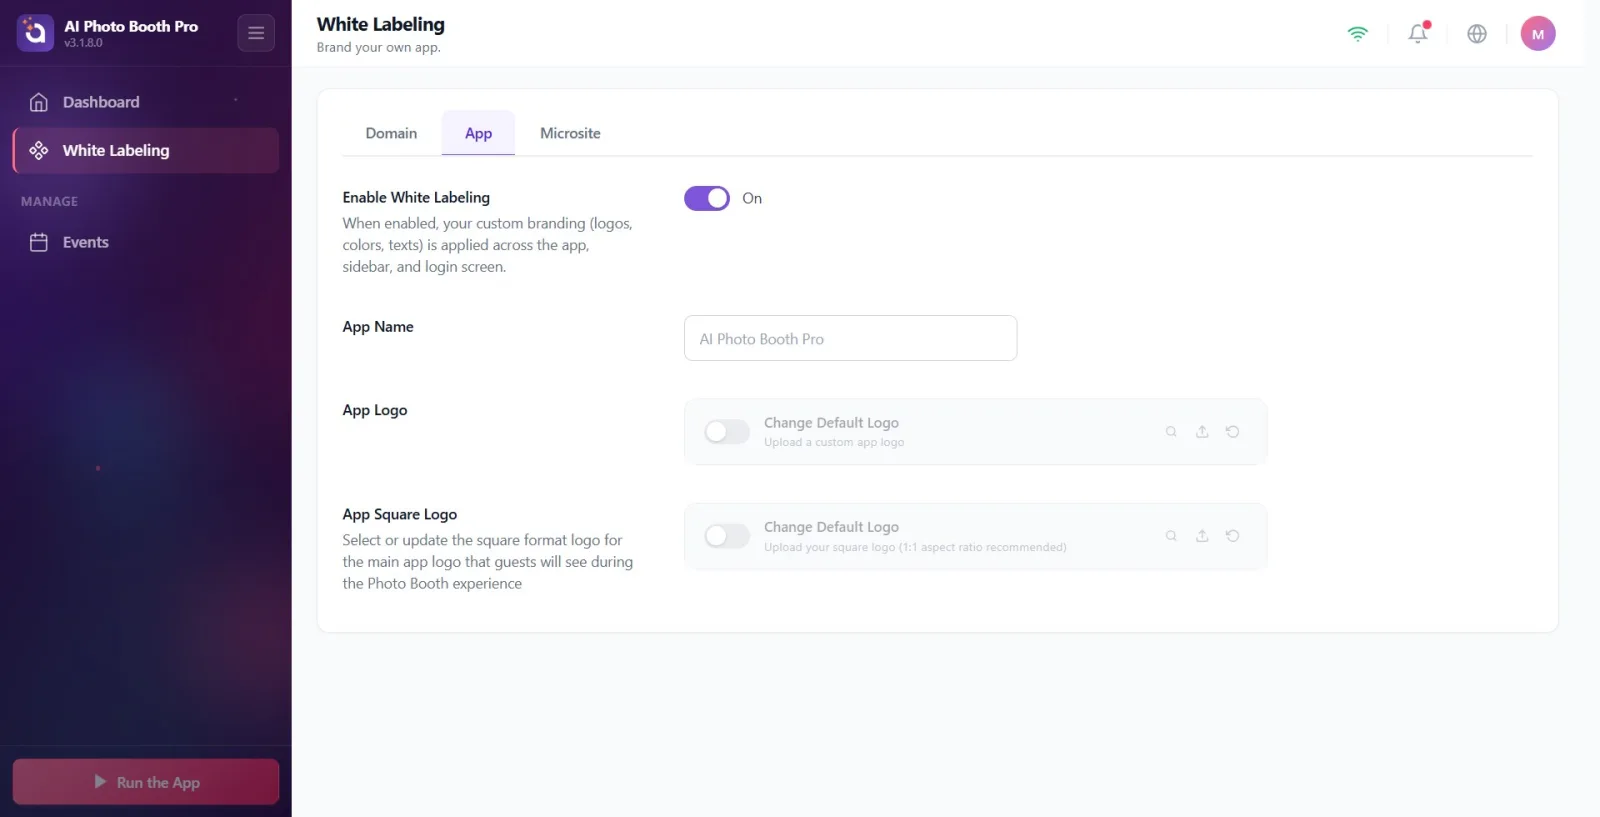
Of the three tabs at the top of the page (Domain, App, Microsite), click the App tab in the middle. The page opens in the Domain tab by default, so you'll need to manually select the App tab. Four sections appear sequentially in this tab: the 'Enable WhiteLabel' switch, the 'App Name' box, the 'App Logo' and 'App Square Logo' loading lines.
🔎 Items on the screen: Tab bar: Domain / App / Microsite; active tab App. Four settings sections underneath.
Step 4 · Turn on the 'Enable WhiteLabel' master switch
White Labeling → App
In the 'Enable WhiteLabel' section at the top, turn the switch to 'On'. Description: 'When enabled, custom branding (logo, colour, text) is applied to the app, sidebar and home screen.' When this master switch is off, the following application name and logos are saved but are NOT reflected in the application — this key must be On for the branding to be visible.
🔎 On-screen elements: 'Enable WhiteLabel' title + description; On/Off switch (on/off switch) on the right.
Step 5 · Enter App Name
White Labeling → App
Type the name of the brand in the App Name box (placeholder example: AI Photo Booth Pro). As you type, the value is saved instantly; There is no separate Save button. This name is used as the brand name within the app.
🔎 Elements on the screen: App Name title; single line text box (placeholder AI Photo Booth Pro).
Step 6 · Load App Logo (horizontal)
White Labeling → App
In the install row in the App Logo section, click the install (up arrow) button on the right; Select the horizontal logo image from the native file selector that opens. The title of the line is Change Default Logo and the description is Upload a custom app logo. The image you selected is imported and uploaded to the cloud; A progress bar appears on the line during loading. Only image files are accepted (maximum 50 MB).
🔎 Elements on the screen: Loading row: on/off switch on the left, Change Default Logo + Upload a custom app logo in the middle, preview (magnifier), load (up arrow) and reset (circular arrow) buttons on the right; Progress bar during installation.
Step 7 · Get to know the controls for the logo row (toggle, preview, load, reset)
White Labeling → App
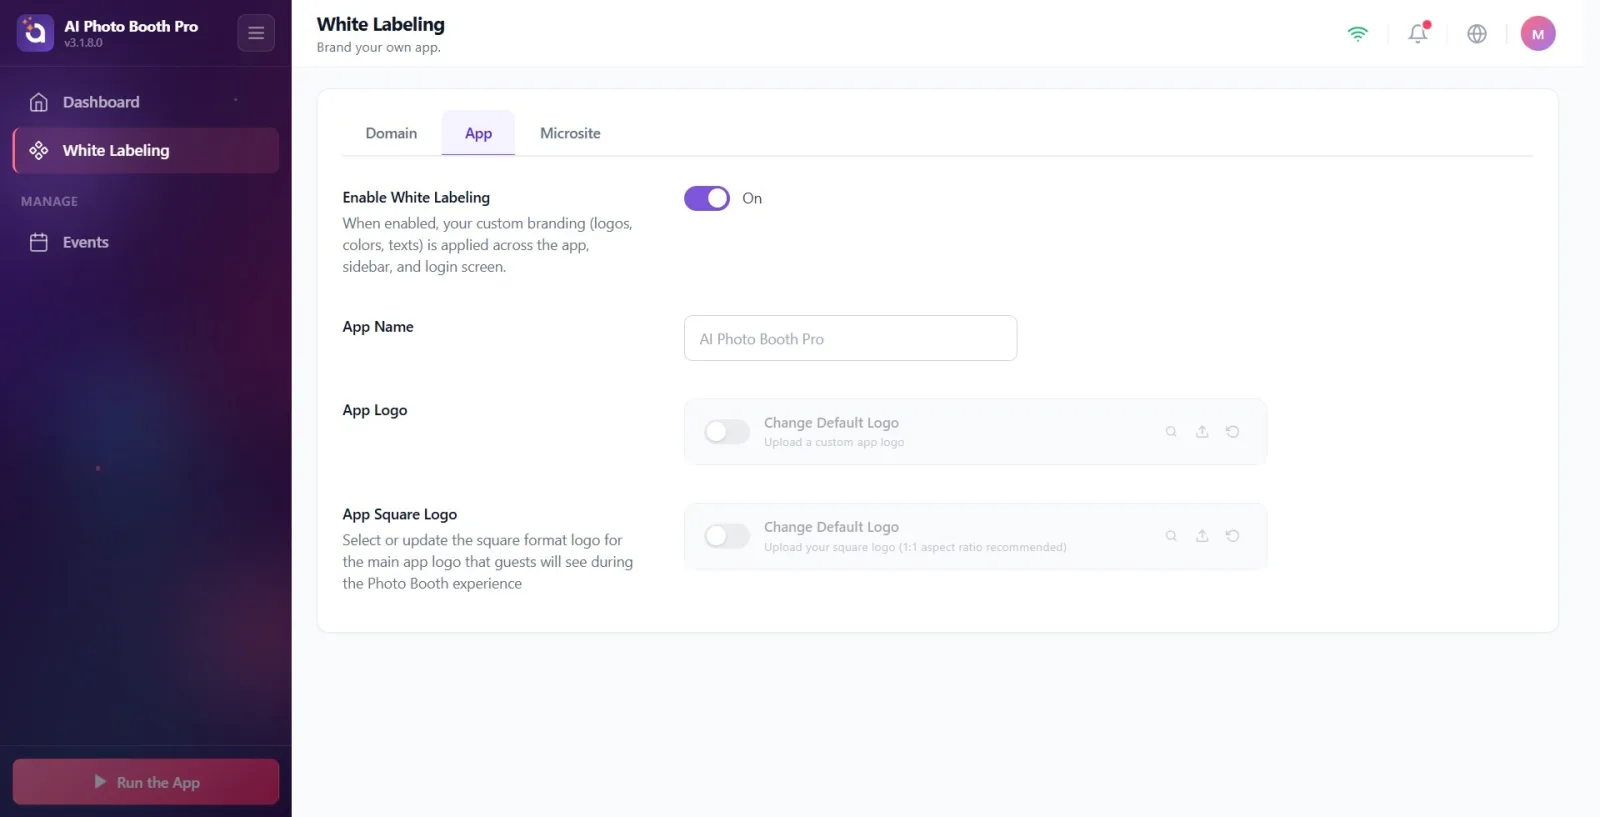
Each logo row has its own controls: (1) the small toggle switch on the left enables/disables that logo on its own and is independent of the main 'Enable WhiteLabel' switch; (2) the magnifying glass button previews the selected image in full screen; (3) up-arrow button uploads new file; (4) circular-arrow (reset) button returns the logo to default. Note: button balloon tips (Preview / Upload / Reset) appear in English on the interface.
🔎 On-screen elements: Row controls: toggle switch, Preview (preview), Upload (load), Reset (reset) buttons — balloon tips in English.
Step 8 · Load App Square Logo (frame)
White Labeling → App
The App Square Logo part is for the square (1:1) logo; description 'Select or update the square format logo for the main app logo that guests will see during the Photo Booth experience.' Use the same line controls as in step 6: press the upload button and select the square image. The line comment reminds us of the 1:1 ratio recommendation with Upload your square logo (1:1 aspect ratio recommended). This logo is used in square areas such as collapsed sidebars and home screens.
🔎 Elements on the screen: App Square Logo title + description; load line (exactly the same controls as in step 6); line description Upload your square logo (1:1 aspect ratio recommended).
Step 9 · Verify the application of the brand
Application / Sidebar / Login screen
With the main 'Enable WhiteLabel' switch turned on and logos loaded, the brand; It is reflected inside the application, on the left sidebar and on the login screen. Horizontal App Logo appears in wide areas, while square App Square Logo appears in square areas such as collapsed sidebars and home screens. Since changes are stored at the account level, it also syncs to other devices opened with the same account.
🔎 Elements on the screen: Sidebar top logo area; login screen logo area.
Brand data is stored at the account level — no need to select an event; It is synchronized to all devices logged in with the same account.
There are two separate toggle levels: 'Enable WhiteLabel' at the top manages the entire brand; The small switch in each logo row turns on/off only that logo. If the brand does not appear, first make sure the master key is On.
App Name and logo changes are saved instantly — there is no separate Save button.
Horizontal logo is for large areas, square (1:1) logo is for collapsed sidebar and home screen; For the most consistent look, install both.
The newly uploaded logo is sent to the cloud; This may take several seconds. If the logo does not appear immediately, wait until the sync is complete (it will automatically connect once the image is downloaded).
The Reset (circular-arrow) button returns the corresponding logo to default; Use this to remove the file you uploaded.
Platform difference: the upload button opens a file selection window on desktop, a gallery/photos chooser on mobile; In both cases, only the image file can be selected.
Button balloon tips (Preview/Upload/Reset) appear in English on the interface; panel titles (App Logo, Change Default Logo) are in Turkish.
Uploading just the logo without turning on the main 'Enable WhiteLabel' switch: the files will be saved but will not be reflected in the app, sidebar or home screen.
Attempting to change the application icon (desktop/taskbar shortcut icon) or splash screen from this tab: this tab only provides in-app branding — the application name and two logos; There is no system icon or splash screen here.
Putting the horizontal logo in the App Square Logo area instead of the square logo: in square areas (collapsed sidebar, home screen) the image is cropped; A 1:1 ratio image is recommended for this area.
Searching for and not finding the tab on a non-Ultimate plan: the page comes up with a locked Ultimate plan only warning; need to 'Raise Ultimate AIa' first.
Assuming that the brand will appear instantly as soon as you upload the logo: uploading to the cloud may take a few seconds, it will connect once the sync is complete.
Selecting a file larger than 50 MB or a non-image: only image files and a maximum of 50 MB are accepted; otherwise the line shows an error.
Related topics
Domain Microsite
