
Before this: How to Create an Event?
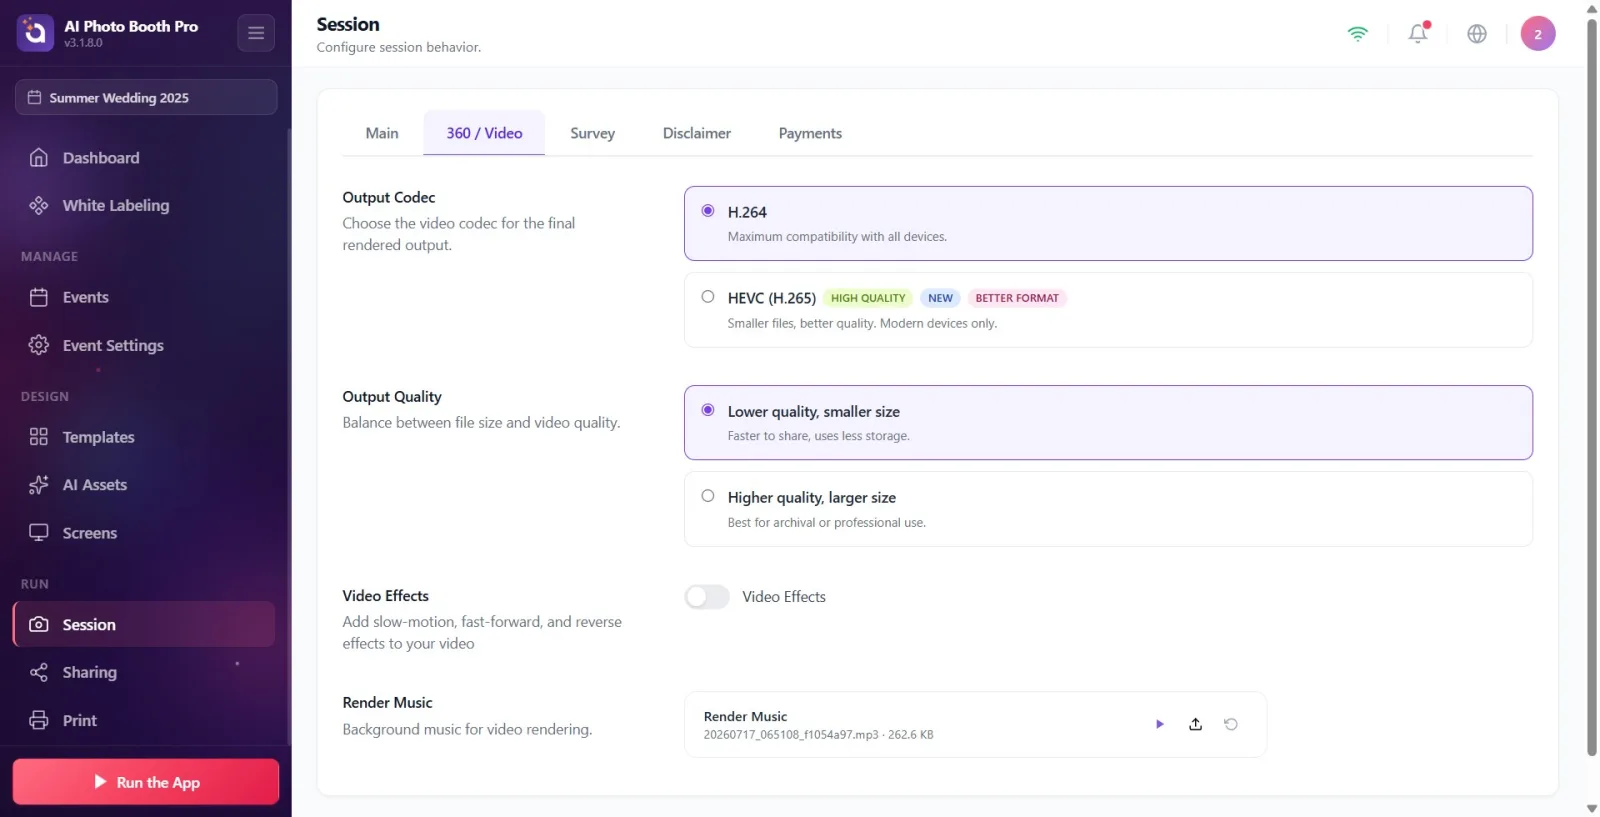
The 360 / Video tab in the session settings manages the technical settings of the final video output produced in video and 360 booth modes: video codec ('Output Codec'), output quality ('Output Quality'), video effects ('Video Effects' — slow motion/fast-pace/rewind timeline) and rendered background music (Render Music). Codec and quality settings were previously in the General (Main) tab; now moved to this tab. There is no separate '360' toggle in this tab — the '360' in the tab name indicates that these video output settings include 360/video modes.
- event-creation
step by step
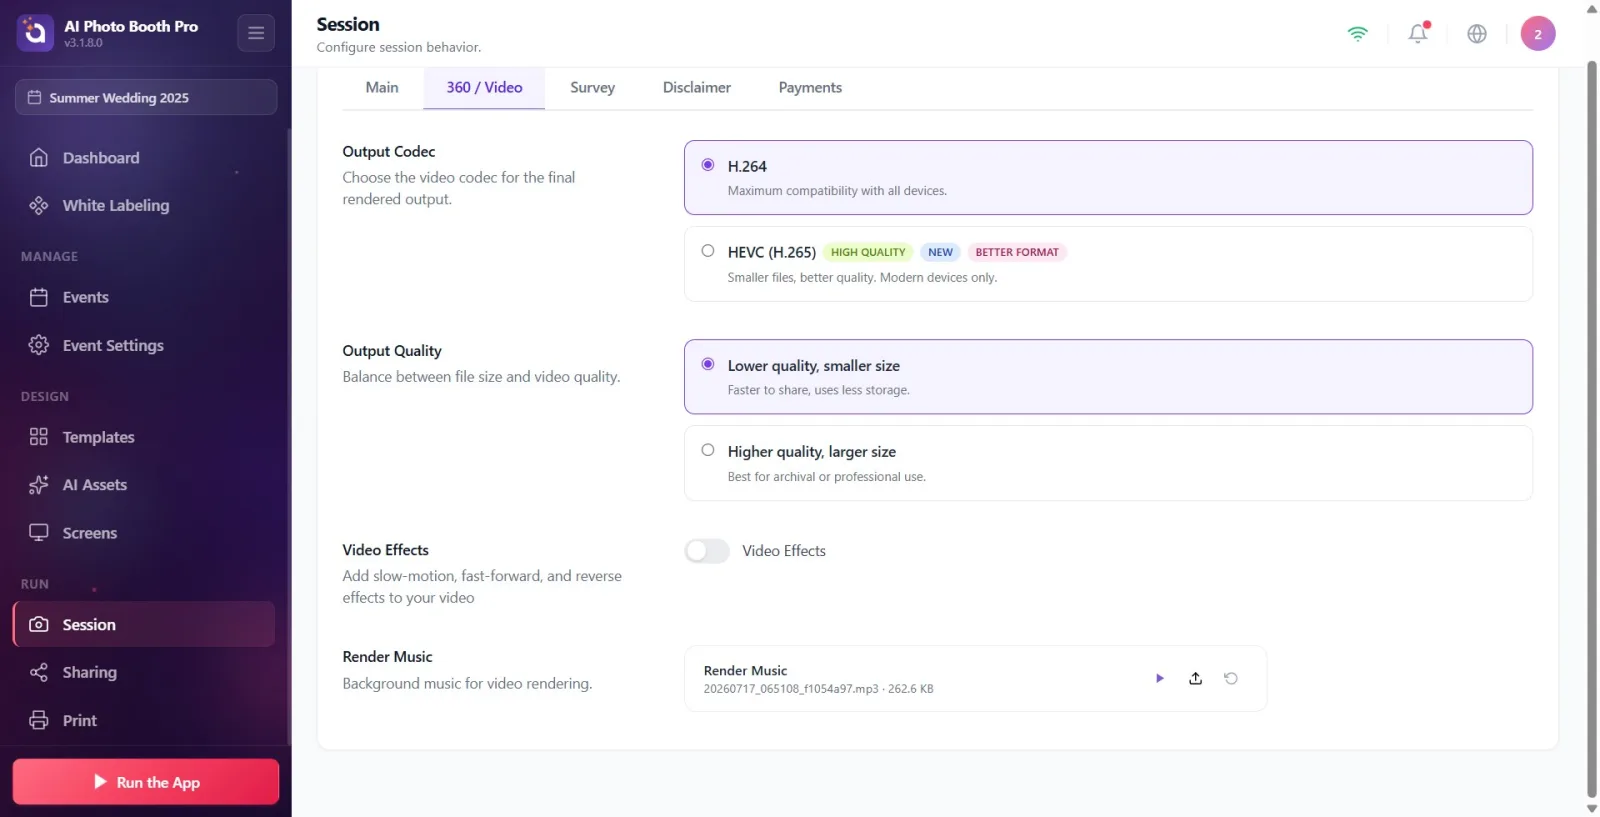
Step 1 · Open the 360 / Video tab
Session → 360 / Video
On the session settings page, click the 360 / Video tab from the top tab bar. The tab is just to the right of the leftmost General tab.
🔎 Items on the screen: Top tab bar (left to right): General, 360 / Video, Survey, Disclaimer, Payments
Step 2 · Select the video codec ('Output Codec')
Session → 360 / Video
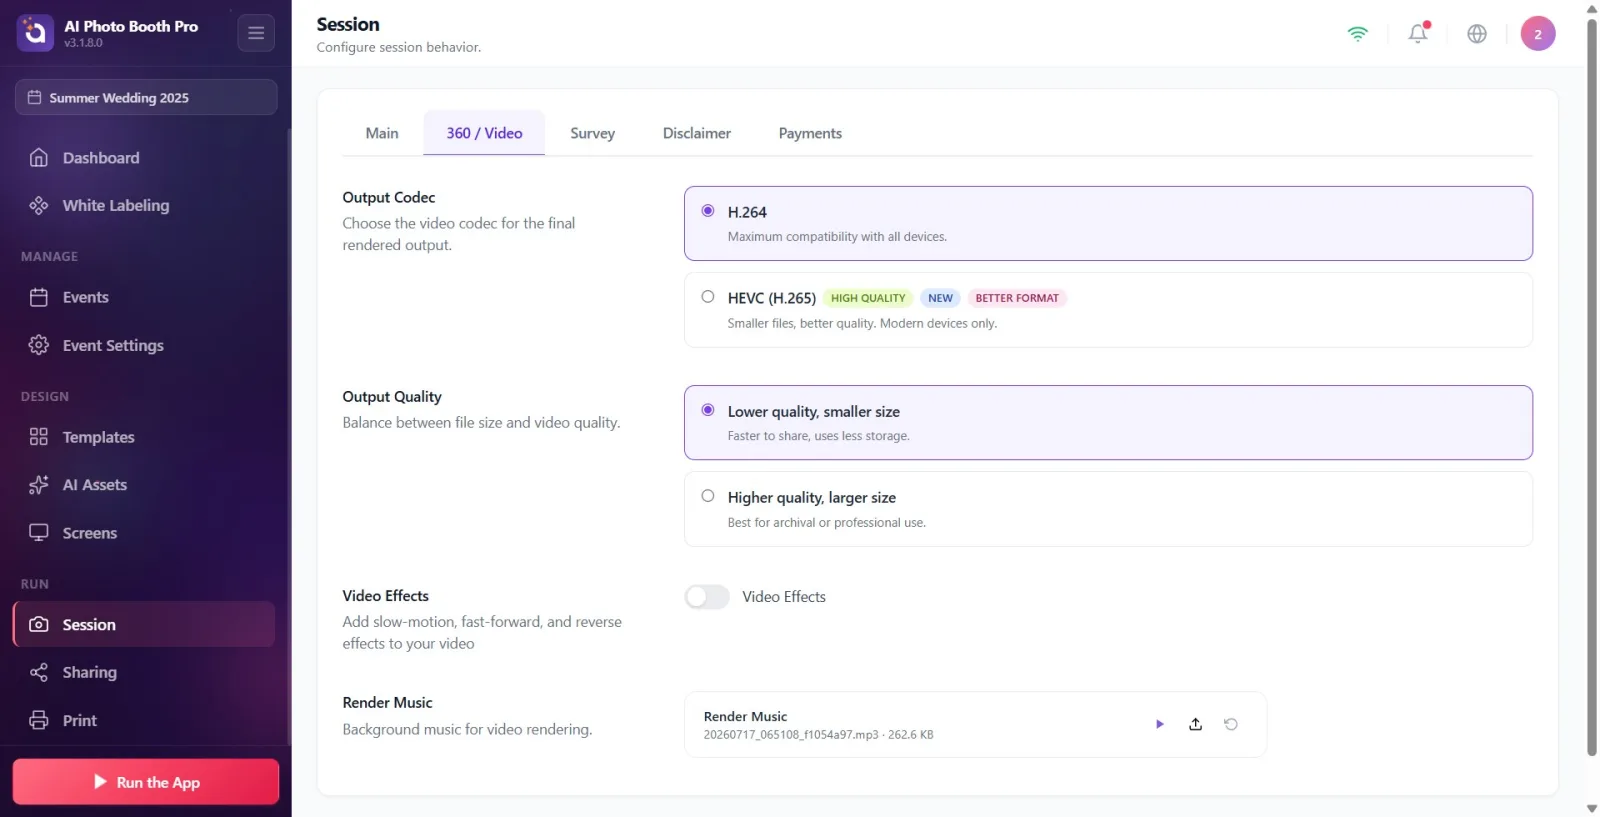
In the Output Codec section, select one of two cards: H.264 (description: Maximum compatibility with all devices.) or HEVC (H.265) (description: 'Smaller files, better quality. Modern devices only.') appearing on supporting devices. The selection is saved immediately.
🔎 Items on the screen: Two radio cards: H.264 and HEVC (H.265). The HEVC card has labels High quality, New, Better format. Section description: 'Select video codec for final processed output.'
Step 3 · Select output quality (Output Quality)
Session → 360 / Video
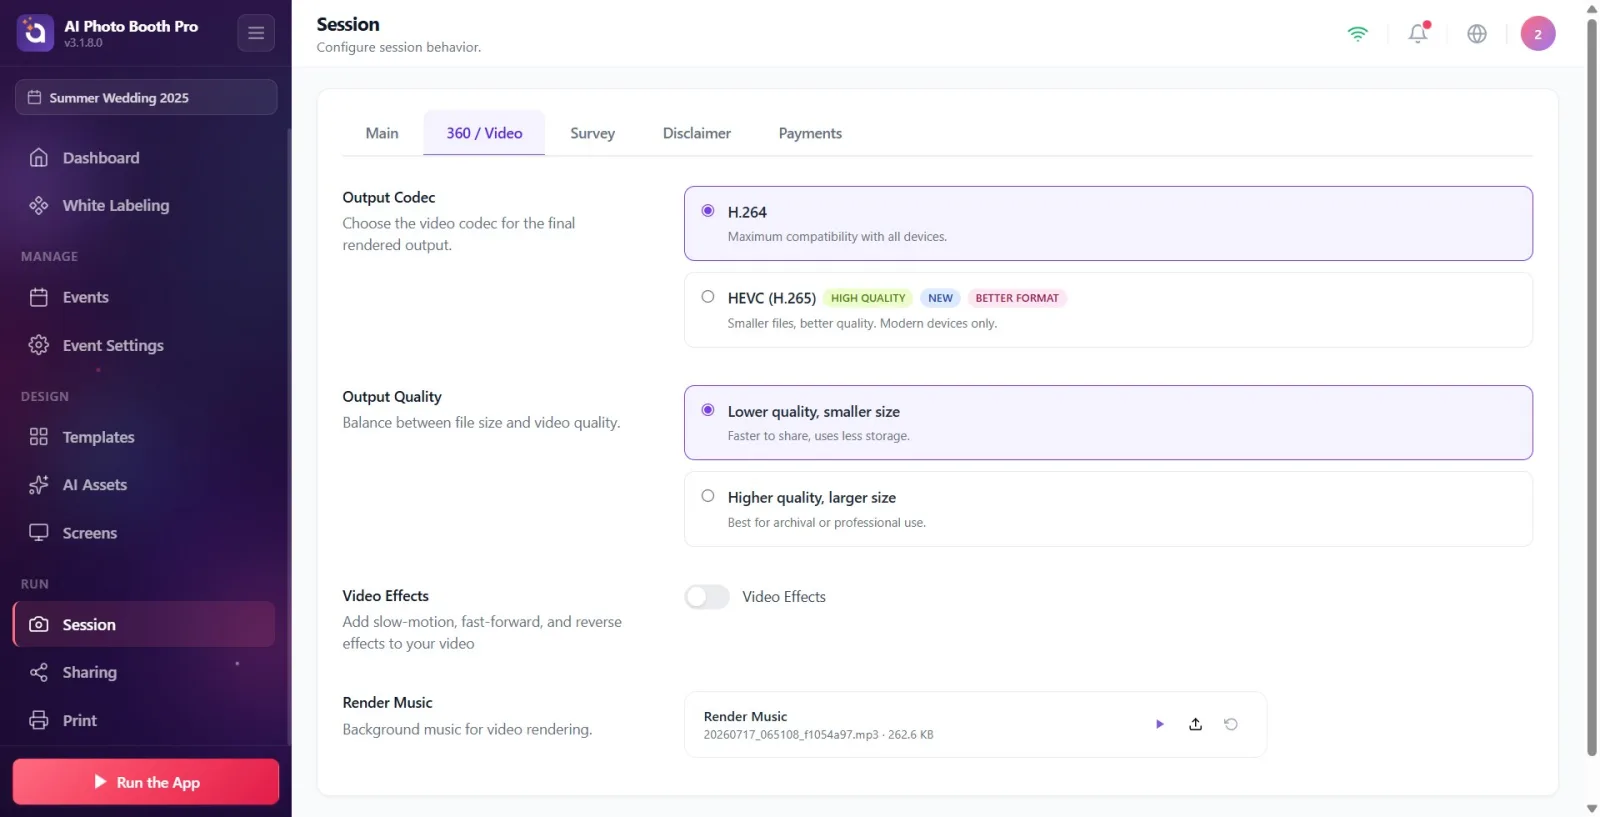
In the Output Quality section, select one of two cards: Lower quality, smaller size (description: Faster to share, uses less storage.) or Higher quality, larger size (description: Best for archival or professional use.). The selection is saved immediately.
🔎 Items on the screen: Two radio cards: Lower quality, smaller size and Higher quality, larger size. Section description: Balance between file size and video quality.
Step 4 · Turn on video effects (Video Effects)
Session → 360 / Video
Toggle the Video Effects switch to on (description: 'Add slow motion, fast forward and rewind effects to your video'). When the switch is turned on, the video timeline appears below it.
🔎 Elements on the screen: On/off switch (SwitchSettingComponent), title Video Effects
Step 5 · Adjust effect segments in timeline
Session → 360 / Video
Add and edit slow motion / fast / rewind segments in the timeline that appears when Video Effects is on. Segments are scaled by the 'Video Duration' value in the General tab; Segments that exceed the duration are automatically trimmed to duration.
🔎 On-screen elements: GlambotVideoEffectsTimeline — segment handles, clip duration indicator
Step 6 · Select render background music (Render Music)
Session → 360 / Video
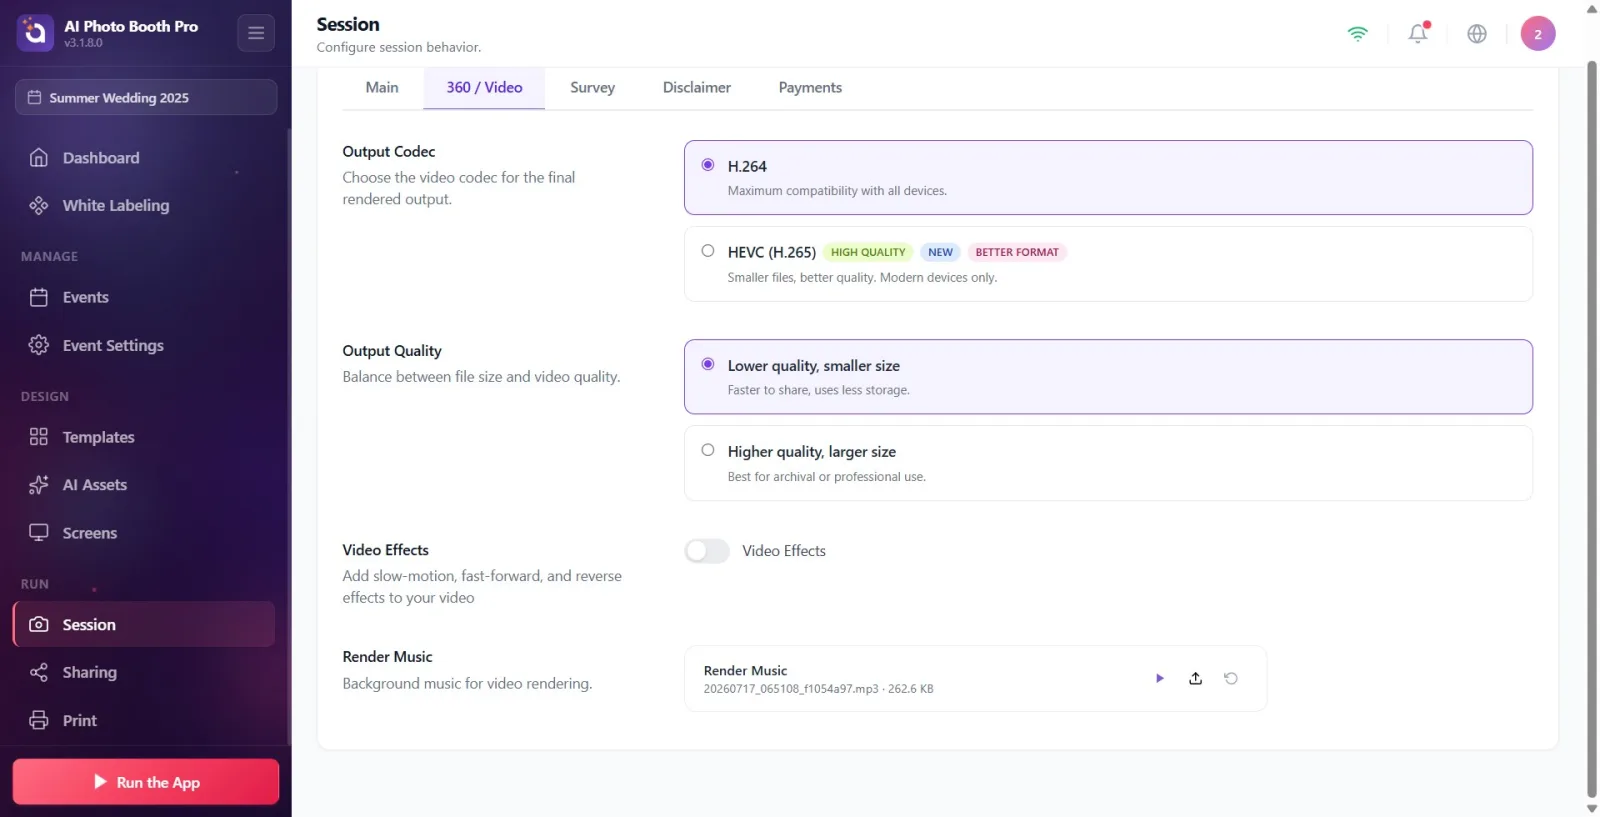
In the Render Music section, select a background music with the audio file selector (description: Background music for video rendering.). File selection is done with the native MAUI selector; If necessary, you can return to default with the restore button.
🔎 Elements on the screen: FilePickerSettingComponent (AllowedFileTypes=Audio), title Render Music, restore button
The HEVC (H.265) option appears only on devices that support it: always available on Windows, iOS, and macOS; On Android, it appears if the device has a HEVC encoder (controlled by MediaCodec at runtime).
HEVC provides smaller file size and better quality; H.264 provides the highest compatibility with all devices. If you're not sure, H.264 is the safe choice.
Codec and quality settings are applied only to the final rendered video; does not affect photo output.
The video duration is not in this tab, but in the 'Video Duration' setting in the General (Main) tab — the effect timeline is scaled by this duration.
'Low quality' for fast sharing and little storage; For archival or professional delivery, prefer High quality.
Looking for codec and quality settings in the General (Main) tab — these settings have now been moved to the 360 / Video tab.
On Android, if the device does not have a HEVC encoder, the HEVC option will not appear at all; in this case the rendering automatically drops to H.264 (not a missing setting, but a device constraint).
Trying to adjust video effect segments without the event selected — segments will not be recorded when the event is not selected.
Selecting High quality + HEVC together increases file size and processing time; 'Low quality' is more appropriate for events where fast delivery is expected.
Searching for the timeline without turning on the Video Effects switch — the timeline only appears when the switch is on.
Related topics
Session Settings Event Settings → output
