
Before this: What are Sharing Settings and How to Configure them?
This flow covers the E-Mail Sharing tab in Sharing settings, which allows guests to receive photo/video printouts via email: turning on the feature, choosing a provider (Gmail/Outlook one-click connection or Custom SMTP), sending a test, sending printouts as attachments, and editing the subject + content template.
- sharing-settings
step by step
Step 1 · Open the E-Mail Sharing tab
Sharing → E-Mail
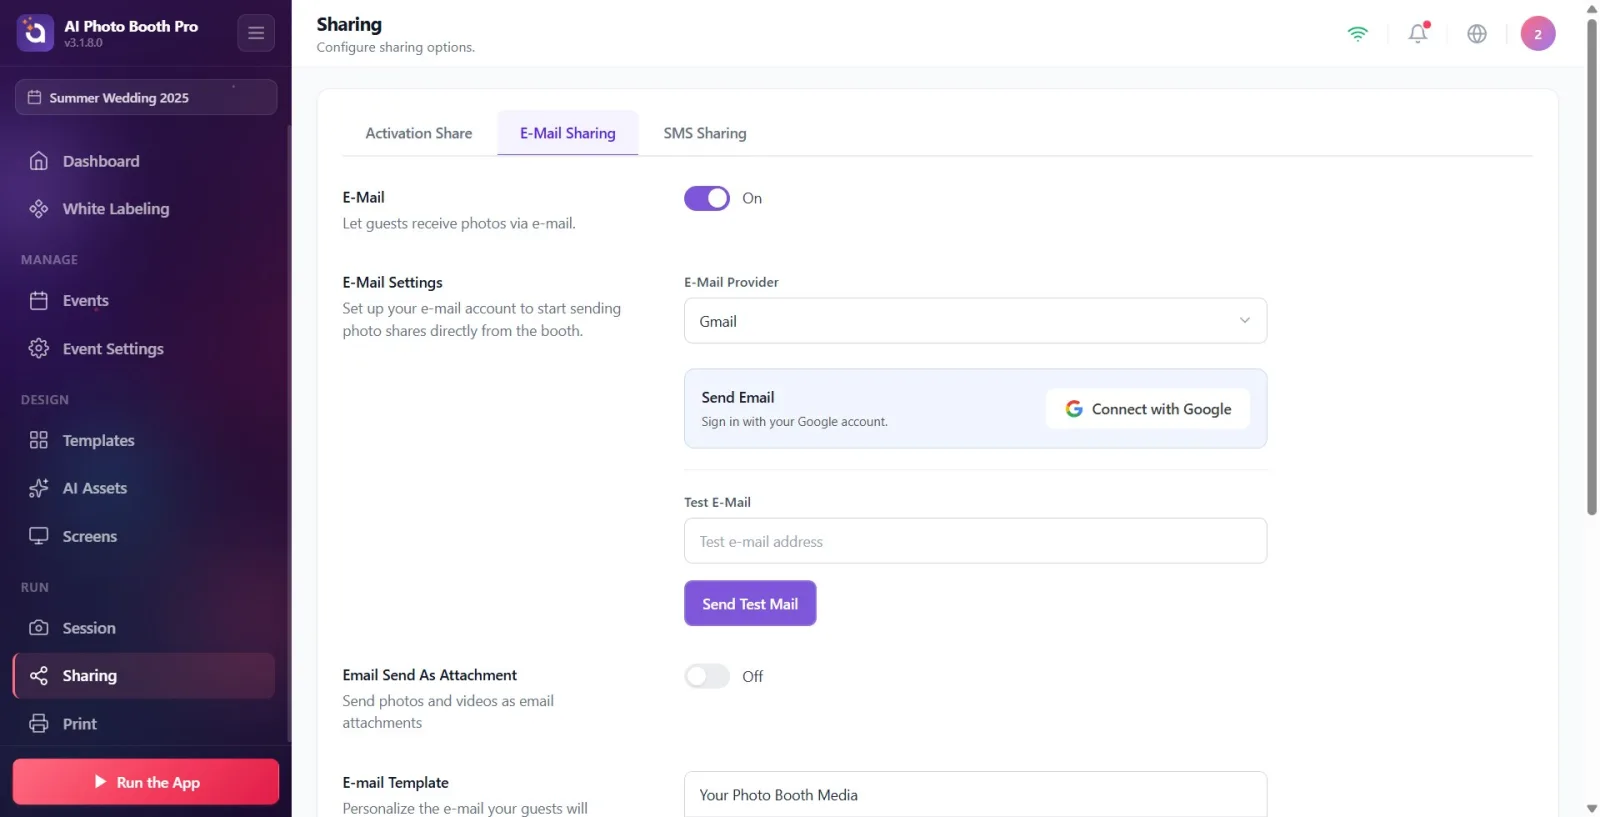
Open the Sharing page in settings (description: Configure sharing options.). Of the top three tabs, click on the middle tab E-Mail Sharing (other tabs: Activation Share and SMS Sharing). Only the E-Mail toggle switch appears first when the tab is opened; Other settings appear when the switch is turned on.
🔎 Items on the screen: Top tab bar: Activation Share / E-Mail Sharing / SMS Sharing.
Step 2 · Activate email
Sharing → E-Mail
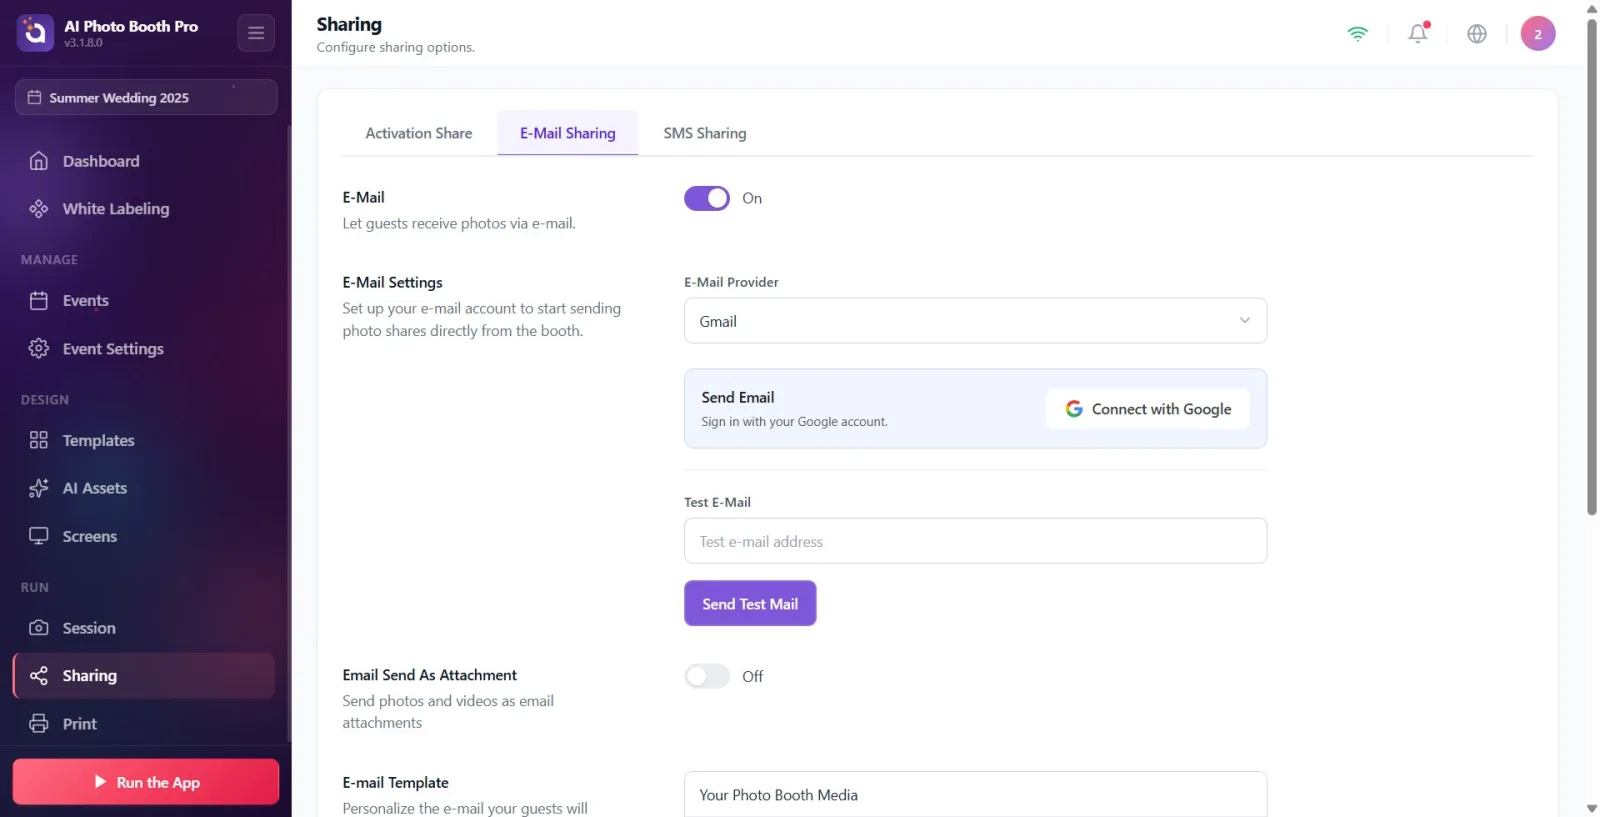
Turn on the toggle switch in the section titled E-Mail (description: Let guests receive photos via e-mail.). When on, the text shows On, when off, it shows Off. None of the settings underneath (provider, test, attachment, template) appear until the switch is turned on. Note: on a new event, this switch is OFF by default and the email option will not appear on the booth sharing screen unless the operator turns it on.
🔎 Items on the screen: Section title E-Mail; on/off switch; status text On / Off.
Step 3 · Select email provider
Sharing → E-Mail
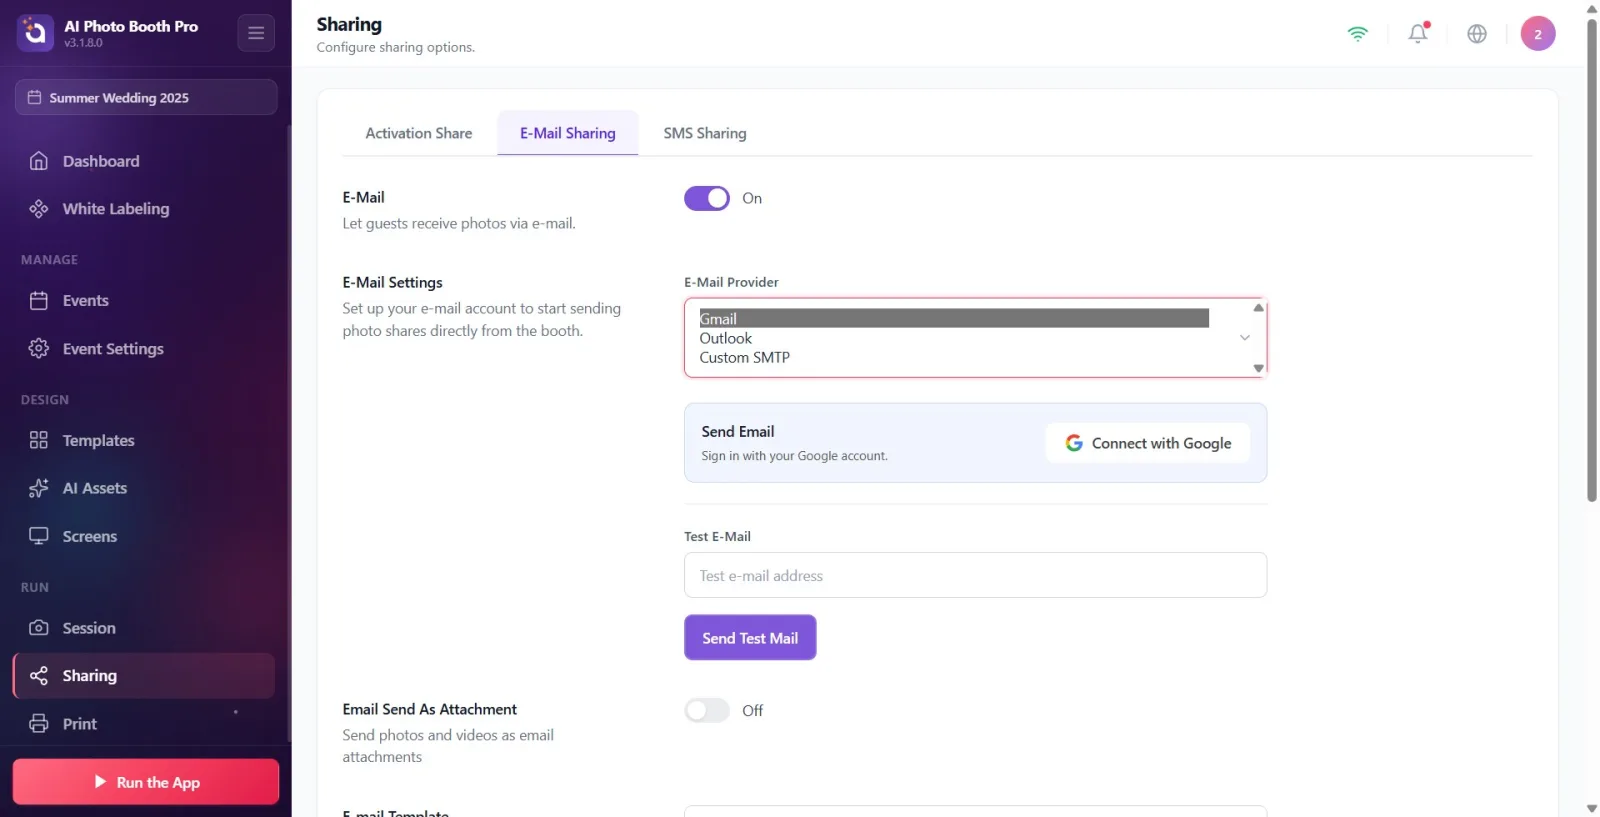
In the E-Mail Settings section (description: 'Set up your email account to start sending photo shares directly from the booth.') select one from the 'Email Provider' drop-down menu: 'Gmail', 'OutlookorCustom SMTP'. Different fields are opened at the bottom depending on the selection: If Gmail/Outlook is selected, the one-click connection (OAuth) card appears and the SMTP fields are hidden manually; If Custom SMTP is selected, the sender information and SMTP fields are filled in manually.
🔎 Items on the screen: E-Mail Settings section; E-Mail Provider drop-down menu (Gmail / Outlook / Custom SMTP).
Step 4 · Gmail: Connect with Google account
Sharing → E-Mail
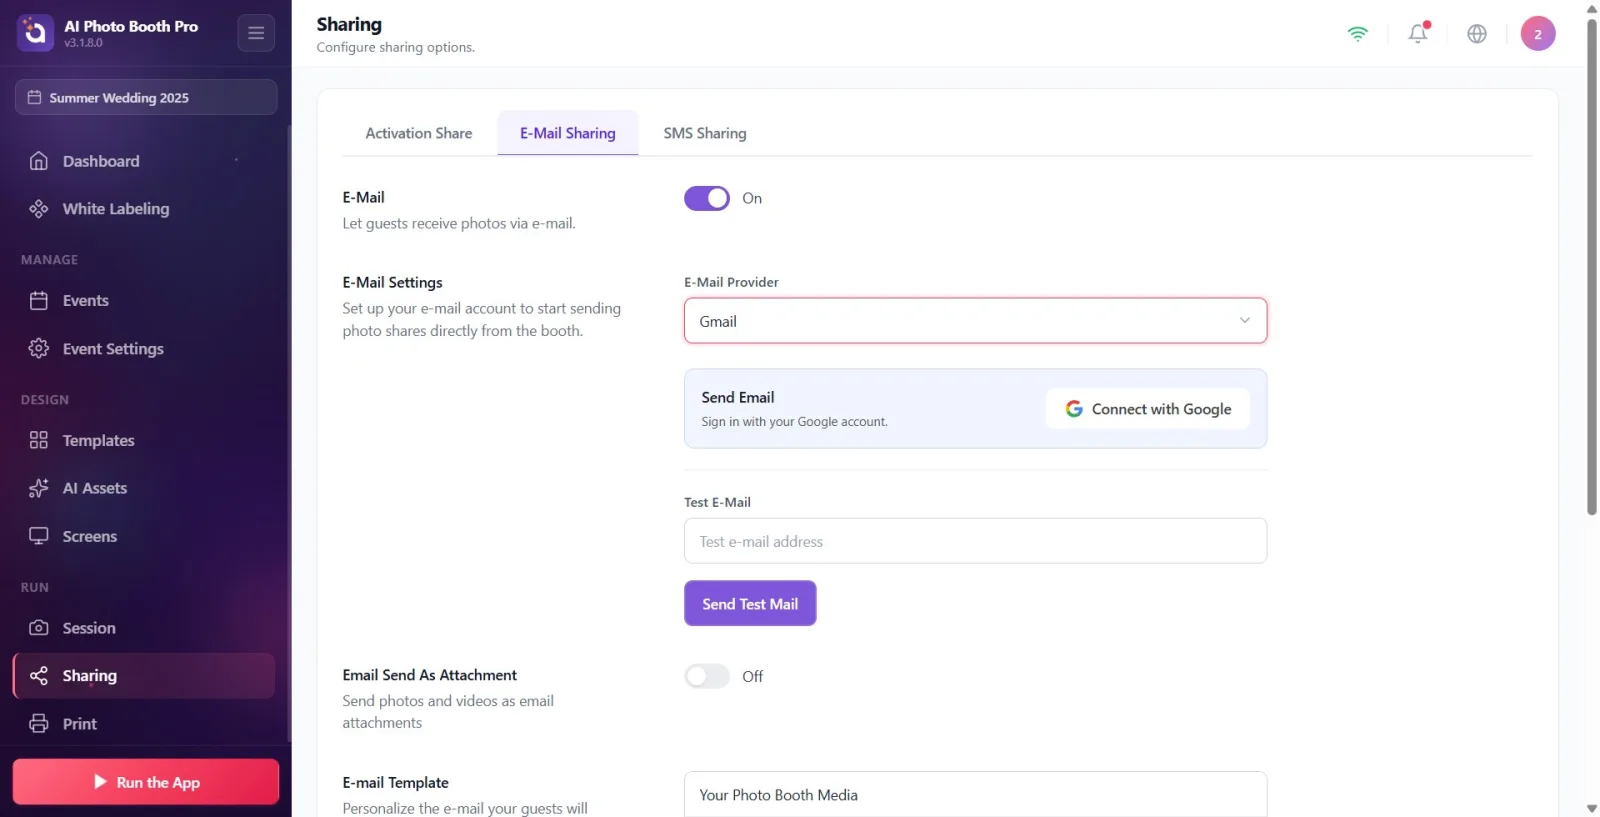
When the provider is Gmail, the title Send Email and the description Sign in with your Google account. appear on the connection card. Click the Connect with Google button; The Google login screen opens in the browser. Once you confirm, emails will be sent from this account without entering a password. While the connection is in progress, Connecting... appears on the button.
🔎 Items on the screen: Connection card: Send Email title, Sign in with your Google account. description, Connect with Google button; Connecting... when connecting.
Step 5 · Outlook: Connect with Microsoft account
Sharing → E-Mail
When the provider is Outlook, the description appears on the card as Sign in with your Microsoft account.. Click the blue Connect with Outlook button and sign in with your Microsoft account in the window that opens. Just like in Gmail, emails are sent from this account without a password after a single confirmation.
🔎 Elements on the screen: Card: Send Email title, Sign in with your Microsoft account. description, blue Connect with Outlook button.
Step 6 · View or disconnect connected account
Sharing → E-Mail
When the account is linked, the card appears with a green check mark Google Account Connected (Microsoft Account Connected for Outlook) and the linked email address. Information note below: 'Emails will be sent from this account without a password. No need for SMTP settings.'. Click the 'Disconnect' button to change or remove the account.
🔎 Elements on the screen: Google Account Connected / Microsoft Account Connected label + bound address; Disconnect button; information note 'Emails will be sent from this account without a password. No need for SMTP settings.'.
Step 7 · Custom SMTP: Enter sender name and email address
Sharing → E-Mail
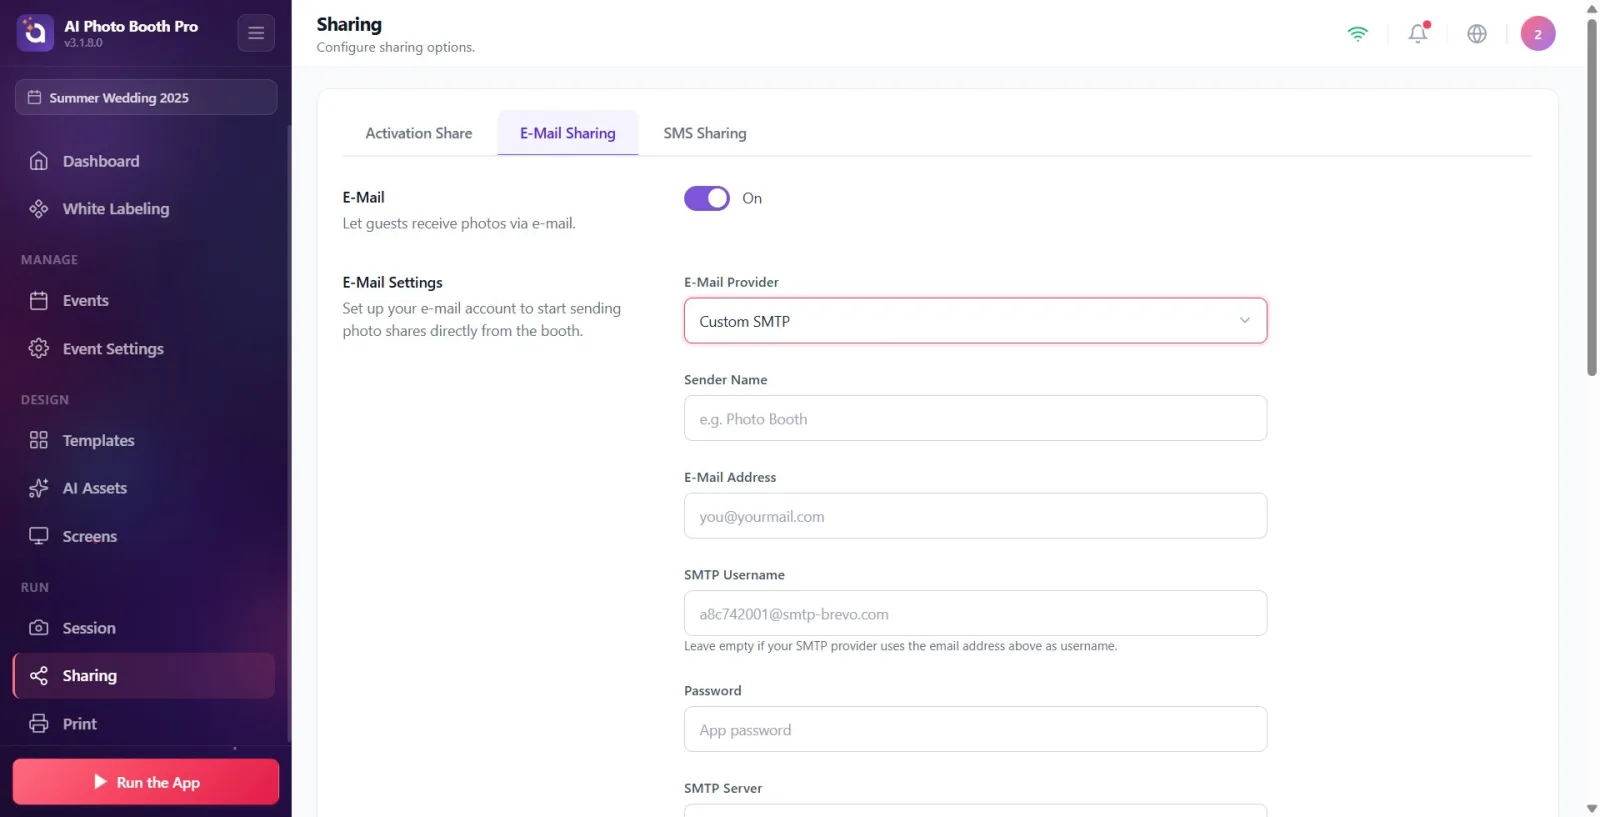
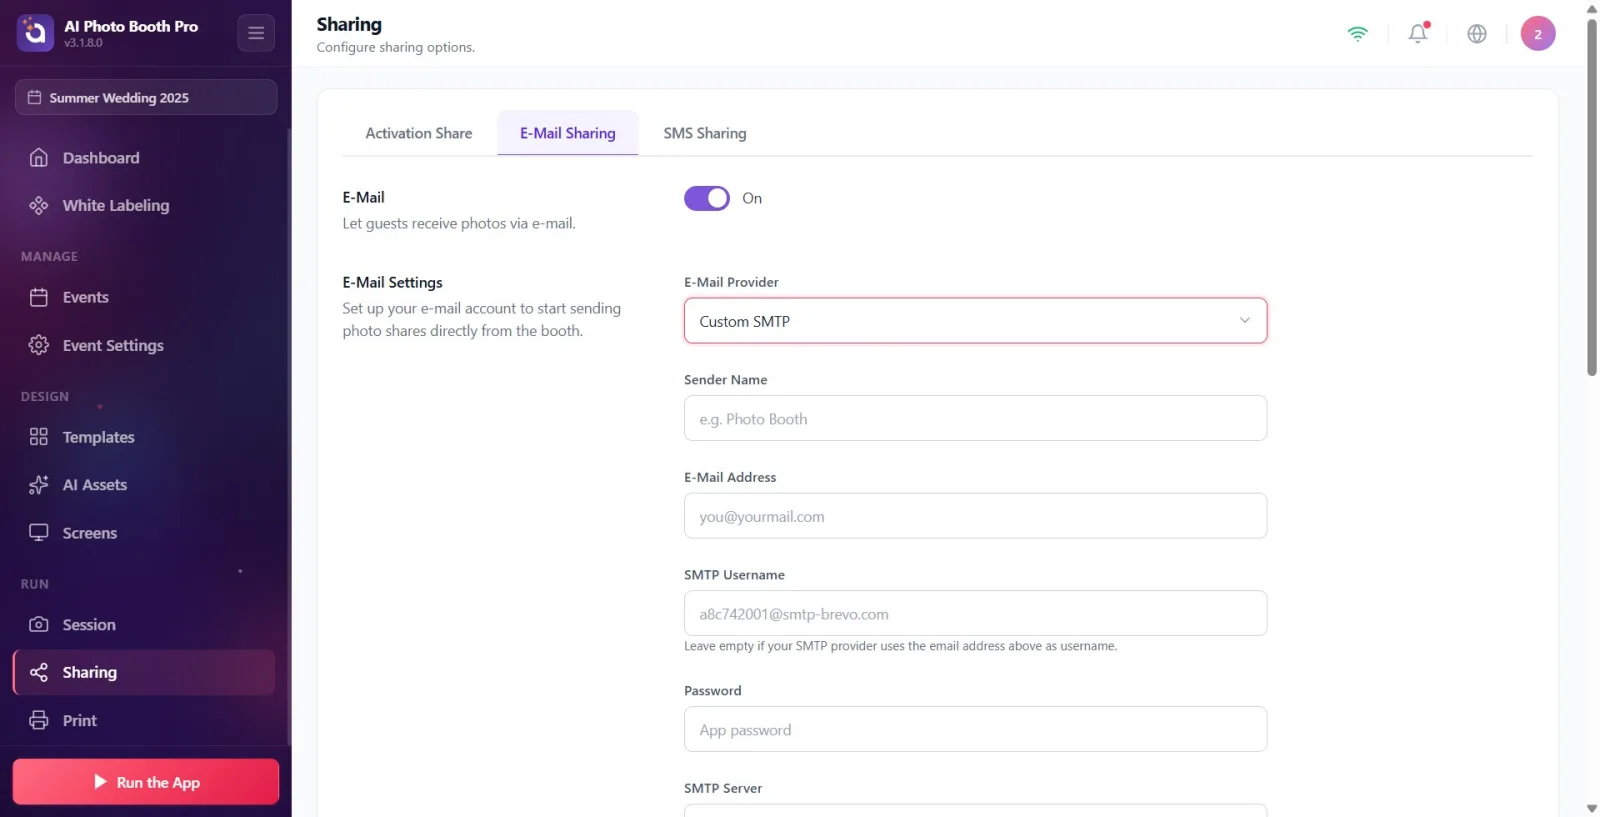
When the provider is Custom SMTP, enter the name that will appear on the sender in the Sender Name field (placeholder e.g. Photo Booth) and the sender address (placeholder you@yourmail.com) in the E-Mail Address field. These two fields appear only in Custom SMTP; It is hidden when Gmail/Outlook is selected.
🔎 Elements on the screen: Sender Name (placeholder e.g. Photo Booth); E-Mail Address (placeholder you@yourmail.com, email type).
Step 8 · Custom SMTP: Enter username, password, server and port
Sharing → E-Mail
Fill in the SMTP credentials: SMTP Username (placeholder a8c742001@smtp-brevo.com; help note: 'Leave blank if your SMTP provider uses the email address as the username.'), 'Password' (placeholder 'Application password' — most providers require the application password, not the regular account password; entered secretly as the password), SMTP Server (example 'smtp.gmail.com'), and Port (example '587'). These fields appear only in Custom SMTP.
🔎 Elements on the screen: SMTP Username + help text; Password (password type, placeholder App password); SMTP Server (placeholder 'smtp.gmail.com'); Port (narrow field, numeric, placeholder '587').
Step 9 · Send a test email
Sharing → E-Mail
To verify the settings, type your own address in the Test E-Mail field (placeholder Test e-mail address) and press the Send Test Mail button. A rotating icon appears in the button while sending. If successful, the Success badge and The test email was sent to your mail address. message appear next to it; If it fails, the error code is shown as a message. This field is always visible regardless of the selected provider.
🔎 Elements on the screen: input field Test E-Mail (placeholder Test e-mail address); Send Test Mail button; merit badge Success; result message.
Step 10 · Select the Send printouts as attachments setting
Sharing → E-Mail
Adjust the on/off switch in the Email Send As Attachment section (description: Send photos and videos as email attachments) as desired. If turned on, the photo/video will be added to the email as a file attachment; If off, the output is shared only via the link/embedded image in the template. Status text On / Off. It is off by default.
🔎 Items on the screen: Email Send As Attachment section; on/off switch (On / Off).
Step 11 · Edit the email template (subject + content)
Sharing → E-Mail
In the E-mail Template section (description: 'Personalize the email your guests receive. Add your own voice, brand tone, or event details.') prepare the mail to go to the guest. Type the email subject in the subject line at the top (placeholder Subject line). Edit the body in the rich text editor below; The toolbar has buttons for bold/italic/underline, text color, alignment (Align Left / Align Center / Align Right), bullet list, and link insertion (Insert Link → Enter URL + Apply / Remove). The field comes with a ready-made default text.
🔎 Elements on the screen: Topic entry (placeholder Subject line); formatting toolbar (bold, italic, underline, text color, alignment, bullet list, link); content (body) editor.
Step 12 · Use template variables
Sharing → E-Mail
Below the content editor, two variables are listed with the label Usable variables: {share_link} and {image}. If you write these variables in the template text, {image} will automatically be replaced with the guest's photo during submission, and the link variable will be automatically replaced with the share/cloud link. The default template that comes with it already includes {image} and a cloud link placeholder for the image.
🔎 Items on the screen: note Usable variables; code tags: {share_link} and {image}.
In the new activity, the E-Mail switch is OFF by default; The e-mail option does not appear on the booth sharing screen unless you enable it.
Gmail and Outlook use one-click connection (OAuth): log in once with Connect with Google / Connect with Outlook, then no password is required and manual SMTP domains remain private.
In Custom SMTP, the 'Application password' is entered in the 'Password' field, not the normal account password in most providers.
If your SMTP provider uses the email address as the username, leave the SMTP Username field blank (also mentioned in the help note).
After each setting change, send yourself a test with Send Test Mail and see the Success badge.
Variables available in the template are {share_link} and {image}; The ready-made default template already includes {image} and a cloud link placeholder.
If Email Send As Attachment is on, the output is added as a file attachment; If it is off, it will only be shared with the link/embedded image in the template.
Forgetting to turn on the E-Mail switch: in this case the email sharing option will not appear in the cabinet at all.
Selecting Gmail or Outlook and leaving the Connect with Google / Connect with Outlook button unpressed: sending without account connected will fail.
Manual password field search for Gmail/Outlook: these providers have no password entry, only one-click OAuth connection (SMTP fields are hidden).
Entering the account's normal password in Custom SMTP: usually 'Application password' is required, otherwise authentication will be denied.
Still populating the SMTP Username field when using the provider email as the username: should be left blank according to the help note.
Leaving settings untested: Configuration that is not validated with Send Test Mail may fail silently during the event.
Leaving the subject line blank in the template or not adding {image}/link variables to the text at all.
Related topics
SMS Sharing ActivationShare
