













Before this: How to Create a Custom AI Effect?
The prompt is the text that tells the AI effect what to do with the photo. The fields of the creation window (model, resolution, reference images, test) are covered in the articles How to Create Special AI Effect? and How to Create Custom AI Video?; we don't repeat them here. This article explains how to write a good prompt: keeping the face, keeping the logo and text intact, group photos, the video prompt, and ready-made examples you can copy and use.
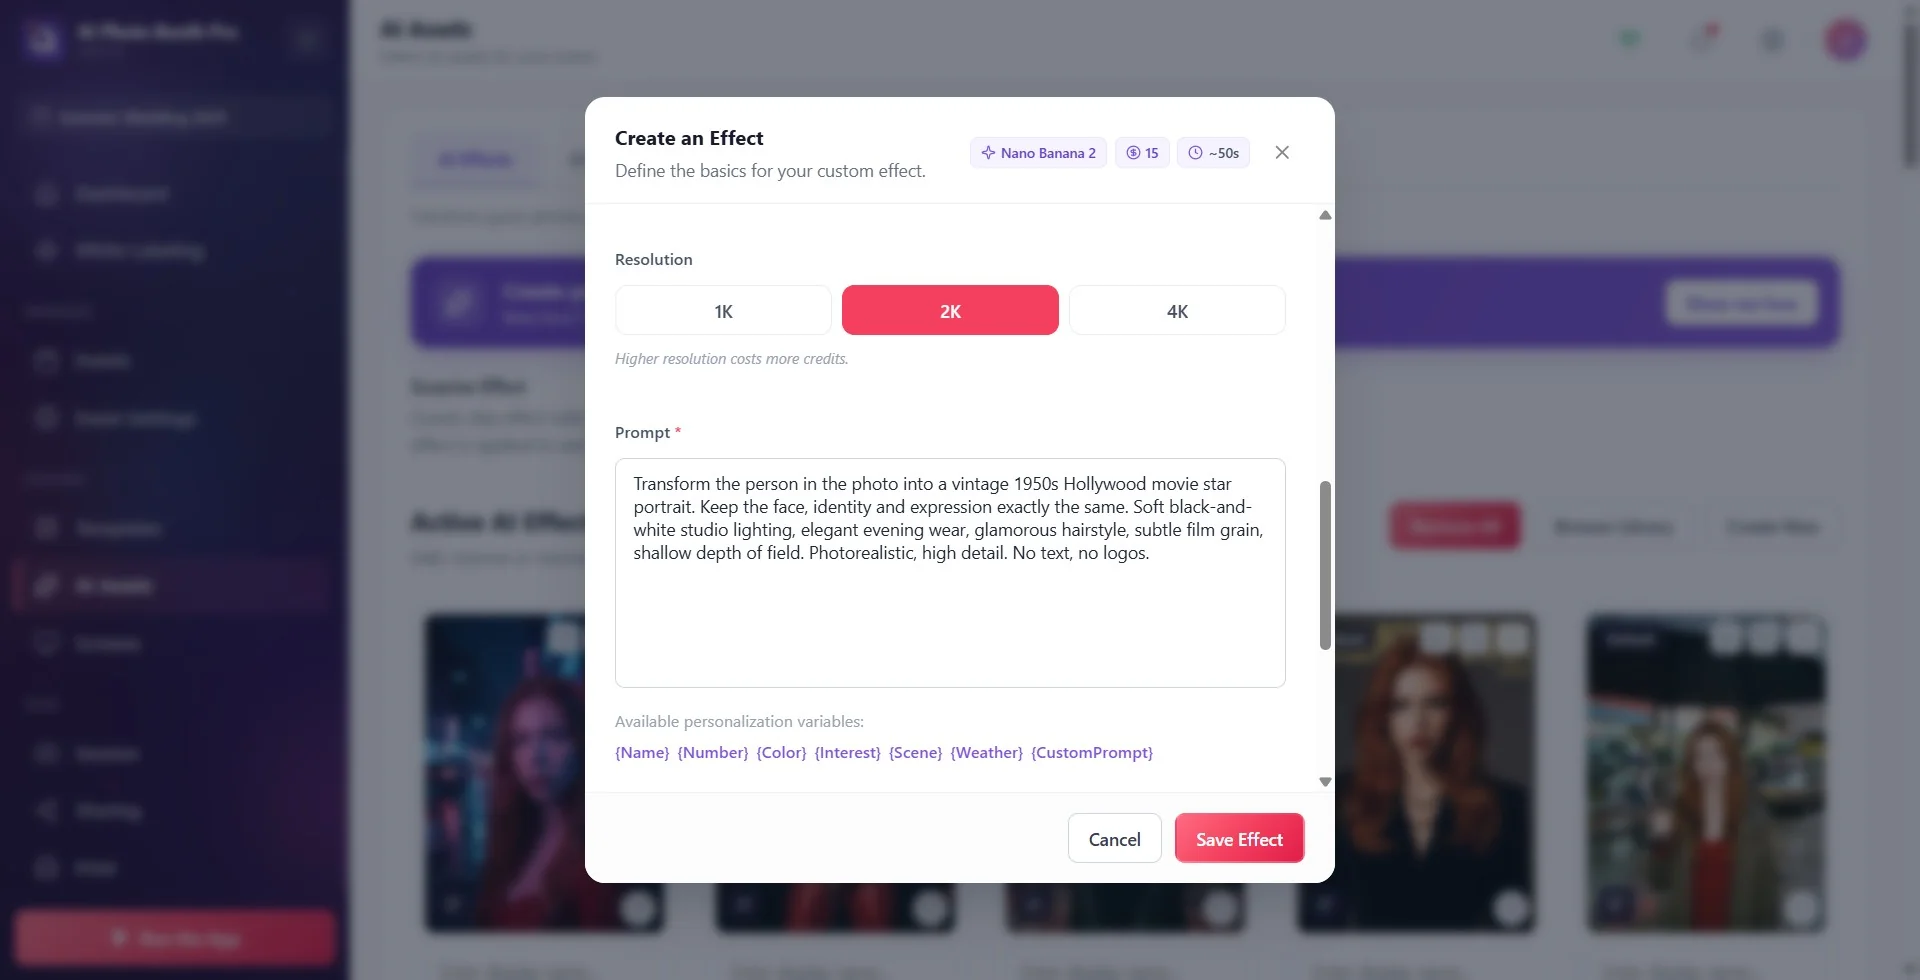
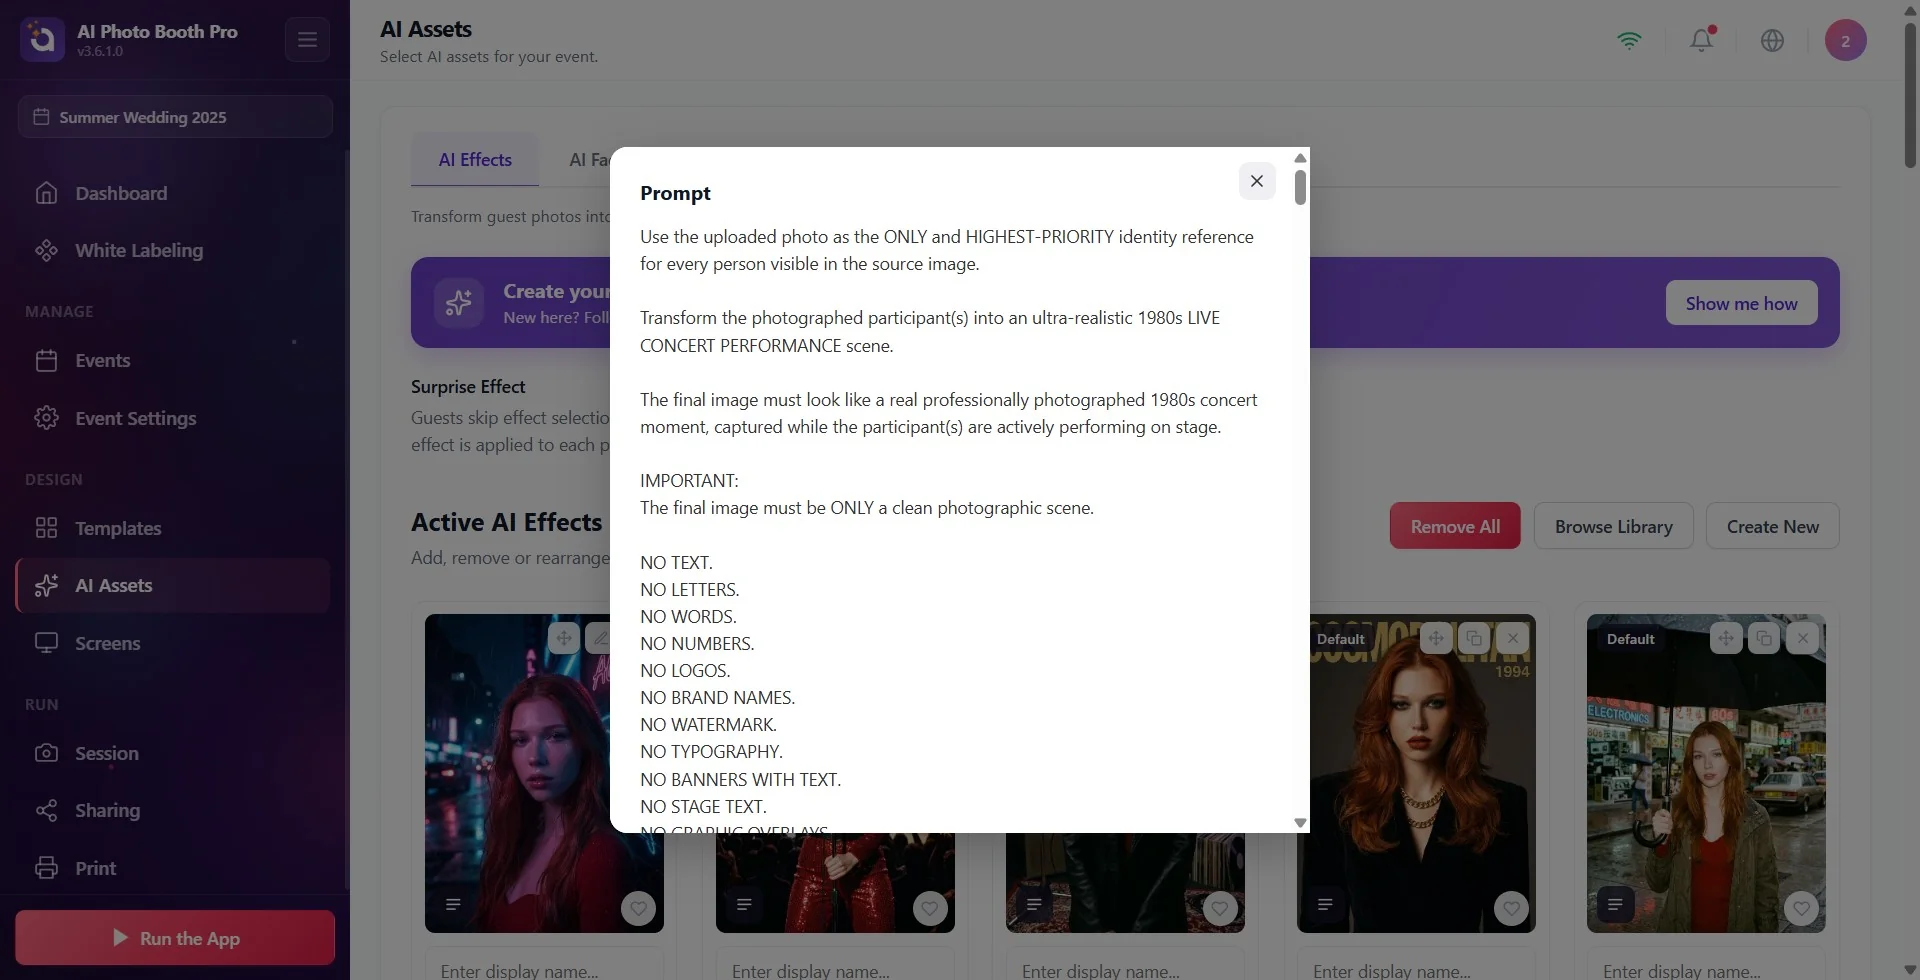
- You write the prompt in the Prompt field of the AI Assets → AI Effects → Create New window. To read the prompt of a ready-made effect, tap the View Prompt icon on its card.
- Ready-made effects are examples. To adapt one to your own event, press the Edit & Clone button on the card and change the prompt in the Clone & Customize window that opens.
- Every Test Effect spends credits (about half the cost at the event). Details: the How Do Credits Work? article.
Five rules of a good prompt
Step 1 · Write the prompt in English
A prompt you write in a language other than English is automatically translated into English before it goes to the model. The translation can shift the meaning and can also translate the text you put in quotes. If you write the prompt directly in English, the model reads exactly what you wrote.
If writing in English is hard for you, write your request in your own language to a chat AI (such as ChatGPT or Gemini) and say 'turn this into a detailed English prompt for an image generation model'. Paste the resulting text into the Prompt field and test it.
Step 2 · Write separately what should change and what should stay the same
The model does only what you tell it; everything you don't mention it interprets on its own. An open-ended prompt such as 'add a flower crown to the person' can also change the clothing, the background and even the face. Write the things to change (clothing, background, lighting, style) and the things to keep (face, hair, skin tone, pose, number of people) in separate sentences. Patterns that work: 'Change only …' and 'Keep … exactly the same as in the original photo'.
Keep the person's face, facial features, skin tone, hairstyle and expression exactly the same as in the original photo. Change only the clothing and the background.
Step 3 · Describe the scene, style and lighting concretely
The hint in the app says the same: describe the look you want the AI to create; be clear about style, setting and atmosphere. Instead of a short, generic prompt, write the setting (where), the era or theme, the lighting and the look (realistic photo or illustration). Long, descriptive prompts usually give more consistent results.
Step 4 · Test with a real photo from the booth
Test Effect runs with the default sample photo. Select a photo taken with the event camera, at the same distance and in the same light, with Upload Your Own Photo and test. The test and the event use the same model; results usually differ because of framing, angle and distance to the camera. If you expect groups at the event, test with a group photo too.
Step 5 · Choose the model deliberately
The default Nano Banana 2.1 (3.6.4 and later; Nano Banana 2 Lite in older versions) is fast and low-cost. If it matters that the face looks like the person, also test the same prompt with Nano Banana 2; our support team gets better face consistency with this model. Models spend different amounts of credits; you see the cost on the badge at the top of the window.
Keeping the face and group photos
The photo itself matters too
The model reads the face from the photo. The face should be sharp, well lit, facing the camera and large enough in the frame. Photos blown out to white by the light (face detail lost) or taken too close to the camera give poor results; stepping back a little and balancing the light often helps more than changing the prompt.
If the face must stay exactly the same
An AI effect redraws the photo; even when it tries to keep the face, small differences can appear. If you want the guest's face placed exactly onto a ready-made image, use the AI Face Swap mode instead of an AI effect (see the How to Use Face Swap? article).
Is the effect for one person or several?
The effect cards in the library don't say how many people the effect was prepared for. If there will be groups at your event, always test the effect with a photo of two or three people. For group photos, add these two sentences to the prompt:
Keep exactly the same number of people as in the original photo; do not add, remove, merge or duplicate anyone. Keep each person's own face, age and gender, and do not swap faces between people.
The more people there are in the photo, the harder it is for the model to keep every face to the same degree; in large groups the result is not as consistent as in single-person photos. You can prepare two separate copies of the same effect (Clone & Customize) for single-person and group use.
Credits: an AI effect does not change with the number of people; it is charged per photo. AI Face Swap, however, charges per face.
Keeping the logo and text intact
If the logo must stay exactly the same, use a layer in the template
The AI redraws the logo in every generation, and small differences in letters, colours or proportions can appear. If the logo must stay the same in every photo, don't have the AI draw it; add it to the template as a separate Image layer. The AI result is placed in the photo area of the template, and the logo stays unchanged on top. For fixed text, the same approach is the Text layer (see the How to Create a Photo Template? article).
If the logo is to be part of the scene, use a reference image
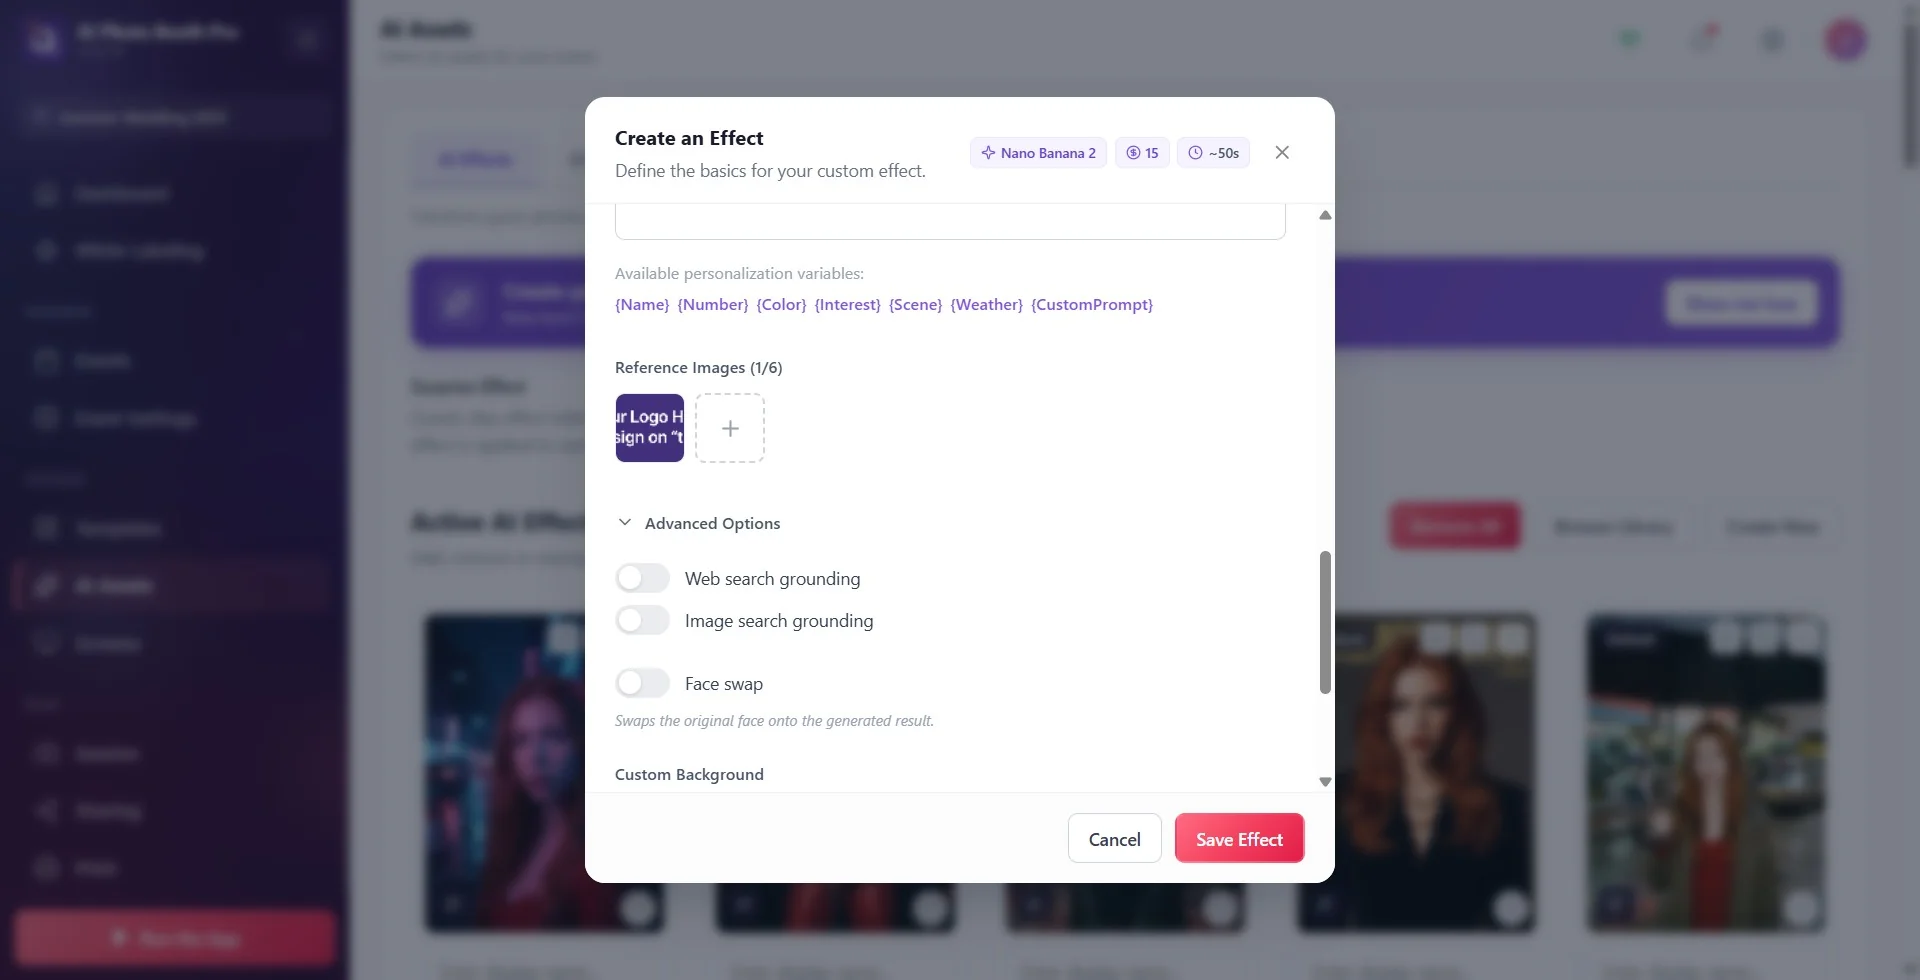
If the logo needs to appear on clothing, a banner or a product, add the logo to the Reference Images section (preferably as a transparent PNG) and state clearly in the prompt both where to place it and that it must not be changed. Refer to the reference image by name in the prompt: 'the logo from the reference image'. Even with this method small differences can occur; if an exact match is a requirement, use the template layer approach.
If there is a person in the reference image (e.g. a model in costume), the model may copy that person. To prevent this, add: 'Use the reference image only for the outfit, pose and scene; keep the photographed person's own face, gender and body.'
The language of text in the image
If you want text to appear in the image, write the prompt in English, give the text you want written in quotes in your own language and say explicitly that it must not be translated. If you write the prompt in a language other than English, the whole text is translated into English, so the text in quotes may also come out in English. Keep the text short (one to three words); add text that must be error-free, such as dates or brand names, with a Text layer in the template.
Write the title "STAR" exactly as given, in English, letter by letter. Do not translate it and do not add any other text.
A prompt that changes for each guest
If you add chips from Available personalization variables: ({Name}, {Number}, {Color}, {Interest}, {Scene}, {Weather}, {CustomPrompt}) to the prompt, the guest is asked during the capture and the answer is inserted into the prompt. {CustomPrompt} lets the guest write their own text; with free text the result is harder to control, so have a staff member keep an eye on it at the event. The screens for the variables: the How to Create Special AI Effect? article.
The video prompt
A video prompt describes the motion, not the scene
AI Assets → Photo to AI Video → Create New → Prompt
In AI video, write in the Prompt field what the person does and how the camera moves. Choose a single, simple motion; asking for several scene changes or many actions in a row breaks up the result. Ask explicitly for the face to be kept throughout the video ('in every frame').
If you want to change the look (costume, scene, logo), don't write it in the video prompt. Choose AI Effect or Prompt from the Source Image menu: the photo is transformed first, and the video is generated from that image. For a video with a logo, add the logo at the AI effect stage. Details: the How to Create Custom AI Video? article.
Lip movement matching the audio for a talking person is not something current video models provide; with prompts like this you will see inconsistencies.
If the face changes after the first frames of the video, simplify the motion, add the face-keeping sentence and test with a different AI Model.
Ready-made example prompts
You can copy the prompts below and paste them into the Prompt field. Change the scene, colours and texts to suit your own event, then test with a photo taken at the booth.
Example 1 · Single-person portrait, face kept
Turn the person in the photo into a classic 1950s Hollywood movie star portrait. Keep the person's face, facial features, skin tone, hairstyle and expression exactly the same as in the original photo. Change only the clothing, the background and the lighting: elegant evening outfit, soft studio lighting, warm film look. Photorealistic, sharp focus on the face.
Example 2 · Group photo, everyone kept
Place everyone from the original photo in a cozy mountain cabin at night, lit by a warm fireplace, wearing knitted winter sweaters. Keep exactly the same number of people as in the original photo; do not add, remove, merge or duplicate anyone. Keep each person's own face, age, gender and body shape unchanged, and keep everyone in the same positions. Photorealistic, natural skin texture.
Example 3 · Change only the background
Keep the people exactly as they are in the original photo: same faces, same clothes, same pose, same framing. Replace only the background with a sunny beach at sunset with palm trees. Adjust the lighting on the people so it matches the new background. Do not change anything else.
Example 4 · Logo on the clothing (with a reference image)
First add the logo to the Reference Images section.
Dress the person in a red superhero suit and cape. Place the logo from the reference image in the center of the chest. Copy the logo exactly: the same shape, colors and proportions; do not redraw, simplify or add any text to it. Keep the person's face and identity unchanged. Cinematic city skyline at night in the background.
Example 5 · Text in your own language in the image (magazine cover)
Turn the photo into a fashion magazine cover. Keep the person's face unchanged. At the top, write the magazine title "STAR" in large bold white letters. Below it, write "Star of the Night" in smaller letters. Write both texts exactly as given, in English, letter by letter; do not translate them and do not add any other text.
Example 6 · With the guest's name and number (with variables)
The {Name}, {Number} and {Color} variables are asked of the guest during the capture.
Turn the person into a professional football player on a stadium pitch, wearing a {Color} jersey. Print the name "{Name}" and the number "{Number}" on the back of the jersey. Keep the person's face unchanged. Stadium lights and a cheering crowd in the background, photorealistic.
Example 7 · AI video: simple motion, face kept
For the Prompt field in the Photo to AI Video creation window.
The person slowly turns toward the camera and smiles while their hair moves gently in the wind. The camera slowly pushes in. Keep the person's face and identity the same in every frame. Keep the background unchanged. No text, no scene changes.
Read the prompt of a stock effect
To see how an effect you like in the library was written, tap the View Prompt icon on its card. Carry the patterns you like over to your own prompt, or copy the effect with the Edit & Clone button on the card and edit the prompt in the Clone & Customize window that opens.
Writing an open-ended prompt ('make it magical'): the model changes the clothing, the background and the face according to its own interpretation.
Writing the prompt in a language other than English and expecting the text in quotes to stay in that language.
Testing an effect prepared for a group event only with a single-person photo.
Having the AI draw the logo and expecting it to come out exactly the same in every photo.
Choosing a test photo from a different camera or distance than the booth camera.
Related topics
How to Create Special AI Effect? How to Create Custom AI Video? How to Use Face Swap? How to Create a Photo Template? How Do Credits Work? AI Isn't Working: If You're at an Event, Do This First
