













Before this: How to Create an Event?
With Remote Control, the booth is controlled from a phone. There are two separate uses: the guest scans the QR code on the welcome screen and runs their own session from their phone; the operator signs in from their own phone and controls every session in the booth, pauses the booth, or starts the booth while it is on the settings screen. No app needs to be installed on the phone; everything opens in the phone's browser. The settings are specific to each event.
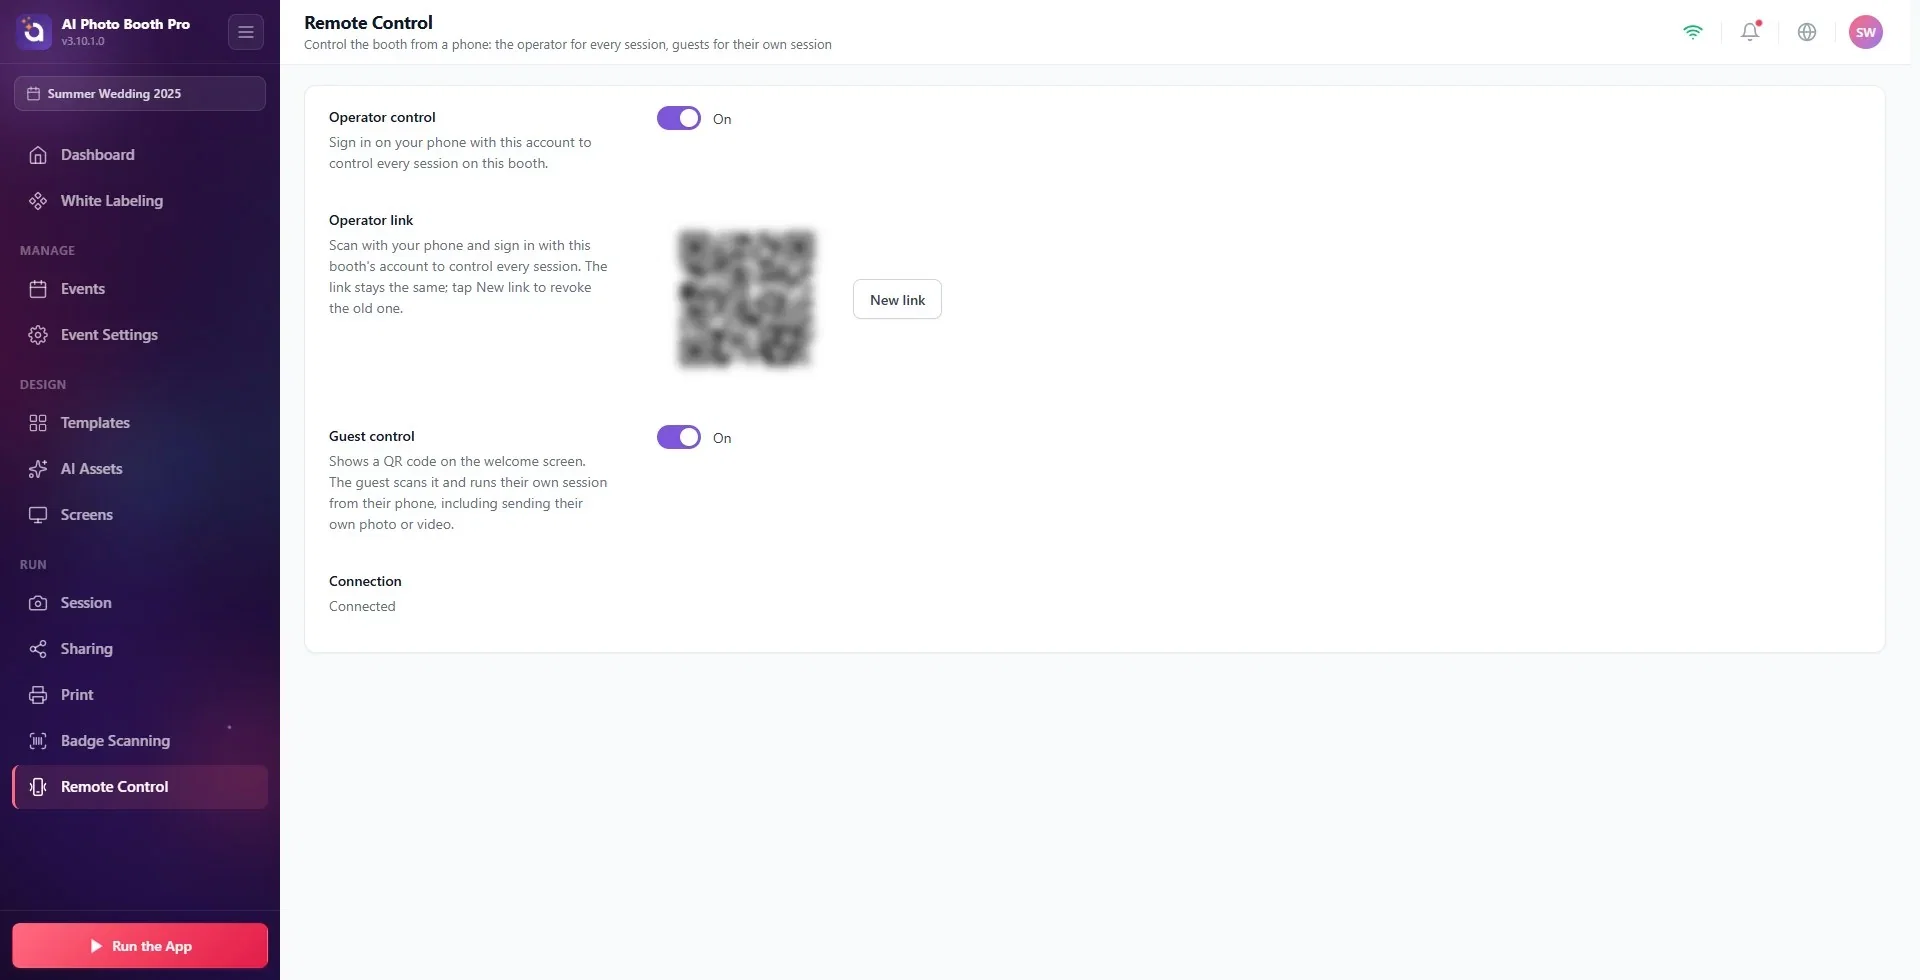
- On the Settings → Run → Remote Control page, turn on the Operator control and/or Guest control switch. Both are off by default.
- The Connection row at the bottom of the page must show Connected. Both the booth and the phone need to be connected to the internet.
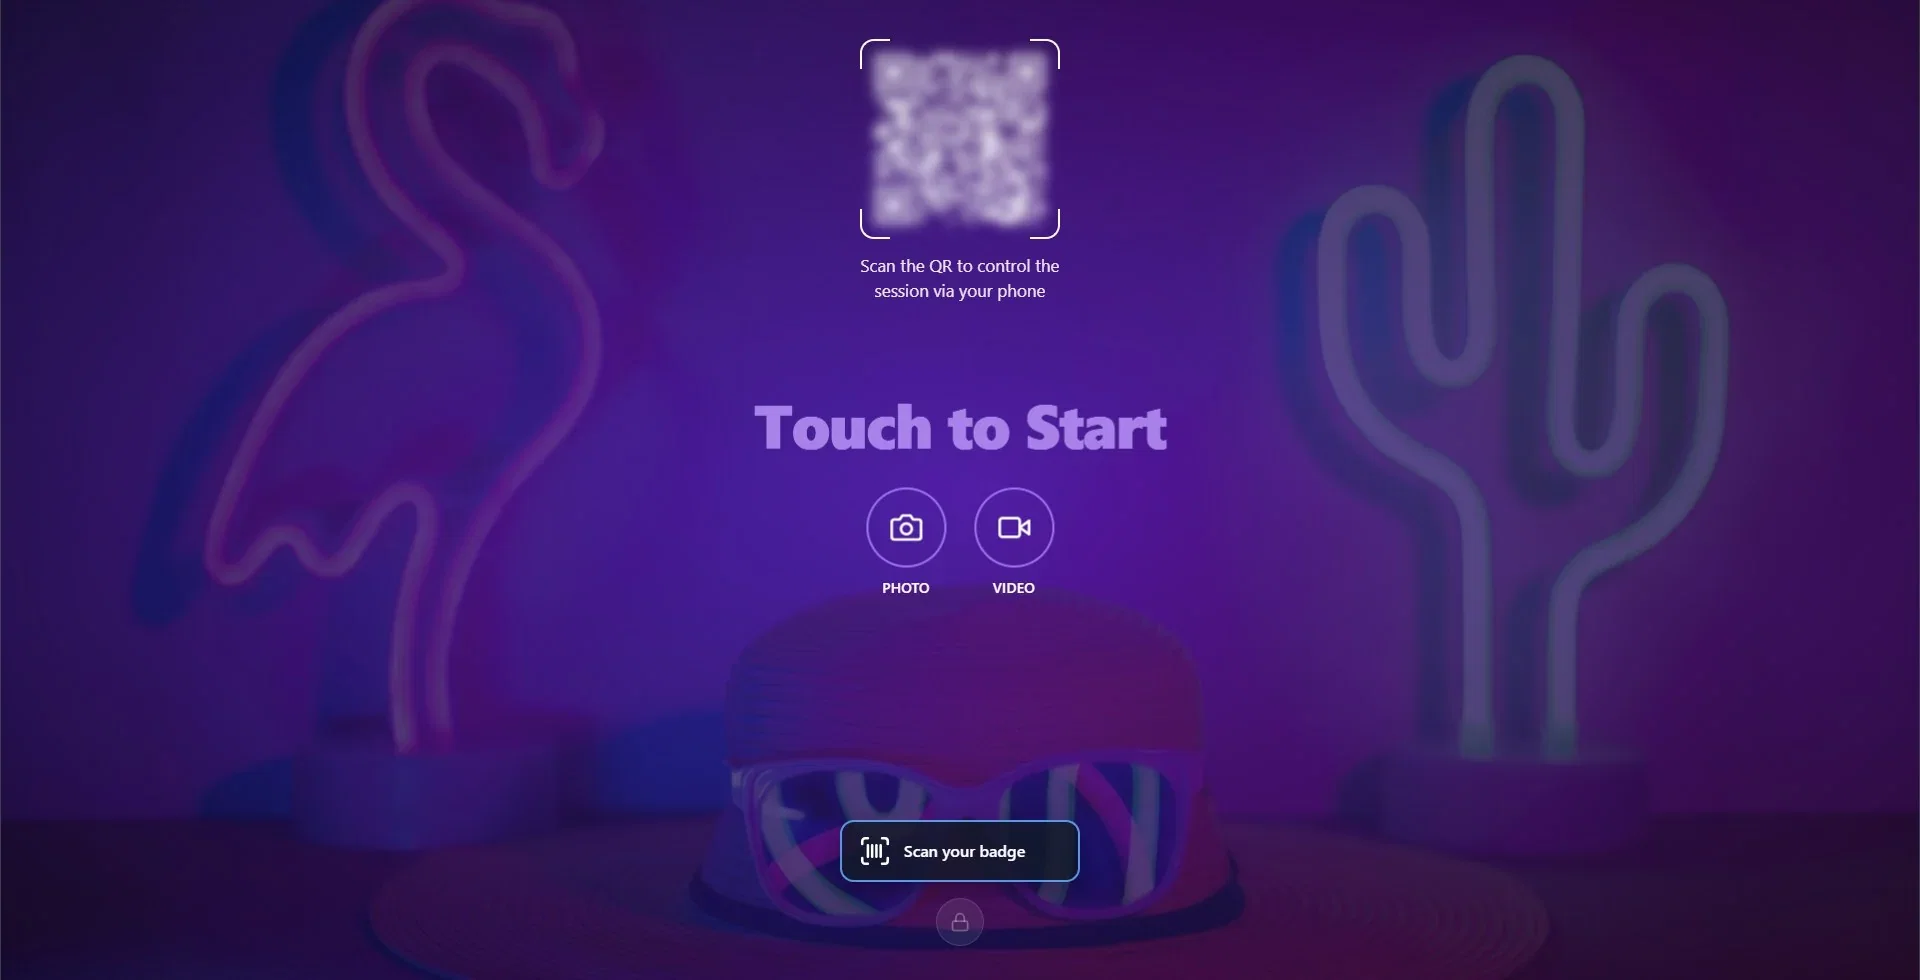
- With Guest control on, a QR code appears on the welcome screen when you run the booth. The guest scans it and controls their own session from their phone.
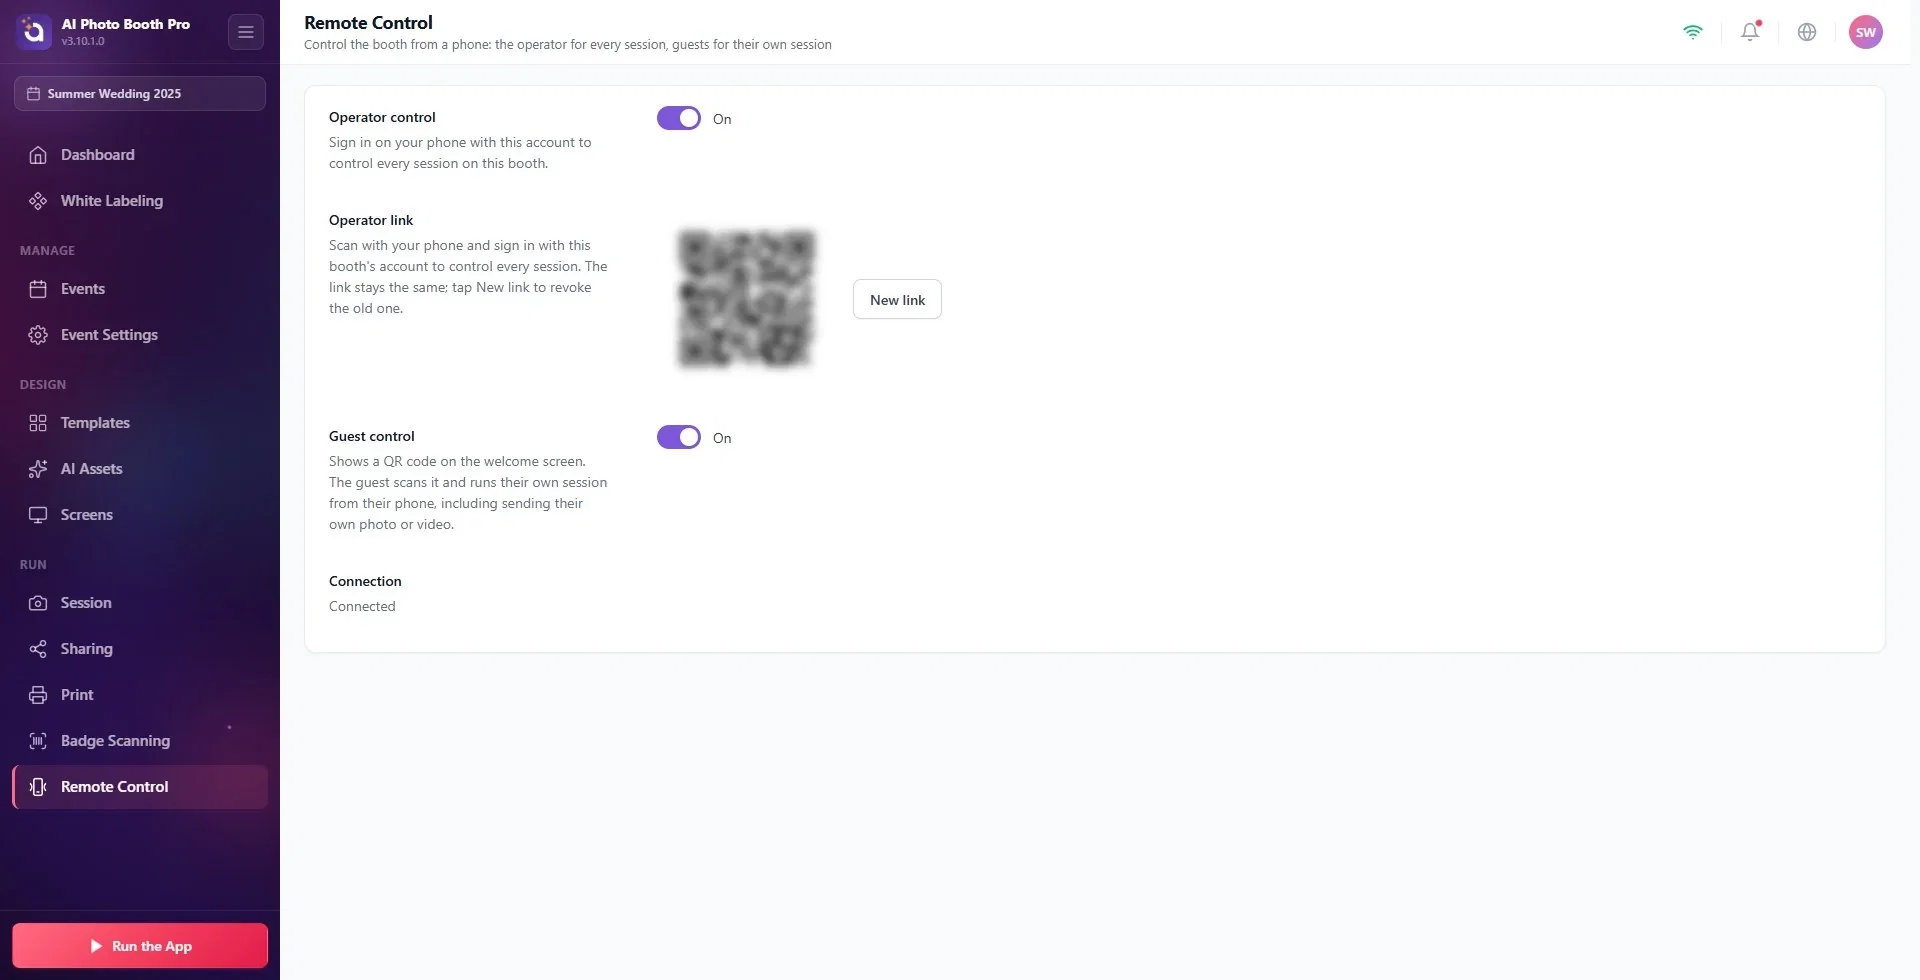
- With Operator control on, the Operator link QR appears on the same page. Scan it with your own phone and sign in with the booth's account.
- If the connection drops, the booth keeps working on its own; only the control from the phone stops.
Before you start
- An event must be created and selected. The Remote Control page does not appear in the menu while no event is selected.
- The booth and the phone that will be used as the remote must be connected to the internet. The phone does not need to be on the same Wi-Fi as the booth.
- The modes the guest can choose on the phone are the modes enabled on the welcome screen (Photo, GIF, Video, Boomerang). Turn the modes on in Event Settings.
Step by step: turn on the remote
Step 1 · Open the Remote Control page
Settings → Run → Remote Control
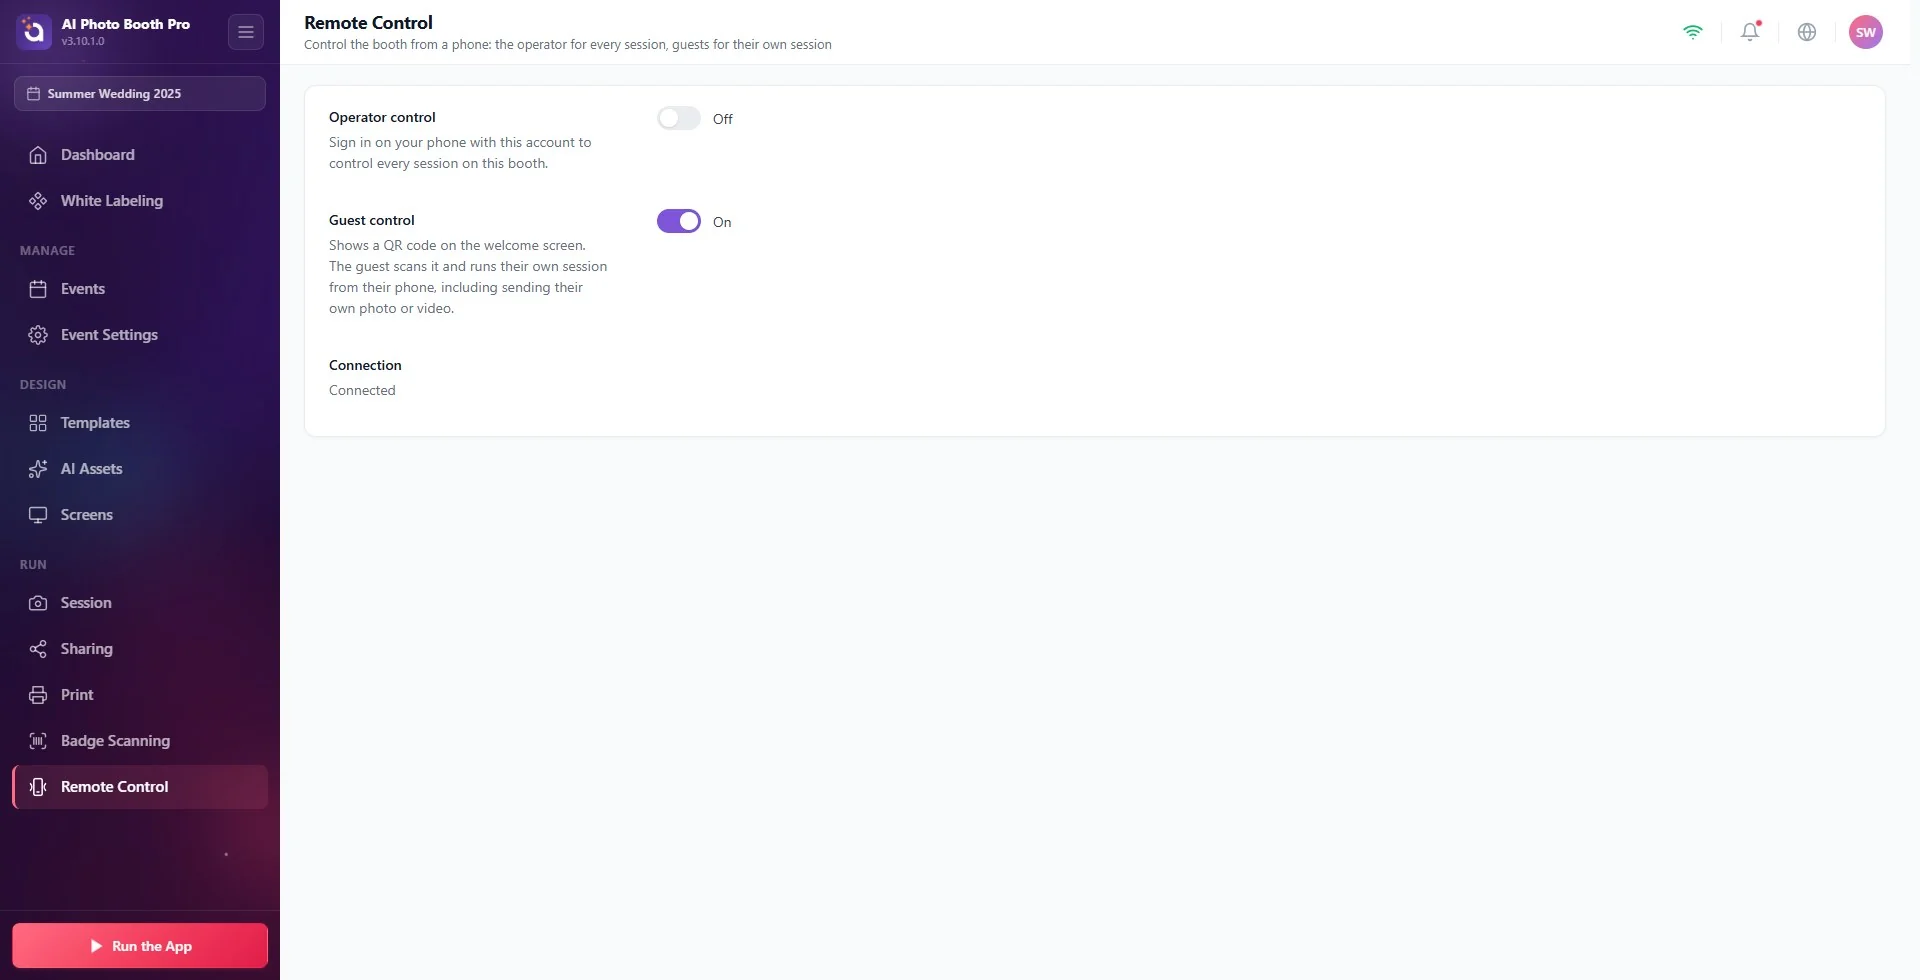
In the left menu, click Remote Control under the Run heading. Below the page title it reads 'Control the booth from a phone: the operator for every session, guests for their own session'.
Step 2 · Turn on the switches
Settings → Run → Remote Control
| Setting | What it does | Default |
|---|---|---|
| Operator control | You sign in from your phone with this account and control every session in this booth. When you turn it on, the Operator link section appears below it. | Off |
| Guest control | Shows a QR code on the welcome screen. The guest scans it and controls their own session from their phone; they can also send their own photo or video. | Off |
You can also turn both on together.
Step 3 · Check the Connection row
The Connection row at the very bottom of the page shows the status:
- Off: both switches are off.
- Connected: the booth is ready for remote control.
- 'Not connected. Check the internet connection; the booth keeps working on its own.': a switch is on but the connection could not be established.
After you turn a switch on, it may take a few seconds for the connection to be established; the row changes to Connected by itself.
Guest control: the guest controls their own session
Step 4 · Run the booth and show the QR
Settings → Run the App → Run as Photo Booth
Start the booth as usual. If Guest control is on and the connection is established, a QR code appears on the welcome screen with the text 'Scan the QR to control the session via your phone' below it. The QR is drawn in the welcome screen's text color and sits on top of the background image.
Step 5 · The guest scans the QR
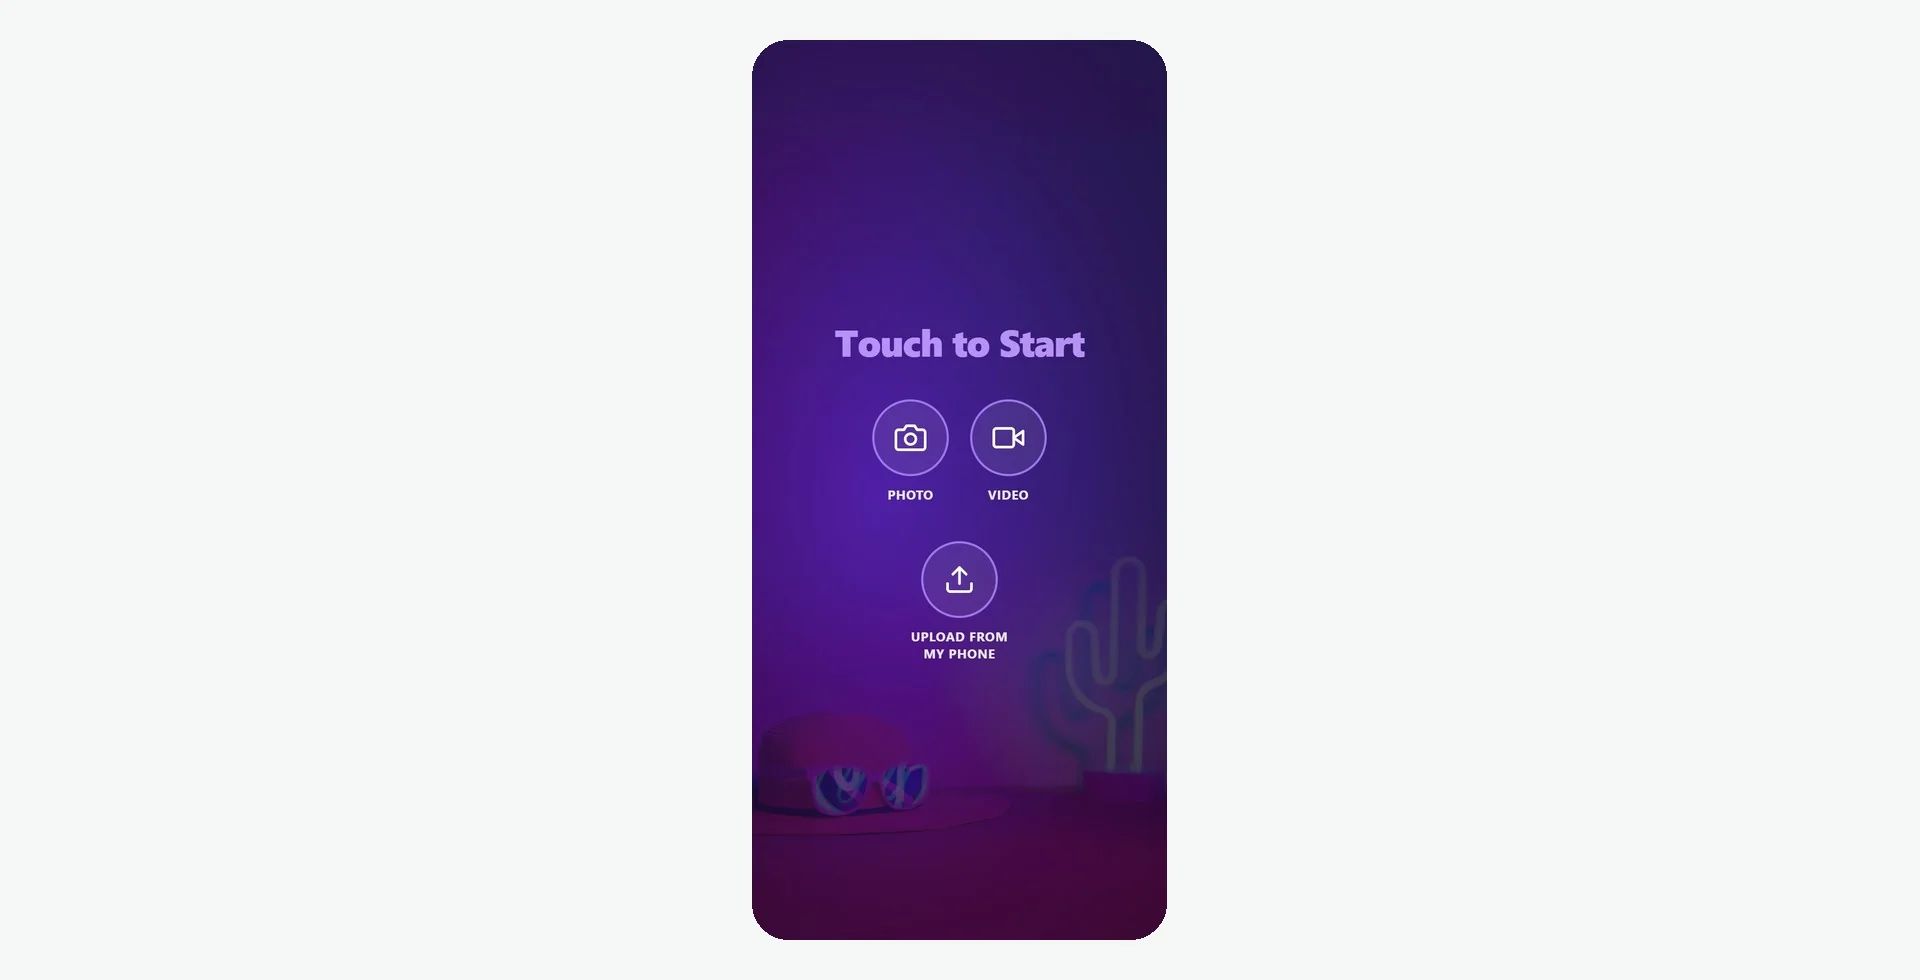
The guest scans the QR with their phone's camera and, on the page that opens, sees the mode buttons of the welcome screen with the same names. The phone page uses the booth's background and colors. When a button is pressed, the session starts in the booth and the guest continues the next steps from their phone: disclaimer consent, template selection, AI effect selection, the information form and sharing (print, email, SMS, WhatsApp). The countdown is also shown on the phone. At a paid event, a Pay on your phone button appears on the phone at the payment screen; the guest pays from their phone. At the sharing step, the guest's phone receives a link to the result page, not the result image.
When a screen without remote control is reached, the phone says that this step is done at the booth; the guest completes that step on the booth's screen.
Good to know
- One QR, one session. When the session ends and the booth returns to the welcome screen, the QR is renewed; a phone that scans the old QR cannot start a new session. The QR is also renewed automatically at regular intervals. That is why taking a photo of the QR and printing or sharing it does not work.
- The booth's screen works too. After the guest scans the QR, the session can also be started by touching the booth; the phone stays in control. If the phone and the screen press the same button at the same time, the second press is ignored.
- When settings change, the phone updates too. If you turn a mode on or off on the welcome screen, the buttons on the phone change as well.
Upload from phone: the guest sends their own photo or video
Step 6 · Upload from my phone
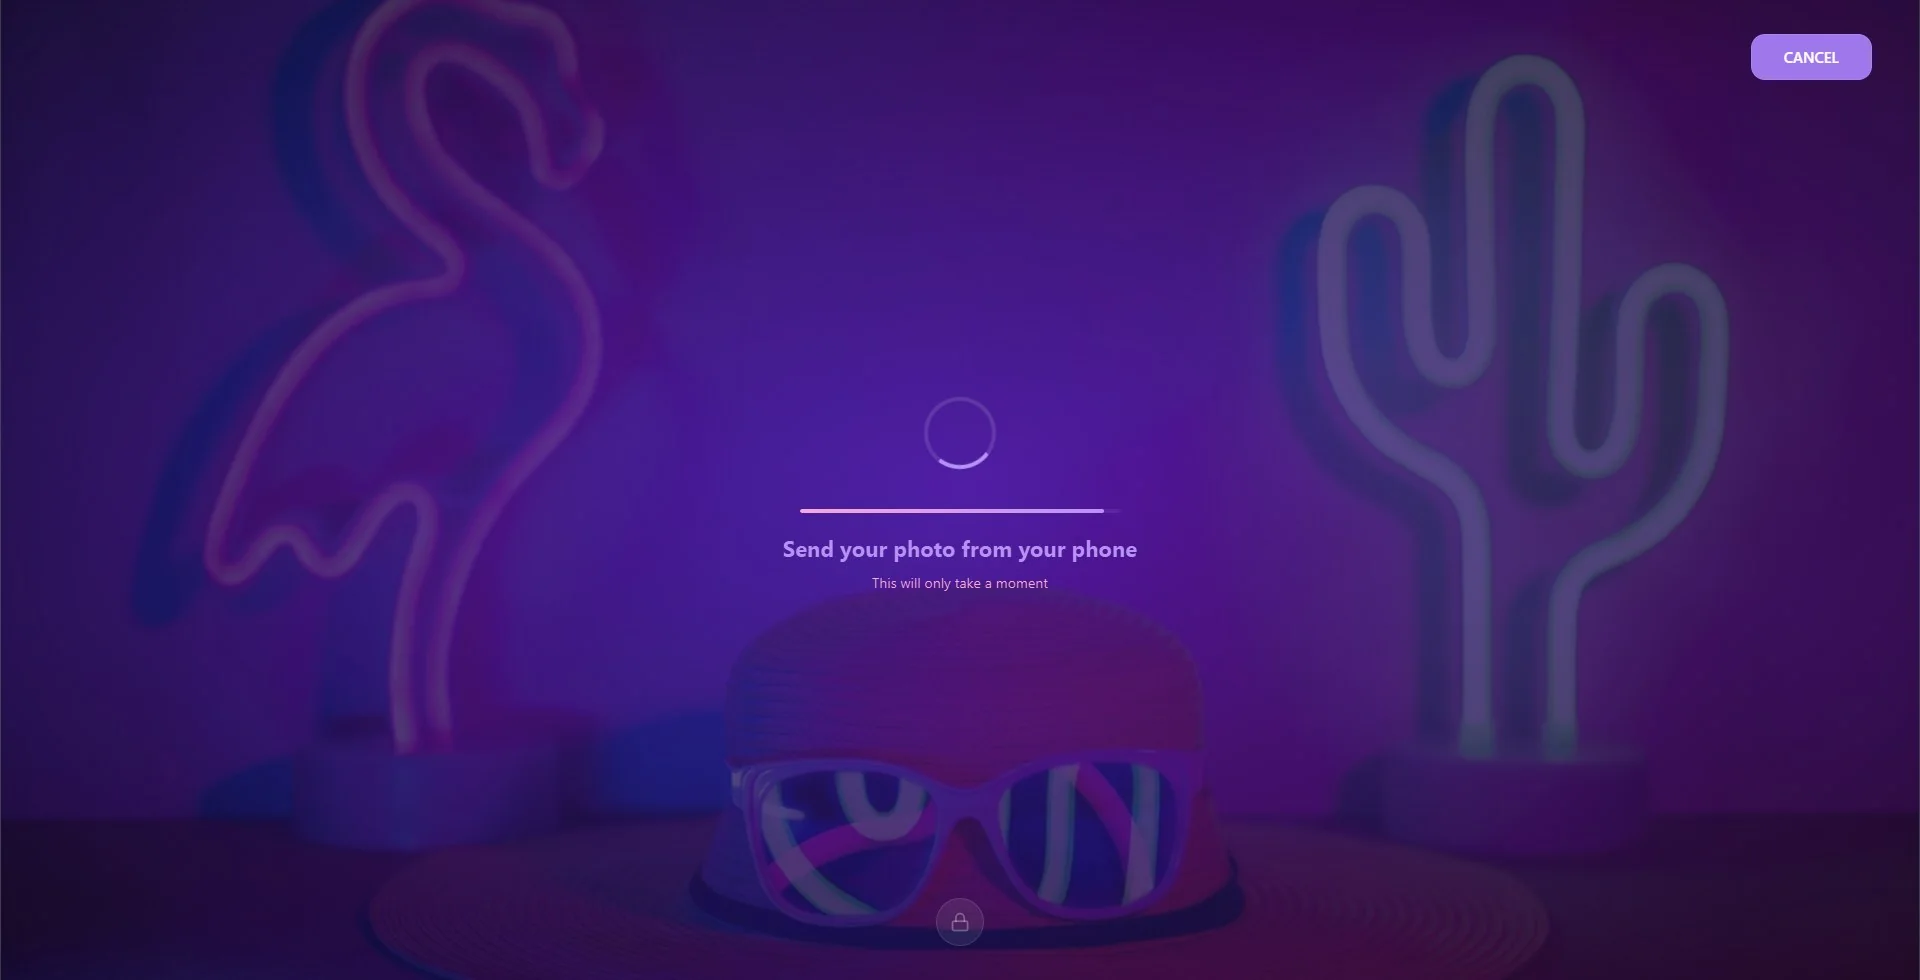
If Photo or Video mode is enabled for the event, an Upload from my phone button also appears next to the mode buttons on the guest's phone. If the guest starts the session with this button, the booth does not capture with its camera; the capture screen waits for the guest to send a file from their phone and shows 'Send your photo from your phone' (for video, 'Send your video from your phone'). Once the file reaches the booth, the session continues with the normal flow: template, AI effect, printing and sharing work the same way as with a captured photo.
- If Photo mode is on, a photo is requested from the phone; if only Video mode is on, a video is requested. GIF and Boomerang cannot be uploaded from the phone; they are captured at the booth.
- The video can be at most as long as the Video Duration in the session settings, and cannot exceed 30 seconds.
- If the guest sends the wrong file, they can send again; the last file sent is used.
- If the guest starts the session with a mode button, the booth captures with its own camera as usual.
Operator control: control the booth from your own phone
Step 7 · Scan the Operator link QR
Settings → Run → Remote Control
When Operator control is on and Connection shows Connected, the Operator link section and a QR code appear below the switch. Scan the QR with your own phone and sign in with this booth's account. The link is specific to this booth and does not change; you can save it as a bookmark on your phone. If you have shared the link with someone or want to invalidate it, tap the New link button: the old link stops working and you need to scan the new QR.
If the QR does not appear, the section reads 'Turn on Operator control and connect to see the link.'
Step 8 · What can you do from the phone?
| Where the booth is | What you see on the phone |
|---|---|
| On the welcome screen / in a session | All the buttons the guest sees: starting a session, Upload from my phone, the next steps. Plus Pause. |
| Paused | Resume. The booth screen switches to the pause screen, and the phone shows 'The booth is paused'. |
| On the settings screen | The options of the Run the App window: Run as Photo Booth, Run as Sharing Screen, Show Pause Screen. Pressing one starts the booth in that mode. If no event is selected, these options do not appear. |
The operator link is independent of the guest QR: it also works while Guest control is off and can be used in every session.
Changing the texts
Settings → Screens → Texts
The texts the remote shows on the booth and on the phone are in the Remote control QR group: QR caption, Waiting text (photo), Waiting text (video), Phone payment button and Upload from phone button. They come with default text in the event's language; you can change them as you like.
Waiting for the QR while the booth is not connected to the internet: without a connection no QR appears on the welcome screen and the Connection row says 'Not connected'. The booth still works normally.
Looking for Remote Control without selecting an event: the page does not appear in the menu while no event is selected.
Printing the guest QR and putting it on the table: the QR is renewed with every session and at regular intervals; a printed copy does not work.
Expecting Upload from my phone while only GIF or Boomerang is enabled: the button appears only while Photo or Video mode is enabled.
Sharing the operator link and forgetting about it: the link is permanent. If you shared it, invalidate the old one with New link.
Related topics
How to Design the Welcome Screen? How to Customize Texts? Event Settings, How to Use the Kiosk Tab? How to Set Up the Payments Tab?
