
Before this: How to Create an Event?
How to Create Custom AI Video
You design your own AI motion video with the Create New button in the Settings → AI Assets → AI Video tab: enter a name, AI model, video prompt, and optional generative visual prompt; It tests with an input photo if you want; You set the cover media (image or video) and the ring aperture option and save it. AI Assets require a Pro AI (or higher) subscription; Each test and final production consumes AI credits and runs on the server side.
- Pro AI or Ultimate AI subscription — If AI Assets are locked, Pro AI or higher required appears and unlocks with 'Upgrade Pro AIa'
- An event must be selected/open (the created video is added to the current event's AI Video library)
- Enough AI credits — each press of Test Effect and final production costs credits
- Internet connection — runs on test and production server side
step by step
Step 1 · Open AI Video tab
Settings → AI Assets → AI Video
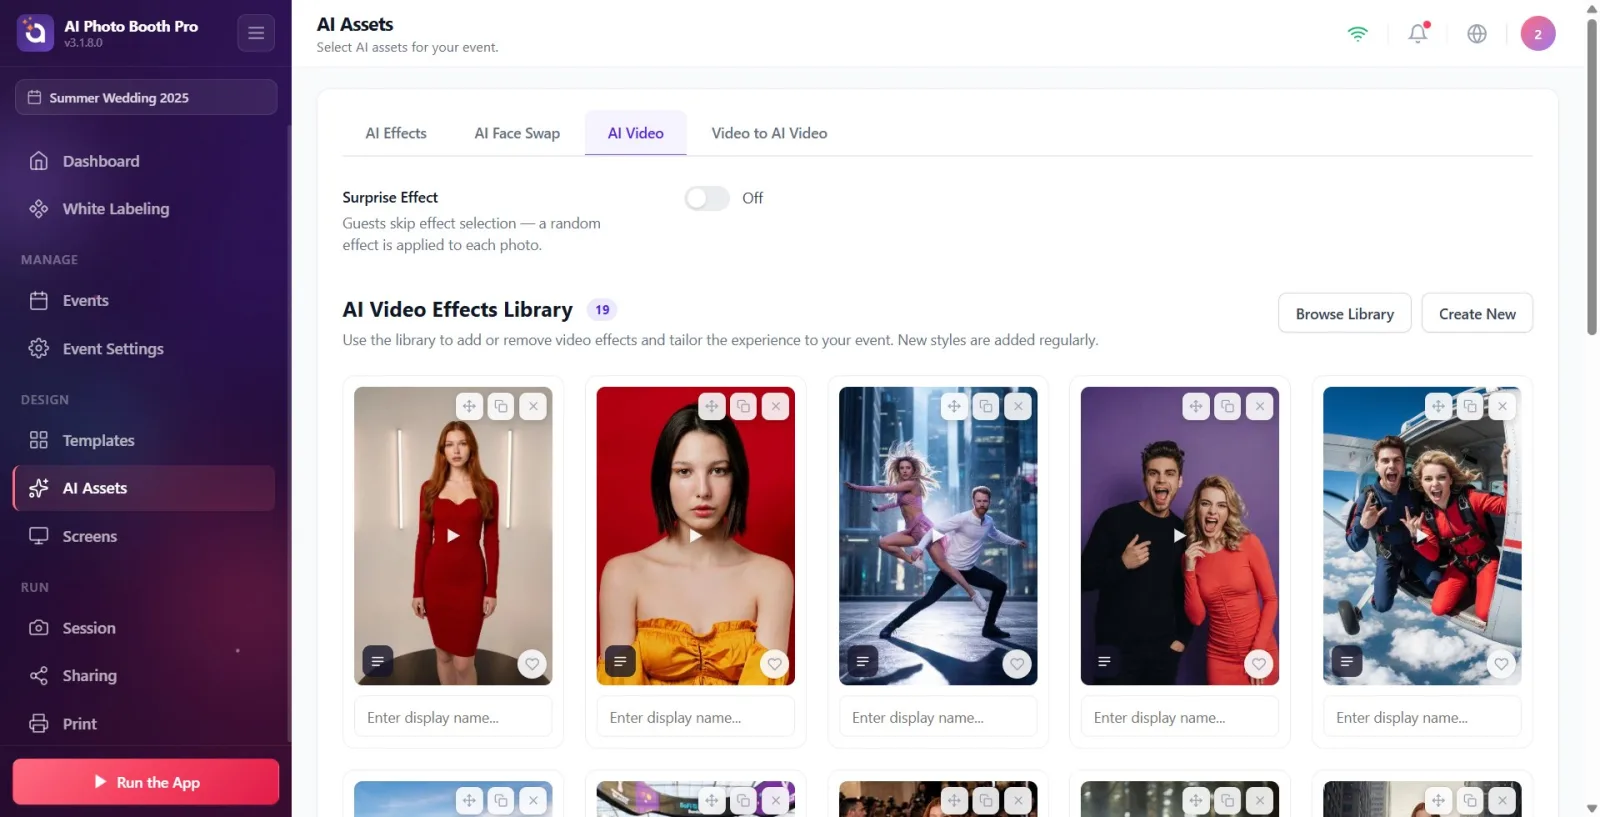
Open the 'AI Assets' page from Settings. Click the 'AI Video' tab from the tabs at the top (next to the 'AI Effects' and 'AI Face Swap' tabs). If the page is locked with your subscription, you'll see a 'Pro AI or higher required' banner; You can upgrade it with the 'Upgrade Pro AIa' button.
🔎 Items on the screen: Tab bar: AI Effects / AI Face Swaps / AI Video; Pro AIa Raise' button when locked.
Step 2 · Open empty modal with Create New (edit/clone difference)
AI Assets → AI Video
For a new video from scratch, click the Create New button in the top right — an empty rendering modal will open. (If you want to work with an existing card instead: clicking on a video card YOU created opens the Edit & Customize modal and updating the effect in place; clicking on a video card that is NOT YOURS or preset/default opens the Clone & Customize modal, appends '(Copy)' to the name, and saves it as a NEW effect — the original remains unchanged.)
🔎 Items on the screen: Create New button; pencil (Edit) or duplicate (Duplicate) icons on the card; modal header Create a Video Effect / Edit & Customize / Clone & Customize respectively.
Step 3 · Read knowledge badges (credit + time)
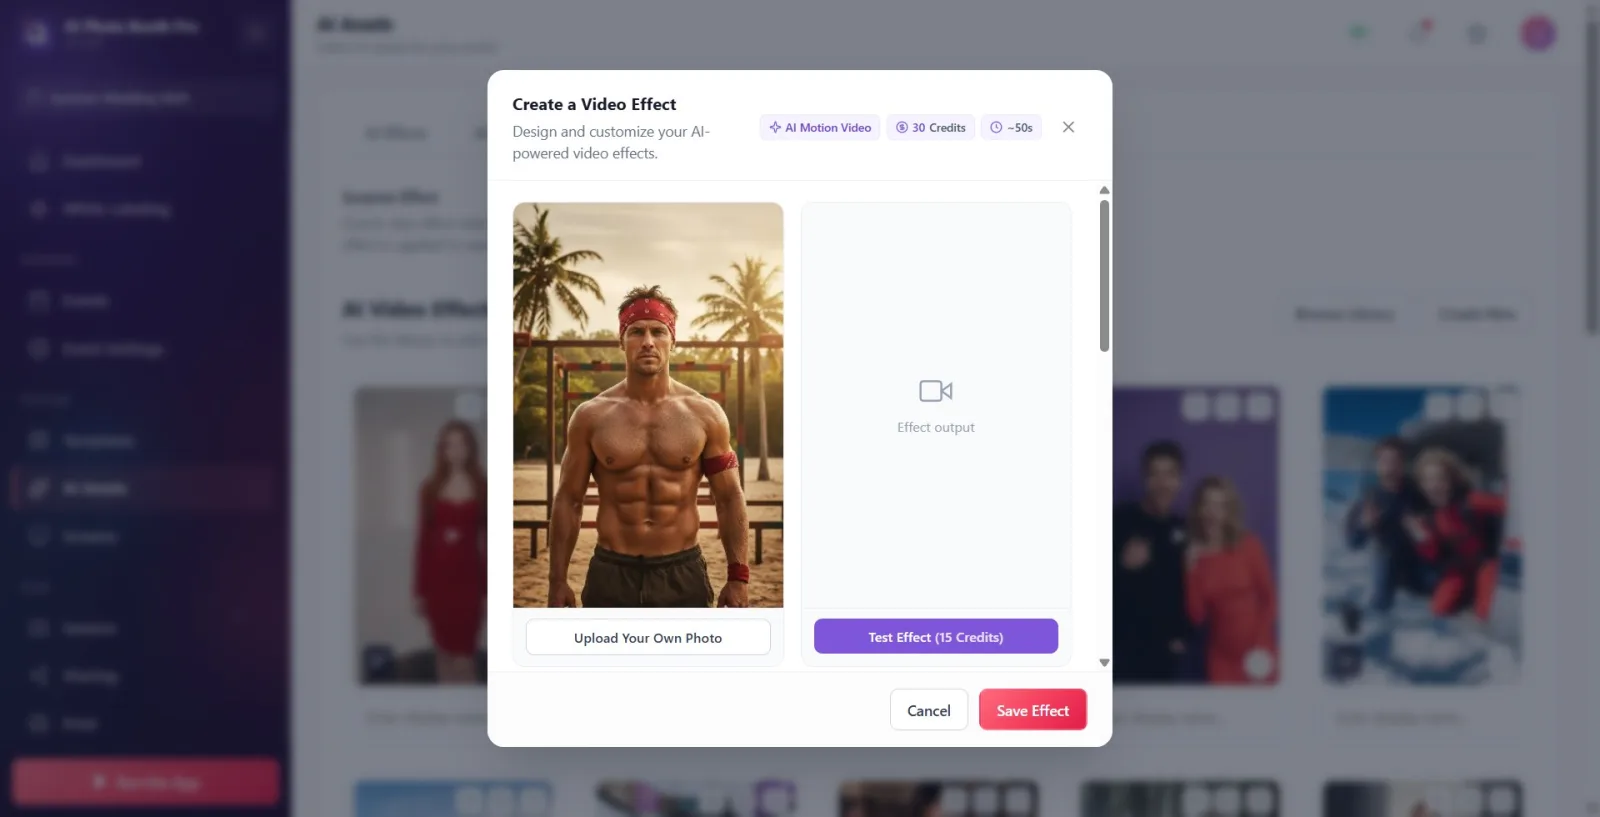
Create AI Video — modal title
Examine the three information badges next to the modal title: the AI Motion Video label, the selected model's final production credits ('...Credits'), and the estimated production time (seconds, e.g. '~...s'). The credit badge is updated according to the AI Modelyou choose below.
🔎 On-screen items: AI Motion Video badge; credit badge (value + Credits); Time badge with clock icon.
Step 4 · Set input photo (default or your own image)
Create AI Video — left preview box
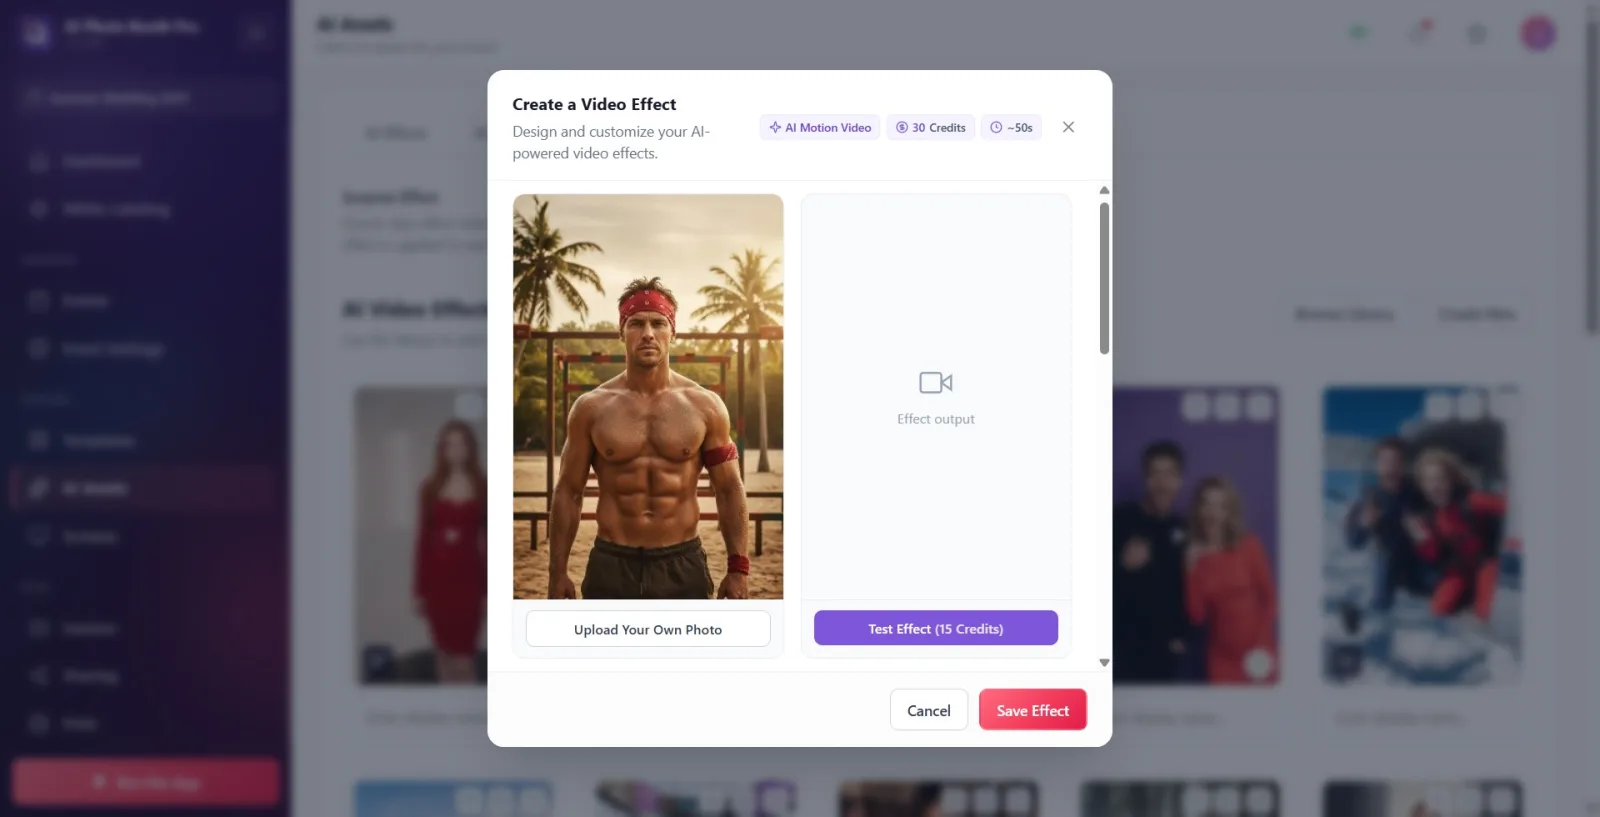
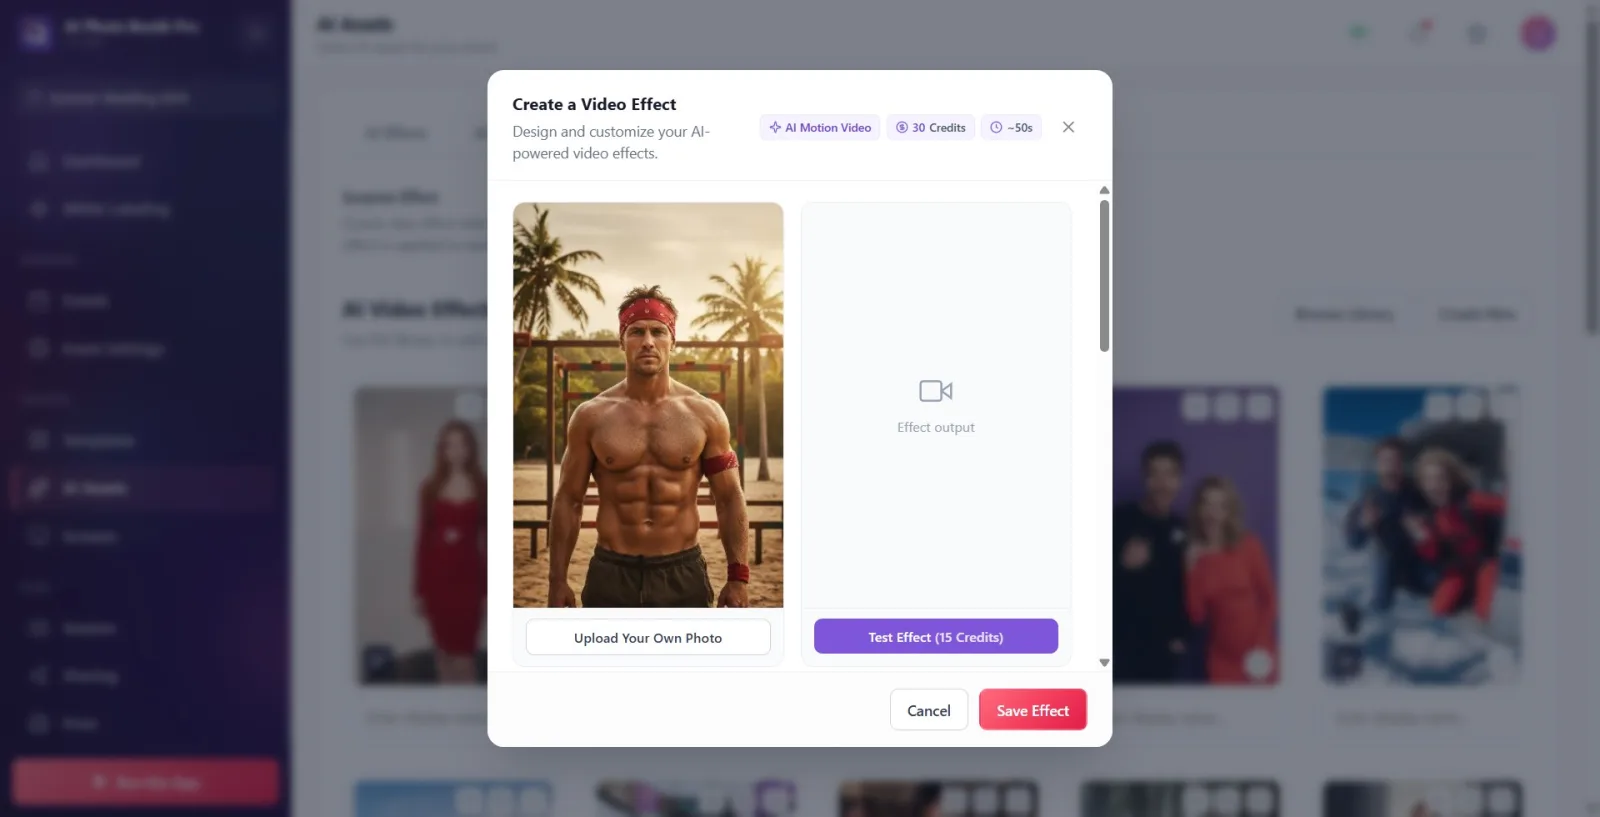
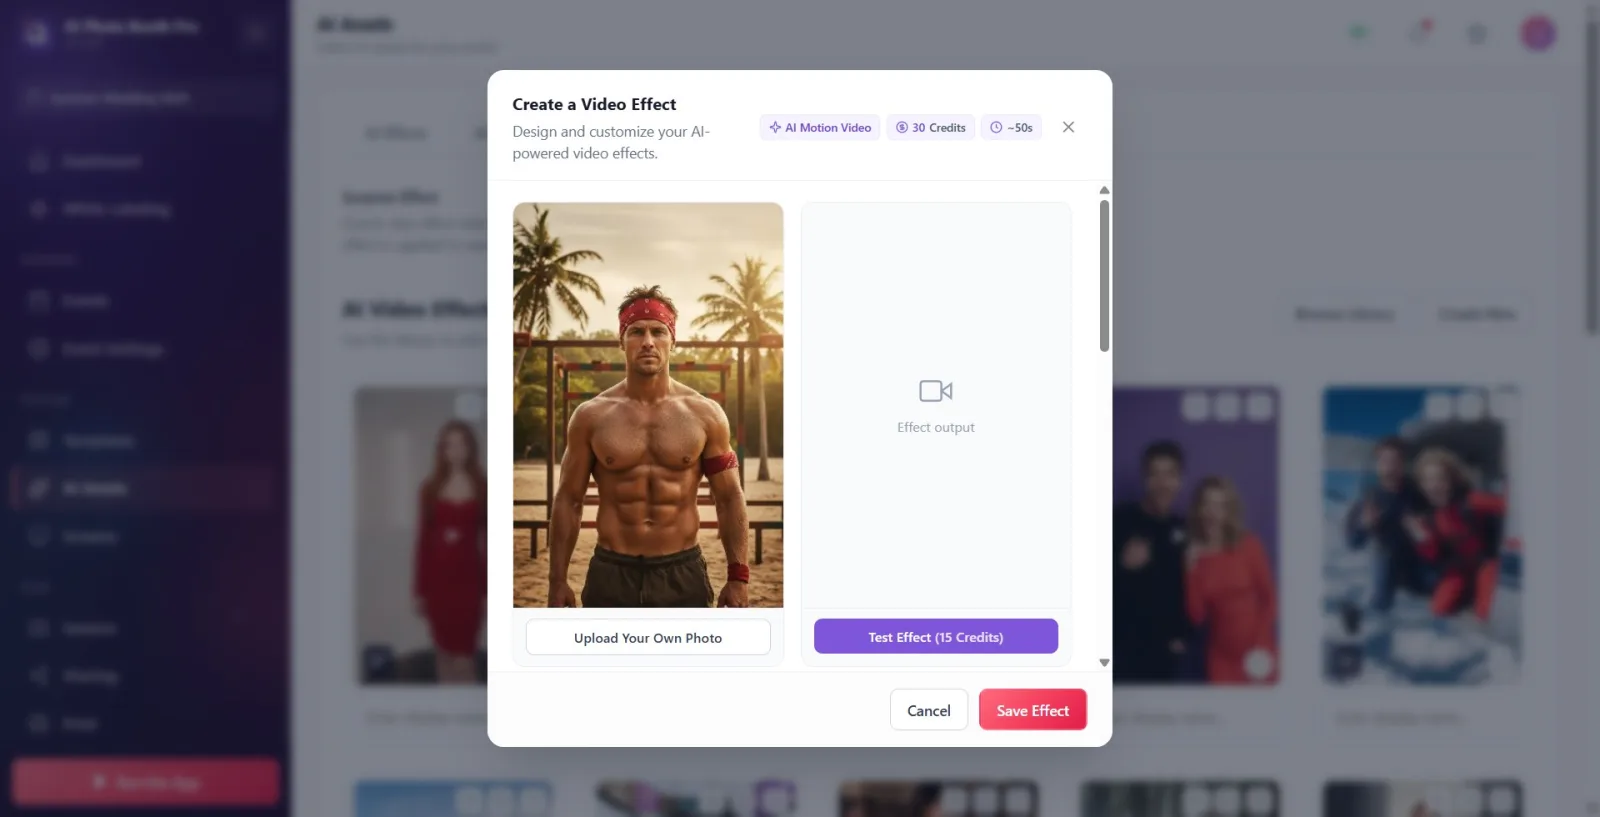
The left preview box is the INPUT photo that will be used during testing. By default, a sample photo is automatically uploaded. If you want to use your own photo, click the Upload Your Own Photo button at the bottom of the box and select an image from the native file selector that opens. If there is no photo, it says No photo in the box.
🔎 On-screen elements: Left preview box; Upload Your Own Photo button; placeholder No photo when empty; Effect output placeholder in the idle case in the right box.
Step 5 · Enter effect name (mandatory)
Create AI Video — form
Type the name of the video in the Effect Name field. The field is required (with a red * next to it). Placeholder example: e.g. Neon Cyberpunk. If you leave it blank, This field is required warning will appear in the record.
🔎 Elements on the screen: Effect Name text box; e.g. Neon Cyberpunk placeholder; This field is required message in case of error.
Step 6 · Select AI Model (quality/cost is determined here)
Create AI Video — form
Select a model from the AI Model drop-down menu. Each option shows the model name and credit cost in the format 'Model — N Credits'. Available models include Hailuo (default), Kling, and Activation King. IMPORTANT: AI Video DOES NOT have a separate 'resolution/quality' selector like in AI Effects — the difference in quality and cost is determined solely by this AI Model selection. When you change models, the production credit and Test Effect credit indicators at the top are also updated.
🔎 Items on the screen: AI Model drop-down list; option format 'Model — N Credits'; Activation King label (model name displayed in the interface).
Step 7 · Enter prompt (description of video — required)
Create AI Video — form
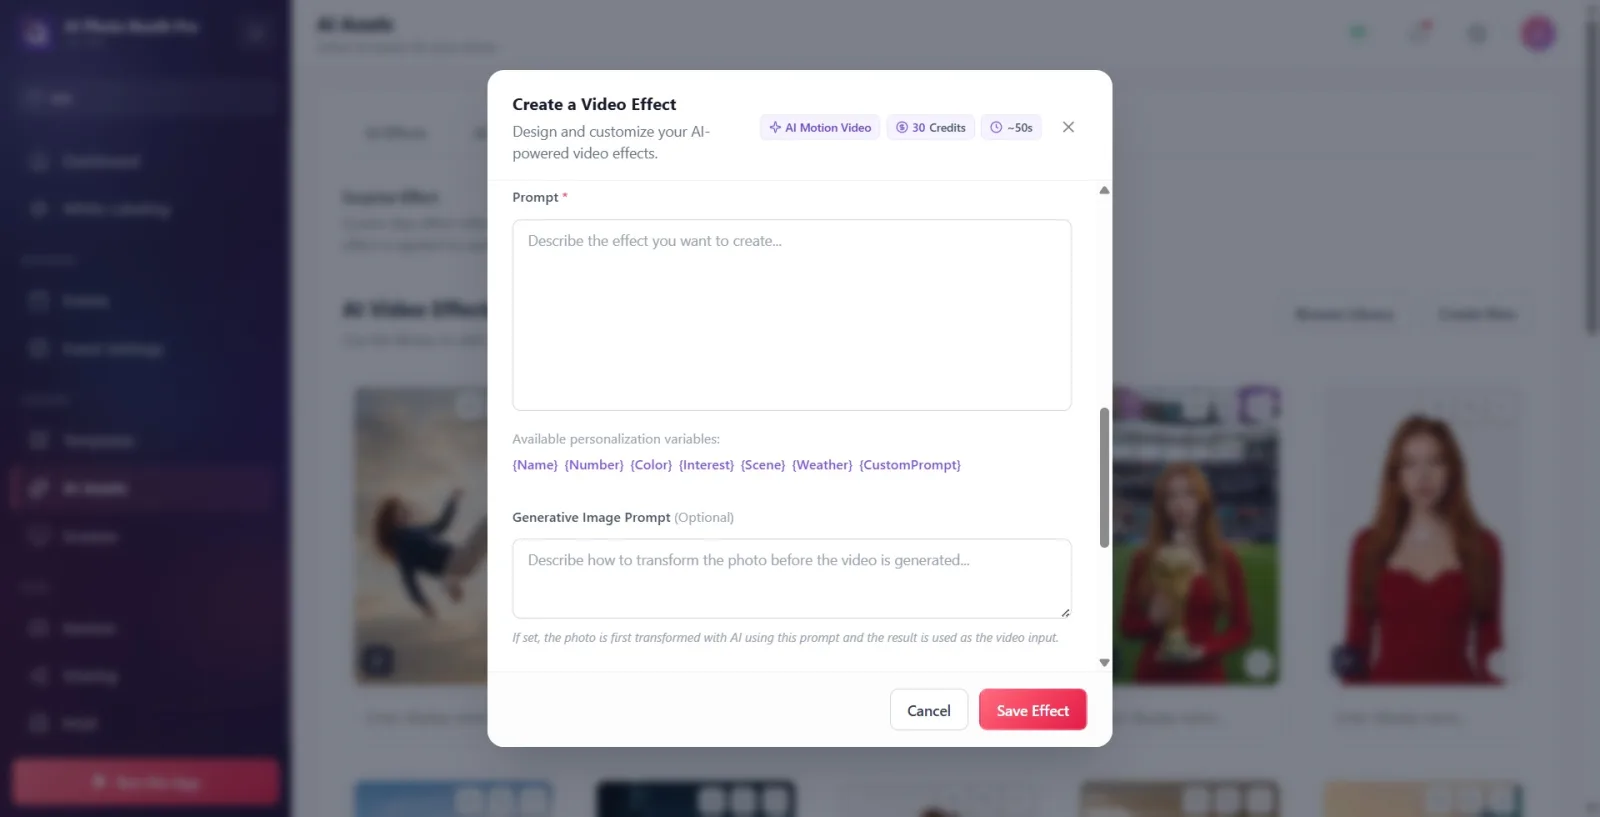
In the Prompt field, write the text that describes what the video/motion you want to create will look like. The field is required (*). Placeholder: Describe the effect you want to create.... This is the main directive of the video; If it is empty, no recording will be made. Below the Prompt box, 7 chips are listed under the Available personalization variables: label — {Name} {Number} {Color} {Interest} {Scene} {Weather} {CustomPrompt}. Clicking a chip pastes that variable at the cursor position; at capture time, the server replaces these placeholders with the real session data (the guest's name, their chosen color, interest, etc.).
🔎 Elements on the screen: Prompt multi-line text box (auto-growing); Describe the effect you want to create... placeholder; 7 personalization chips below it ({Name}…{CustomPrompt}).
Step 8 · Productive Image Prompt (optional pre-conversion)
Create AI Video — form
Fill in the 'Productive Visual Prompt' field if you want — it says '(Optional)' next to the label, it can be left blank. Placeholder: 'Explain how to convert the photo before the video is produced...'. The description of the field is as follows: 'If it is full, the photo is first converted by artificial intelligence with this prompt, and the resulting image is used as the input of the video.' So this area is for modifying the photo BEFORE video production; The actual video description is written in the Prompt field above.
🔎 On-screen elements: 'Productive Visual Prompt' textarea + '(Optional)' tag; tooltip text (pre-conversion description) below.
Step 9 · Run Test Effect and watch the result (optional)
Create AI Video — right preview box
If you want to see the result before saving (not required), click the Test Effect button; The button writes the test cost in credits ('Test Effect (... Credits)'). The text Generating... and the elapsed seconds counter appear in the right box; When the job is finished, the result video autoplays in the box. Press the download icon on the video to save the result to your device. If the test fails, the error is shown in the box.
🔎 On-screen items: 'Test Effect (... Credits)' button; Generating... + seconds counter; result video player + download (Download) button; idle Effect output / error status placeholders.
Step 10 · Set cover media (image OR video)
Create AI Video — Cover Media
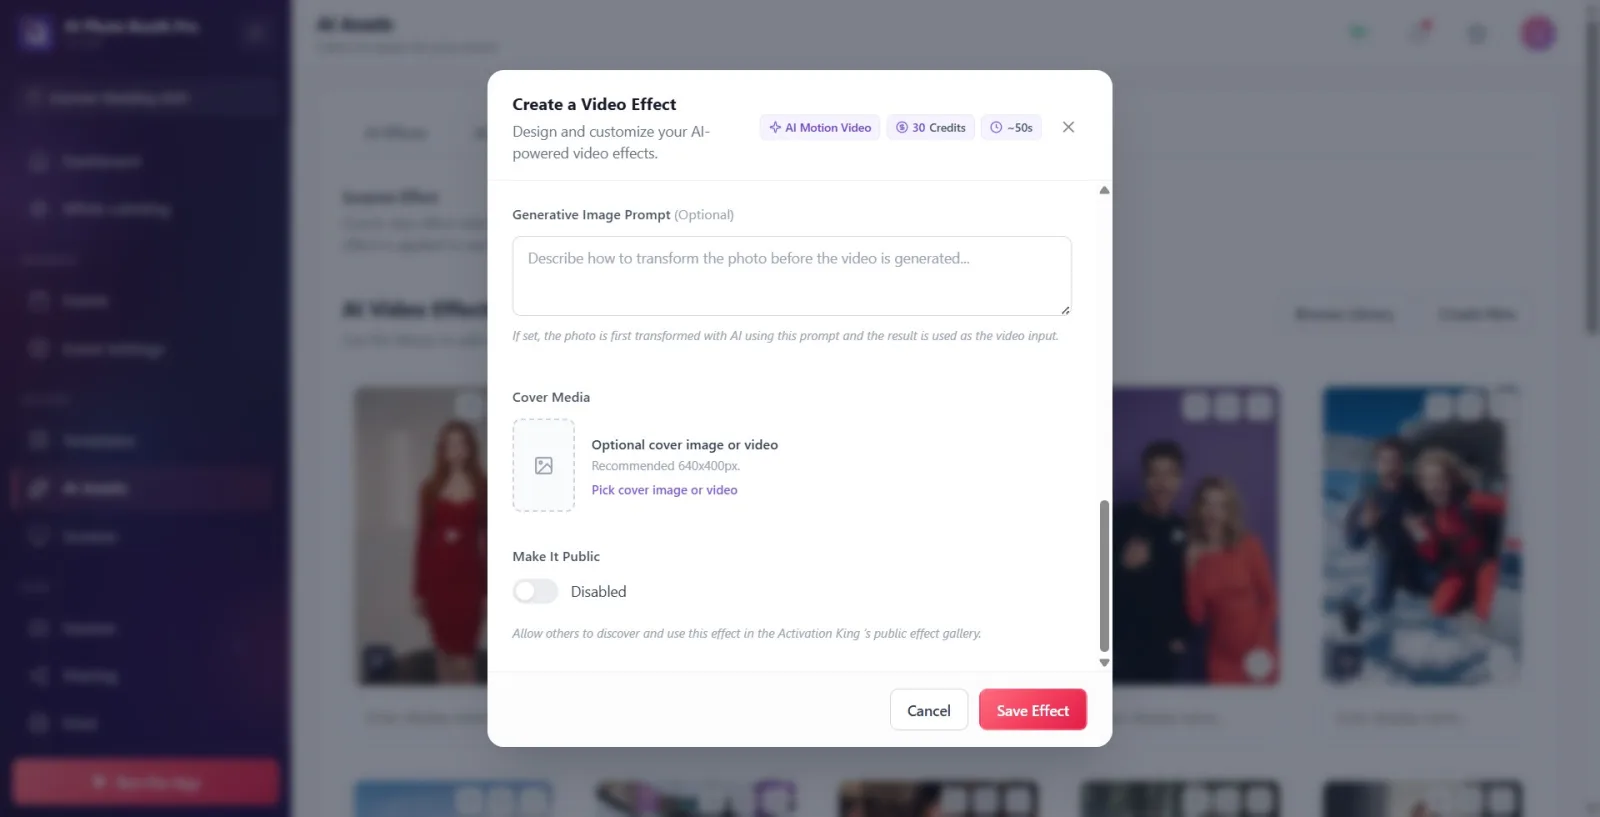
Determine the cover that will appear on the card from the Cover Media section. Select an IMAGE or VIDEO from the local file chooser with the Pick cover image or video button (difference from AI Effects: here the video can also be a cover). Alternatively, you can cover the test video with the Use as Cover button that appears below the right box after a successful test. When the cover is set, the label becomes Cover image set; It is rolled back with Remove cover (Loading content... is shown when loading). Recommended size is Recommended 640x400px.. If you don't choose any cover and your test is successful, the last test video will be automatically made a cover.
🔎 Items on the screen: Pick cover image or video button; Remove cover button; Use as Cover button; Optional cover image or video / Cover image set tags; Recommended 640x400px. hint; Loading content....
Step 11 · Make Public (optional)
Create AI Video — form
If you turn on the Make It Public switch (the status becomes Enabled), this effect will become discoverable and available to others in Activation King's public gallery, as stated in the description. When it's off, the status says Disabled and the effect is only for you.
🔎 Items on the screen: Make It Public on/off switch; status text Enabled / Disabled; description below.
Step 12 · Save
Create AI Video — bottom bar
Hit the save button at the bottom: on new creation it says Save Effect, on edit it says Save Changes, on clone it says Save as New Effect. If Effect Name or Prompt is empty, no recording is made, missing fields are marked with This field is required and the screen scrolls to the first error. On successful save, the modal closes and the video is added to its activity's AI Video library. If you exit with Cancel, no changes will be saved.
🔎 Items on the screen: Cancel button; save button (Save Effect / Save Changes / Save as New Effect).
Credit indicators change depending on the selected AI Model: the top badge shows the final production cost, the value on the Test Effect button shows the testing cost.
Prompt differs from 'Generative Visual Prompt': 'Prompt' identifies the video itself (mandatory); The 'Productive Image Prompt' is for converting the photo BEFORE the video (optional).
If you do not select a cover, the result video of a successful test will be an automatic cover. If you don't want it, choose your own cover or say Remove cover.
The cover can be both visual and video; Pick cover image or video accepts both.
The Activation King model appears with this name to hide branding in the interface (it is a different model in the background).
The test requires the input photo to be uploaded to the server; You can test a newly uploaded photo as soon as it finishes uploading (there may be a short wait).
Selecting a cover file does not prevent recording; Uploading the cover to the cloud can be completed in the background after recording.
File selections (input photo and cover) are made with the device's native file selector.
Attempting to save with Effect Name or Prompt left blank: This field is required exits and save is blocked.
Looking for a 'resolution/quality' selector like in AI Effects: In AI Video quality and cost are determined by the AI Model selection, not a separate menu.
Thinking 'Productive Image Prompt' is mandatory or writing the actual video description here instead of 'Prompt': this field is optional and only pre-converts the photo.
Thinking the test is free: each press of Test Effect consumes as many credits as written on the button.
When the test fails, 'TestFailed' (English key) appears in the box instead of translation — this is a translation gap; means 'test failed', try again.
Thinking that you are editing a ready-made video that does not belong to you: in that case, the opened modal is Clone & Customizedir, '(Copy)' is added to its name and saved as a NEW effect; remains as original.
Overlooking that when Make It Public is on (Enabled) the effect will be visible to everyone.
Related topics
Adding Stock AI Video Creating AI Effect
