
Before this: What is Session Settings, How to Use General (Main) Tab?
The Disclaimer tab configures the approval/consent (KVKK/permission) screen that is shown to the guest before the session starts. From here you toggle the disclaimer and customize the title and rich-text body to display. The setting is event specific; If the guest does not accept during the shooting, the session ends and the photos are deleted.
- event-creation
- The relevant event must be selected — The Disclaimer setting is event specific; If there is no activity selected, the toggle switch is not saved (reverts to default Off)
step by step
Step 1 · Open Disclaimer tab
Session → Disclaimer
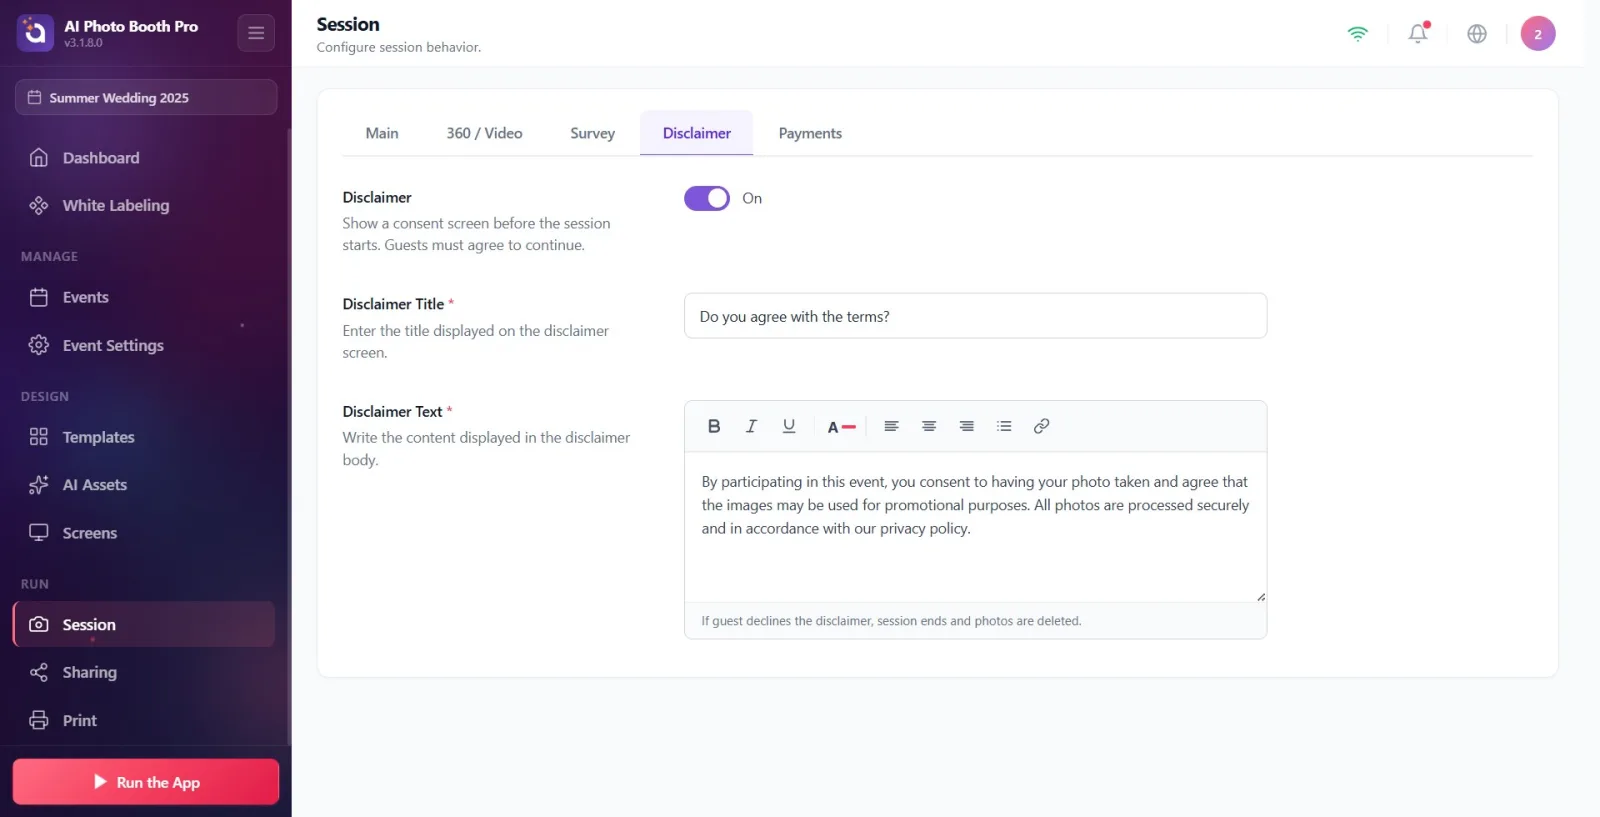
Open the 'Session' page in Settings (page subtitle: 'Configure session behavior.'). Click the 'Disclaimer' tab from the tab strip at the top. From left to right on the ribbon, there are 'General', 'Survey', 'Disclaimer' and 'Payments' tabs.
🔎 Elements on the screen: Session page title; top tab strip: General / Survey / Disclaimer / Payments.
Step 2 · Toggle disclaimer
Session → Disclaimer
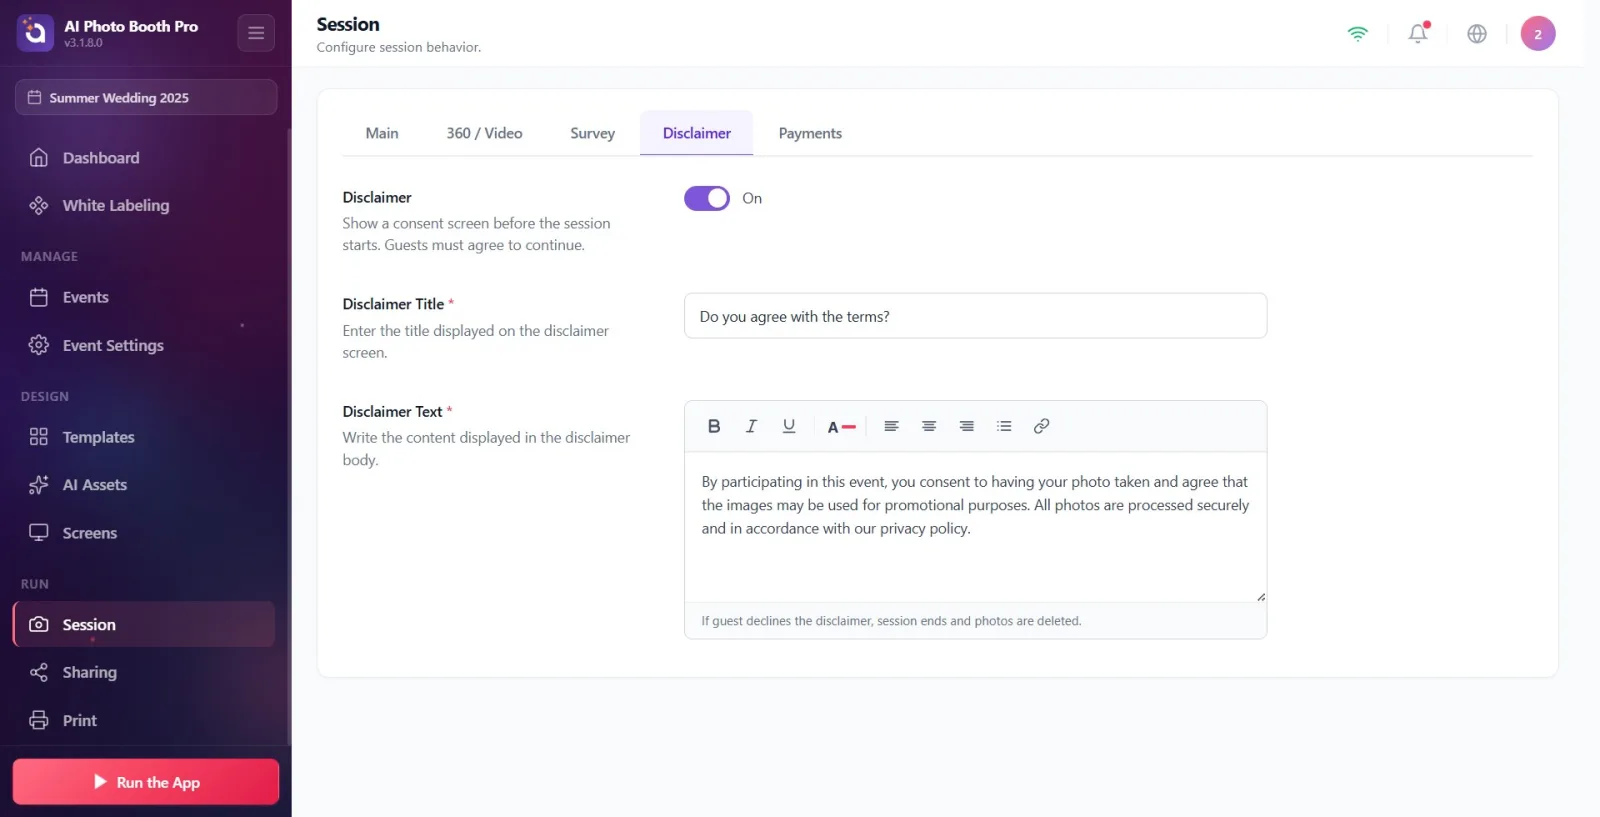
Move the on/off switch in the section titled Disclaimer to On. Section description: 'Show a confirmation screen before the session starts. Guests must accept to continue.' When the switch is 'On', the 'Disclaimer Title' and 'Disclaimer Text' fields appear immediately below it; When 'closed' these areas remain hidden.
🔎 Items on the screen: On/off switch (toggle); On / Off tags.
Step 3 · Enter disclaimer title (required)
Session → Disclaimer
In the Disclaimer Title text box, type the title to be displayed to the guest (description: Enter the title displayed on the disclaimer screen.). By default, the field is filled with the text Do you agree with the terms?; You can leave it as is or change it. '*' next to the title indicates that this field is required.
🔎 Elements on the screen: Disclaimer Title text box; imperative star '*'; default (pre-filled) value: Do you agree with the terms?.
Step 4 · Write disclaimer text (rich text, required)
Session → Disclaimer
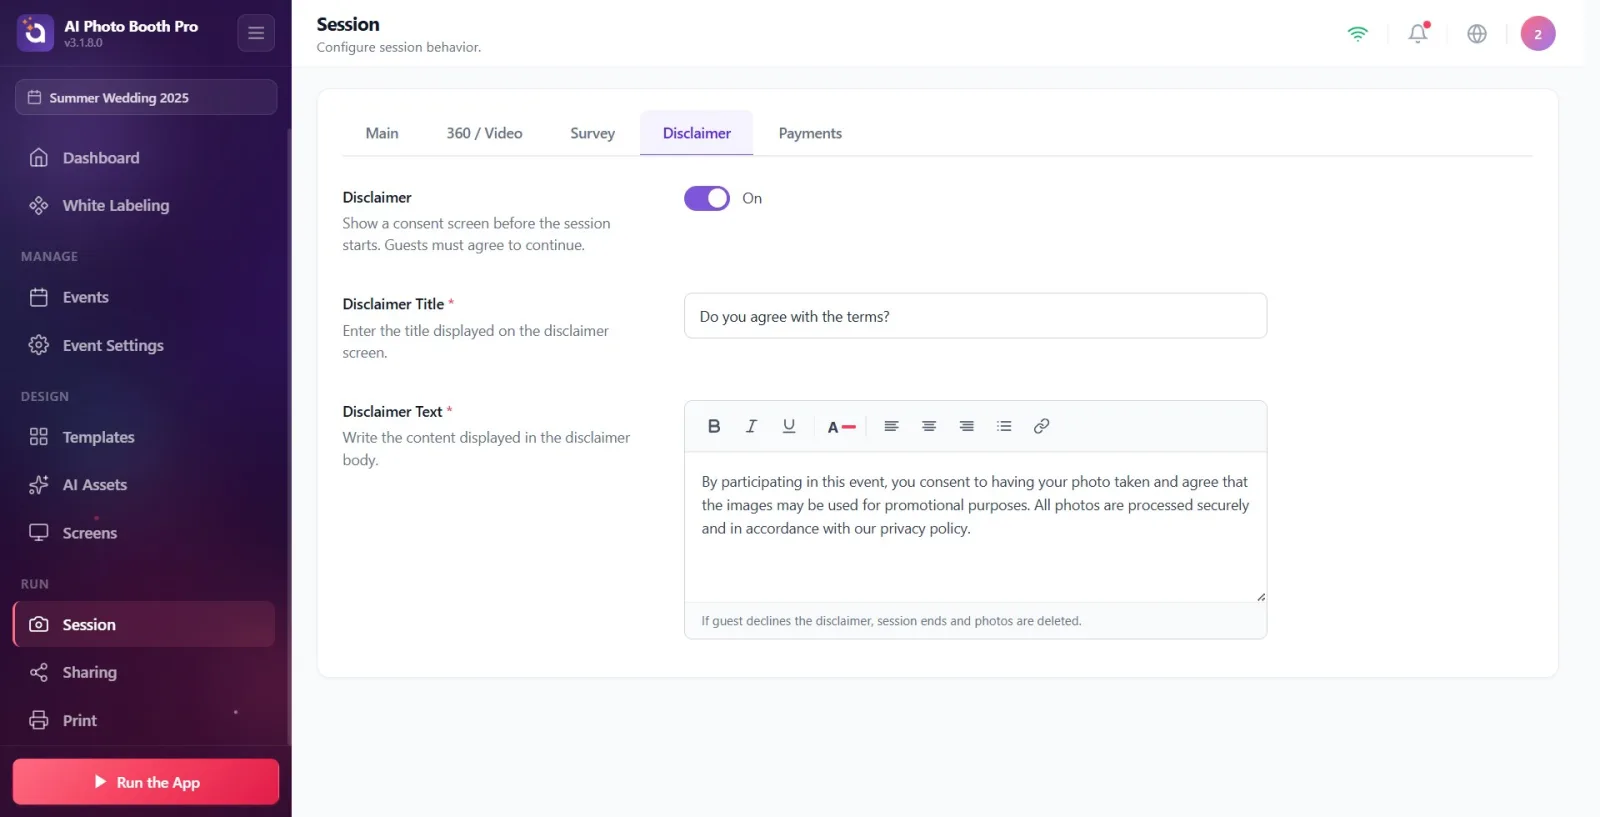
Write the consent/permission text to the rich-text editor Disclaimer Text (description: Write the content displayed in the disclaimer body.). The editor comes loaded with a ready-made consent paragraph by default: 'By attending this event, you consent to being photographed and agree that the images may be used for promotional purposes. All photos are handled securely and used in accordance with our privacy policy.' Replace this text with your own corporate/legal (KVKK) text. The field is required ('*').
🔎 On-screen elements: Disclaimer Text rich text editor; formatting toolbar at top; imperative star '*'.
Step 5 · Format text and add privacy link
Session → Disclaimer
Format text with the editor's top toolbar: bold (B), italic, underline, text color (10 preset color palette, hex box or natural color picker), Align Left / Align Center / Align Right and bullet list. To add a privacy policy link, press the link button, type the address in the Enter URL box in the opened panel and click Apply; use Remove button to delete existing connection.
🔎 Elements on the screen: Toolbar: bold/italic/underline, text color picker, Align Left/Align Center/Align Right, bullet list, link; connection panel: Enter URL + Apply + Remove.
Step 6 · Read warning — reject behavior and automatic registration
Session → Disclaimer
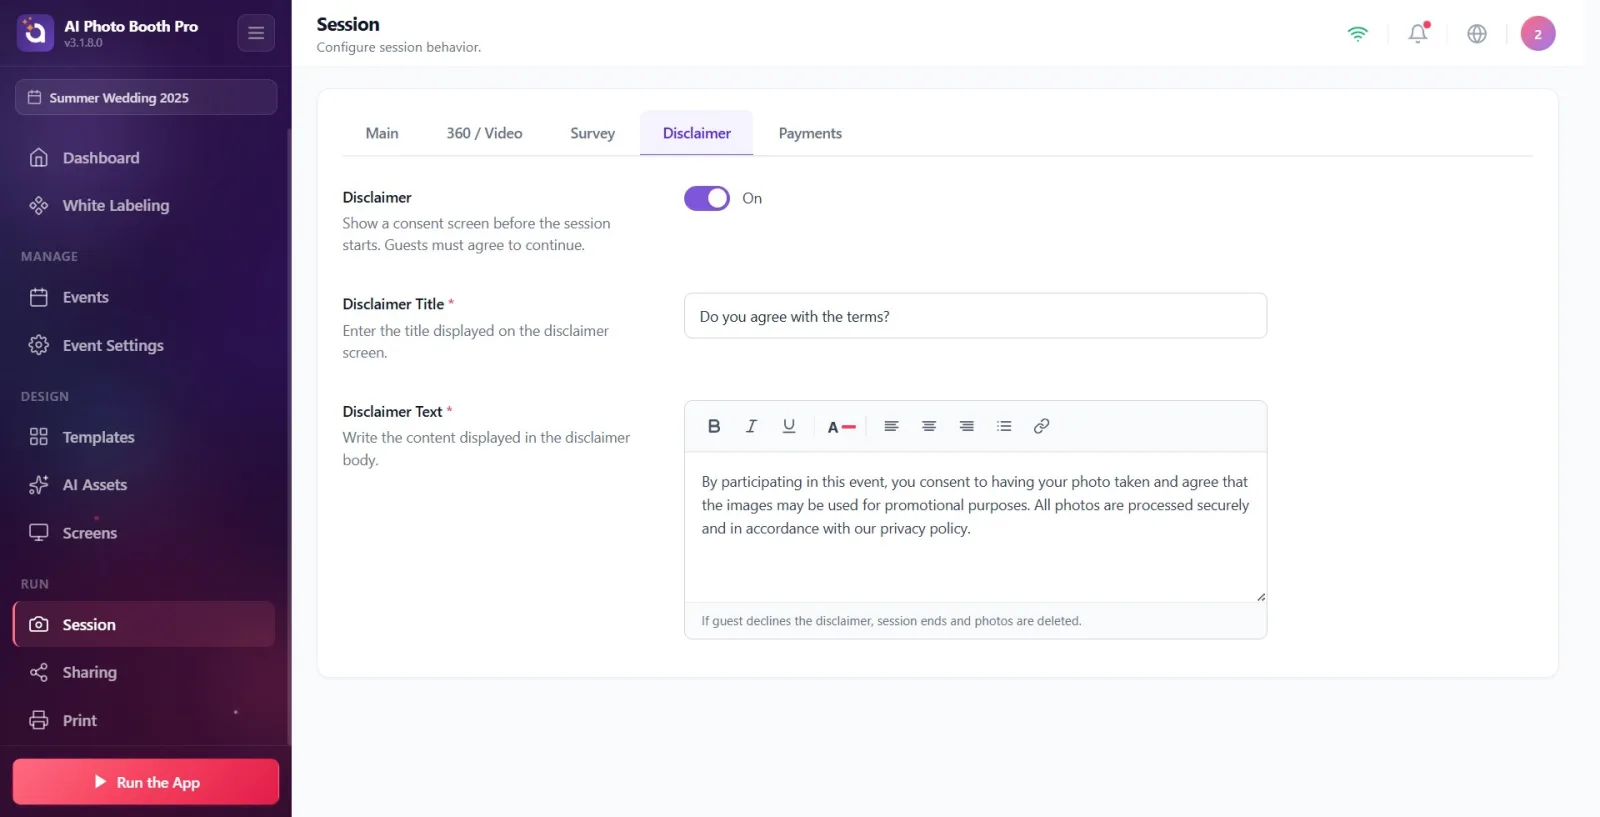
Note the warning line at the bottom of the editor: 'If the guest rejects the disclaimer, the session will end and the photos will be deleted.' In other words, if the guest does not approve during the shooting, the session is canceled and what has been shot so far is deleted. Any changes you make (key, title, text) are saved instantly — there is no separate Save button.
🔎 Items on the screen: Warning/tip line under Editor: 'If the guest rejects the disclaimer, the session will end and the photos will be deleted.'
When the disclaimer is opened, it comes pre-populated with ready-made default values Disclaimer Title and Disclaimer Text (sample approval/KVKK text); You can use it as is or replace it with your own text.
Both Disclaimer Title and Disclaimer Text are required (next to '*') — do not leave blank.
All changes are saved instantly; There is no separate Save button.
The rich text editor supports bold/italic/underline, color, alignment, bullet points, and hyperlink — you can embed a privacy policy link in the text.
The disclaimer setting is event specific; Separate title and text can be defined for each event.
The warning line at the bottom of the editor summarizes the behavior at runtime: if the guest declines, the session ends and the photos are deleted.
Turning on the key with no event selected: the value is not saved and returns to the default Off. First create and select an event.
Searching for Disclaimer Title / Disclaimer Text fields when the key is Off: these fields appear only when the key is On.
Leave title or text blank: both are required ('*').
Considering the disclaimer text is common for all events: the setting is event specific, set separately for each event.
Forgetting to replace the canned sample paragraph in the editor with your own legal/corporate text — the default text is just a placeholder.
Related topics
Survey Payments Session Settings (General) event-creation
