
Before this: How to Create an Event?
OBS How to Install Virtual Camera and Use in Booth?
It tells you how to broadcast the scene in OBS as a camera with OBS Studio's 'Virtual Camera' feature and select it as a camera in the booth application. The document is in two parts: first you install OBS outside the app and launch the virtual camera, then you select it from the booth's Event Settings → Camera tab. Note: Virtual Camera is only supported on Windows; In macOS/iOS/Android booths, the Virtual Cameras group does not appear at all.
- Windows PC — virtual camera detected only in Windows (via DirectShow); not supported on other platforms
- OBS Studio installed (downloaded from obsproject.com); Virtual Camera feature is built into current OBS versions, no additional plugins required
- OBS and the booth app must run on the SAME Windows machine — booth reads the OBS virtual camera as a local DirectShow device (not over the network)
- At least one Scene and a Source that produces images must be ready in OBS (e.g. 'Video Capture Device', screen or window capture)
- An event must be created and open for editing (the Event Settings screen should appear)
step by step
Step 1 · Download and install OBS Studio
OBS (installation)
Download and install OBS Studio on Windows PC from the official site (obsproject.com). The Virtual Camera feature comes built into modern OBS versions; You do not need to install a separate plugin. Once the installation is finished, run OBS.
🔎 On-screen items: OBS Studio installation wizard; desktop/start menu OBS shortcut.
Step 2 · Create a Scene and Source in OBS
OBS
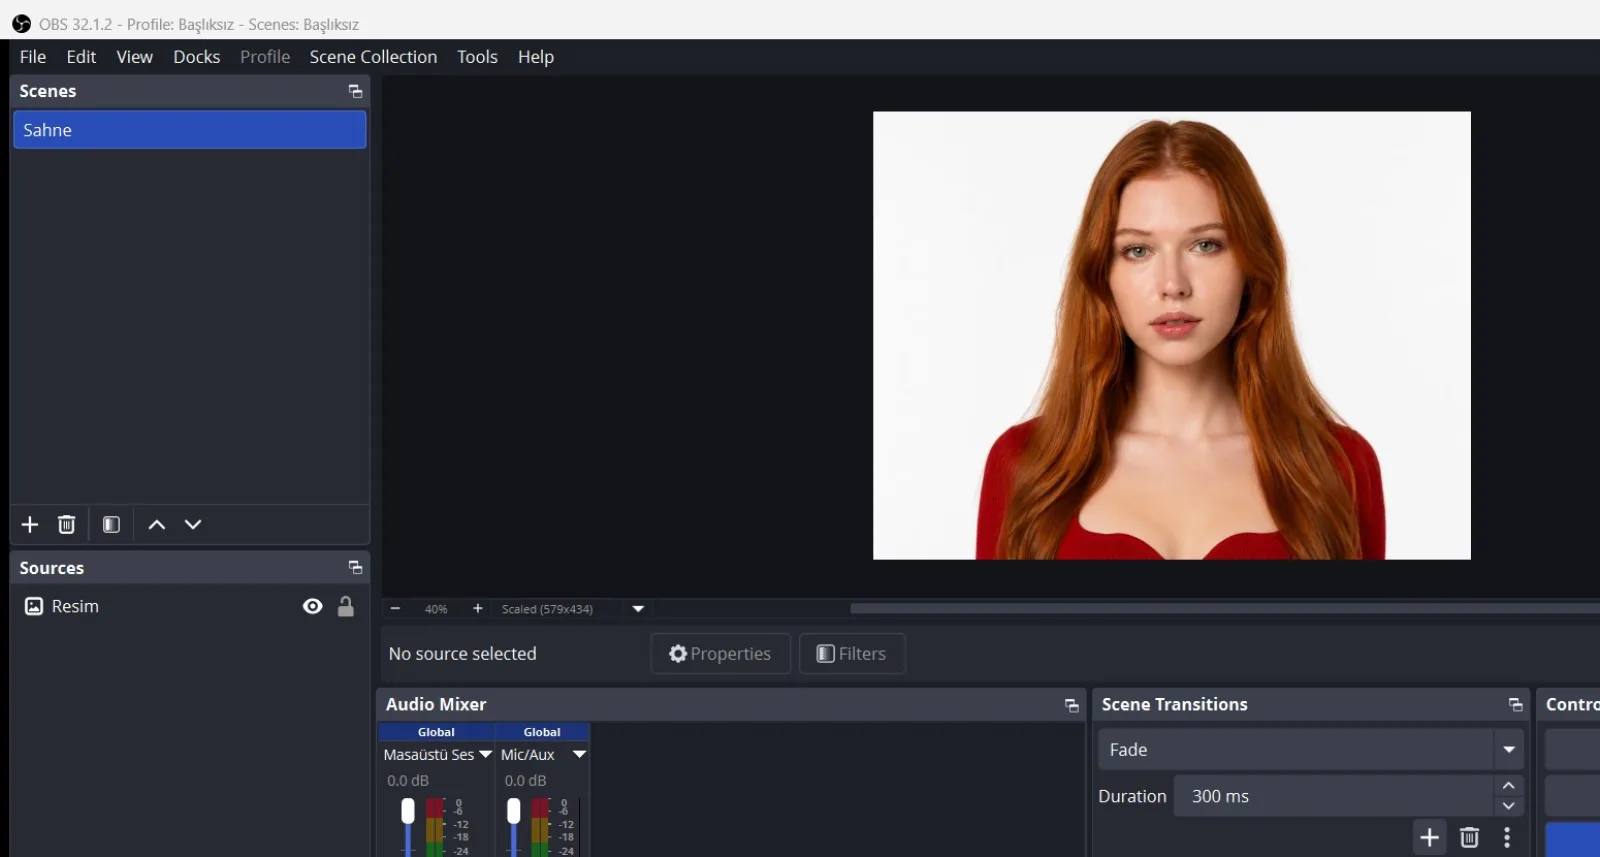
Open OBS. Make sure there is a scene in the 'Scenes' panel in the bottom left; then add the image source you want to show in the booth with the '+' in the 'Sources' panel: 'Video Capture Device' for a physical camera, 'Display Capture' for a computer screen, 'Window Capture' for an application window. The OBS preview in the middle should show the image you want to stream — it will be transferred to the virtual camera as is.
🔎 Elements on the screen: OBS 'Scenes' panel; 'Sources' panel + add button; source types ('Video Capture Device' / 'Screen Capture' / 'Window Capture'); preview in the center.
Step 3 · Open broadcast with 'Start Virtual Camera'
OBS
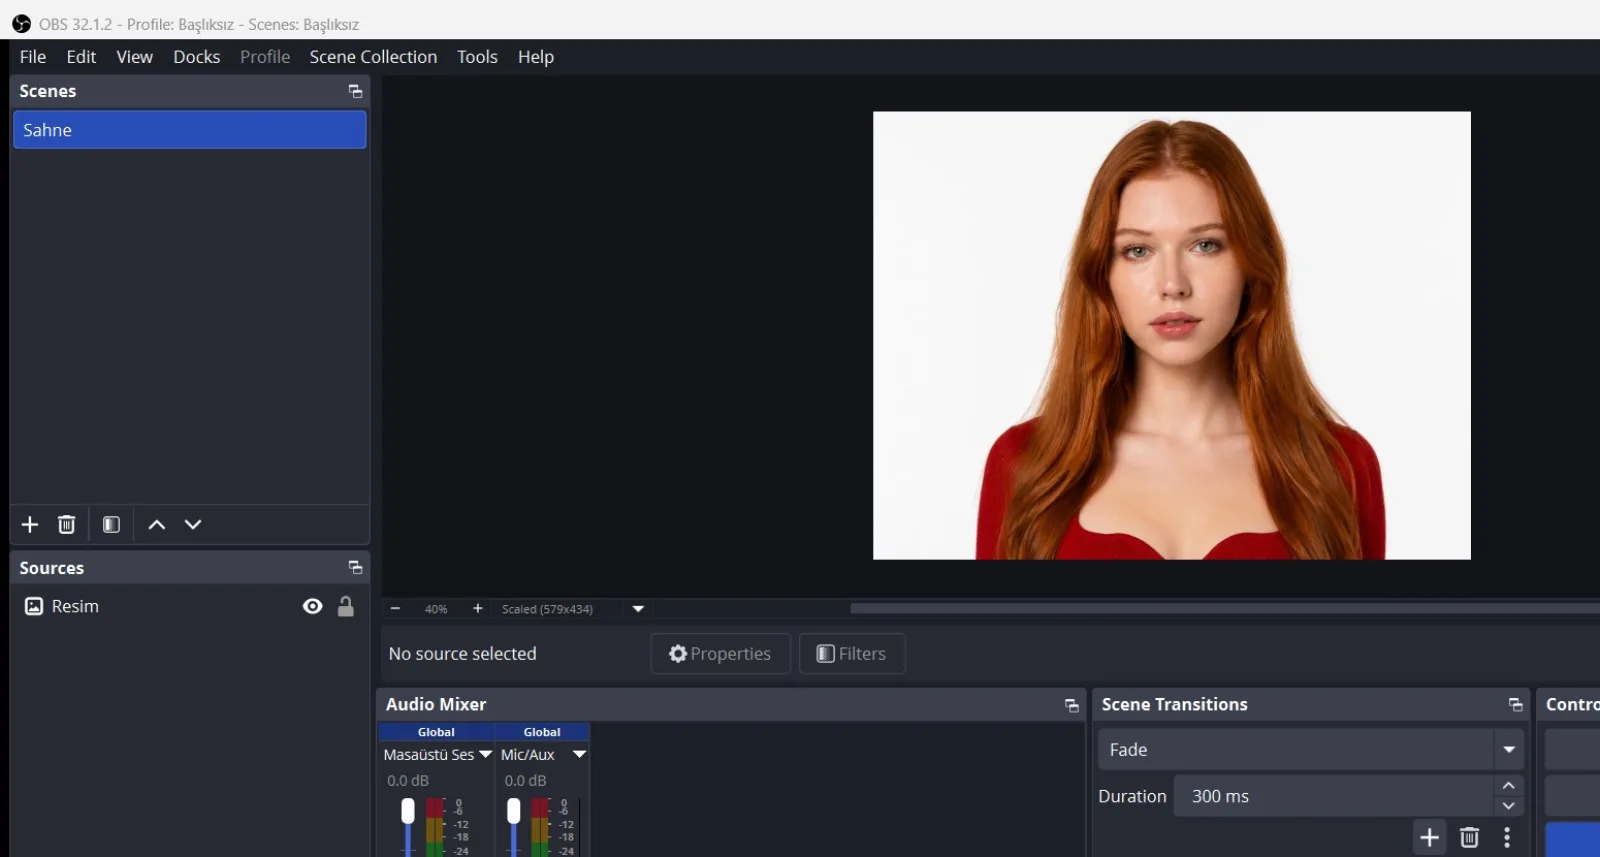
Press the 'Start Virtual Camera' button in the 'Controls' panel in the bottom right corner of OBS. The button becomes 'Stop Virtual Camera' — this means the virtual camera is now live. This step is MANDATORY: If OBS is turned off or the virtual camera is not started, the device will not produce images even if it appears in the list in Windows.
🔎 Items on the screen: OBS 'Controls' panel; 'Start Virtual Camera' / Start Virtual Camera button (labeled 'Stop Virtual Camera' when launched).
Step 4 · Open the 'Camera' tab in Booth
Settings → Event Settings → 'camera'
In the Booth app (Windows PC, same as OBS), open Event Settings from Settings and switch to the Camera tab from the top tab strip. The tab shows two sections: Add Camera at the top, Camera Settings at the bottom.
🔎 Elements on the screen: Top tab strip: Camera tab; sections: Add Camera and Camera Settings.
Step 5 · Open the camera add window with Select Camera
Settings → Event Settings → 'Camera' (Add Camera window)
Press the Select Camera button in the Add Camera section. A window titled Add Camera, subtitled Select a camera to add to your connected devices. opens and lists all connected cameras, grouped by type.
🔎 Items on the screen: Select Camera button; opened modal title Add Camera, subtitle Select a camera to add to your connected devices.; camera groups (e.g. USB Cameras, Virtual Cameras).
Step 6 · Select OBS camera from Virtual Cameras group
Settings → Event Settings → 'Camera' (Add Camera window)
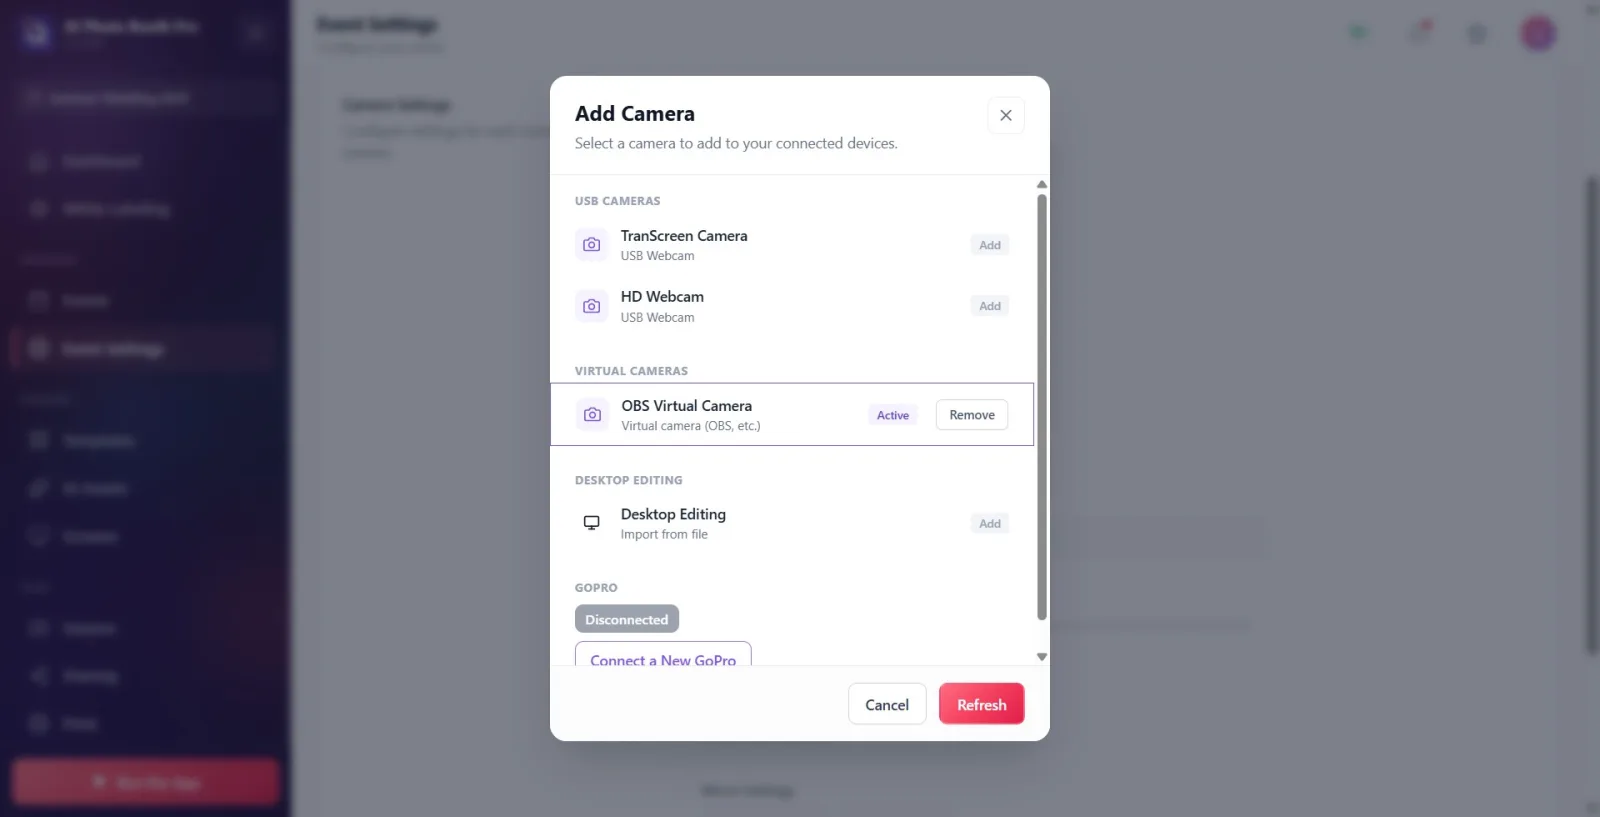
Find the Virtual Cameras group in the window — this group appears only in Windows and only when a working virtual camera is detected. The name of the OBS line within the group is based on the device name that Windows recognizes (usually 'OBS Virtual Camera') and the bottom line says 'Virtual camera (OBS etc.)'. Click the row — one click both ADDS the camera to the list and ACTIVES it (puts it in live preview). The badge on the right of the row changes from Add to Active.
🔎 Items on the screen: Virtual Cameras group title; OBS camera row (device name + detail Virtual camera (OBS, etc.)); line badge Add / Added / Active; Remove button in the added row.
Step 7 · Verify OBS image in live preview
Settings → Event Settings → 'Camera' (Camera Settings)
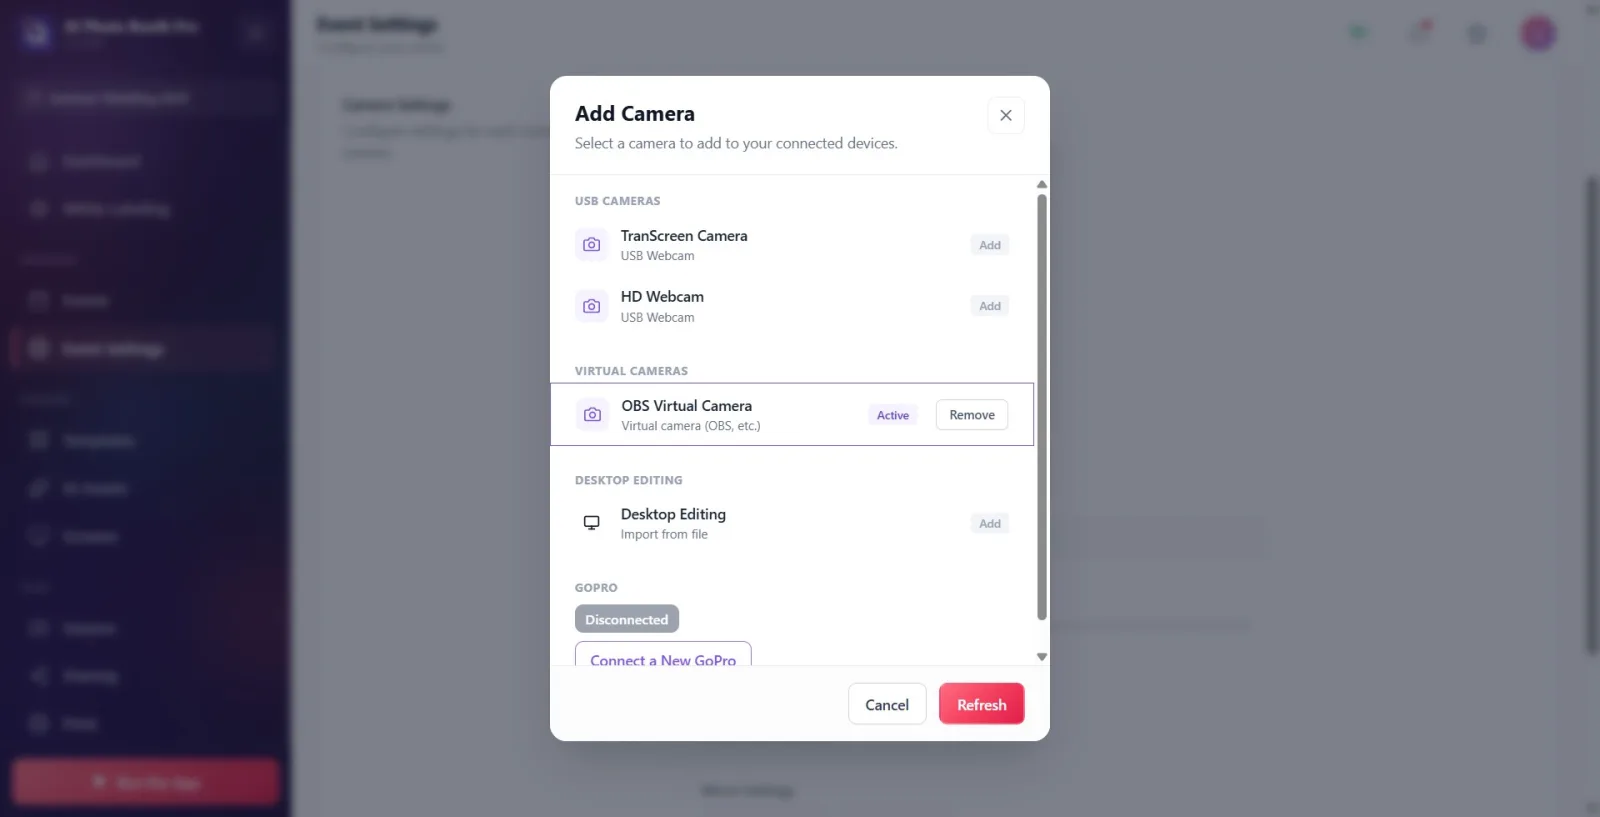
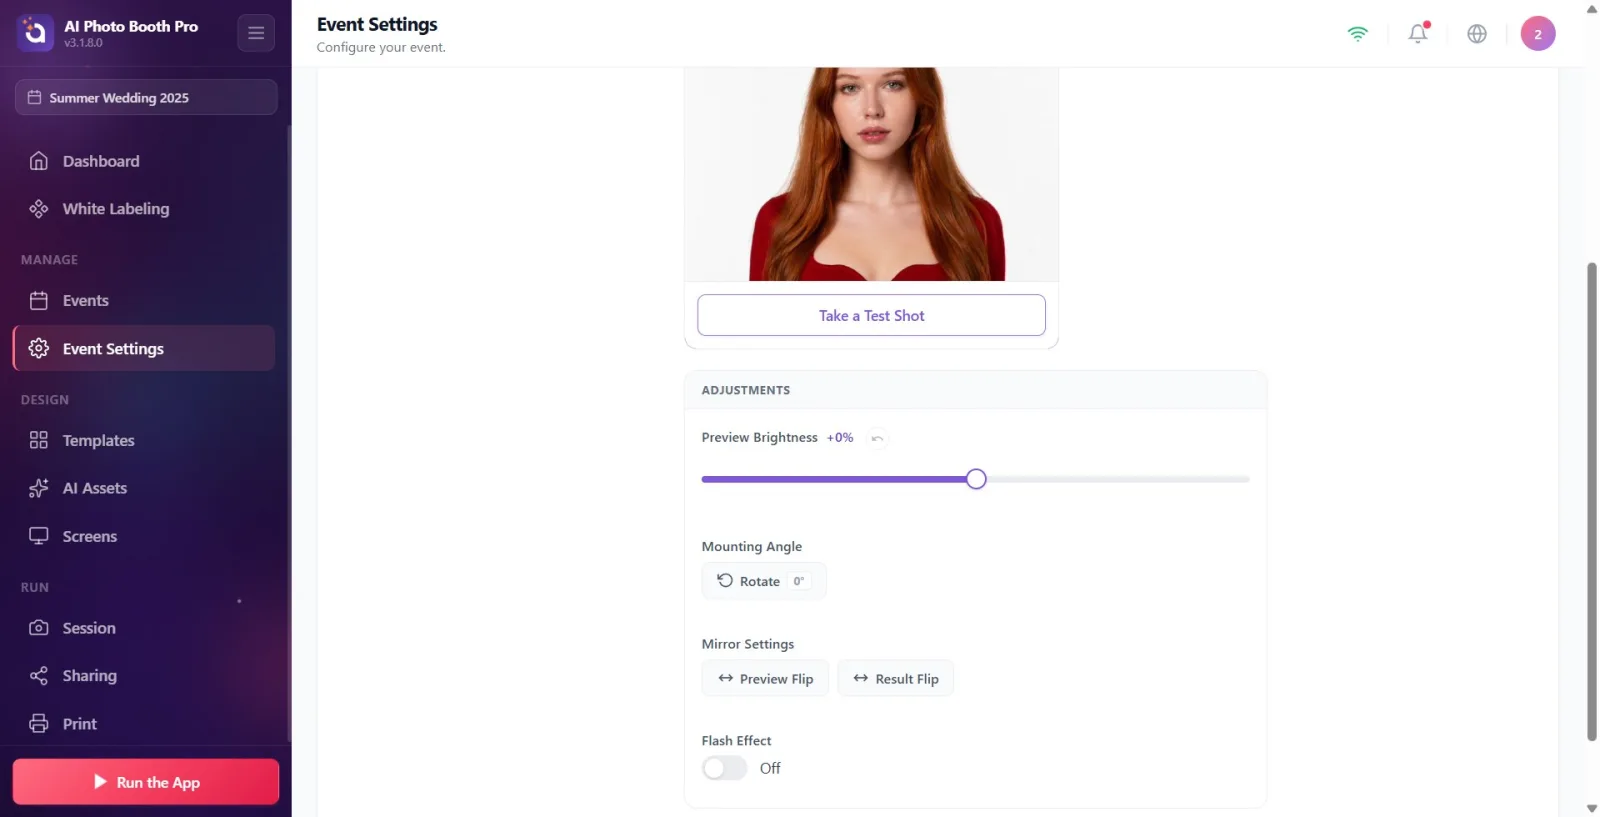
When the window closes, you should see the image from OBS in the live preview card in the Camera Settings section at the bottom; The green dotted Ready badge in the corner of the card indicates that the flow is running. If you want, take a test shot with Take a Test Shot. After that, you can adjust brightness, rotation, mirror, etc. just like a normal camera — it acts like a regular camera for the virtual camera booth.
🔎 Items on the screen: Camera Settings section; live preview card; Ready badge (green dot); Take a Test Shot button.
Step 8 · Camera not visible / getting 'not streaming' error
Settings → Event Settings → 'Camera' (Add Camera window)
If the OBS virtual camera is not listed: first verify that 'Start Virtual Camera' is actually active in OBS (the label 'Stop Virtual Camera' should appear), then rescan the cameras by pressing the 'Refresh' button at the bottom of the window — if you started OBS with the modal open, refreshing may not show up as a new camera. When the camera appears and you select it, it says 'The virtual camera is installed but it is not broadcasting. Open the source application (e.g. OBS) and start the virtual camera (Start Virtual Camera), then try again.' If the warning appears: the device is registered in Windows, but OBS is not broadcasting — start the virtual camera in OBS and select it again in the booth.
🔎 Items on the screen: Refresh button under window; warning toast 'Virtual camera installed but not streaming...' (suggests starting the virtual camera in the source application).
Virtual Camera is only supported on Windows: if the booth is running on macOS/iOS/Android, the Virtual Cameras group will not appear at all (detection depends on Windows DirectShow).
OBS and booth must be on the same Windows PC — booth reads the OBS virtual camera as a local DirectShow device, not a broadcast over the network.
The order is important: first press 'Start Virtual Camera' in OBS, THEN select it in the booth. If you select it before the broadcast starts, a warning will appear saying 'Virtual camera is installed but not broadcasting'.
If you launched OBS with the modal open, refresh the list with the 'Refresh' button at the bottom — otherwise the new virtual camera may not appear.
Windows keeps the virtual camera device in the list even when OBS is turned off; appearing in the list does not mean 'on air' — if no video appears, launch the virtual camera in OBS.
The virtual camera is opened in the booth via OpenCV/DirectShow (not WinRT MediaCapture); The output resolution/FPS is determined on the OBS side from Settings → Video and Settings → Virtual Camera.
Clicking on the row both adds and activates it; A virtual camera with only the Added badge is inactive — click the row (again) to get it into live preview.
Selecting the camera in the booth without pressing 'Start Virtual Camera' in OBS → 'The virtual camera is installed but not broadcasting. Open the source application (e.g. OBS) and start the virtual camera (Start Virtual Camera), then try again.' warning comes.
Looking for group Virtual Cameras on a non-Windows device (macOS/iOS/Android) — this group appears only on Windows.
Running OBS on a different computer than the booth — OBS running on the remote machine is not visible to the booth because the virtual camera is read as a local DirectShow device.
not adding any sources to the OBS scene — the virtual camera starts but broadcasts a blank/black image; The booth preview also comes in black.
While the modal is open, launch the OBS virtual camera and wait without pressing Refresh — the list shows the old scan, the new camera does not appear.
Leaving only Added and not activating the virtual camera — it won't show up in the live preview; It is necessary to click on the line (again) and make it Active.
Turning OBS off and being fooled by the device remaining in the list — off OBS does not stream; If the image does not appear, open OBS and restart the virtual camera.
Related topics
Event Settings → camera Camera Problems
