
Before this: What is White-Label and How is it Used?
In the Domain tab of the White Labeling page, you link your custom domain (e.g. photos.markam.com) to the photo booth sharing/microsite links. Flow: write the domain name → server automatically generates DNS records (TXT for ownership + CNAME for redirection) → add these records to your own DNS provider → test connection with Verify my Domain → add SSL record for HTTPS (Step 3). The feature is only available on the Ultimate plan.
- Ultimate plan (server 'whitelabeling' feature) — if the plan is insufficient, Ultimate plan only lock banner appears instead of tab content
- You have a custom domain name and a provider panel (GoDaddy, Cloudflare, Namecheap, etc.) where you can edit the DNS records (TXT/CNAME) of that domain.
- Ability to turn off proxy/CDN in DNS panel — proxy for CNAME must be OFF
step by step
Step 1 · Open White Labeling → Domain tab
White Labeling → Domain
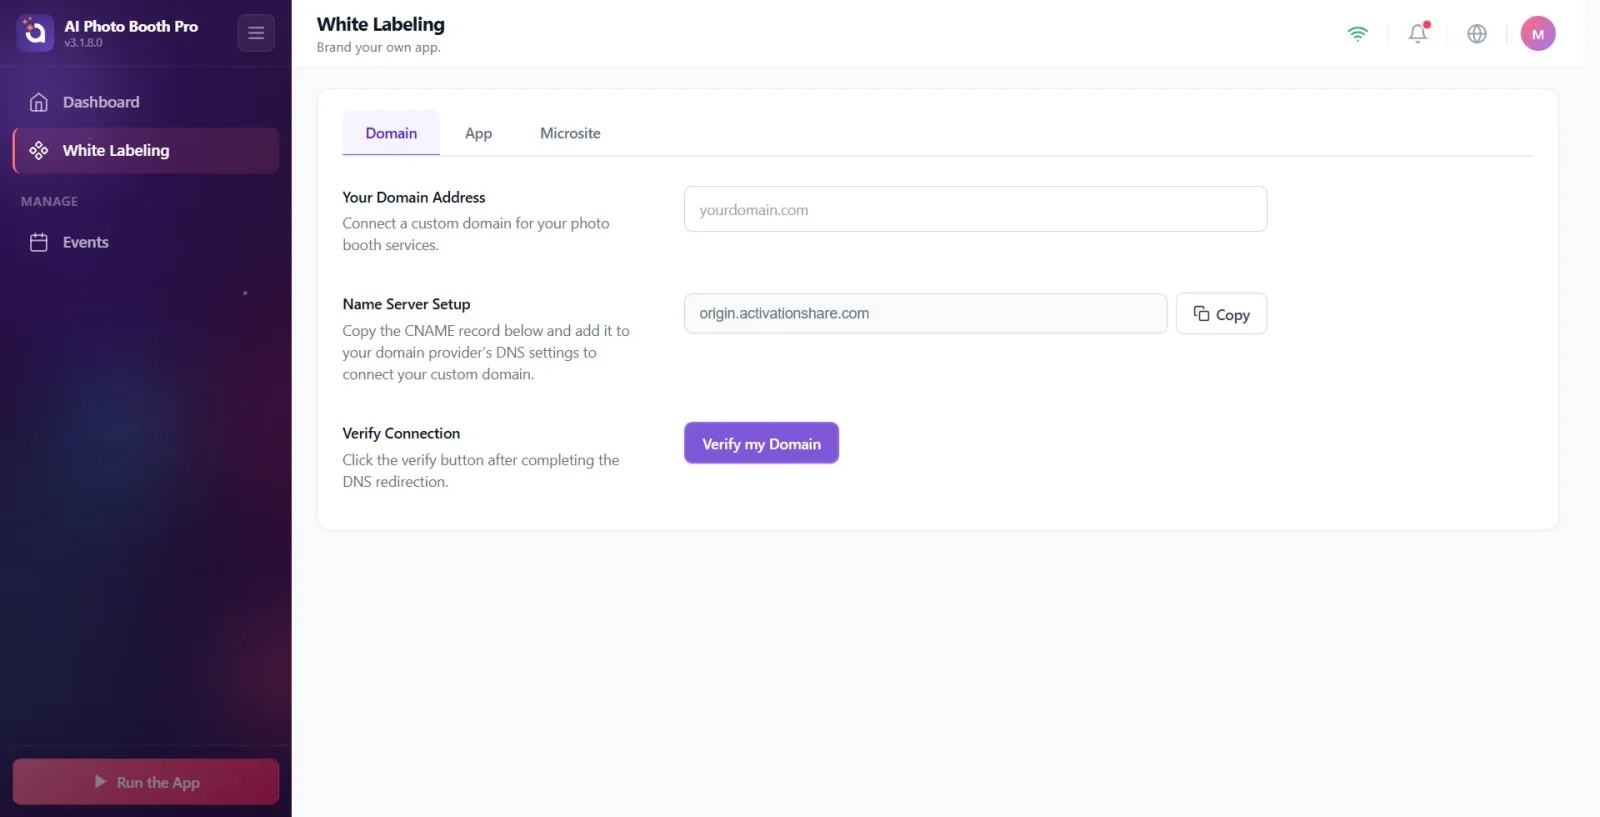
Open the White Labeling page in the settings (subheading Brand your own app.). Let Domain, the first and default tab, be selected from the tab strip at the top; other tabs are App and Microsite. All domain name binding operations are done in this tab.
🔎 Elements on the screen: Tab strip: Domain / App / Microsite; page title White Labeling. Domain active tab.
Step 2 · Check plan lock (Ultimate required)
White Labeling → Domain
If your plan is insufficient, a lock banner will appear instead of the tab content: 'Exclusive to the Ultimate plan' title and 'Your {plan} account right now. Upgrade to Ultimate AI to use White Label features.' description. Click the 'Increase Ultimate AIa' button to continue — the payment/paywall will open. If your plan is suitable, this banner will not appear at all and the domain name form will come directly.
🔎 Elements on the screen: Lock icon, Ultimate plan only title, Ultimate AIa Upgrade button.
Step 3 · Write the custom field name (Your Domain Address)
White Labeling → Domain
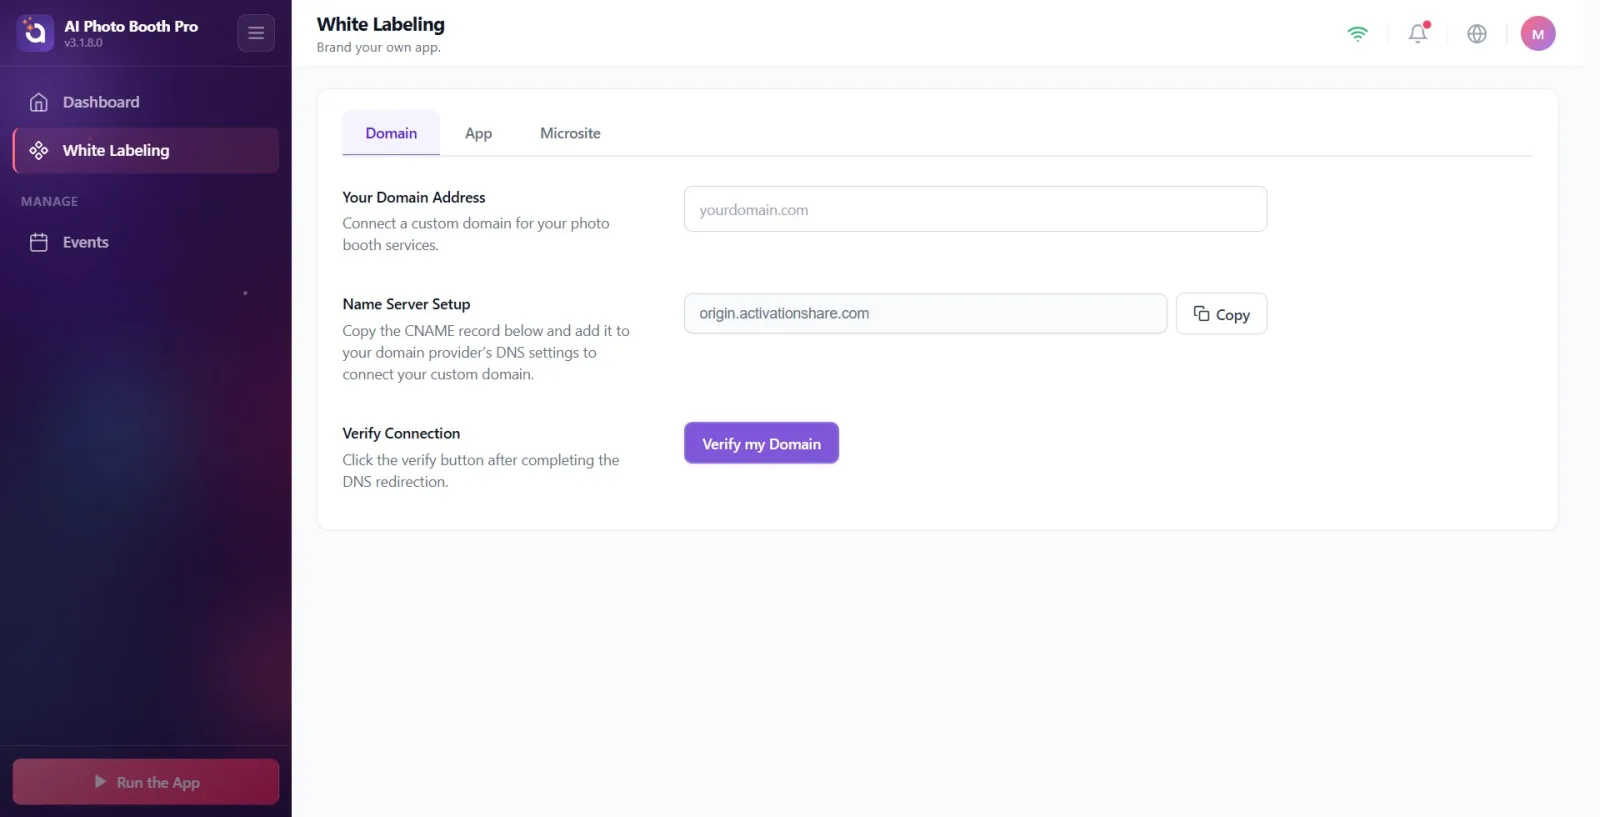
In the section titled Your Domain Address (description: 'Connect a custom domain for your photo booth services.') type your own domain name in the text box — hint text 'yourdomain.com'. IMPORTANT: after typing, click OUTSIDE the box or move to another area. Recording is not done for every keystroke, but only for focus loss (blur); If you don't use it out of the box, the domain name will never be sent to the server.
🔎 Elements on the screen: Your Domain Address label + description; Single line text box with hint text 'yourdomain.com'.
Step 4 · Wait for DNS records to be generated
White Labeling → Domain
After registering the domain, wait a few seconds until the server (Cloudflare) generates the ownership verification values. When the values arrive, the DNS Setup Instructions section appears automatically (explanation: 'Add the following two DNS records to your domain provider. The SSL certificate is automatically prepared when the TXT record is propagated.'). If the section is not visible, the values are not ready yet — wait a moment.
🔎 Elements on the screen: DNS Setup Instructions title + description; two groups of records (TXT and CNAME) below.
Step 5 · Step 1 — Add ownership verification TXT record
White Labeling → Domain Name (DNS Setup Directive)
Add the values in the Step 1 — Domain Ownership Verification (TXT) group as a new TXT record in your DNS provider: Type = TXT, Name = (value in box — retrieve with Copy button next to it), Value = (value in box — retrieve with Copy), TTL = Auto / 3600. Description: 'Add this TXT record to verify domain ownership. Cloudflare will initialize the SSL certificate (5-30 min).' Do not write values by hand; Be sure to use the 'Copy' button.
🔎 Elements on the screen: Step 1 — Domain Ownership Verification (TXT) title + description; read-only Name/Value boxes, each with a Copy button; fixed lines: Type: TXT, TTL: Auto / 3600.
Step 6 · Step 2 — Add Redirect CNAME record (Proxy: Off)
White Labeling → Domain Name (DNS Setup Directive)
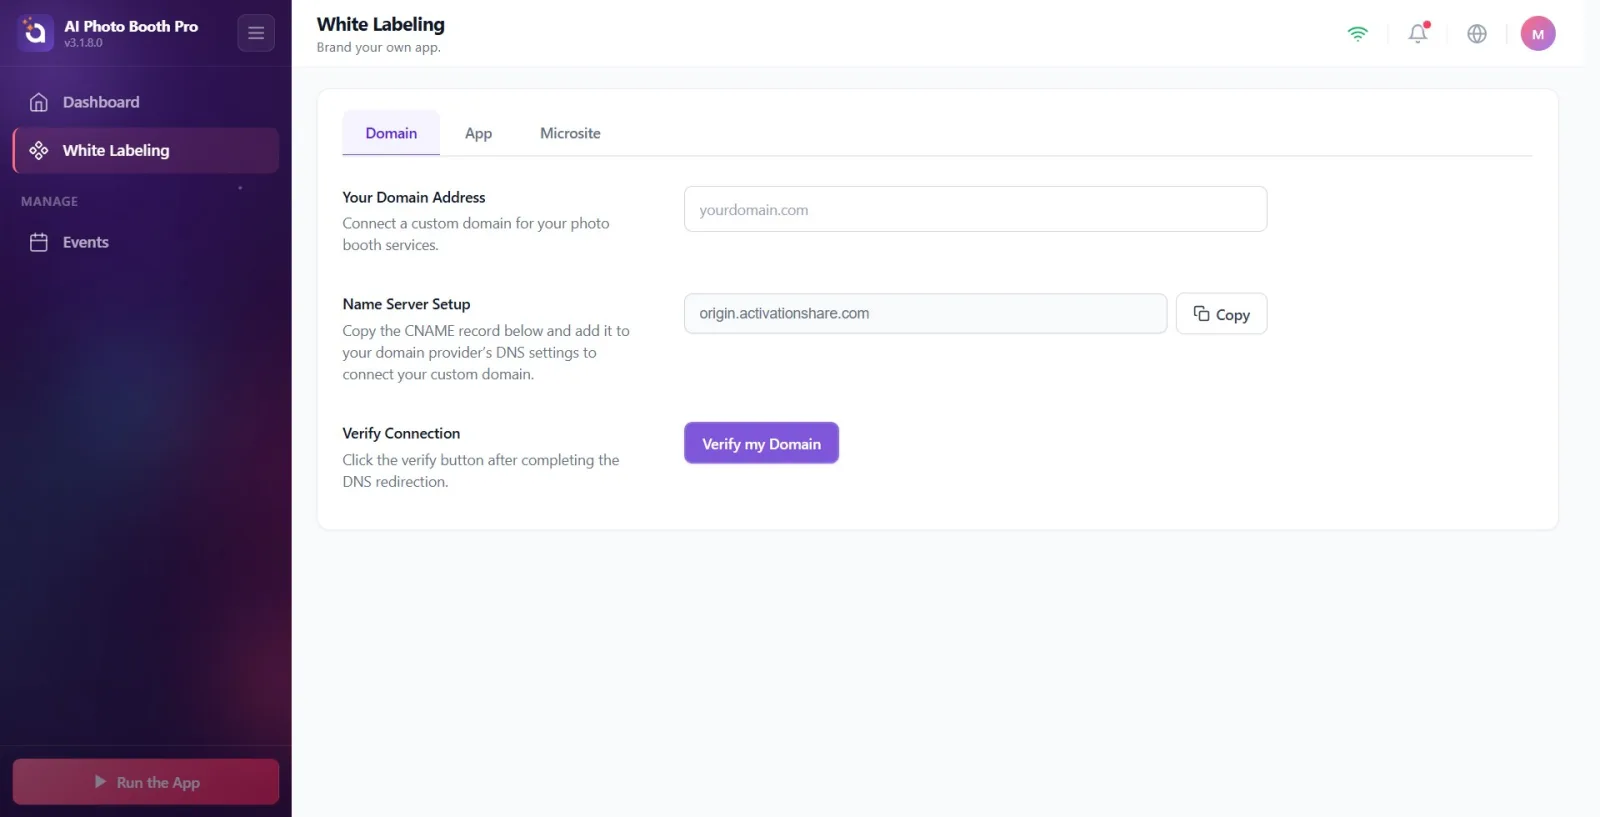
Add the values in the Step 2 — Domain Pointing (CNAME) group as a second record: Type = CNAME, Name = yourdomain (retrieve with Copy), Value = origin.activationshare.com (retrieve with Copy), Proxy = Off. Description: 'Redirect your domain to our service. Proxy must be OFF on your DNS provider.' Proxy/CDN (e.g. Cloudflare orange cloud) must be turned off — if left on, the connection and SSL will not work. Note at the bottom of the group: 'Once DNS propagates, verification completes within 5-30 minutes.'
🔎 Elements on the screen: Step 2 — Domain Pointing (CNAME) title + description; read-only Name/Value boxes + Copy; fixed rows: Type: CNAME, Proxy: Off. Value is always origin.activationshare.com.
Step 7 · Name Server Setup — Get CNAME target (alternative copy)
White Labeling → Domain
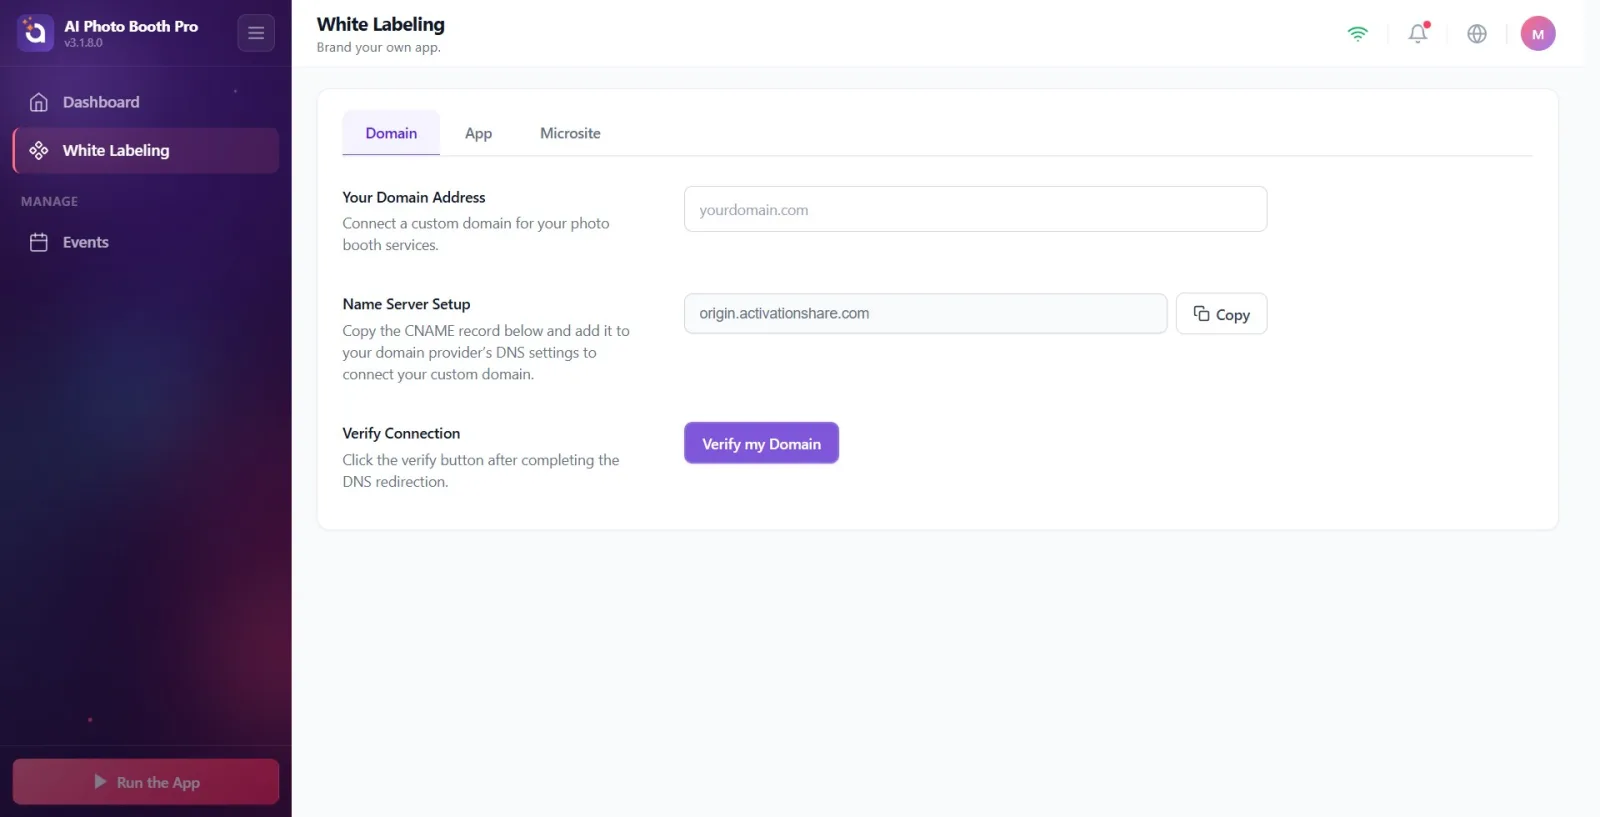
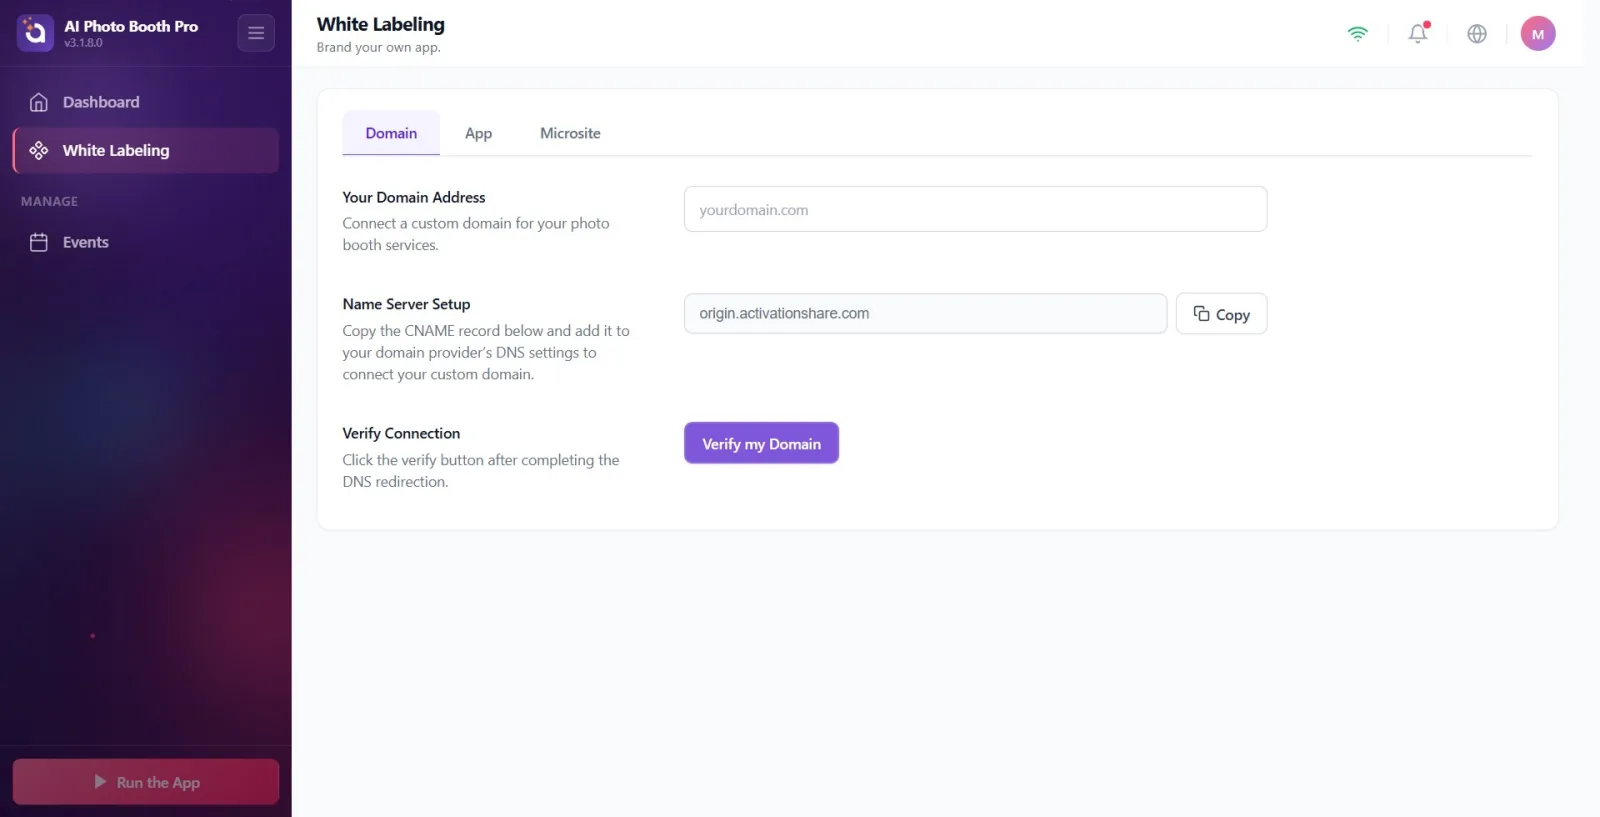
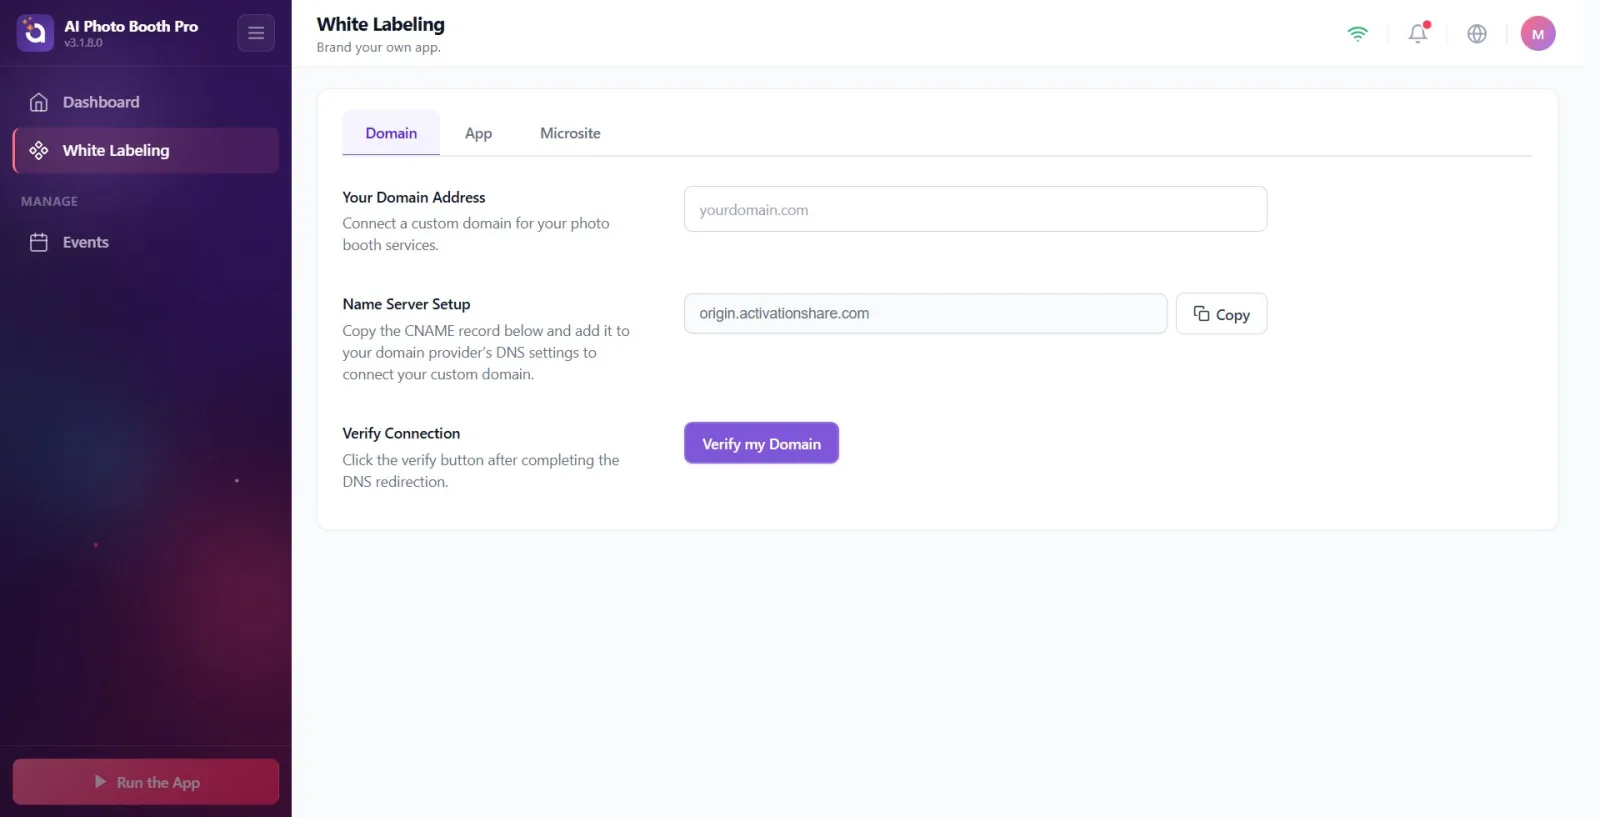
The Name Server Setup section, which always appears below the DNS directive (description: 'Copy the CNAME record below and add it to your domain provider's DNS settings to connect your custom domain.') shows the destination address (origin.activationshare.com) to which the CNAME will point in a single box; The Copy button on the right takes this value to the clipboard. This value is exactly the same as the CNAME 'Value' in Step 2 — it's just here for quick copying, not a separate record.
🔎 Elements on the screen: Name Server Setup title + description; Read-only target box (origin.activationshare.com) + Copy button with copy icon.
Step 8 · Test connection with Verify my Domain
White Labeling → Domain Name (Verify Link)
After adding the DNS records, go to the Verify Connection section (description: 'Click the verify button after completing the DNS redirection.') and press the purple 'Verify My Domain' button. The button is active only when a valid field name is entered (the field name must not be empty, contain at least one period, and must be 4+ characters); otherwise it is faded/passive. When pressed, a rotating wait indicator with Verifying the Domain appears and the server checks DNS.
🔎 Elements on the screen: Verify Connection title + description; purple Verify my Domain button; Returning icon + Verifying the Domain text in loading state.
Step 9 · Read verification result (status badges)
White Labeling → Domain Name (Verify Link)
When the verification is completed, a status badge appears under the button. In the SUCCESSFUL state, green Domain Connected appears (the domain is running). The text on the screen for other cases is in English: 'Pending DNS verification' = DNS has not been propagated yet, wait; 'TXT record not detected yet — Step 1 incomplete' = Step 1 TXT not detected yet, check TXT record; 'SSL certificate provisioning (5-30 min)' = ownership verified, generating SSL, wait; 'Verification failed' = verification failed; 'Domain not yet set up on server' = The domain name has not yet been set up on the server. A detail message from the server may also appear under the badge. If there is a problem, correct the DNS records and press Verify my Domain again.
🔎 Elements on the screen: Badges: green Domain Connected (success) or English status lines (Pending DNS verification / TXT record not detected / SSL certificate provisioning / Verification failed / Domain not yet set up); server detail message below.
Step 10 Step 3 — Add SSL certificate record (if required)
White Labeling → Domain Name (SSL Certificate)
Once ownership is verified, if SSL is pending, the Step 3 — SSL Certificate section appears (description: 'Add this DNS record so we can generate an HTTPS (SSL) certificate for your domain.'). Use the RECOMMENDED way: Add the single CNAME (retrieve with Type/Name/Value, Copy) under 'Recommended — single record, auto-renew' to your DNS — 'Add this single CNAME'. Subsequent certificate renewals are automatically verified — you never need to touch DNS again.' Alternatively, you can click on the Alternative: add these TXT records header and add the opened TXT records (these change every ~90 days, require manual updates — not recommended). Note the yellow warning: a DNS name cannot be both CNAME and TXT at the same time; If you have old _acme-challenge TXT records, delete them now. If a red warning ('We detected old _acme-challenge TXT records... in your DNS...') appears, immediately delete those conflicting TXTs, leaving only the CNAME.
🔎 Elements on the screen: Step 3 — SSL Certificate title; yellow conflict warning always visible + red 'conflict detected' warning (if server detects); Recommended — one record, automatic renewals CNAME group (Type/Name/Value + Copy, Proxy: Off); collapsible Alternative: add these TXT records section.
Step 11 · Wait for the connection to complete
White Labeling → Domain
DNS propagation and SSL generation may take 5-30 minutes after all records are added (Step 1 TXT + Step 2 CNAME + Step 3 SSL CNAME). Check by pressing Verify my Domain again and again until the status becomes green Domain Connected. Once connected, your custom domain name will start being used in sharing/microsite links.
🔎 On-screen items: Green Domain Connected badge.
The domain name box is not saved with every keystroke, but only when you lose focus (clicking somewhere else) — typing and waiting is not enough, you must exit the box.
Do not write values by hand; Use the Copy button next to each record box. A single character error (such as letter O ↔ number 0) will break validation.
Proxy/CDN for CNAME (orange cloud on Cloudflare) must be OFF ('Proxy: Off'); If it remains open, the connection and SSL will silently fail.
The Verify my Domain button is activated only on the current field name (not empty, contains periods, 4+ characters); If it is inactive, check the domain name.
For SSL, add the single 'Recommended' CNAME from Step 3 — renewals will be automatic. The TXT alternative changes every ~90 days and requires manual updates.
The same DNS name cannot be both CNAME and TXT. Delete any previously manually added _acme-challenge TXT records; otherwise SSL hangs silently (red alert indicates this).
If you completely empty the domain box and move it out of focus, the connection and authentication/SSL (Step 3) status will be reset — clear the box to 'unmount' the domain name.
DNS changes are not propagated instantly; Verification may take 5-30 minutes. When you see 'Pending DNS verification' or 'SSL certificate provisioning', wait and verify again.
Typing the field name and waiting out of the box (without losing focus): registration does not trigger, DNS Setup Instructions does not come at all.
Leaving CNAME proxy on: 'Proxy: Off' is required; Blocks explicit proxy authentication and SSL.
Step 1 Skip the TXT record and press verify: status returns 'TXT record not detected yet — Step 1 incomplete'; TXT must be added first.
Entering a domain name already used in another account: server rejects permanently, red 'Verification failed' badge + 'already in use' error message (toast) appears — enter a different domain name.
Not deleting old/manually added _acme-challenge TXT records: shadows the suggested SSL CNAME and the certificate does not exit silently (red conflict warning comes up).
Not waiting for DNS propagation: verification may take 5-30 minutes even if the records are correct; Don't immediately think it's 'failed' and give up, verify again.
Trying to connect a domain with a non-Ultimate plan: comes with tab locked (Ultimate plan only) — requires 'Upgrade Ultimate AIa' first.
Related topics
White Labeling — Microsite tab White Labeling — Application (App Branding) tab
