
Before this: What is Screen Design, How to Use General Tab?
Animations How to Set?
The Animations tab (only part Video Animations) lets you set short videos or images to play at four key moments in the photo capture flow: the idle screen (Attention Grabber), just before the photo (Say Cheese), before the countdown (Before Capture), and after the shot (After Capture). For each moment, you load your own media, activate it with the row's toggle switch, preview it, or reset it to default.
- An event must be created and selected (active) — toggle and load changes on this tab will NOT be saved while the event is not selected (create-event)
- Settings → Design section → Screen Design page must be open
- The short video (e.g. mp4/mov) or image (e.g. jpg/png) file you want to upload must be ready on the device and less than 50 MB.
step by step
Step 1 · Open the Animations tab
Screen Design → Animations
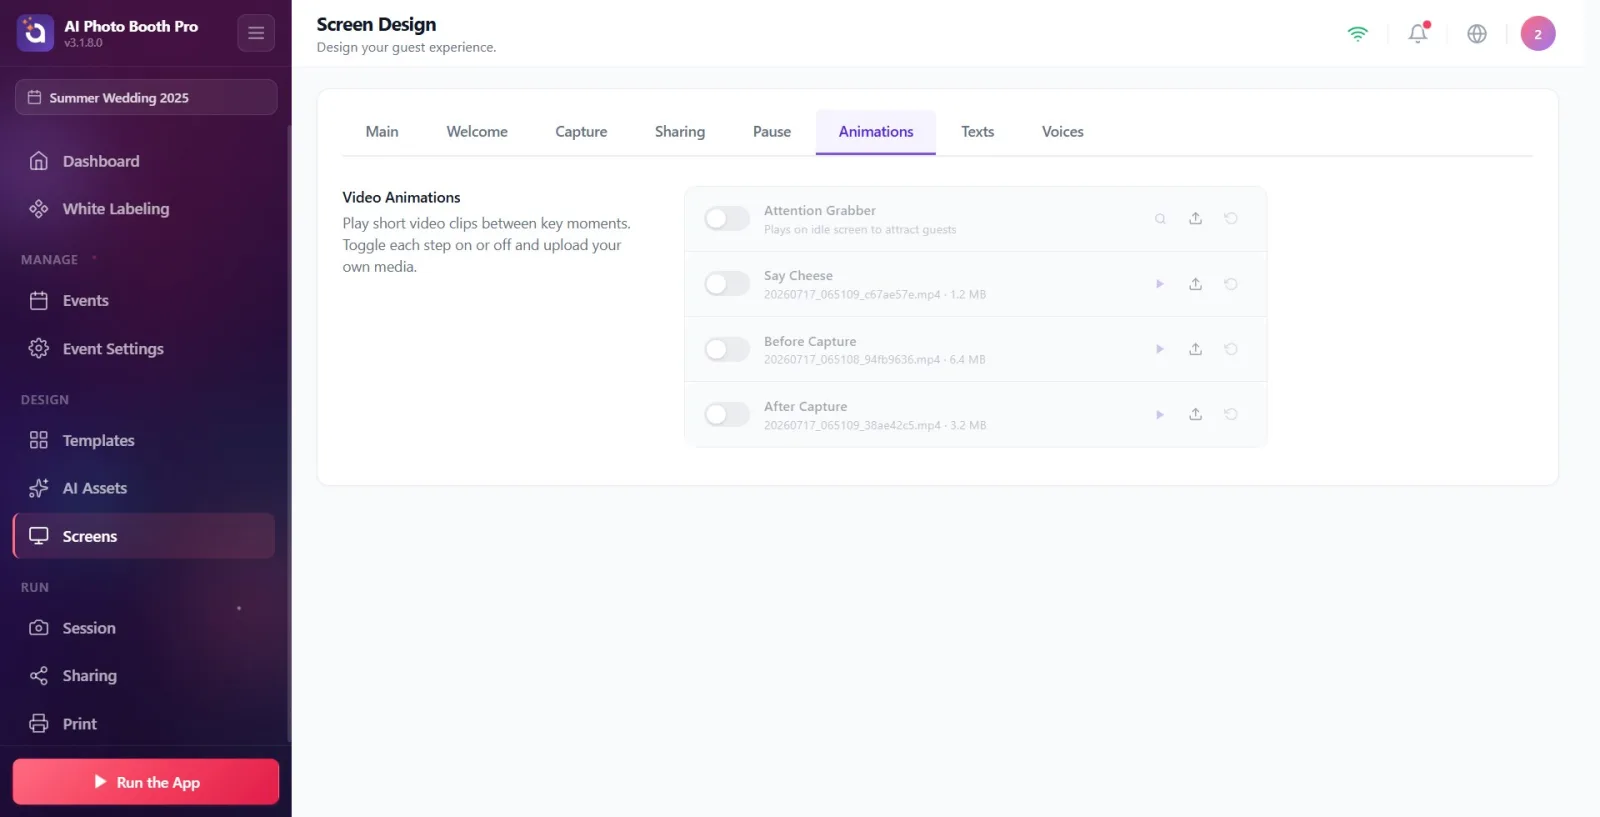
Click Screen Design under the Design heading in the left menu. Switch to the Animations tab from the tab strip at the top of the opened page. The tab strip is arranged from left to right in the following order: General, Welcome, Capture, Sharing, Pause, Animations, Texts, Voices. Make sure the event is selected (active); otherwise the changes will not be permanent.
🔎 Items on the screen: Left menu: Design section title + Screen Design item; tab strip on page, active tab Animations.
Step 2 · Recognize the Video Animations section and row buttons
Screen Design → Animations
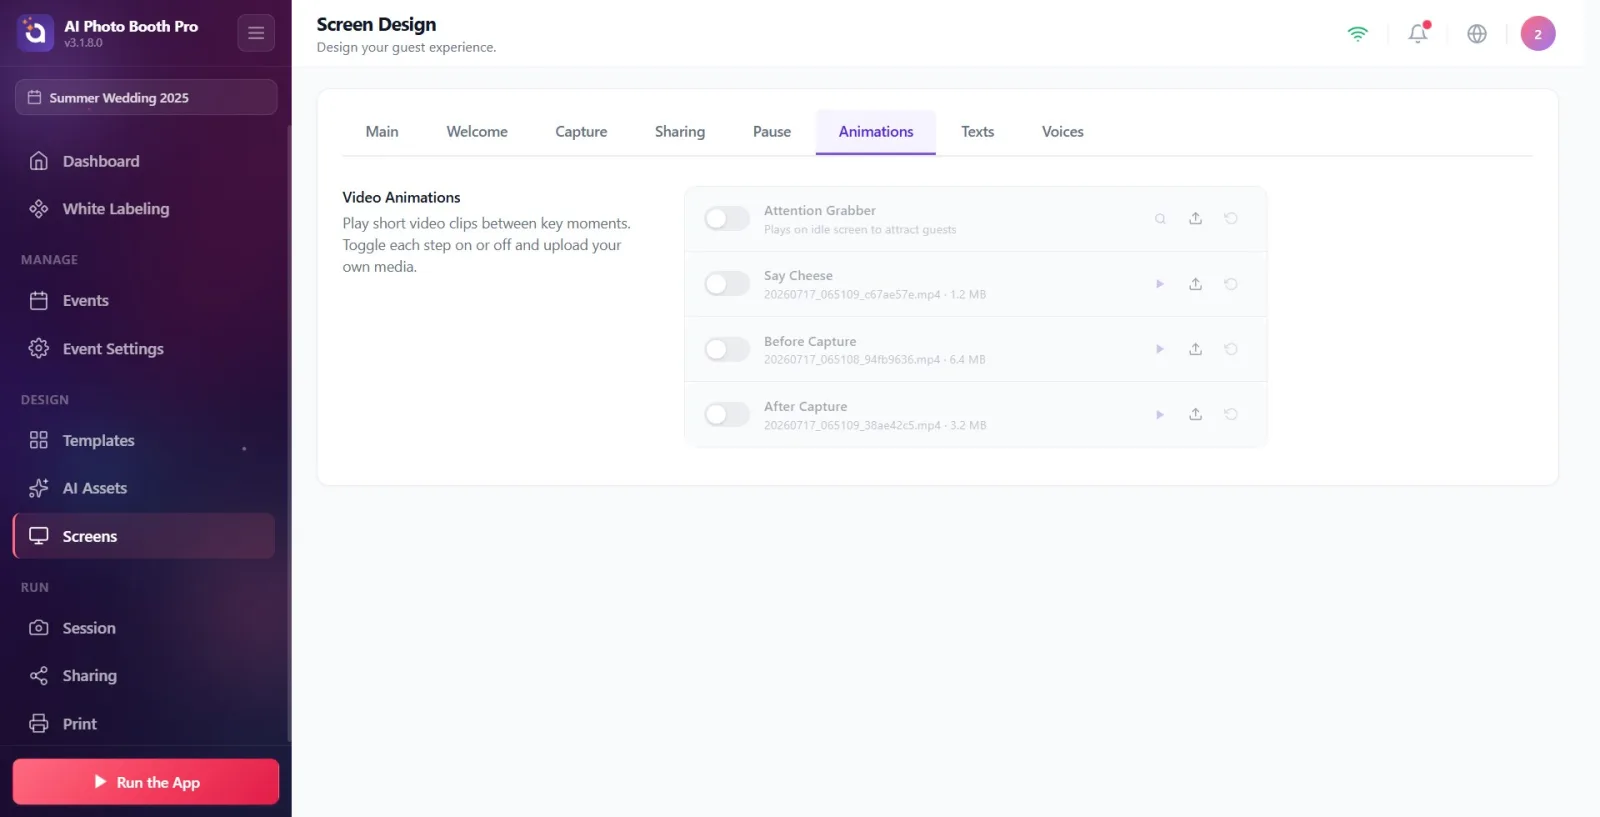
The tab has a single section: Video Animations. Description: 'Play short video clips between key moments. 'Turn each step on and off and upload your own media.' Below it are four lines corresponding to the four moments of the shooting flow: Attention Grabber, Say Cheese, Before Capture, and After Capture. Each row has a toggle switch to the left, and three buttons to the right: preview (magnifying glass/play icon), load (up arrow icon), and reset (spinning arrow icon). A progress bar appears on the line during installation.
🔎 Elements on the screen: Section title Video Animations + description line; 4 lines; each row has toggle switch on the left, name + description/filename in the middle, preview + upload + reset buttons on the right; Progress bar at the time of loading.
Step 3 · Turn an animation moment on or off
Screen Design → Animations
Click the toggle switch to the left of the row you want. When the switch is on, it is instantly activated and the media you loaded while shooting will be played; When off, the row appears dimmed (disabled) and nothing is currently playing. The change is saved immediately; There is no separate Save button. Turning the switch off will NOT delete the media you loaded, it just disables it.
🔎 Items on the screen: Toggle switch to the left of the row; When off, the line appears dimmed.
Step 4 · Upload media (video or image)
Screen Design → Animations
Click the upload button (up arrow icon) to the right of the relevant row. Select a video or image from the native file selector that opens. The file type is automatically detected from the extension (video or image). A progress bar appears on the line as the file is imported; When the process is completed, the file name and size are written instead of the description. Limit: the file cannot be larger than 50 MB — if it is larger, the import will throw a 'File too large' error.
🔎 Elements on the screen: Upload button (up arrow); drop-down local file selector; progress bar; filename + size text in post processing line.
Step 5 · Preview the uploaded media
Screen Design → Animations
Click the preview button to the right of the row (magnifier on image, play icon on video). The image or video opens in a full-screen window; The video comes with playback controls. Click the cross (X) button in the corner or the background of the window to close it.
🔎 On-screen elements: Preview button (magnifier/play); full screen preview window + close (X) button.
Step 6 · Reset a memory / remove media
Screen Design → Animations
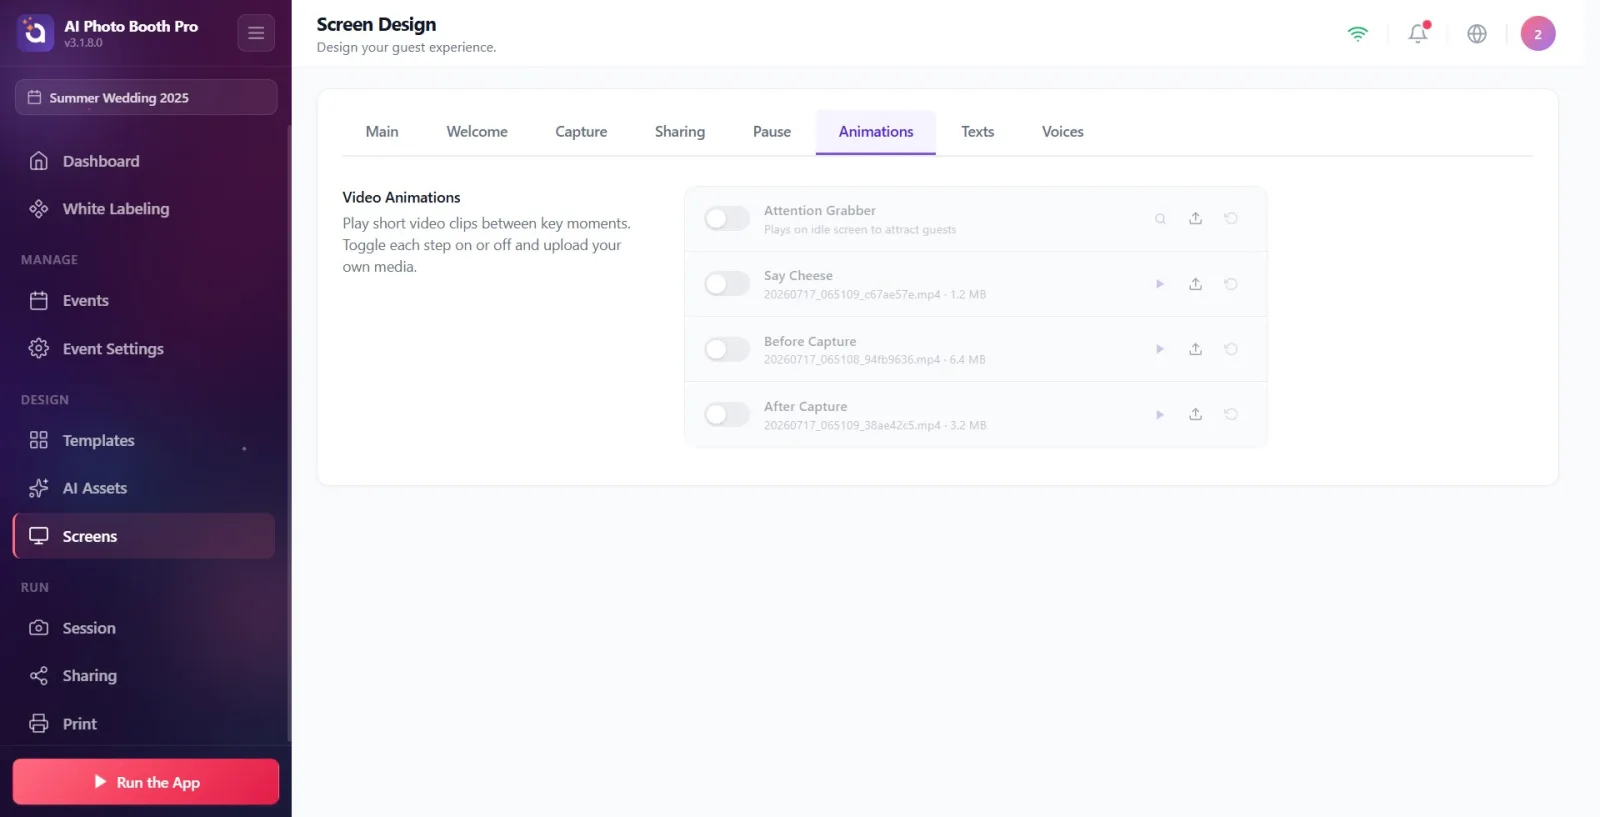
Click the reset button (spinning arrow icon) to the right of the row. This returns the row to default: the loaded media is removed and the toggle switch is turned off. If you just want to disable it temporarily, turn off the switch without deleting the media; Use the reset button to clear the media completely.
🔎 Items on the screen: Reset button (spinning arrow, Reset).
Step 7 · Attention Grabber — idle screen
Screen Design → Animations
The first line is Attention Grabber. Description: Plays on idle screen to attract guests. Use this line for an eye-catching video/image to be displayed on an idle screen when no one is using the booth. Turn on your switch and load the media (Steps 3 and 4).
🔎 Items on the screen: Attention Grabber line; on/off switch + load/preview/reset buttons.
Step 8 · Say Cheese — just before photo
Screen Design → Animations
The second line is Say Cheese. Description: Plays right before the photo is taken. Use this line for a short clip/image that prepares the guest for a pose right before the shutter moment. Turn on your switch and load the media.
🔎 Items on the screen: Say Cheese line; on/off switch + load/preview/reset buttons.
Step 9 · Before Capture — before countdown
Screen Design → Animations
The third line is Before Capture. Description: Plays right before the countdown begins. Use this line for a preparation clip/image to be shown before the countdown begins. Turn on your switch and load the media.
🔎 Items on the screen: Before Capture line; on/off switch + load/preview/reset buttons.
Step 10 · After Capture — after shooting
Screen Design → Animations
The fourth line is After Capture. Description: Plays after the photo is taken. Use this line for a congratulatory/thank you clip to appear after the photo is taken, before moving to the results/sharing screen. Turn on your switch and load the media.
🔎 Items on the screen: After Capture line; on/off switch + load/preview/reset buttons.
The lines appear on the screen in the following order: Attention Grabber, Say Cheese, Before Capture, After Capture. The actual playback order is chronological: idle Attention Grabber → before countdown Before Capture → just before photo Say Cheese → after capture After Capture.
Even if the section name is Video Animations, you can also upload a static image instead of a video per line (videos and images are accepted).
The four moments are independent of each other; Turn on only what you want and leave the rest off.
Changes are saved instantly; There is no separate save button.
For smooth playback, keep files short and under the 50MB limit.
With the preview button, you can check your uploaded media without leaving the settings screen; The video opens with playback controls.
Making adjustments without selecting an activity: toggles and installations are not saved when the activity is not selected — the change will appear to have been made, but it will not be permanent.
Attempting to upload a file larger than 50 MB: import rejected with 'File too large' error; Use a smaller/shorter file.
Thinking that the media is deleted when you turn off the switch: turning it off only disables that moment; Use the reset (spinning arrow) button to completely remove the media.
Mixing moments Say Cheese with Before Capture: Before Capture plays before the countdown starts, Say Cheese plays just before the photo (at the end of the countdown).
Waiting for the animation to play in the settings screen: these media play in the live action (booth) stream; It is only visible via the preview button on the settings page.
Waiting for the browser/HTML window to select the file: the native file selector opens — select the file you want from the device's own file window.
Related topics
Welcome Screen Pause Screen Voices Screens (Screen Design)
