













Before this: How to Create an Event?
There are four ways to print from an iPad, iPhone or Android device: a network printer on the same Wi-Fi network as the device, the wireless WCM module for DNP and Citizen printers, connecting the printer to a computer and making that computer a remote station, and, on Android only, plugging a DNP printer in directly with a USB cable. Whichever way you choose, the printer is added to the event on the tablet in the Print, Add Printer section. General print settings are in the How to Make Print Settings? document, problems in Printing Problems, Symptom, Cause, Solution.
- iPad / iPhone: network printer (AirPrint / IPP), WCM module, remote station.
- Android: network printer (IPP), WCM module, remote station and DNP directly via USB.
- Windows and Mac computers use the printer directly via USB; if you want, the computer can be the tablet's remote station.
A printer plugged into an iPad or iPhone with a USB cable does not work; iOS has no way to print via USB.
Printers connected via Bluetooth are not supported.
On Android, only DNP printers are recognized via USB (tested model: DS-RX1). Printers such as Epson, Canon, HiTi and Mitsubishi do not appear in the list when plugged into Android via USB.
DNP thermal printers do not connect directly to an iPad; to print from an iPad you need the WCM module or a remote station.
The remote station does not work without internet: both the tablet and the computer must be connected to the internet. The network printer and WCM, on the other hand, do not need internet.
Printing to a printer on the same Wi-Fi network
Step 1 · Connect the tablet and the printer to the same network
Tablet · Wi-Fi
Connect the printer and the tablet to the same Wi-Fi network. The app automatically finds printers that announce themselves on the network via IPP; printers with AirPrint support usually do. On iPad and iPhone, the app asks for permission to search for devices on the local network; allow it. If you denied it by mistake, turn on the app's permission in iOS Settings → Privacy & Security → Local Network.
Step 2 · Add the printer to the event
Print, Add Printer
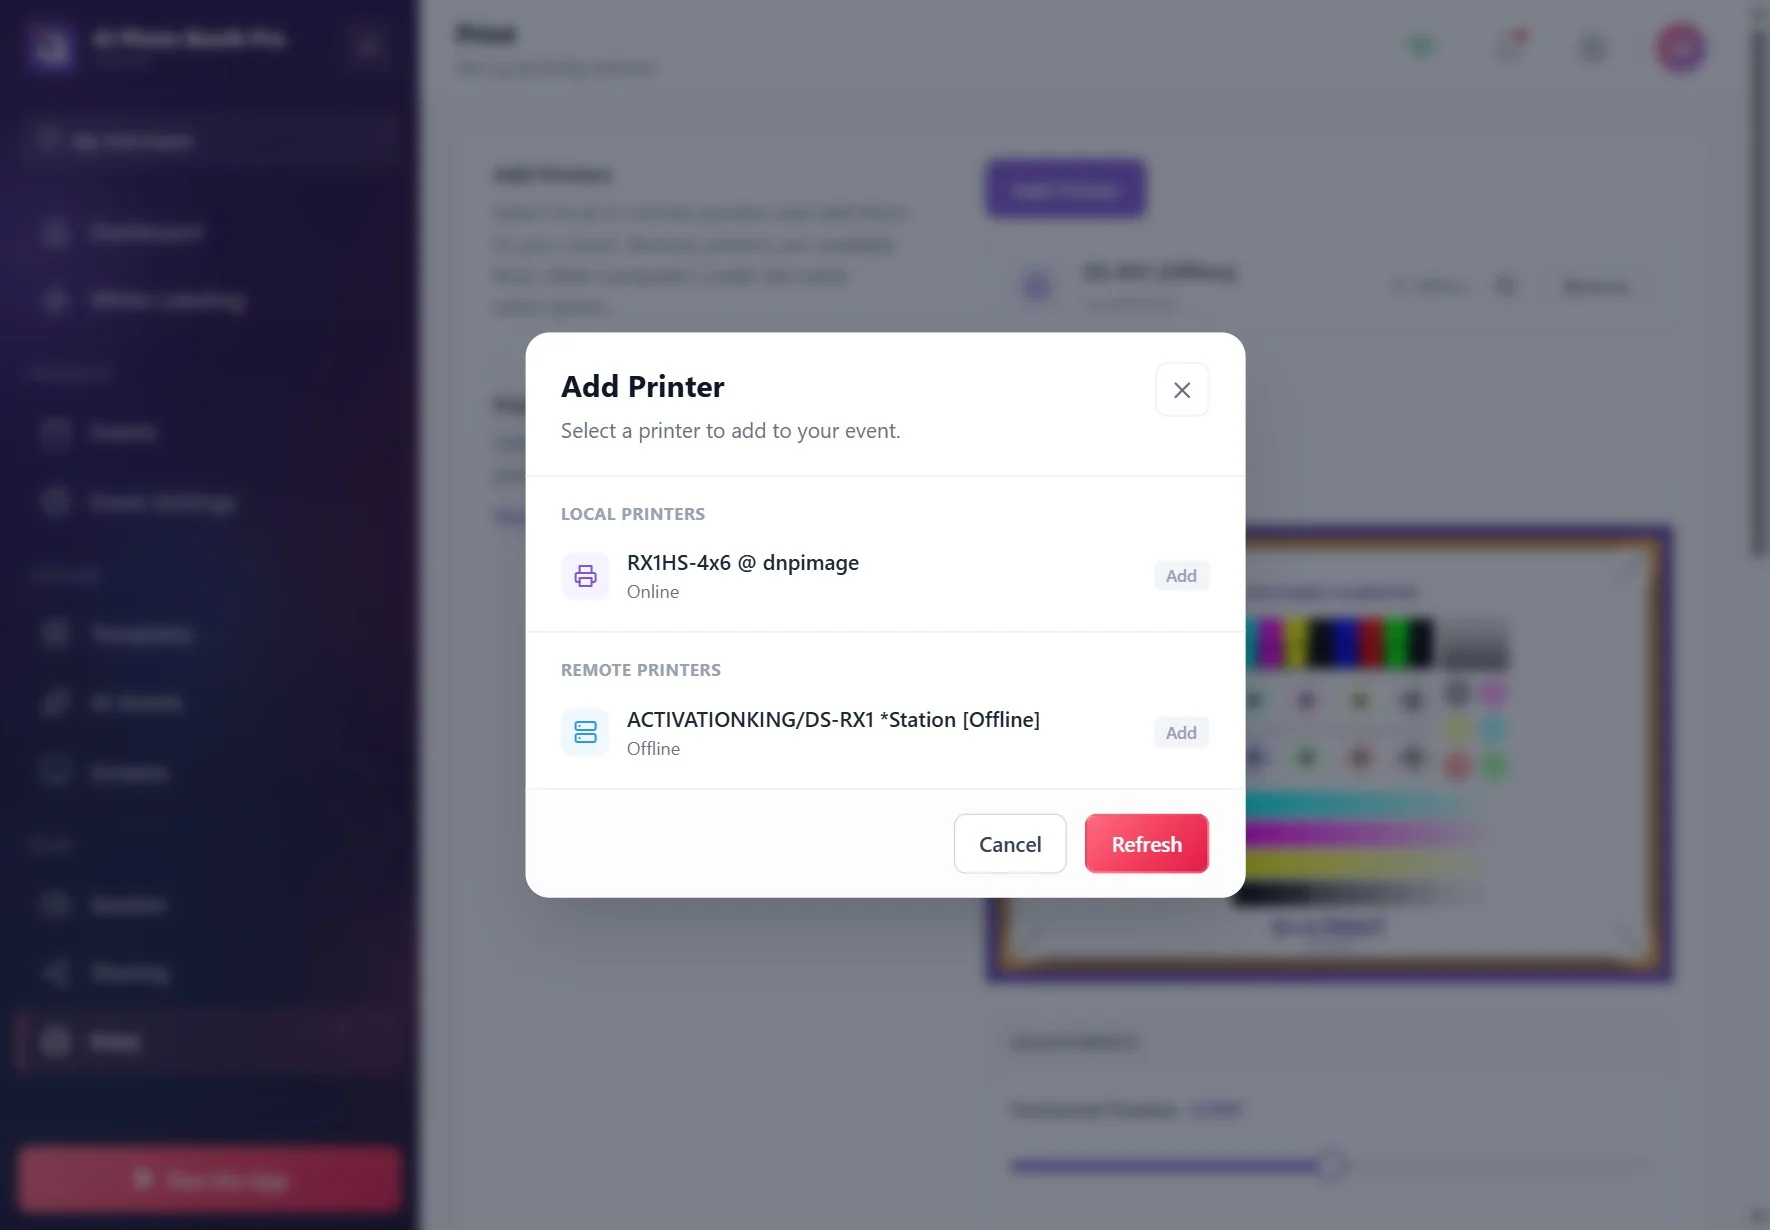
On the Print page, press Add Printer. In the window that opens, the printer appears under Local Printers; tap it to make it Added. If it is not in the list, wait a few seconds and press Refresh. If it is still not there, the printer either does not support network printing (IPP / AirPrint) or is not on the same network as the tablet.
🔎 Items on the screen: the Add Printer window; the Local Printers and Remote Printers groups; for each printer Online / Offline and Add / Added; at the bottom Cancel and Refresh
Step 3 · Confirm with a test print
Print, Printer Settings
Print a page with Test Print and check the paper with your own eyes. On a tablet, the app counts the print as successful as soon as the printer accepts the job; this does not show that the paper actually came out. If you changed printers, take the old printer out of the connected printers list with Remove and test again.
Printing wirelessly to a DNP or Citizen printer with the WCM module
WCM module
Print, Add Printer → WCM Printer
The wireless printing module (WCM), sold separately for DNP and Citizen thermal printers, makes the printer usable over Wi-Fi. While the tablet is on a network from which it can reach the WCM, the app finds the module automatically and lists it in the Add Printer window as WCM Printer; you don't need to enter an IP address. Add it and make a test print. The 2-inch cut also works via WCM on iPad and Android (see How to Enable 2 Inch Cut (Photo Strips)?).
Connecting the printer to a computer and printing from the tablet (remote station)
The printer is connected via USB to a Windows or Mac computer, and the app is open on the computer; the tablet sends the print to that computer over the internet, and the computer prints it. This is the easiest way for printers that cannot be connected directly to the tablet (e.g. USB DNP printers).
Step 4 · Prepare the computer
Computer → Print, Add Printer
On the computer, open the app with the same account as the tablet and select the same event. Connect the printer to the computer, add the printer under Local Printers in Print, Add Printer, and make a test print on the computer.
Throughout the event, the app must stay open on the computer and connected to the internet; if the computer goes to sleep or the app closes, the prints sent from the tablet do not come out.
Step 5 · Add the remote printer on the tablet
Tablet → Print, Add Printer → Remote Printers
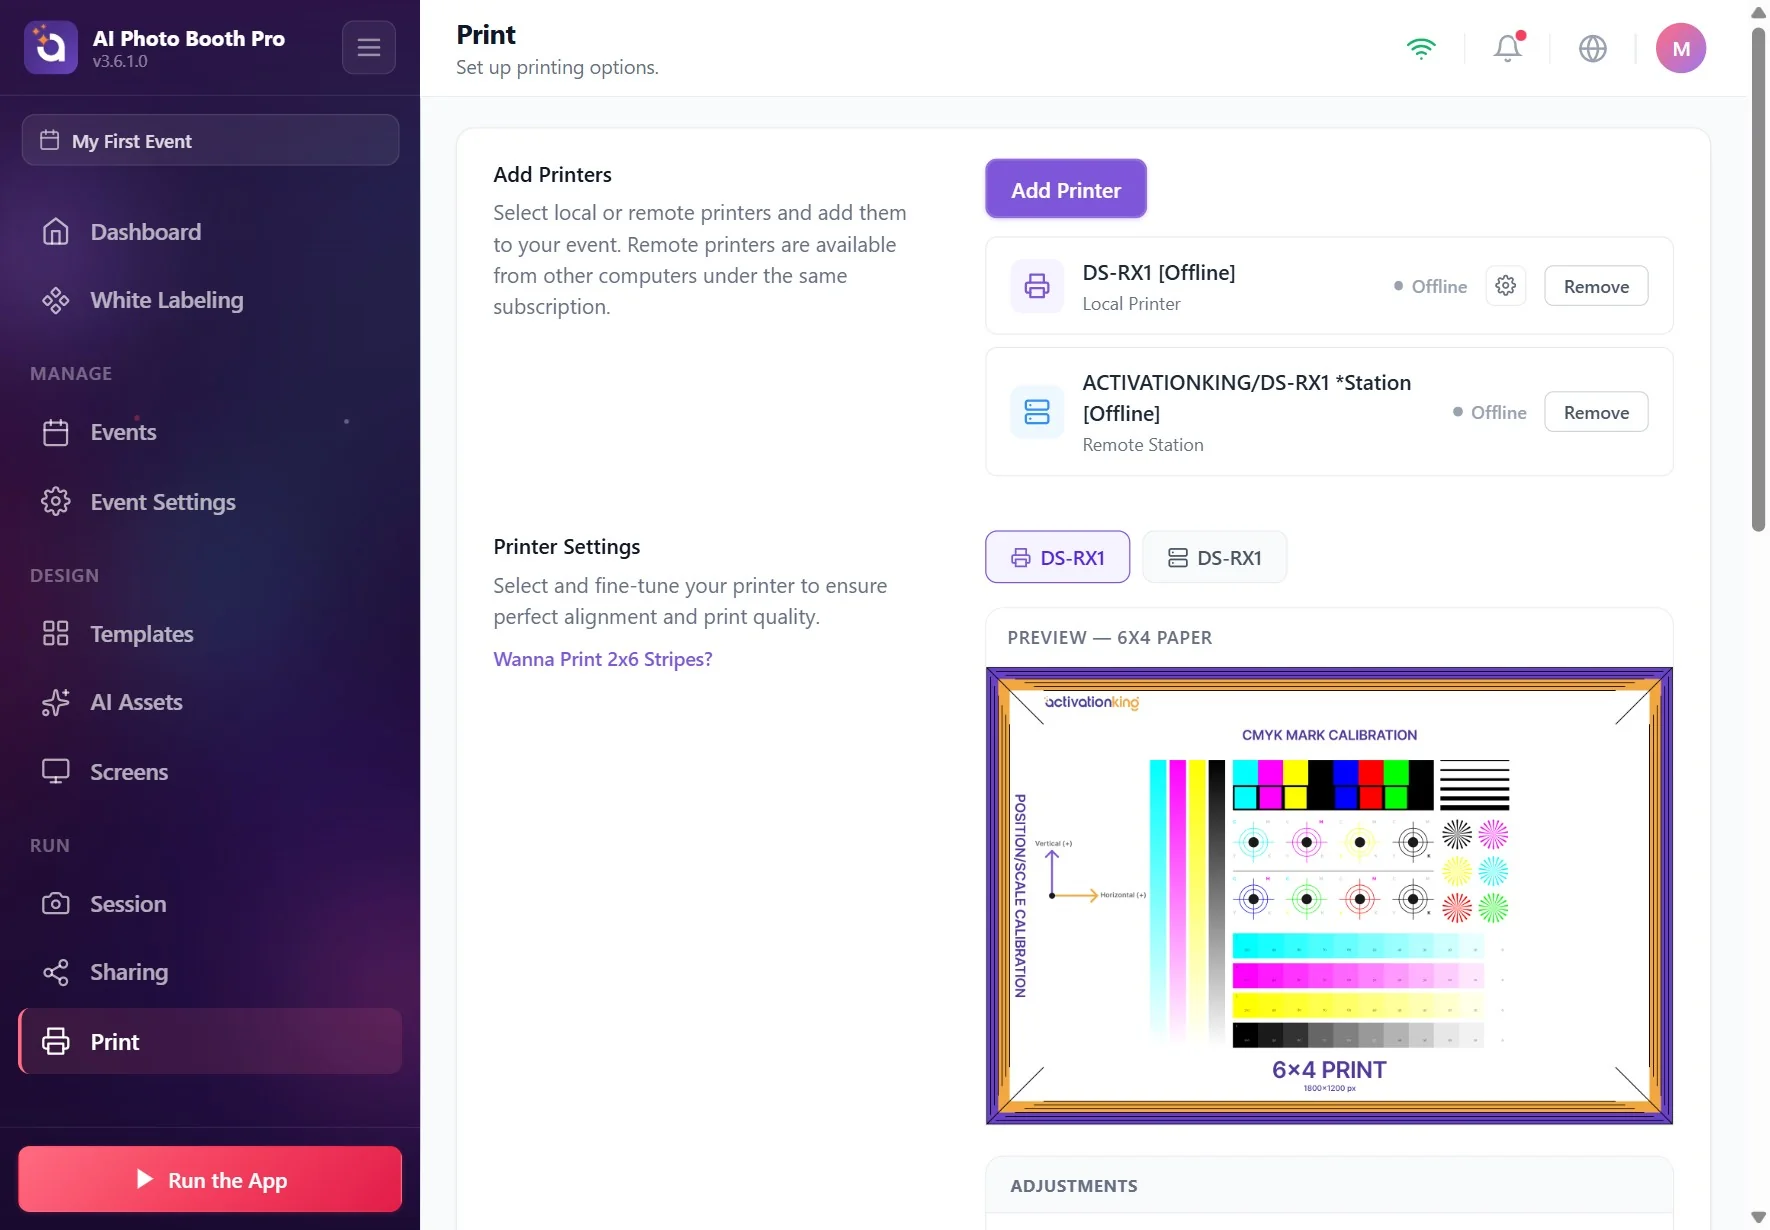
On the tablet, open the Add Printer window. The printer connected to the computer appears under Remote Printers (section description: Select local or remote printers and add them to your event. Remote printers are available from other computers under the same subscription.). Add it; in the connected printers list its row says Remote Station. From then on, the guest's print button and automatic printing work just as with a normal printer.
The print first waits for the photo to be uploaded to the cloud, so it may come out a few seconds later than on a local printer. When the test print on the tablet says it was sent to the queue, that does not mean the paper came out; check the printout at the station.
🔎 Items on the screen: in the connected printer row, the printer name, the Remote Station label and the status (e.g. Ready); the Remove button
3.6.0 and later: for a print that could not be printed at the station (out of paper, printer off, etc.), a warning titled Print Failed appears on the tablet that sent the job. In older versions no warning appears on the tablet; check the printout at the station with your own eyes.
Connecting a DNP printer directly via USB on Android
Step 6 · Plug in and add the printer
Android → Print, Add Printer → Local Printers
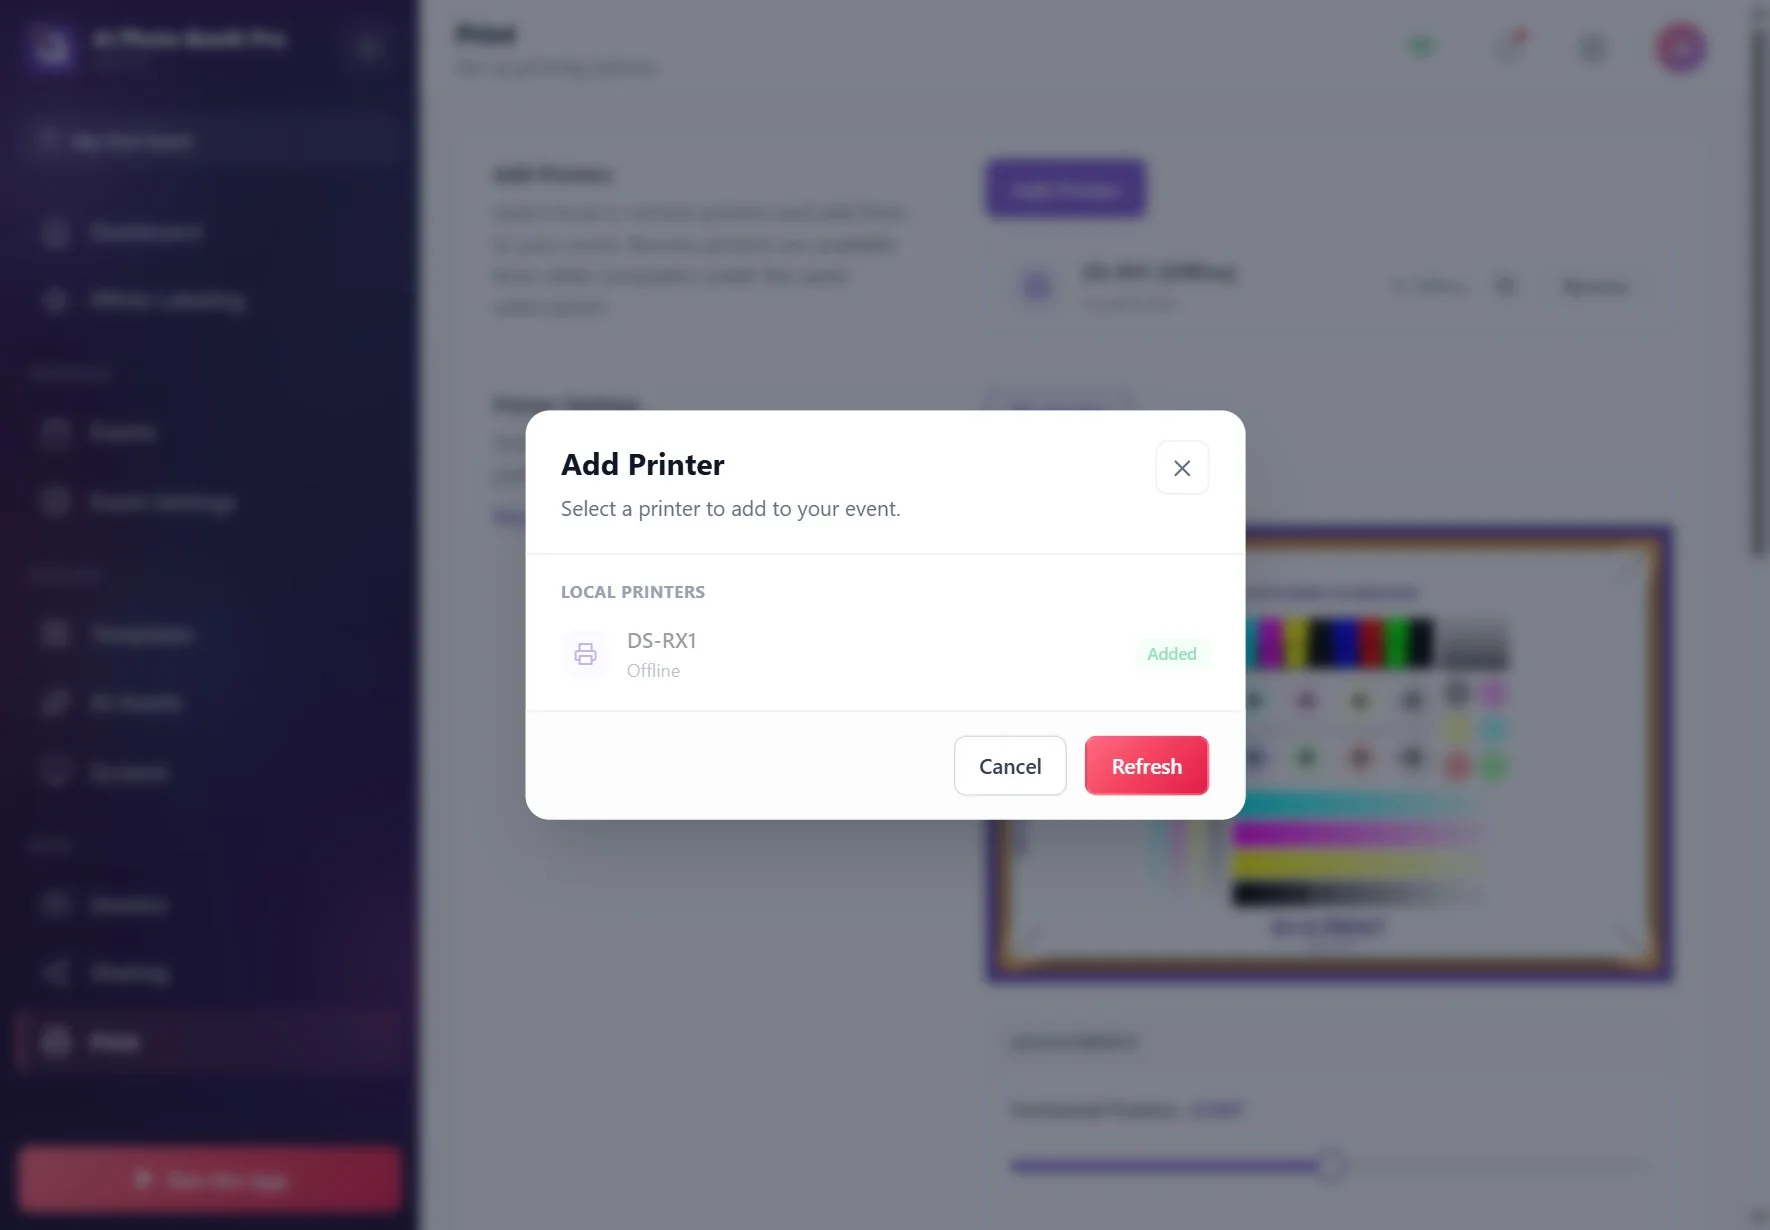
Plug the DNP printer into the Android device with a USB cable (on a tablet you usually need a USB-C / OTG adapter). The printer appears under its own name under Local Printers in the Add Printer window; add it. On the first print, Android opens a USB permission window; allow it, and if the window offers an option to make the app the default for this device, check it. This connection came with version 3.3.0; detailed steps are in step 14 of the How to Make Print Settings? document.
Only 4×6 (6×4) templates and 2×6 strips printed on 4×6 paper are printed; for sizes such as 6×8, 5×7 or 6×6, the job is not sent to the printer and the print fails.
The 2-inch cut has been verified only on the DS-RX1.
Conditions such as out of paper or cover open are not shown over this connection; when the cable is unplugged, the printer becomes Offline.
Which printers work?
There is no approved printer list: test first
The app has no approved printer list for tablets. Whether a printer works from a tablet depends on the connection method: with a network printer, the printer must support network printing (IPP / AirPrint); with WCM, you need the DNP or Citizen module; with a remote station, the printer must work on the computer; with Android USB, the printer must be a DNP. Always make a test print with the same setup before going to the event.
Related topics
How to Make Print Settings? Printing Problems, Symptom, Cause, Solution How to Enable 2 Inch Cut (Photo Strips)?
