
Before this: How to Create an Event?
The print settings page is on the Print tab in the Run group in the left menu and only works when an event is selected. It consists of four parts: (1) Add Printer — connecting local (USB) or remote (station) printers and monitoring their status; (2) Printer Settings — alignment/scale fine-tuning, test/preview paper size, and test print for each printer; (3) Printing Behavior — automatic printing and number of copies with manual print button; (4) Print Limits — print limits per event/session. 2 inch cutting (2x6 strips) is only available on DNP/Citizen printers and is described in detail in the separate '2 Inch Cut' document.
- event-creation
step by step
Step 1 · Open the print settings page
Settings — Print
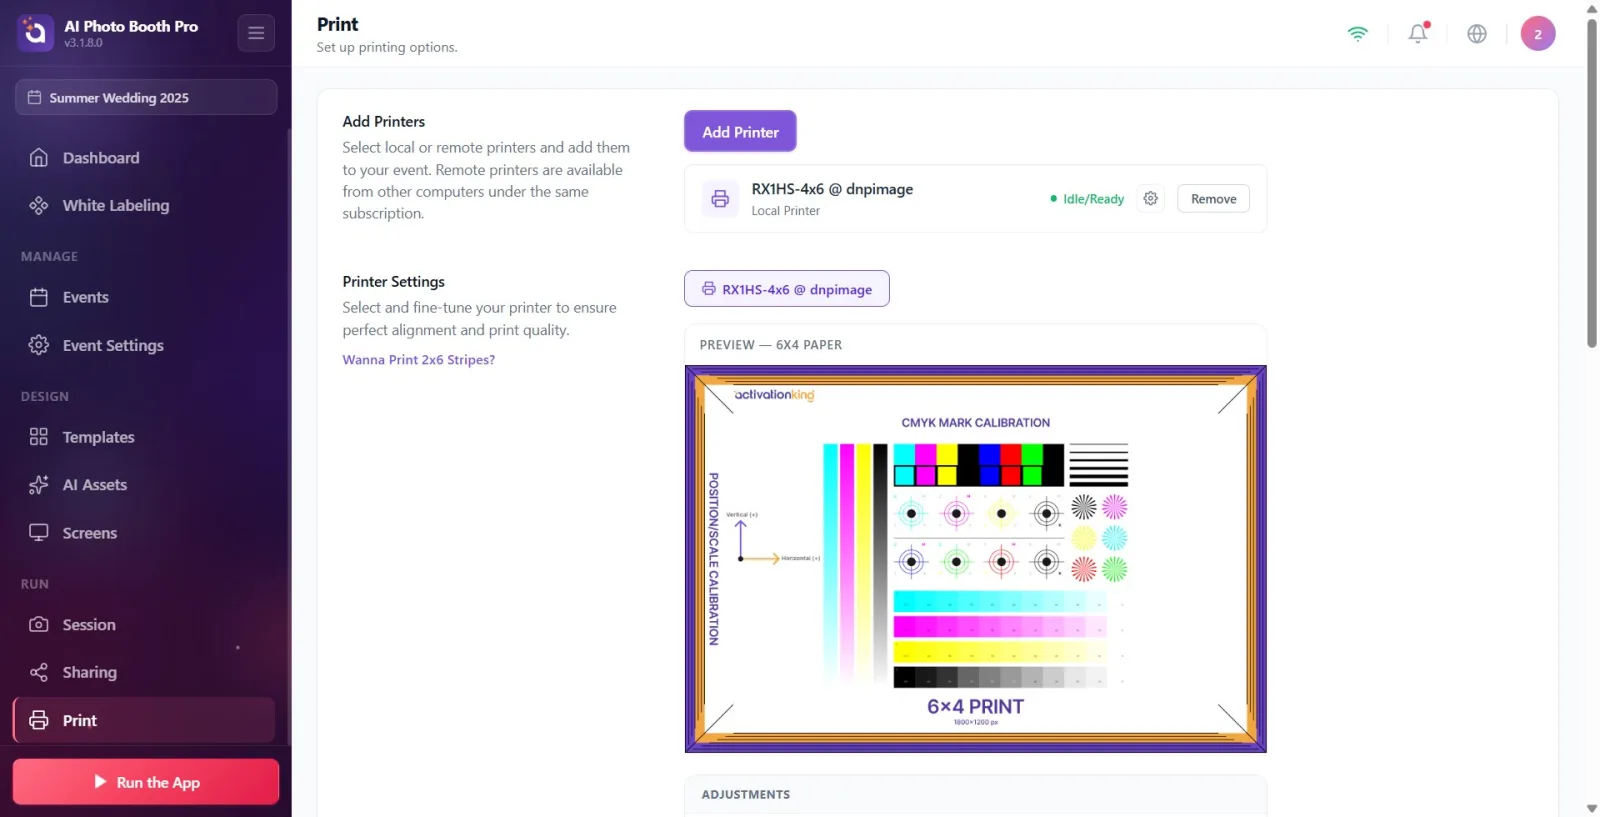
Click the Print tab in the Run group in the left menu. The page opens with the description Set up printing options. at the top. This page can only be accessed when an event is selected. The page contains four sections: Add Printer, Printer Settings, Printing Behavior and Print Limits.
🔎 Items on the screen: Left menu Run group → Print item (printer icon); Single page with four sections.
Step 2 · Open the add printer window
Print — Add Printer
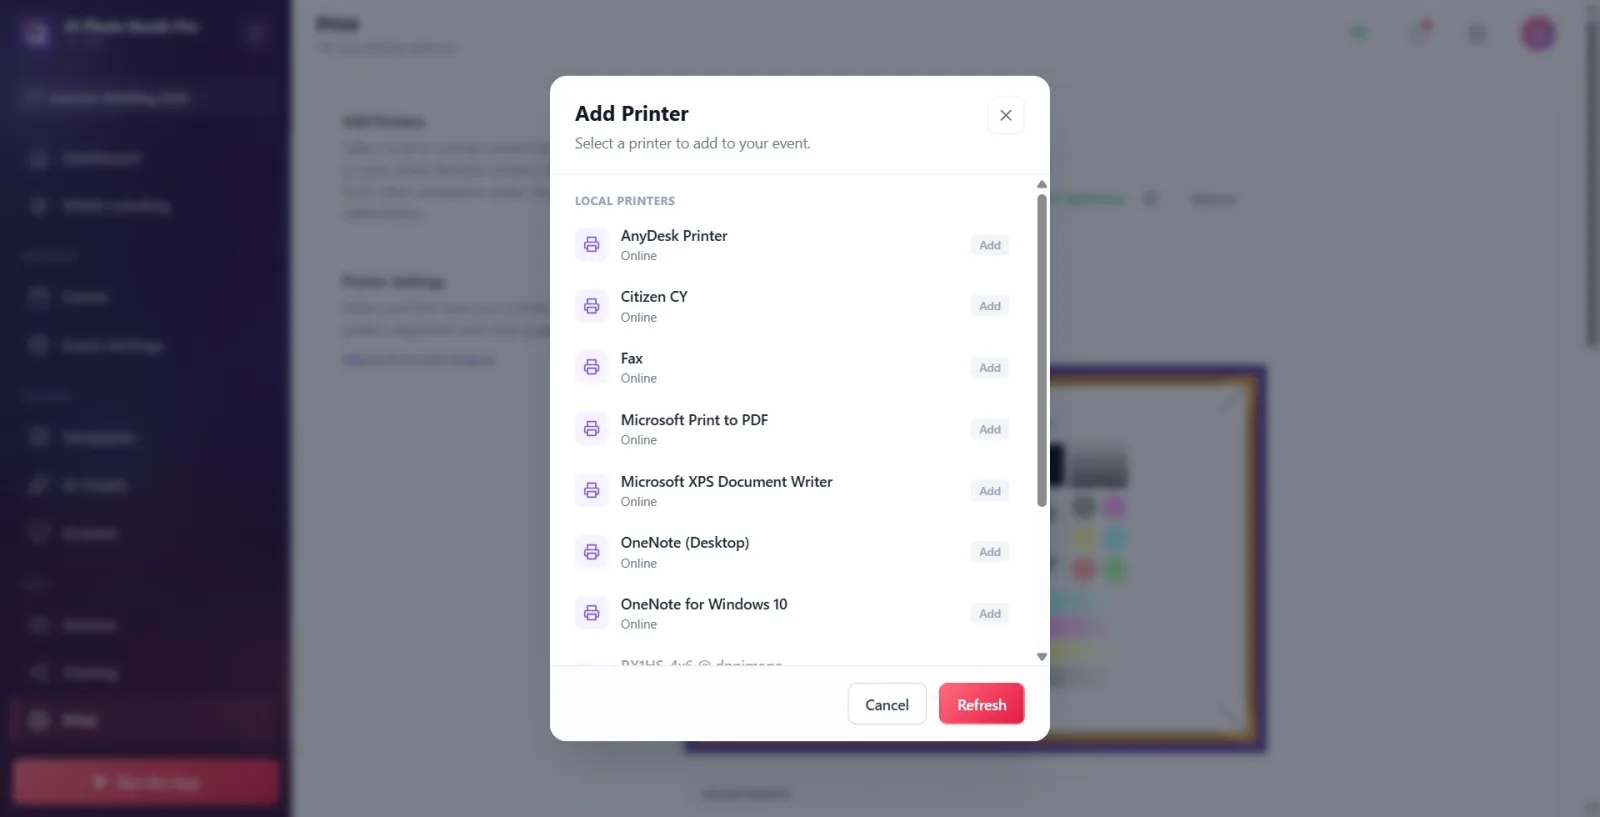
In the Add Printer section ('Select local or remote printers and add them to your event. Remote printers can be accessed from other computers under the same subscription.') click the purple 'Add Printer' button. In the window that opens ('Select a printer to add to your activity.') the printers on the system are listed in two groups: 'Local Printers' (connected to this computer via USB) and 'Remote Printers' (stations connected to other computers in the same subscription).
🔎 Items on the screen: Purple Add Printer button; Local Printers / Remote Printers groups in the opened modal; Cancel and Refresh in the bottom row.
Step 3 · Select and add printer
Print — Add Printer
Click the printer you want to add from the list — the badge on the right will change from Add to Added. Under each printer, the status Online / Offline is written. If the printer you just connected is not in the list, rescan the printers with Refresh. If there is no printer, the message No printers found appears. When finished, close the window with Cancel (or free space).
🔎 Items on the screen: Each line: printer name + Online/Offline + Add/Added badge; bottom: Cancel, Refresh; No printers found if empty.
Step 4 · Review connected printers and their status
Print — Add Printer
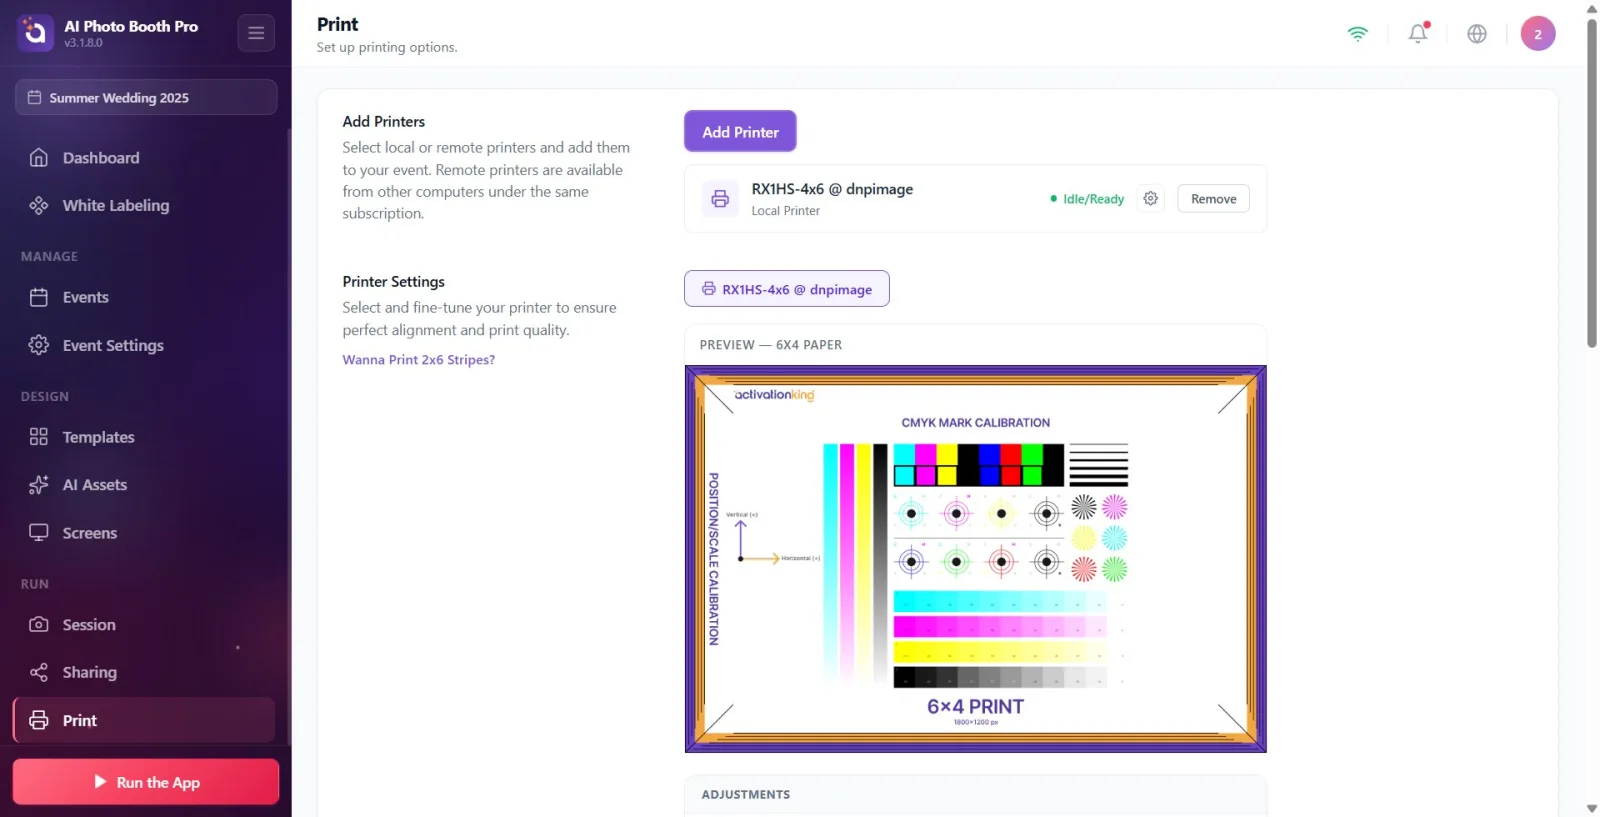
When you close the window, the printers you added will be listed in the Add Printer section. Each line contains the printer name, type (Local Printer or Remote Station), colored status dot, and status text (e.g., Ready, Paper Out, Paper Jam, Busy, Printing, Offline). On local printers, the operating system's Printer Settings window can be opened with the gear icon (Windows and Mac only; this icon is not available on remote stations and mobile). Press Removeto deactivate a printer.
🔎 Elements on the screen: Line: name + Local Printer/Remote Station + status point + status text; gear icon (OS printer settings, Windows/Mac only); Remove button.
Step 5 · Select printer tab for fine tuning
Print — Printer Settings
The Printer Settings section ('Select and fine-tune your printer to ensure perfect alignment and print quality.') shows a tab for each connected printer. Fine-tuning (alignment/scale) values are stored separately for each printer; Load the values of that printer by clicking on the tab of the printer you want to adjust.
🔎 On-screen items: Printer selection tabs (one tab for each connected printer); Wanna Print 2x6 Stripes? connection.
Step 6 · Select test/preview paper size
Print — Printer Settings
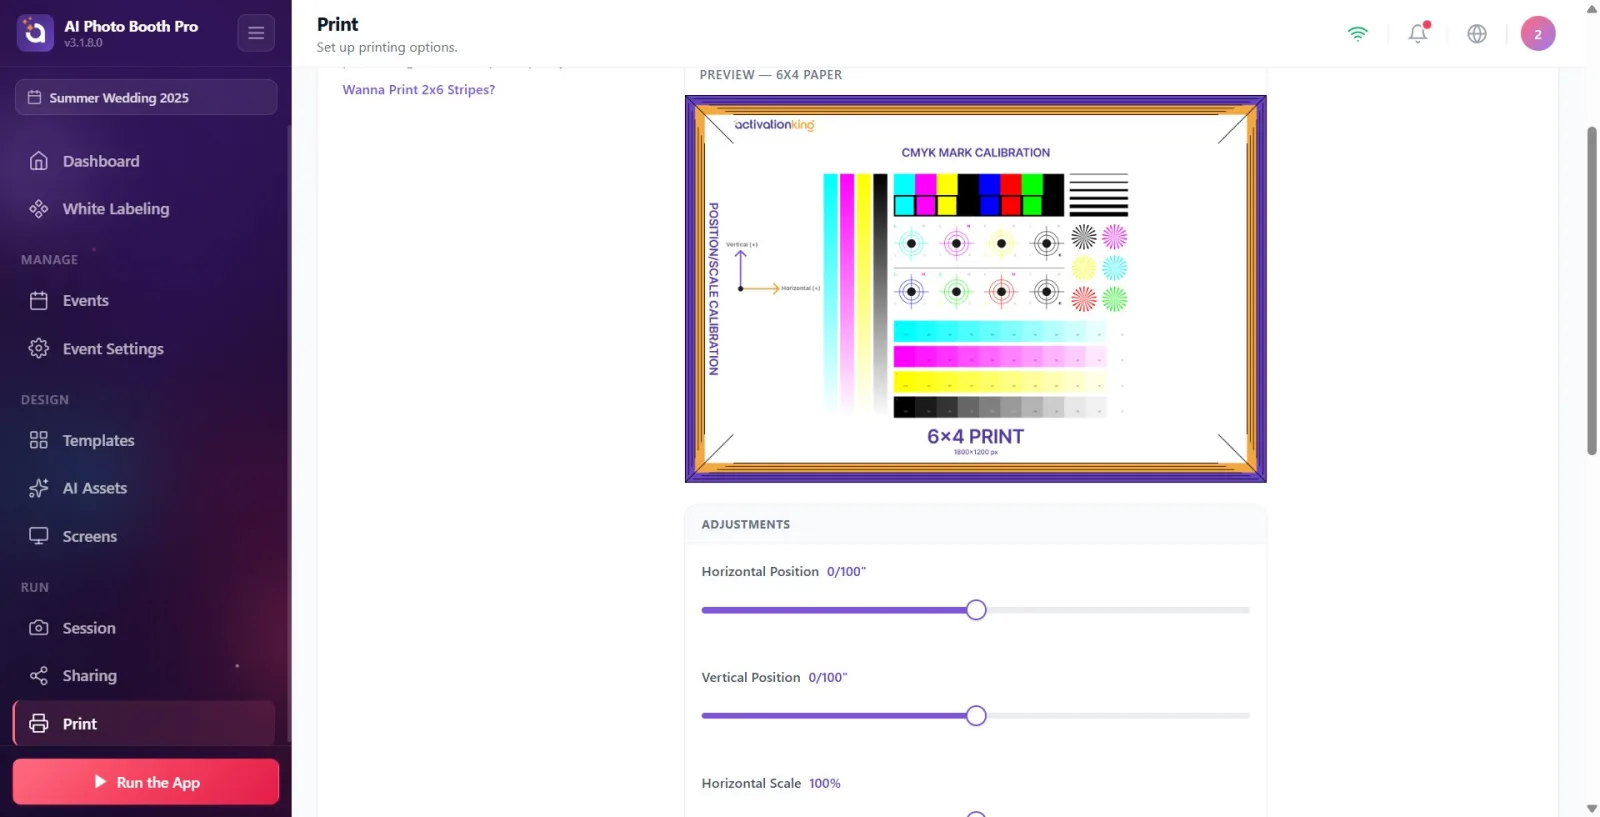
Select a size from the paper size drop-down menu at the bottom of the section: '6x4 Paper', '4x6 Paper', '6x6 Paper', '6x8 Paper' or '8x6 Paper' (inches). This selection only affects the top box Preview and Test Print — the size of the actual event print comes from the size of the template used, not from it. The preview box is displayed in the aspect ratio of the selected paper (such as 'Preview — 6x4').
🔎 Items on the screen: Paper size drop-down menu (6x4/4x6/6x6/6x8/8x6 Paper); Preview box titled Preview.
Step 7 · Adjust image alignment (Horizontal/Vertical Position)
Print — Printer Settings
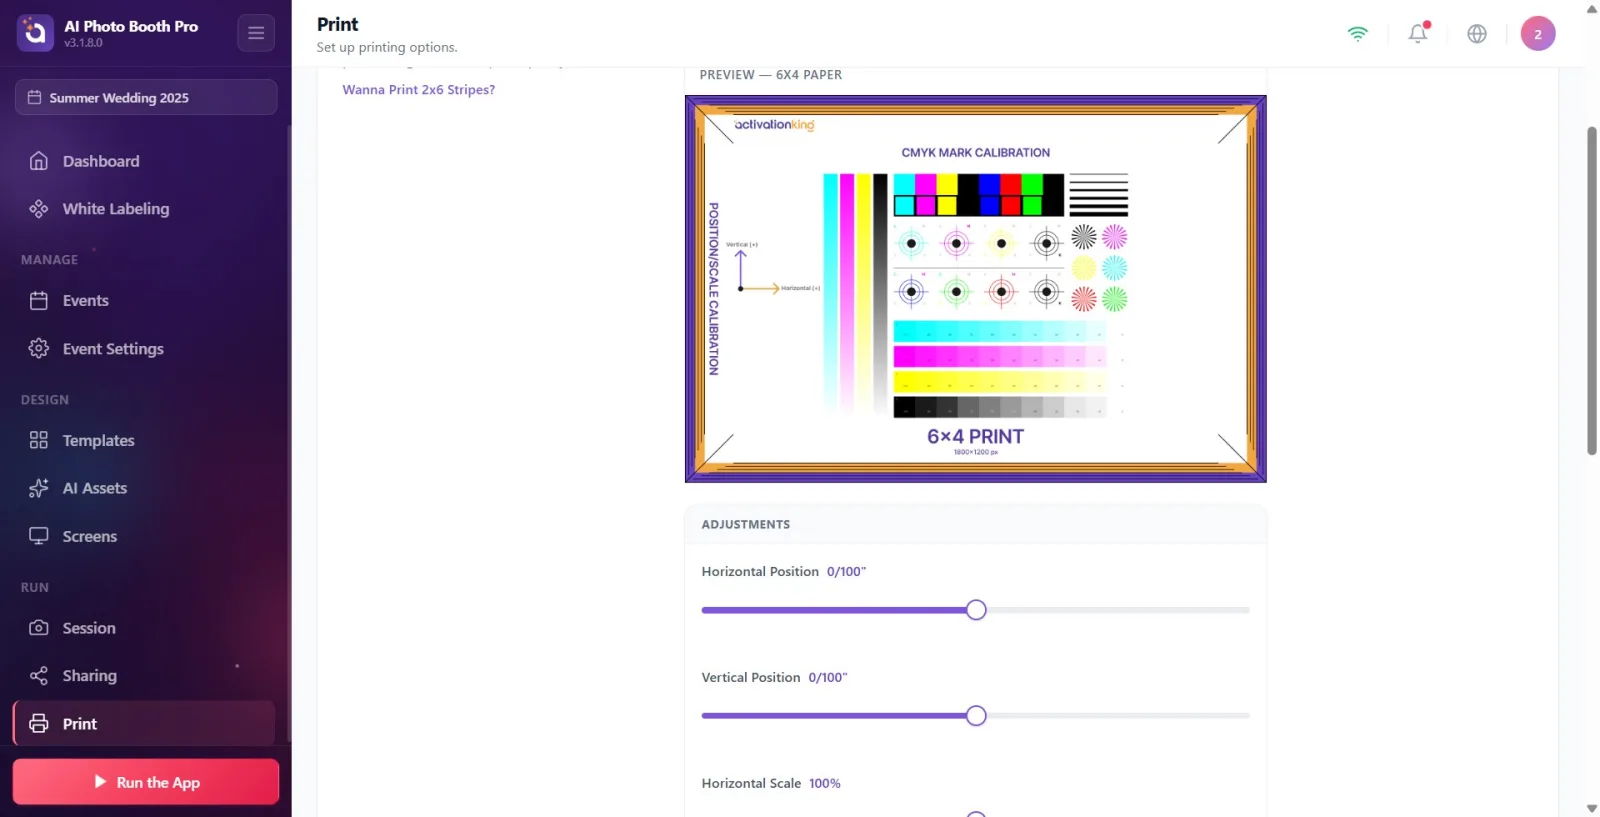
Slide the image on the paper with the sliders Horizontal Position and Vertical Position in the Adjustments panel. Range -20 to +20, step 0.25 (unit 1/100 inch; value shown next to slider). The Preview box immediately reflects the change. Values are saved automatically — there is no separate Save button; It is written to that printer about a quarter of a second after the drag is finished.
🔎 Elements on the screen: Adjustments title; Horizontal Position and Vertical Position sliders (-20 … +20, step 0.25); live Preview box.
Step 8 · Adjust image scale (Horizontal/Vertical Scale)
Print — Printer Settings
Enlarge or reduce the image with the Horizontal Scale and Vertical Scale sliders in the same Adjustments panel. Range 80% to 120%, step 0.5 (value shown as a percentage). If there is a white margin or bleed on the paper, fix it with these two sliders. The values are saved automatically again.
🔎 Elements on the screen: Horizontal Scale and Vertical Scale sliders (80% … 120%, step 0.5).
Step 9 · Take a test print
Print — Print Output Previewer
Press the Test Print button to verify the settings — the Print File Viewer window opens ('This preview helps you detect possible color shifts by comparing colors on the screen to the printed paper before the final print.'). Take a real test print from the selected printer with the 'Print Test Page' button. The result is reported on the screen with a toast: Test print completed, Test print failed or (if the printer has queued it) Test print sent to queue.
🔎 Items on the screen: Test Print button; In the opened modal, the image of the selected paper, the Print Test Page button and ✕ close.
Step 10 2 inch cut / 2x6 strip (snapshot—separate document)
Print — Printer Settings
On DNP/Citizen thermal printers, cutting for 2x6 photo strips is managed separately. On Windows the 'Calibrate 2 inch Cut' button appears in the 'Printer Settings' section (Windows only; on Mac the cut runs automatically via CUPS, no calibration required). The Wanna Print 2x6 Stripes? link opens the Printing 2x6 Stripes information window (closed by Got it), which summarizes the Windows and macOS steps. Detailed explanation is in the separate '2 Inch Cutting' document.
🔎 Items on the screen: Wanna Print 2x6 Stripes? link; Calibrate 2 inch Cut button (Windows only); Printing 2x6 Stripes information modal + Got it.
Step 11 · Printing behavior — manual toggle Print button
Print — Printing Behavior
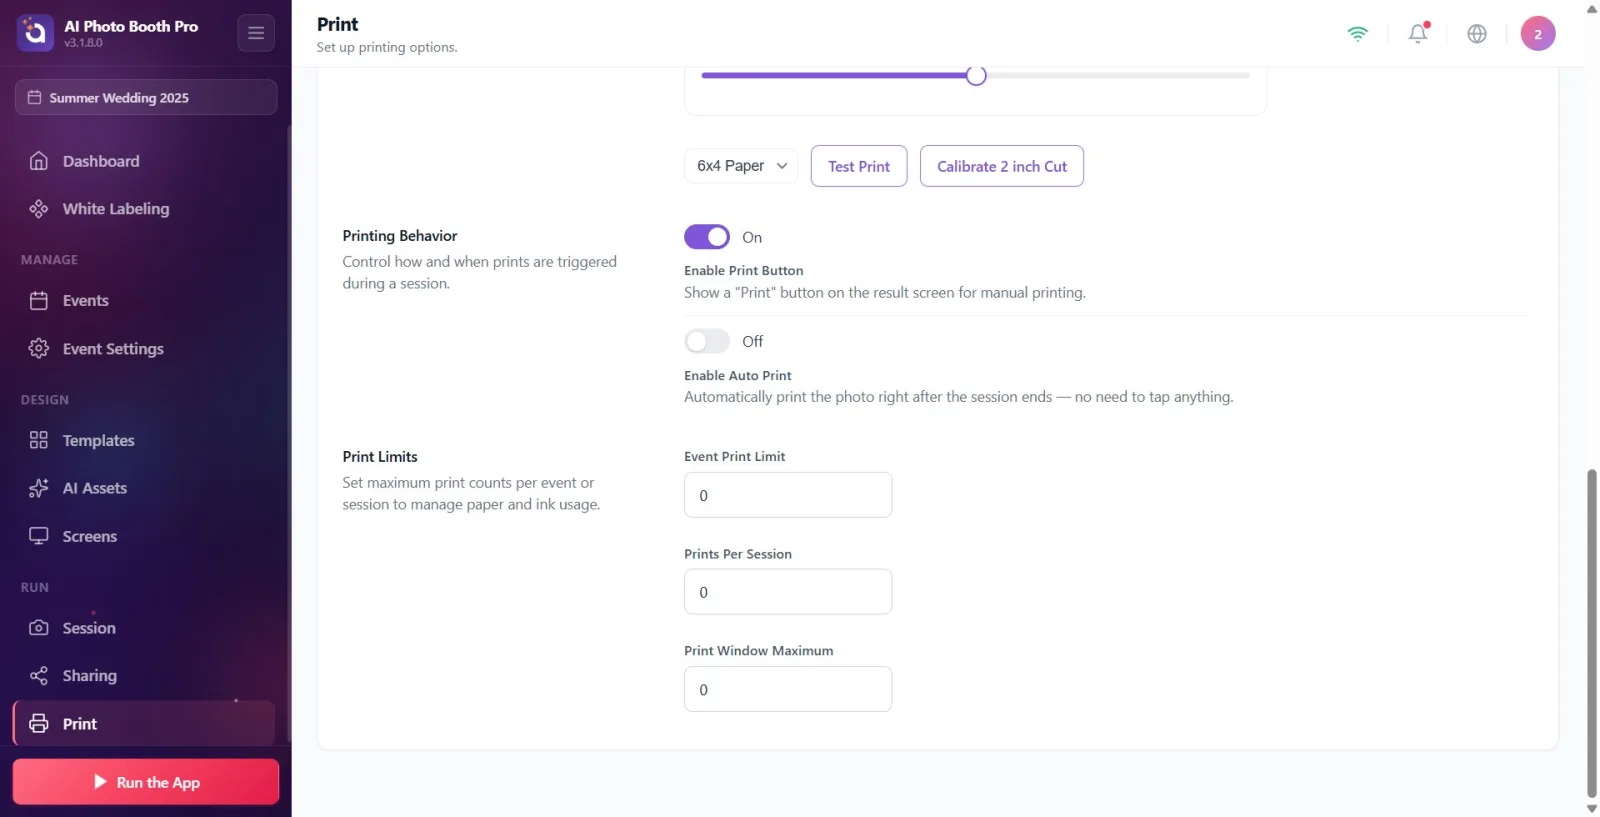
In the Printing Behavior section ('Control how and when prints are triggered during the session.') turn the 'Enable Print Button' switch on or off (shown as 'On'/'Off'). When on, guests are presented with a manual Print button ('Show a Print button on the results screen for manual printing.') on the results screen.
🔎 Items on the screen: Enable Print Button on/off switch; status text On/Off.
Step 12 · Set automatic printing and number of copies
Print — Printing Behavior
If you turn on the Enable Auto Print switch, the photo will be automatically printed as soon as the session ends ('Automatically print the photo immediately after the session ends — no need to touch anything.'). When the switch is on, the 'Auto Print Quantity' slider appears below it; Determine how many copies will be printed at the end of the session by selecting a value between 1 and 5 (How many copies to print automatically when the session ends.).
🔎 Items on the screen: Enable Auto Print key; Auto Print Count slider visible when on (1 … 5).
Step 13 · Set printing limits
Print — Printing Limits
In the Print Limits section ('Set a maximum number of prints per event or session to manage paper and ink usage.') fill in three numeric fields: 'Event Printing Limit' (total prints allowed across the entire event; e.g. 5000), Prints Per Session (maximum that can be printed in a single session; e.g. 3) and Print Window Maximum (maximum number of copies allowed in a single print run; e.g. 2, default 5 if null/invalid). If event and session fields are left less than 1 or blank, they are considered 'unlimited'.
🔎 Elements on the screen: Event Print Limit, Prints Per Session, Print Window Maximum number input boxes.
Fine adjustment (H/V Position and Scale) is stored INDIVIDUALLY for each printer. If there is more than one printer, select the correct printer tab first, then move the sliders.
Fine-tune values do not have a separate Save button; It is automatically saved shortly after the scroll is finished. The last value is retained even if you turn off the screen immediately.
The paper size menu in Test Print is for testing and preview only; The actual size of guest prints comes from the size of the template.
Remote printers (Remote Station) are printers connected to another computer under the same subscription; You can send prints to them on this computer without needing a USB.
The Printer Settings gear icon (OS printer window) appears only on Windows and Mac and on local printers only; It is not available on remote stations and mobile devices.
The Test print sent to queue message does not guarantee that the print is released; Especially with remote station printers, output is completed in the background. If the printer is offline/no paper the result is Test print failed.
2 inch cutting only makes sense on thermal sublimation printers such as DNP/Citizen and should only be used with 2x6 ribbon layout templates — detail in the '2 Inch Cutting' document.
Only in video mode Enable Print Button can remain off: the activity of the print button is automatically derived from the selected capture mode (photo/GIF/boomerang on and not pure video). If you want prints, make sure photo/GIF/boomerang is turned on in capture mode.
Leaving the 2 inch cutout open on normal (single frame) photos: the cutout only works correctly on a 2x6 strip layout, leaving it on on a normal photo will slice the output down the middle.
Test print turned out to be the wrong size: not selecting the correct size from the paper size menu for the test. If no size is specified, the DNP printer falls to the driver default (e.g. 6x8).
Not realizing after tweaking that you are on the wrong printer tab: values are written to the printer in the tab; Before switching to another printer, verify that the printer you want to make settings for is in the tab.
The printer you added appears as Offline: check USB cable on local printer, network connection on WCM Pro/wireless printer; then press Refreshin the adding window.
Leaving the activity/session limit fields as 0 or blank and thinking that 'I have set a limit': A value less than 1 means 'unlimited'; Enter a positive number for the actual limit.
Related topics
2 Inch Cut Sharing Settings
