
Before this: How to Create an Event?
In AI Photo Booth Pro, when you create a template, orientation (portrait/landscape) and size are set on step 2 of the wizard, the "Select a size" screen. There is no separate portrait/landscape button — orientation is embedded in the size you choose: each measurement has two versions (e.g., 4×6 portrait, 6×4 landscape). Sizes are offered in three sections: Print (physical printing, inches), Digital (screen/sharing, pixels) and Custom (enter your own measurement). The size you choose determines the canvas aspect ratio; for Print sizes it also represents the physical paper measurement (the pixel values are the 300 DPI print resolution). The size can also be changed later in the editor.
- Having opened the template creation wizard (New Template)
- Having selected the template type (e.g., Photo) on step 1 of the wizard
- If you will print, knowing the target paper/printer size (4×6, 2×6, etc.)
Step by step
Step 1 · Reach the "Select a size" step in the wizard
New Template > Step 2: Select a size
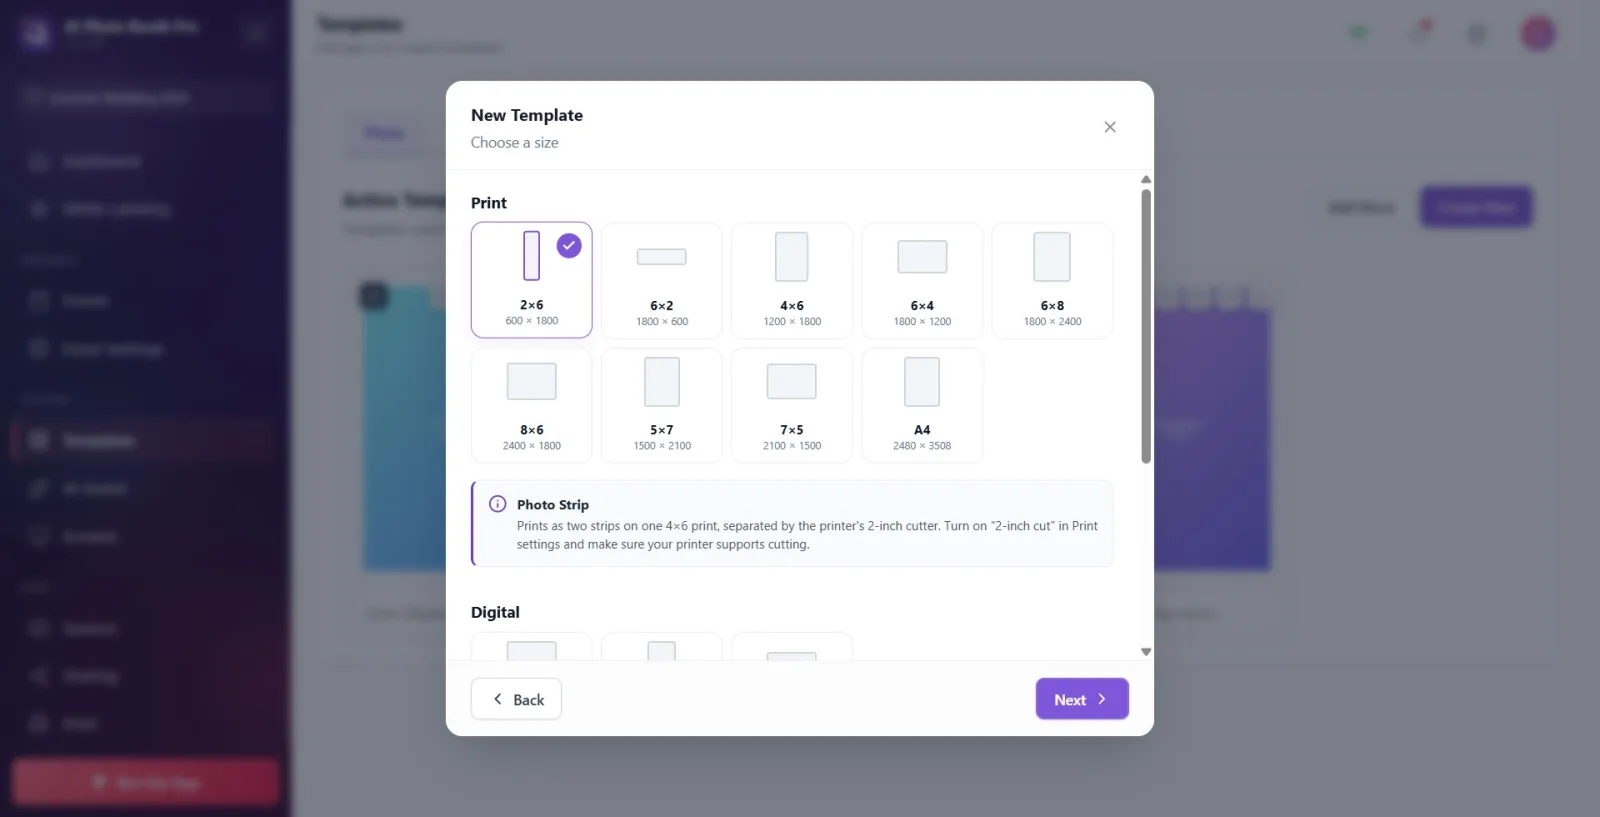
After selecting the type in the New Template wizard, move to step 2 (Size) with "Next". The header reads "Select a size".
🔎 On-screen elements: the New Template modal; top header "Select a size"; at the bottom, "Back" and "Next" buttons. Wizard order: Select a template type → Select a size → Select a layout → Select a style.
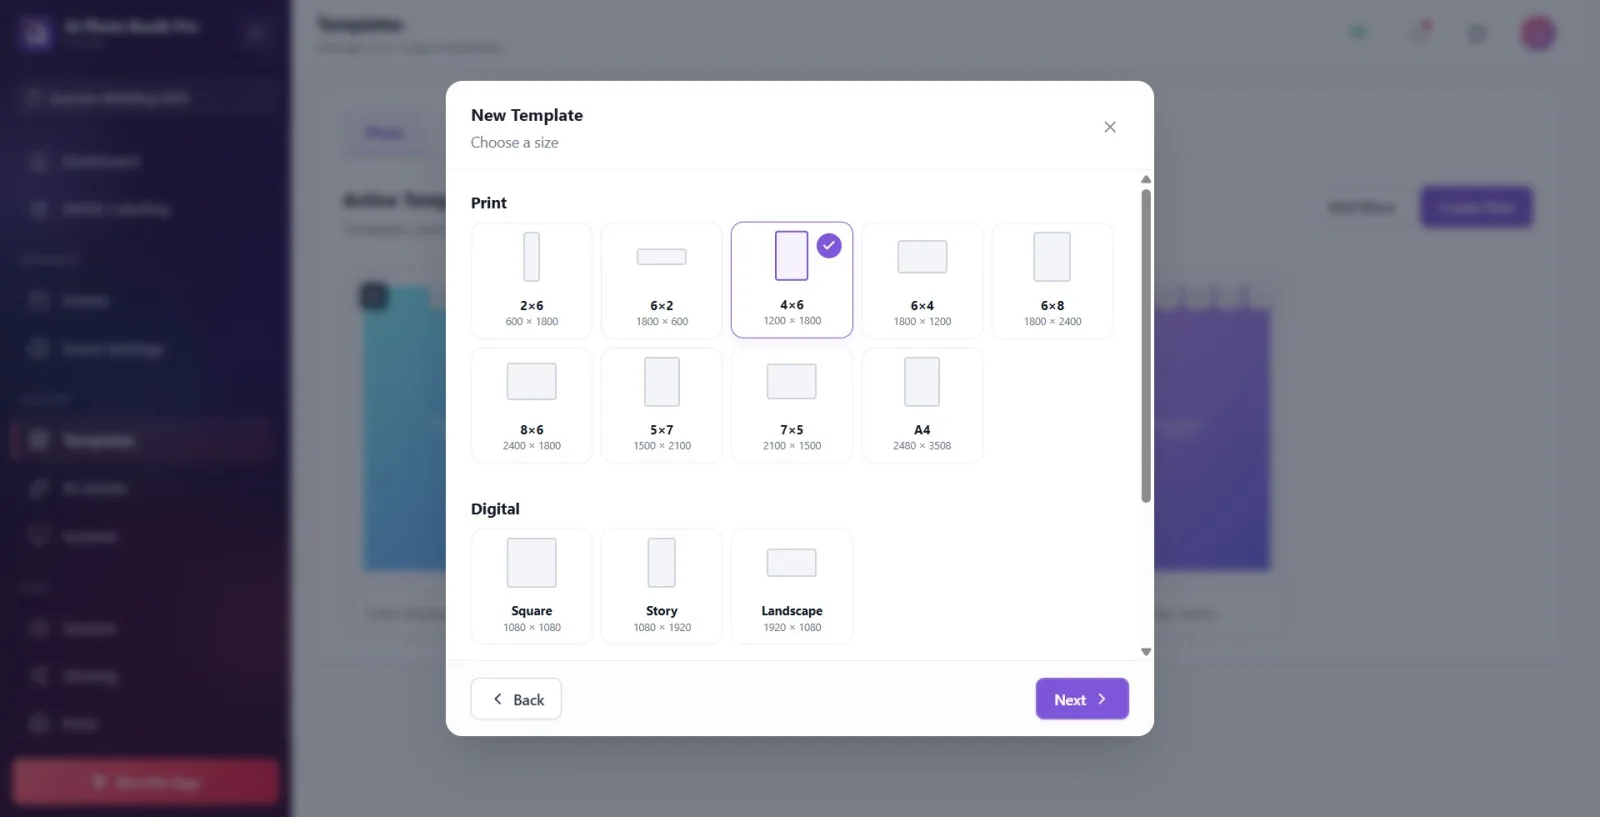
Step 2 · Tell portrait and landscape cards apart from the shape preview
New Template > Step 2: Select a size
Look at the small gray shape at the top of each size card: a tall-upright rectangle is portrait, a wide-flat rectangle is landscape. The description under the card name shows the pixel measurement.
🔎 On-screen elements: a size card: at the top a shape preview that narrows and stretches according to the orientation (fitted into a 48 px box), below it the size name (e.g., "4×6") and description (e.g., "1200 × 1800"). A check mark appears at the top right of the selected card.
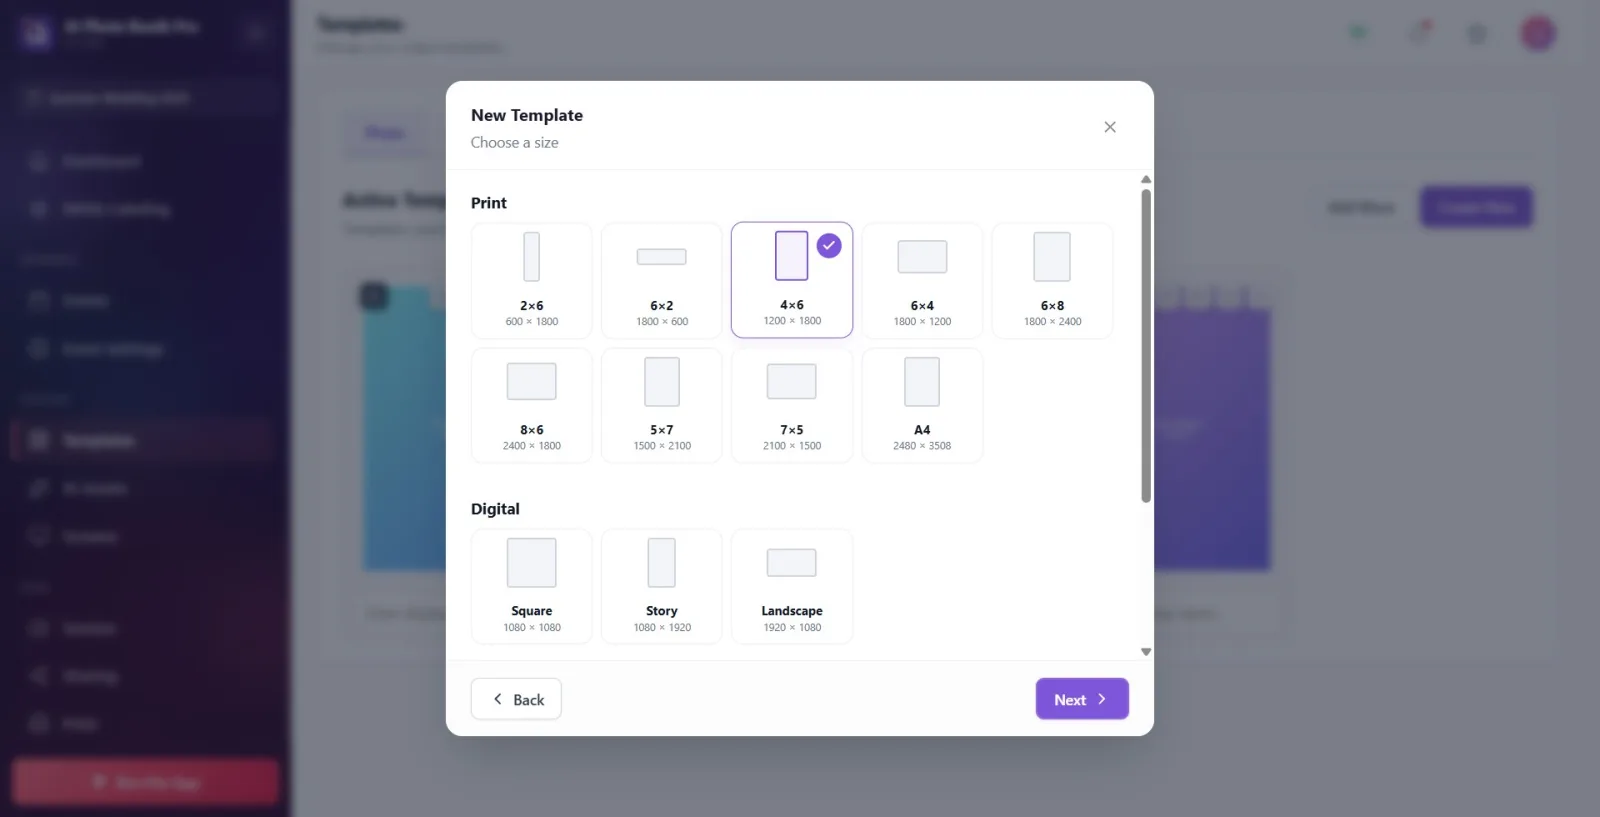
Step 3 · Choose a print size (Print section) — portrait/landscape pairs
New Template > Step 2 > Print section
For printing, choose a size from the "Print" section. The portrait and landscape versions of the same measurement are separate cards: the first number in the name is the width, the second is the height (inches). 4×6 portrait, 6×4 landscape; 6×8 portrait, 8×6 landscape; 5×7 portrait, 7×5 landscape.
🔎 On-screen elements: "Print" section cards: 2×6 (600 × 1800), 6×2 (1800 × 600), 4×6 (1200 × 1800), 6×4 (1800 × 1200), 6×8 (1800 × 2400), 8×6 (2400 × 1800), 5×7 (1500 × 2100), 7×5 (2100 × 1500), A4 (2480 × 3508). By default 4×6 comes selected.
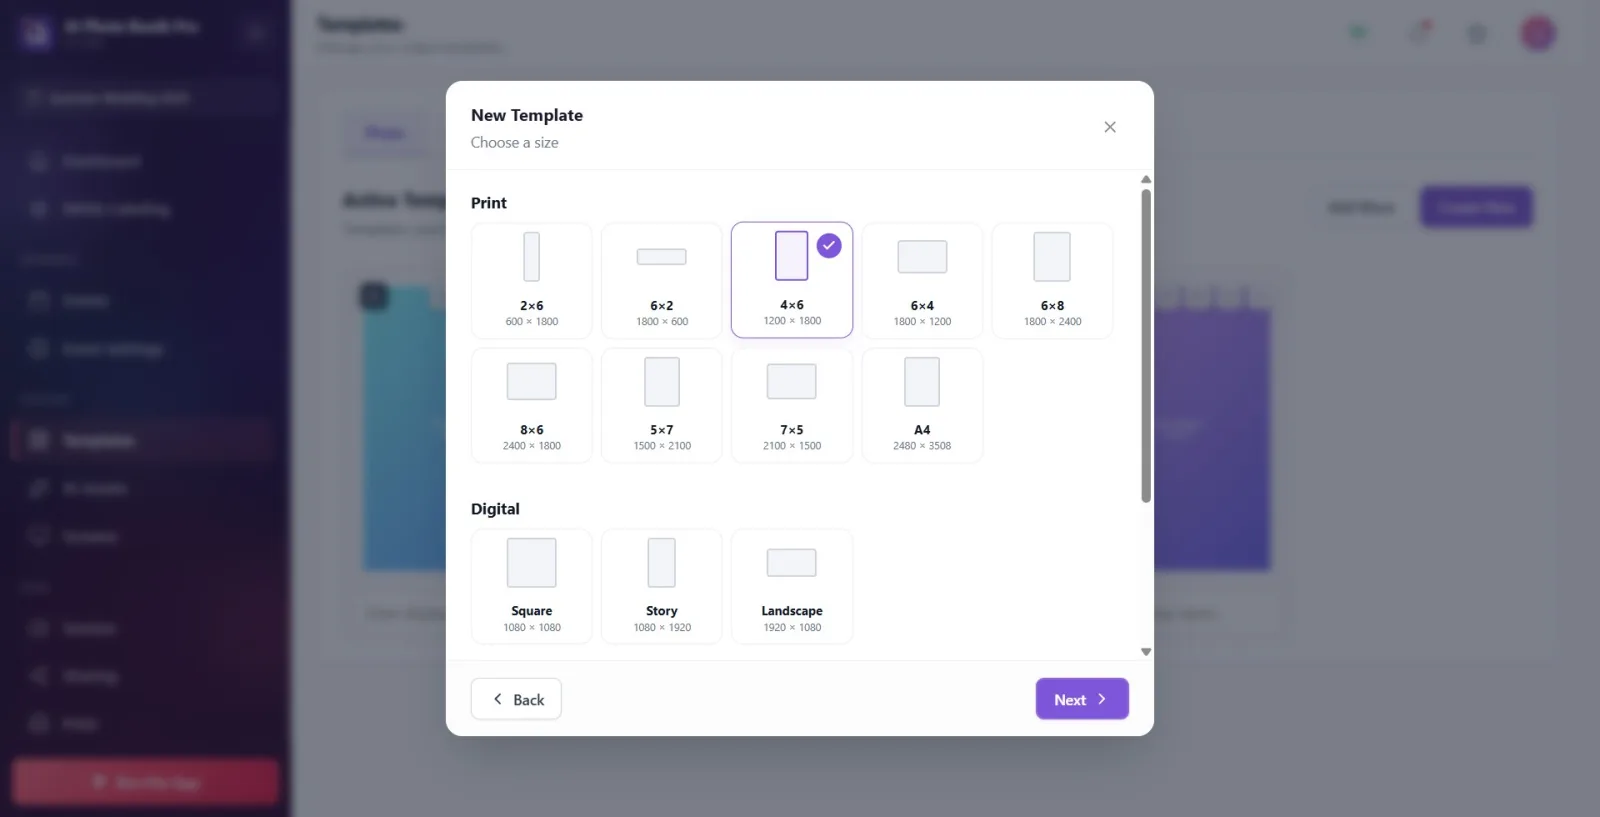
Step 4 · Choose a Digital size (for screen / sharing)
New Template > Step 2 > Digital section
If you are targeting screen/social sharing instead of printing, choose from the "Digital" section. Square (1:1), Story (portrait 9:16) or Landscape (landscape 16:9). These sizes are pixel-based.
🔎 On-screen elements: "Digital" section cards: Square (1080 × 1080, square), Story (1080 × 1920, portrait), Landscape (1920 × 1080, landscape).
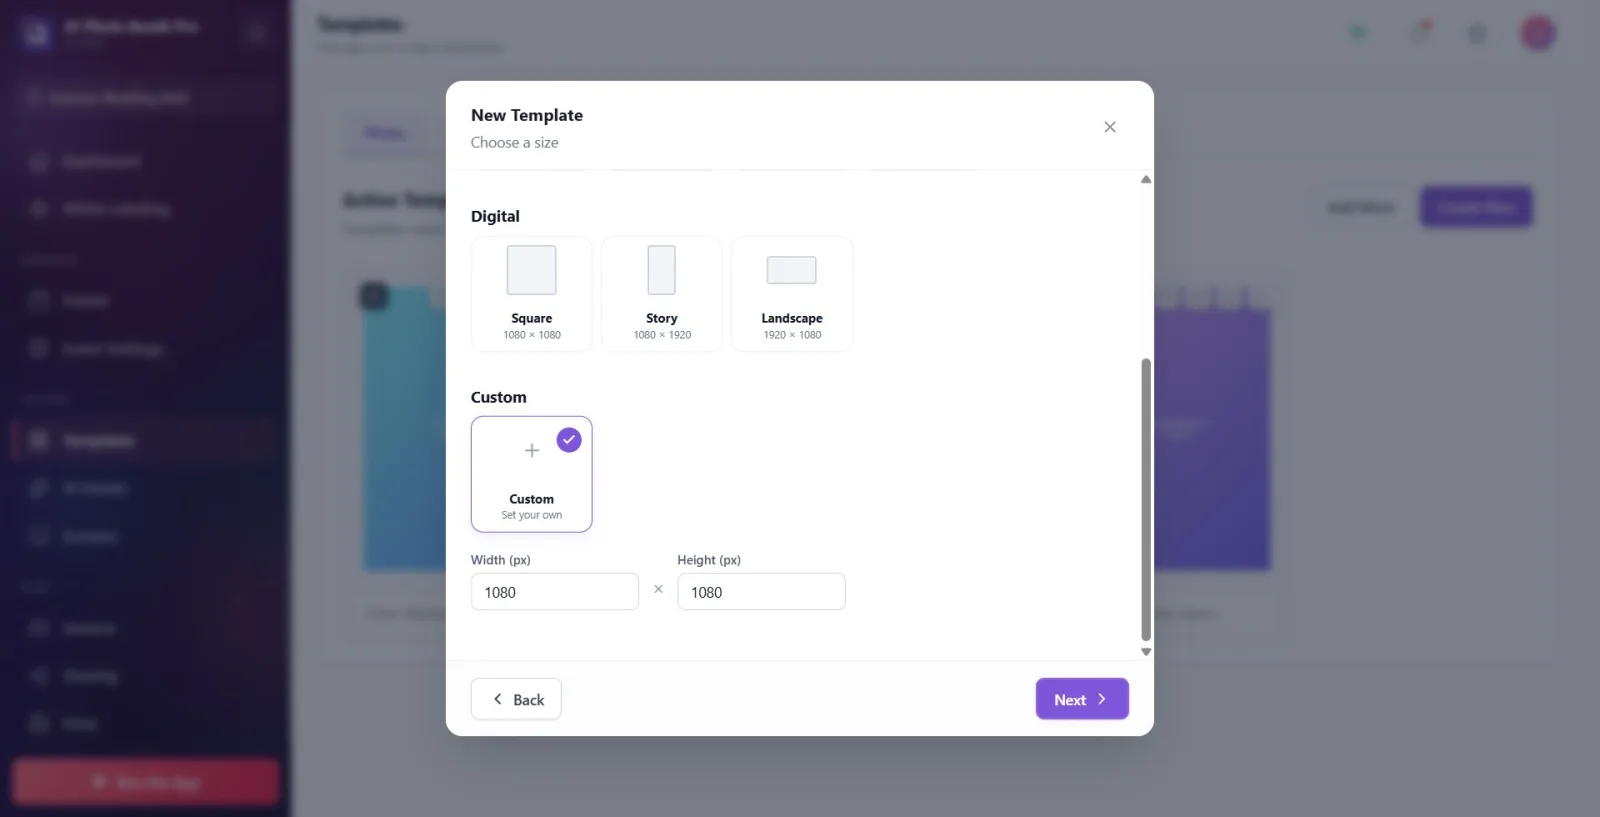
Step 5 · Enter a custom size (set your own measurement)
New Template > Step 2 > Custom section
If the preset measurements don't fit, select the card in the "Custom" section; enter the values in the Width (px) and Height (px) fields that open below it. If you enter Width > height you get a landscape canvas, and the reverse gives a portrait one.
🔎 On-screen elements: the "Custom" section card (Set your own). When selected: "Width (px)" and "Height (px)" number boxes, with a "×" sign between them. Default 1080 × 1080; accepted range 100–10000 px.
Step 6 · Read the Photo Strip (2×6 / 6×2) notice — 2-inch cut
New Template > Step 2 > Print (2×6 selected)
When you select 2×6 or 6×2, a "Photo Strip" info box opens below it. A strip is not printed on its own: two strips are printed on 4×6 paper and separated by the printer's 2-inch cutter. Don't forget to enable the "2-Inch Cut" feature in the print settings and to verify that the printer supports cutting.
🔎 On-screen elements: an info box titled "Photo Strip" (with a purple left border): "It is printed as two strips on 4×6 paper and separated by the printer's 2-inch cutter. Enable the '2-inch cut' feature in the print settings and make sure the printer supports cutting." This box appears only when 2×6/6×2 is selected.
Step 7 · Move to the layout step — the layout arranges according to orientation
New Template > Step 3: Select a layout
Move to step 3 (Select a layout) with "Next". Layout cards are shown with normalized square previews; the same layout you choose arranges differently according to the canvas orientation (portrait/landscape). On the same step, choose the content mode (Capture, AI Effect, Face Swap, AI Background Removal, AI Video, Green Screen) from the "Modes" section.
🔎 On-screen elements: under the "Layout" heading, layout cards (Single, Side by Side, Top & Bottom, 2×2 Grid, etc.) and the "Modes" section. The layout list is the same regardless of orientation; the actual placement of the photo slots is calculated from the canvas width×height.
Step 8 · Change the size and orientation later in the editor
Template Editor > Canvas panel > Size
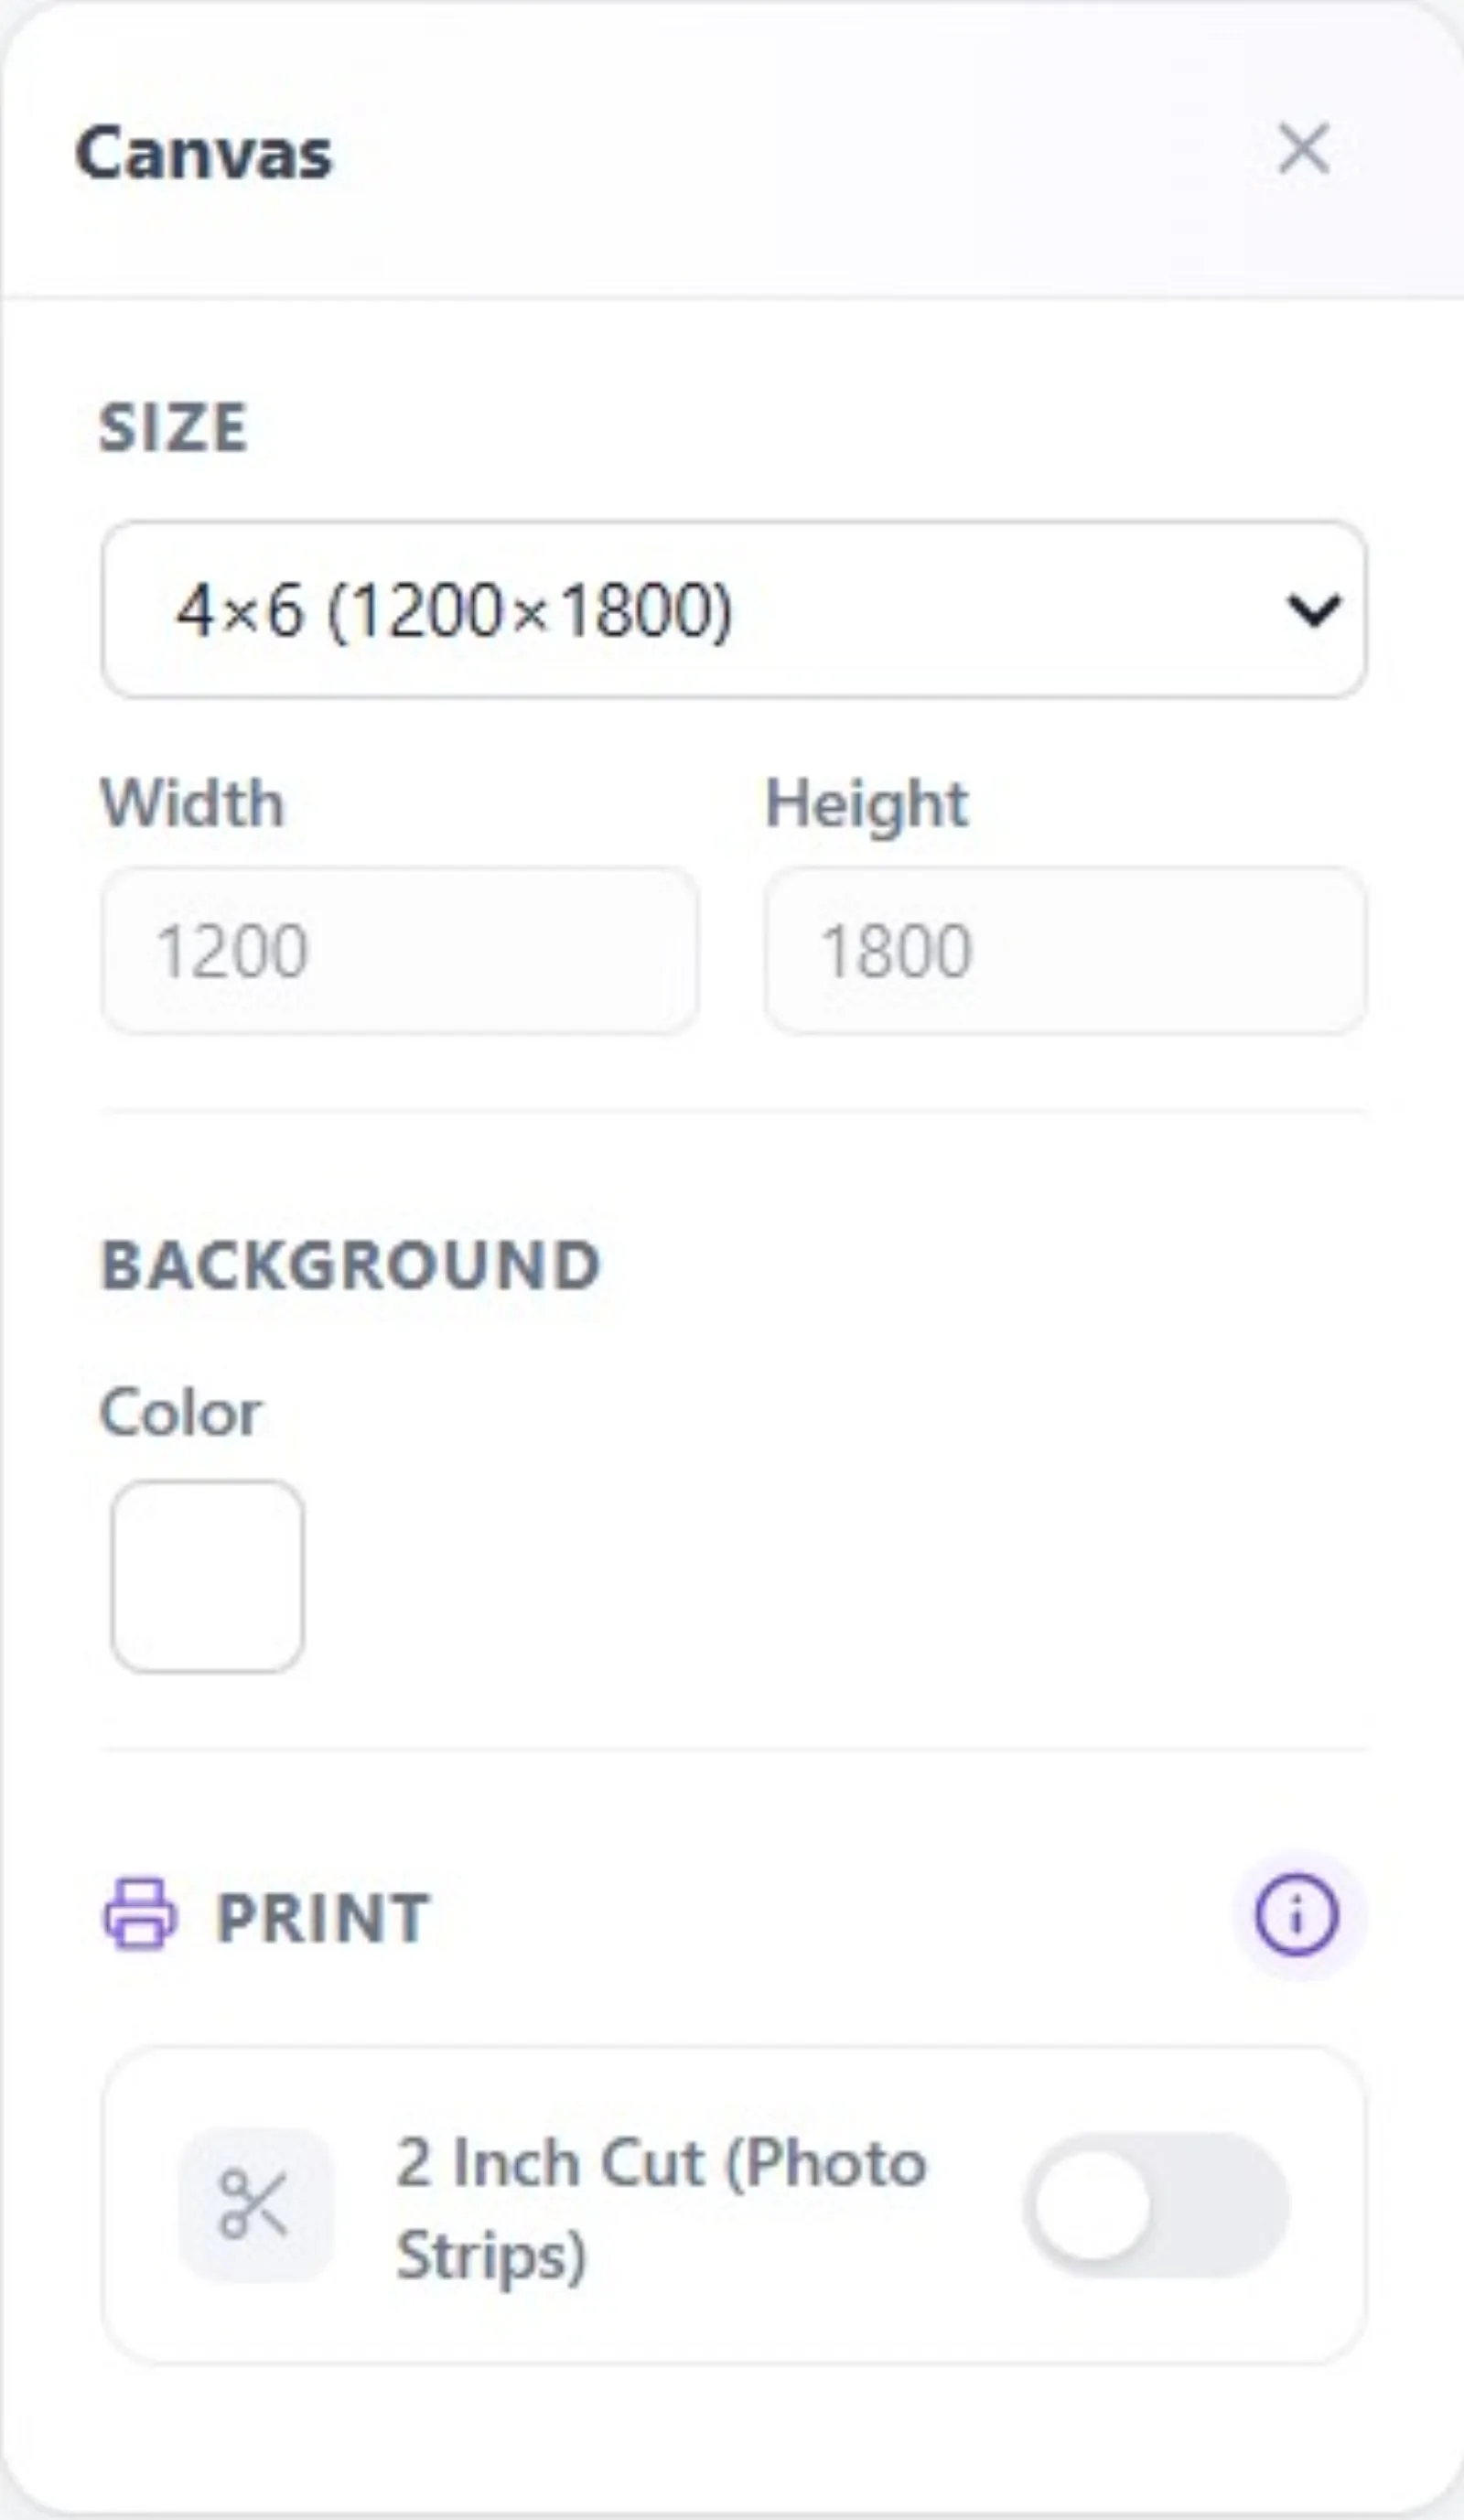
You can also change it after creating the template. When no layer is selected in the editor, use the "Size" section in the right "Canvas" panel: select a preset measurement from the drop-down list (switch orientation by moving to a landscape measurement) or select "Custom" and enter the Width/Height values by hand. While in the wizard, you can also return to the size step with "Back".
🔎 On-screen elements: Editor > Canvas panel > "Size": a preset measurement drop-down menu (standard, FullHD, HD, UltraRes 600 DPI, UltraHD 4K measurements + "Custom") and Width/Height boxes. Width/Height can be edited only when "Custom" is selected; with a preset measurement the values are shown read-only. On a canvas with the strip (2×6) ratio, 2-Inch Cut / merge / print 2 copies options also appear.
The small shape preview on the card gives away the orientation: a tall-upright rectangle = portrait, a wide-flat one = landscape.
The first number in the name is the width, the second is the height (inches): 4×6 portrait, 6×4 landscape — two orientations of the same measurement.
The "1200 × 1800" value in the card description is in pixels and corresponds to the 300 DPI print resolution.
When the wizard opens, 4×6 (portrait) comes selected by default; if you want a different orientation, choose another card.
For printing, use the inch measurements in the Print section; the Digital measurements (Square/Story/Landscape) are for screen/sharing.
You can change the size later: in the editor, when no layer is selected, from the Canvas → Size section.
When you select 2×6 / 6×2, it is printed in pairs on 4×6 paper; enable the "2-Inch Cut" setting and verify that the printer supports cutting.
Wanting portrait but selecting a landscape card: 6×4 is landscape, 4×6 is portrait — remember the first number is the width.
Thinking a 2×6 strip is printed on its own: in fact two are printed on 4×6 paper and separated with the cutter; if the printer doesn't support 2-inch cutting, the output won't be separated.
Choosing a Digital size (Square/Story/Landscape — screen pixels) for printing; for printing, use the inch measurements in the Print section.
Trying to press "Next" without selecting a size: the Next button is disabled unless a size is selected.
Entering disproportionate values for a custom size and squashing/distorting the photos; set the aspect ratio according to the target (100–10000 px).
Related topics
sablon-olusturma iki-inc-cut
