













The Dashboard is the main screen that opens after you log in. From here you can see your subscription, your AI credit balance, and your number of events, create an event with one click, move to every part of the app using the left menu, and manage your account from the user menu in the top right corner. In the left menu it appears as Dashboard.
This guide covers AI Drawing Screen 2.2.2. Available controls may vary by platform and version; platform-specific limitations are noted below.
- You must be logged in to the app.
Step by step
Step 1 · Dashboard overview
Left menu → Dashboard
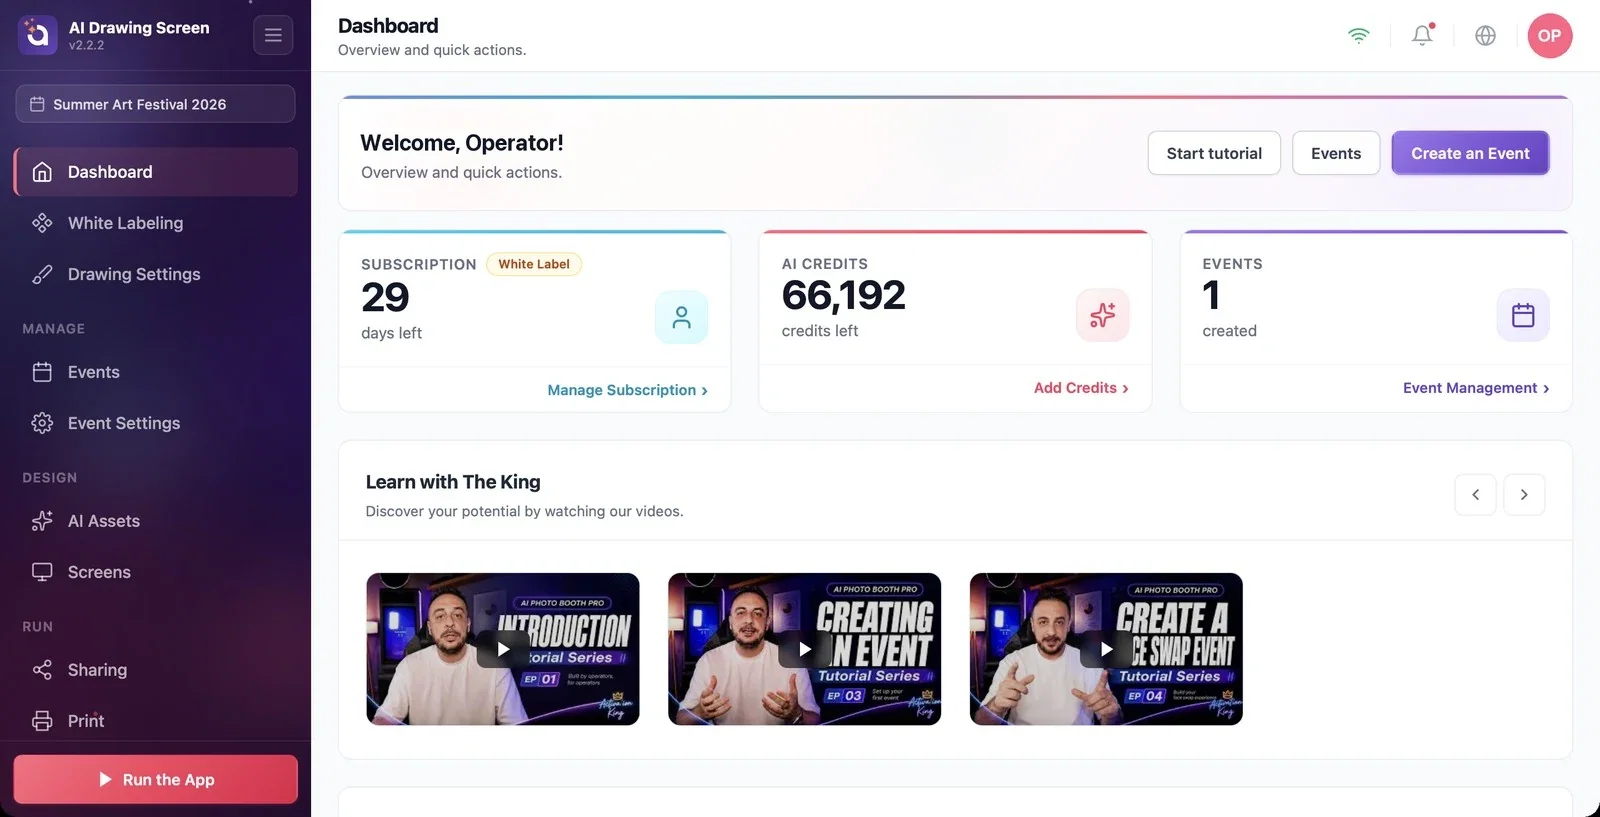
The Dashboard opens when you log in; if you are on another page, you can return to it with the Dashboard item at the top of the left menu. The welcome card at the top of the page shows a greeting with your account name and three quick buttons: Start tutorial (a tour that introduces the app step by step), Events (goes to Event Management), and Create an Event (opens the new event wizard).
Step 2 · Trial banner and info cards
Dashboard
If you are on a free trial, a banner showing the number of days left and a Get Full Access button appear below the welcome card. The three cards below it are:
- Subscription: your plan badge (e.g. White Label; Trial during the free trial) and the days left; the Manage Subscription link at the bottom. - AI Credits: your remaining credit balance; the Add Credits link at the bottom. Every AI drawing deducts credits from this balance. - Events: the number of events you have created; the Event Management link at the bottom.
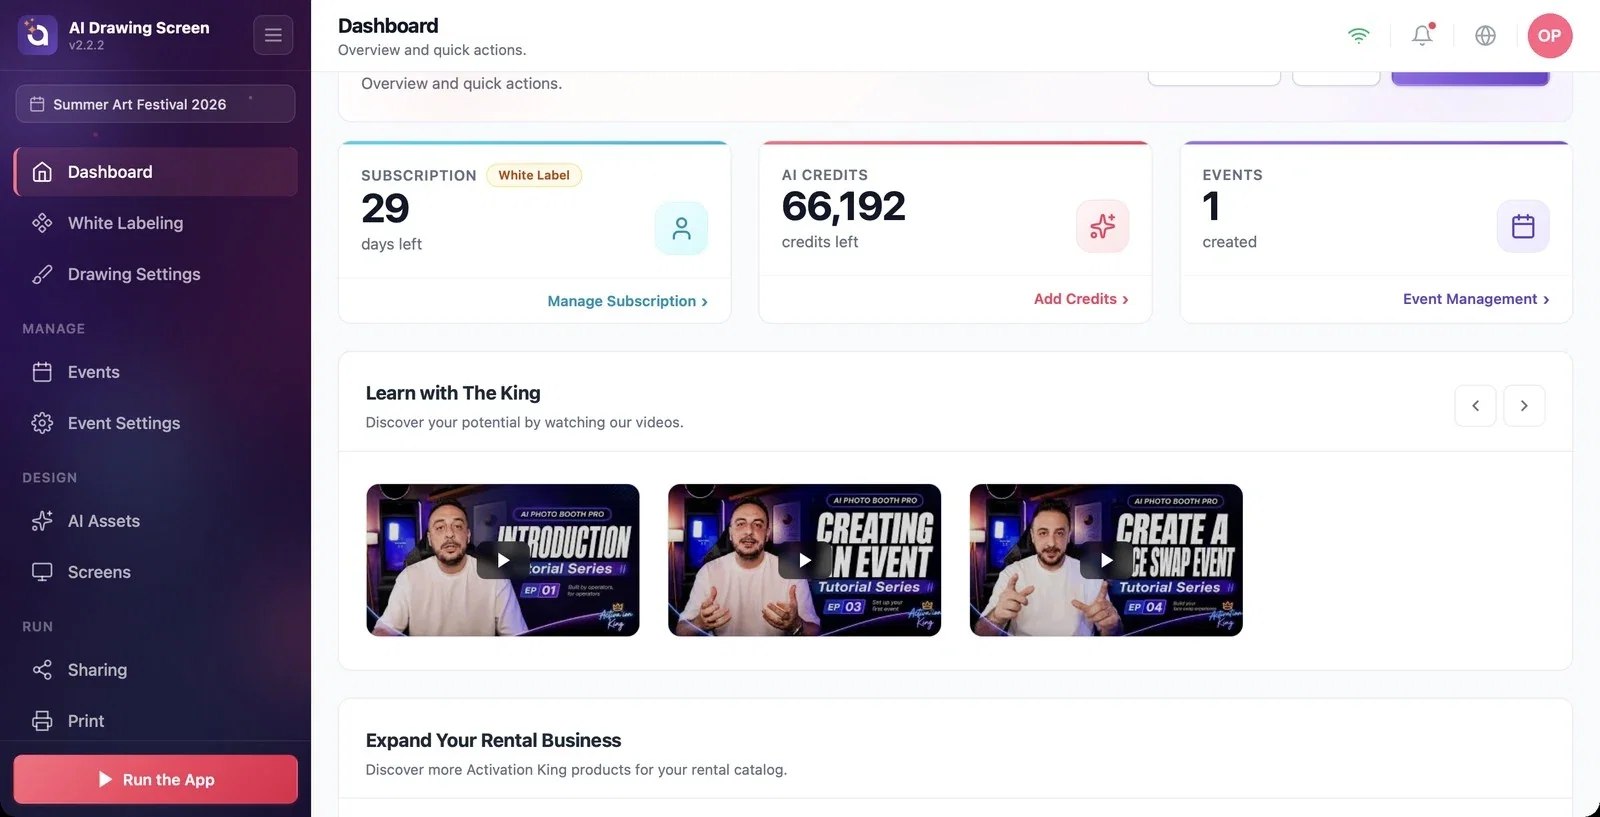
If you scroll down, the Learn with The King section has training videos, and at the very bottom there are cards introducing other Activation King products for your rental catalog.
Step 3 · Navigating with the left menu
Left menu
The name of the current event appears at the top of the left menu. Below it are Dashboard, White Labeling, and Drawing Settings, followed by the groups: Manage (Events, Event Settings), Design (AI Assets, Screens), and Run (Sharing, Print, Session). At the very bottom is the Run the App button, which starts the kiosk. Event Settings, Screens, Sharing, Print, and Session only appear when an event exists. Use the icon in the top right corner of the menu to collapse and expand it.
Step 4 · Top bar: connection, notifications, language
Top bar (right)
In the top right corner, from left to right: the internet connection indicator (green when connected, Connected), the Notifications bell (with a red dot when you have unread notifications), the language selector (globe icon — you can also change the interface language here), and the round profile icon that opens the user menu.
Step 5 · User menu and logging out
Top bar → profile icon
Click the profile icon. Your name and email address appear at the top of the menu; below them are Add AI Credits, My Subscription, a red Delete Account, and Logout. To end your session, click Logout; you return to the login screen. Delete Account permanently deletes your account — only use it if you really want to close your account.
If your credit balance is running low, use the Add Credits link on the AI Credits card or Add AI Credits in the user menu.
If you are using the app for the first time, take the short introductory tour with Start tutorial.
Looking for the Screens or Session menu before creating an event — these menus appear once an event is created.
Accidentally clicking Delete Account when leaving the kiosk computer — Logout is all you need to end your session.
Related topics
Creating an EventAI CreditsRunning the App
