













This page shows, in order, the screens the guest sees while the kiosk is running: welcome, consent text, survey, drawing, artwork creation, result and gallery. You set the look and texts of the screens on the Screens page, and the survey and consent text on the Session page. Run through the whole flow yourself once before the event.
This guide covers AI Drawing Screen 2.2.2. Available controls may vary by platform and version; platform-specific limitations are noted below.
- The kiosk must be opened with Run the App → Run as AI Drawing.
- At least one AI style must be assigned to the event, and your account must have AI credits.
- The kiosk must be connected to the internet — artwork generation and the QR link require internet.
Step by step
Step 1 · Welcome screen
Kiosk → welcome screen
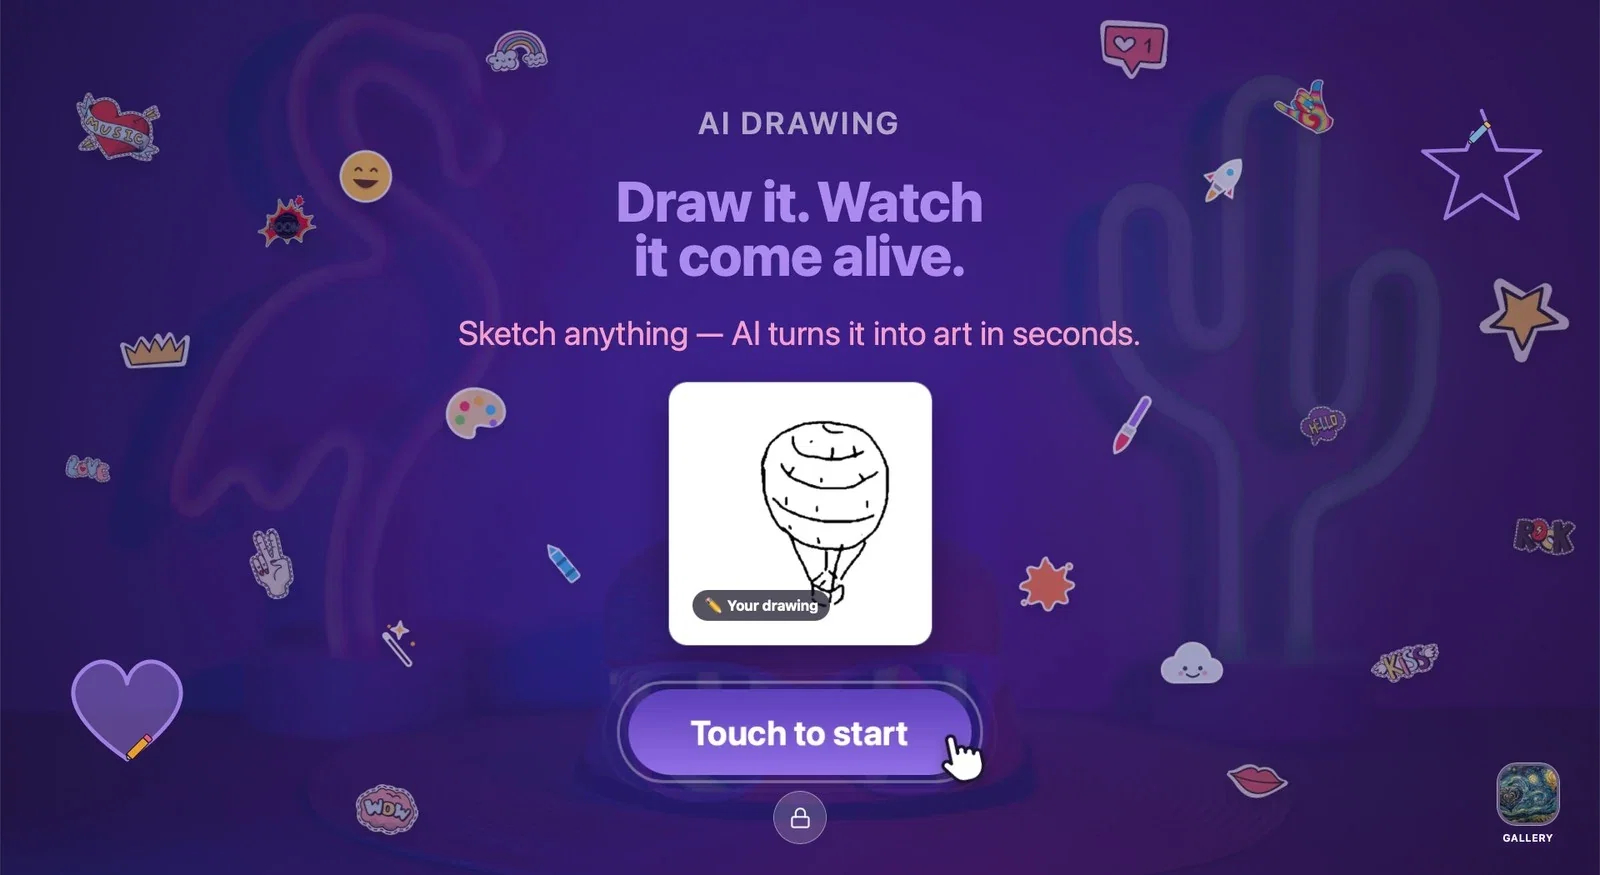
The guest first sees the welcome screen: a title, a short description, a sample drawing and the Touch to start button. Touching the button (or anywhere on the screen, if Touch to Start is on) starts the session. The Gallery shortcut at the bottom right shows previously created artworks; the lock icon at the bottom center is for exiting the kiosk (see Running the App).
Step 2 · Privacy notice (disclaimer)
Kiosk → consent screen
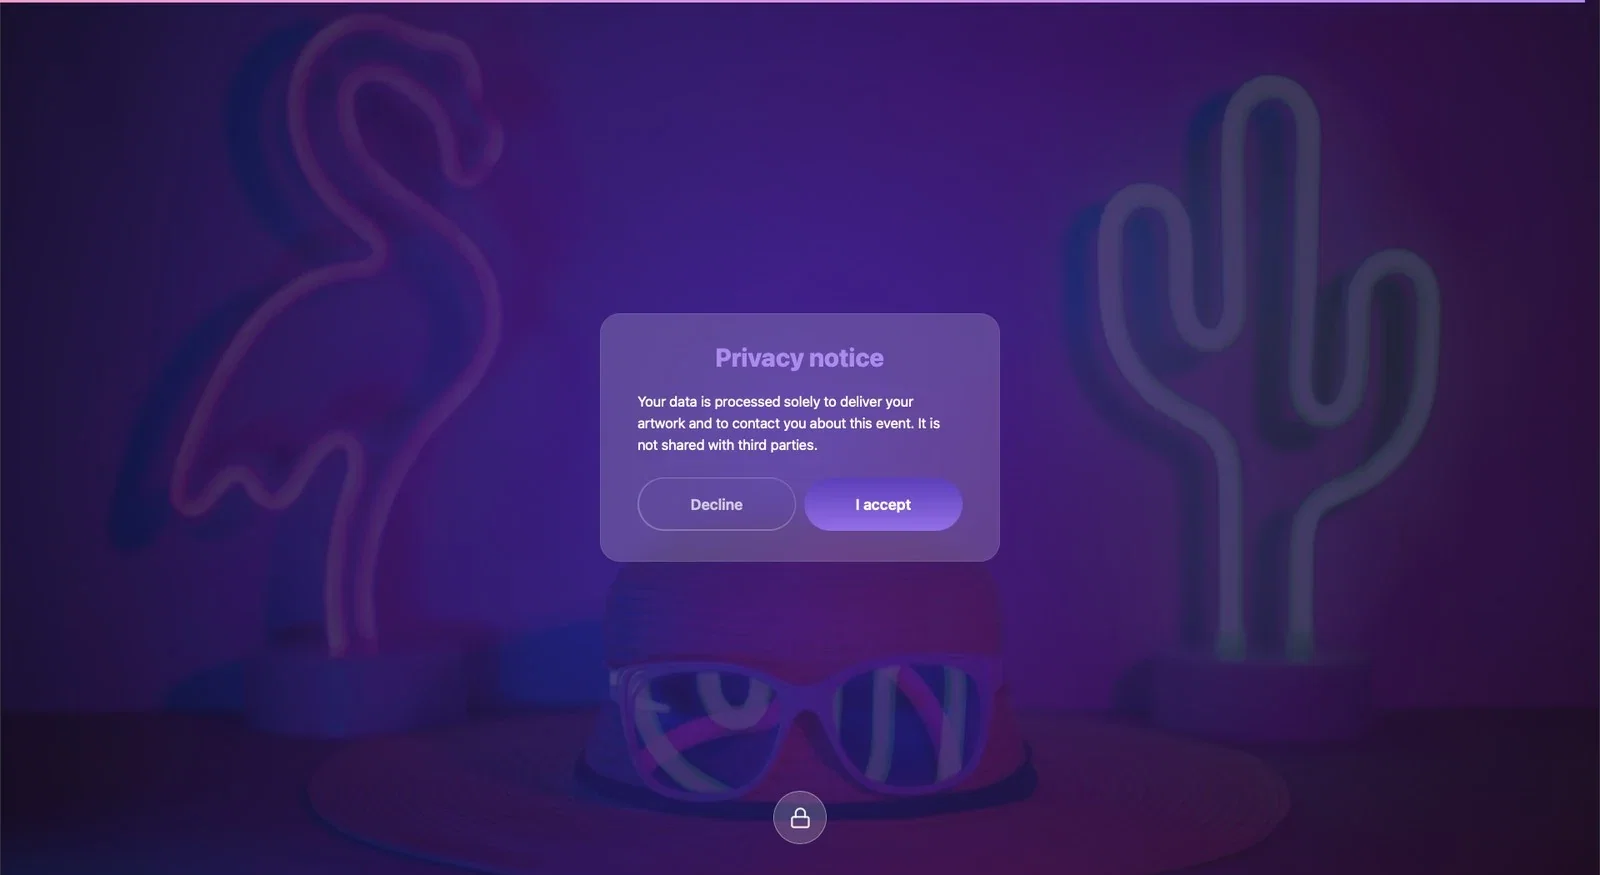
If Session → Disclaimer is on (it is on for new events), the guest sees the Privacy notice before starting to draw. The guest continues with I accept; Decline does not start the session. Change the text for your event on the Session → Disclaimer tab.
Step 3 · Survey
Kiosk → Survey Form
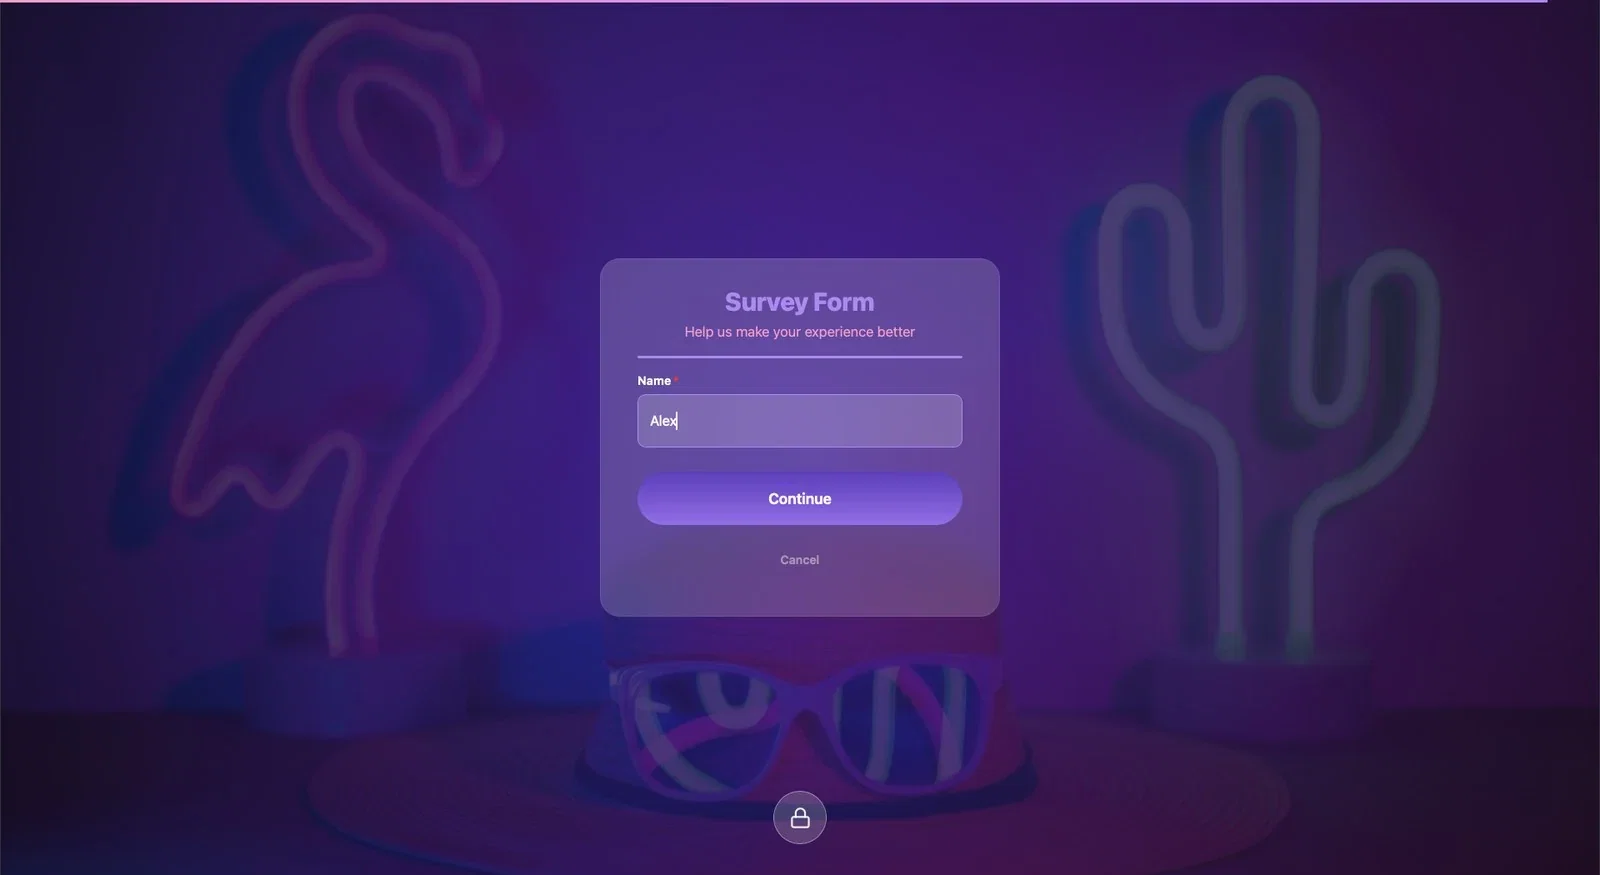
If Session → Survey is on (it is on for new events), the guest fills out a short form. In a new event, the form only has the required Name field; if it is left empty, the warning This field is required appears. You set the fields and when the form is shown on the Session → Survey tab.
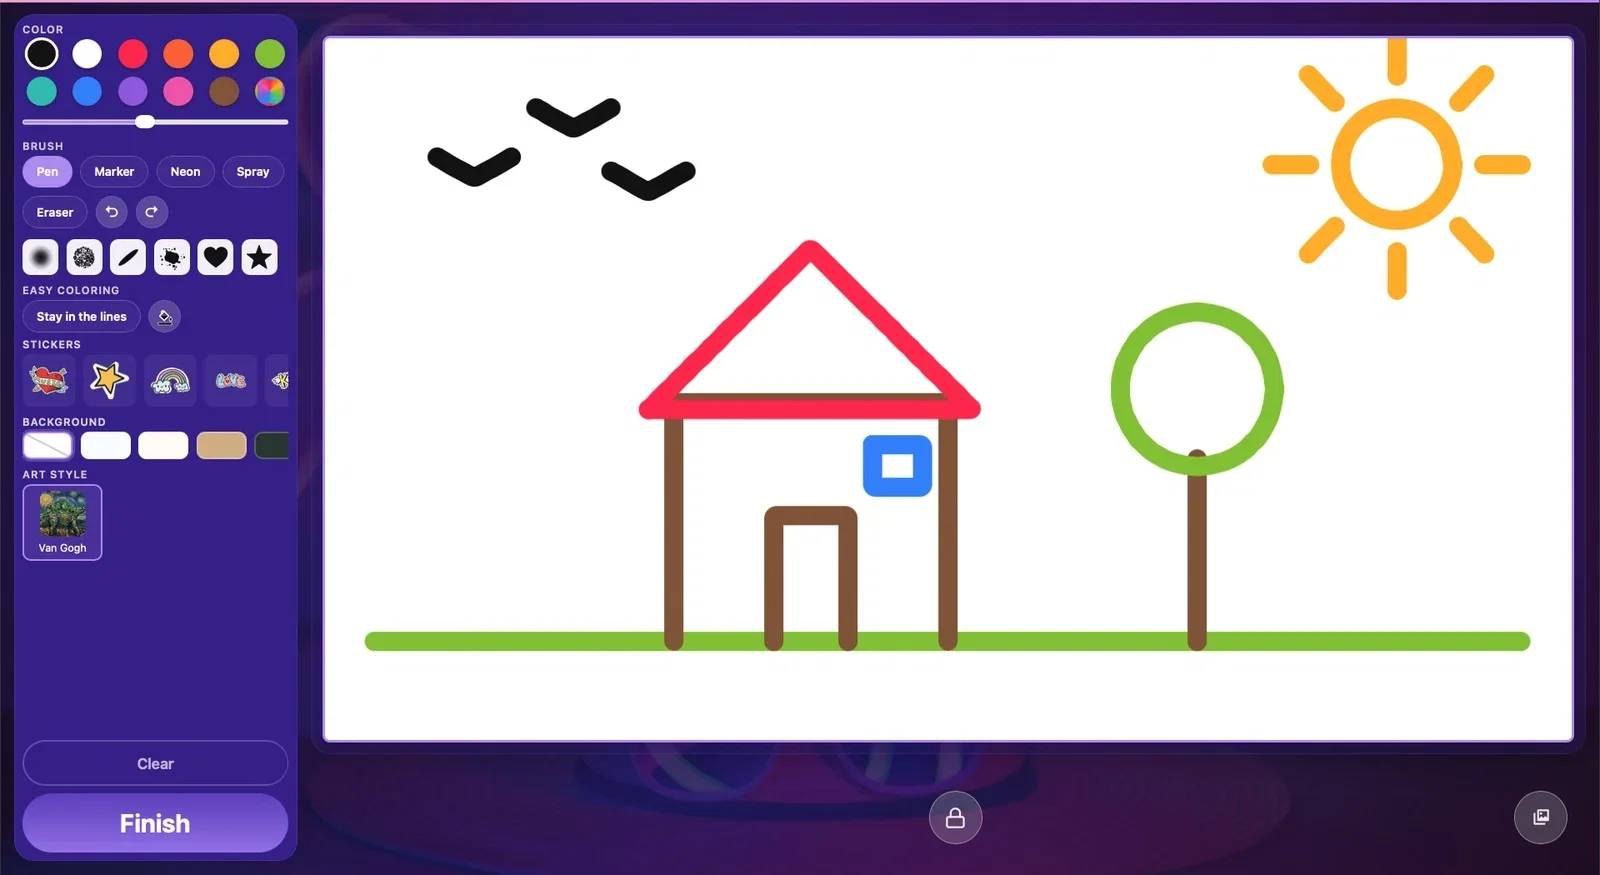
Step 4 · Drawing screen
Kiosk → drawing screen
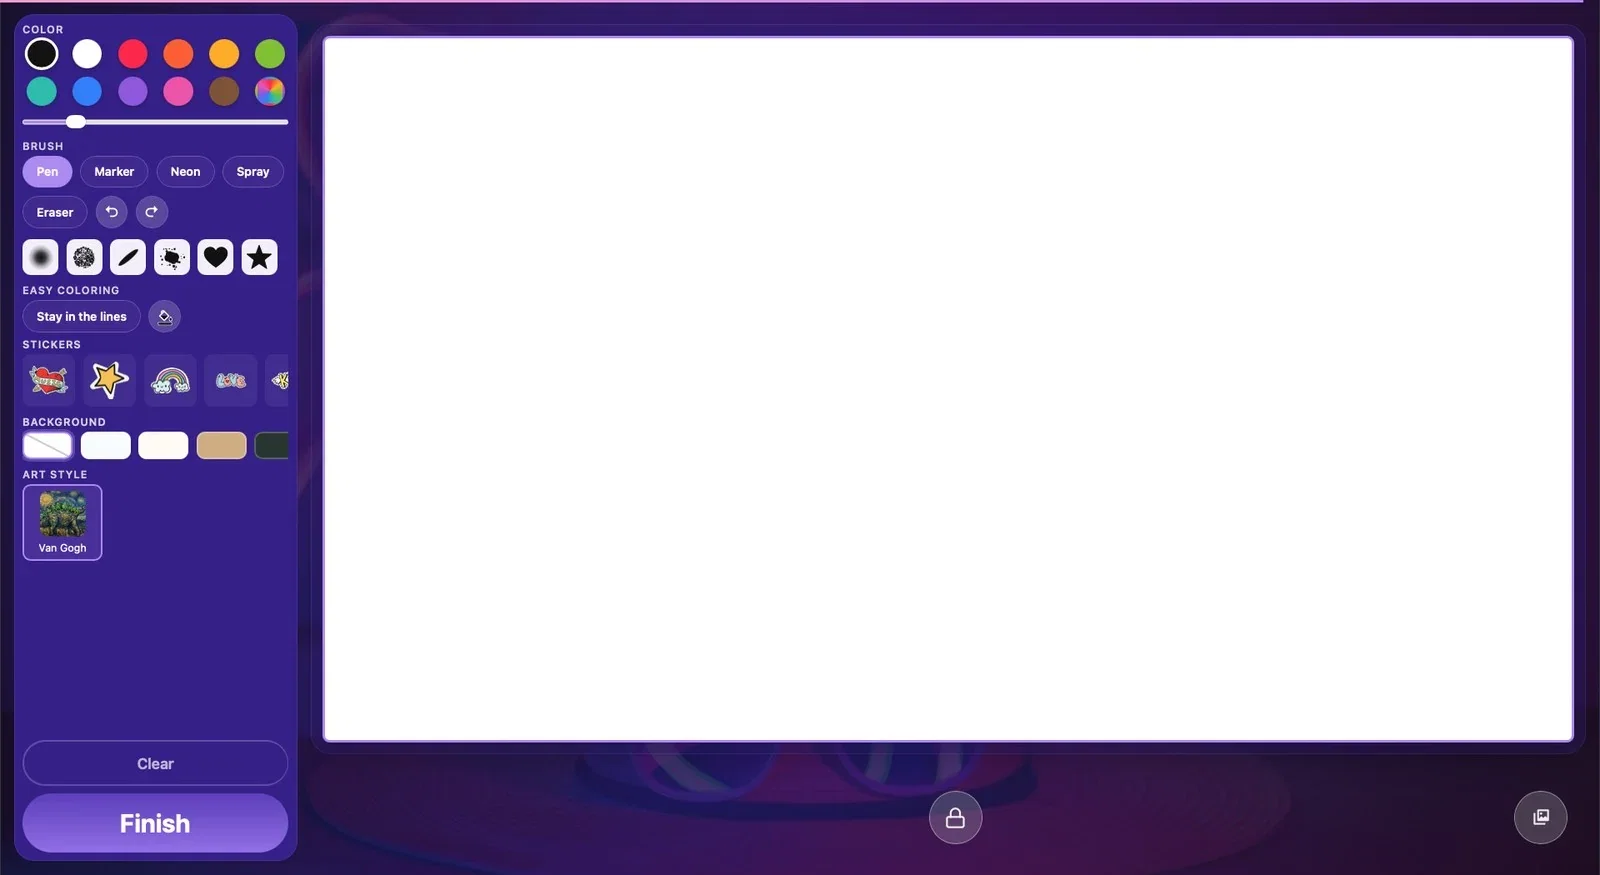
The tool panel is on the left and the drawing area (canvas) is on the right. The panel's sections:
- Color: the color palette, with a line thickness slider below it. - Brush: Pen, Marker, Neon, Spray and Eraser; undo / redo buttons; brush tips that stamp a shape with a single touch. - Easy coloring: Stay in the lines and the paint bucket. - Stickers: ready-made images that are placed on the canvas. - Background: the background color of the canvas. - Art style: the AI styles assigned to the event. If only one style is assigned, it is used automatically; if there are several, the guest picks one from the shelf.
Clear empties the canvas; Finish completes the drawing and starts generating the artwork. You choose which tools are shown on the Drawing Settings page.
Step 5 · Creating the artwork
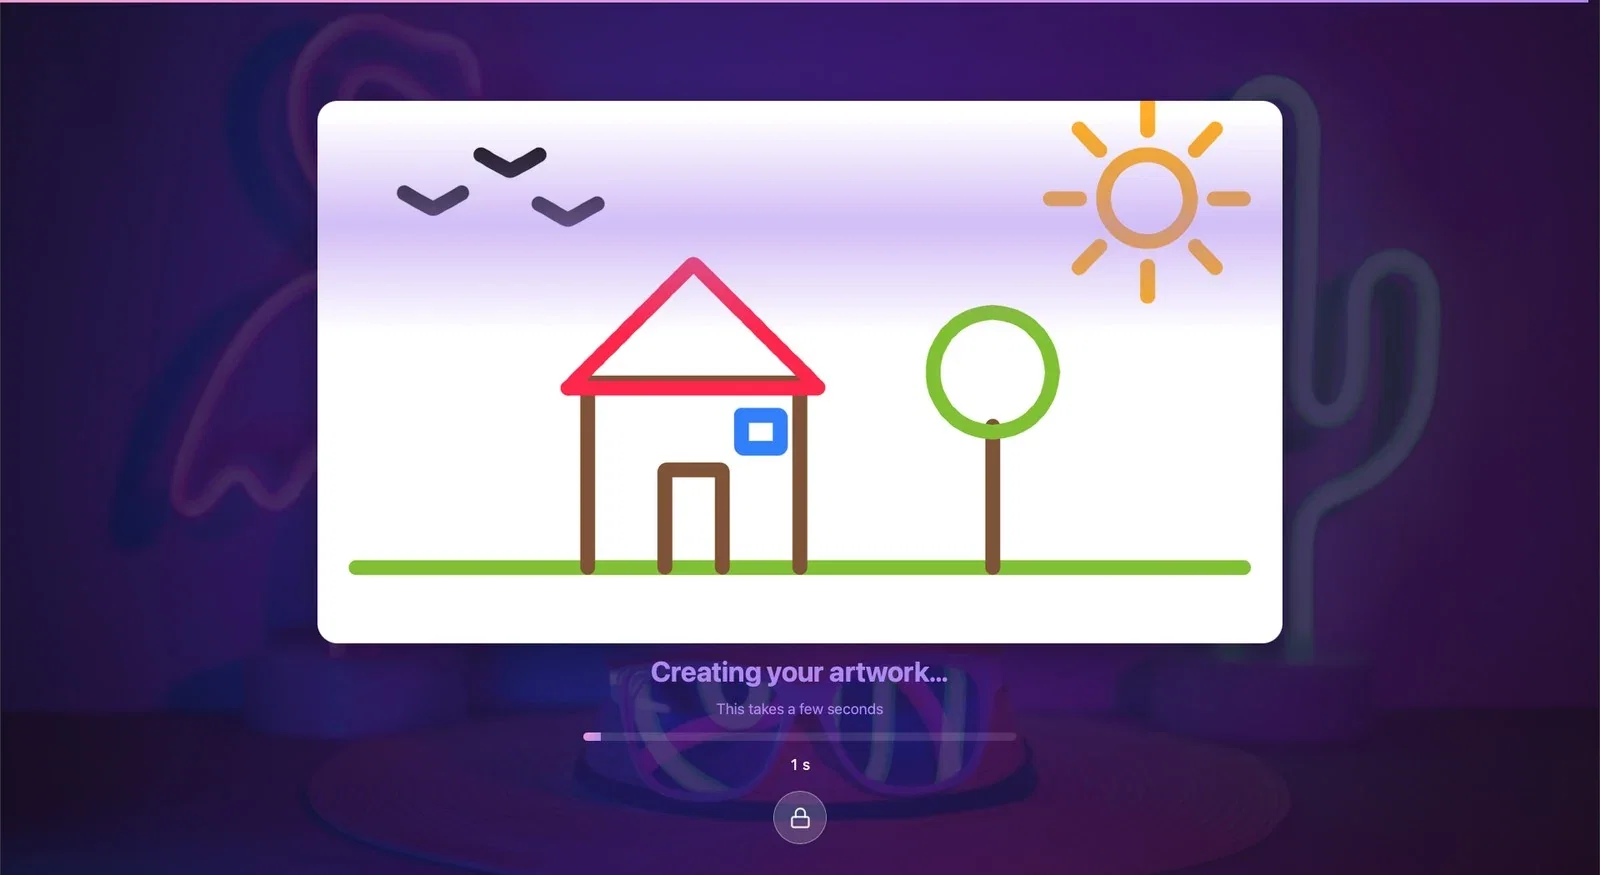
Kiosk → generation screen
When the guest touches Finish, their drawing stays on the screen, and below it appear Creating your artwork… and This takes a few seconds, a progress bar and the elapsed time. Each generation is deducted from your account's AI credits.
Step 6 · Result screen
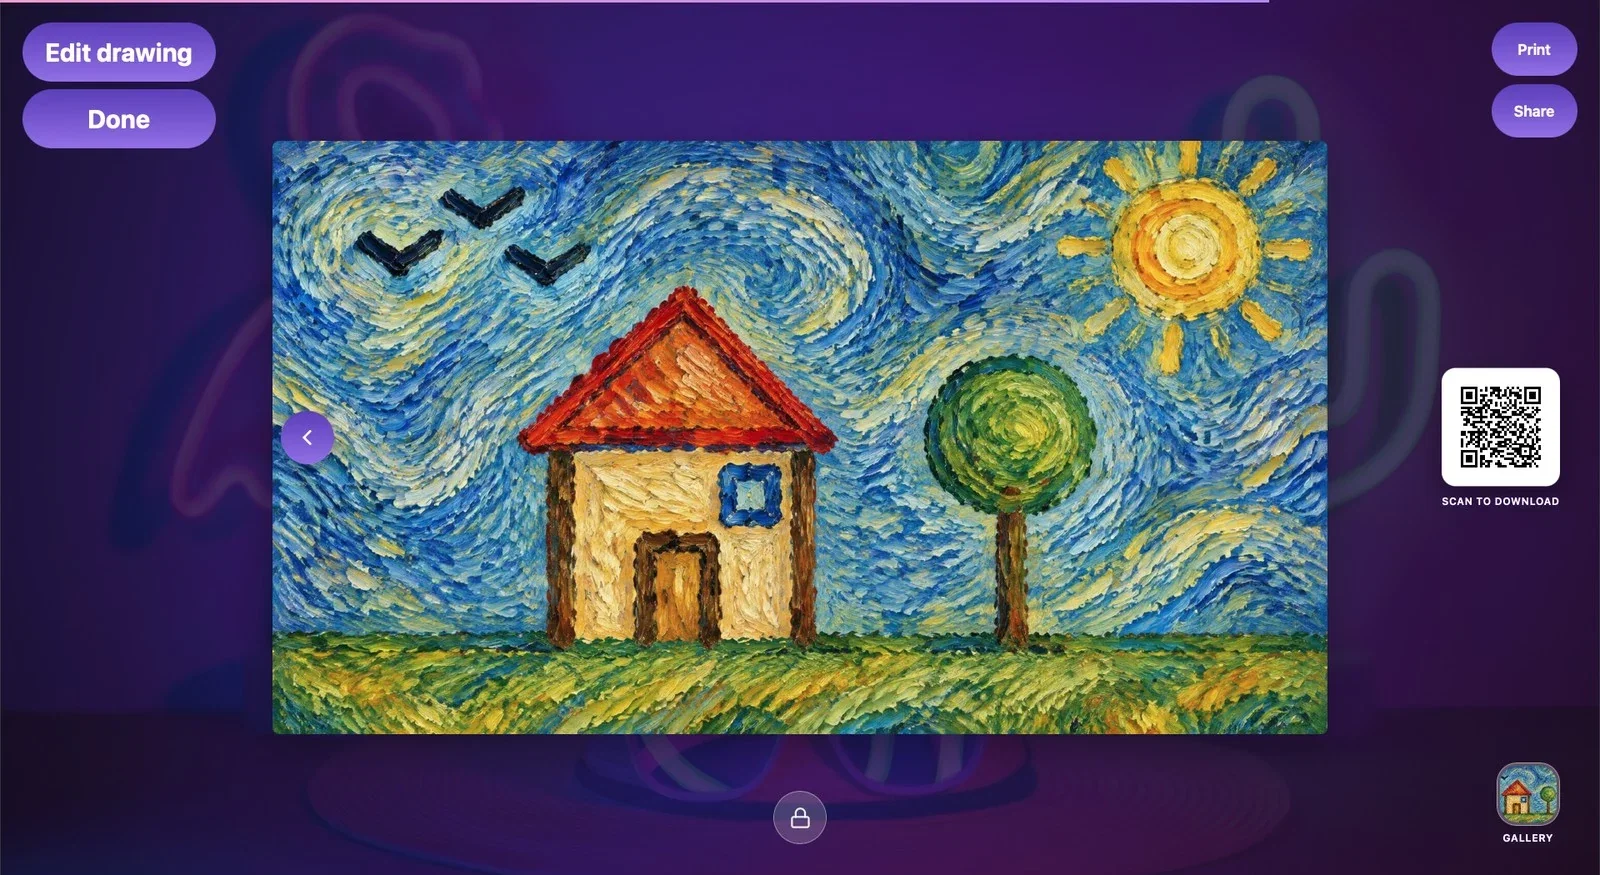
Kiosk → result screen
When the artwork is ready, the result screen opens:
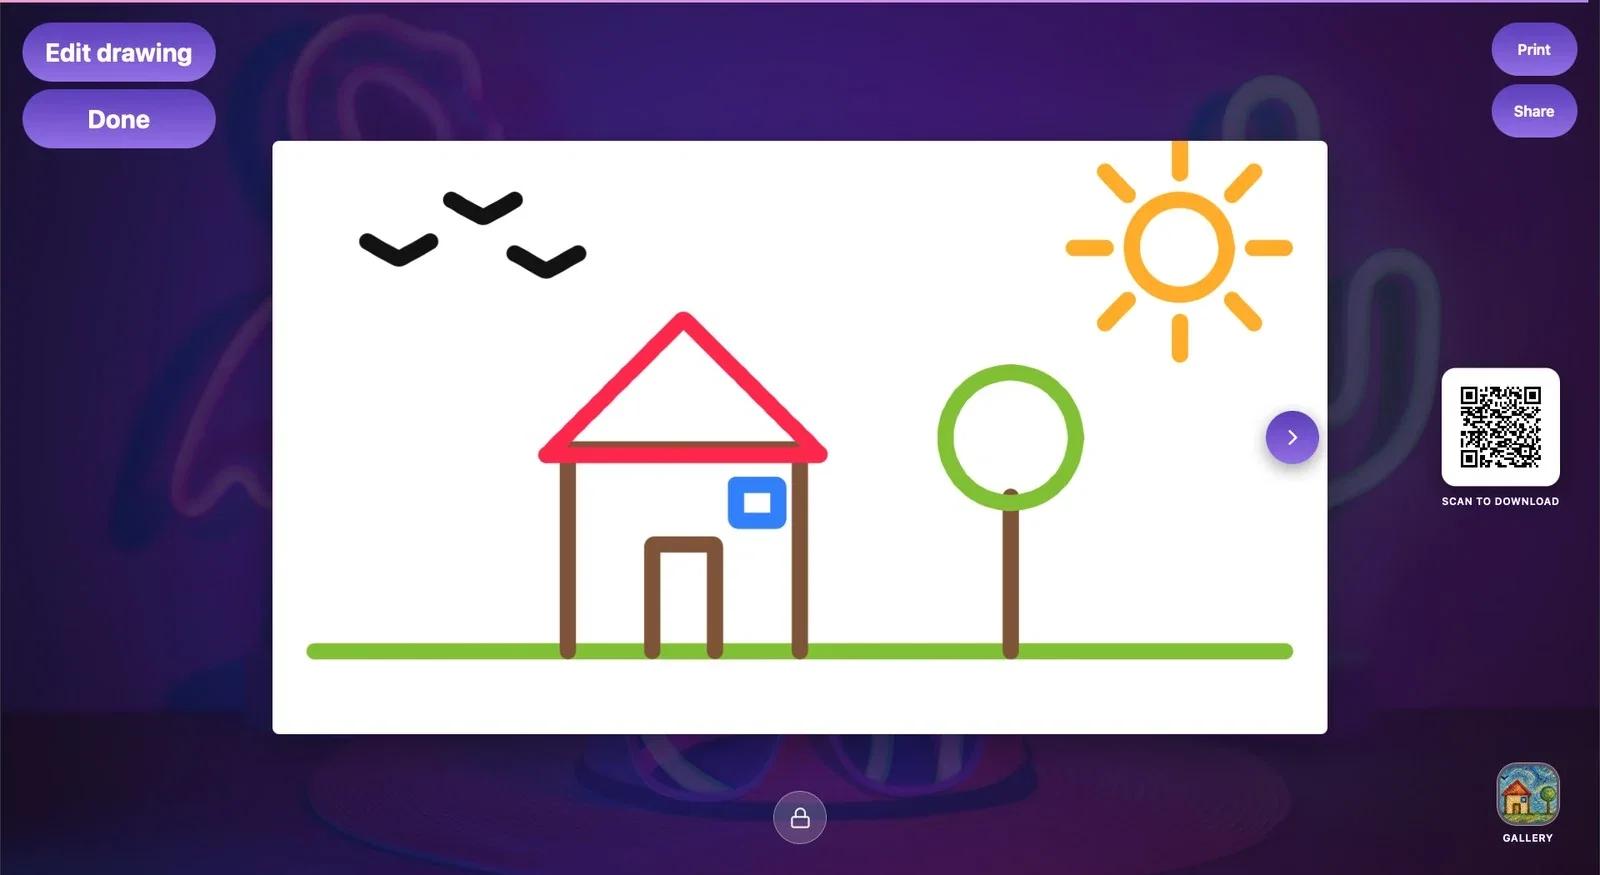
- The AI artwork is in the center. If Drawing Settings → Also serve the original drawing is on, the arrow next to it also shows the guest's own drawing. - The QR titled Scan to download: the guest scans it with their phone to download and share their artwork (see Sharing Settings). - Print (if Enable Print Button is on), Share (opens the kiosk operating system's share menu; it may not appear on Mac kiosks) and, if E-Mail sharing is on, E-mail. - Edit drawing: takes the guest back to the drawing screen with the same drawing. - Done: ends the session and returns the kiosk to the welcome screen.
The thin line at the very top of the screen shows the remaining time when Session Timeout is on; when the time runs out, the kiosk automatically returns to the welcome screen.
Step 7 · Gallery
Kiosk → Gallery
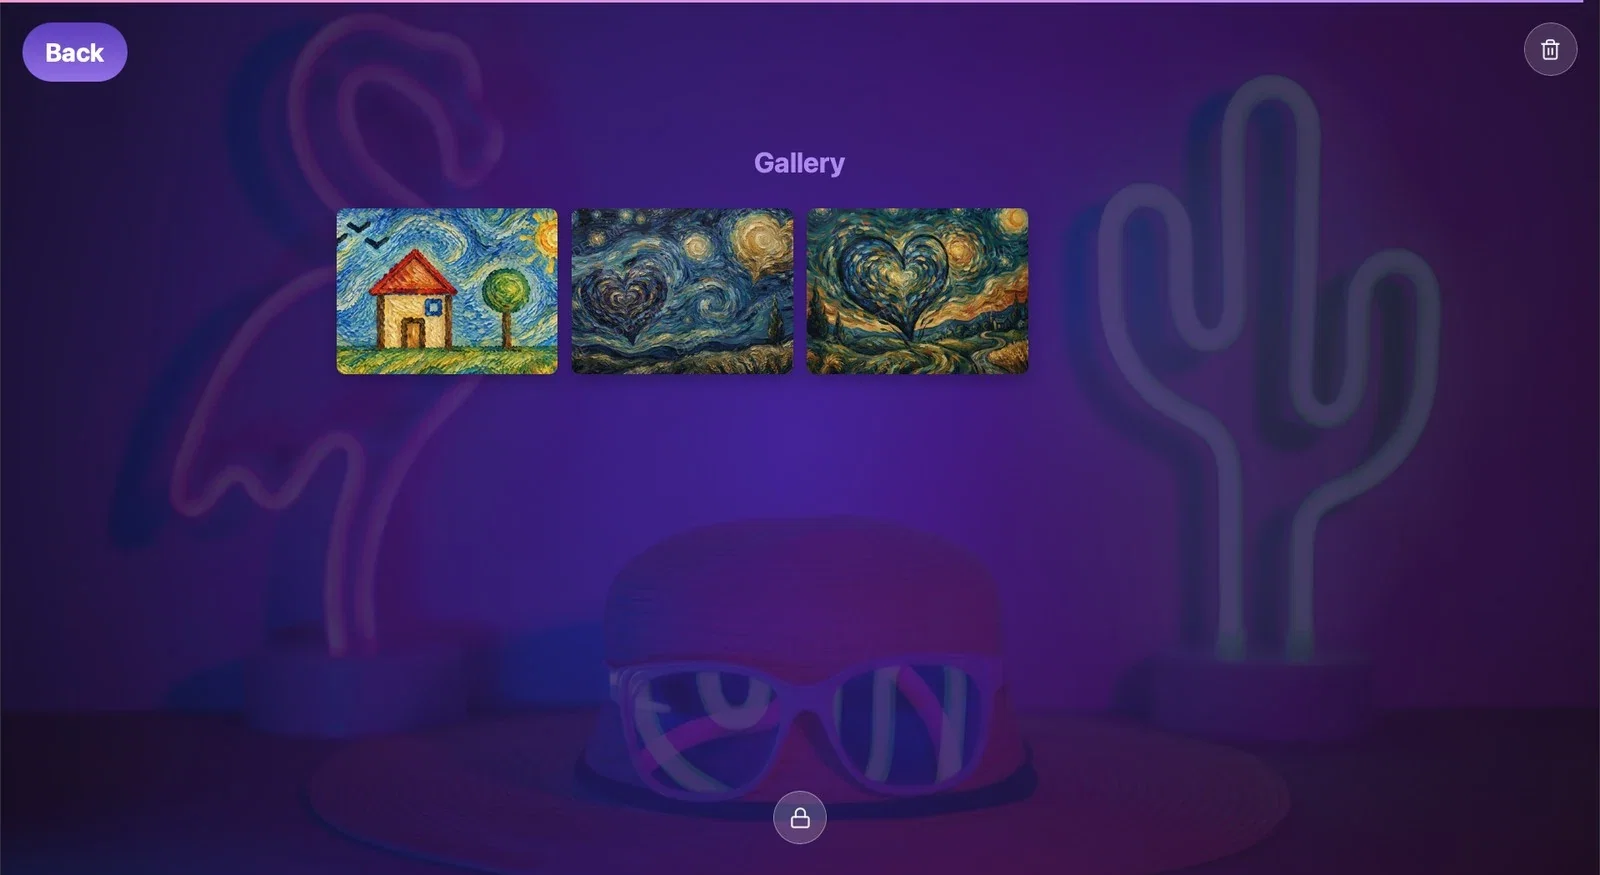
The Gallery shortcut on the welcome, drawing or result screen lists the artworks created on this kiosk for this event. The guest touches an artwork to enlarge it and goes back with the button at the top left. The trash can at the top right is for the operator: it turns on delete mode (if a Dashboard PIN is set, the PIN is asked first); the selected artworks are deleted from this computer with Delete and a confirmation.
Run through the flow yourself once from start to finish before the event; one generation uses credits, but you will have checked every screen the guest will see.
For a faster flow, reduce unnecessary survey fields or disable an unused survey on the Session page. Do not remove privacy information or consent steps needed for your data collection and sharing just to save time.
On a trial account, a "TRIAL" watermark appears on the guest screens and on the artworks; it does not appear on a paid plan. The watermark on artworks created during the trial does not go away when the plan changes.
Letting the guest press Done before scanning the QR — they will have to find their artwork in the gallery later; remind them to scan the QR while they are on the result screen.
Mistaking the trash can in the gallery for a guest delete button — deleting is for the operator; deleted artworks are permanently removed from this computer.
Related topics
Running the AppResult ScreenSharing SettingsTroubleshooting — AI Generation
