













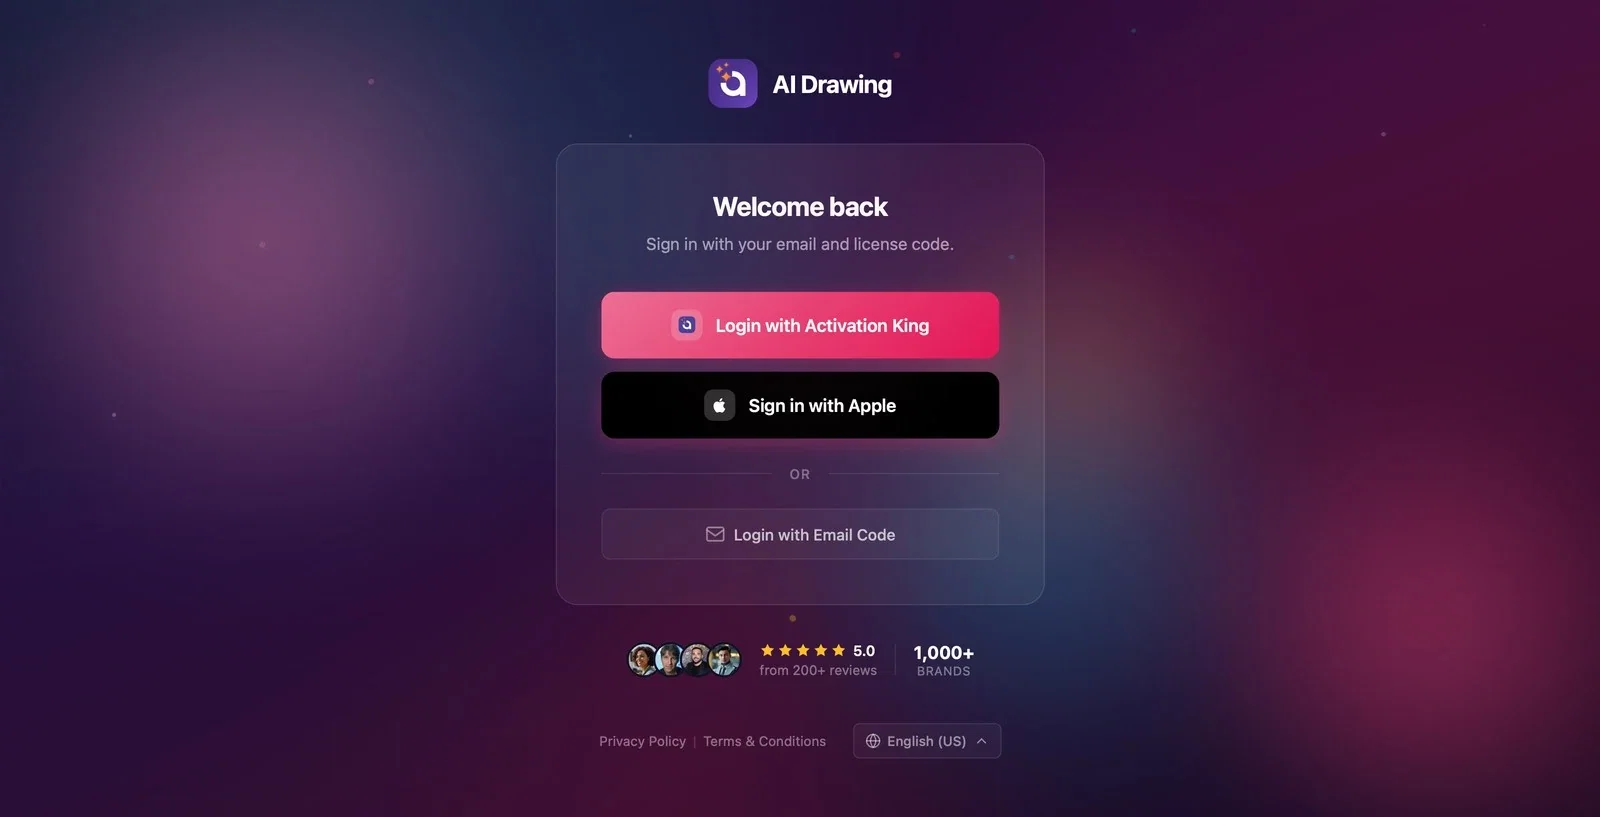
You can log in to AI Drawing in three ways: Login with Activation King (account login through your browser), Sign in with Apple (Mac and iPad/iPhone only), or Login with Email Code (a one-time code sent to your email). You can also change the interface language at the bottom of the login screen. Once you log in successfully, the Dashboard opens automatically.
This guide covers AI Drawing Screen 2.2.2. Available controls may vary by platform and version; platform-specific limitations are noted below.
- You need an internet connection — without one, you see the Waiting for internet connection warning instead of the login buttons.
- A valid email address — if you choose Login with Email Code, the verification code is sent to this address.
- An Activation King account for Login with Activation King.
Step by step
Step 1 · Open the login screen
Login screen
When you open the app, the login screen appears: the AI Drawing logo and name at the top, and on the card in the middle, the Welcome back title with the caption Sign in with your email and license code. While the app checks your account at startup, it may briefly show Checking your account; the login options appear once the check is done. If you have logged in on this device before, this screen is skipped and the Dashboard opens directly.
Step 2 · (Optional) Choose the interface language
Login screen → footer
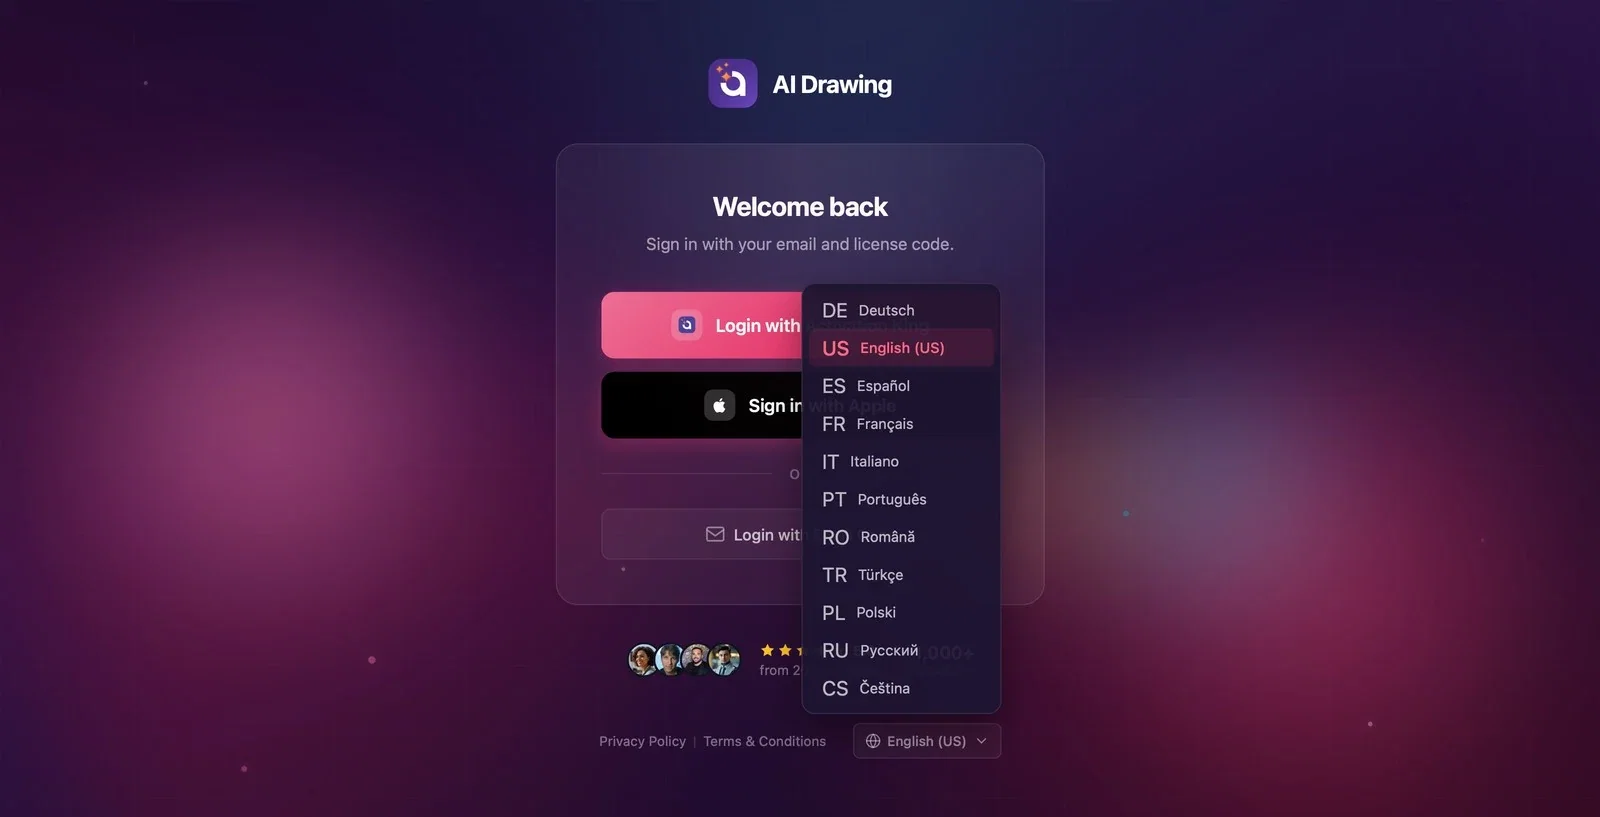
Click the language button at the very bottom of the screen (globe icon + the name of the current language) and pick your language from the list. Options: Deutsch, English (US), Español, Français, Italiano, Português, Română, Türkçe, Polski, Русский, Čeština. The language you choose applies immediately and is remembered the next time you open the app.
Step 3 · Method A — Login with Activation King (via browser)
Login screen → browser
Click the Login with Activation King button. The app opens the Activation King login page in your browser; meanwhile the app shows a waiting screen that says Authenticating.... Log in with your account in the browser; once approval is complete, you are taken back to the app automatically. If you closed the browser or the approval window got hidden behind other windows, Try again on the waiting screen requests approval again, and Cancel returns you to the login screen.
Step 4 · Method B — Sign in with Apple (Mac and iPad/iPhone only)
Login screen
On Mac and iPad/iPhone, the login card also has a black Sign in with Apple button. Clicking it opens Apple's own sign-in window; confirm with your Apple ID — no browser needed. If Apple doesn't share your email address, the app asks you for your email once: Apple didn't share your email. Enter your email once — we'll send a code and link your Apple sign-in to that account. You won't be asked again. In that case, follow the code steps in Steps 6–7. This button does not appear on Windows or Android.
Step 5 · Method C — Click Login with Email Code
Login screen
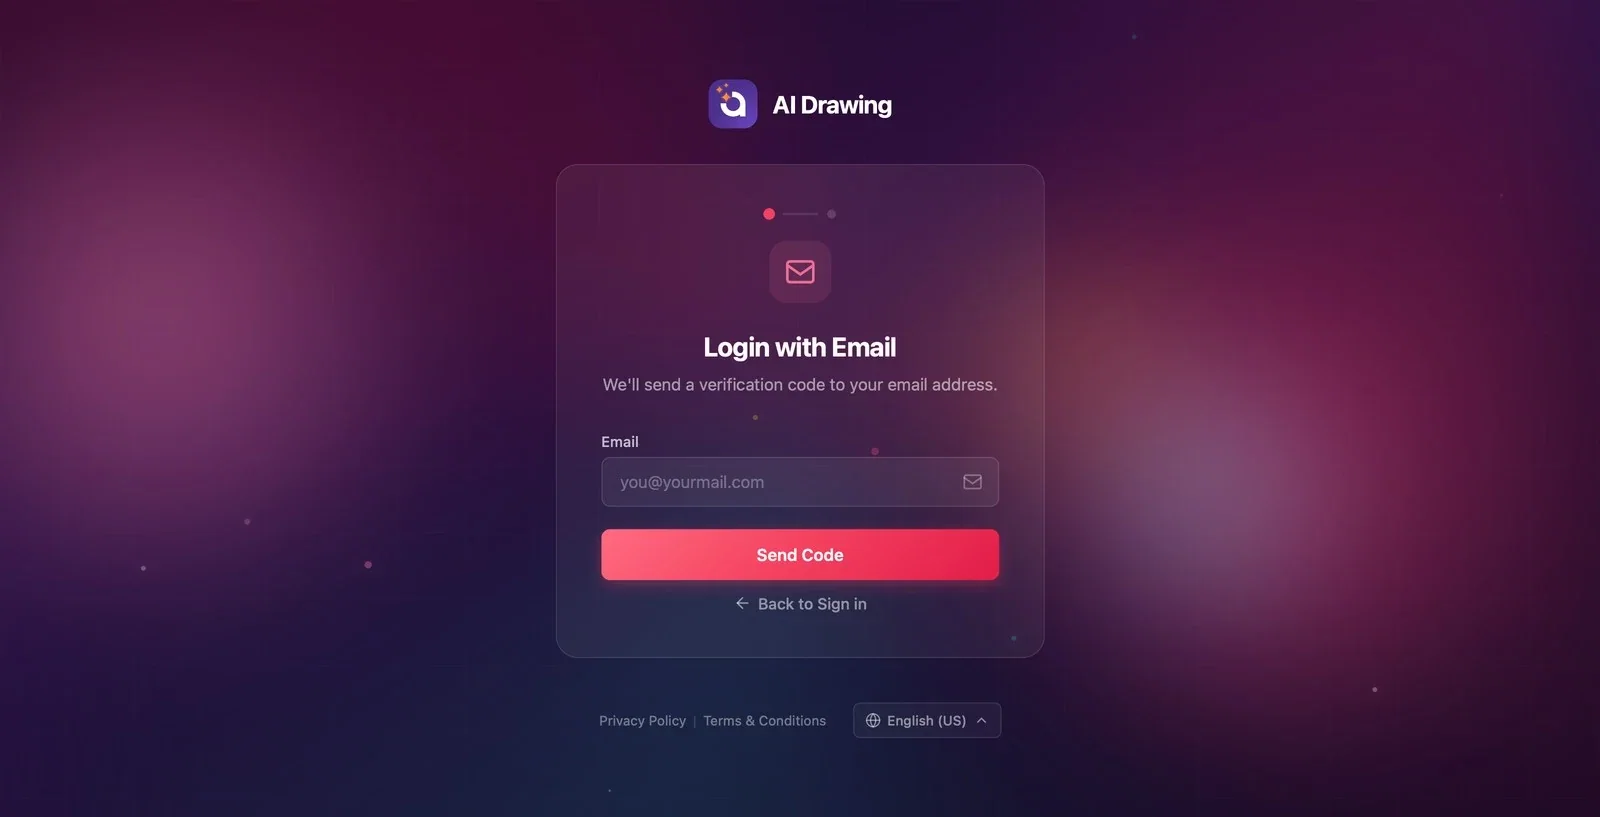
Click the Login with Email Code button. The first step of email login opens: the title is Login with Email and the caption is We'll send a verification code to your email address. The two-dot indicator at the top of the card shows that you are on the first step.
Step 6 · Enter your email address and request a code
Login with Email (step 1)
Type your address in the Email field and click the Send Code button (pressing Enter also works); while the code is being sent, the button says Sending.... If the field is empty, you see the Please enter your email address. warning; if the code can't be sent, Failed to send verification code. appears. To go back, use the Back to Sign in link at the bottom.
Step 7 · Enter the verification code
Enter Verification Code (step 2)
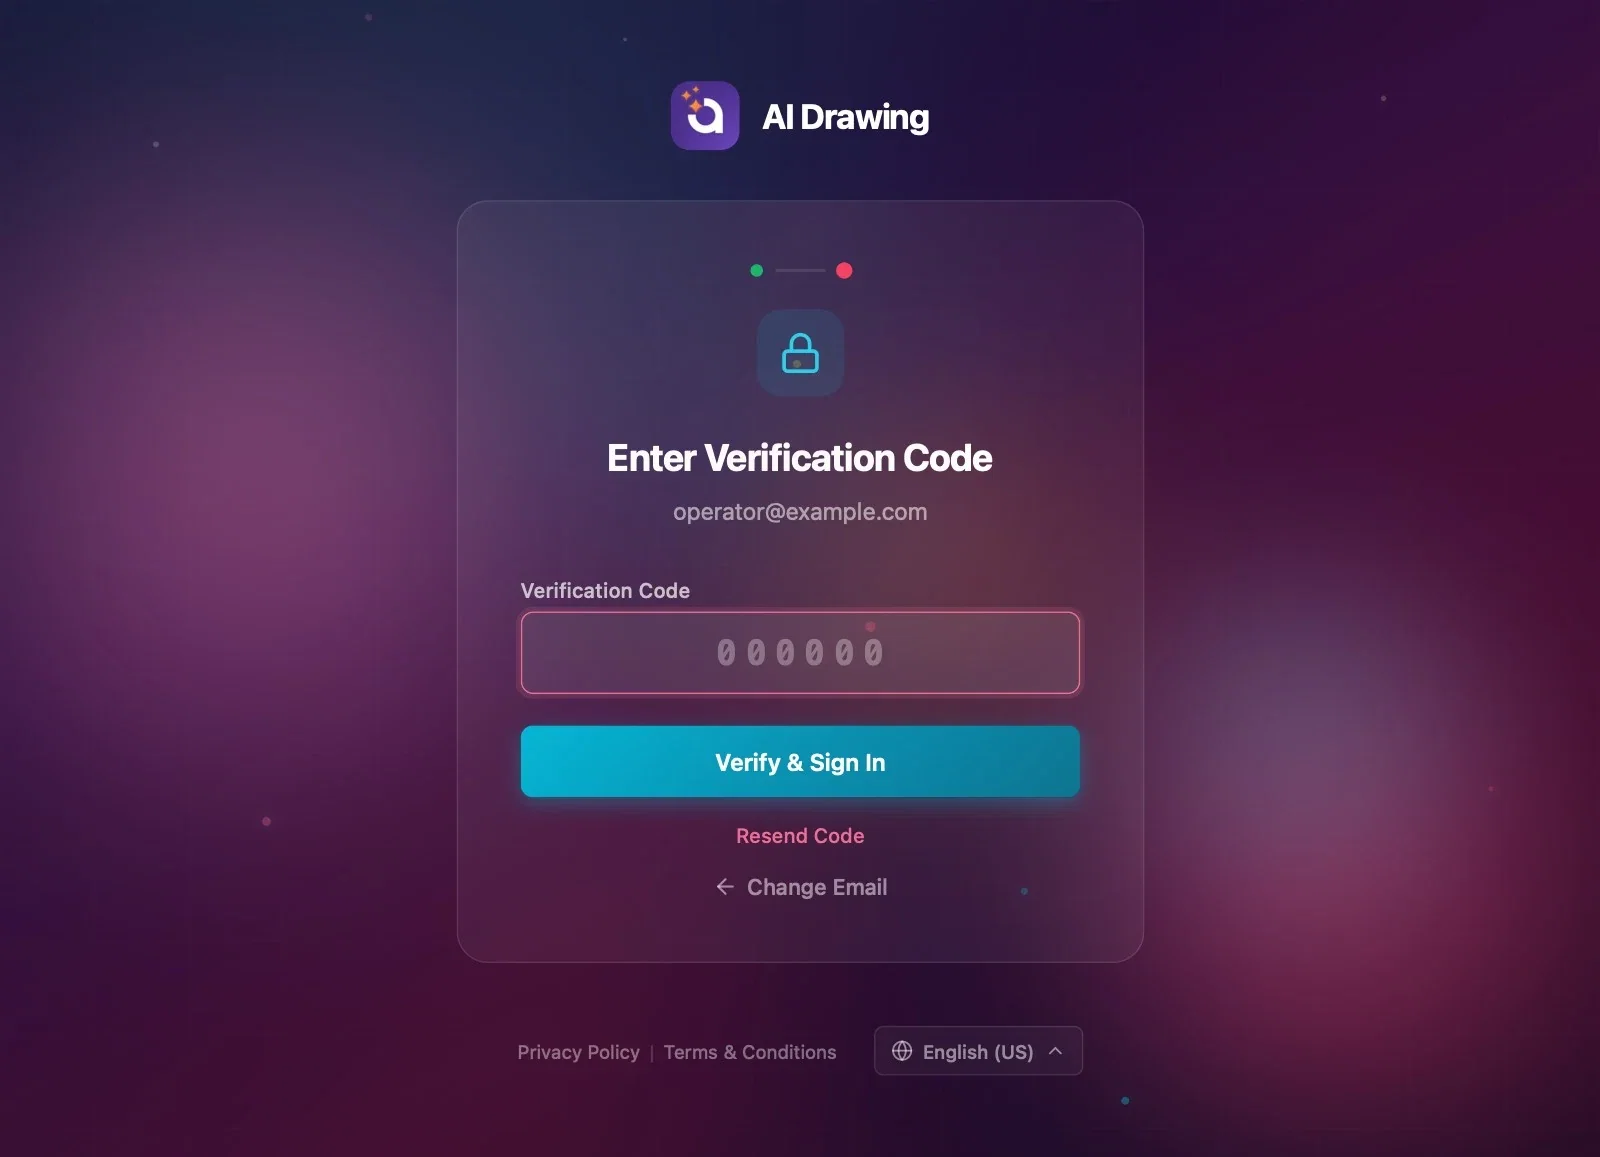
Type the verification code from your email into the Verification Code field; the card's caption shows the address the code was sent to. Click the Verify & Sign In button; while verification is in progress, the button says Verifying.... If the code is empty, you see Please enter the verification code.; if it is wrong, you see Verification failed. Please try again. along with the number of attempts you have left (e.g. 3 attempts remaining).
Step 8 · If the code doesn't arrive
Enter Verification Code (step 2)
If the code hasn't arrived, first check your spam (junk) folder, then request a new code with Resend Code. If you mistyped the address, use Change Email to go back to the previous step and correct it. After too many wrong attempts, the warning Too many failed attempts. Please request a new verification code. appears; stop trying the old code and get a new one with Resend Code.
Step 9 · You're logged in — the Dashboard opens
Login → Dashboard
Once you log in successfully, the Dashboard opens automatically after a short loading screen; you don't need to do anything else. If this is your first time logging in with this email, your account is created at this point. If your account needs to choose a subscription before you can use the app, the subscription screen opens before the Dashboard.
The language button is at the very bottom of the login screen; your choice is remembered the next time you open the app.
Login with Activation King uses your existing session in the browser; if you are already logged in there, you come back without typing anything.
You can copy the code from your email app and paste it into the Verification Code field.
If the kiosk runs on Windows, don't look for the Sign in with Apple button; on Windows, use Login with Activation King or Login with Email Code.
Looking for the login buttons with no internet connection — until the connection is back, only the Waiting for internet connection warning is shown.
Closing the browser and waiting on the Authenticating... screen — the approval never arrives; use the Try again or Cancel button.
Entering an old code — when you request a new code with Resend Code, the old one stops working; always use the most recent code.
Mistyping the email and waiting for the code — the code goes to the wrong address; correct it with Change Email.
Related topics
DashboardCreating an Event
