













The welcome screen is the first screen guests see on the kiosk: the AI Drawing label, the Draw it. Watch it come alive. title, and the Touch to start button. The whole screen responds to touch. On the Welcome tab you set the showcase animations, the position of the text and the logo, the gallery shortcut, and the background. To change the wording, use the Texts tab.
This guide covers AI Drawing Screen 2.2.2. Available controls may vary by platform and version; platform-specific limitations are noted below.
- An event must be created and selected.
- If you plan to use a logo, upload it on the Main tab first.
Step by step
Step 1 · Open the Welcome tab
Screens → Welcome
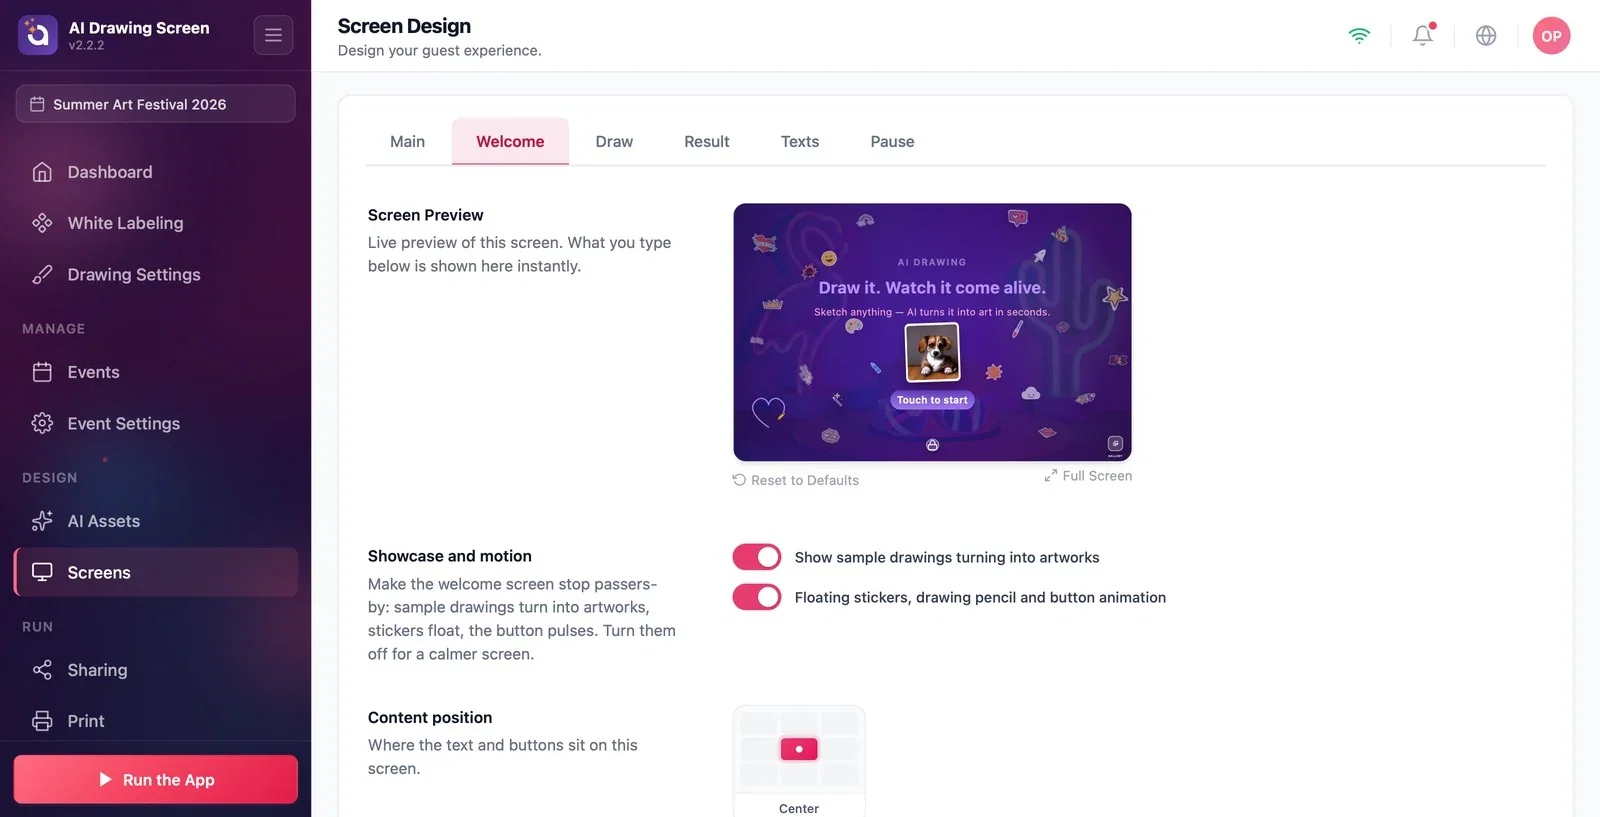
On the Screens page, click the Welcome tab. The preview at the top shows the welcome screen: the AI Drawing label at the top, the title and subtitle in the middle, a sample drawing-to-artwork card, the Touch to start button at the bottom, and floating stickers around the edges.
Step 2 · Showcase and motion
Screens → Welcome → Showcase and motion
Two switches help the welcome screen stop passers-by (both are on by default):
- Show sample drawings turning into artworks: sample cards rotate, showing a sketch first and then the finished artwork. - Floating stickers, drawing pencil and button animation: stickers floating around the edges, a pencil that draws by itself, and a pulsing button.
For a calmer, more corporate screen, you can turn both off.
Step 3 · Content, logo, and text alignment
Screens → Welcome → Content position / Logo position / Text alignment
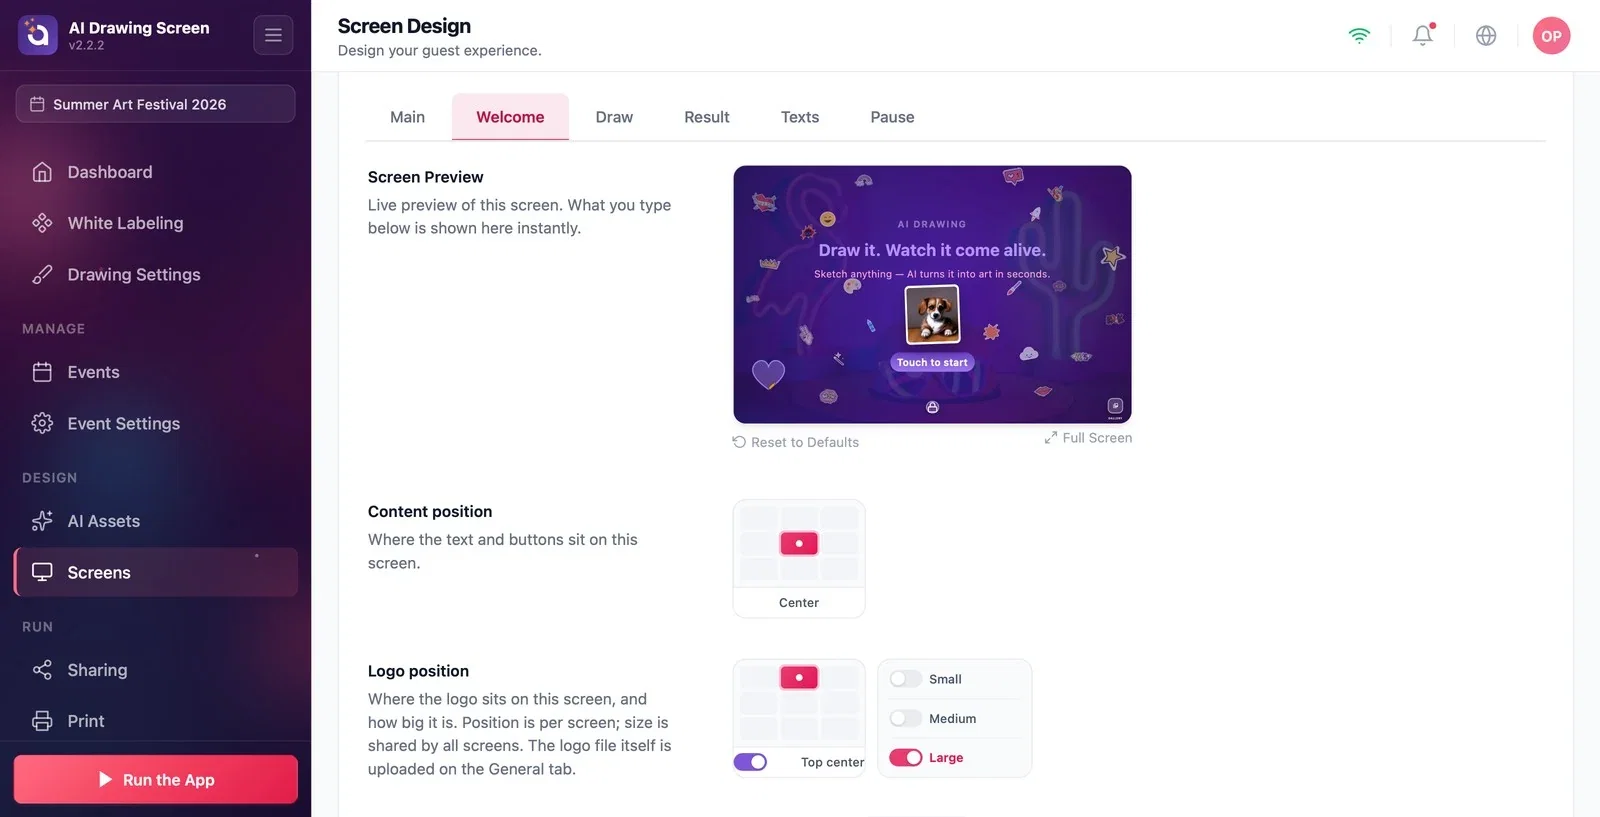
Use the Content position grid to choose where the text and button block sits on the screen (default Center). In Logo position, choose where the logo sits on this screen (default Top center) and its size — the size is shared by all screens, and the logo file is uploaded on the Main tab. Text alignment sets whether the lines inside the block are aligned Left, Center, or Right.
Step 4 · Gallery shortcut and background
Screens → Welcome → Gallery shortcut / Background
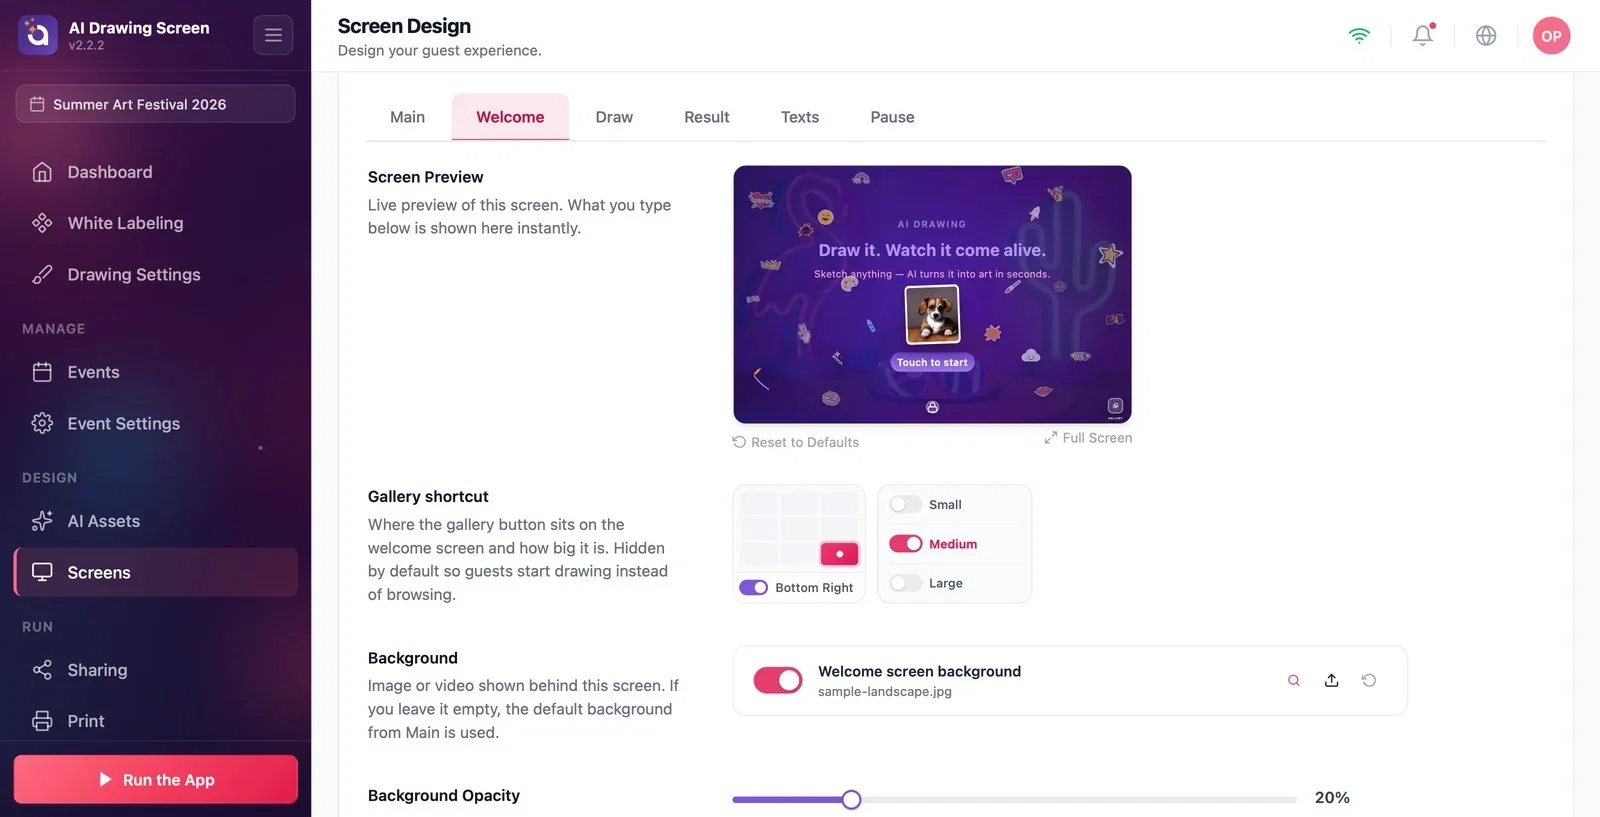
The Gallery shortcut is a small button that lets guests browse artworks created earlier; you choose its position (default Bottom Right) and size here. While the event gallery is empty, the shortcut does not appear on the welcome screen; it shows up after the first artwork is created. You can upload an image or video just for this screen to the Background slot; if you leave it empty, the default background from the Main tab is used. Background Opacity applies to this screen only.
In busy areas, leave the showcase animations on; motion draws guests in.
To change the title and button text for your event, go to the Screens → Texts tab.
Looking for the logo on this tab — the logo file is uploaded on the Main tab; here you only choose its position.
Not seeing the gallery shortcut at the start of the event and assuming the setting doesn't work — the shortcut appears once the first artwork is created.
Related topics
Screen Design (Main)TextsDrawing Screen Design
