













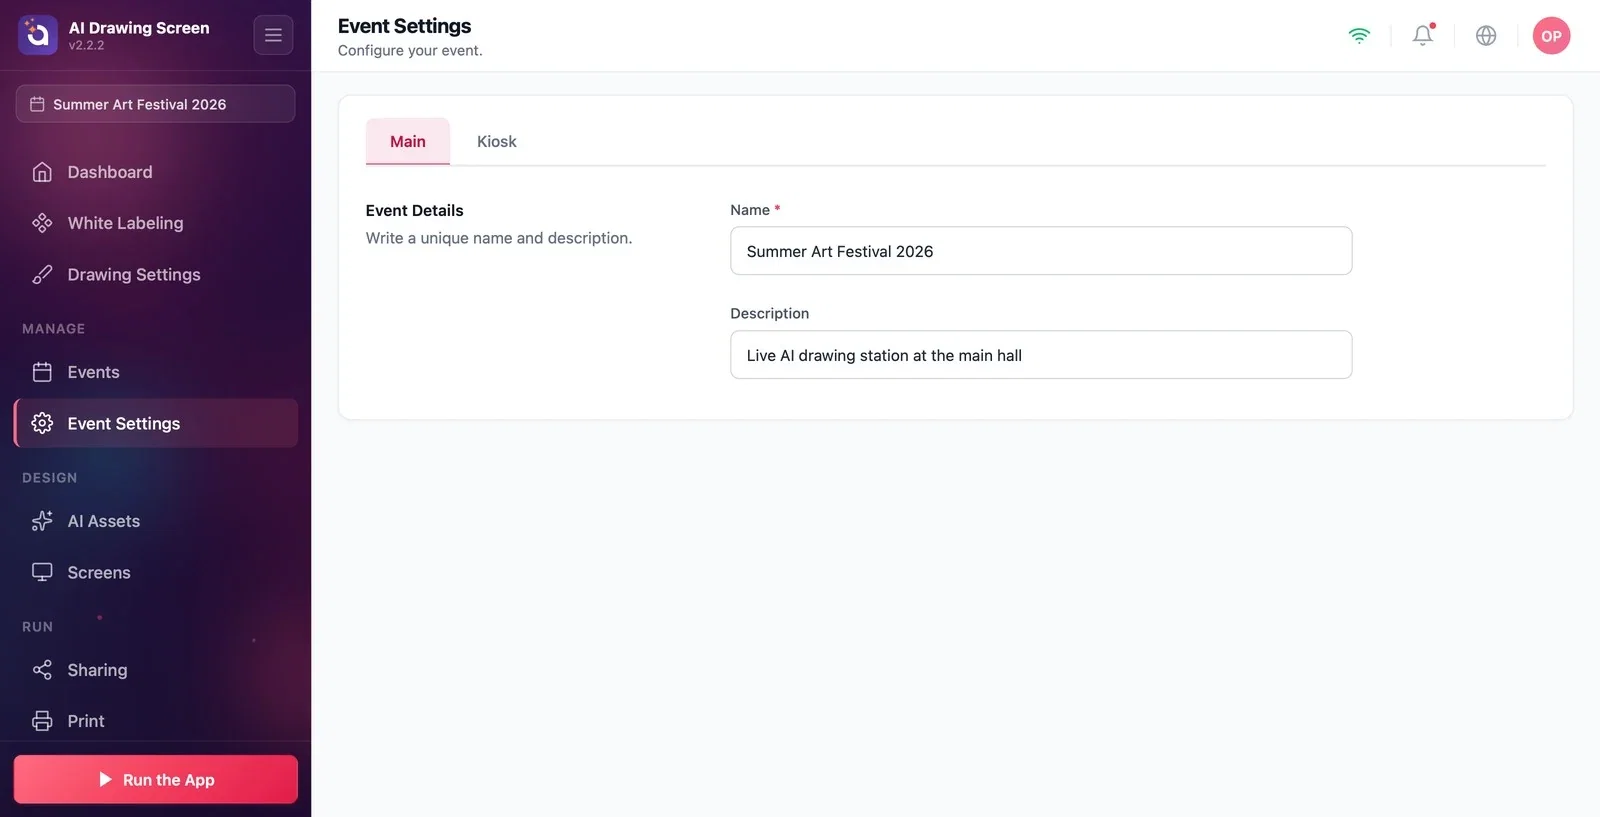
The Main tab of Event Settings is where you change the selected event's name and description. Changes are saved automatically, without a separate Save button. The name and description are for you only; they don't appear on guest screens.
This guide covers AI Drawing Screen 2.2.2. Available controls may vary by platform and version; platform-specific limitations are noted below.
- An event must be created and selected — this tab edits the selected event's details.
Step by step
Step 1 · Open the Main tab
Left menu → Event Settings → Main
Click Event Settings in the Manage group of the left menu. The tab bar at the top of the page has two tabs: Main and Kiosk. With Main selected, the Event Details section is shown.
Step 2 · Edit the name and description
Event Settings → Main
Change the event name in the Name field (required, can't be left empty); if you like, write a short note in the Description field. What you type is saved automatically; the event name at the top of the left menu and the card on the Event Management page also show the new name.
Two events with the same name are easy to mix up; use a name that includes a date or place (e.g. 'Summer Art Festival 2026').
You can use the description for your own reminders, such as the event location or a note from the client.
Looking here for the heading guests see — the texts on the welcome screen are changed on the Screens → Texts tab, not here.
Looking for this page when no event is selected — the Event Settings menu only appears when an event exists.
Related topics
Event Settings → KioskScreens → Texts
