













The Screens → Draw tab controls only the look of the screen where guests draw: the position of the gallery shortcut and the logo, and the background. The content of the drawing tools (brushes, stickers, canvas surfaces, coloring pages, AI result) is not here but on the Drawing Settings page in the left menu.
This guide covers AI Drawing Screen 2.2.2. Available controls may vary by platform and version; platform-specific limitations are noted below.
- An event must be created and selected.
Step by step
Step 1 · Open the Draw tab
Screens → Draw
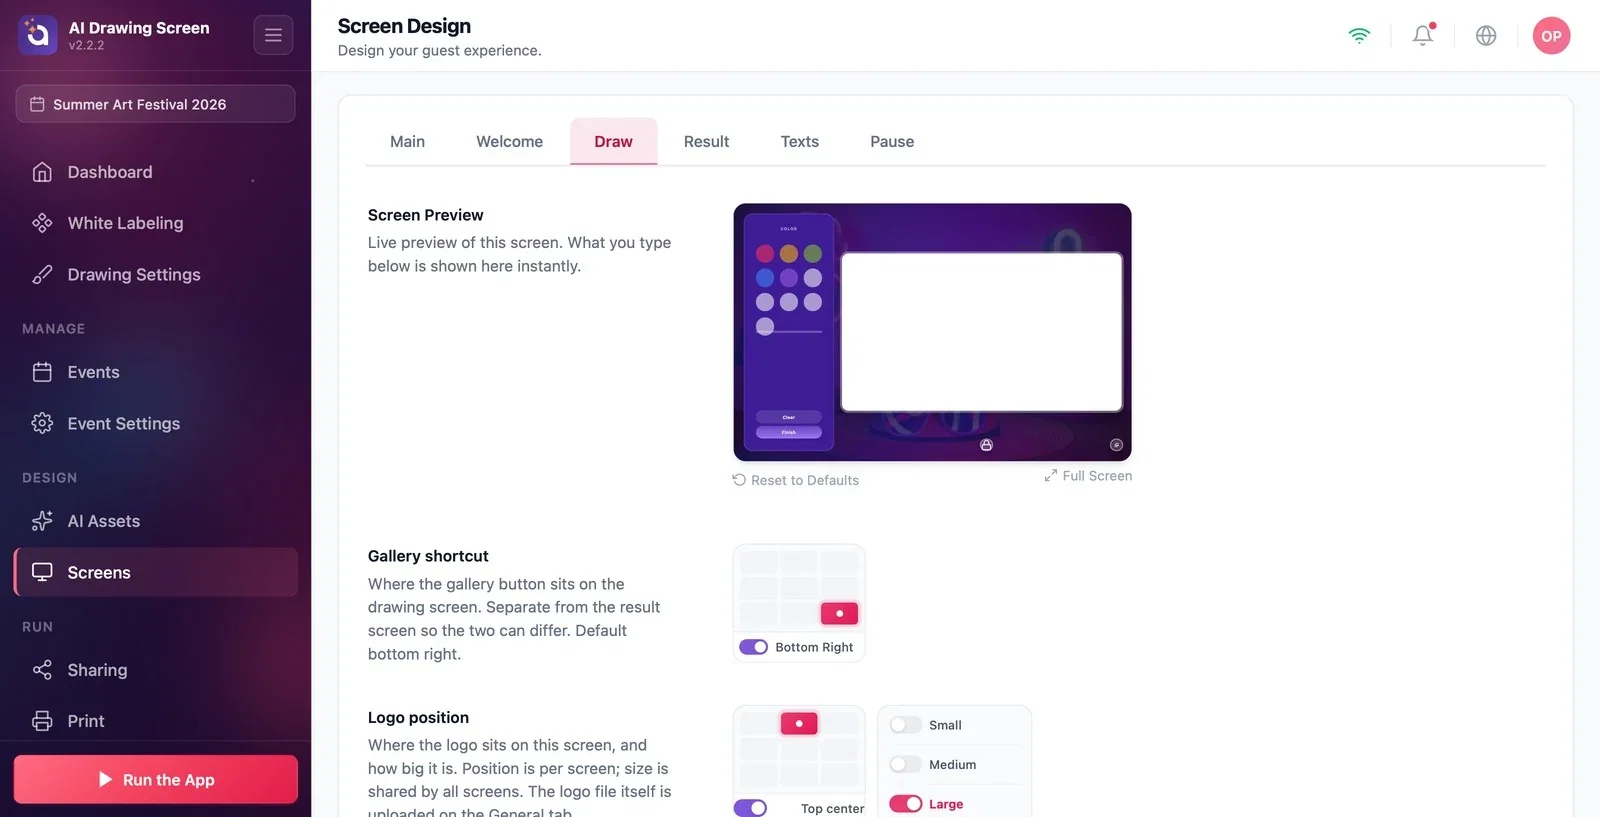
On the Screens page, click the Draw tab. The preview shows the guest's drawing screen with your color and design choices: the tool panel on the left (Color, Clear, Finish) and the canvas on the right.
Step 2 · Gallery shortcut and Logo position
Screens → Draw
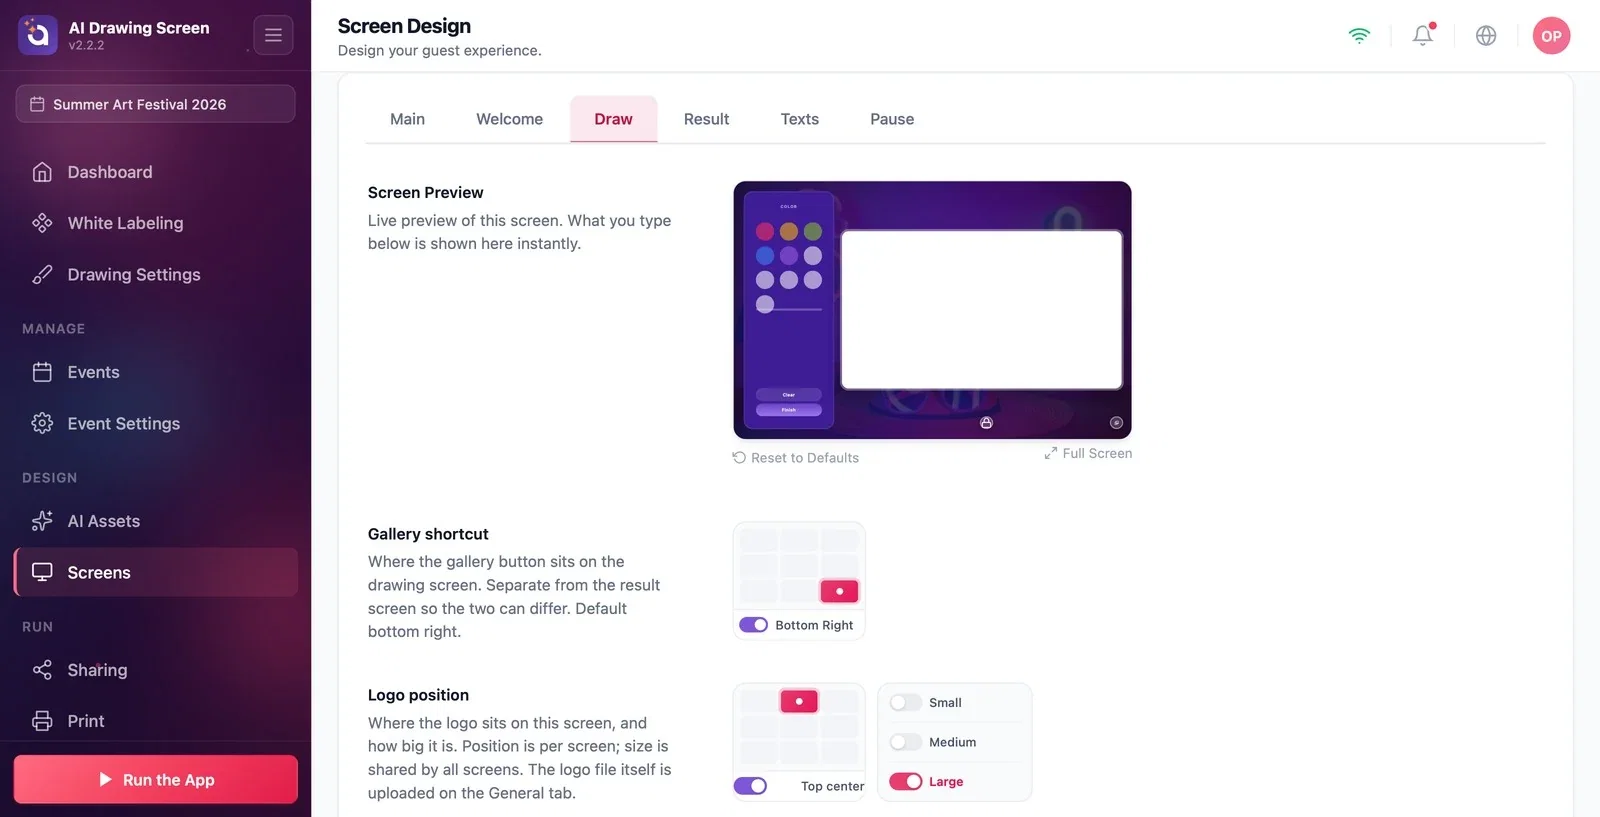
Use the Gallery shortcut grid to choose where the gallery button sits on the drawing screen (default Bottom Right). This setting is separate from the one on the result screen; you can pick different positions on the two screens. In Logo position, set where the logo sits on this screen and its size.
Step 3 · Background
Screens → Draw → Background
You can upload an image or video just for this screen to the Draw screen background slot; if you leave it empty, the default background from the Main tab is used. Background Opacity applies to this screen only. The background shows outside the canvas; the canvas's own pattern comes from Drawing Settings → Canvas surface.
You can change the colors of the tool panel and the canvas border under Main → UI Colors → Custom.
Looking for brush, sticker, or canvas surface settings on this tab — they are on the Drawing Settings page.
Mistaking the screen background for the canvas surface — the screen background is not sent to the AI; the canvas surface is.
Related topics
Drawing SettingsCanvas Surface and FrameResult Screen
