













White Labeling lets you present the app, and the sharing page (microsite) where the guest downloads their artwork, under your own brand instead of Activation King. The White Labeling page in the left menu has three tabs: Domain moves the sharing links to your own domain, App changes the app's logo and name, and Microsite sets the colors, texts and logo of the sharing page the guest sees.
This guide covers AI Drawing Screen 2.2.2. Available controls may vary by platform and version; platform-specific limitations are noted below.
- Your account must have a White Label plan, and your subscription must be active.
- If you will connect a domain, you need access to your domain's DNS settings.
- Your logos must be ready: one wide (horizontal) logo and one square (1:1) logo.
Step by step
Step 1 · Open the White Labeling page
Left menu → White Labeling
Click White Labeling in the upper part of the left menu. The Domain, App and Microsite tabs appear at the top of the page. If your plan does not include white labeling or your subscription has expired, a warning with a lock icon and a plan upgrade button appear instead of the tabs.
Step 2 · Connect your own domain
White Labeling → Domain
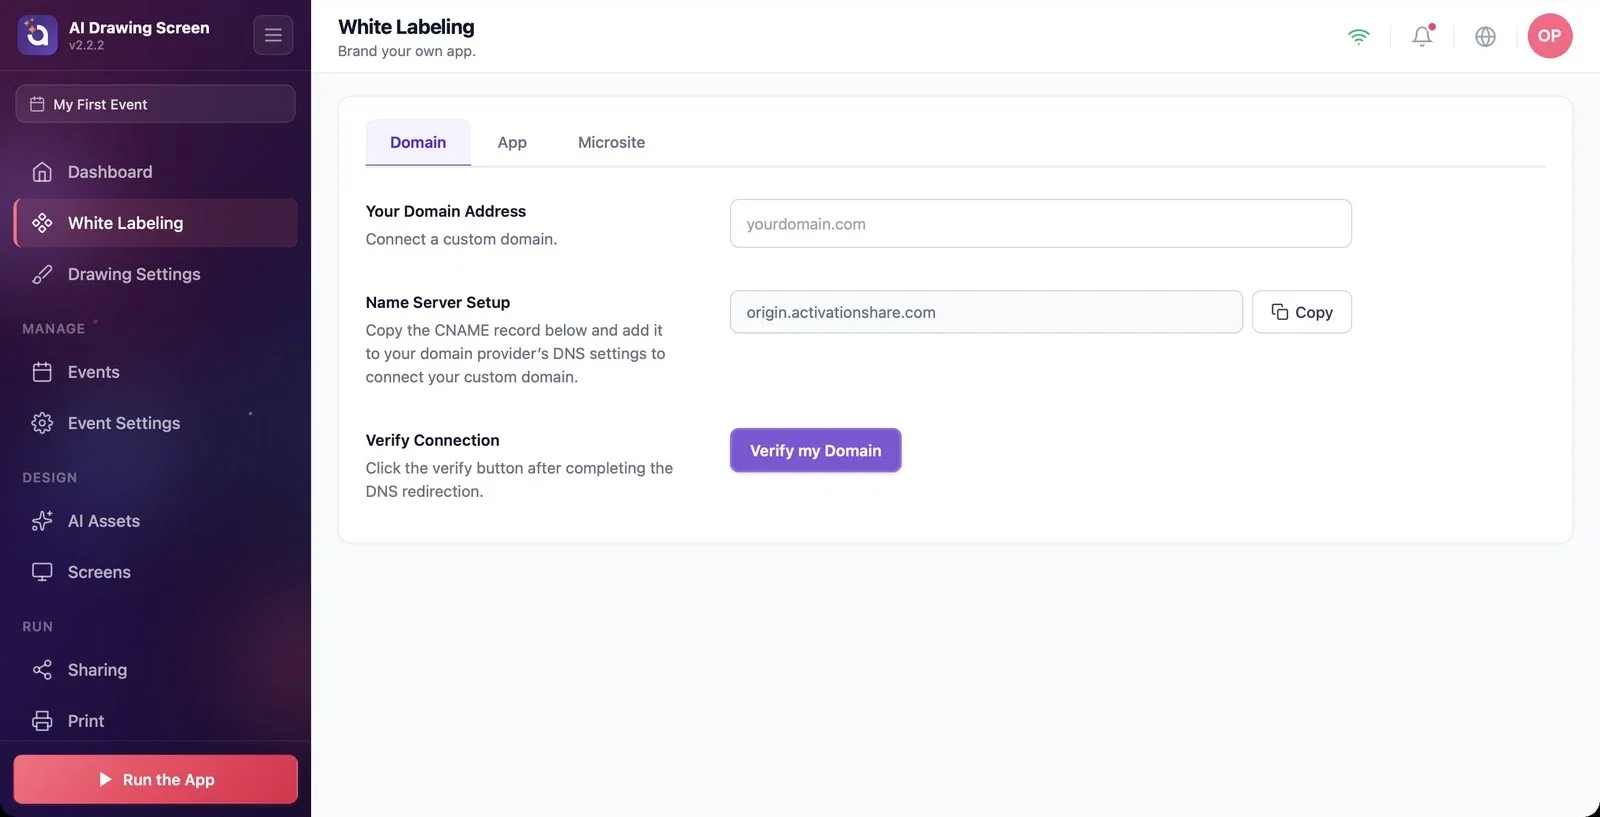
In the Your Domain Address box, enter the domain you want to use in the sharing links (e.g., a subdomain). When you enter the domain, DNS Setup Instructions appear on the page, showing the two records you need to add at your domain provider:
1. TXT record — verifies that the domain belongs to you. Once the record is detected, the SSL certificate is prepared automatically (5–30 minutes). 2. CNAME record — points your domain to origin.activationshare.com. The proxy for this record must be turned off at your domain provider.
Copy each value with the Copy button next to it and paste it into your domain provider's DNS screen. After adding the records, press the Verify my Domain button in the Verify Connection section.
Step 3 · Brand the app
White Labeling → App
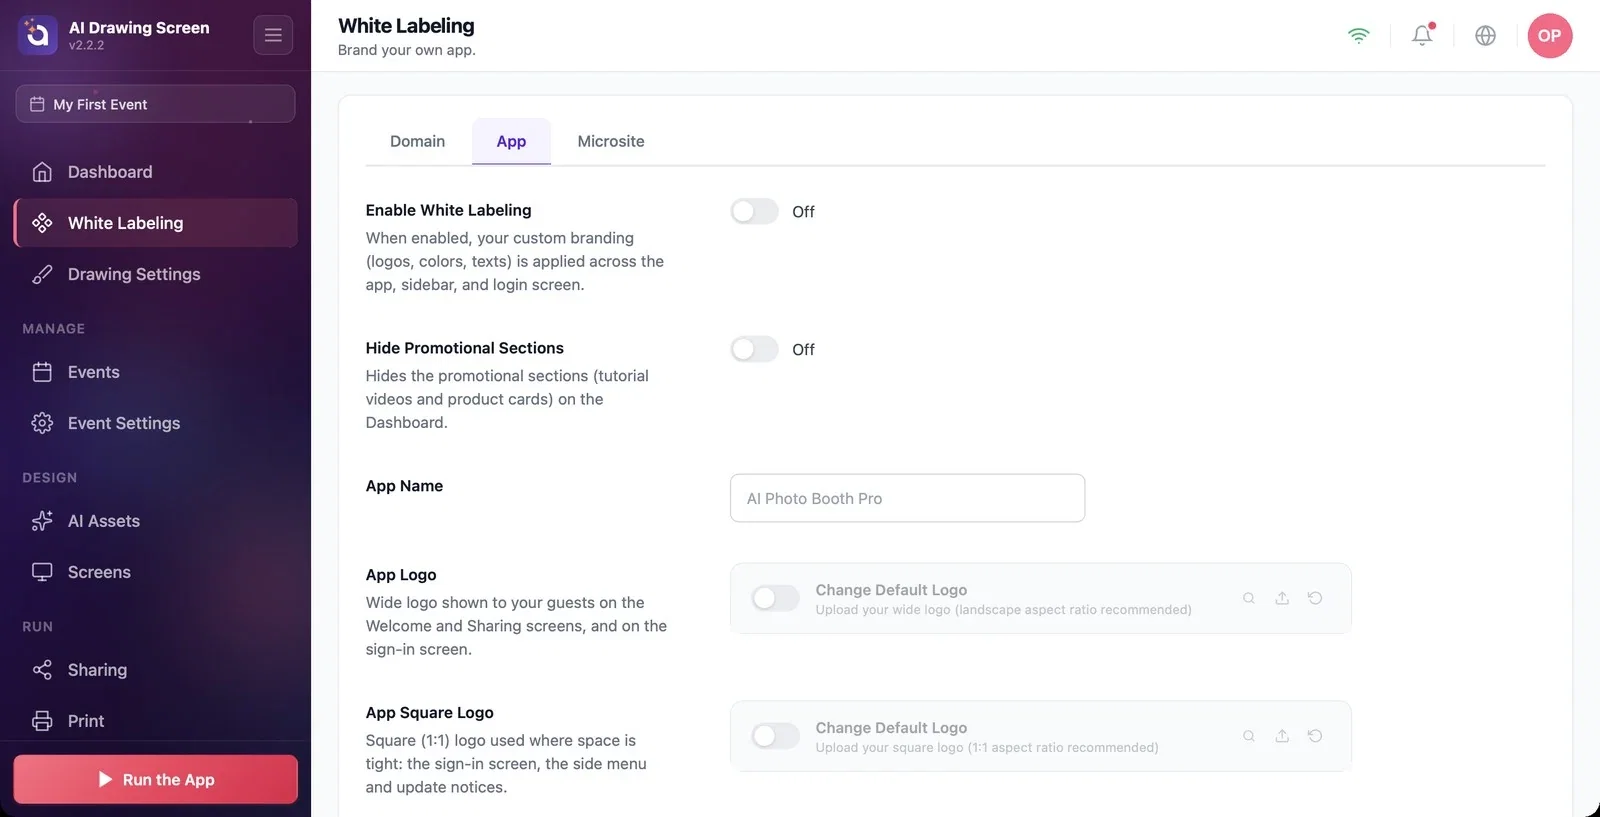
The settings on the App tab show up in the app itself:
- Enable White Labeling (off by default): when on, your logos, colors and texts are used throughout the app, in the side menu and on the sign-in screen. The settings below take effect only while this switch is on. - Hide Promotional Sections (off by default): hides the promotional sections on the Dashboard (training videos and product cards). - App Name: the name shown in the app. - App Logo: the wide logo; it appears on the welcome and sharing screens the guest sees and on the sign-in screen. - App Square Logo: the square (1:1) logo; it is used where space is tight: on the sign-in screen, in the side menu and in update notifications.
To upload a logo, turn on the Change Default Logo switch in that row and choose your file with the upload icon.
Step 4 · Turn on branding for the sharing page
White Labeling → Microsite
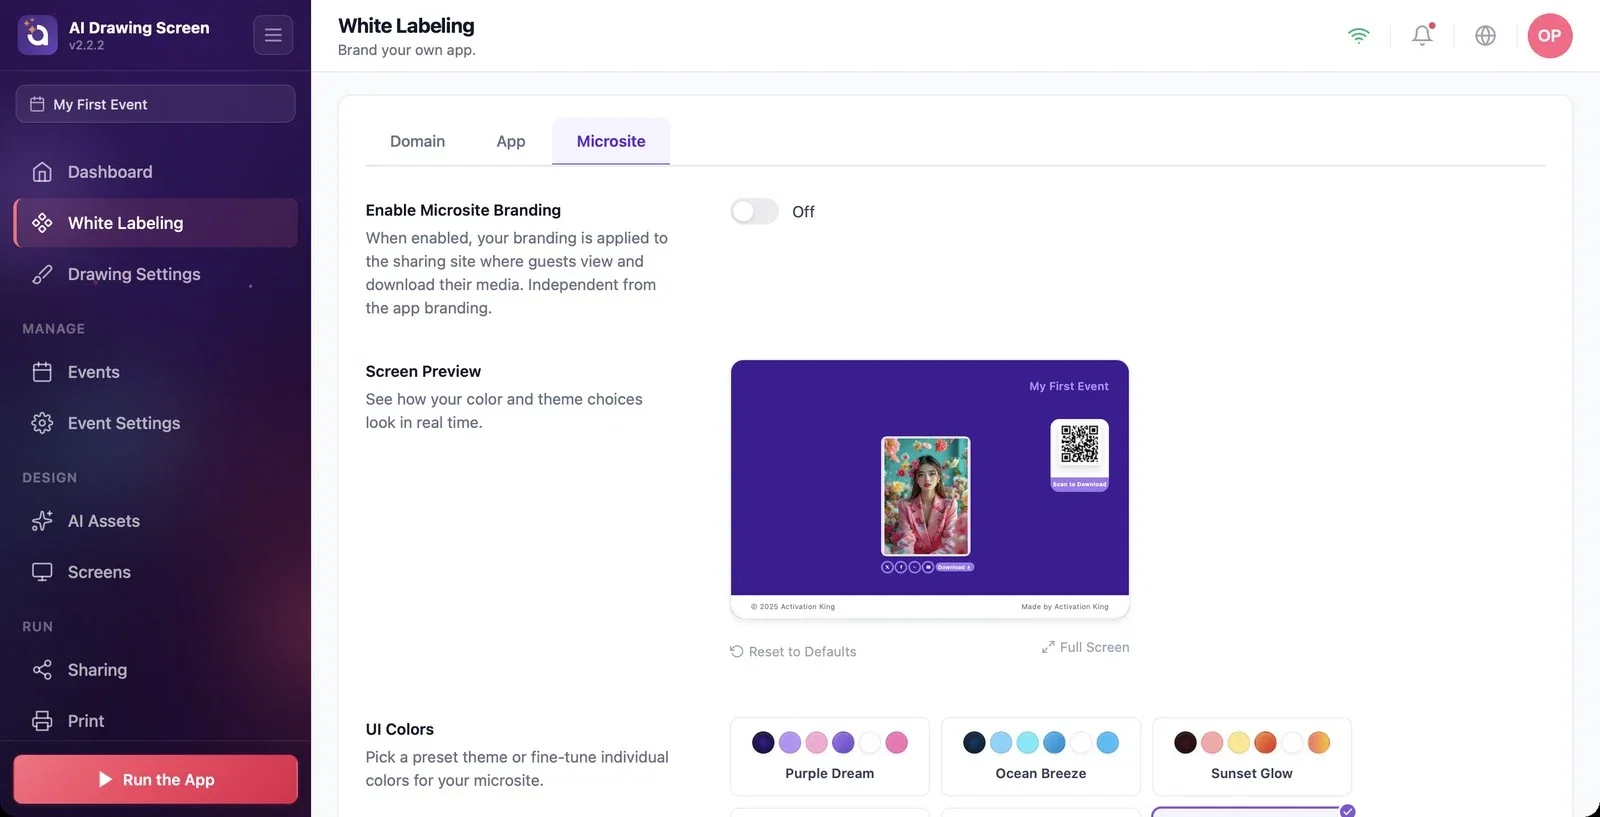
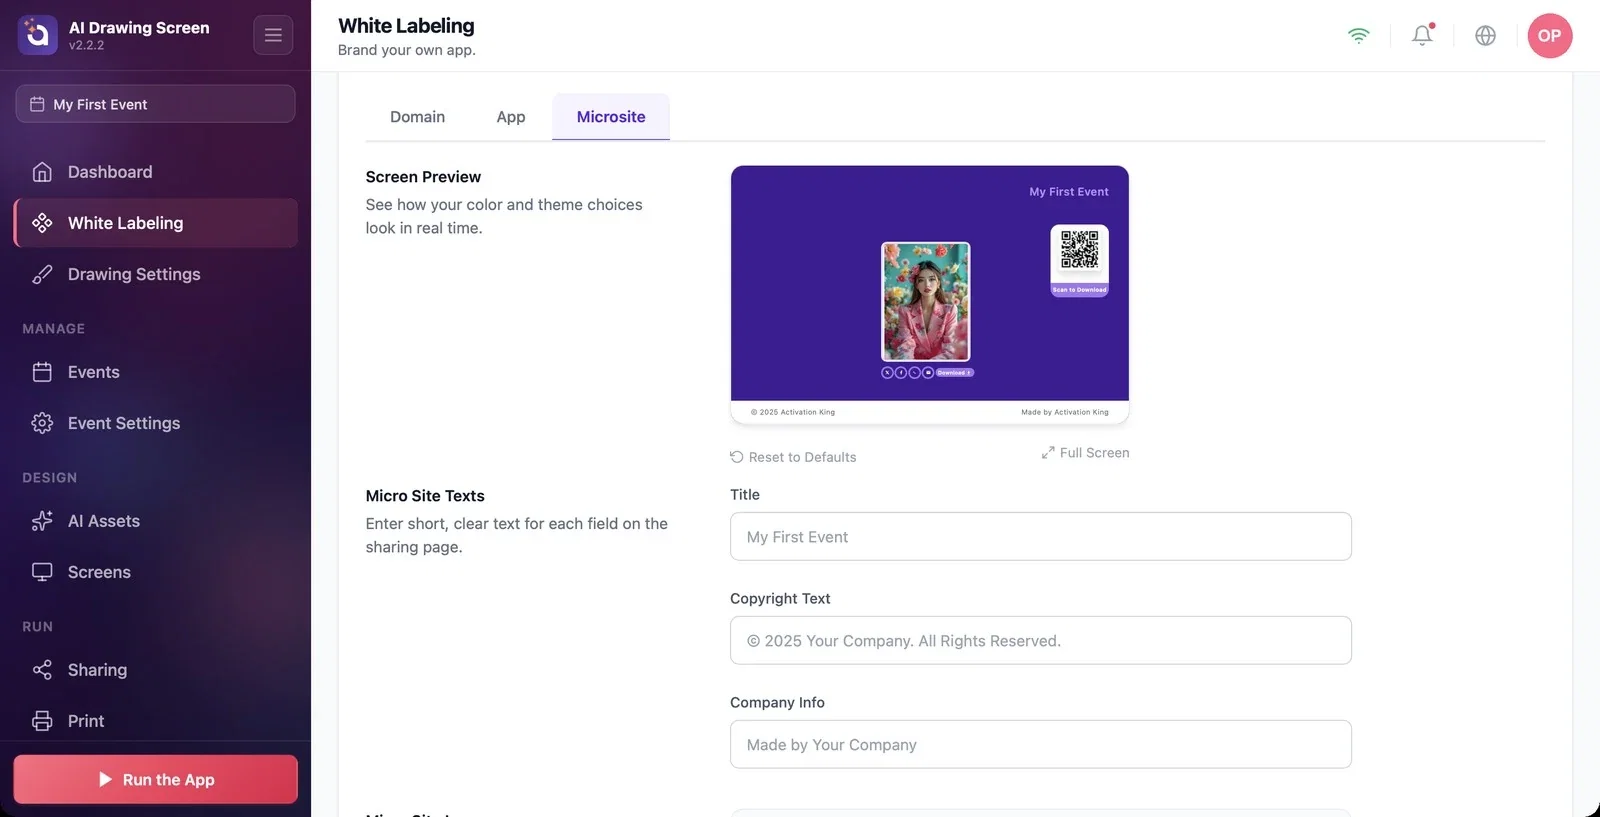
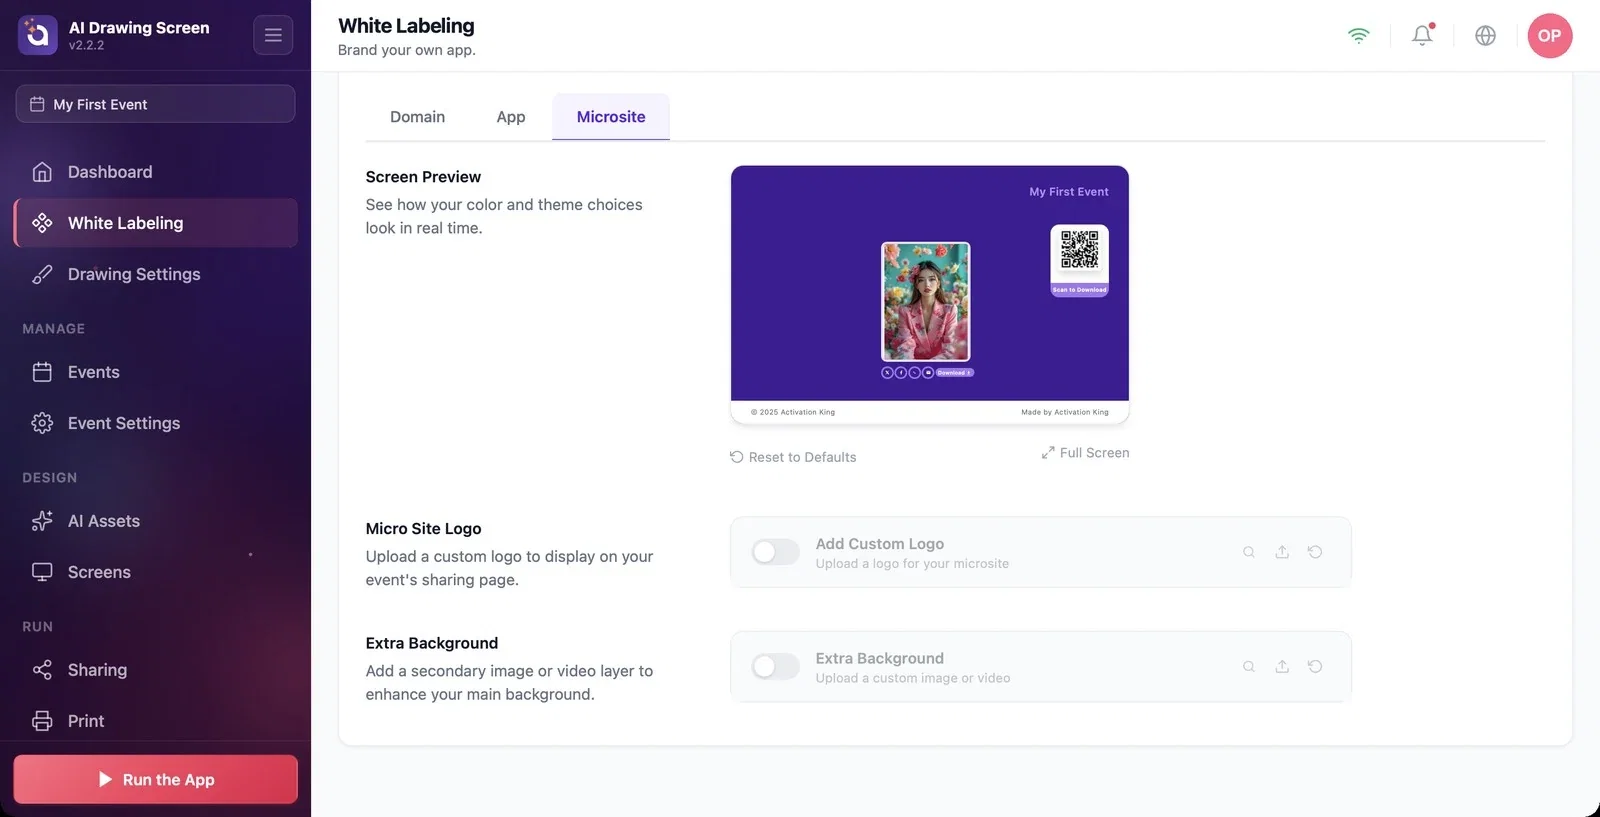
The Microsite tab sets up the sharing page that opens when the guest scans the QR, where they view and download their artwork. These settings are independent of the app's branding. Turn on the Enable Microsite Branding switch; the color, text and logo settings below are then applied to the sharing page. Screen Preview shows your changes instantly; you enlarge it with Full Screen and start over with Reset to Defaults.
Step 5 · Choose the colors
White Labeling → Microsite → UI Colors
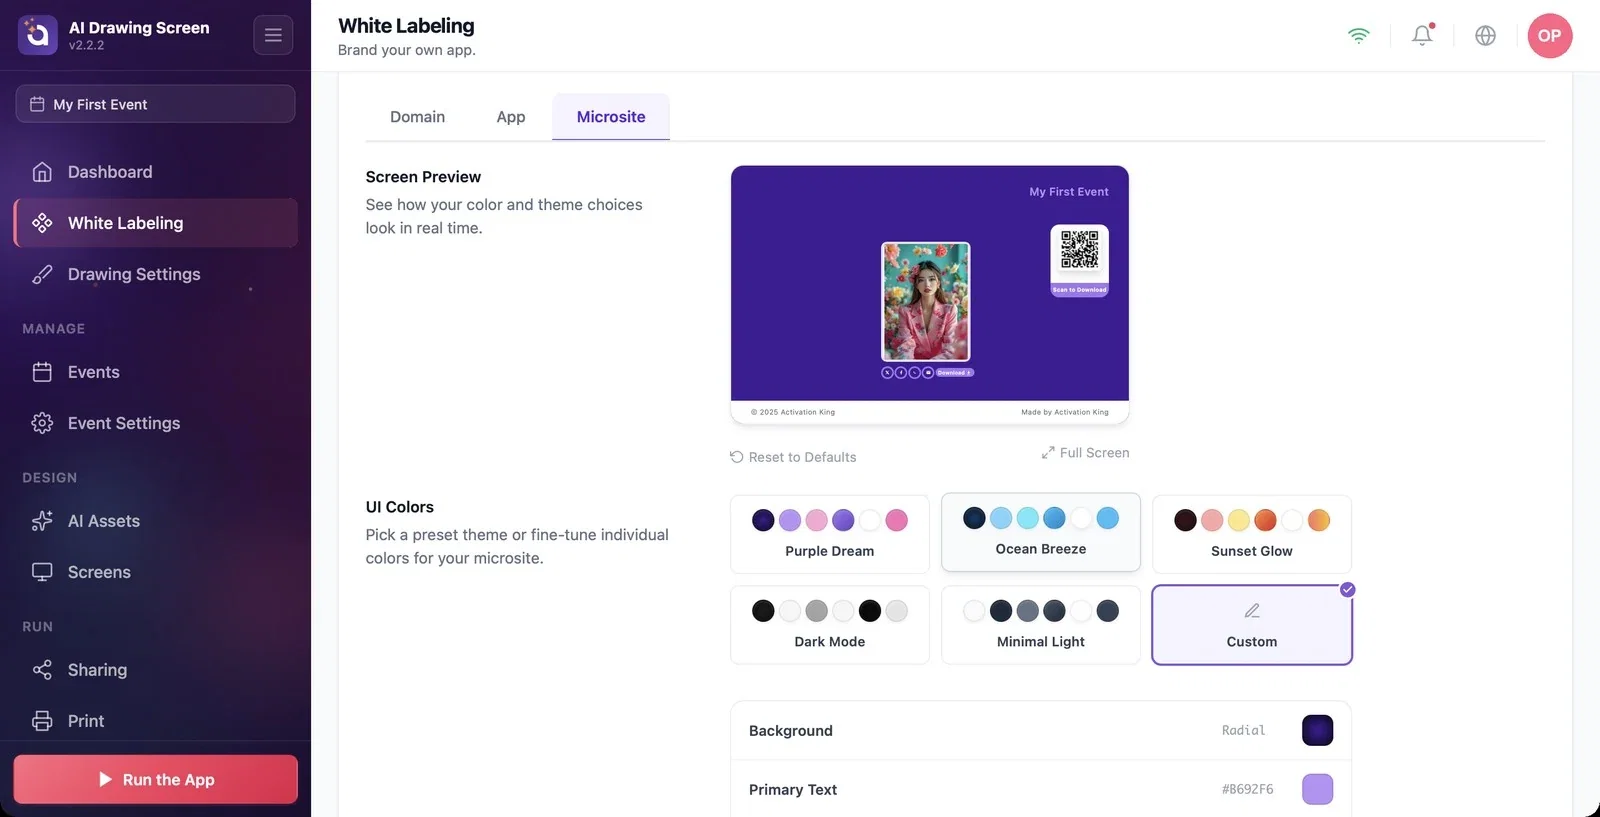
Under UI Colors, pick one of the preset themes (Purple Dream, Ocean Breeze, Sunset Glow, Dark Mode, Minimal Light) or set the colors one by one with Custom: Background, Primary Text, Button BG, Button Text and QR Background Color. Background and button colors can be a solid color or a gradient. To see the result on the real page, press the Preview Micro Site button.
Step 6 · Add texts, a logo and an extra background
White Labeling → Microsite → Micro Site Texts / Micro Site Logo / Extra Background
Under Micro Site Texts, write the sharing page's texts, keeping them short and clear: Title (if empty, the event name is used), Copyright Text and Company Info (shown at the bottom of the page). In the Micro Site Logo row, turn on the Add Custom Logo switch and upload your logo. With Extra Background, you can add a second image or video layer on top of the main background.
Step 7 · Use the account's brand settings for the event
Sharing → Activation Share → White Label Event Override
While the White Label Event Override switch on the Sharing page is on, the white label settings you made on this page are used instead of the event's own sharing settings.
Connect the domain a few days before the event: it can take a while for the DNS records to propagate and for the certificate to be prepared.
After making changes, scan a QR with your own phone and check the sharing page.
You don't need White Label just to put a logo on the kiosk screens: Screens → Main → Default Logo is available on every plan.
Leaving the proxy on for the CNAME record at your domain provider — the domain will not verify.
Filling in the settings without turning on the Enable White Labeling or Enable Microsite Branding switch — the settings are saved but don't show up anywhere.
Thinking the page locking when the subscription expires is a bug — white labeling is only available on a White Label plan with an active subscription.
Related topics
Sharing SettingsScreen Design (Main)Dashboard
