













You define your own art style in the Create an Effect window: a name, an AI model, a resolution, and a prompt (instruction text) describing the style. If you like, you add reference images and a cover image to show on the shelf. The style you save goes into your account's library (My Effects) and is added to the event.
This guide covers AI Drawing Screen 2.2.2. Available controls may vary by platform and version; platform-specific limitations are noted below.
- An event must be created and selected.
- You need AI credits to test; every test and every guest generation uses credits.
Step by step
Step 1 · Open the Create an Effect window
AI Assets → AI Effects → Create New
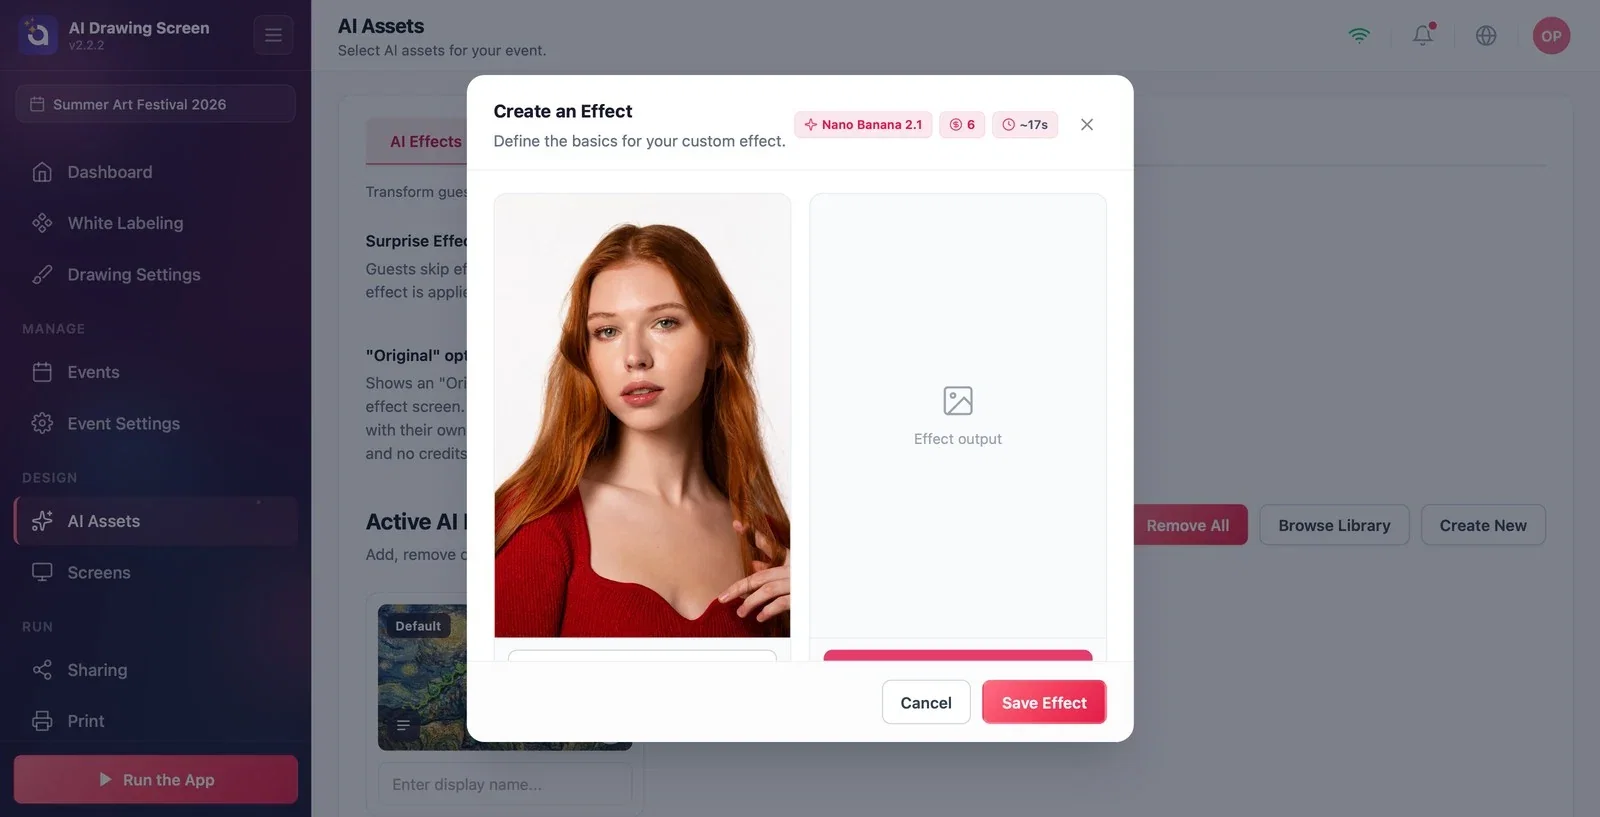
Click the Create New button to the right of the Active AI Effects heading. At the top of the window, the selected model's name, the credit cost of one generation, and its approximate duration appear as badges (e.g., 'Nano Banana 2.1', 6 credits, ~17 s). The first section is a test area: a sample image on the left (you can use your own image with Upload Your Own Photo), and on the right the Effect output and the test button that tries out the style (uses credits).
Step 2 · Name, model, and resolution
Create an Effect
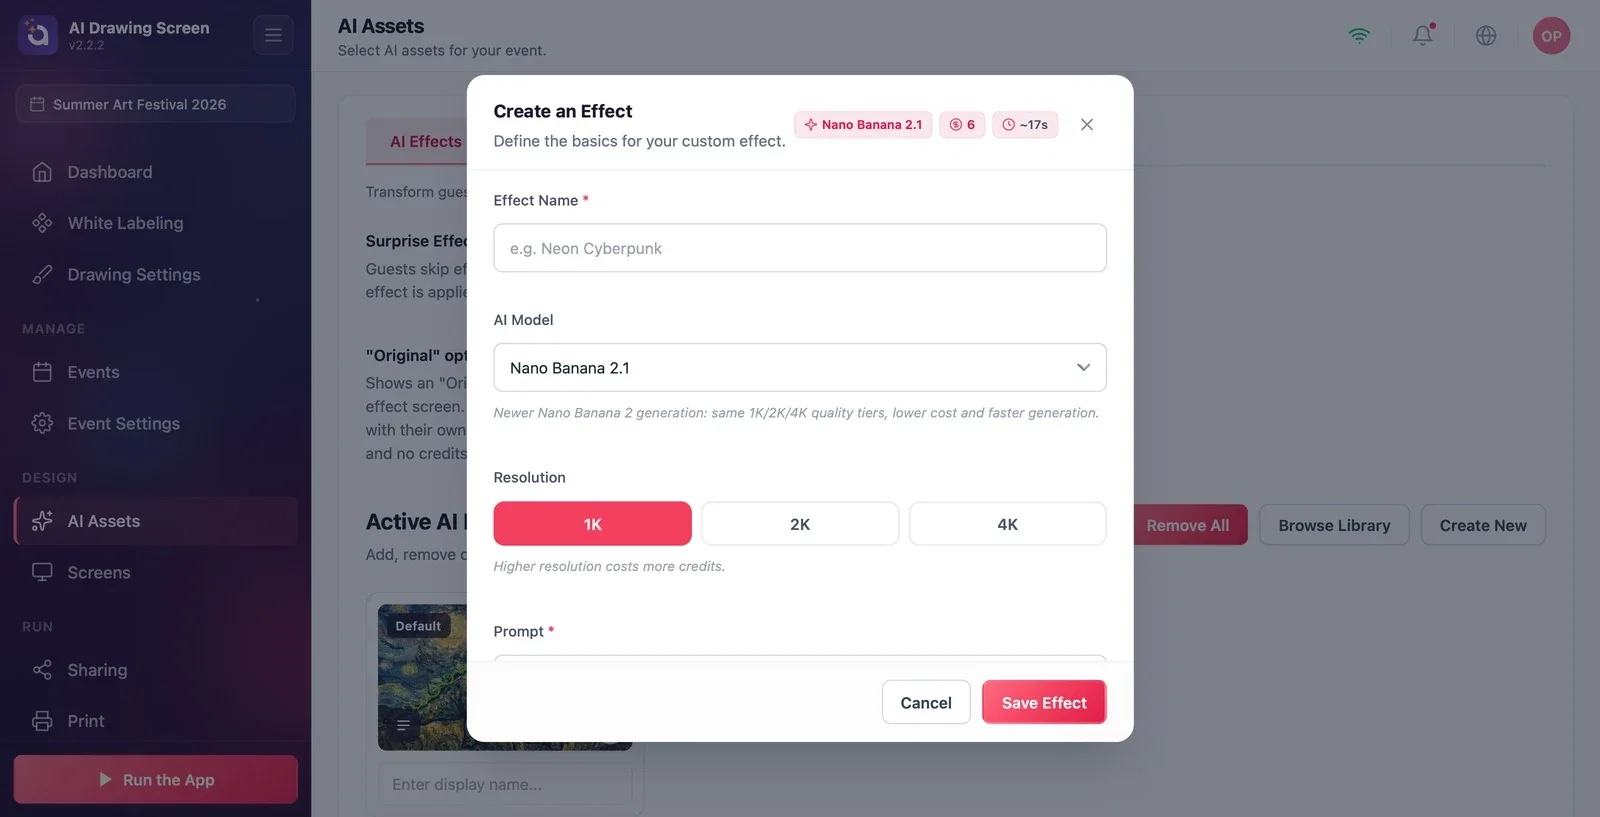
Type the style's name in the Effect Name field (required); this name appears on the guest's Art style shelf. Pick the model from the AI Model list; each model shows a short description below it and its cost in the badges at the top. For Resolution, choose 1K, 2K, or 4K — higher resolution uses more credits; if you aren't printing, 1K is usually enough.
Step 3 · Prompt and reference images
Create an Effect → Prompt
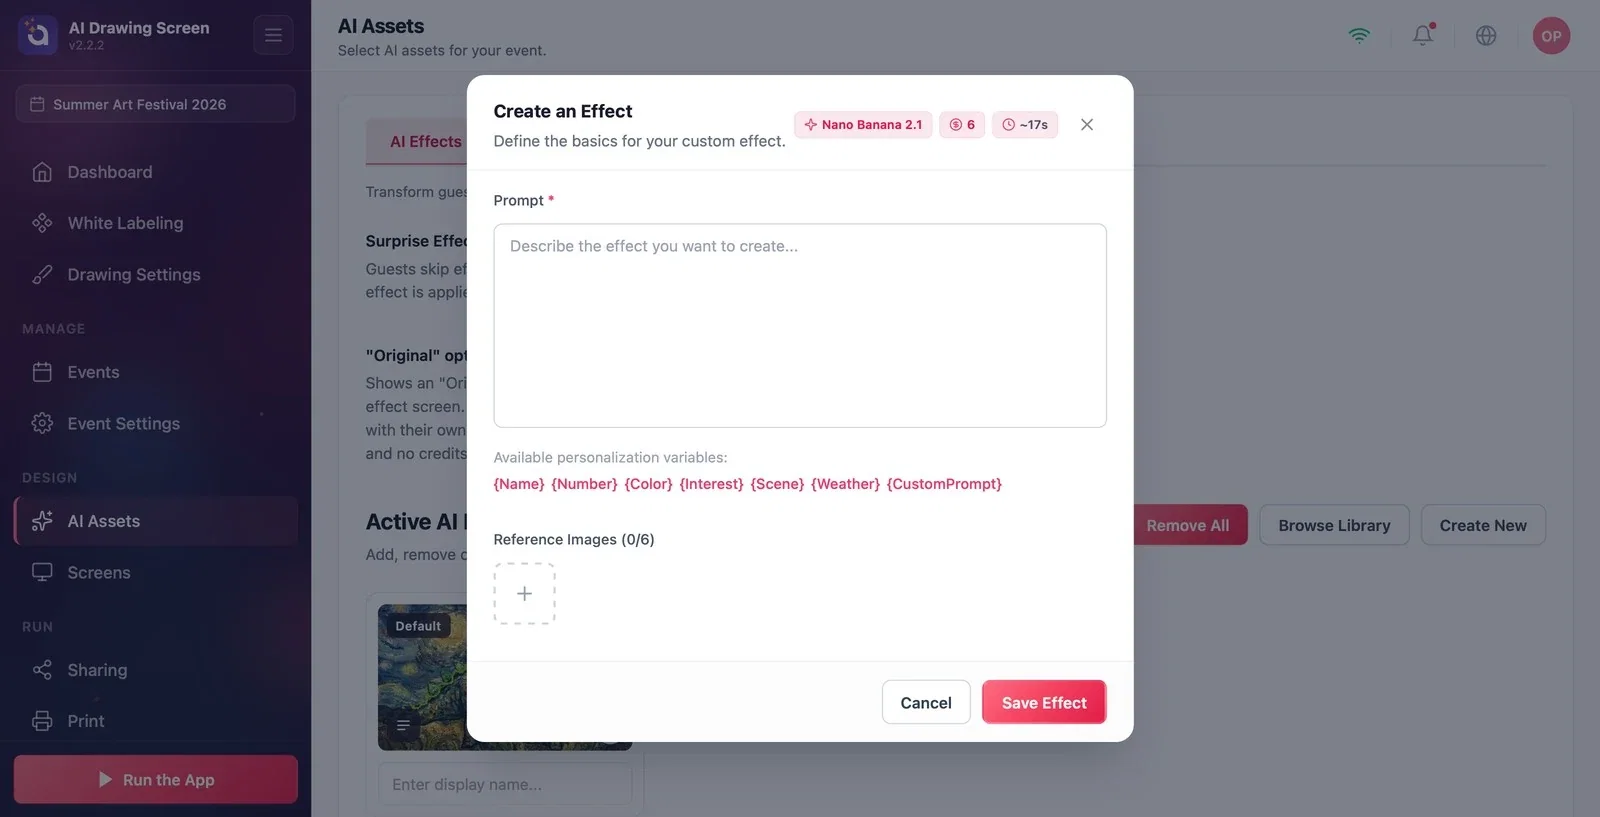
In the Prompt field, describe what kind of artwork the drawing should become; for example: 'Turn this sketch into a vividly colored watercolor painting with paper texture and soft blends, staying true to the shapes of the drawing.' Personalization variables (such as {Name} and {Color}) are listed below the field; they are for inserting information from survey fields into the prompt. In the Reference Images section, you can add examples of the style (up to 6).
Step 4 · Cover image and saving
Create an Effect → Cover Image
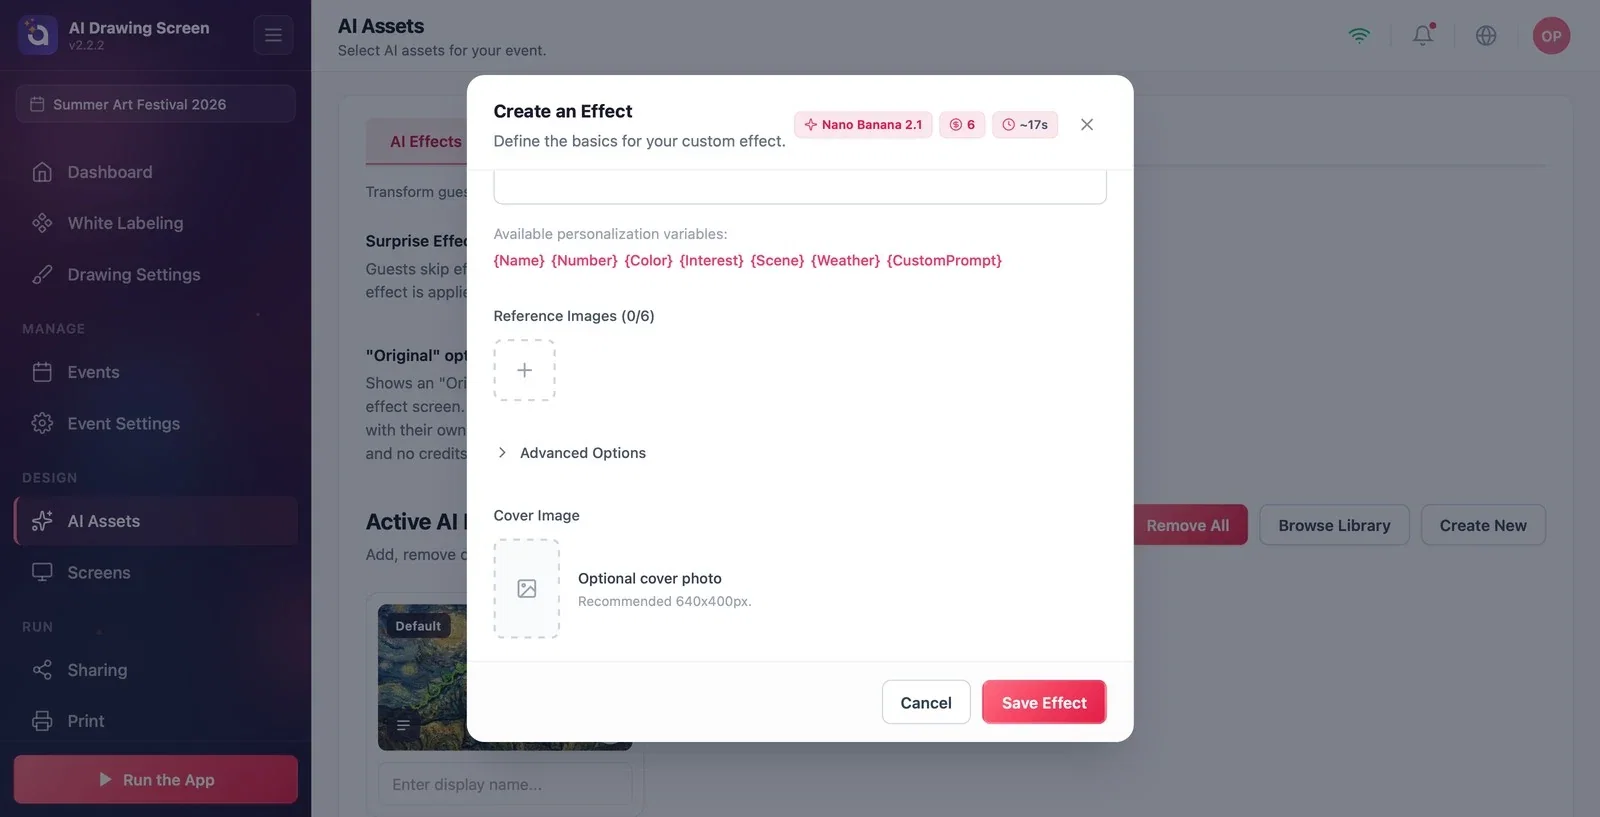
In the Cover Image field, add an image to show on the style's card on the shelf (optional, 640×400 px recommended). Open Advanced Options if needed. Save the style with Save Effect; the style goes into the My Effects tab and into the event's Active AI Effects list.
Use a phrase like "stay true to the shapes of the drawing" in the prompt; guests want to recognize their own drawing in the artwork.
Make the cover image from a real result of the style; guests see on the shelf what they will get.
Before saving, test in the test area with a sketch you drew yourself.
Using a prompt written for photos on drawings ("keep the face," "portrait") — it gives unexpected results on sketches.
Choosing 4K without need — every guest generation uses more credits.
Related topics
AI AssetsAdding a Style from the LibraryAI Credits
