













The Texts tab gathers all the editable text on the guest screens in one place: the welcome, info form, drawing, generating, and result screens. With a single main switch, you turn on your own texts or go back to the built-in texts (translated into every language). You can also hide each row individually.
This guide covers AI Drawing Screen 2.2.2. Available controls may vary by platform and version; platform-specific limitations are noted below.
- An event must be created and selected.
Step by step
Step 1 · Open the Texts tab
Screens → Texts
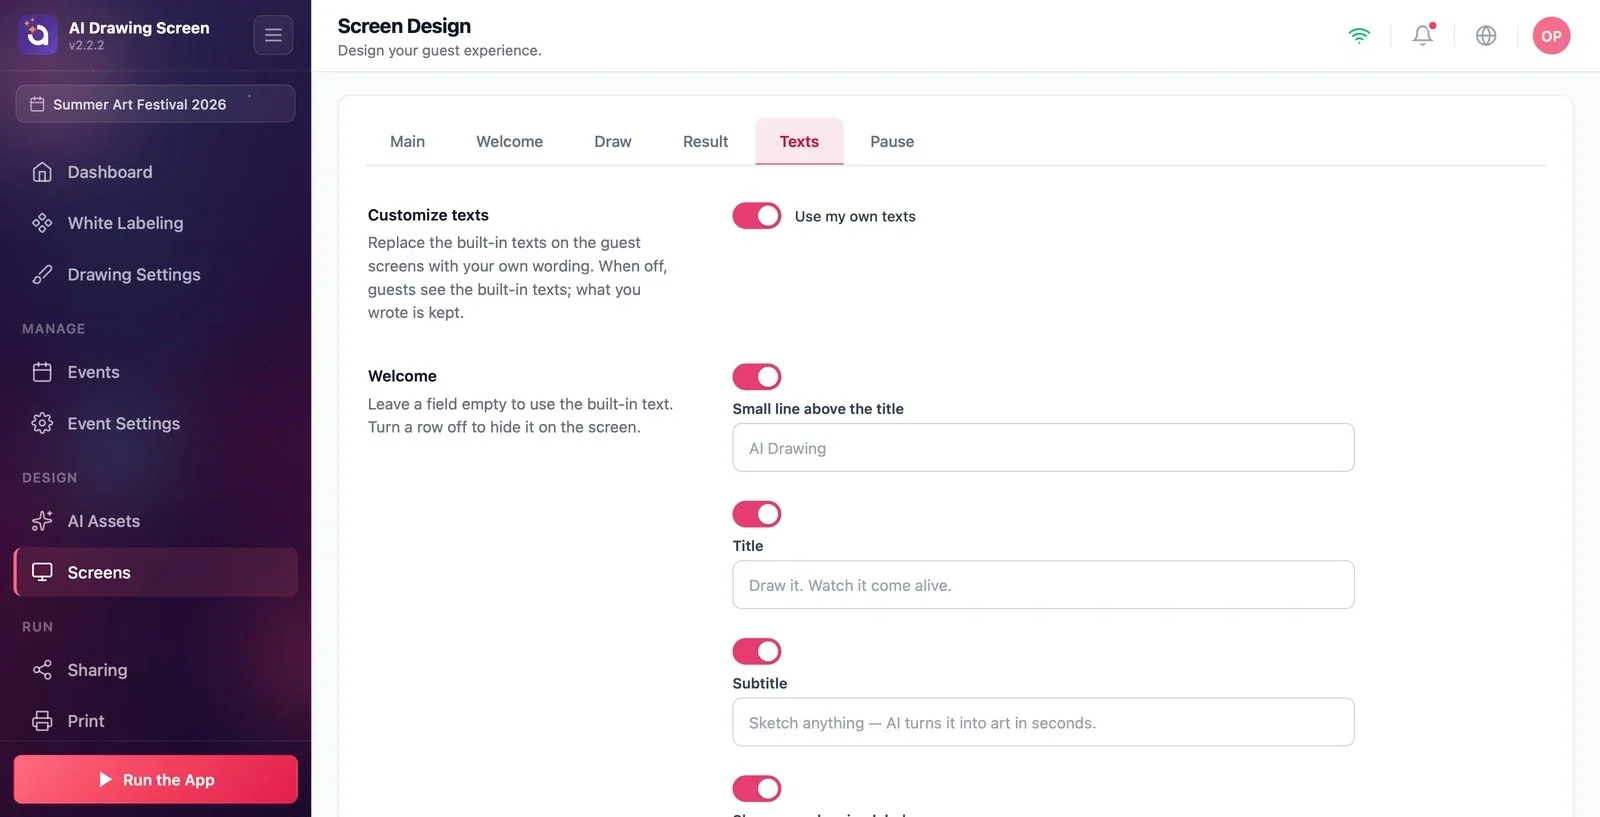
On the Screens page, click the Texts tab. At the top are the Customize texts section and the Use my own texts switch; below them, the text fields are listed, grouped screen by screen. Each field shows the built-in text in faded lettering.
Step 2 · The Use my own texts switch
Screens → Texts → Customize texts
When the switch is on, the texts you write appear on the guest screens. When it is off, guests see the built-in texts (translated into the app's language); what you wrote and the rows you hid are not deleted, and they come back when you turn the switch on again.
Step 3 · Write or hide texts
Screens → Texts
Type your own text into the field you want to change. If you leave a field empty, the built-in text is used — leaving it empty means "go back to the default," not "delete." If you don't want a piece of text to appear on screen at all, turn off that row's switch. The groups and main fields:
- Welcome: Small line above the title, Title, Subtitle, Showcase: drawing label, Showcase: artwork label, Button, Caption under the gallery button, Credit limit reached — title, and Credit limit reached — message. - Input: Consent checkbox, Consent link, Continue button, Skip button, Cancel button. - Draw: tool panel labels (Color label, Brush label, Style label…), Clear button, Finish button. - Generating: Title, Subtitle. - Result: Print button, Share button, E-mail button, and the other button texts.
Changes appear instantly in the preview and on the kiosk.
Change the welcome title to match your event's brand (e.g., 'Draw your dream, watch it become art').
Built-in texts use the selected app language; they do not automatically detect each guest's language. Your custom texts are in one language. Preview every language you will use before the event: this version may still show quiz wording in some welcome-screen translations. Customize any wording that does not fit your event.
Clearing a field to delete a piece of text — an empty field shows the built-in text; to hide it, turn off the row's switch.
Thinking your texts are deleted when you turn the switch off — they are kept and come back when you turn it on.
Related topics
Welcome ScreenResult ScreenSession — Survey (Info Form)
