













The Event Settings page groups the general settings of the selected event into four tabs: Main (name and description), Output (template format and experience type), Camera (camera for guest capture) and Kiosk (exit PIN, opening with Windows, session timeout). The mosaic-specific settings are not on this page but on the Mosaic Settings page.
This guide describes Photo Mosaic Wall 2.1.0 on Windows. Screens and labels may differ in other versions.
- The right event must be selected; its name is shown at the very top of the left menu.
- In the left menu, click Event Settings under Manage.
Step by step
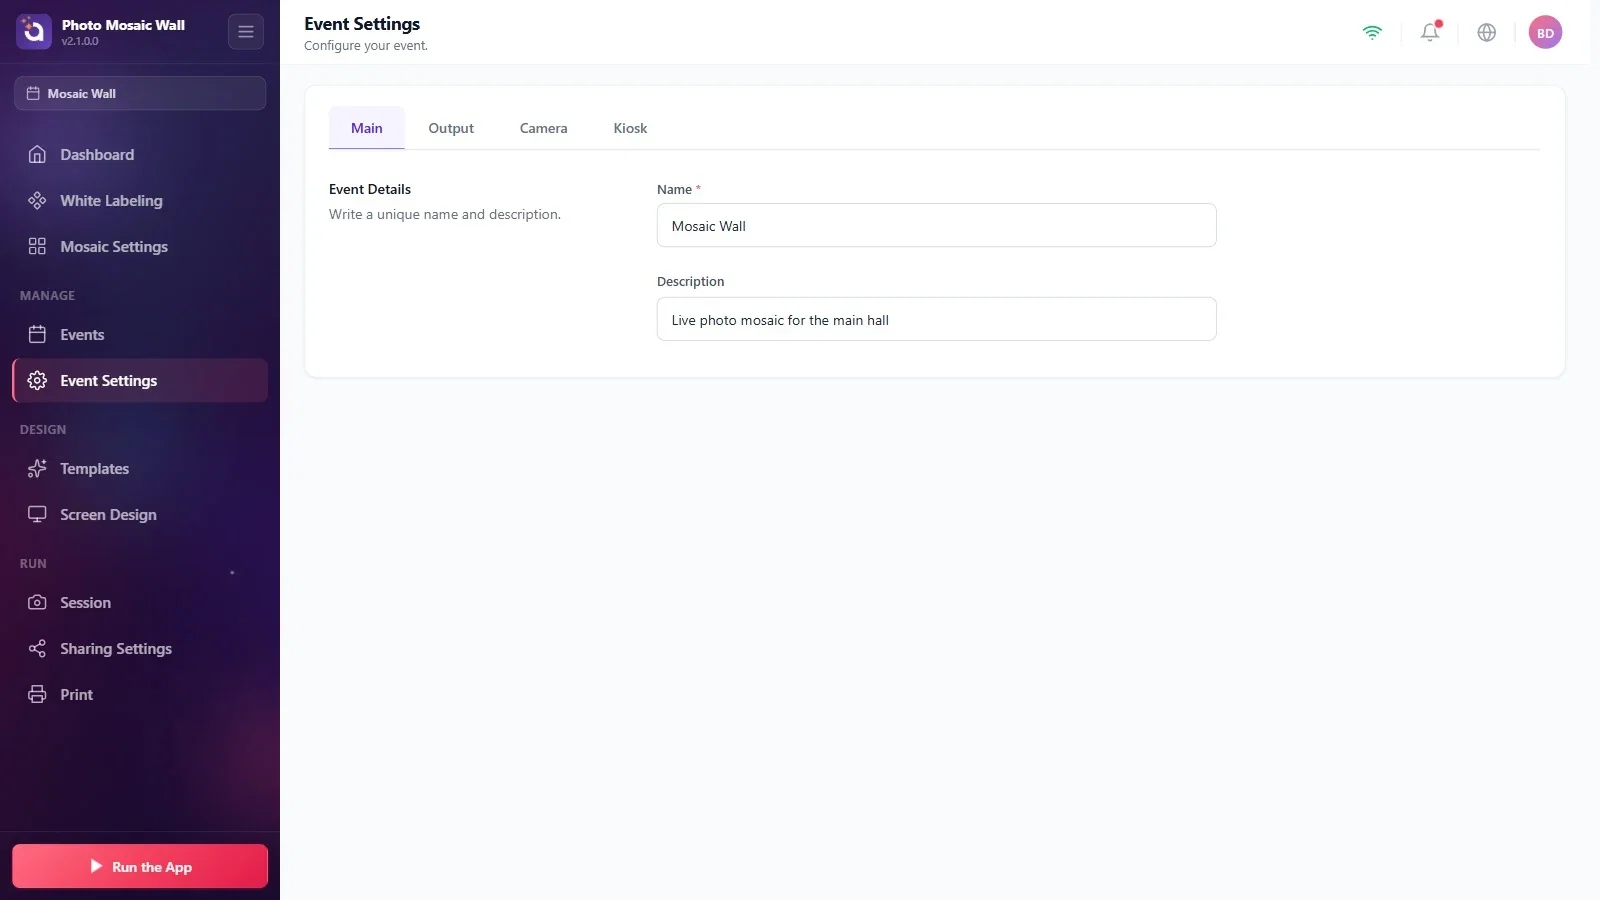
Step 1 · Main: name and description
Event Settings → Main
The Event Details section holds the event's Name (marked with an asterisk, required) and Description fields. This is where you change what you typed into the wizard when you created the event.
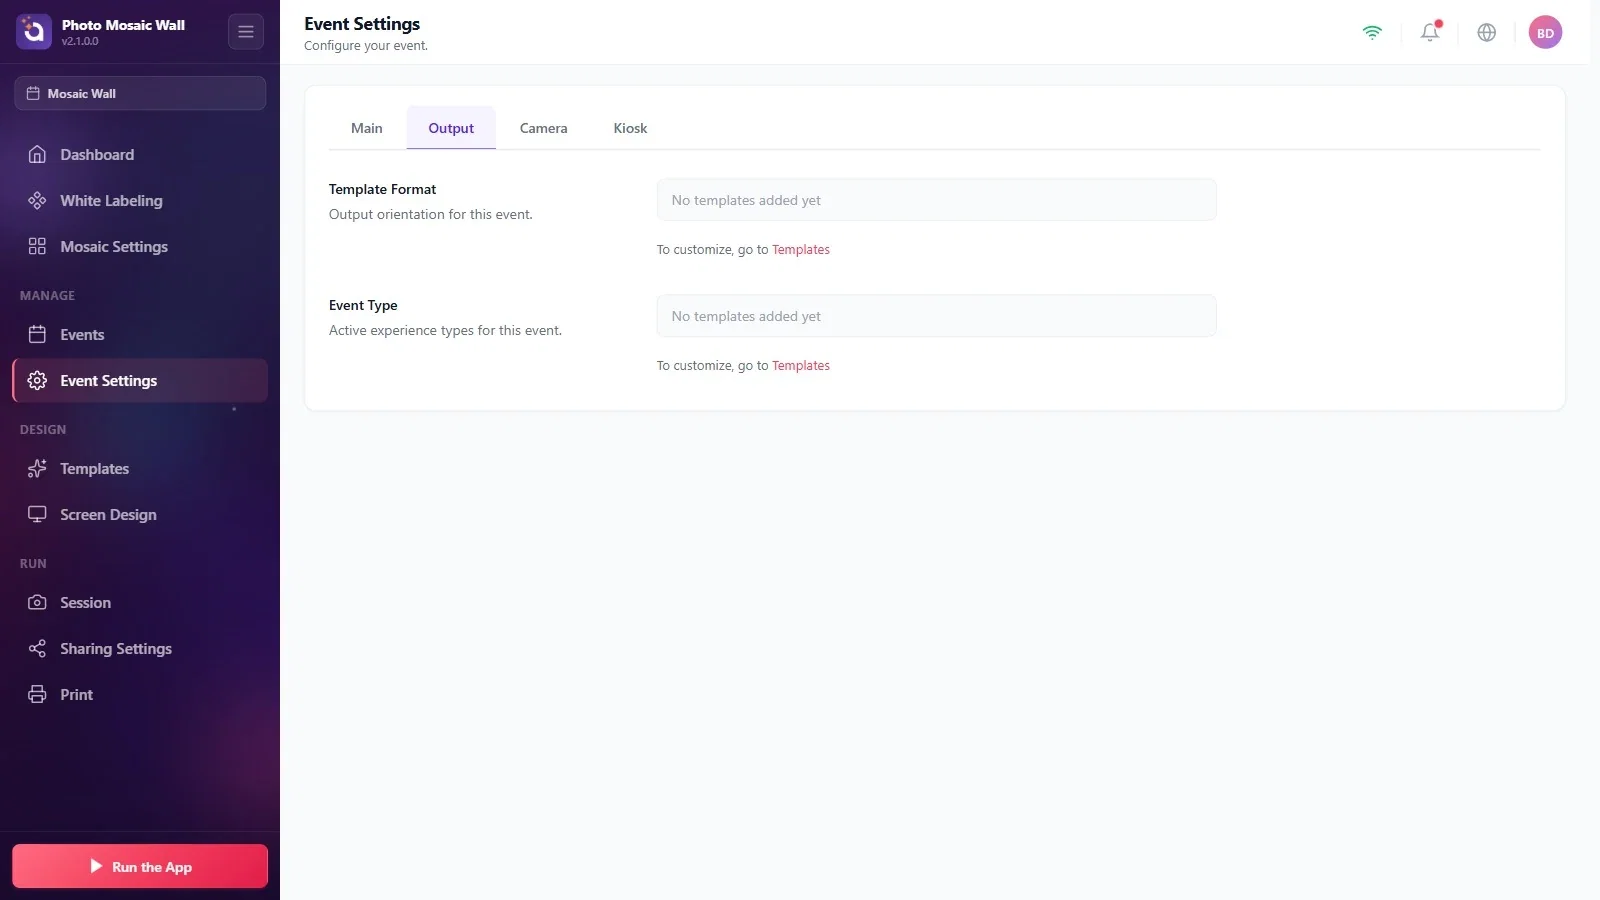
Step 2 · Output: template format and experience type
Event Settings → Output
Template Format and Event Type are read from the templates added to the event. While no template has been added, both boxes show No templates added yet; to change them, use the Templates link below.
If the photos reach the wall from a watched folder, you don't need a template. If guests will take their photos in this app, you must add at least one template to the event (see “How Do Guests Take Their Photos in the App?”).
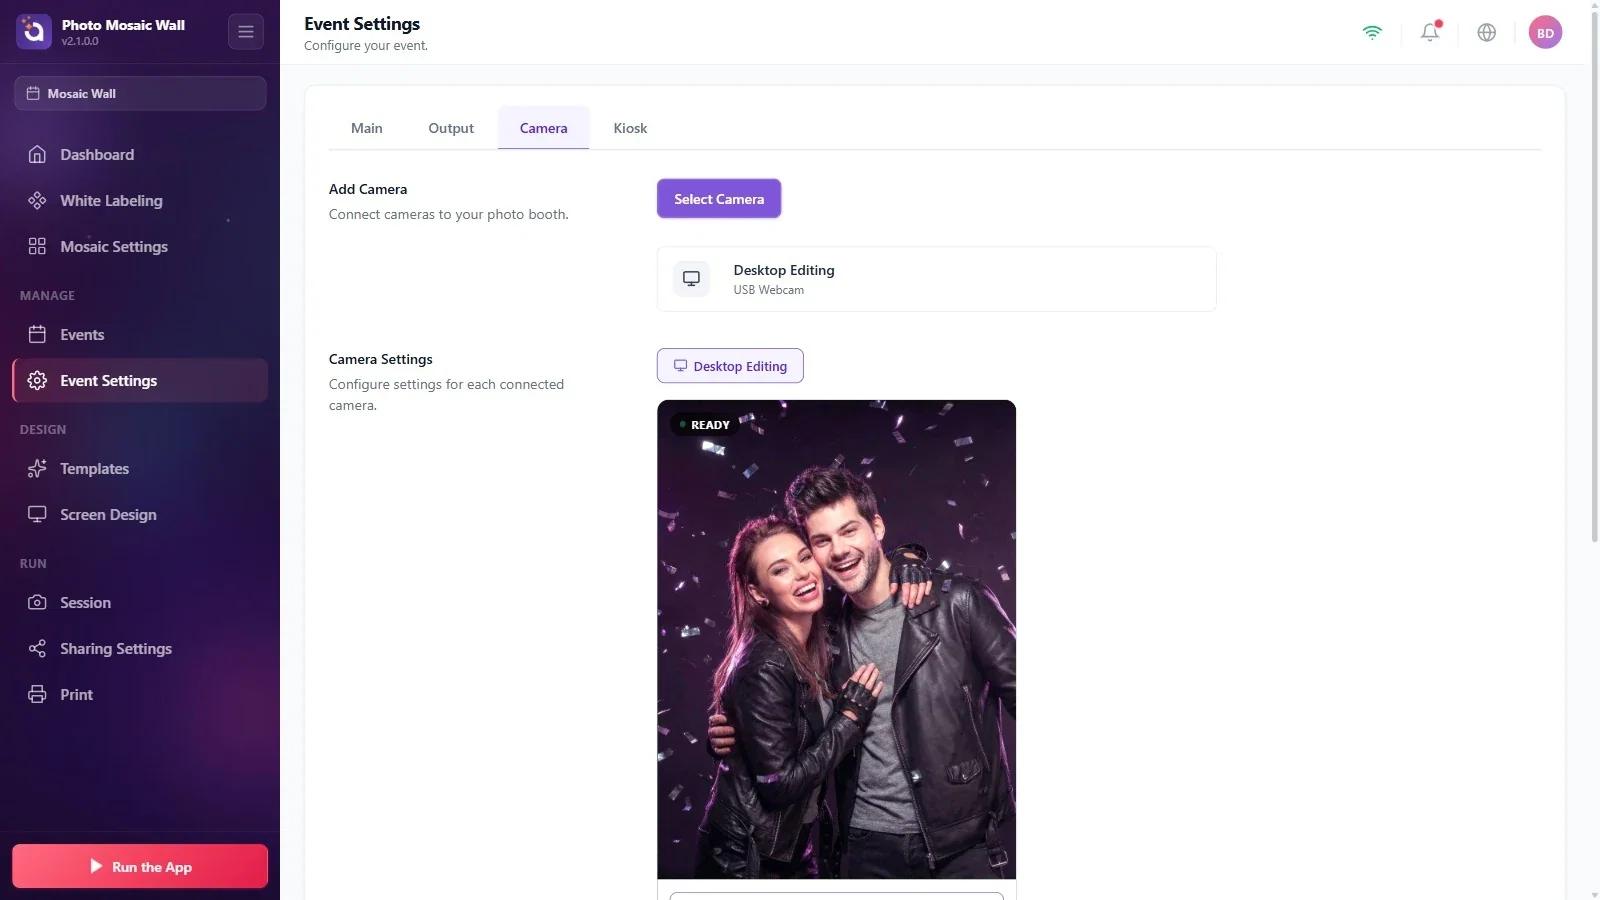
Step 3 · Camera: choose the camera
Event Settings → Camera
Choose one of the connected cameras with Select Camera in the Add Camera section; the chosen camera appears below as a card. The Camera Settings section holds the camera's live preview and its Ready status, with Take a Test Shot and the brightness, rotation and mirror settings below. The camera is only used in setups where guests take their photos in this app.
Step 4 · Kiosk: set the exit PIN
Event Settings → Kiosk
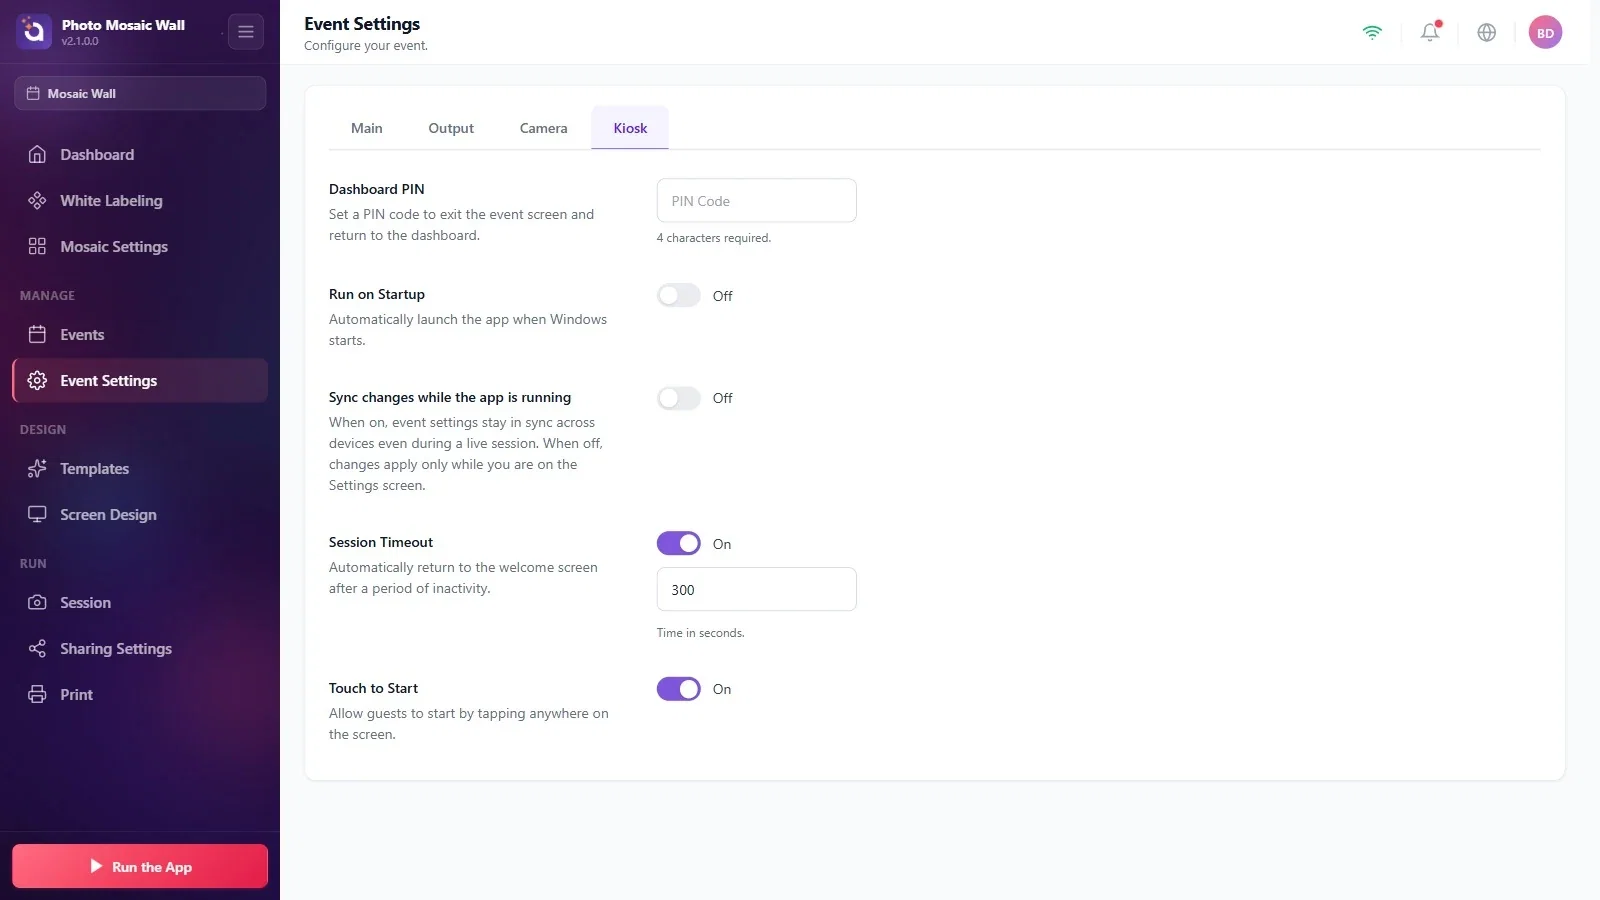
Type a 4-digit PIN in the Dashboard PIN box. While the wall is running, this PIN is asked for when you press the lock icon at the bottom of the screen; entering the right PIN takes you back to the settings. While the box is empty it shows 4 characters required. below it; once you enter four digits, it changes to PIN set.
Step 5 · Kiosk: other settings
Event Settings → Kiosk
If Run on Startup is on, the app opens by itself when Windows starts.
While Sync changes while the app is running is on, the event settings stay in sync between devices even during a live session; while it is off, changes are applied only while you are on the Settings screen.
Session Timeout and Touch to Start are for the guest screen: if the guest doesn't touch the screen for a set time, it goes back to the welcome screen (the time is in seconds, 300 in the example), and the guest starts by touching anywhere on the screen. These two only matter in setups where guests take their photos in this app.
Set the PIN before the event starts and share it with the operators; while the wall is running, this PIN is the way back to the settings.
The main settings for the mosaic are on the Mosaic Settings page; the Camera and template settings on this page are only needed if guests will take their photos in this app.
Not completing the PIN to four digits: the 4 characters required. message stays under the box.
Looking for a camera or a template for a wall fed from a folder: a watched-folder setup needs neither.
