













With the Our own capture source, guests take their own photos on the screen next to the wall: they start on the welcome screen, the photo is taken after a countdown, they see and confirm their photo, and they download it with a QR code on the sharing screen. When the guest leaves the sharing screen, the photo goes to the operator for approval, or straight onto the wall if approval is off. This setup needs a camera, at least one template in the event, and a second screen for the wall.
This guide describes Photo Mosaic Wall 2.1.0 on Windows. Screens and labels may differ in other versions.
- Connect the camera to the computer.
- Connect a second screen for the wall: with only one screen, guest capture stays off and the wall is fed only from the folder.
- The wall mode, the grid and the target image must be set up.
Step by step
Step 1 · Set the source to Our own capture
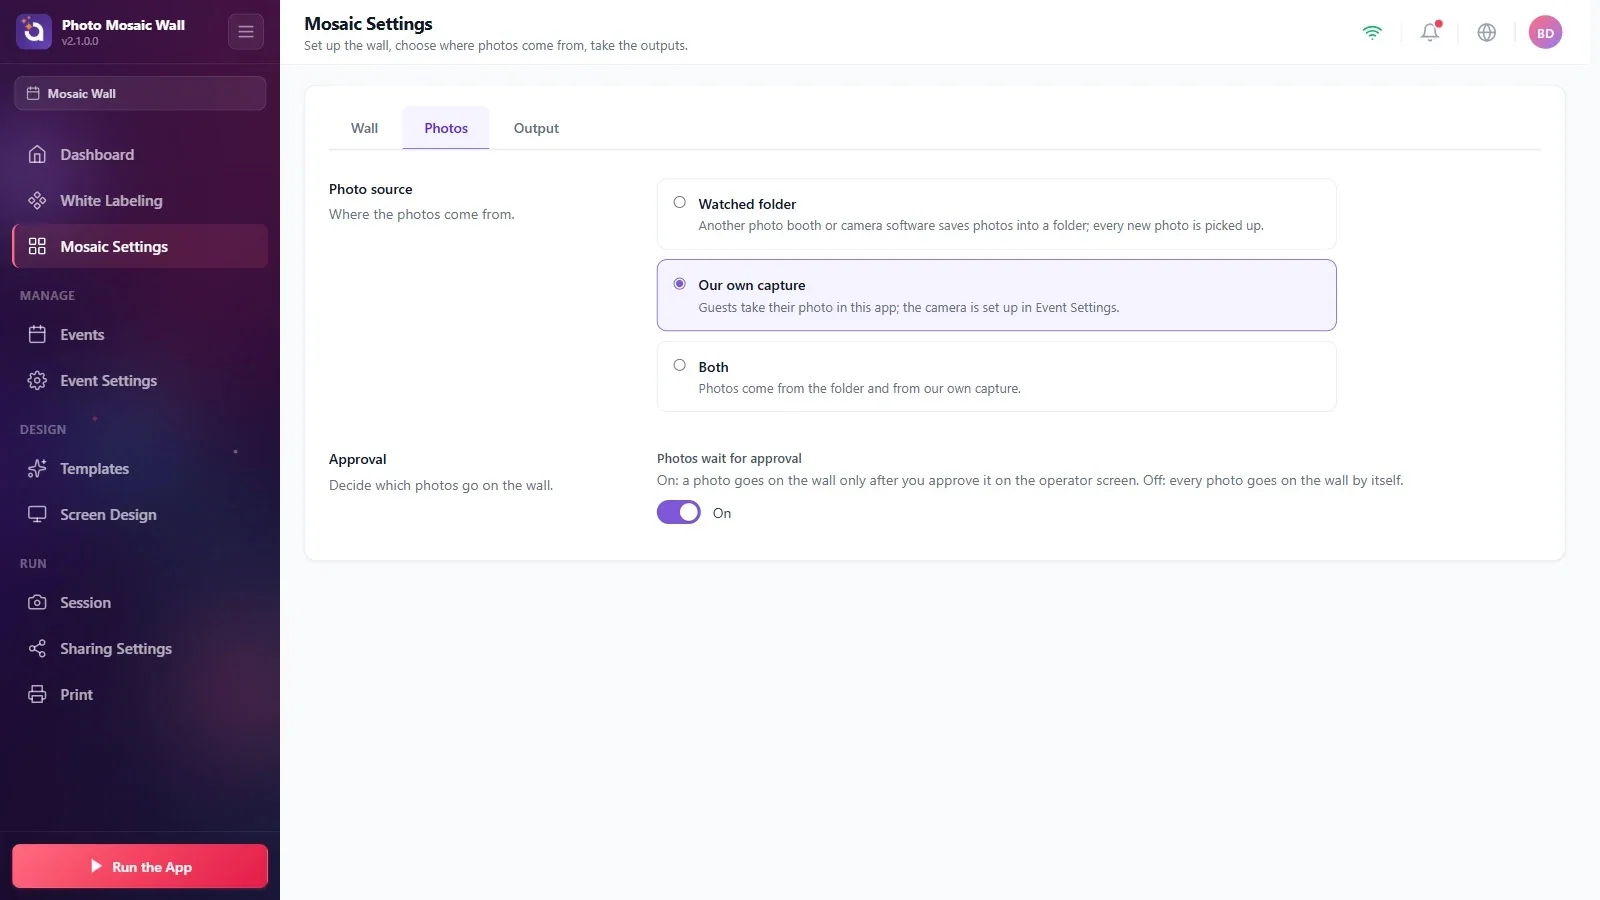
Mosaic Settings → Photos
On the Photos tab, choose the Our own capture card. If you also want to take photos from the folder, choose Both.
Step 2 · Choose the camera
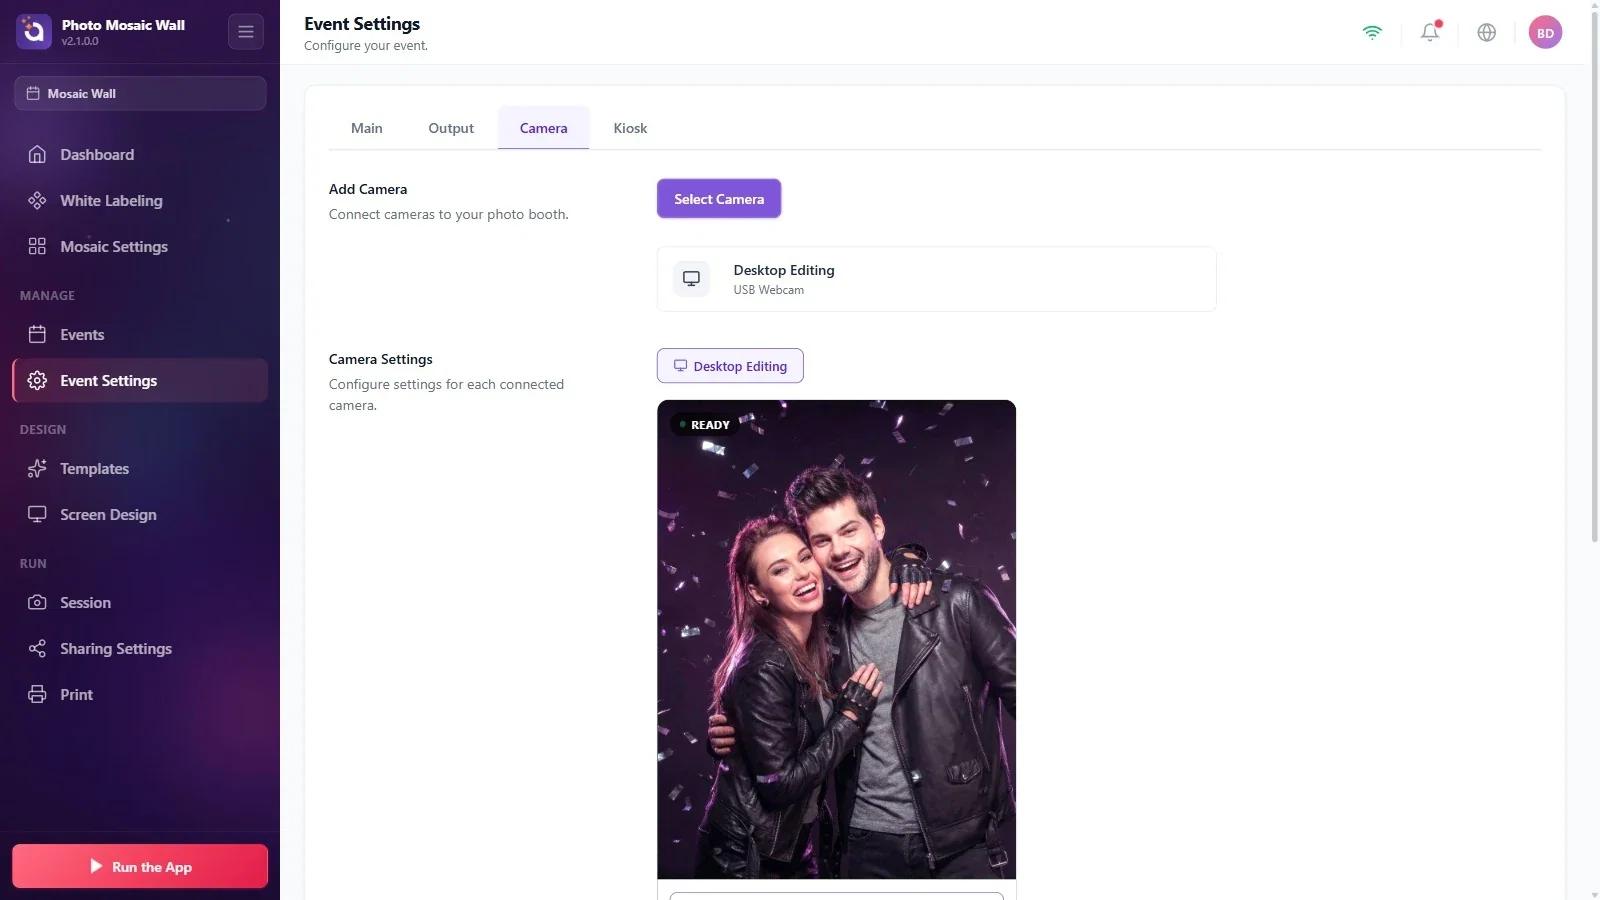
Event Settings → Camera
On the Event Settings → Camera tab, choose the camera with Select Camera and check that the preview appears. You can take a trial shot with Take a Test Shot.
Step 3 · Add a template to the event
Templates → Add More
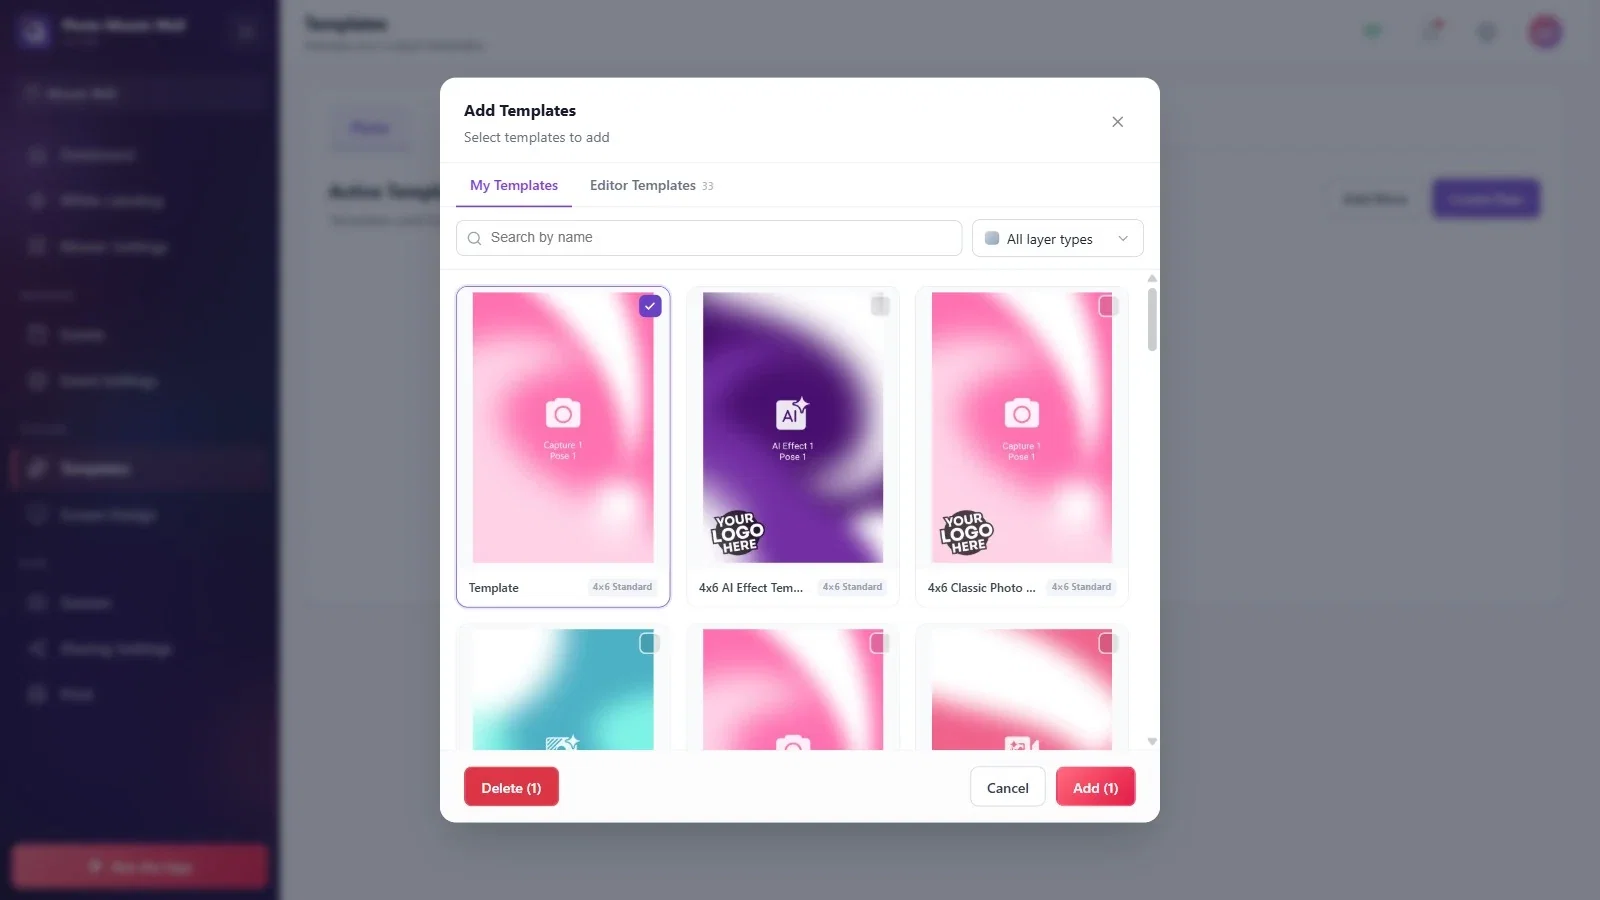
The guest's photo is prepared with the event's template; if the event has no template, the guest is left with an empty list on the Select a Template screen. Open the Templates page from the left menu and press the Add More button.
In the Add Templates window, tick the box at the top right of a template on the My Templates or Editor Templates tab and press the add button at the bottom right (it shows the number of selected templates). So that the photo looks good in the mosaic cells, choose a simple template in which the photo covers the whole card.
Step 4 · Give the template a display name
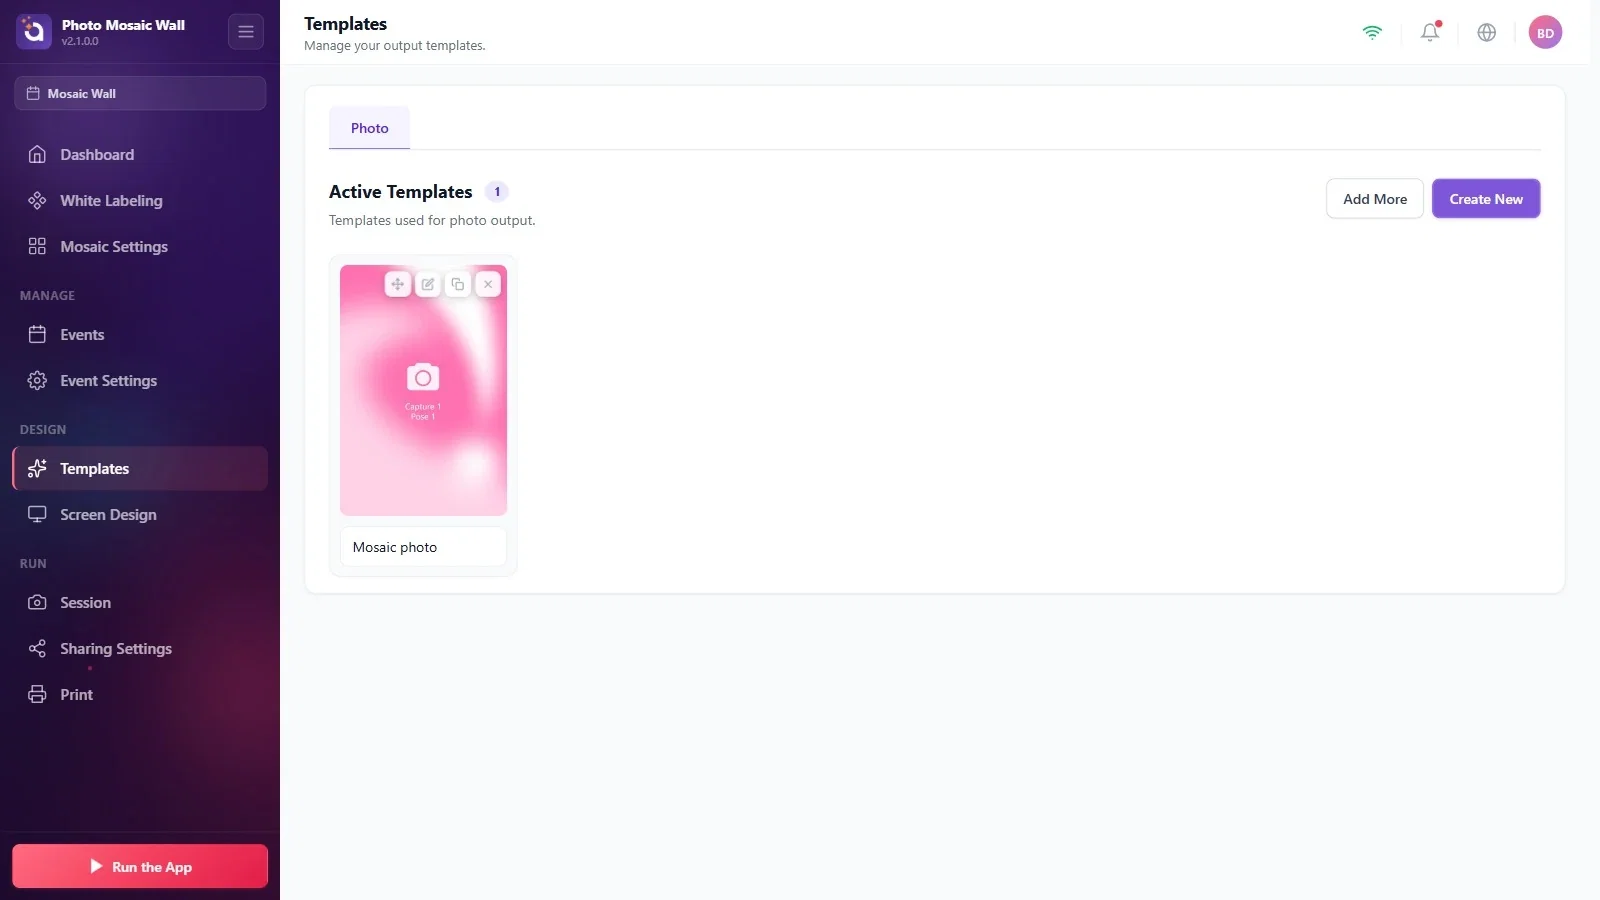
Templates
The added template appears as a card under Active Templates; you can type a name in the Enter display name... box below it. If the event has only one template, guests aren't asked to choose a template and go straight to capture.
Step 5 · Set the look of the guest screens
Screen Design
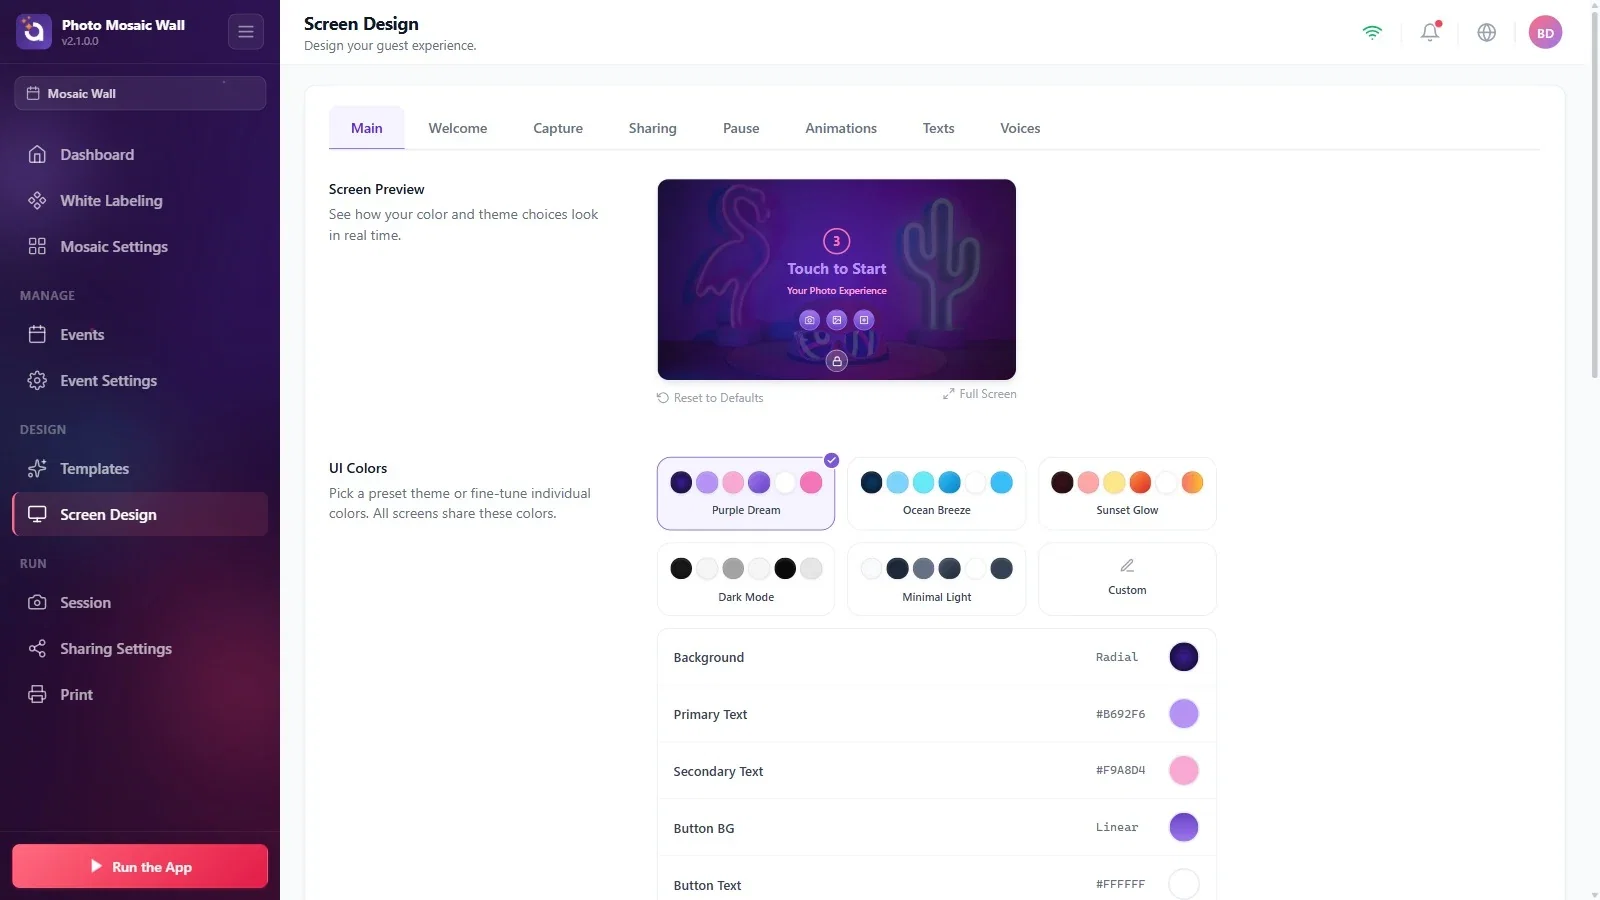
The colors, logos and texts of the welcome, capture and sharing screens are set on the Screen Design page. The Main tab has ready-made color themes (such as Purple Dream and Ocean Breeze) and a live preview. The preview may also show other capture buttons such as GIF and video; on the mosaic, guests only take photos.
Step 6 · Countdown and guest confirmation
Session → Main
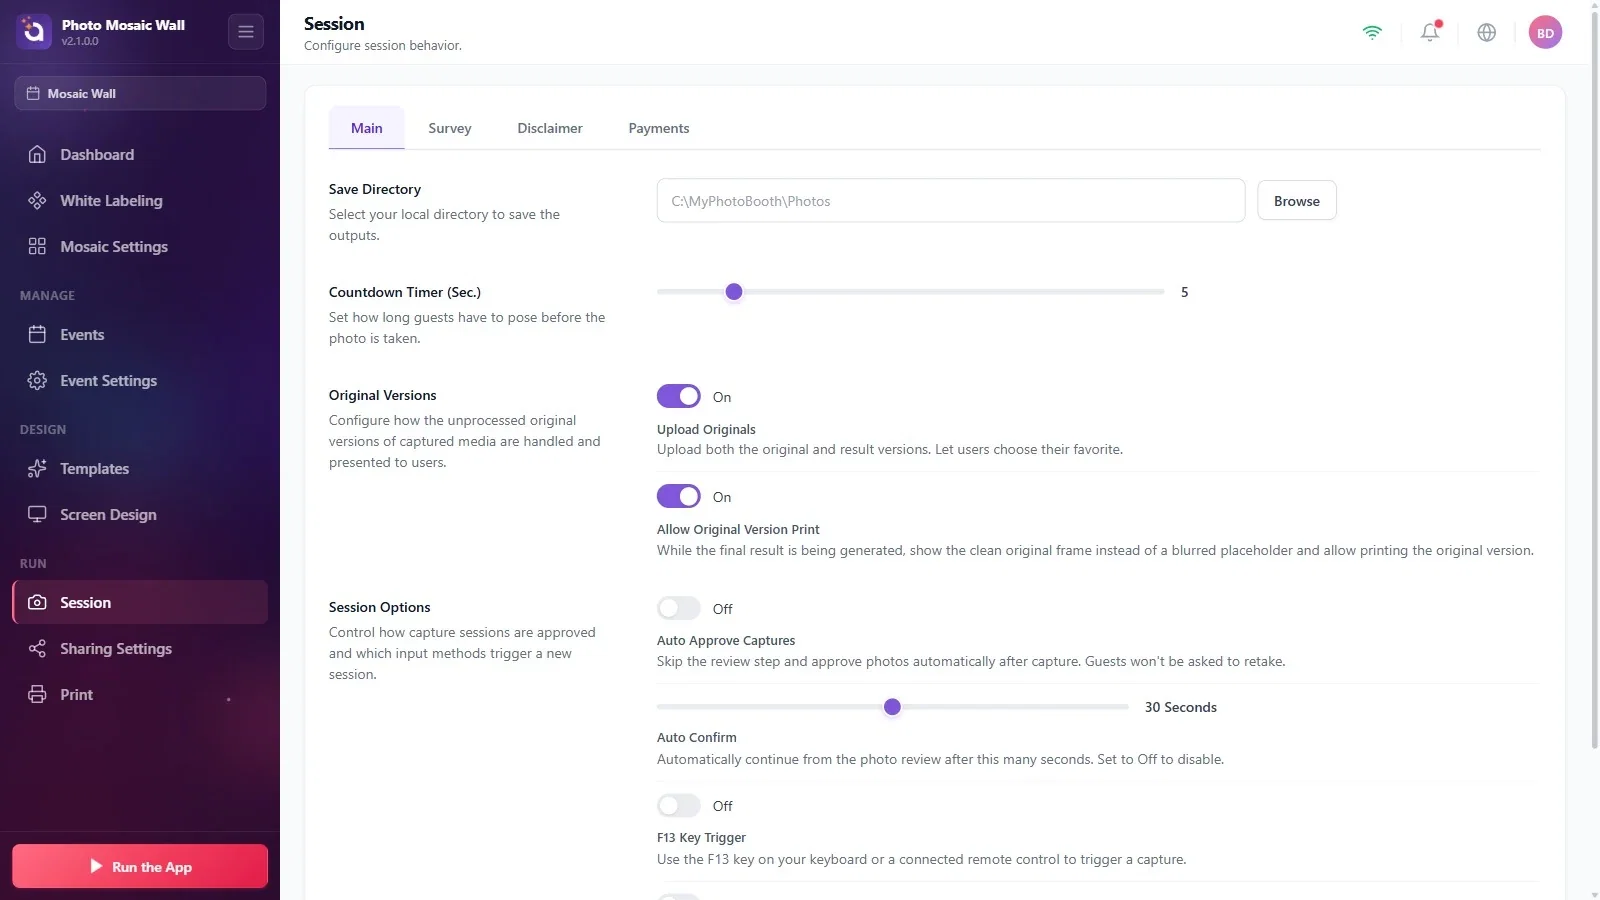
On the Session → Main tab, Countdown Timer (Sec.) is the countdown that gives the guest time to pose (5 in the example).
Under Session Options, if Auto Approve Captures is on, the step where the guest confirms their photo is skipped. Auto Confirm (30 seconds in the example) moves on by itself at the end of this time if the guest does nothing on the confirmation screen. These are about the guest confirming their own photo; the operator's wall approval (Photos wait for approval) is separate.
Step 7 · Start the wall: the welcome screen
Run the App → Run the Mosaic Wall
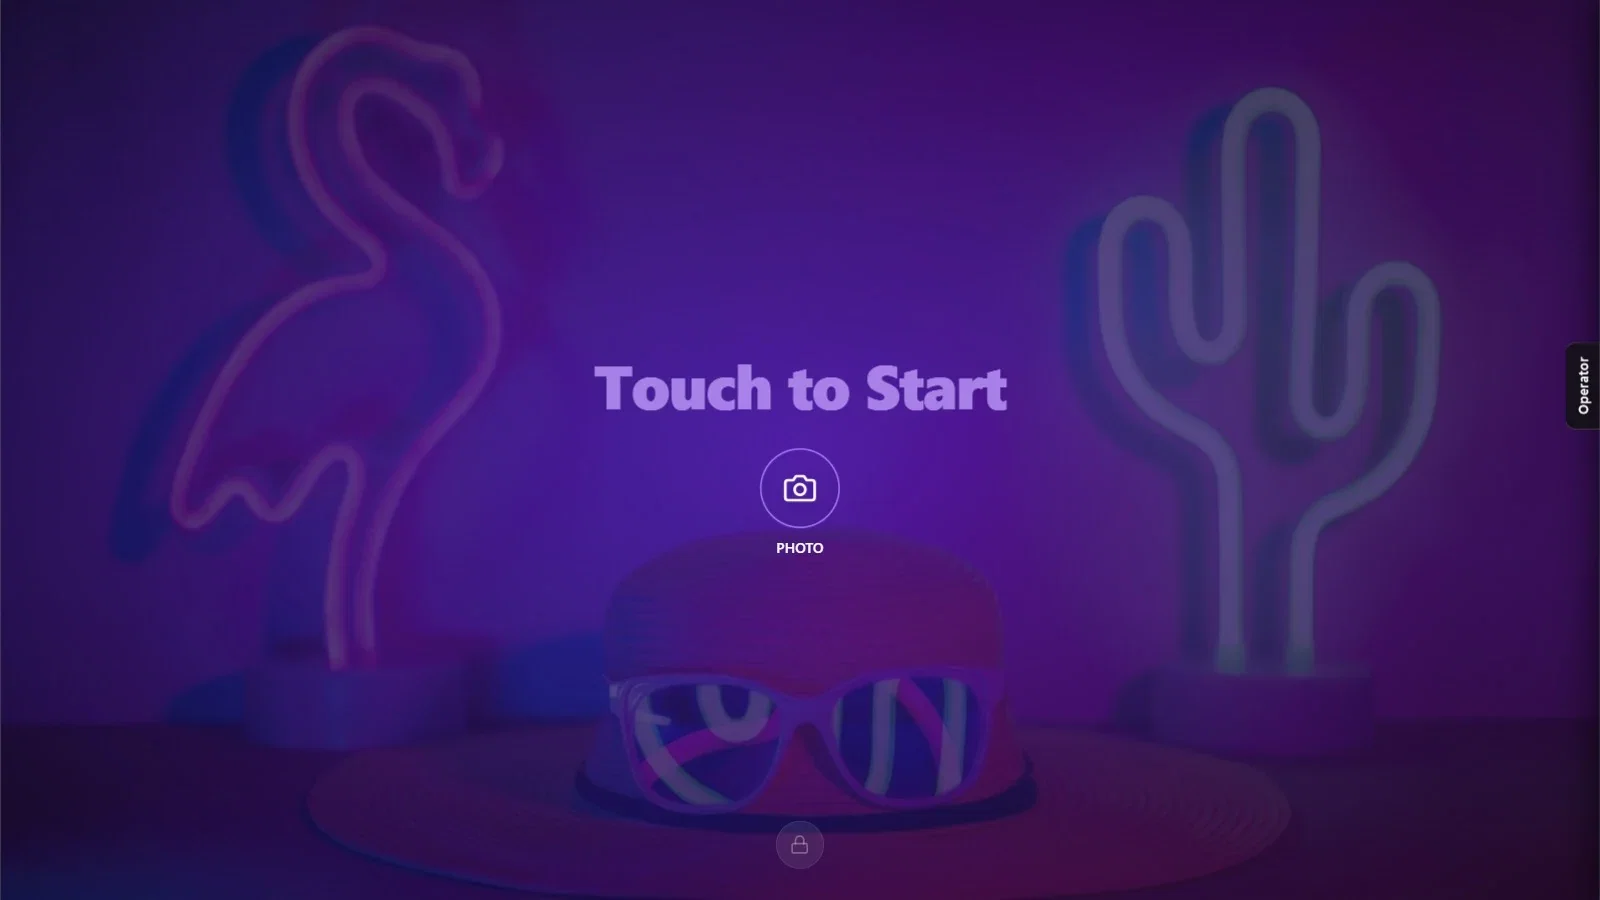
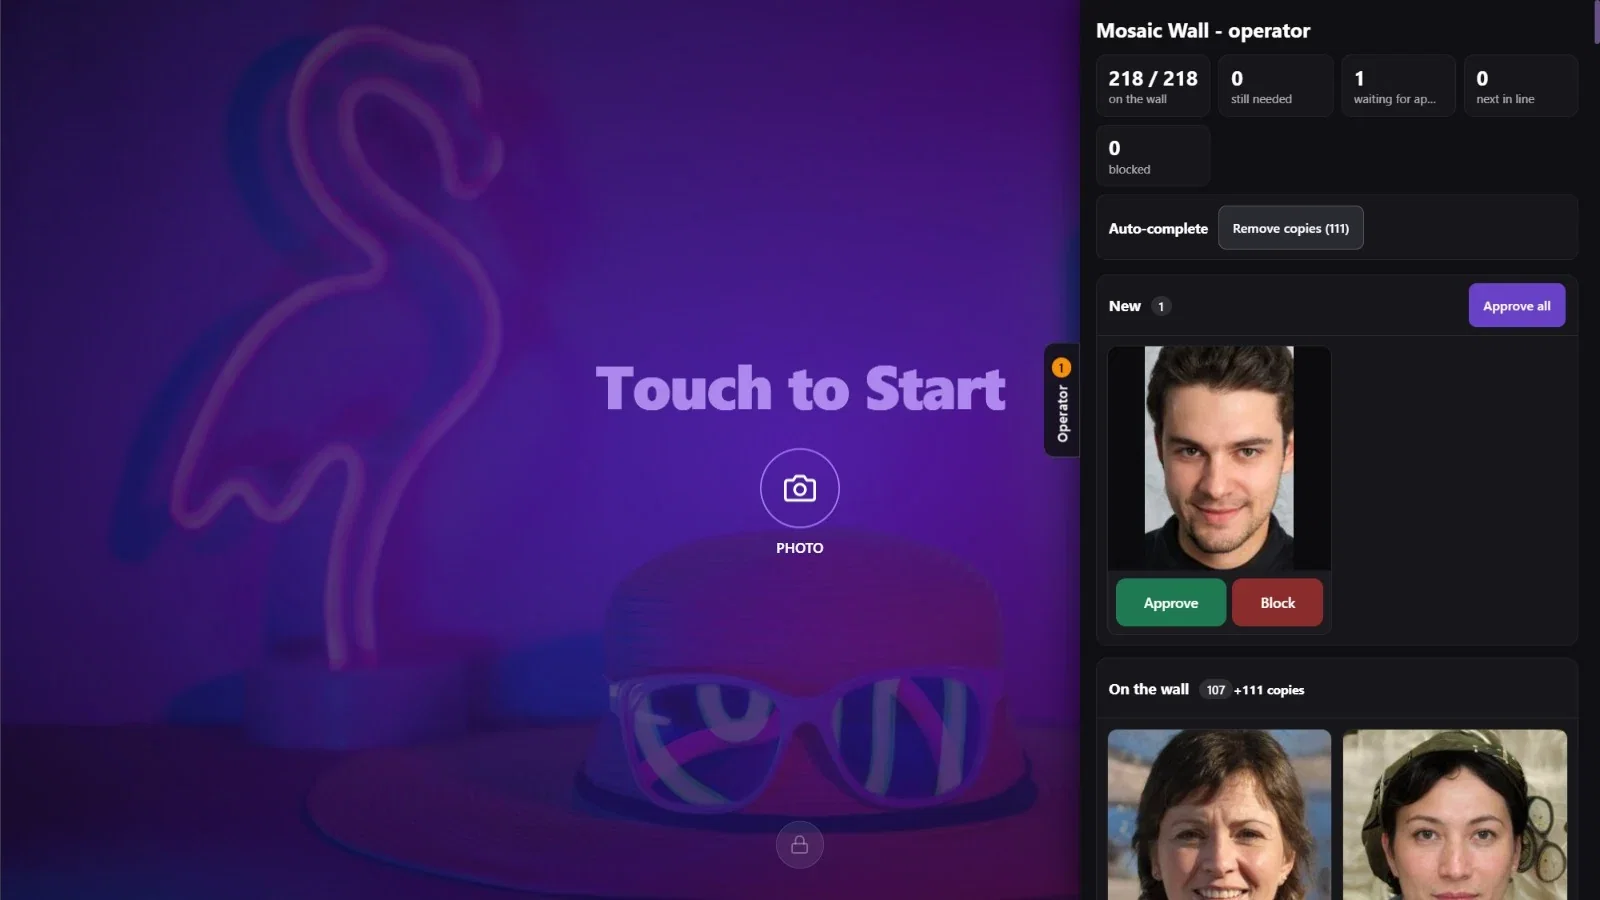
Press the Run the App button at the bottom left and choose Run the Mosaic Wall. The wall opens on the second screen; the guest's welcome screen appears on the main screen, with the Touch to Start text and the PHOTO button. The Operator tab on the right edge opens the operator panel.
Step 8 · Open the operator panel
Run the Mosaic Wall → Operator
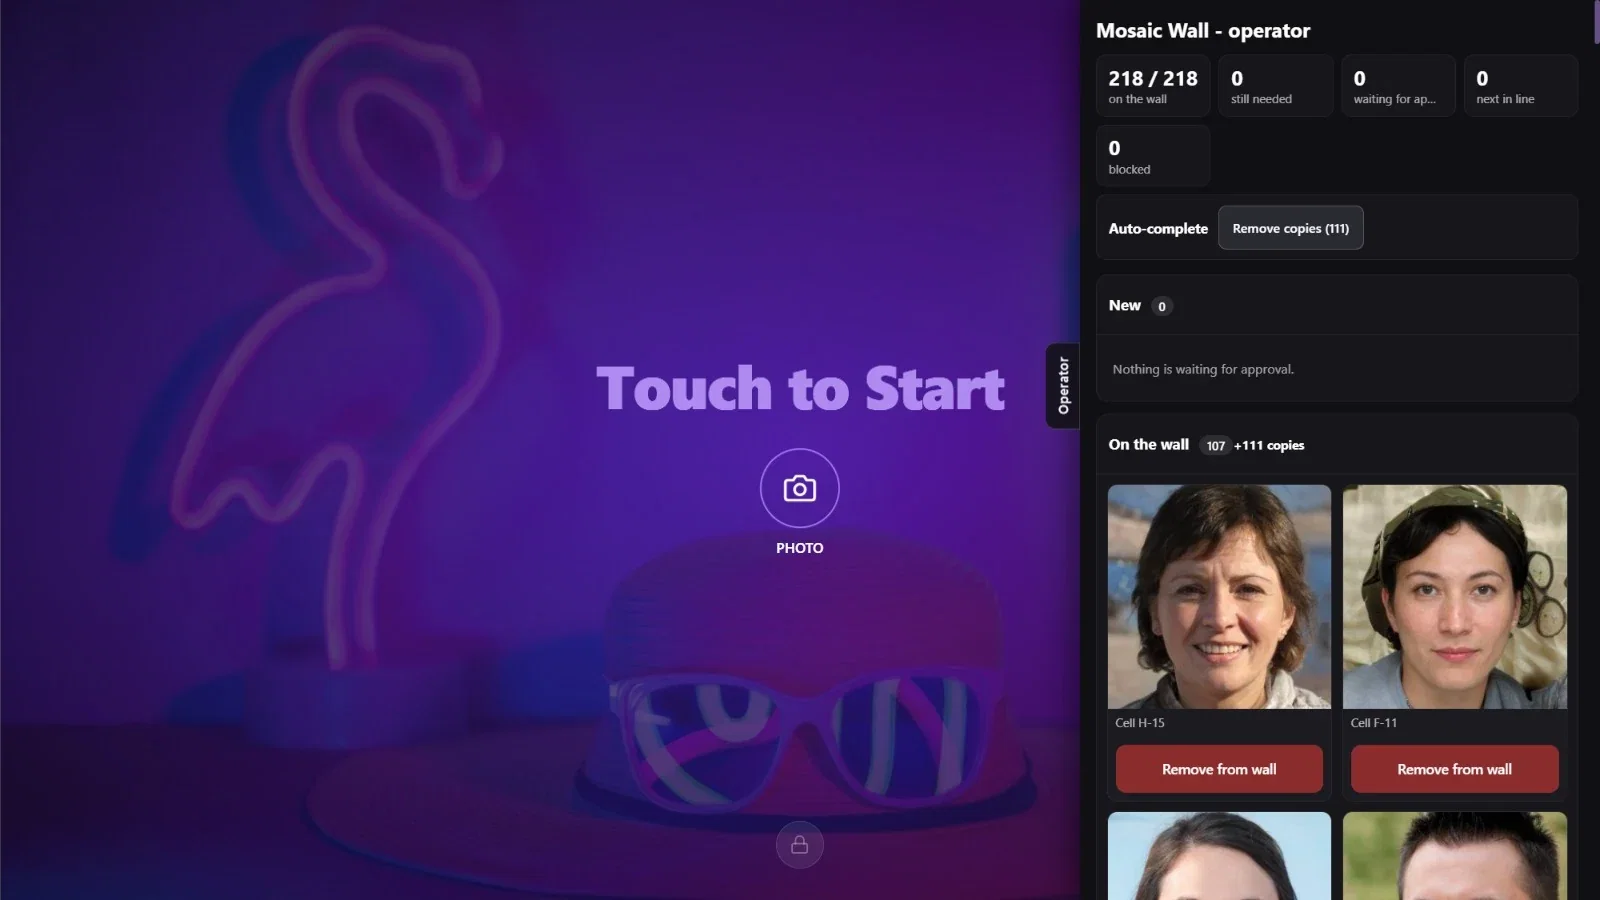
Press the Operator tab on the right edge and the operator screen opens as a side panel: the counters, Auto-complete, and the New and On the wall columns are stacked one below the other. While the panel is open, the guest screen keeps running on the left; press the tab again to close the panel.
Step 9 · The guest takes the photo
Run the Mosaic Wall
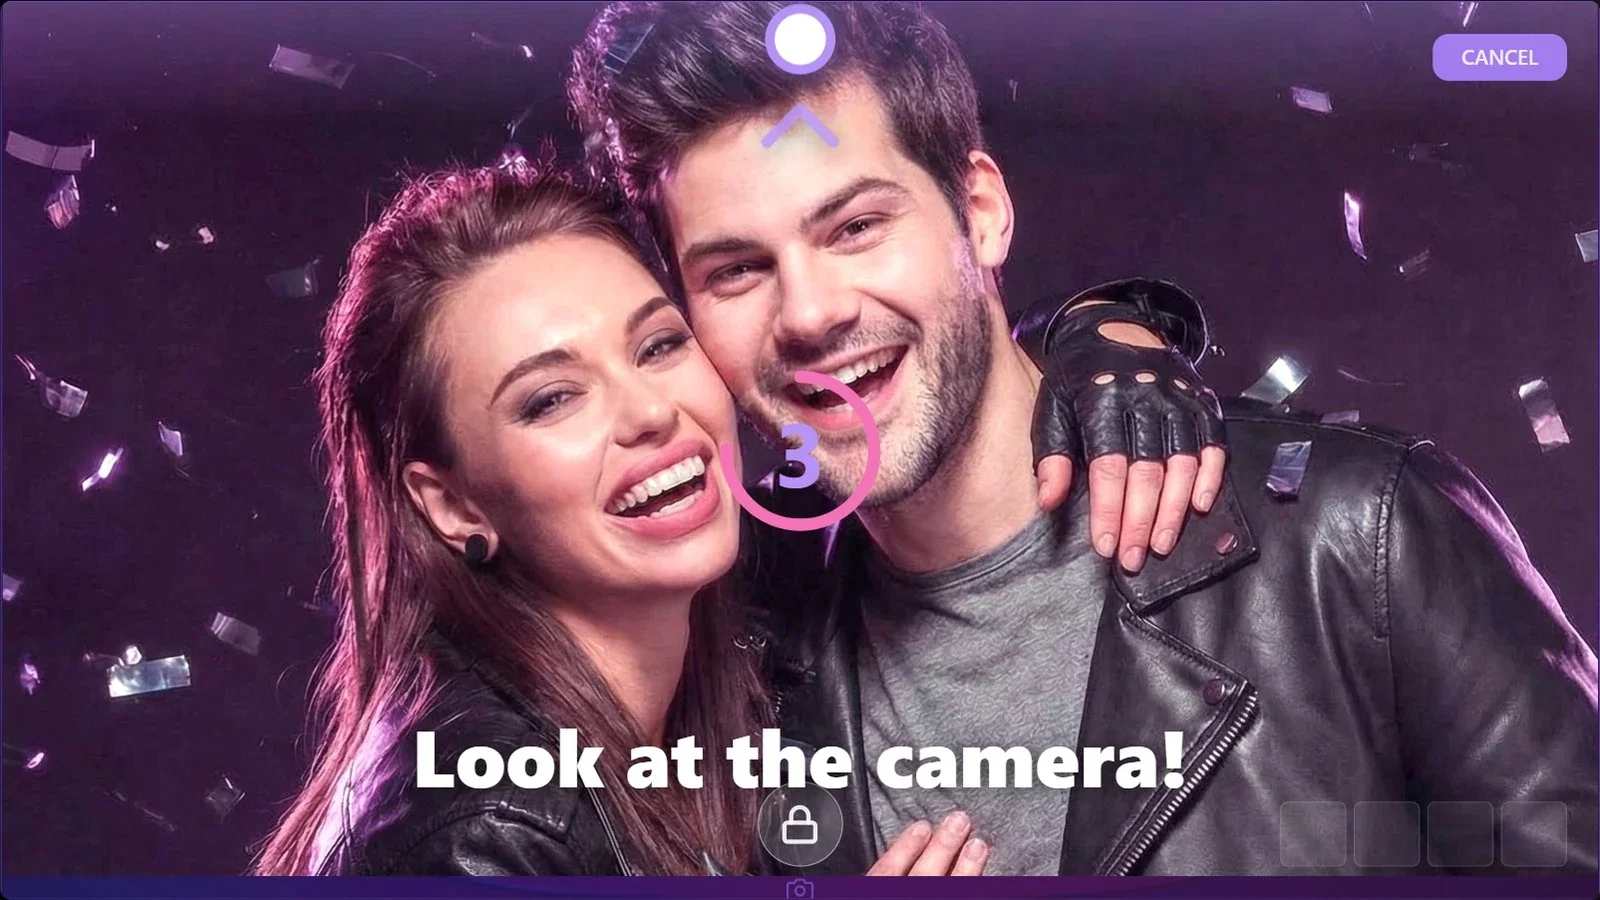
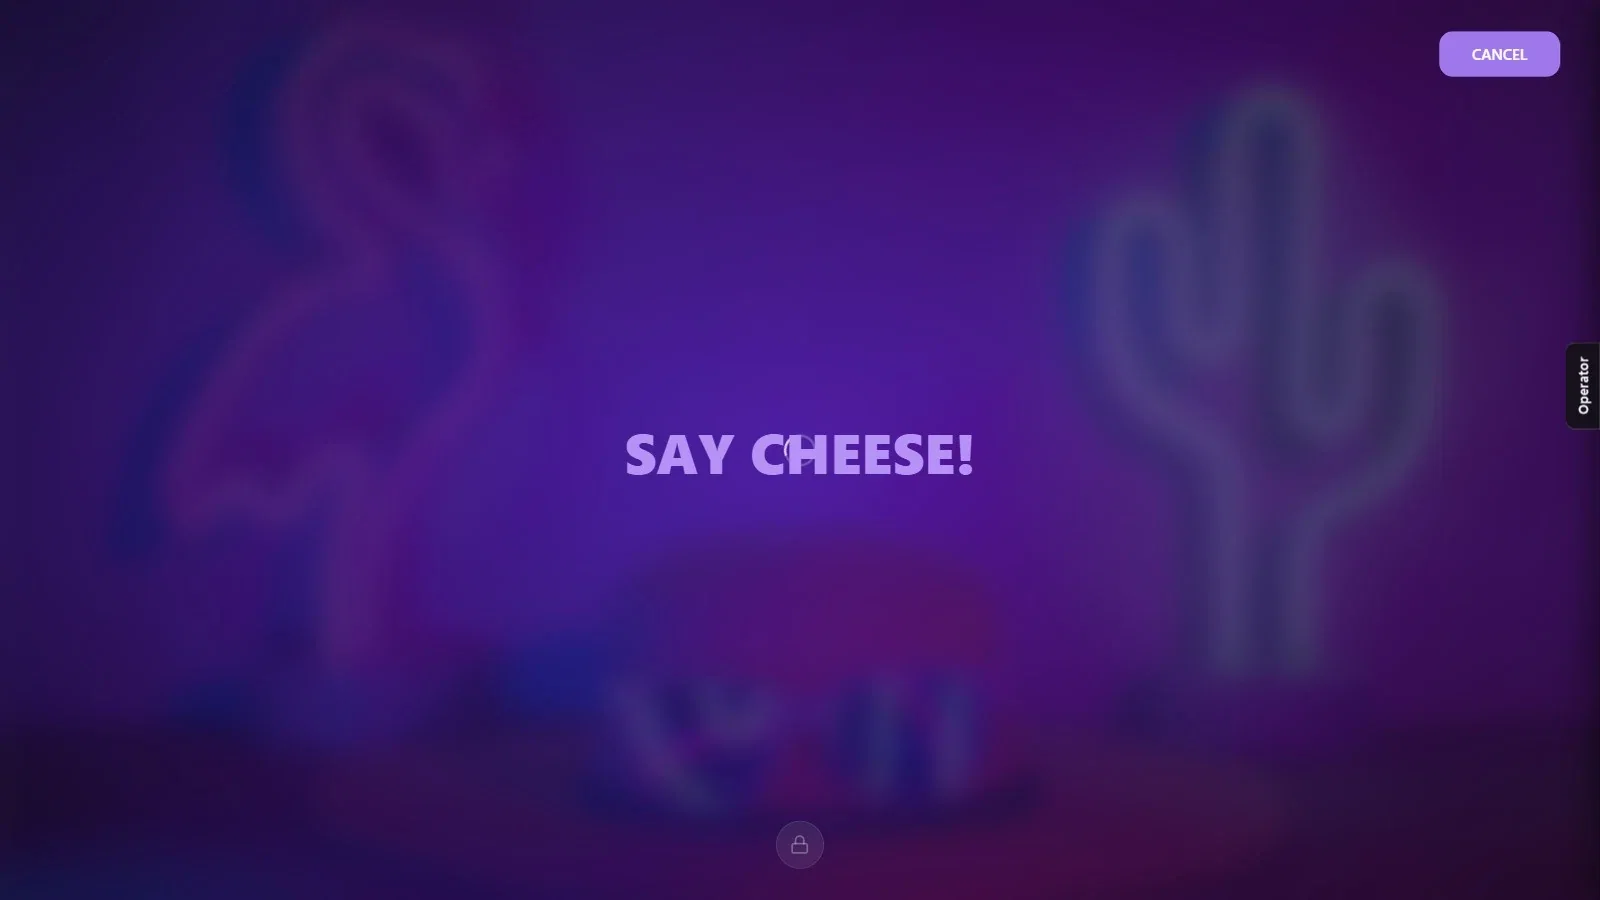
When the guest touches the PHOTO button, the app goes straight to capture (if the event has a single template): the camera preview opens and the countdown starts. In the last second of the countdown, the Look at the camera! prompt appears on the screen with a marker showing which edge the camera is on; then SAY CHEESE! appears and the photo is taken. During capture the guest can back out with CANCEL at the top right. The look of this screen (where the preview sits, the countdown, the camera direction) is set on the Screen Design → Capture tab.
Step 10 · The guest confirms the photo
Run the Mosaic Wall
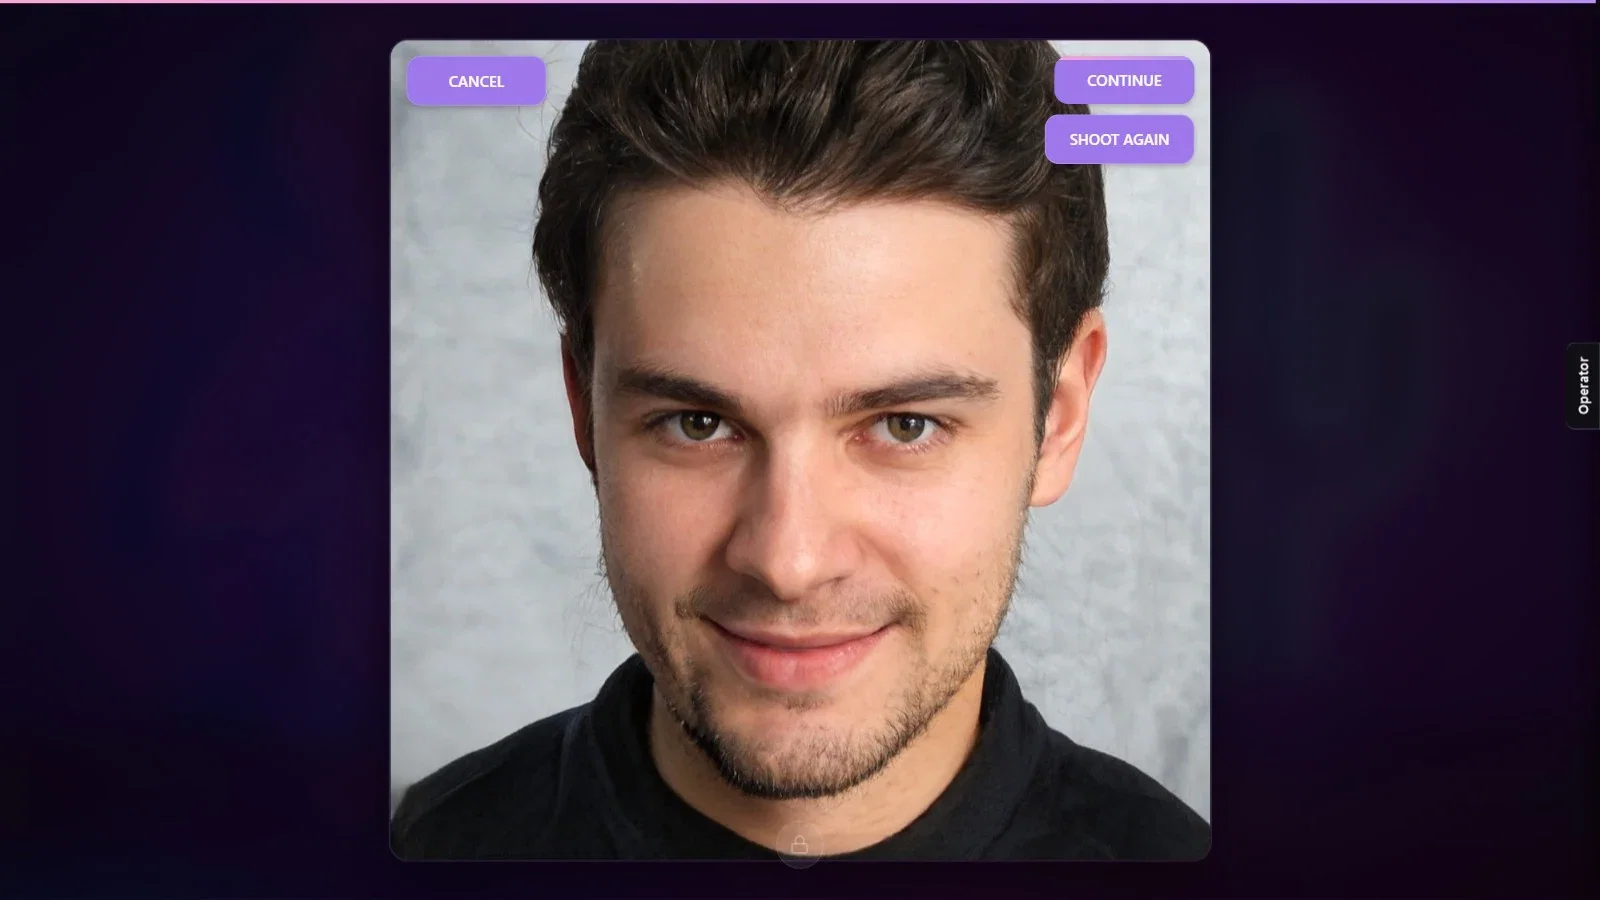
After capture the photo appears on the screen: the guest moves on with CONTINUE, retakes it with SHOOT AGAIN or backs out with CANCEL. If the guest does nothing, the app moves on by itself when the Auto Confirm time runs out.
Step 11 · The sharing screen
Run the Mosaic Wall
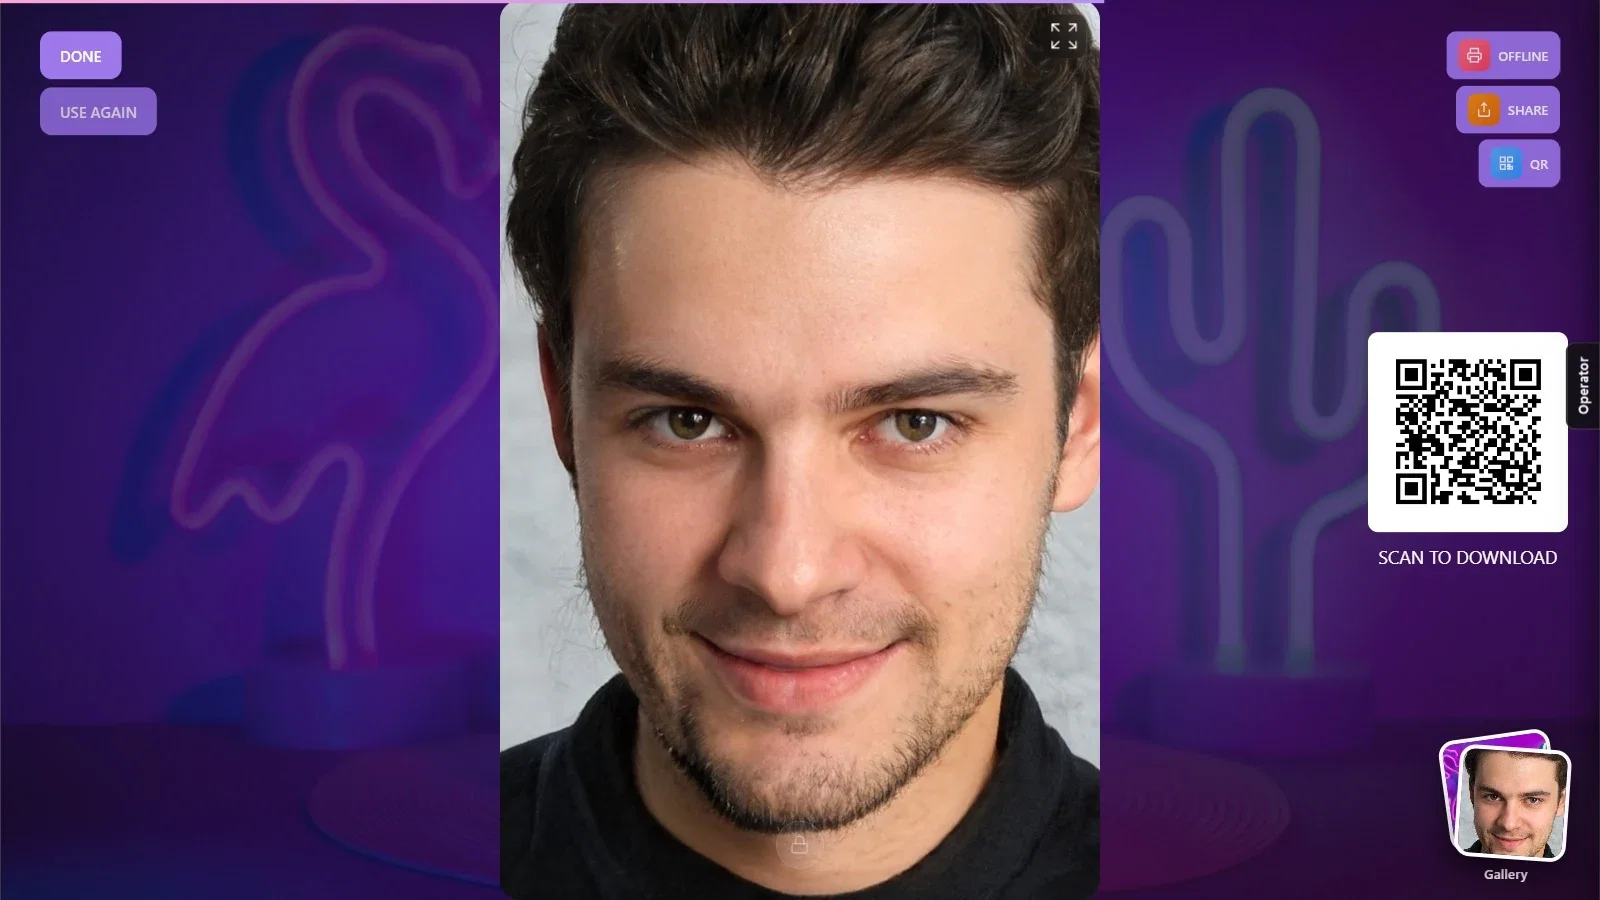
The sharing screen shows the guest's photo, a download QR code (Scan to Download) and the SHARE and QR buttons; Gallery at the bottom right opens the event's other photos. If a printer is added to the event, a print button also appears at the top right; if the printer isn't connected, it reads Offline. The guest finishes with DONE and the screen goes back to the welcome screen.
Step 12 · The photo reaches the operator
Run the Mosaic Wall → Operator
When the guest leaves the sharing screen, the photo drops into the New column of the operator panel and a count badge appears on the Operator tab. Send it to the wall with Approve, or block it with Block.
Step 13 · The photo is placed on the wall
Run the Mosaic Wall
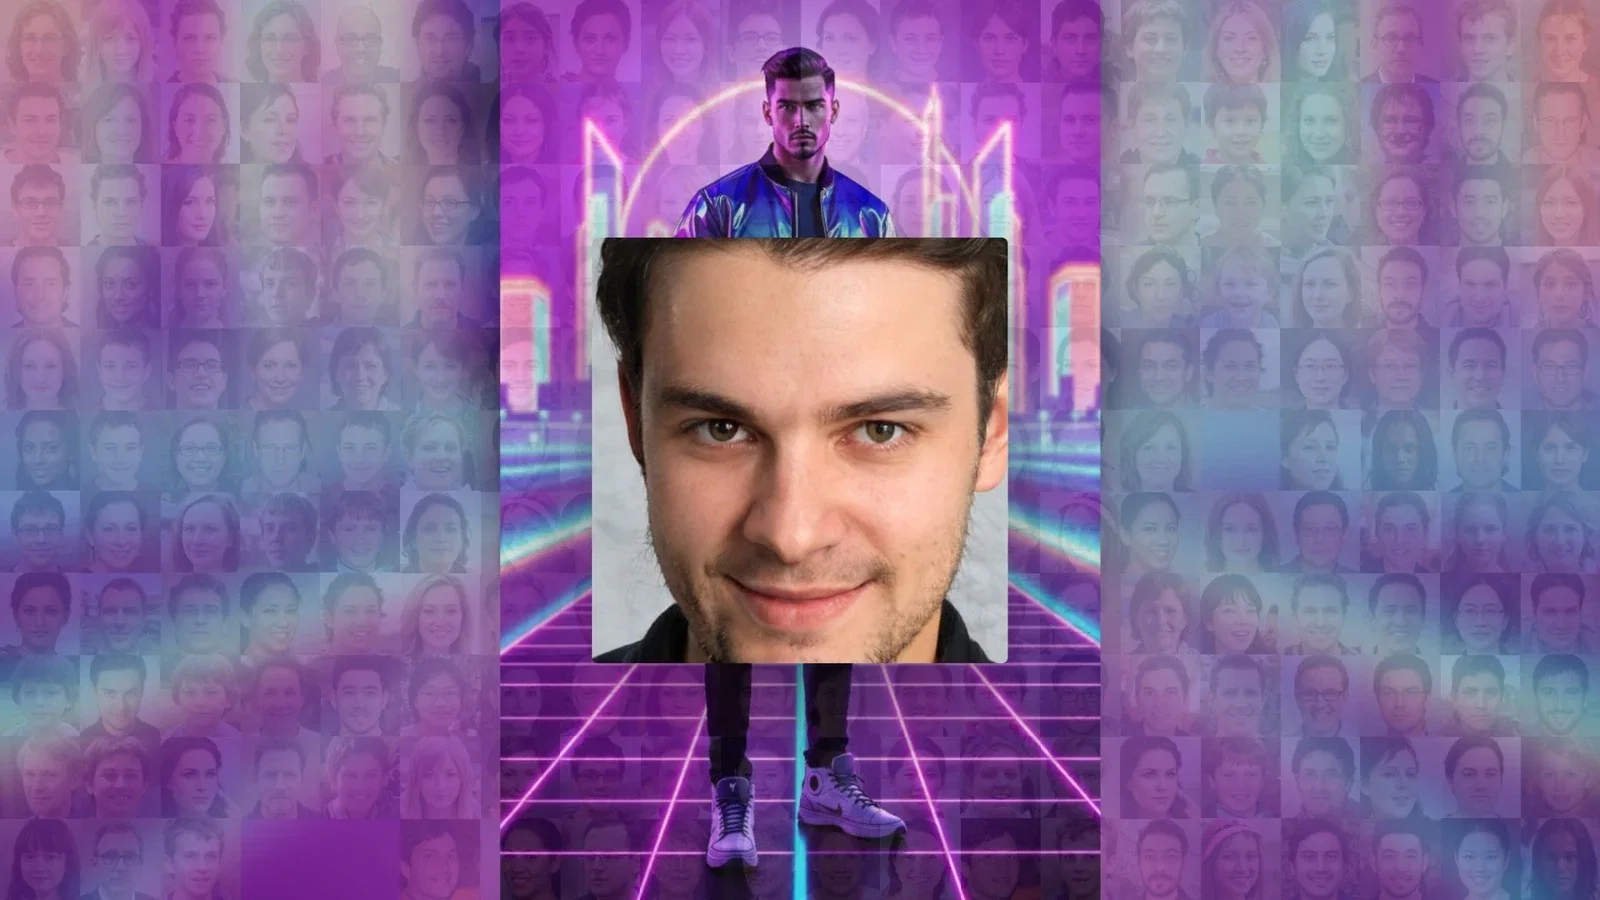
On the wall screen the approved photo first appears large, then settles into its cell. How it settles comes from the Placement animation setting in the Mosaic Settings → Wall → Pace section.
Testing without a camera: “Desktop Editing” in the camera list is not a real camera; at the moment of capture it asks you to pick a photo file from the computer. It is handy for trying out the setup; choose the real camera for the event.
If the event has only one template, guests aren't asked to choose a template; if you add more than one, guests choose on the Select a Template screen before capture.
The details of the guest screens (welcome, capture, sharing, texts, voices) are shared with AI Photo Booth Pro; see its screen design guides for more.
Starting without adding a template to the event: the guest is left with an empty list on the Select a Template screen.
Pressing the wrong button in the Add Templates window: once a template is selected, the red delete button at the bottom left becomes active too; use the button at the bottom right to add.
Trying own capture with a single screen: with only one screen, guest capture stays off.
