













If the wall isn't full as the event comes to an end, Auto-complete fills the remaining empty cells with copies of the photos on the wall; a real photo that arrives later takes the place of a copy, and you can remove the copies whenever you like. Saved walls stores the current state of the wall under a name.
This guide describes Photo Mosaic Wall 2.1.0 on Windows. Screens and labels may differ in other versions.
- There must be at least a few photos on the wall: the copies are made from the photos on the wall.
- If the wall is running, you do this from the operator screen; if not, from the Mosaic Settings → Output tab.
Step by step
Step 1 · Start auto-complete
Run the Mosaic Wall → Auto-complete
In the Auto-complete row of the operator screen, press the Auto-complete (113) button; the number in brackets is the number of empty cells. The button turns into a confirmation question: confirm with Yes, fill 113 empty cells with copies or back out with Cancel. The same button is also in the Auto-complete section at the top of the Mosaic Settings → Output tab.

Step 2 · The wall fills up
Run the Mosaic Wall
The copies fill the empty cells right away. Cells marked Never fill stay empty and keep showing the target image. If Create it when the wall is full is on in the Mosaic Settings → Output → Wall picture section, the picture of the wall is also created automatically the moment the wall is full.

Step 3 · Keep track of the copies or remove them
Run the Mosaic Wall → On the wall
Next to the On the wall heading you see the number of real photos and +113 copies; the button in the Auto-complete row becomes Remove copies (113). Press this button if you want to remove the copies.
If you approve a new photo while the wall is full of copies, it takes the place of a copy (in the example, 105 + 113 copies became 106 + 112 copies with the new photo). In the Blocked column, the Put back button becomes Queue it; a photo you restore this way also takes a copy's place right away.

Step 4 · Save the wall under a name
Mosaic Settings → Output → Saved walls
In the Saved walls section, type a name in the Save name box and press the Save button. A green note says how many photos were saved; the save is added to the list with its name, date and number of cells. Next to a save, Load takes you back to that state and Delete deletes the save.
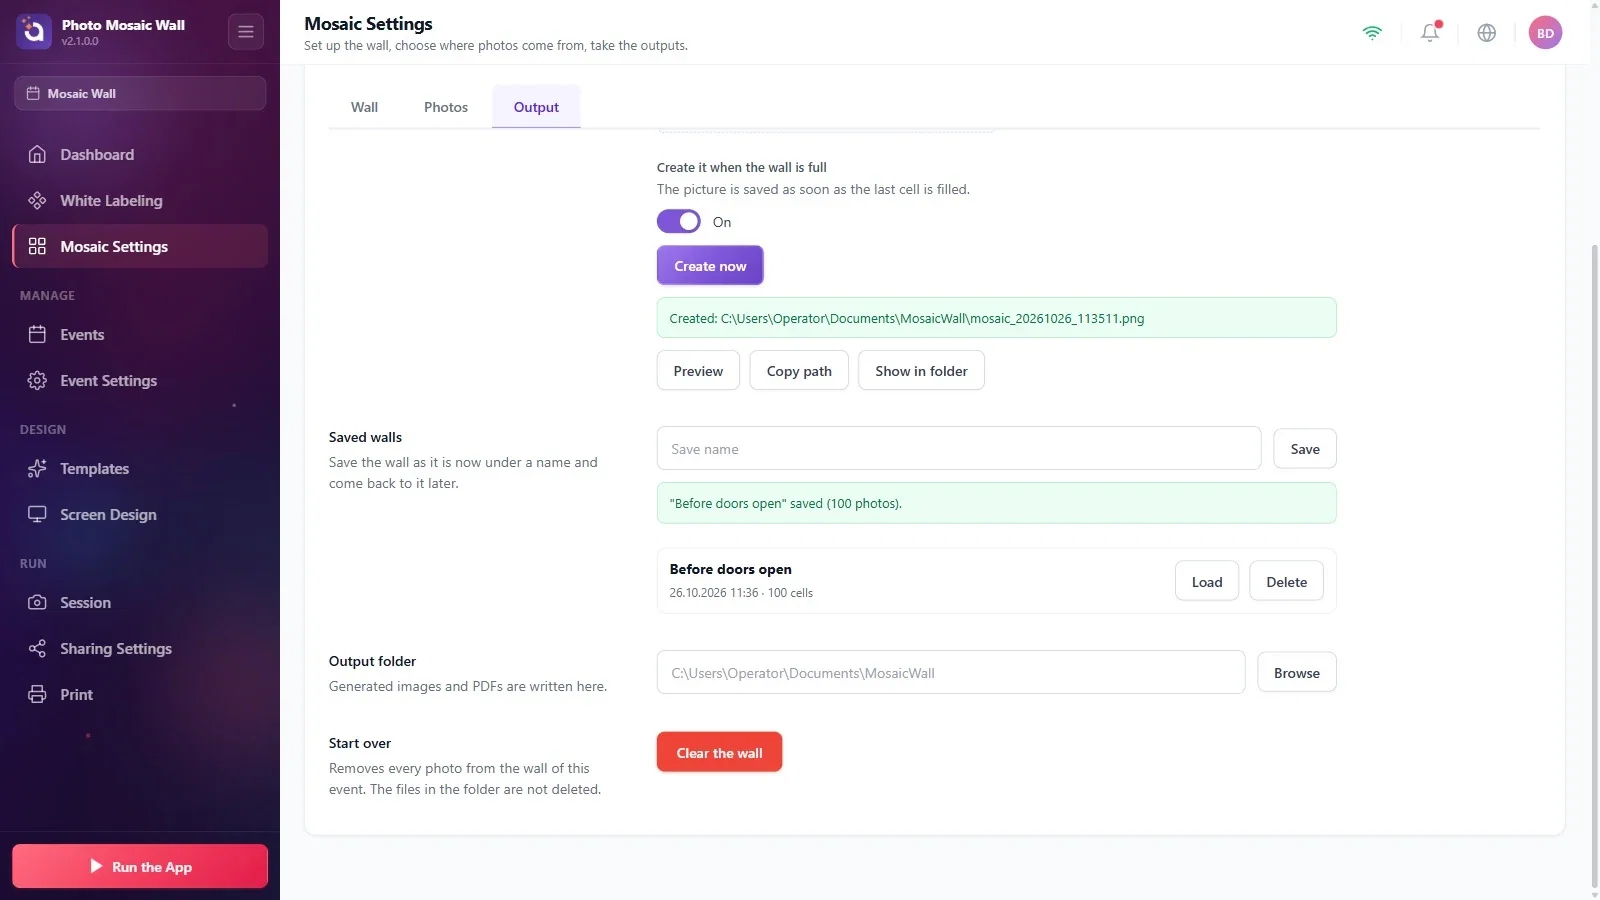
Step 5 · If you need to start over
Mosaic Settings → Output → Start over
The red Clear the wall button in the Start over section removes all photos from this event's wall; the files in the folder are not deleted. Saving the wall with Saved walls before you press it is recommended.
Leave auto-complete for the end of the event: if copies fill the wall early, guests may think the wall is finished.
Take separate saves before and after the event (for example “Before doors open”); when needed, you can go back to that state with Load.
Trying to auto-complete while there are no photos on the wall: the copies are made from the photos on the wall.
Using the Clear the wall button without saving first: all photos on the wall are removed.
