













The physical wall's labels, and the guest's photo when guests take their own photos, are printed on the printer added on the Print page. On this page you add the printer, set the paper size and the alignment, take a test print, and set the printing behavior and limits.
This guide describes Photo Mosaic Wall 2.1.0 on Windows. Screens and labels may differ in other versions.
- The printer must be installed in Windows, switched on and connected to this computer.
- In the left menu, click Print under the Run heading.
Step by step
Step 1 · Add a printer
Print → Add Printer
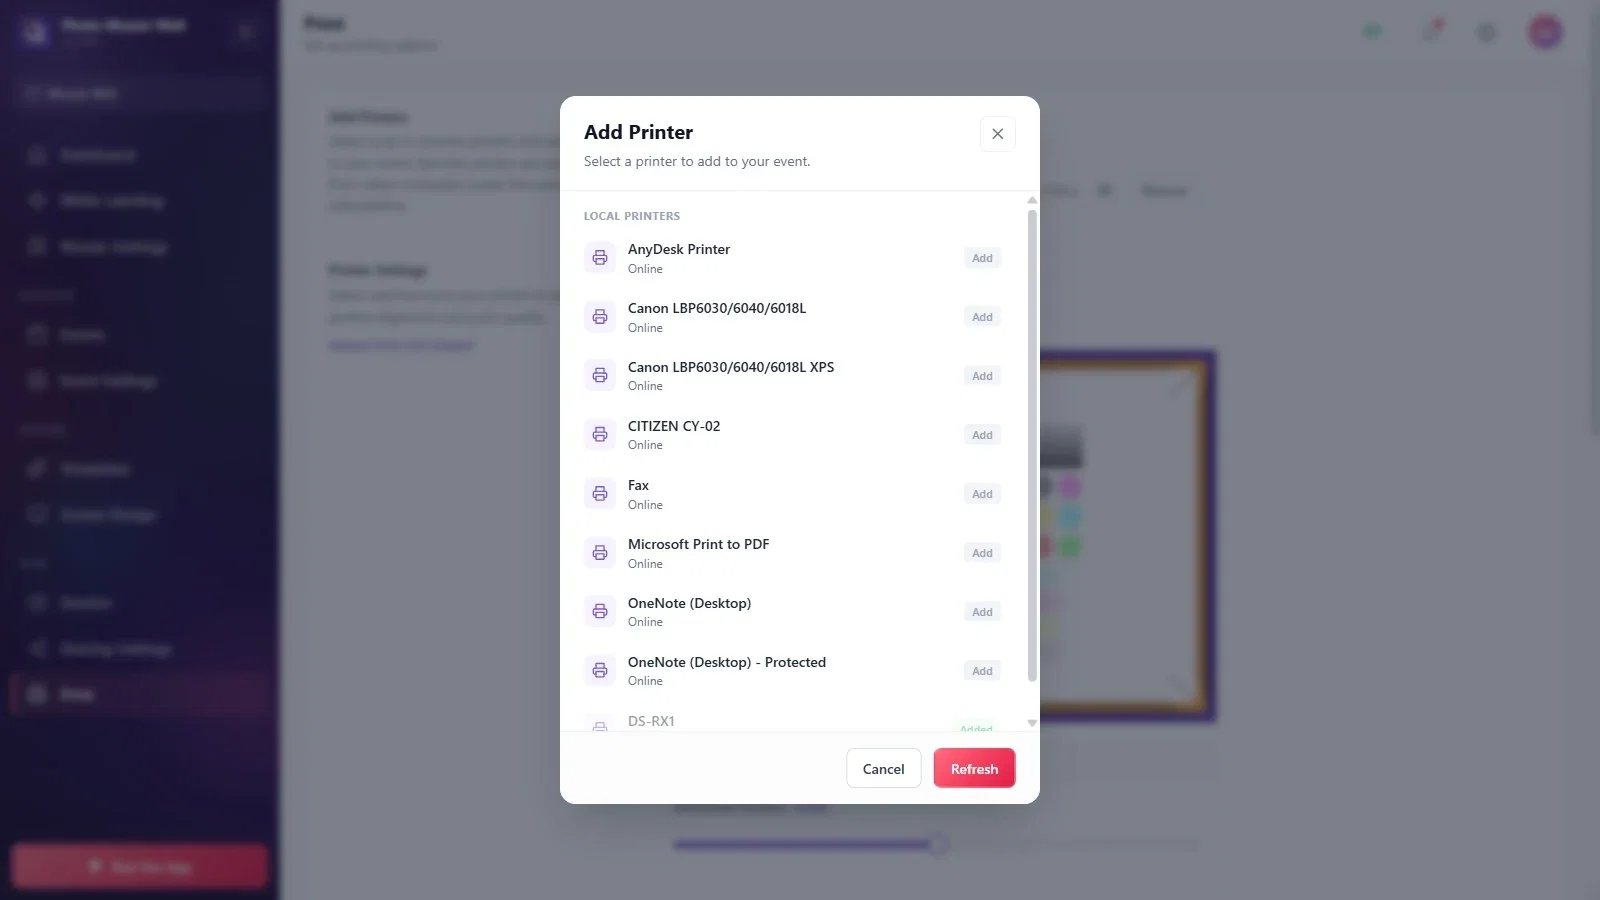
Press the Add Printer button in the Add Printers section. The window that opens lists the printers installed on this computer and their status under the Local Printers heading; press the Add button next to the printer you'll use. A printer that has already been added shows Added; if the list is out of date, press Refresh.
Step 2 · Check the added printer
Print → Add Printers
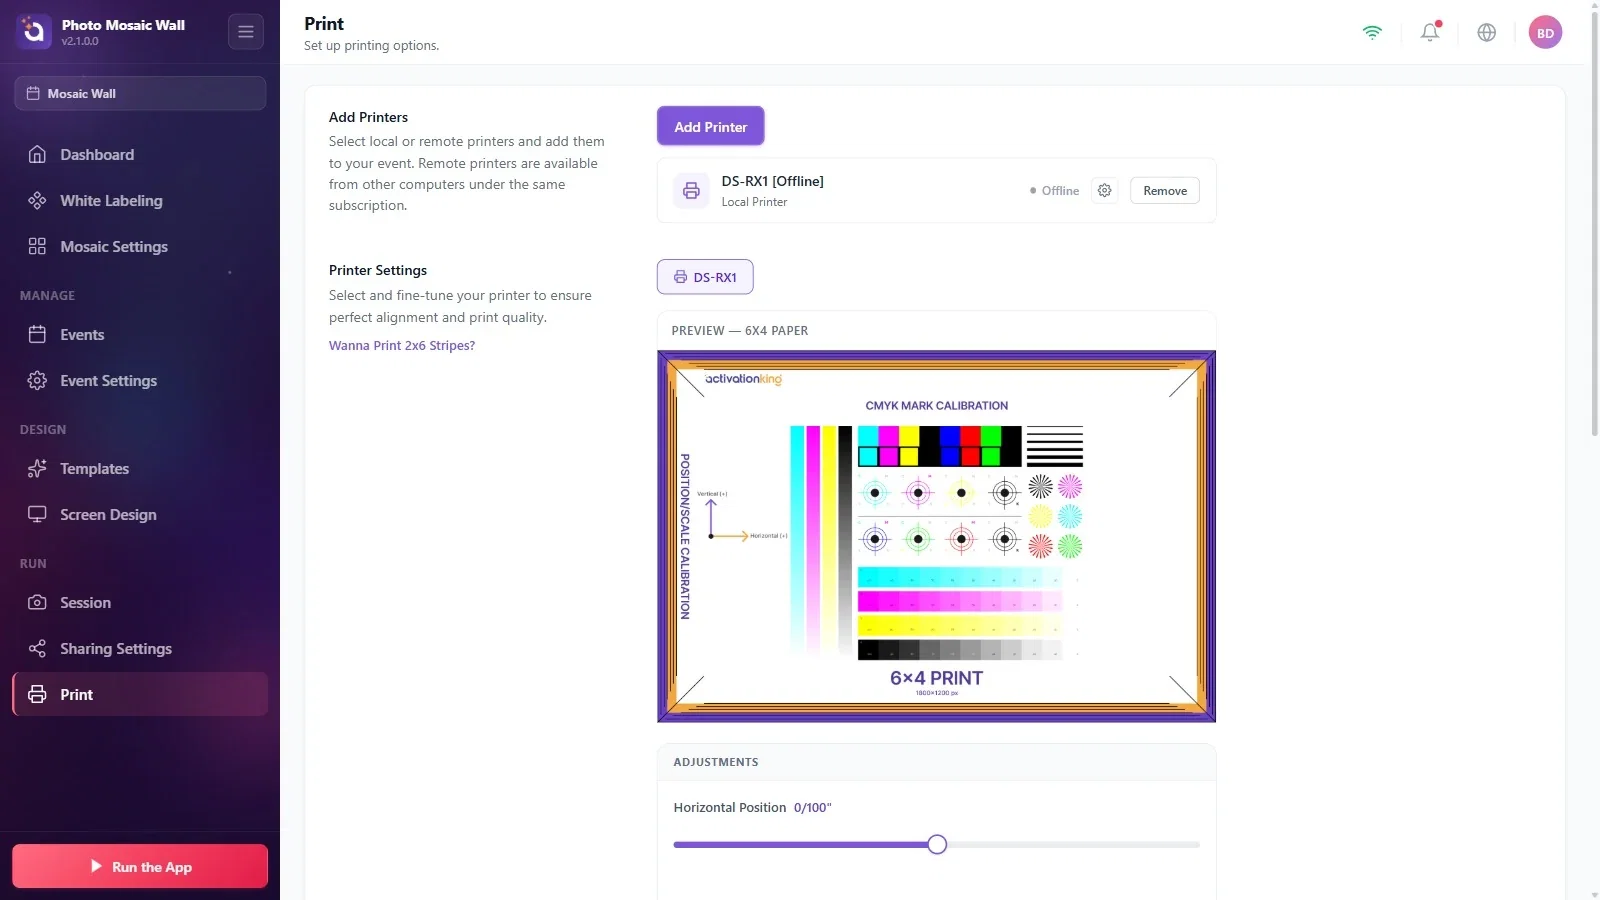
The added printer appears in the Add Printers section with its name, type (Local Printer) and status; if the printer is off or not connected, it shows Offline. On the right of the row there is a settings icon and a Remove button.
Step 3 · Set the paper and the alignment
Print → Printer Settings
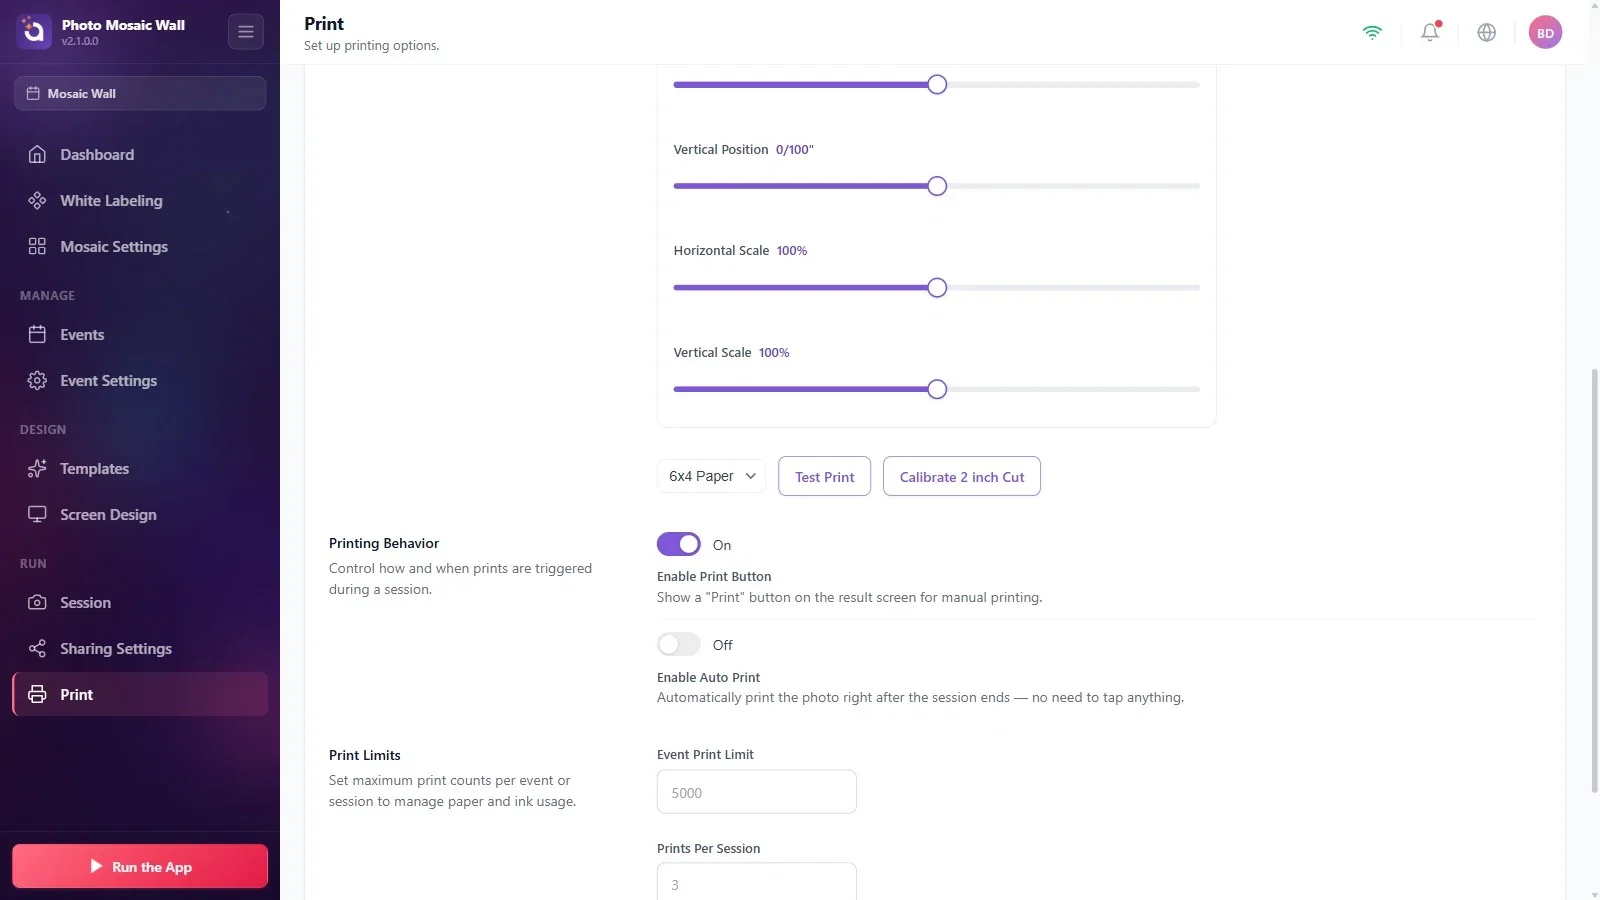
Choose the printer in the Printer Settings section; the preview shows a calibration page in the selected paper size. Set the position and scale of the print with the Horizontal Position, Vertical Position, Horizontal Scale and Vertical Scale sliders under Adjustments. Choose the paper size from the list (6x4 Paper, 4x6 Paper, 6x6 Paper, 6x8 Paper, 8x6 Paper); Test Print prints the calibration page.
Step 4 · Printing behavior and limits
Print → Printing Behavior / Print Limits
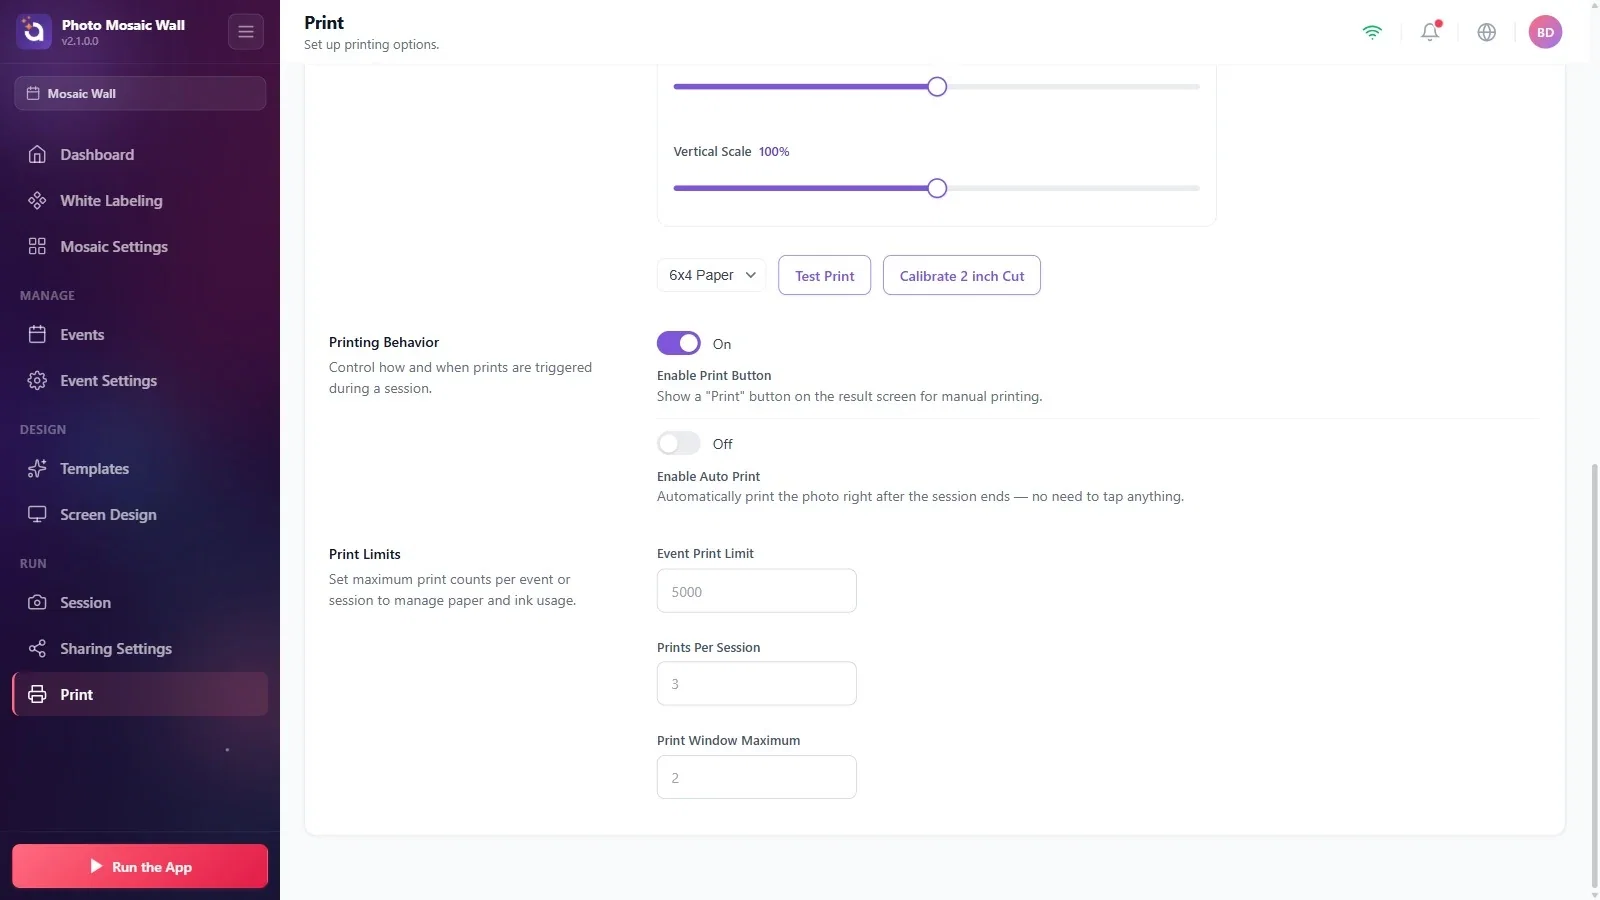
Printing Behavior: Enable Print Button puts a print button on the guest's result screen; Enable Auto Print prints the guest's photo automatically as soon as the session ends. These two settings are for the guest's own photo; the physical wall's labels are managed on the Mosaic Settings → Output tab.
Print Limits: limit paper and ink use with Event Print Limit, Prints Per Session and Print Window Maximum.
On a physical wall, you can also see whether the printer is ready in the Mosaic Settings → Output → Printer row.
Before the event, print a page with Test Print and correct the margins with the sliders.
Leaving the printer switched off in Windows: the list shows Offline and labels aren't sent.
Looking for label printing here: the physical wall's label settings are on the Mosaic Settings → Output tab.
