













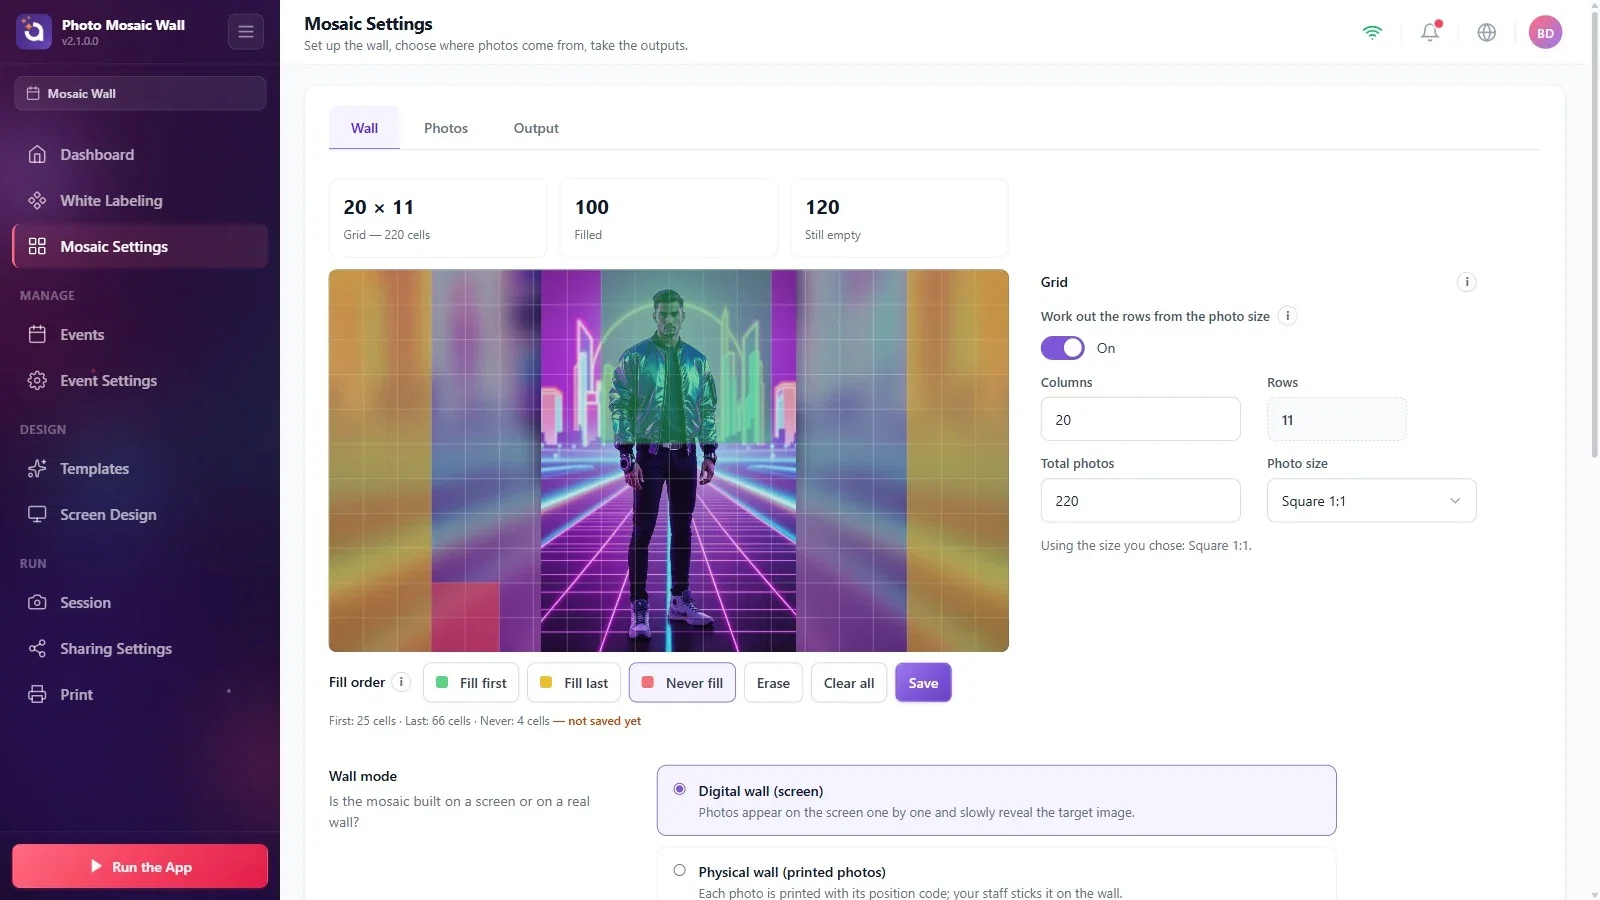
The wall fills empty cells at random; with Fill order you steer that order. You paint cells by dragging over the preview of the target image: Fill first (green) fills early, Fill last (yellow) fills last, and Never fill (red) never gets a photo, so the target image stays there without photos. Unmarked cells fill in between.
This guide describes Photo Mosaic Wall 2.1.0 on Windows. Screens and labels may differ in other versions.
- The wall mode, the grid and the target image must be set.
- Find the preview at the top of the Mosaic Settings → Wall tab and the Fill order row right below it.
Step by step
Step 1 · Choose a brush and drag over the preview
Mosaic Settings → Wall → Fill order
In the Fill order row, press the Fill first, Fill last or Never fill button (the selected button is framed), then drag a rectangle over the preview with the mouse. As soon as you let go, the cells covered by the rectangle are painted in the color you chose.
In the example, the face and body were set to Fill first (green), the blurred edges to Fill last (yellow), and a small area at the bottom left to Never fill (red). The summary below the row counts how many cells are marked; if there are unsaved changes, it ends with not saved yet.
Step 2 · Read how it works
Mosaic Settings → Wall → Fill order
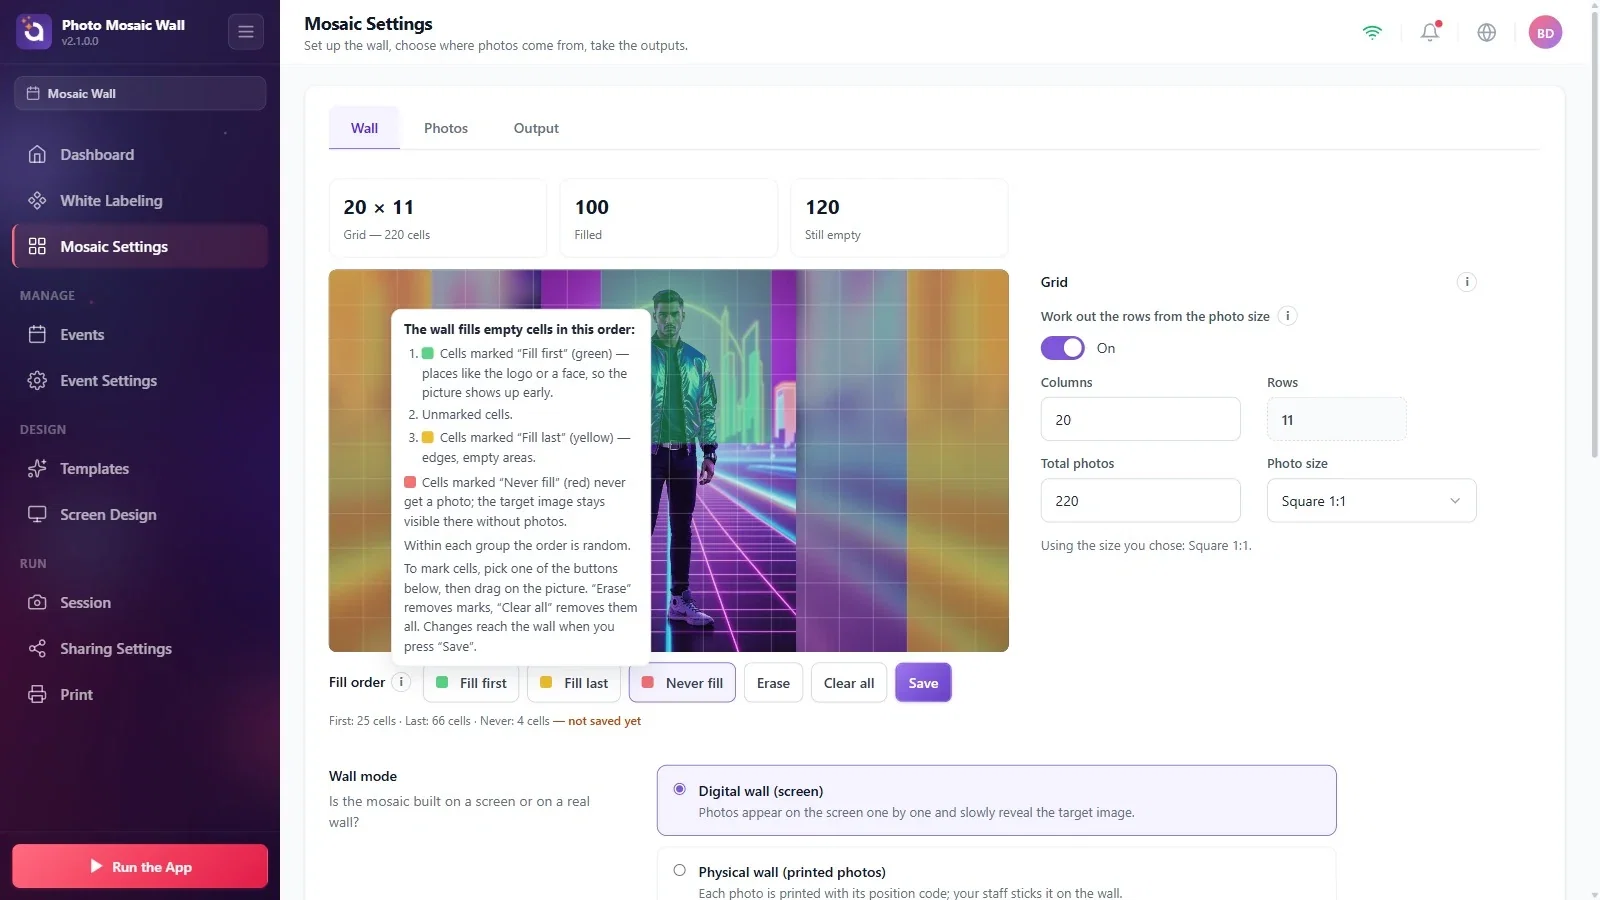
Press the (i) icon next to Fill order to open a short explanation: the wall fills empty cells first with the Fill first cells, then the unmarked ones, and last with the Fill last cells; Never fill cells never get a photo. The order within each group is random. Click outside the explanation to close it.
Step 3 · Correct and save
Mosaic Settings → Wall → Fill order
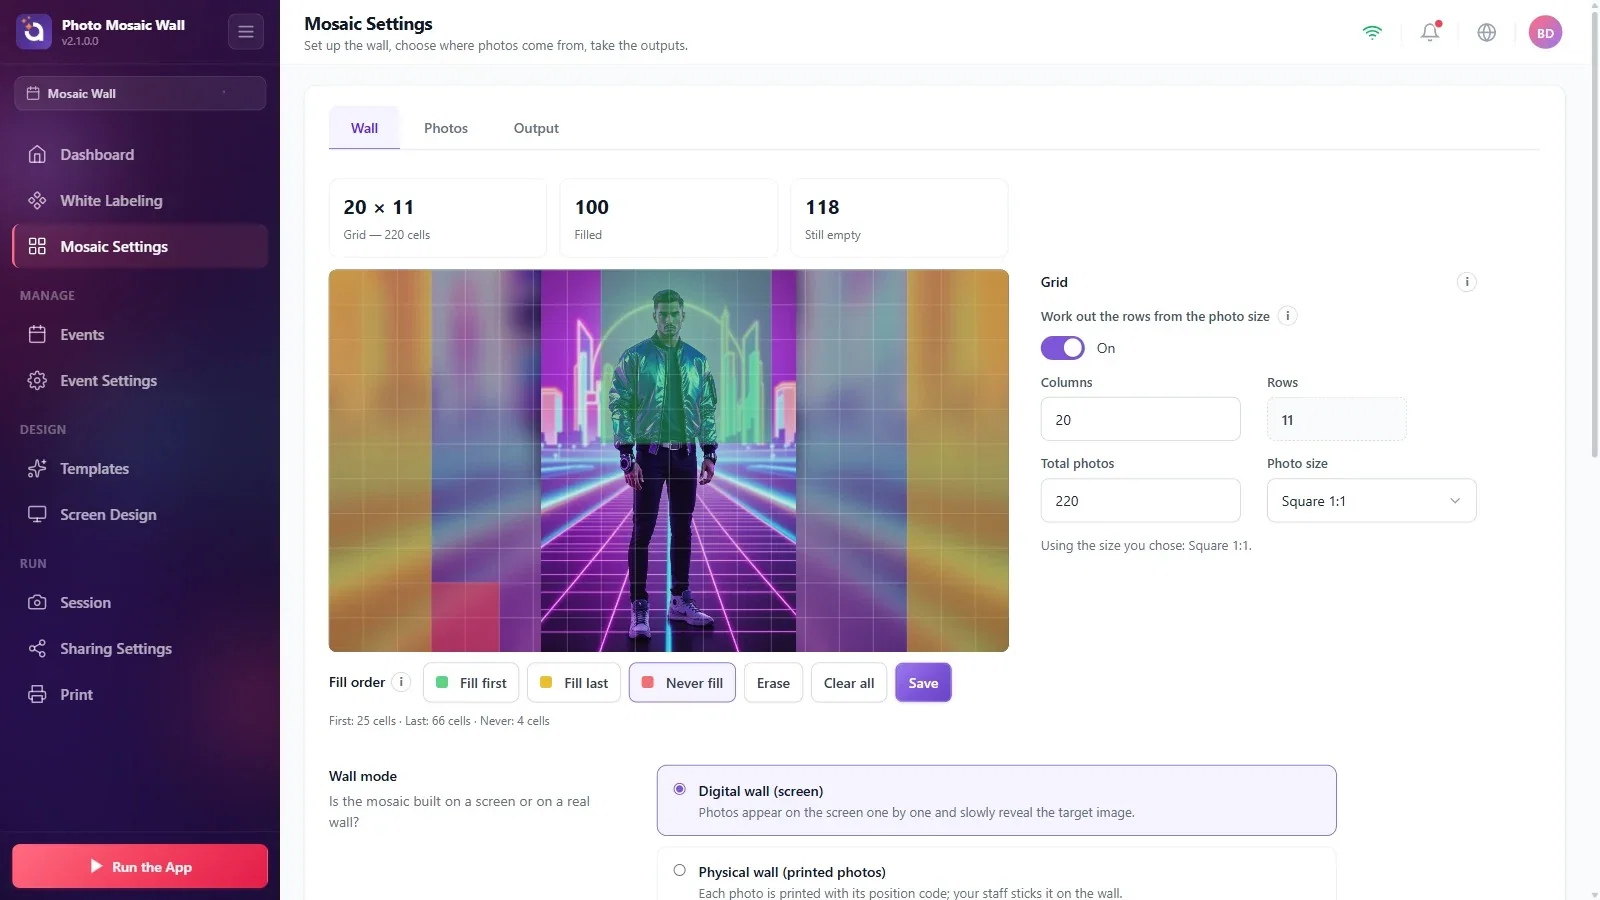
For cells you painted by mistake, choose Erase and drag over them; use Clear all to remove all marks. Changes are applied to the wall when you press the Save button; once you save, the not saved yet text disappears from the summary.
If the target image has a face or a logo, set that area to Fill first: the picture shows up on the wall early.
Set the cells where a logo or text must always stay sharp to Never fill: the target image stays there without photos.
The fill order only steers the photos that arrive from now on; photos already on the wall stay where they are.
Forgetting to save: if the summary ends with not saved yet, the change has not been applied to the wall yet.
Changing the grid after marking: the marks are moved proportionally to the new grid, and a note saying so appears under Fill order; correct them if needed and save again.
