













In Physical wall (printed photos) mode, every photo placed on the wall is tinted with the part of the target image that falls on its cell and printed as a label with a position code (for example B-14); a staff member sticks the label on that cell of the real wall. The label settings are on the Mosaic Settings → Output tab, while the printer is added on the Print page. The Code map shows on a single page where each code goes on the wall.
This guide describes Photo Mosaic Wall 2.1.0 on Windows. Screens and labels may differ in other versions.
- Wall mode must be Physical wall (printed photos), and the dimensions of the wall and the photo must be entered.
- A printer must have been added on the Print page (see “How to Add and Set Up a Printer?”).
Step by step
Step 1 · Turn on printing for every photo and check the printer
Mosaic Settings → Output → Printed photos
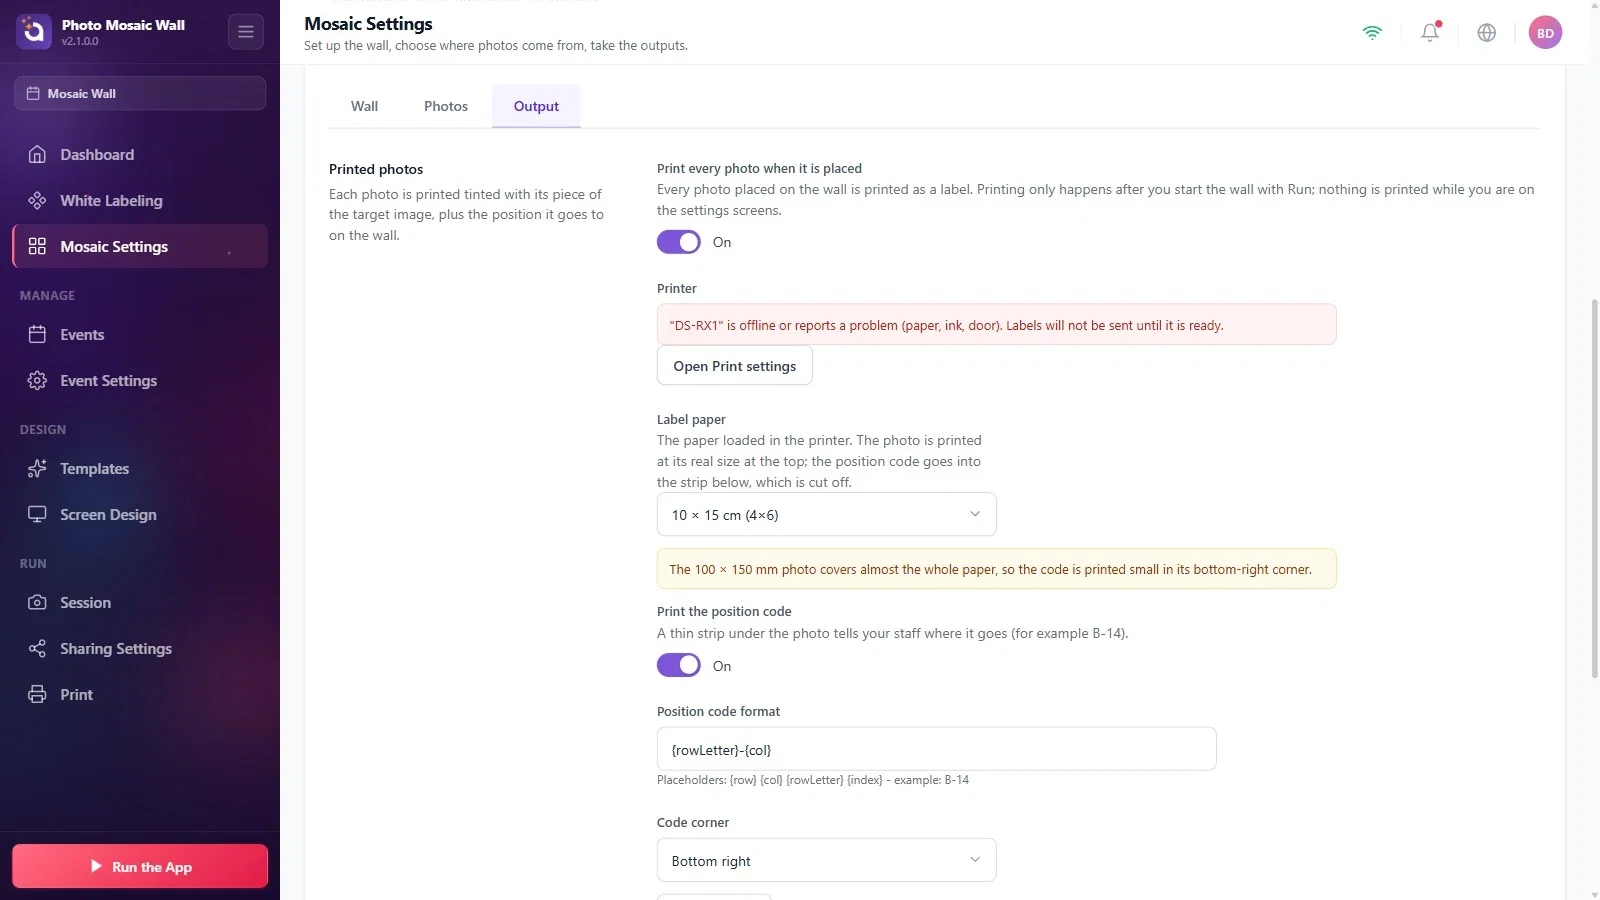
In the Printed photos section, turn on the Print every photo when it is placed switch. Labels for newly placed photos are printed automatically only while the wall is running. Start the wall with Run the App. Manual test and bulk printing use separate controls.
The Printer row shows the status of the selected printer. If the printer is offline or reports a paper, ink or cover error, a red warning appears, and no labels are sent until the printer is ready. Open Print settings takes you to the printer settings.
Step 2 · Choose the label paper
Mosaic Settings → Output → Label paper
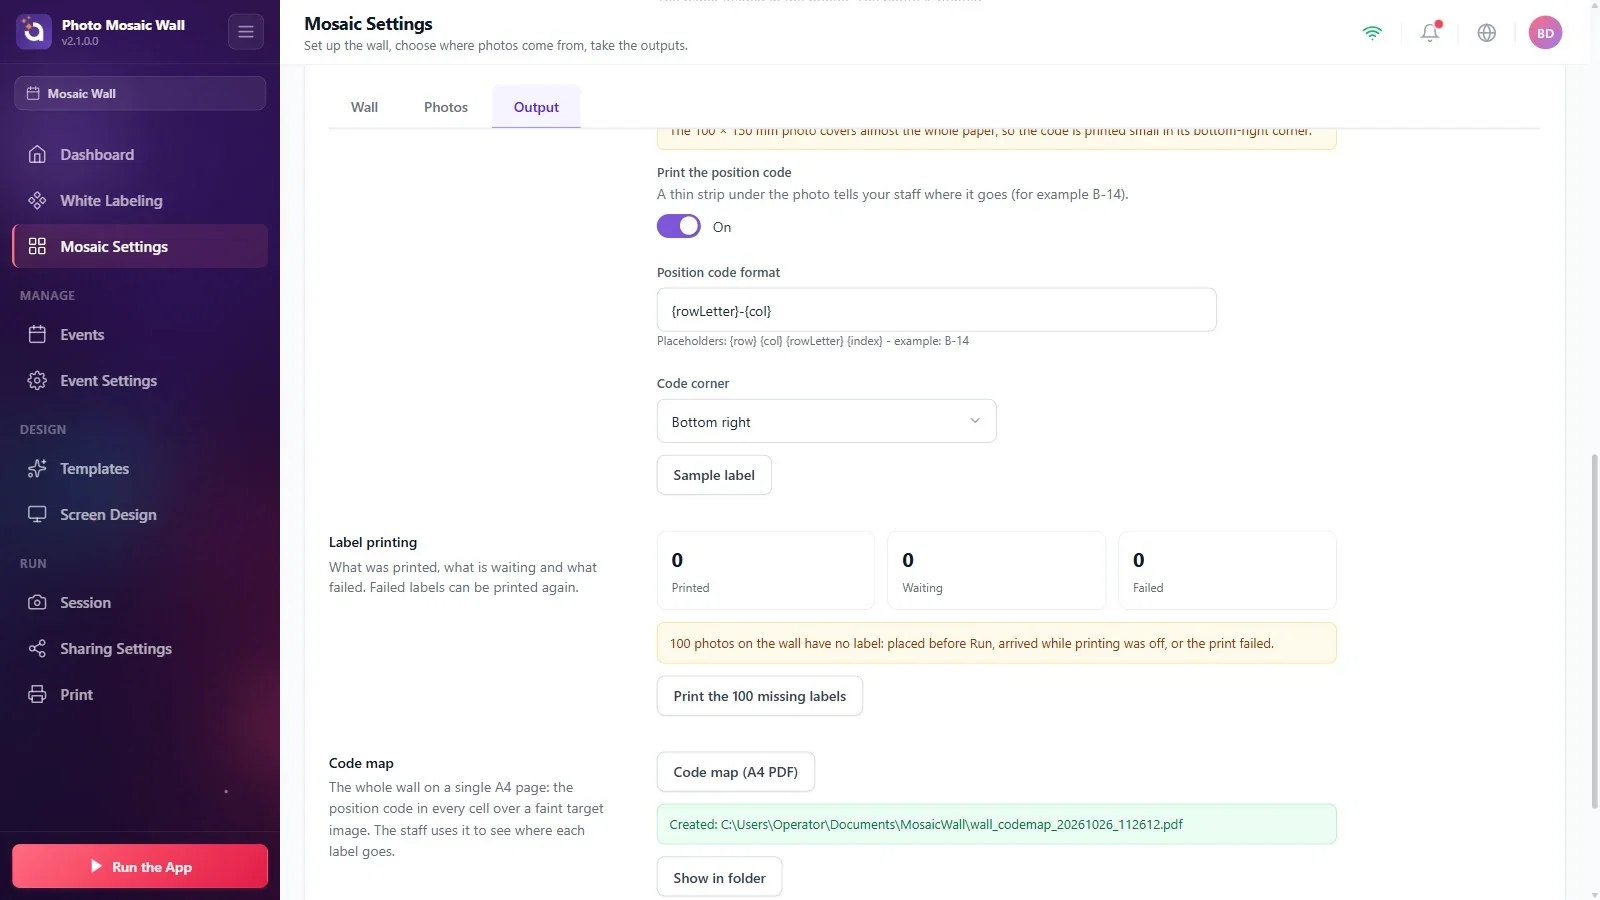
Choose the paper loaded in the printer from the Label paper list (10 × 15 cm (4×6), 13 × 18 cm (5×7), 15 × 20 cm (6×8), A6, A5, A4 or Photo-sized (label printer)). The photo is printed on the paper at its real size; the position code is printed on the strip below it, and the strip is cut off and thrown away. If the photo covers almost the whole sheet, a yellow note says that the code will be printed small in a corner.
Step 3 · Set up the position code
Mosaic Settings → Output → Print the position code
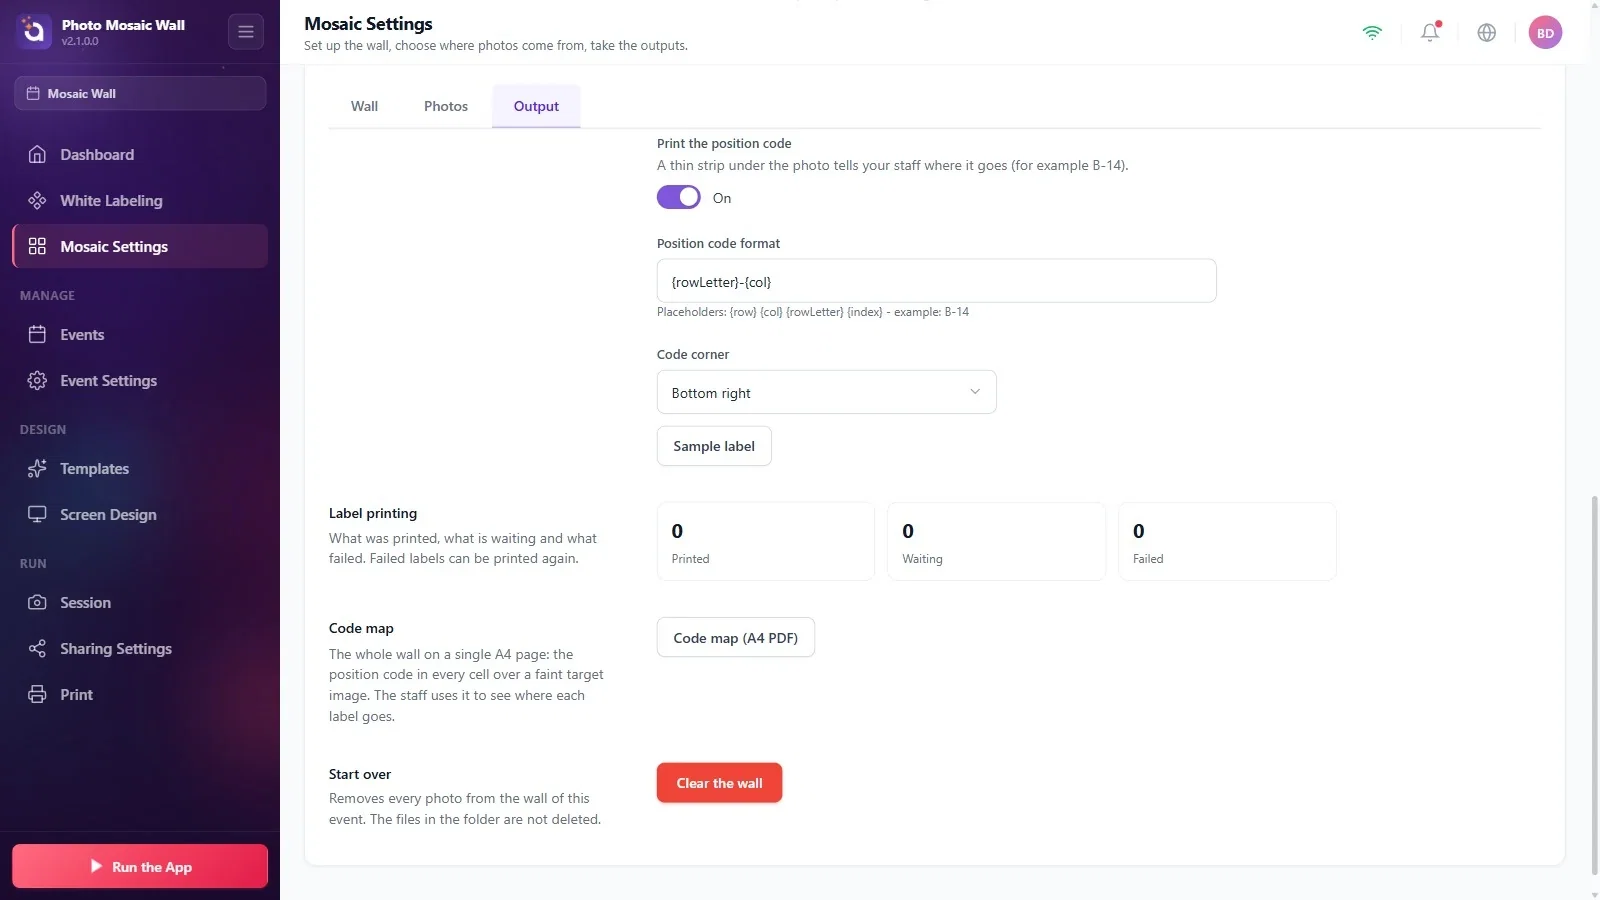
While Print the position code is on, the cell code is printed on the thin strip under each label (or in its corner). The Position code format box sets the format of the code; the placeholders you can use are listed under the box: {row}, {col}, {rowLetter} and {index} (the default is {rowLetter}-{col}, which gives codes like B-14). Choose the corner for the code from the Code corner list: Bottom right or Bottom left.
Step 4 · See a sample label
Mosaic Settings → Output → Sample label
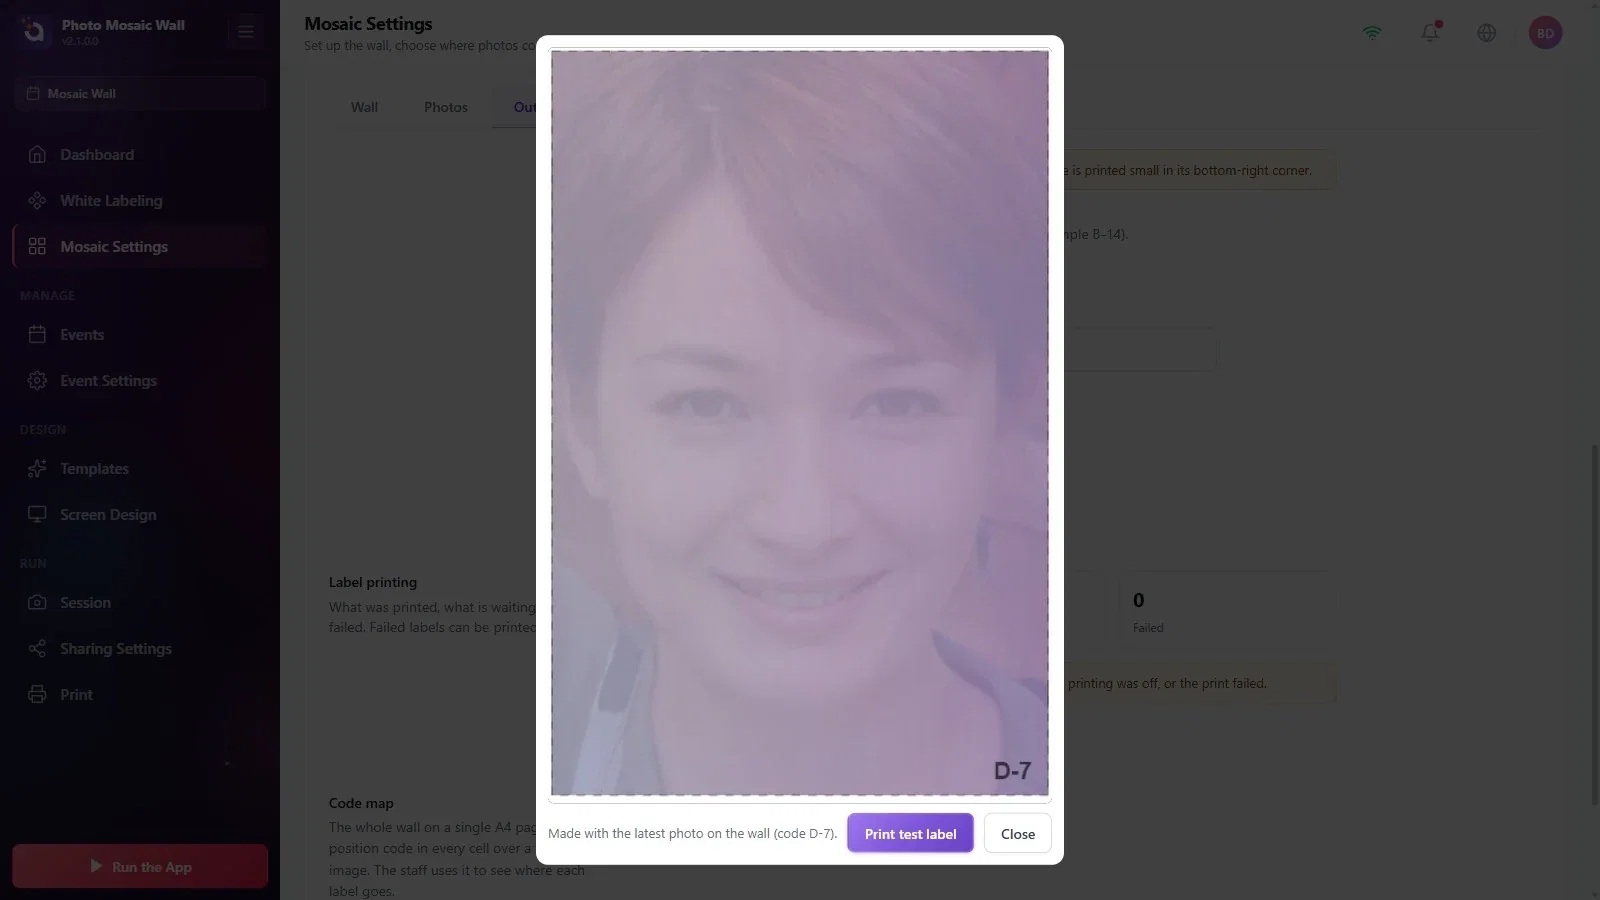
Sample label opens a label preview made with the last photo on the wall, the cut line and the position code (Made with the latest photo on the wall (code D-7). appears below it). If there are no photos on the wall yet, a placeholder photo is used. Print test label sends this label to the printer; close the preview with Close.
Step 5 · Keep an eye on the label status
Mosaic Settings → Output → Label printing
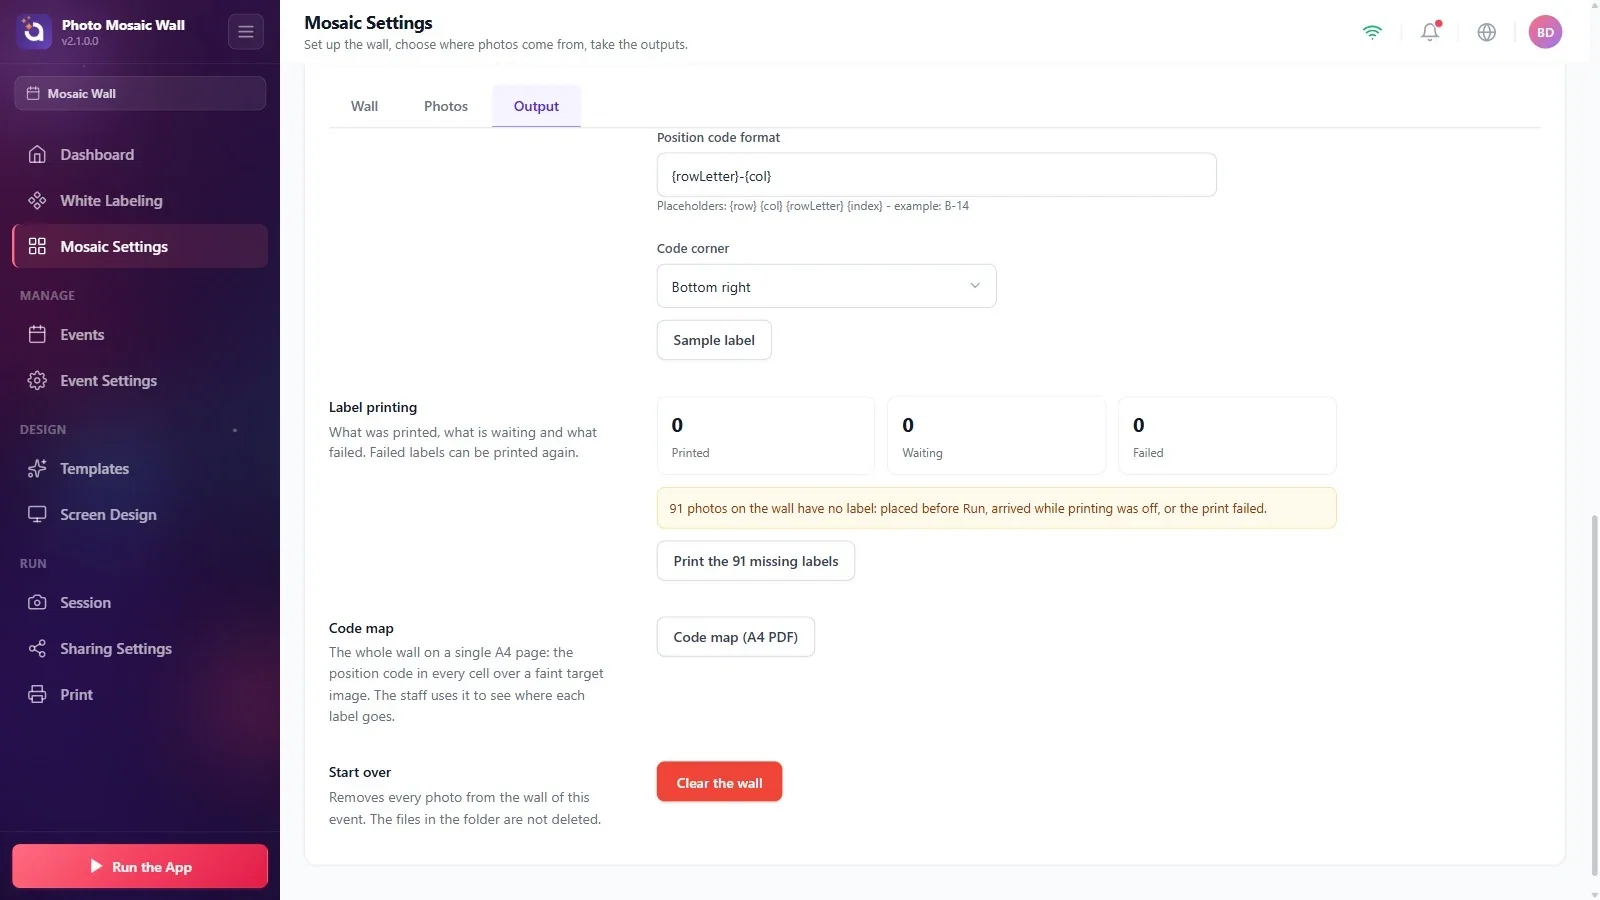
The three cards in the Label printing section count the Printed, Waiting and Failed labels. If there are photos on the wall whose labels haven't been printed (photos placed before the wall was started, photos that arrived while printing was off, or photos that couldn't be printed), a yellow note gives their number and the Print the 91 missing labels button appears.
Step 6 · Create the code map
Mosaic Settings → Output → Code map
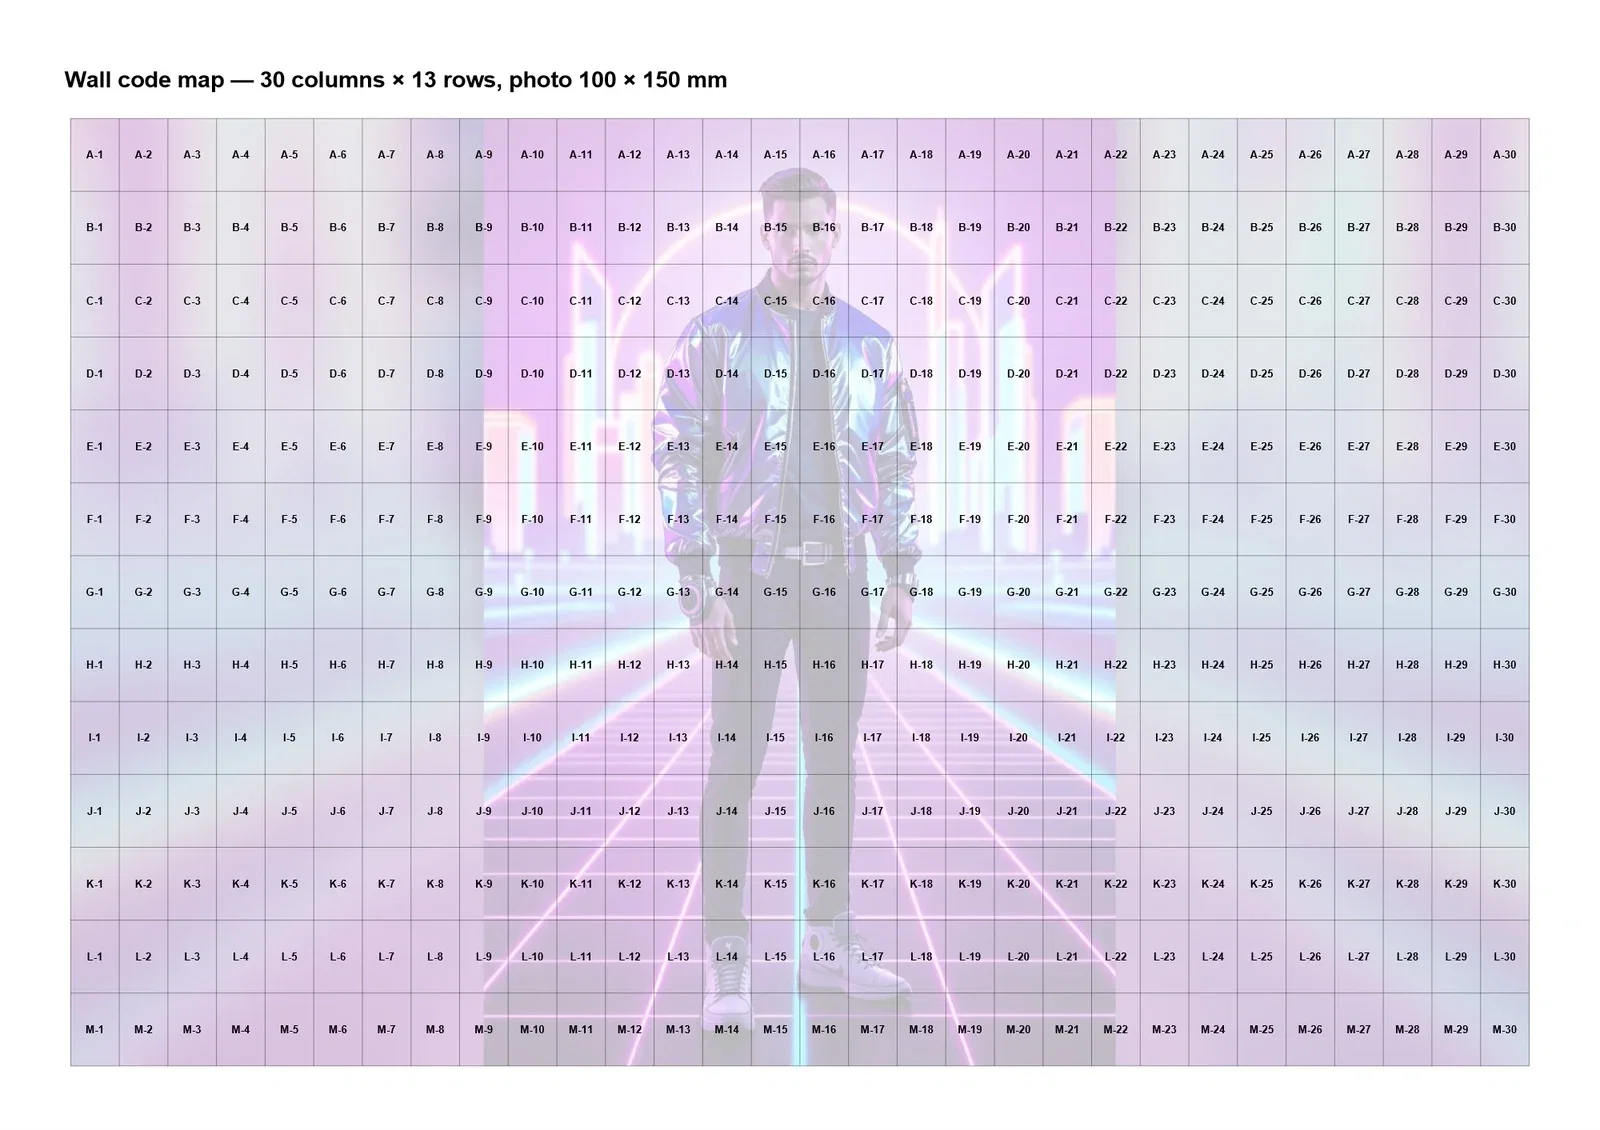
Press the Code map (A4 PDF) button. A green note shows the path of the PDF file it created; open the folder with Show in folder and print the PDF.
Step 7 · Use the code map
Code map (A4 PDF)
The code map shows the whole wall on a single A4 page: the position code in each cell, with the faded target image underneath; the header gives the number of columns and rows and the photo size. Staff look here to see where a label goes on the wall.
Step 8 · Run the wall: the labels are printed
Run the App → Run the Mosaic Wall
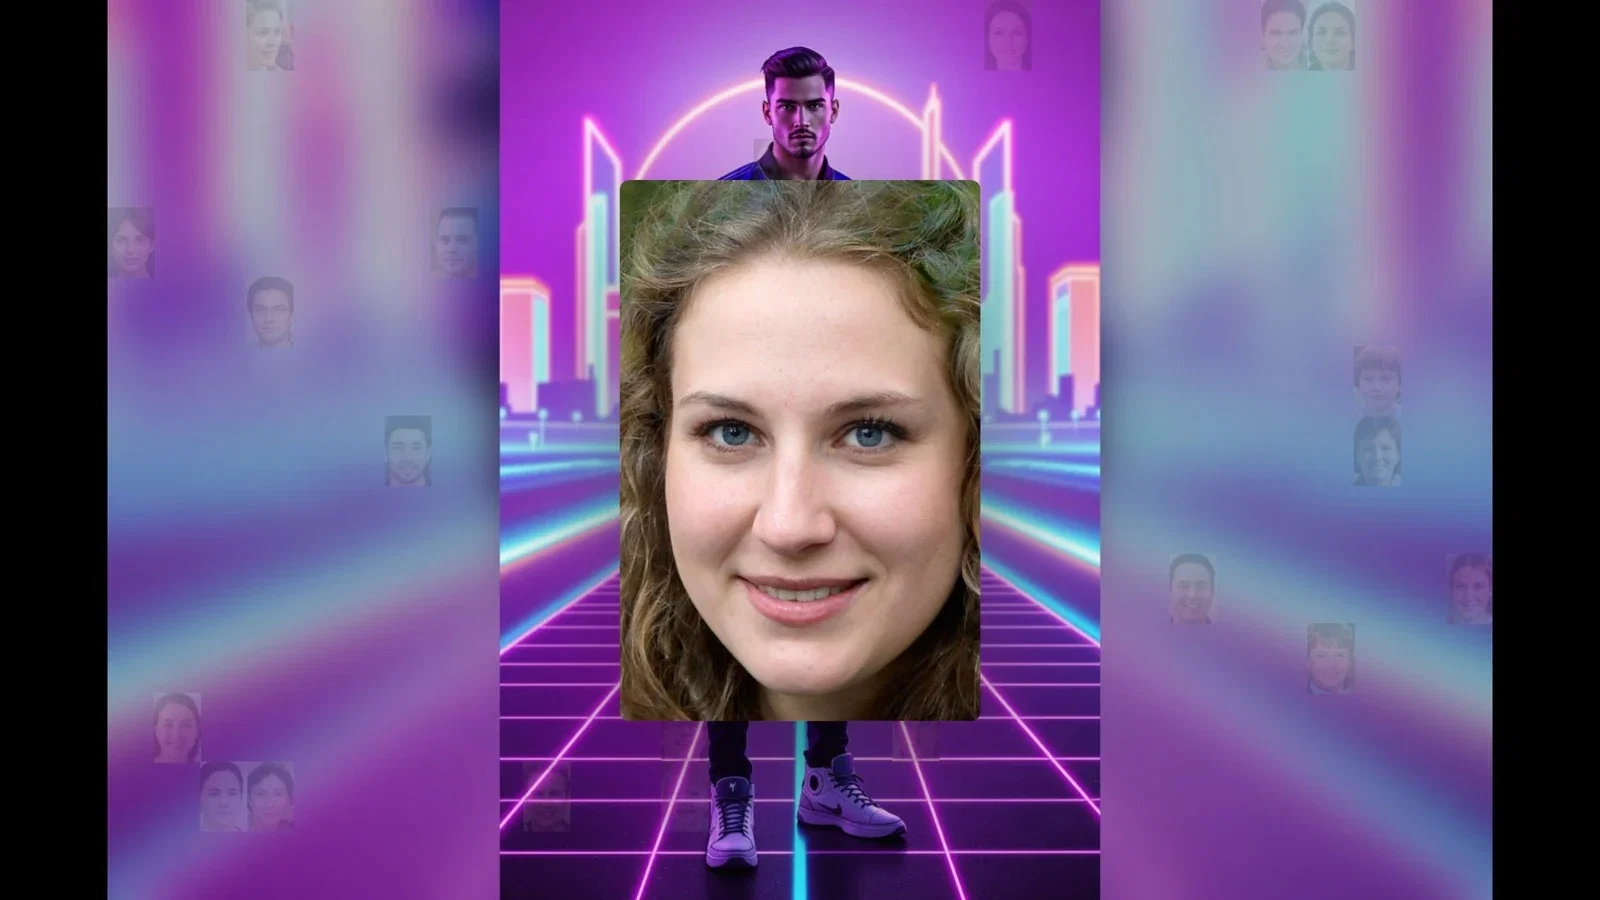
When you start the wall with Run the App, the label of each photo placed on the wall is printed in turn. On a physical wall, the wall window keeps the proportions of the real wall, so black margins may remain at the edges. The operator screen has counters for printed and unprinted labels, and a Print again button on the cards.
Before the event, check the cut line and the code with Sample label, and try a single label with Print test label.
Print the code map and hang it next to the wall; staff will place the labels faster.
The labels of photos placed before the wall starts aren't printed automatically; use the bulk print button in the Label printing section for them.
Waiting for automatic label printing while you are on the settings screen: this automatic flow requires the wall to be running. Manual test and bulk printing are separate.
Thinking the labels are lost while the printer is offline: a red warning appears, and labels aren't sent until the printer is ready.
