













Wall picture creates a high-resolution PNG file of the wall as it is at that moment; you use it after the event for a large print or for sharing. The size of the picture is set automatically, by pixels per photo or by a real print size; the files are written to the Output folder.
This guide describes Photo Mosaic Wall 2.1.0 on Windows. Screens and labels may differ in other versions.
- There must be photos on the wall; the picture shows the wall as it is at that moment.
- Open the Mosaic Settings → Output tab.
Step by step
Step 1 · Open the Output tab
Mosaic Settings → Output
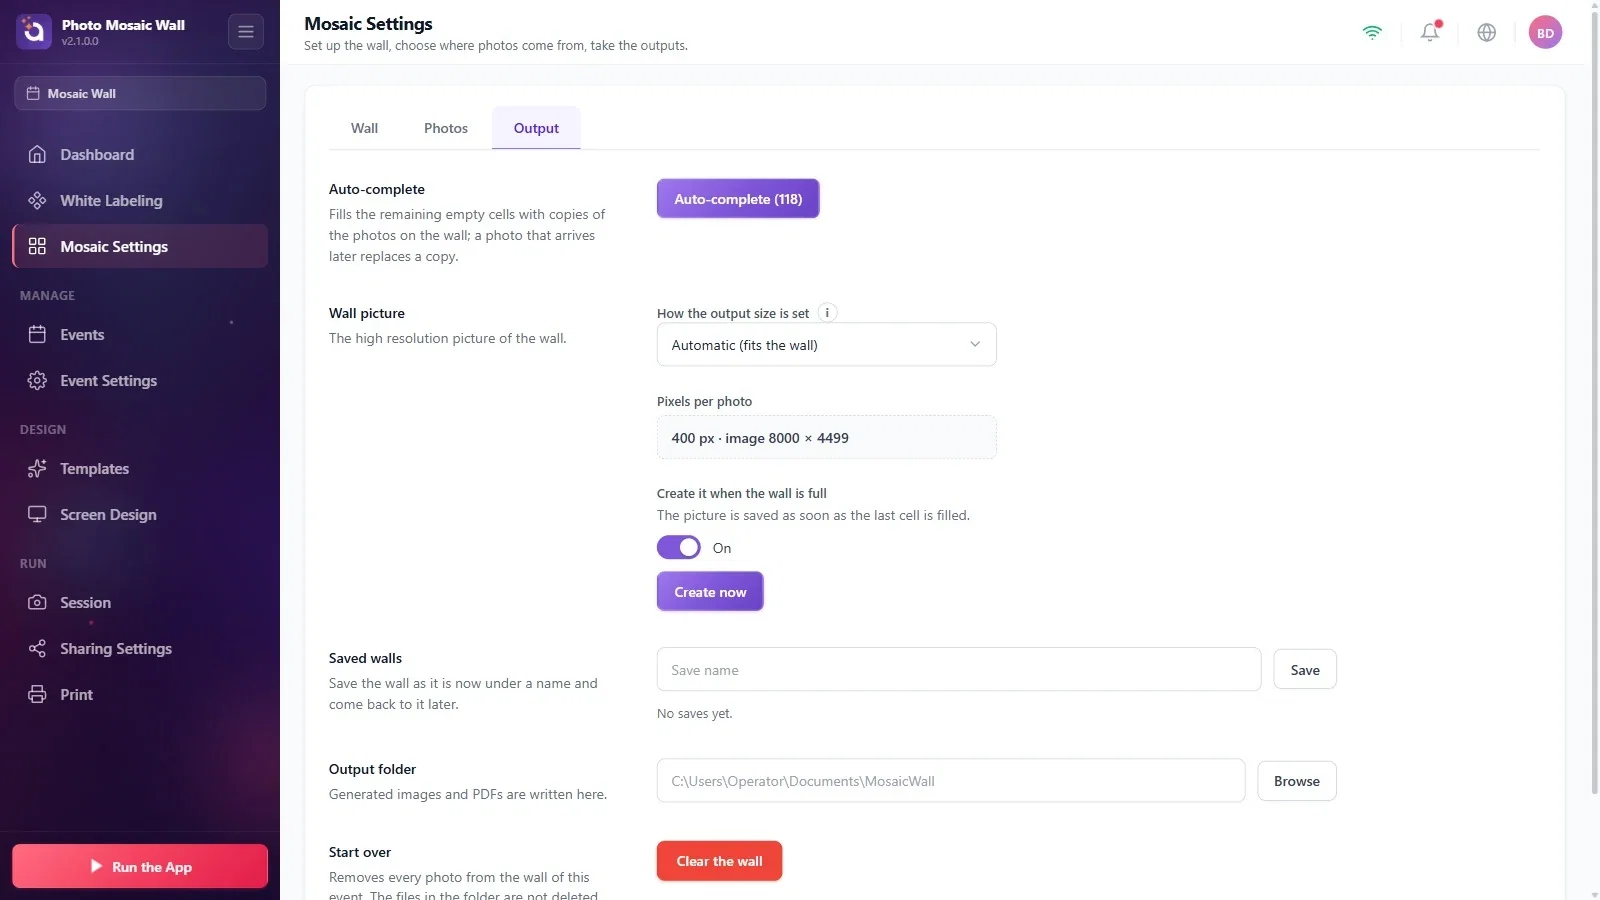
At the very top of the tab is Auto-complete, and below it the Wall picture, Saved walls, Output folder and Start over sections. On a physical wall, label sections are added to these.
Step 2 · Choose how the size is set
Mosaic Settings → Output → Wall picture
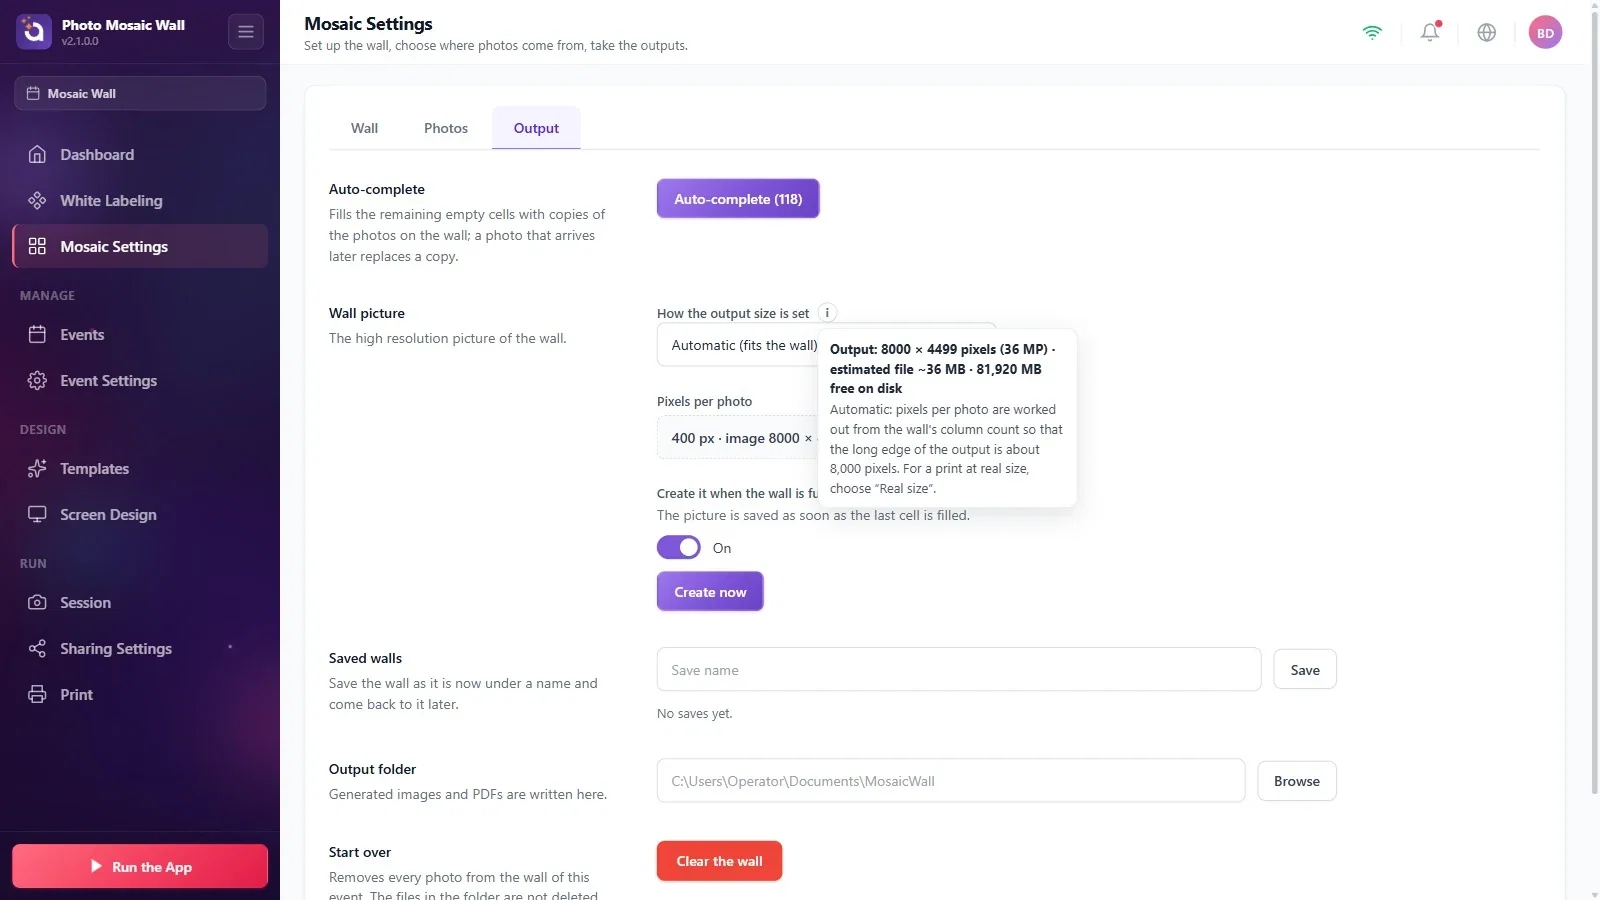
The How the output size is set list has three options: Automatic (fits the wall) works out the pixels per photo from the number of columns so that the long side of the picture is about 8,000 pixels; Pixels per photo lets you enter how many pixels each photo will be; Real size (metres + DPI) works it out from the real print width and the resolution.
The (i) icon next to it shows the pixel size of the output, the estimated file size and the free space on the disk. In automatic mode, the Pixels per photo box shows the calculated value (400 pixels in the example, giving an 8000 × 4499 picture).
Step 3 · Real print size
Mosaic Settings → Output → Wall picture
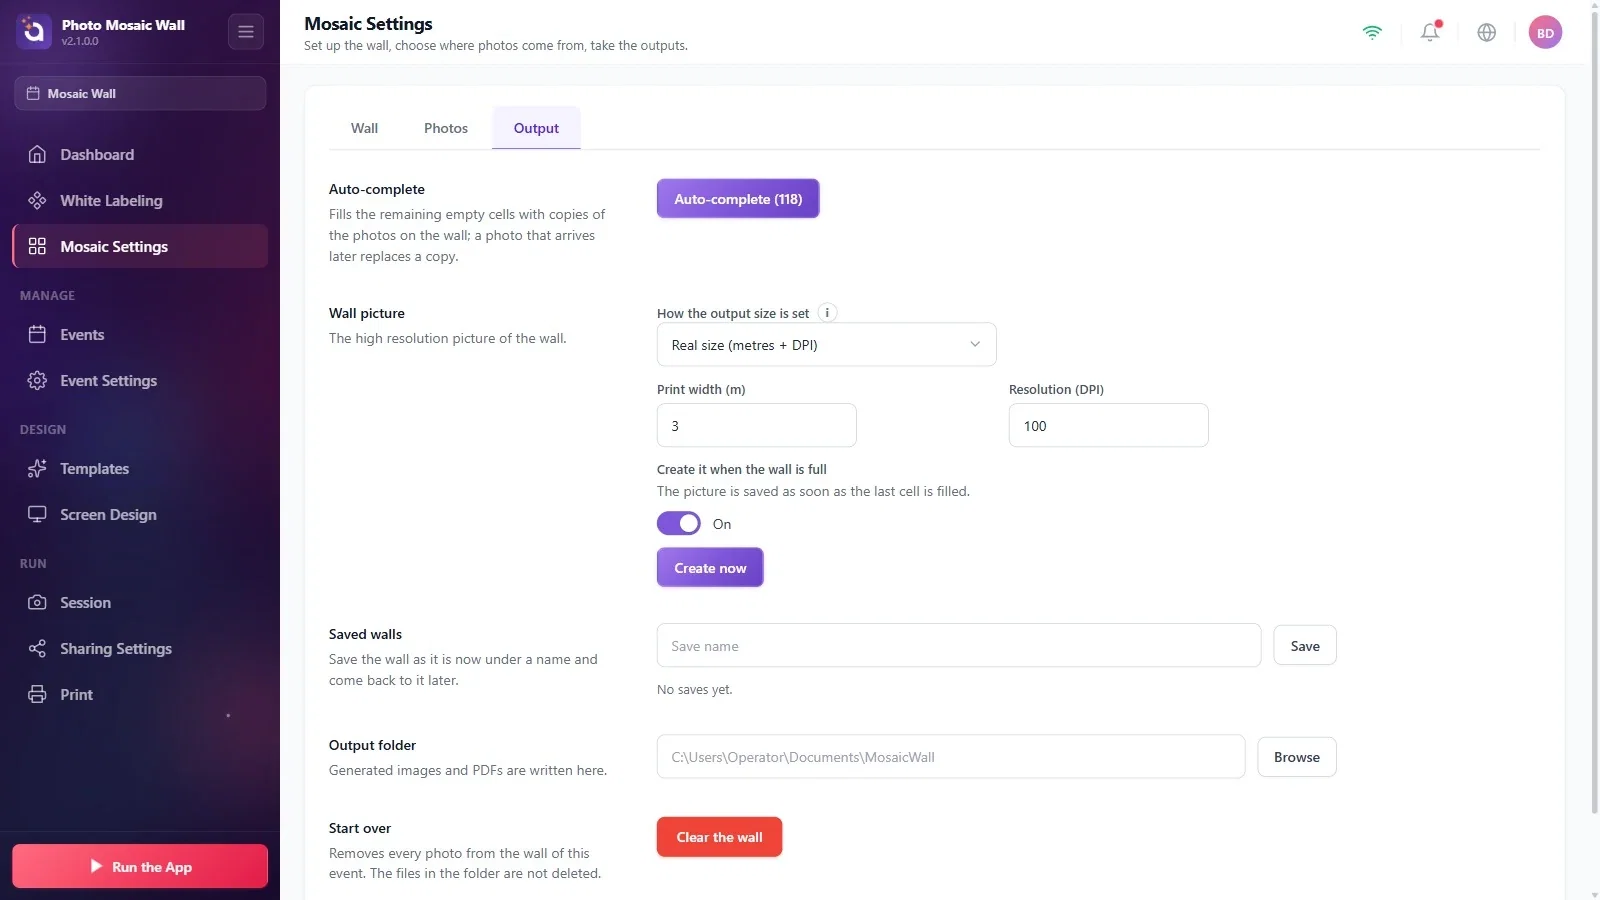
If the picture will be printed as a large banner or poster, choose Real size (metres + DPI): the Print width (m) and Resolution (DPI) boxes appear, and the picture is worked out from these two values.
Step 4 · Create the picture
Mosaic Settings → Output → Wall picture
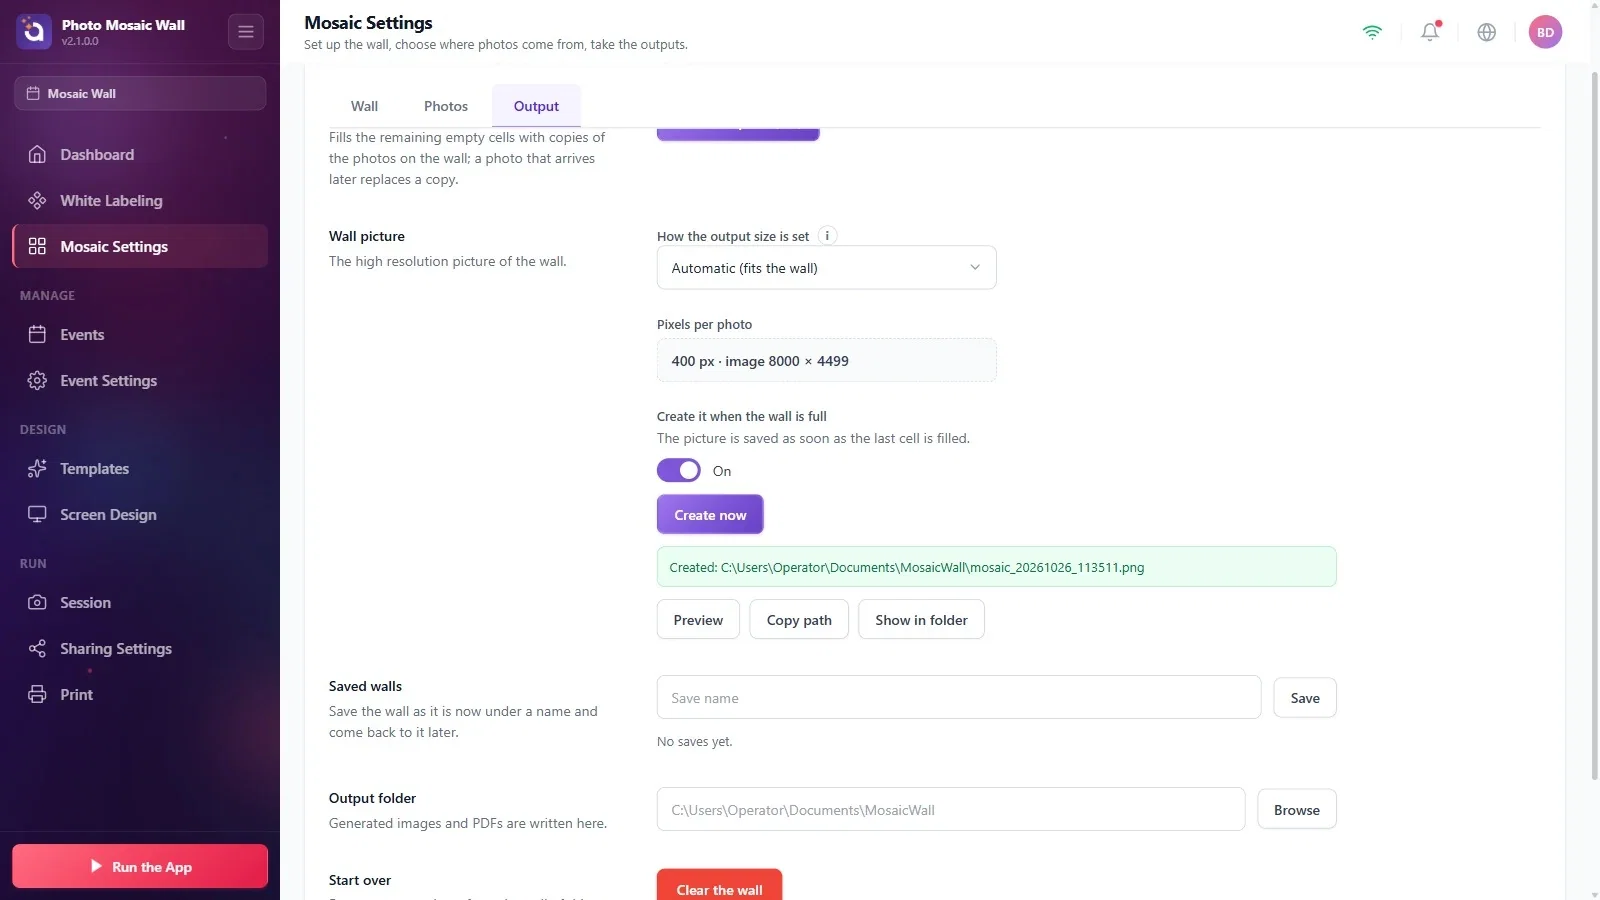
Create now creates the picture right away. A green note shows the full path of the file; with the Preview, Copy path and Show in folder buttons below it, you can open the picture in the app, copy its path or open its folder.
If Create it when the wall is full is on, the picture is saved automatically the moment the last cell fills; the same happens when auto-complete fills the wall.
Step 5 · Preview the picture
Mosaic Settings → Output → Preview
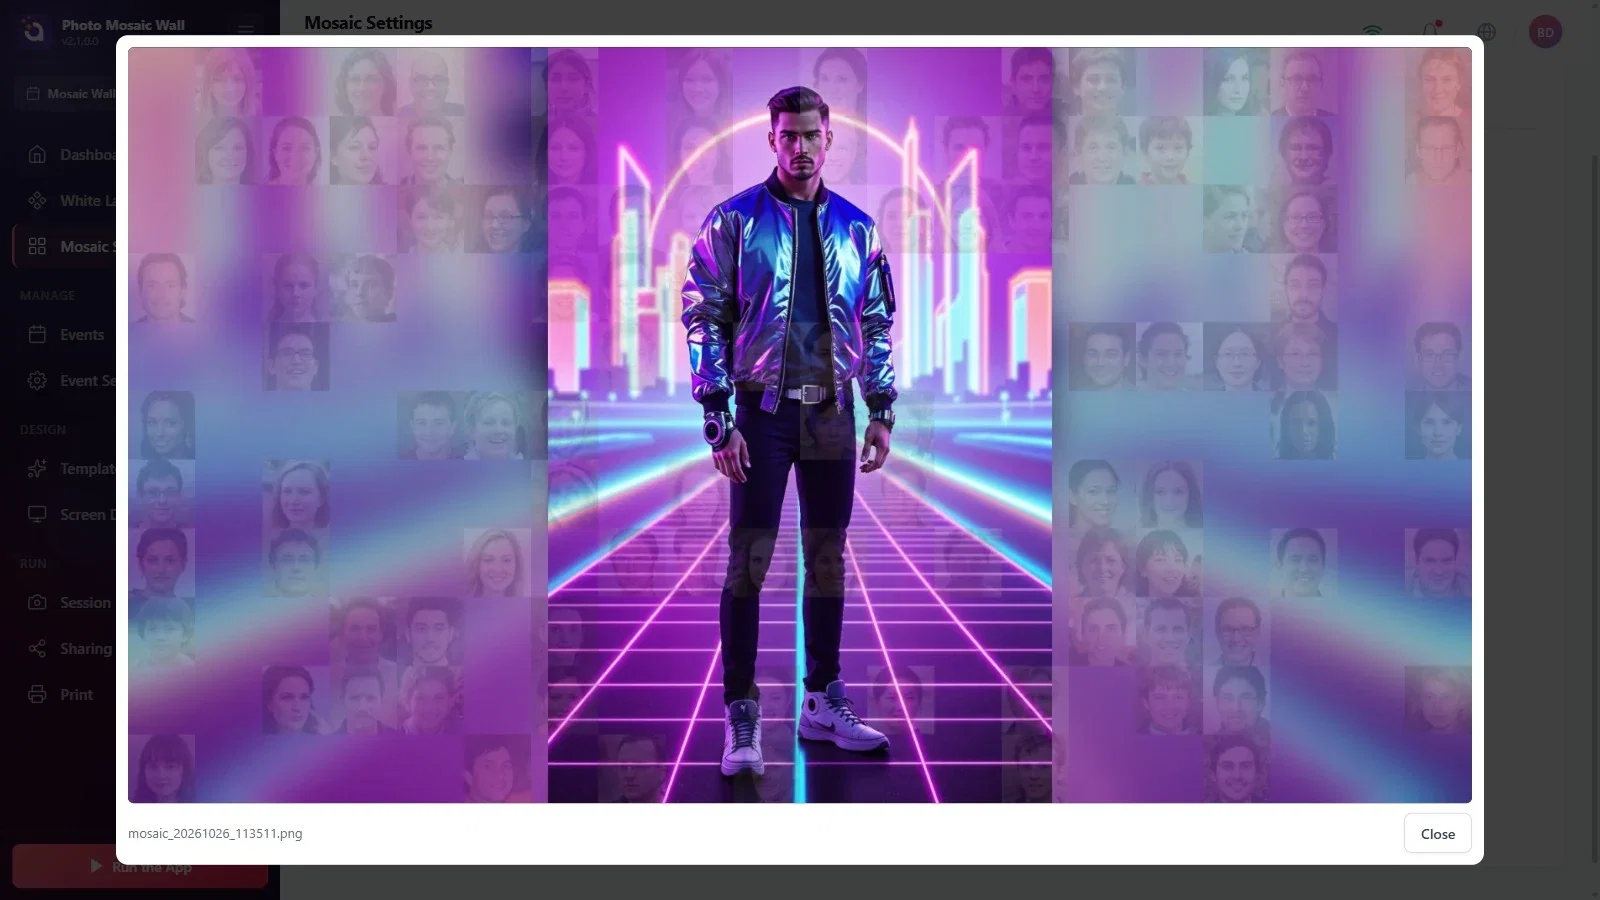
Preview opens the picture in a large window, with the file name and a Close button at the bottom. Files are written to the folder in the Output folder box (by default the MosaicWall folder under Documents); you can choose another folder with Browse.
At the end of the event, auto-complete first and then create the picture: the remaining fillable cells are filled; cells deliberately excluded from filling remain without photos.
Picture files are large (~36 MB in the example); make sure there is space on the disk that holds the output folder, and if needed choose another drive with Browse.
Creating the picture before the wall is full and taking it as the final result: Create now saves the wall as it is at that moment.
Not finding the output folder: after creating the picture, Show in folder in the green note opens the folder directly.
