













This article follows one guest from the welcome screen to the moment the robot starts to draw. It shows which screens always appear, which ones depend on your settings, what the guest has to press, and how long each screen waits.
- The guest taps the welcome screen.
- Optional screens come next: disclaimer, survey, and the AI effect selection.
- Countdown, photo, then SHOOT AGAIN or CONTINUE.
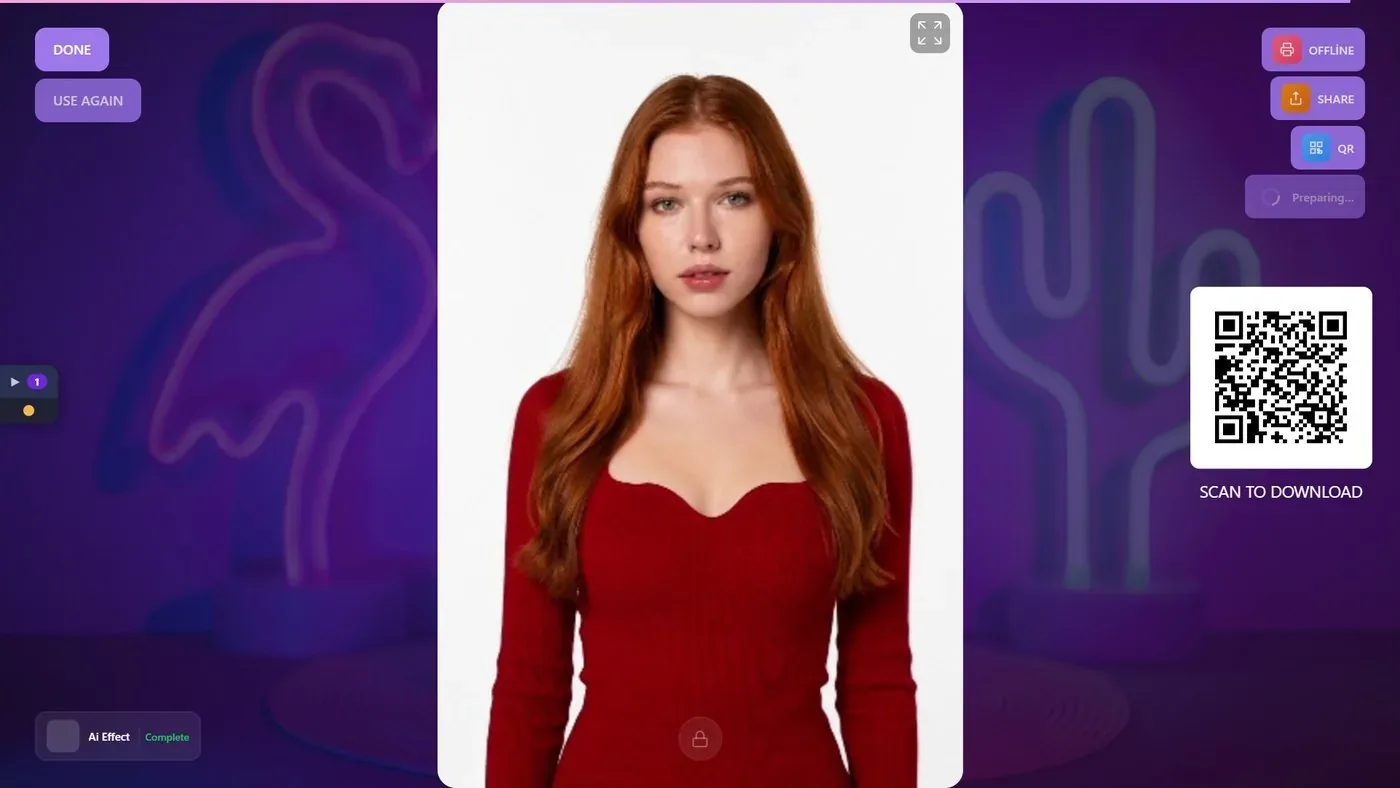
- The sharing screen shows the photo and the QR code, and a Preparing… button while the drawing is made ready.
- Preparing… turns into Start Drawing. The guest presses it, or the drawing starts by itself if you turned on auto-start.
- The robot draws; the guest presses DONE and the screen goes back to welcome for the next guest.
The steps at a glance
You open the guest screen with Run the App → Start the Drawing Robot. It always starts on the welcome screen, full screen.
| Step | Screen | Appears when |
|---|---|---|
| 1 | Welcome | Always. |
| 2 | Disclaimer | Session → Disclaimer is on (default off). |
| 3 | Survey | Session → Survey → Enable Survey is on with At Start Screen (a new event starts this way, with one field Name). |
| 4 | AI effect selection | Drawing Robot → AI effect step is On and the event has effects in AI Assets. |
| 5 | Capture | Always. |
| 6 | Sharing | Always. The drawing is prepared and started here. |
If you use Session → Payments, a payment screen is added at the moment you chose there. There is no template selection.
Step by step
Step 1 · Welcome
Guest screen → Welcome
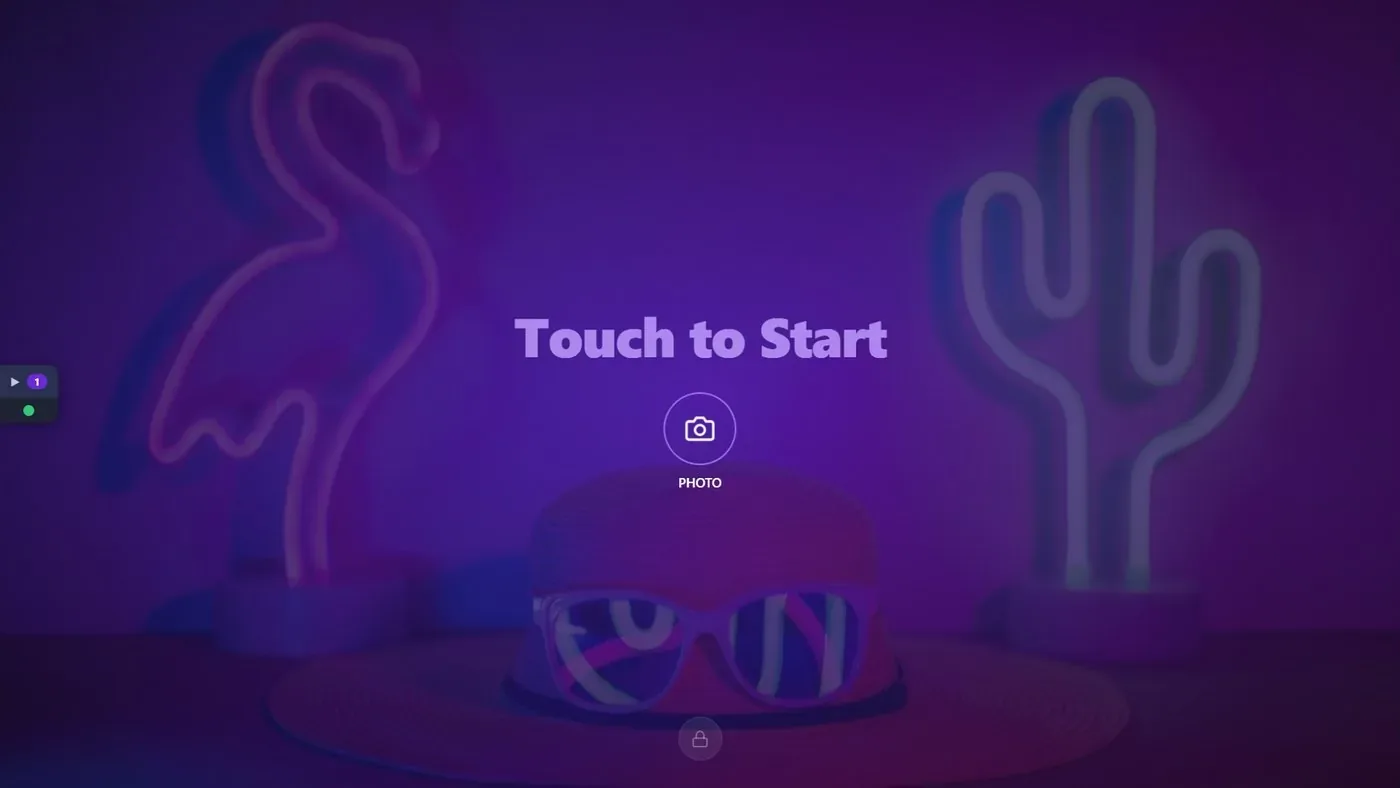
The guest sees your background, the text Touch to Start and a PHOTO button. A tap anywhere starts the session (Event Settings → Kiosk → Touch to Start, default on); the PHOTO button does the same. The operator's lock icon and the thin Robots strip also sit on this screen.
Step 2 · Disclaimer and survey (optional)
Session → Disclaimer · Session → Survey
With the disclaimer on, the guest reads your text and presses ACCEPT to go on; CANCEL returns to the welcome screen.
With the survey on at the start, the guest fills in your form, by default a single Name field. If Write the guest's name on the paper is on, the first answer given here is what the robot writes. With When to Show Survey on At Sharing Screen, the form appears after the photo instead, and the name is not written.
Step 3 · AI effect selection (optional)
Guest screen → Select a AI Effect
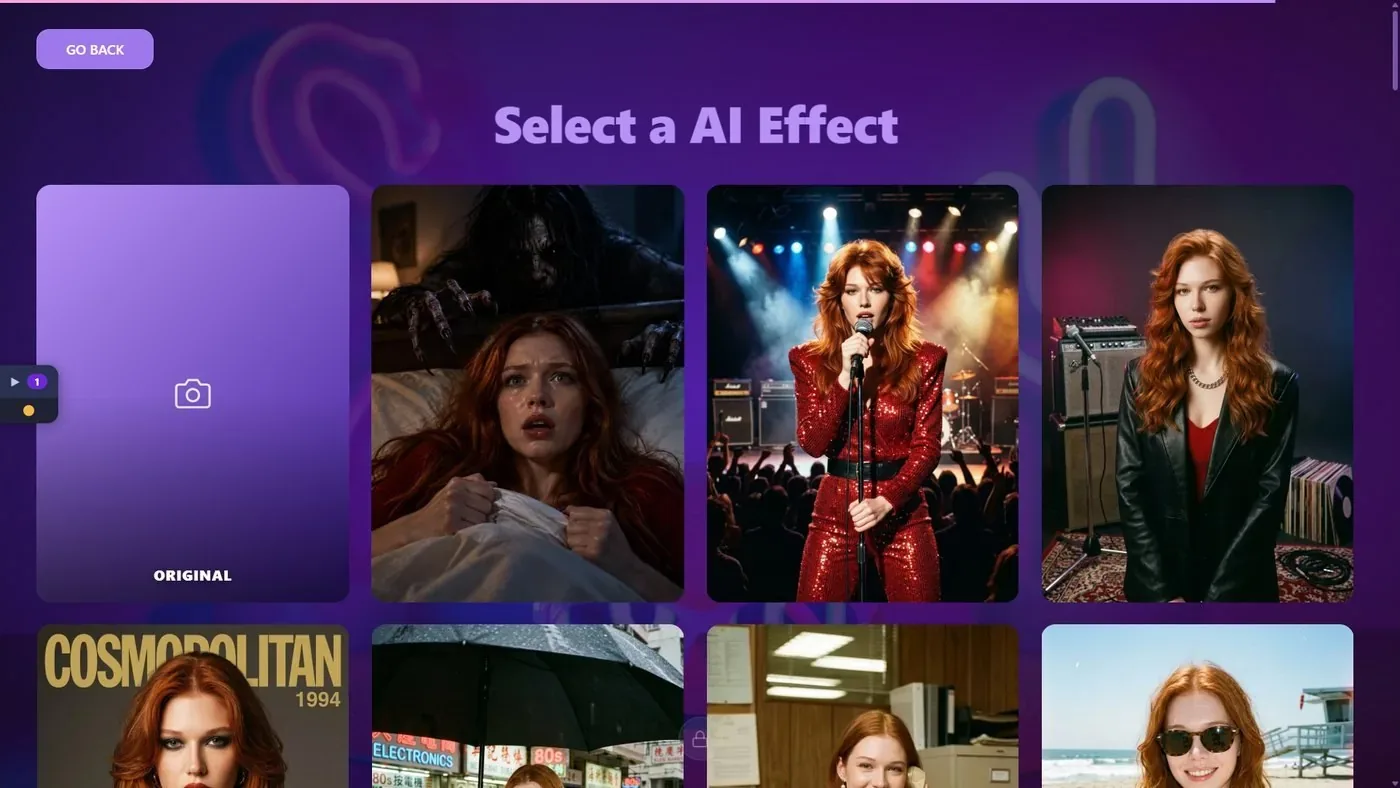
When AI effect step is On and the event has active effects, the guest sees the effects as cards and taps one. GO BACK leaves the screen. The photo taken in the next step is restyled with the chosen effect, and that restyled picture is what gets turned into the drawing.
What changes this screen:
- No effects in AI Assets → AI Effects → Active AI Effects: the screen is skipped.
- Surprise Effect on: the screen is skipped and a random effect is applied.
- "Original" option on: an Original card is added; a guest who picks it continues with the plain photo.
- An effect that asks the guest a question shows a short form right after the selection.
Step 4 · Capture
Guest screen → Capture
A countdown runs (5 seconds by default, Session → Main → Countdown Timer (Sec.)), and the photo is taken. The guest then sees the photo with SHOOT AGAIN and CONTINUE. If nobody presses anything, the session continues by itself after 30 seconds (Auto Confirm). With Auto Approve Captures on, the review is skipped altogether.
Step 5 · Sharing screen: the drawing is prepared
Guest screen → Sharing
The guest stays on this screen for the rest of the session. What happens on it, in order:
- Processing your photo... while the photo is put into the layout and, if the guest chose an effect, while the effect is made.
- The result photo appears with the QR code, the SHARE button, DONE and USE AGAIN. A PRINT button appears only if you added a photo printer.
- The photo is uploaded; then a greyed-out Preparing… button with a spinner appears. Behind it the app turns the photo into line art and works out the pen strokes. This is the longest wait of the session and it needs internet.
- Preparing… turns into Start Drawing.
- The extras arrive next to the photo: the drawing image and the drawing video, if they are on. With Play drawing video full screen on, the video plays once, without sound, over the whole screen; a tap closes it.
If the chosen AI effect cannot be made, the session does not stop: it continues with the original photo, and the drawing is made from that.
Step 6 · Starting the drawing
Guest screen → Sharing → Start Drawing
- Auto-start drawing when ready Off (default): the guest, or you, presses Start Drawing. The button shows a spinner for 3 seconds and the drawing goes to the robot.
- Auto-start drawing when ready On: the drawing goes to the robot by itself the moment it is prepared.
Either way a robot must be Ready. If none is, the drawing waits in line, and nothing on the guest screen says so; it starts as soon as you press Ready. Start Drawing stays visible afterwards, and each press sends the same drawing to the robot once more.
Step 7 · While the robot draws
The guest screen does not change while the robot draws: there is no progress page and no "finished" message. Progress is in the Robots panel: tap the Robots strip to see a progress bar with a percentage, an eye icon that opens a preview of the lines, and a red Cancel button. Details: How Do I Use the Robots Panel During an Event? article.
The guest presses DONE to end the session, and the welcome screen comes back for the next guest. The robot keeps drawing after the session has ended. When it finishes, it goes to Awaiting paper: hand over the drawing, put in new paper and press Ready.
How long each screen waits
| What | Time | Where you change it |
|---|---|---|
| Countdown before the photo | 5 s | Session → Main → Countdown Timer (Sec.) |
| Photo review continues by itself | 30 s, or Off | Session → Main → Auto Confirm |
| Session ends after no touch, back to welcome | 300 s | Event Settings → Kiosk → Session Timeout |
| Waiting for the photo upload | up to 180 s; 20 s with no internet | fixed |
| Waiting for the line art | up to 300 s | fixed |
A bar at the top of the sharing screen shows the session timeout running down.
Messages the guest may see
These appear on the sharing screen, only while the same guest's session is still open.
| Message | What it means | What to do |
|---|---|---|
| Photo upload incomplete | The photo could not be uploaded, so the drawing was not started. | Check the internet connection and take the photo again. |
| Drawing could not be created | The AI refused this photo. | Take a new photo. |
| Drawing could not be prepared | Something else went wrong during the preparation. | Take a new photo; check the internet connection. |
Expecting the screen to tell the guest that the robot is drawing or has finished: it does not. Tell guests where to wait, and watch the Robots panel.
Forgetting to press Ready after changing the paper: the next drawing waits, and the guest sees nothing wrong on the screen.
Pressing Start Drawing several times because the robot does not move at once: every press queues the same drawing again.
