













Step 1 · Open Texts tab
Screens → Texts
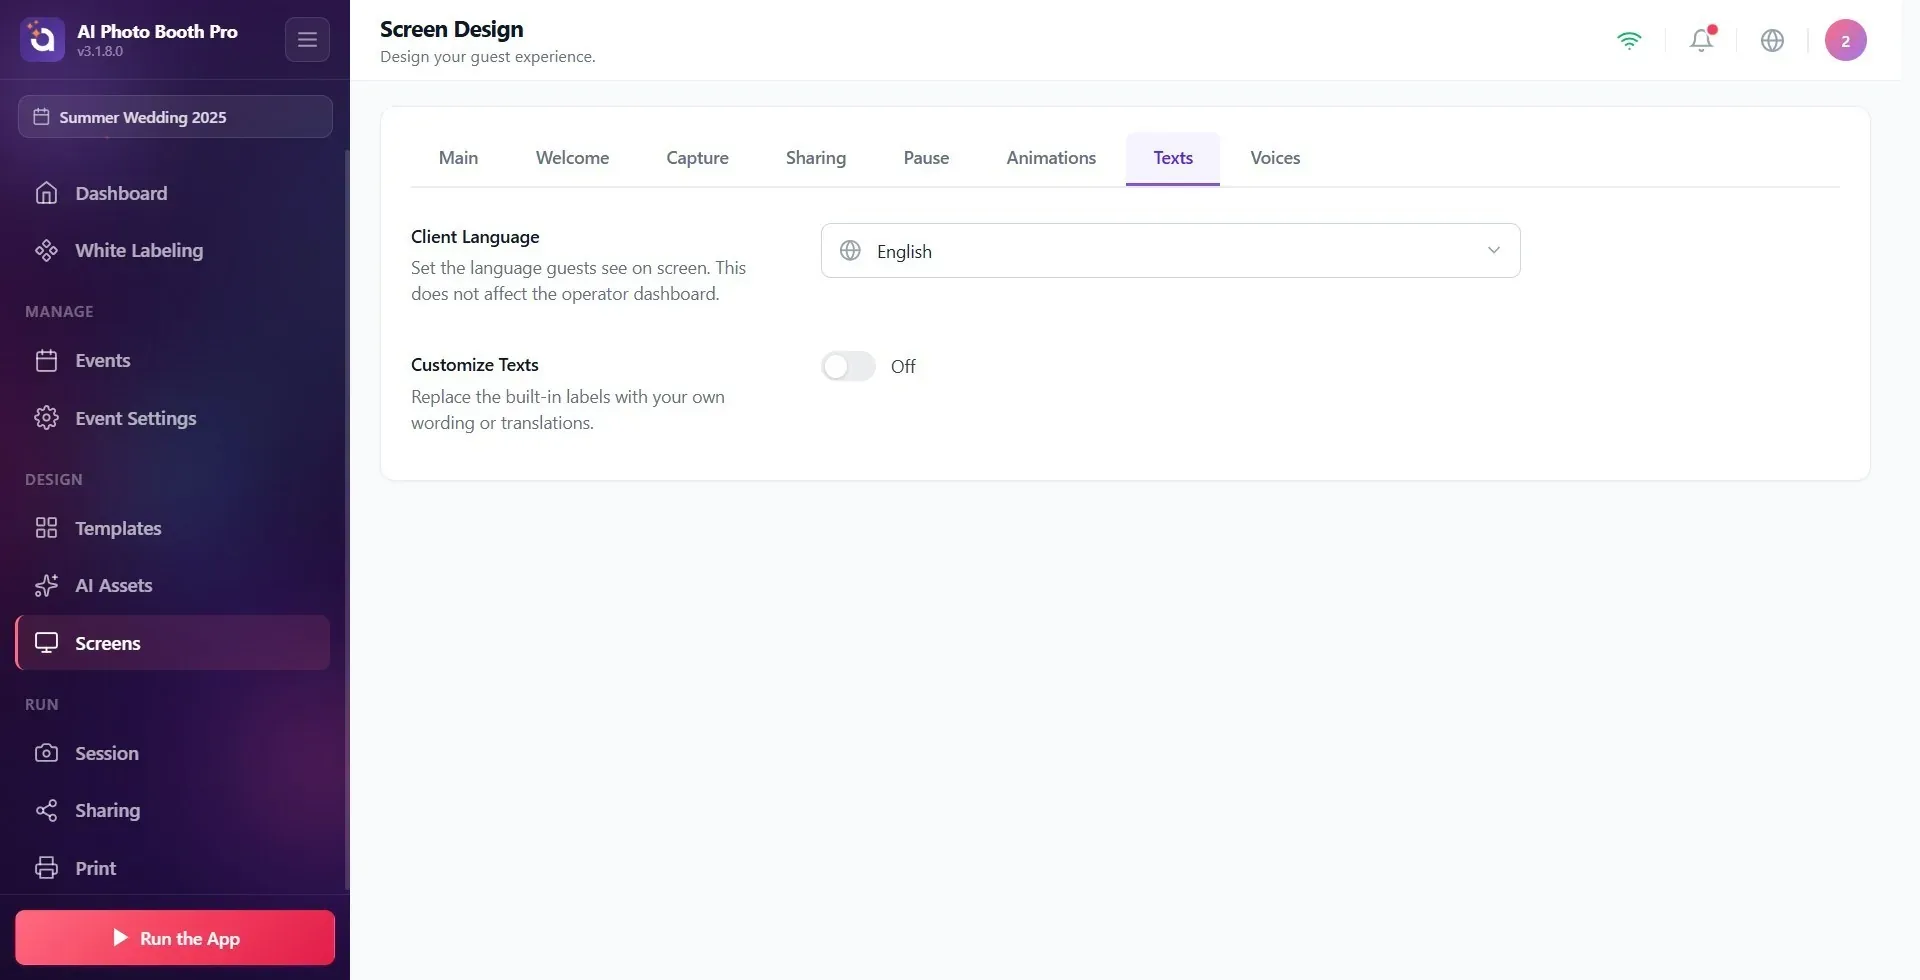
Make sure an event is selected (texts are saved specifically for the event; if the event is not selected, changes will not be saved). Open the 'Screen Design' (Displays) page in Settings and switch to the 'Texts' tab from the tab strip at the top. The tab is located at the end of the ribbon, between 'Animations' and 'Sounds'.
🔎 Items on the screen: Top tab strip: General, Welcome, Capture, Sharing, Pause, Animations, Texts, Voices.
Step 2 · Select guest language (Client Language)
Screens → Texts
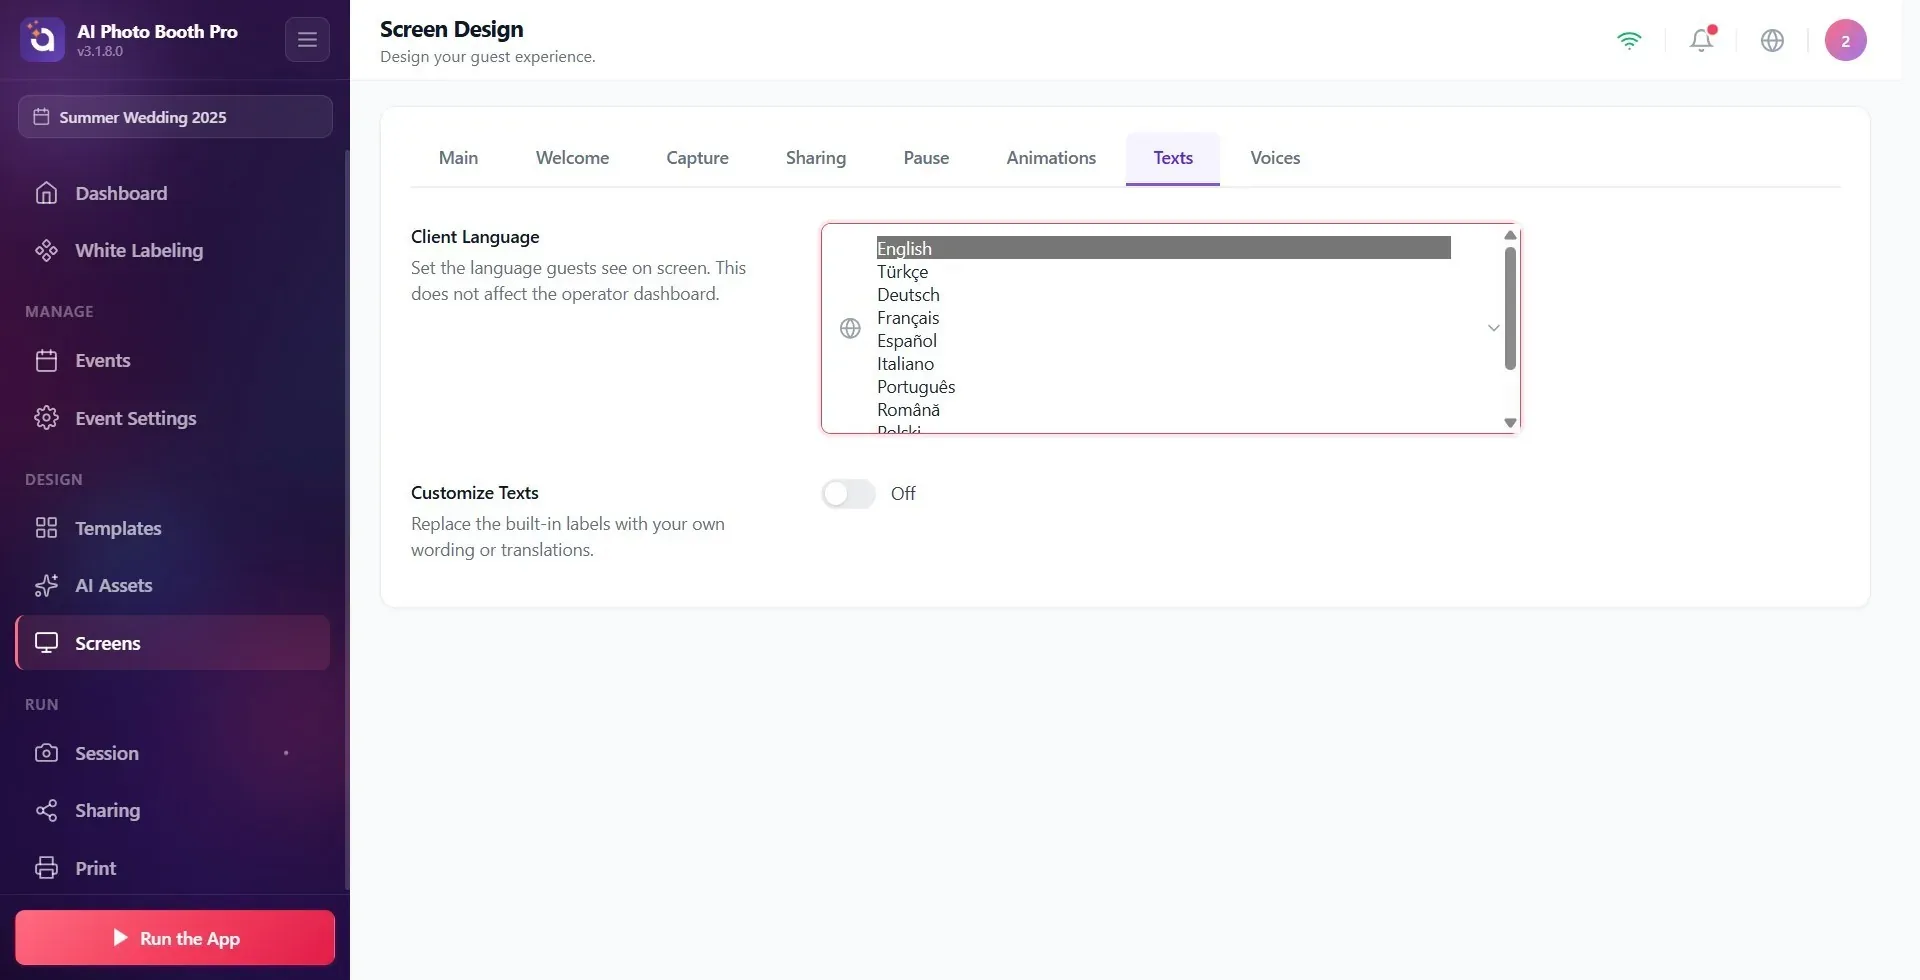
Select the language guests will see on the booth screen from the Client Language drop-down menu at the top. This setting determines the language of both built-in default text and pale gray placeholder text in fields. As stated in the description, this selection only affects the guest screen and does not change the operator panel (Settings interface). IMPORTANT: Choose the language BEFORE entering your custom text — changing the language later will overwrite any custom text with the new language defaults.
🔎 On-screen elements: Client Language title + description 'Set the language that guests see on the screen. This does not affect the operator panel.'; drop-down menu with globe icon — 11 options: English, Turkish, Deutsch, Français, Español, Italiano, Português, Română, Polski, Русский, Čeština.
Step 3 · Turn on Customize Texts key
Screens → Texts
🔎 Items on screen: Customize Texts title + description 'Replace built-in labels with your own expressions or translations.'; on/off switch (default off).
Step 4 · Edit a text field (working logic)
Screens → Texts
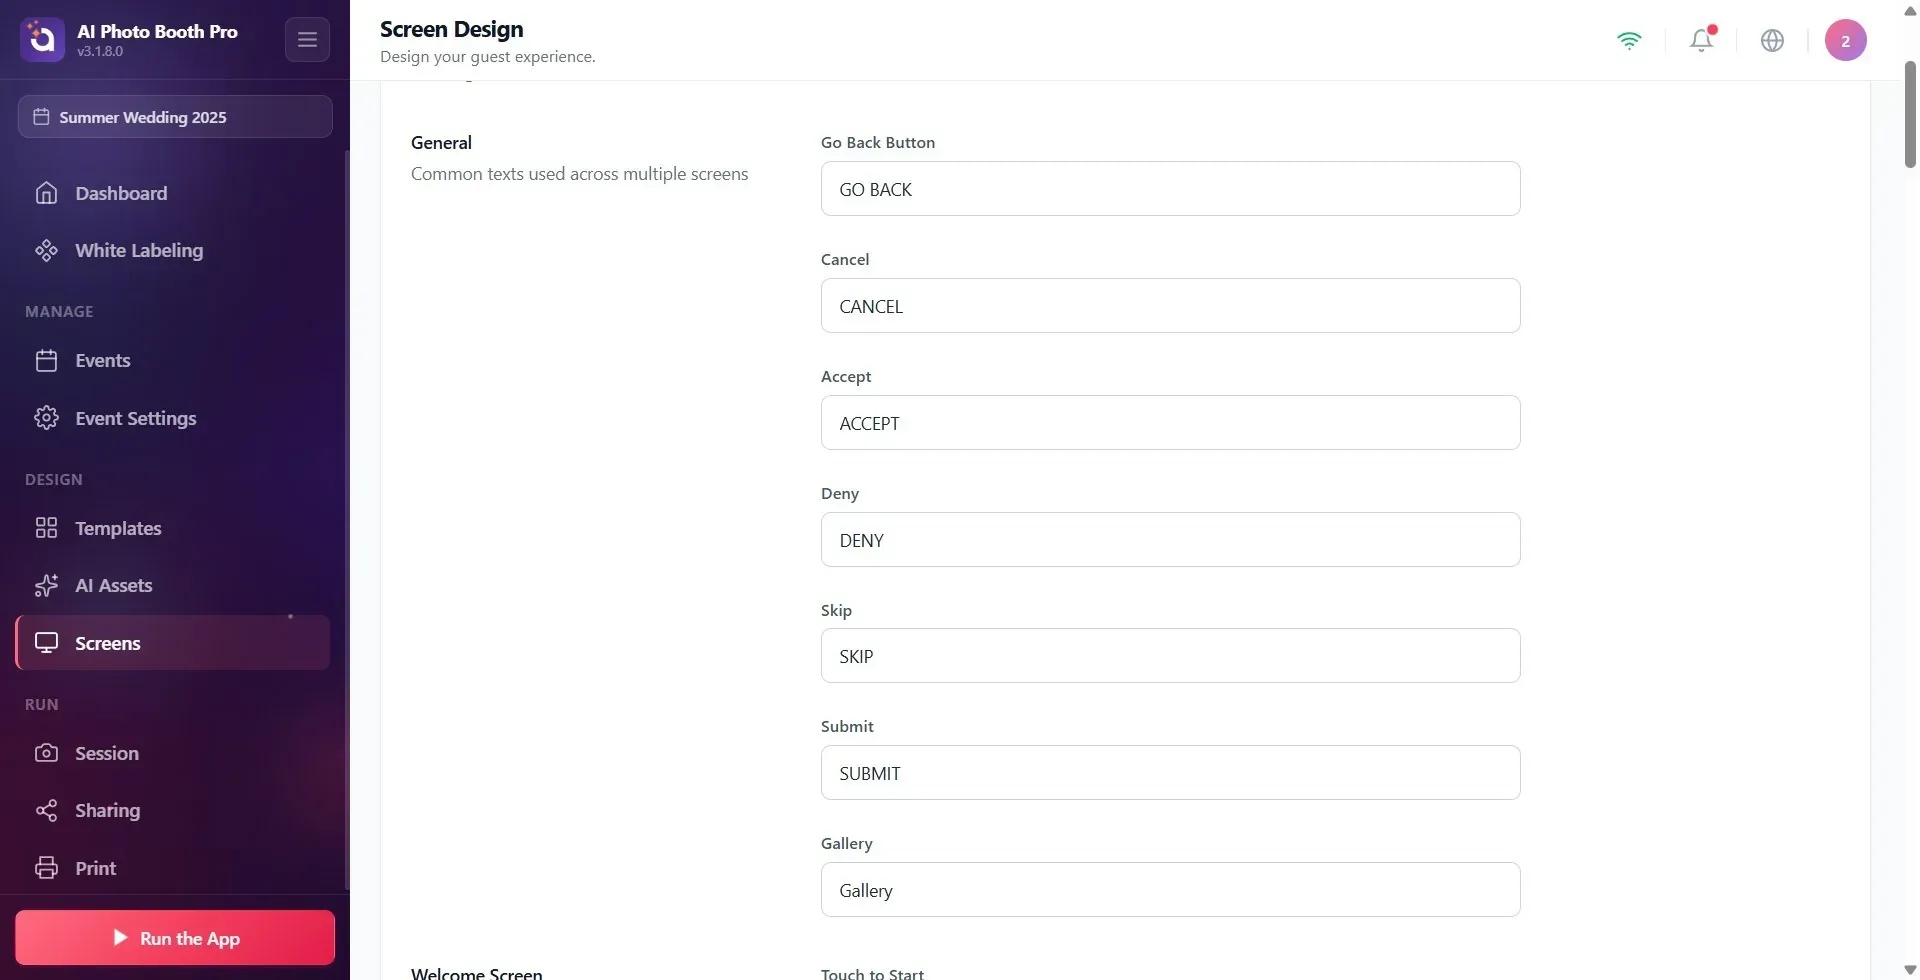
Each setting consists of a label at the top and a text box below it. The pale gray text in the box (placeholder) is the built-in default in the selected language. As soon as you type your own text, that field shows your text in the booth. Changes are saved automatically (~0.5 s after you stop typing) — there is no separate Save button. Most fields return to the default text when left empty. Exceptions: if Touch to Start is empty, no text appears on the screen; if Badge text is empty, only the icon appears. The fields have no character limit; keeping short button texts concise is recommended.
🔎 Elements on the screen: Label (form-label) + single line text box (form-input); pale gray placeholder = default text; automatic recording (500 ms debounce).
Step 5 · Edit general texts
Screens → Texts
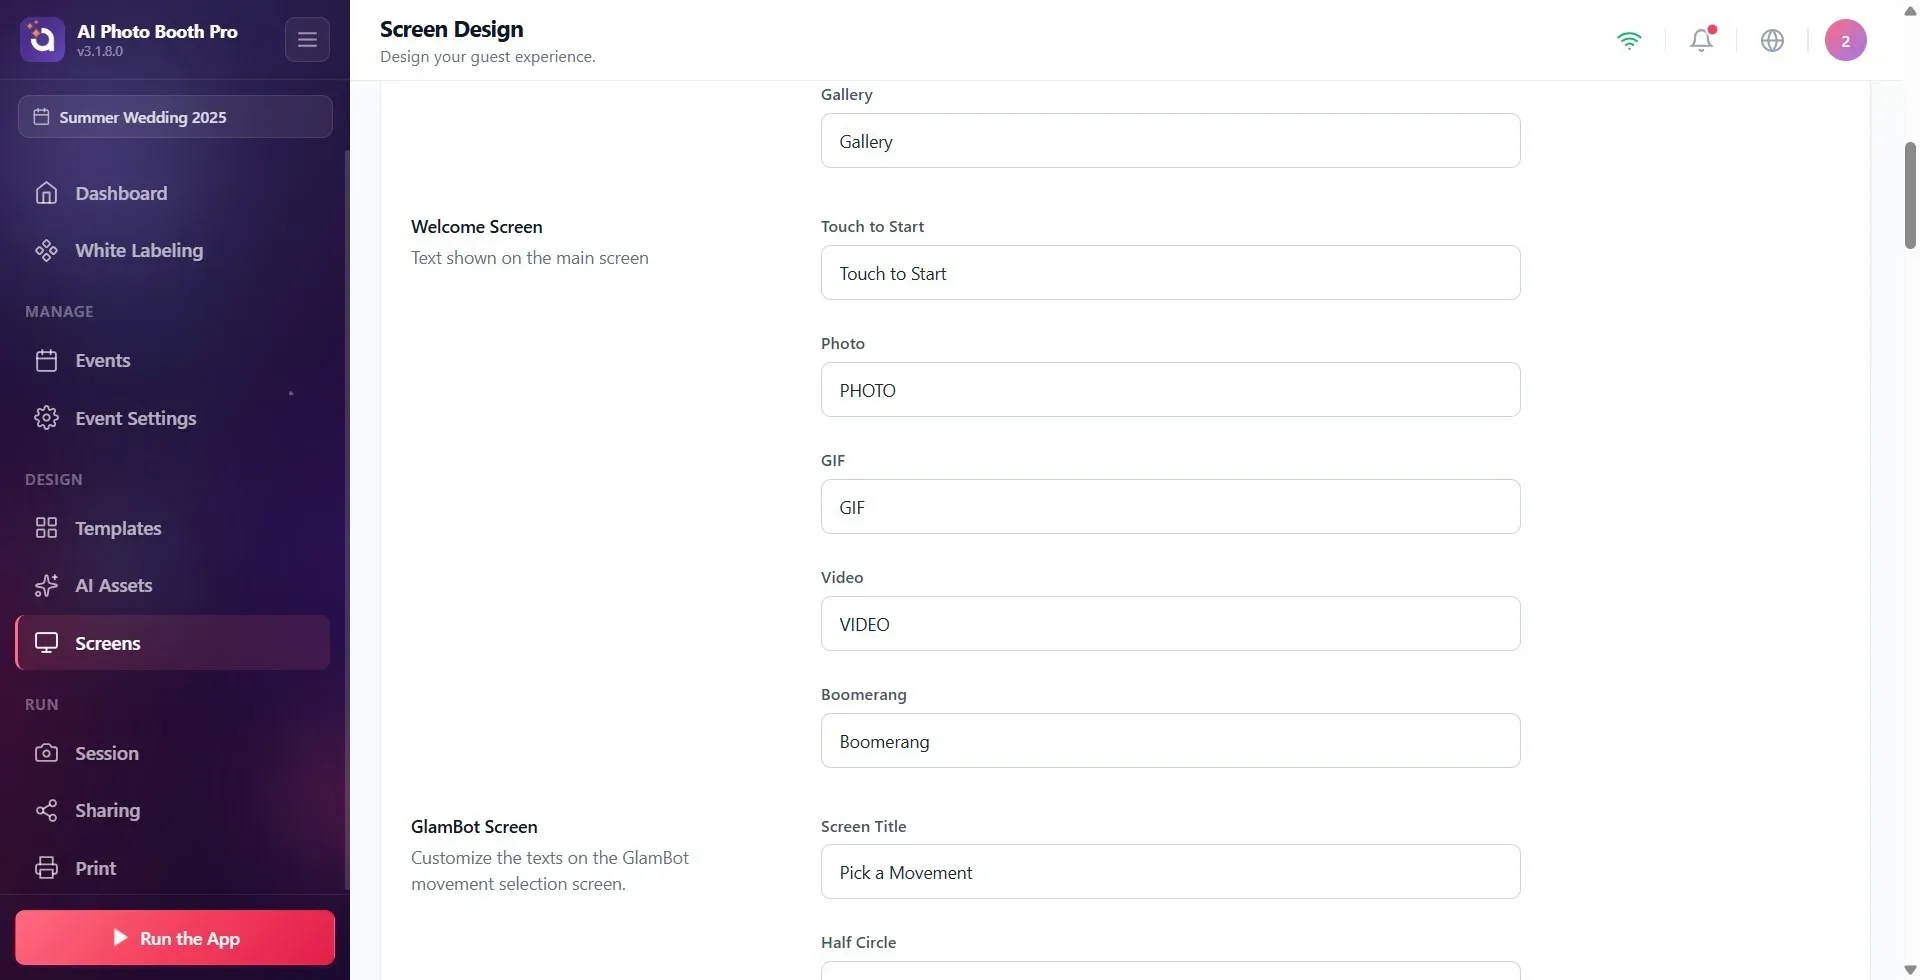
The General section (description: Common texts used across multiple screens) contains common buttons that repeat on many screens. Edit the following fields: Go Back Button (default RETURN), Cancel (CANCEL), Accept (ACCEPT), Deny (REJECT), Skip (SKIP), Submit (SEND), Gallery (Gallery).
🔎 Elements on the screen: General chapter title; 7 text boxes: Return Button, Cancel, Accept, Reject, Skip, Send, Gallery.
Step 6 · Edit Screen Share texts
Screens → Texts
🔎 Elements on the screen: Sharing Screen section title; 18 text boxes (Print, Printing, Email, SMS, WhatsApp, QR, Done, Use Again, Draw Button, Drawing · Cancel, Drawing · Save, Phone Number Title, Scan to Download, Offline, Limit Exceeded, Native Share, Save to device, Send).
Step 7 · Edit Payment Screen texts
Screens → Texts
The Payment Screen section (description: Customize payment page texts) contains the text on the payment selection screen when using the paid booth. Fields: Payment Title (default Choose Your Entertainment), Payment Subtitle (Choose Your Experience), Pay Button Prefix (Let's Go – Pay), Free Proceed Button (Let's Go).
🔎 Elements on the screen: Payment Screen chapter title; 4 text boxes: Checkout Header, Checkout Subheader, Checkout Button Prefix, Free Pass Button.
Step 8 · Edit Payment QR Screen texts
Screens → Texts
The Payment QR Screen section (description: Customize payment QR page texts) contains the text on the screen showing the QR for the guest to pay by phone. Fields: QR Page Title (default Almost done!), QR Page Subtitle (Complete your payment to continue), QR Instruction (Scan QR code to complete payment).
🔎 Elements on the screen: Payment QR Screen chapter title; 3 text boxes: QR Page Title, QR Page Subtitle, QR Instruction.
Step 9 · Edit Payment Success Screen texts
Screens → Texts
The Payment Success Screen section (description: Customize payment success page texts) contains the texts displayed after payment confirmation. Fields: Success Title (default Everything is ready!), Success Subtitle (Payment successful! Let's make memories), Success Instruction (Your session will start shortly.).
🔎 Elements on the screen: Payment Success Screen chapter title; 3 text boxes: Achievement Title, Achievement Sub-Title, Achievement Instruction.
No Internet badge text (3.10.0 and later)
Screens → Texts → No Internet Badge
The Badge text field is the text of the badge that appears in the top-right corner of the guest screen while there is no internet. Its description: 'Text of the badge shown in the top-right corner while the device has no internet connection. Leave it empty to show only the icon.' The badge itself is turned on and off with the No Internet Badge switch in the General tab.
Step 10 · Edit Payment Page (option) texts
Screens → Texts
The Payment Page section (description: Texts for payment page) contains titles and descriptions of digital download and print options. Fields: Digital Download Title (Digital Download by default), Digital Download Description (Go digital: instant download (no print)), Print Title (Print), Print Description (Take home: photo print).
🔎 Elements on the screen: Payment Page chapter title; 4 text boxes: Digital Download Title, Digital Download Description, Print Title, Print Description.
Changes are automatically saved (~0.5 sec after you stop typing) — there is no separate Save button.
The pale gray text in the box (placeholder) is that field's built-in default; when you type your own text, it replaces it. If you empty most fields, the booth shows the default again (Touch to Start and Badge text stay empty).
Texts are activity specific: each activity keeps its own texts, any changes you make to one activity do not affect the other. An event must be selected for the change to be saved.
Client Language affects only the guest display (booth); It does not change the language of the operator/settings interface.
11 languages supported: English, Turkish, Deutsch, Français, Español, Italiano, Português, Română, Polski, Русский, Čeština.
While Customize Texts is off, the editing sections are not visible; custom texts you wrote earlier still apply in the booth.
In 3.7.0 and later the Sharing Screen section no longer has the Rendering, Complete and View Media fields; the label of the QR text field is Scan to Download (in older versions it read Screens).
IMPORTANT: Changing Client LanguageAFTER you enter custom texts — changing the language OVERWRITES any custom text you enter with the new language defaults (removing your work). First choose the language, then customize the texts.
Writing text or turning on the switch when the event is not selected: changes are not saved, only the defaults appear. First create/select an event.
Forgetting to turn on the Customize Texts switch: the editing sections are not visible. Turning the switch off does not undo the texts you wrote; to return to the default, empty the field.
Thinking that clearing a field and leaving it empty will show 'empty' text in the booth: in most fields an empty field returns to the default (exceptions: Touch to Start and Badge text).
Mistaking Client Language for application/operator language: affects only the guest screen, does not change the Settings interface.
Thinking that it will disappear when you write the text and immediately leave the tab: automatic recording (500 ms) and the pending recording is preserved when the tab is changed; Still, it's safe to wait a second.
Related topics
Voices Screen Design
