
A template is the layout your guests' photos are placed into — the frame, slots, background, logo and QR. This is where you build and manage them in a full drag-and-drop canvas editor.
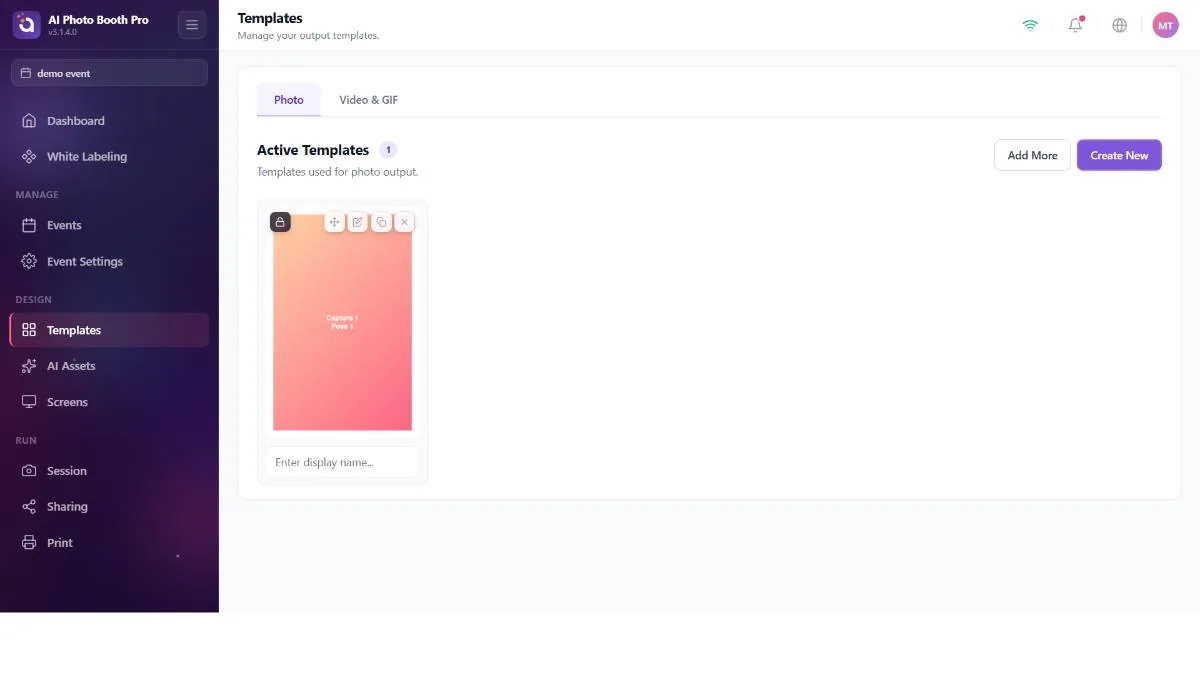
The gallery
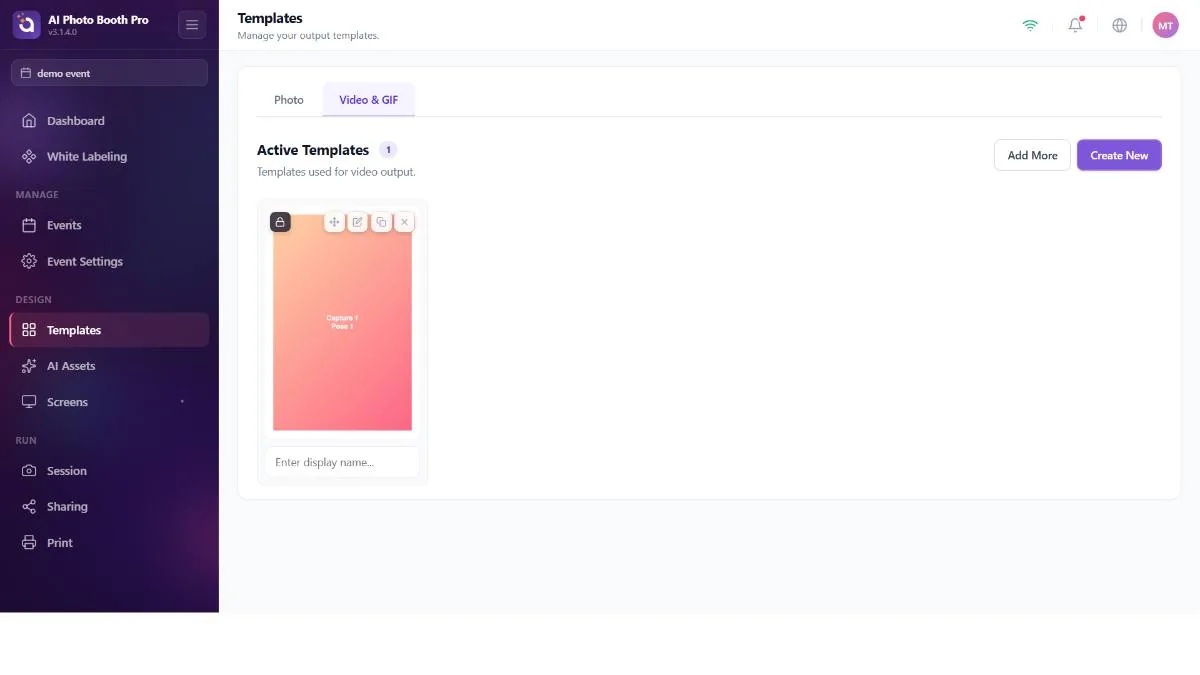
Two tabs — Photo and Video & Gif — each showing your active templates as a reorderable masonry. At the top: a count badge, Add More (opens the Browse Library modal) and Create New (opens the wizard).
Hover a card for its actions:
- Drag to reorder — the order here is the order guests see.
- Edit (or Clone & Edit if the template is locked/library — it shows a "Locked" badge).
- Duplicate — a deep copy you can vary.
- Remove — two kinds: "remove from event" (it stays in your library) and full deletion.
Removing a template from the event leaves it in your library to reuse later; deleting destroys it. The two are presented as separate confirmations — read which one you're in.
Add More opens a library of ready-made and default templates, added by multi-select. Templates already in your event show an "Added" badge, so you don't duplicate them.
Creating a template (the wizard)
Create New opens a four-step modal, then drops you into the editor.
- Type — Photo or Video-Gif.
- Size — a print size (4×6, 6×4, 5×7, 7×5, A4), a digital size (Square, Story, Landscape) or a custom width×height.
- Layout — how many photo slots and how they're arranged (single, side by side, grids up to 8), with small previews.
- Style — a starting theme (None, Fun, Wedding, Neon, Pastel, Holiday, Corporate, Retro) plus QR and Logo toggles. Then Create to enter the editor.
The wizard builds a signature from your choices (type × size × layout × modes × theme × QR × logo). If you run the wizard again with the same choices and haven't edited the previous result, it reuses that untouched template instead of piling up copies. To make a variation of a template, open it and use Duplicate — don't re-run the wizard.
The template editor (canvas)
/templateeditorA layer-based design surface. You arrange photo slots and decorations on the canvas exactly as they'll be printed or shown.
Tools: select and multi-select, copy/paste, group/ungroup, undo/redo (up to 50 steps), zoom, grid, a layers panel, a properties panel, background color (solid/gradient) and rename. Use the Add Layer menu to add a new layer (the available types depend on the template type).
Layer types — what each one does
Six of the layers are "capture slots" — the guest's live photo flows into these slots (a gradient placeholder appears on the canvas and fills in on capture). A single Type menu in the properties panel lets you switch a slot among these six:
- Capture — a plain guest-photo slot (the live capture enters as-is). Every normal photo/strip template needs at least one.
- Face Swap — a slot filled with an AI face-swap result (the guest's face over a target image).
- AI Effect — a slot filled after an AI effect is applied to the guest photo.
- AI Video — a slot for an AI-generated video clip; an extra AI Content selector chooses the source (Photo / AIEffect / FaceSwap).
- AI BG Removal — a guest photo with the background automatically removed (transparent); for overlaying onto a designed background.
- Green Screen — a photo with the background removed via chroma-key; it takes a Color + Threshold (for a physical green screen).
The remaining layers are the fixed parts of the design:
- Image — a fixed graphic placed into the design (logo, frame, PNG overlay). It's printed on top of every photo — it is NOT the guest's photo (see the box below).
- Video — a fixed video clip embedded in the design (a looping background/decoration).
- QR Code — a QR code generated automatically from the guest's gallery/sharing link; foreground/background color adjustable.
- Text — a fixed text label (event name, date, hashtag); font, size, color, bold/italic, alignment.
- Shape — a vector shape (rectangle / circle / triangle / star / diamond / hexagon / arrow); fill, corner radius, border.
- Color — a solid color fill block/band.
- Lead Answer — dynamic text that writes the guest's survey answer (Answer 1–9) onto the print; its setup is covered under a separate heading below.
These are two separate things, in two separate places:
- Image layer — added with Add Layer → Image, its file chosen from the properties panel on the right, and it appears on top of every printed photo (logo, frame, overlay).
- Cover image — chosen from the "Cover Image" box at the bottom of the left Layers panel; it's only the thumbnail in the Templates list, and it never appears on the printed photo. If you don't set one, the system generates a cover automatically from the template design.
So if you're asking "why didn't the image I added become the list thumbnail": you added it as an Image layer (which prints onto the photo). If you only want to change the thumbnail, use the Cover Image box at the bottom — and vice versa: setting a Cover adds no graphic to the photo.
Layer properties (right panel)
Depending on the selected layer, the properties panel shows: Position and Size (X/Y/W/H, Lock Aspect Ratio, ratio preset, rotation 0–360°, opacity), Alignment (left/center/right/top/middle/bottom) and Shadow (blur + X/Y offset). Type-specific: for text/lead-answer, font/size/color/bold-italic/alignment; for a shape, shape+fill+corner+border; for QR, foreground/background color; for image/video, Fit (Contain/Cover/Stretch) + alignment + Clear Background (chroma-key) + key color; for capture slots, Pose (which frame of a multi-pose capture goes into this slot, 1–10), a Filter grid (None/B&W/Sepia/Vintage/Warm/Cool/Contrast/Fade/Invert) and, for green screen, color+threshold.
Every edit auto-saves (debounced), and leaving the editor generates a new cover thumbnail and saves once more. There's no explicit Save button. You can set the pose index per slot, the aspect ratio, filters, chroma-key and alignment. The QR shows a live preview of the real sharing link.
The editor needs a loaded template. Going to it directly (without opening a template first) sends you back to the gallery. If a font used in the template isn't available, a banner tells you.
The built-in default templates don't yet include both a portrait and a landscape variant of every type — if you need both orientations, create or duplicate one to fill the gap.
Lead Answer — printing survey answers onto the print
A Lead Answer layer writes the guest's survey answer (their name, email, whatever you want) directly onto the print — so every print is personalized. The critical point: matching is by order, not by name.
- Set up the survey: in the Session Settings → Survey tab, turn on Capture Leads and add your questions in the order you want (give each a Label). Field types: Name, Email, Phone, Text, Multiple, Options. E.g. field 1 = Name, field 2 = Email, field 3 = "Favorite drink".
- Open the template in the editor → Add Layer → Lead Answer.
- In the right panel, from the Lead Answer menu, pick the number that corresponds to the question's order: Answer 1 = the first survey question (i.e. Name). The menu also shows the label next to it to confirm (like "Answer 1 — Name").
- Format the text (font, size, color, alignment). Repeat for each answer you want to print.
Because matching is position-based, if you later reorder or delete survey questions, the answer each Lead Answer layer is bound to shifts too. If the number you picked exceeds the current question count, the panel shows a yellow "out of range" warning; if there's no survey at all, a blue "no fields" note.
2-inch cut (strip templates)
In the canvas properties (with no layer selected) there's an Enable 2-inch Cut switch. When on, red dashed cut guide lines (with scissors icons) appear on the canvas: the paper's ~6" edge isn't cut, and the other edge is divided into 2" strips (e.g. 6×8 → 3 strips). This marks the template as a strip template.
This switch in the editor only plans and shows the cut; the actual cutting is done by a printer capable of cutting. On Windows the printer must be calibrated once in Print Settings; otherwise the switch just shows the guide lines and no real cut happens (the editor gives a notice like "ready / calibration required / not supported"). Some printers (HiTi/Mitsubishi/Sinfonia style) only cut on 4×6/6×4 media; blade cutters (DNP/Citizen) cut at any size.
If you turn on the 2-inch cut on a normal (single-piece) photo, the photo gets cut into two/pieces. Only enable it on strip-layout templates.
