
Per-event configuration across five tabs: Main, Event Mode, Output, Camera and Kiosk. The app remembers the tab you used last and reopens there.
Main tab
?tab=main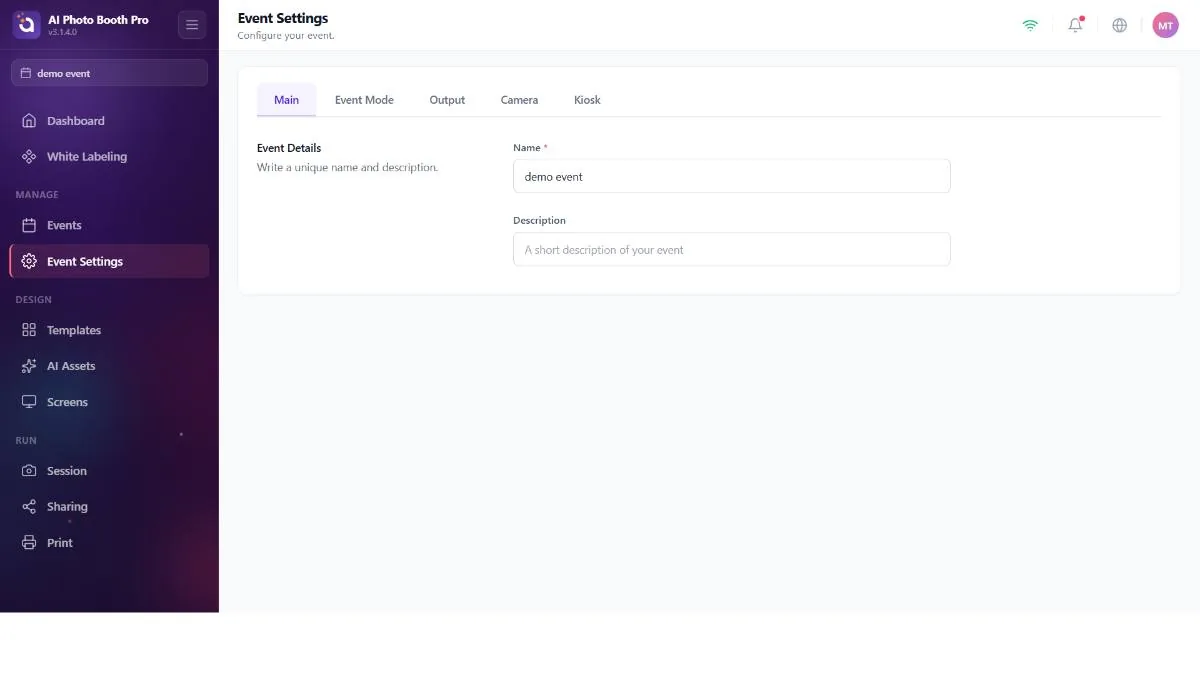
The event's identity — just two fields.
- Name (required) — the event's display name.
- Description (optional) — a subtitle or tagline.
Both fields auto-save about half a second after you stop typing. There's nothing to press.
An empty name shows a red border and an error; auto-save is skipped until you type something. The description can be left empty.
Event Mode tab
?tab=mode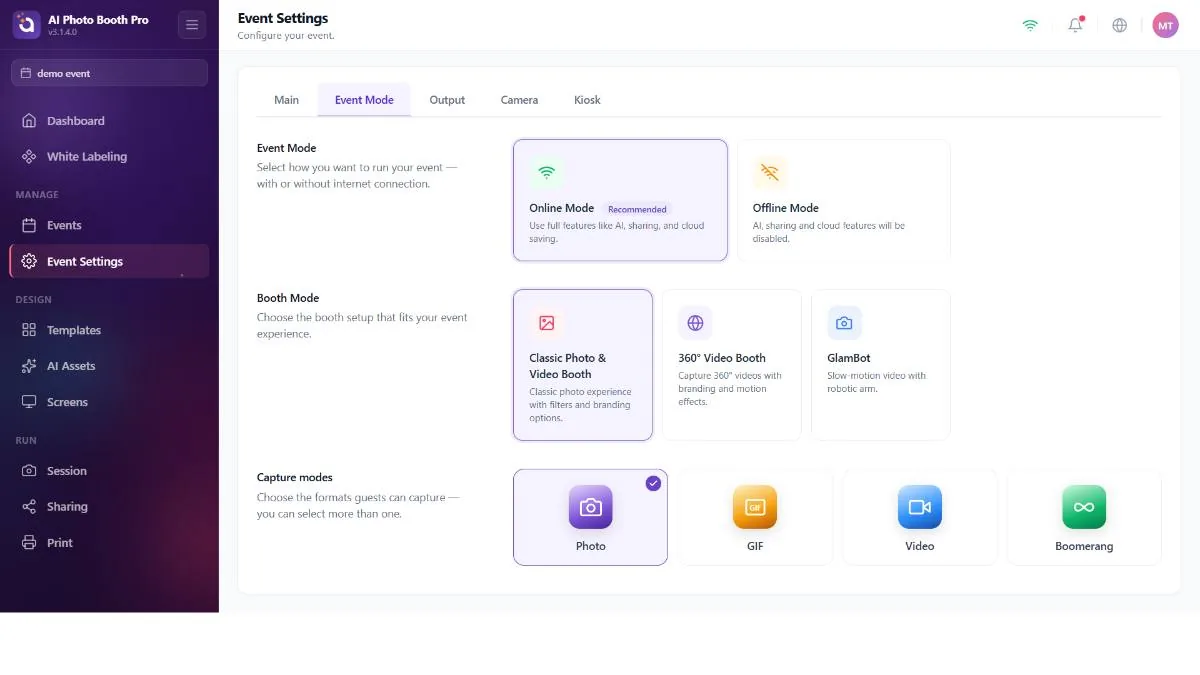
The most consequential tab — it decides how the booth will behave. Three groups: Event Mode, Booth Mode and Capture Modes.
Event Mode
Choose Online (recommended, default) or Offline. It saves the moment you tap.
Booth Mode
Choose the booth's character: Classic (a standard photo booth), Video 360 or Glambot.
Capture Modes
A set of multi-selectable cards for the output types the booth produces: Photo, GIF, Video and Boomerang. Check as many as you want.
These are "automatic" booth modes. Selecting either one automatically: turns Auto-Trigger on (skips the review/confirm step during capture), removes Photo and checks Video. You'll see the capture-mode cards change by themselves — this is expected. Switching back to Classic turns Auto-Trigger off again (but does not re-check Photo — set the capture modes manually).
Trying to remove the last remaining mode is rejected with a brief message — the booth has to produce something.
These automatic changes are tied directly to the Booth Mode setting; so they happen no matter which screen makes the change. Selecting Glambot also enables the robotic arm and reveals the Glambot item in the sidebar. Note: the printer is no longer changed automatically here — it's decided once at event creation and then managed manually (see Print Settings).
Output tab
?tab=output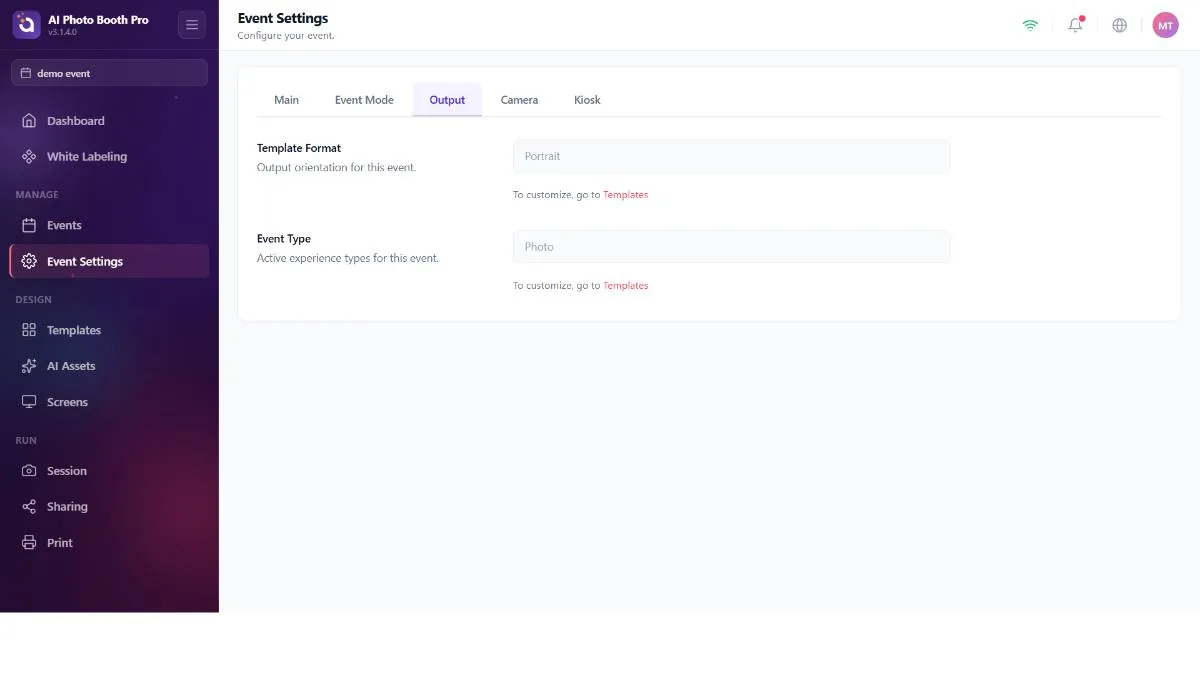
A read-only summary — there's nothing to edit here. It reflects what your templates imply:
- Template Format — Portrait, Landscape, both, or "no templates added," derived from the format of your templates.
- Event Type — the capability mix your templates use (Photo, Green Screen, Face Swap, AI Effect, AI Video, GIF, Video Print…).
Despite the name, this tab has no render control. The output codec (H.264 / HEVC) and quality profile (Low / High) live in Session Settings → Main. To change what's shown on this tab, edit your Templates — both items tie back to them.
Camera tab
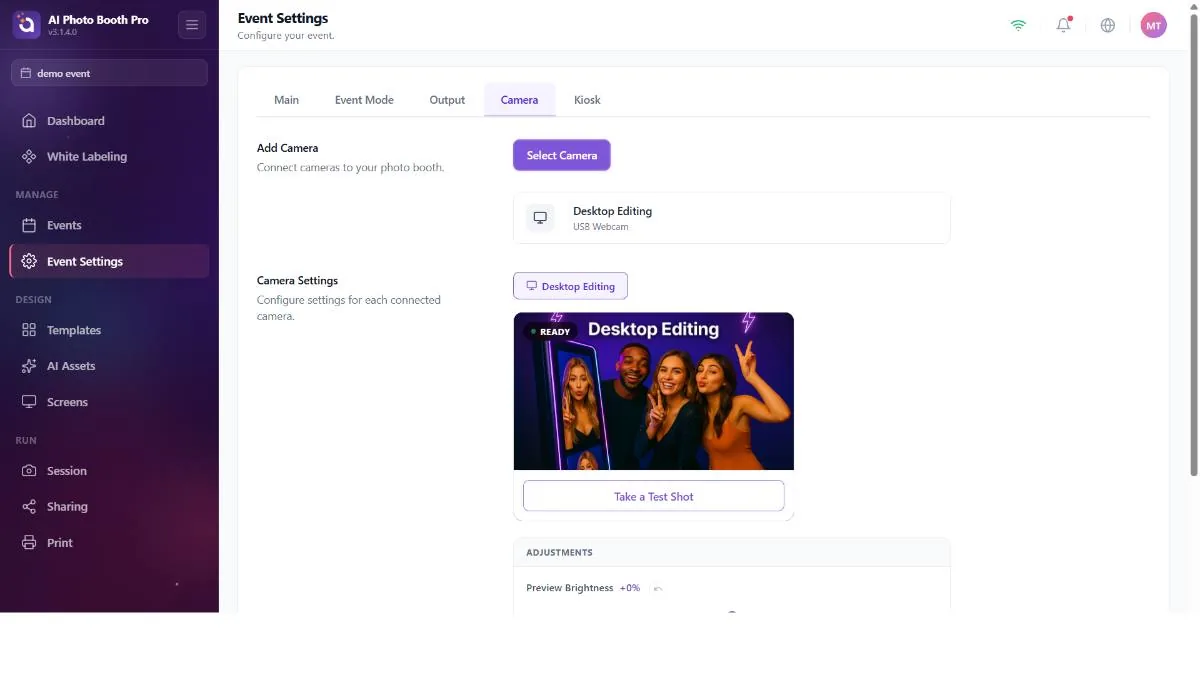
?tab=cameraThe richest tab: select your camera, preview it live, take a test shot, fine-tune the image and — for DSLRs — control the camera's own settings. The guided tour's camera step also lands here.
Add Camera
Tap Select Camera to open the Add Camera modal. Devices are grouped as: Built-in Cameras, USB Cameras (webcams and DSLRs), Virtual Cameras (OBS/ManyCam/XSplit), Desktop Editing (import from a file instead of a live camera) and GoPro. Tap a device to select it; added cameras show an Active/Added badge and a remove (×) button. Use Refresh to rescan.
- GoPro — a dedicated section with live status, Connect New GoPro (Bluetooth scan), Reconnect (Wi-Fi retry) and a live diagnostic log where you can watch the pairing progress.
Camera Settings — live preview and test shot
The active camera shows a live preview with a Ready badge. Tap Take a Test Shot for a fixed 3-second countdown (with a beep, a shutter sound and an optional flash); the captured photo appears with a Retake button.
Camera Adjustments
- Preview Brightness — a slider shown as ±N% (with a reset button). Applied live.
- Mounting Angle → Rotate — rotates the preview (0 / 90 / 180 / 270°) to match the camera's physical mounting.
- Mirror Settings — Preview Flip (mirror the live preview) and Result Flip (mirror the saved photo) as separate toggles.
- Flash Effect — a white edge-light flash on capture (off by default).
Advanced Settings DSLR only
Visible only when an adjustable DSLR is connected. It reveals a battery badge and capability-based dropdowns for everything the camera offers — Mode, ISO, Shutter Speed, Aperture, White Balance, Exposure Compensation, Focus Mode, Image Quality, Metering.
Changing a dropdown stages the change (orange border; next to it, the camera's real current value is shown). Nothing is sent to the camera until you press Apply (N). For consumer Nikon bodies that don't report dial changes on their own, use Read Status (or Auto Read). Auto Read turns itself off when you leave the tab.
After a test shot, DSLRs offer Set Settings with AI; it analyzes the shot and recommends camera settings for your setup. It costs 2 credits per use; if your balance is too low, the credits payment opens.
If you choose a very large image size (or RAW on Nikon), an amber card suggests a smaller size / JPEG — large files noticeably slow the transfer from the camera to the booth.
Your camera choice is "sticky": if the connection drops, the tab shows an offline/searching state and a watcher keeps trying to reconnect rather than quietly switching to another device. Leaving the tab stops the preview to release the camera.
Kiosk tab
?tab=kiosk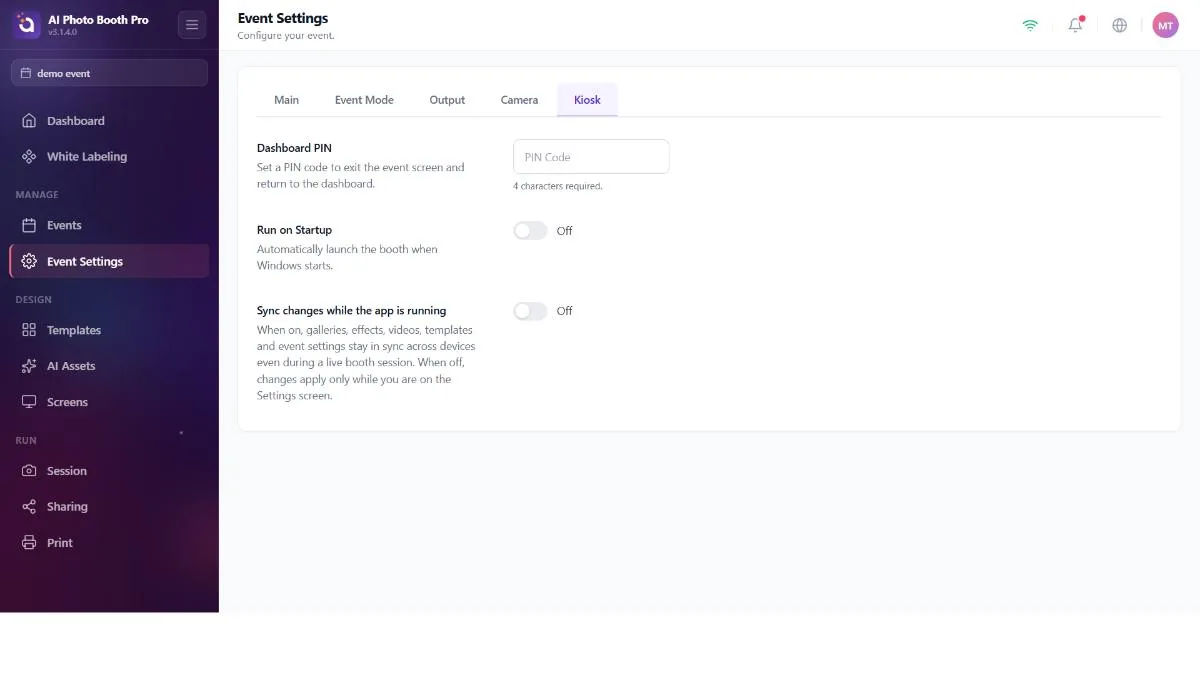
Three settings that govern how the machine behaves as an unattended kiosk.
- Dashboard PIN — a numeric PIN (exactly 4 digits) that protects re-entry from the booth back into the operator admin panel. The helper text shows progress (N/4) and confirms when it's set.
- Run on Startup Windows only — auto-starts the app when the machine boots. Hidden on tablets (the OS can't do this).
- Sync Changes While Running — when on, content (galleries, effects, templates, settings) keeps syncing about once a minute even while the booth is live (useful for multi-device setups). Off by default; that keeps a running event frozen and predictable.
A 1–3 digit entry shows an error and doesn't count as "set." Choose a PIN you'll remember — it's your exit key from the running booth.
Turn it on only if a second device (or another operator) will change content during the event and you want the booth to pick it up instantly. For a single, fixed booth, leave it off so nothing shifts out from under you.
