Mode Settings
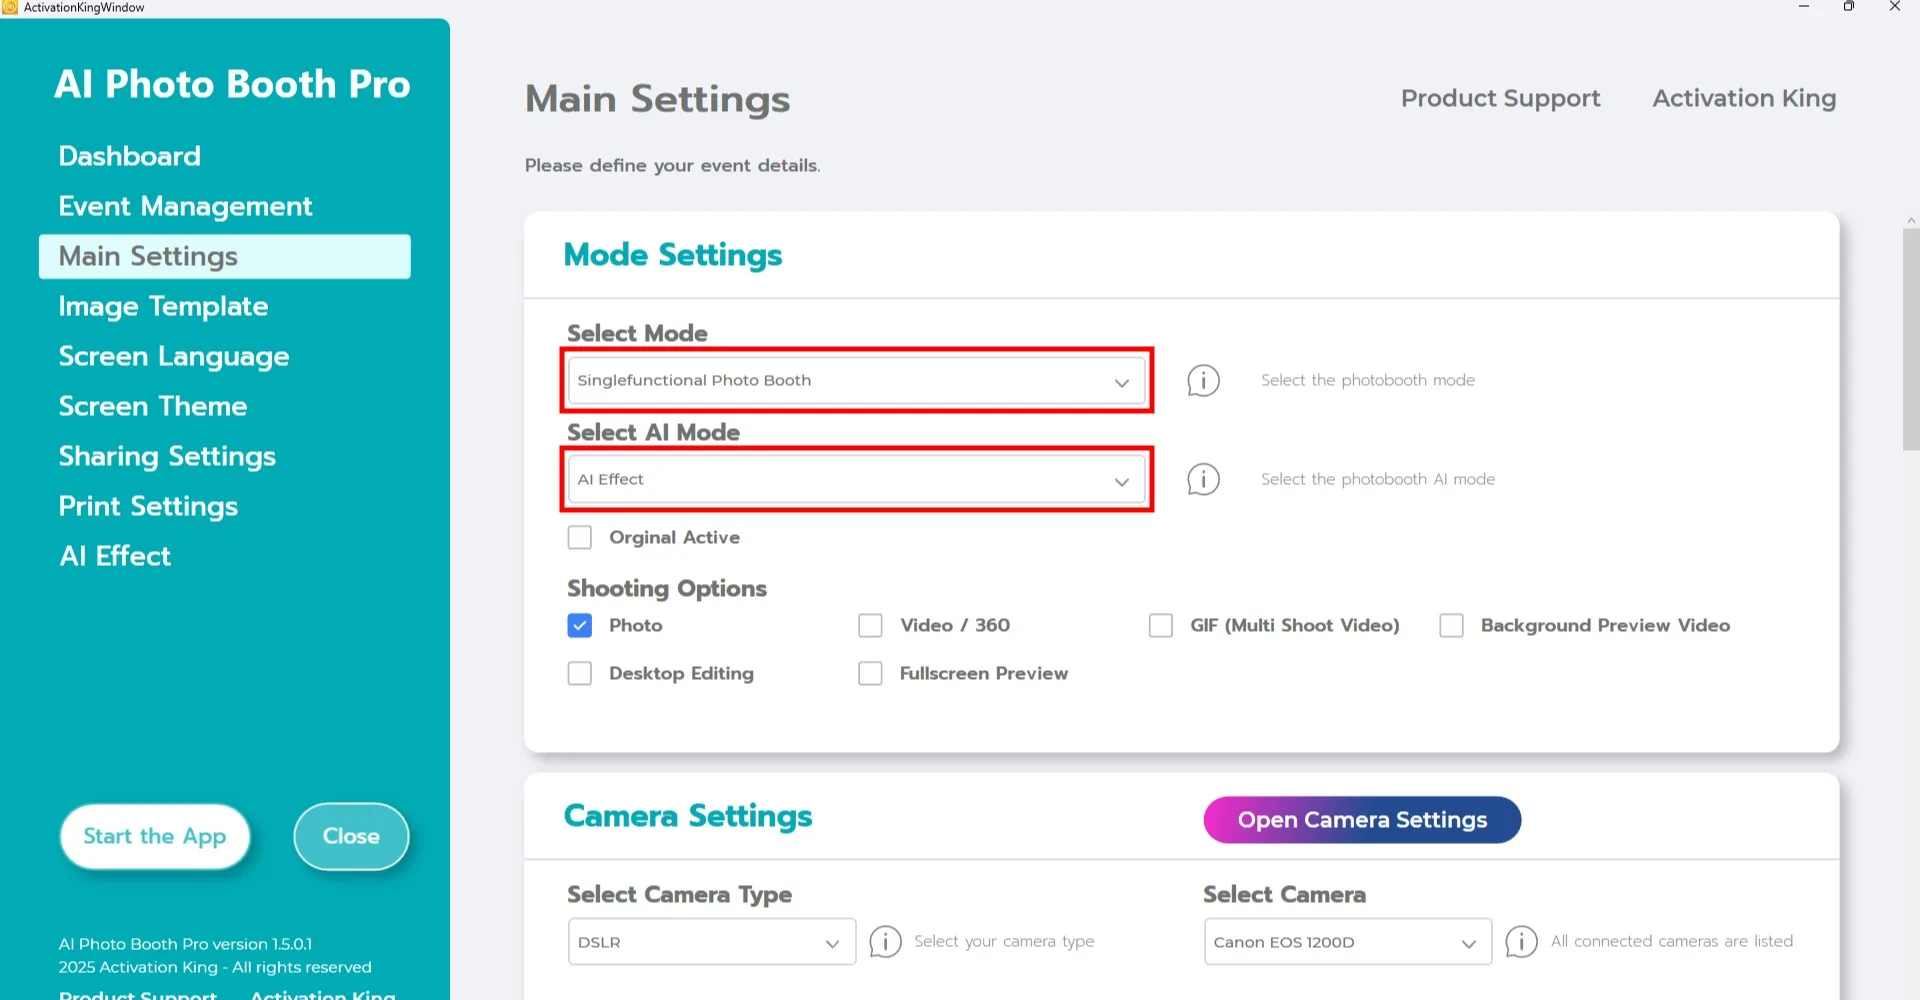
After creating your event, go to the Main Settings page and select "Single Functional Photo Booth" mode from the "Select Mode" section.
Choose the AI mode you want to use from the "Select AI Mode" section. Note: This feature is available only for AI modes.
Self Service Mode Settings
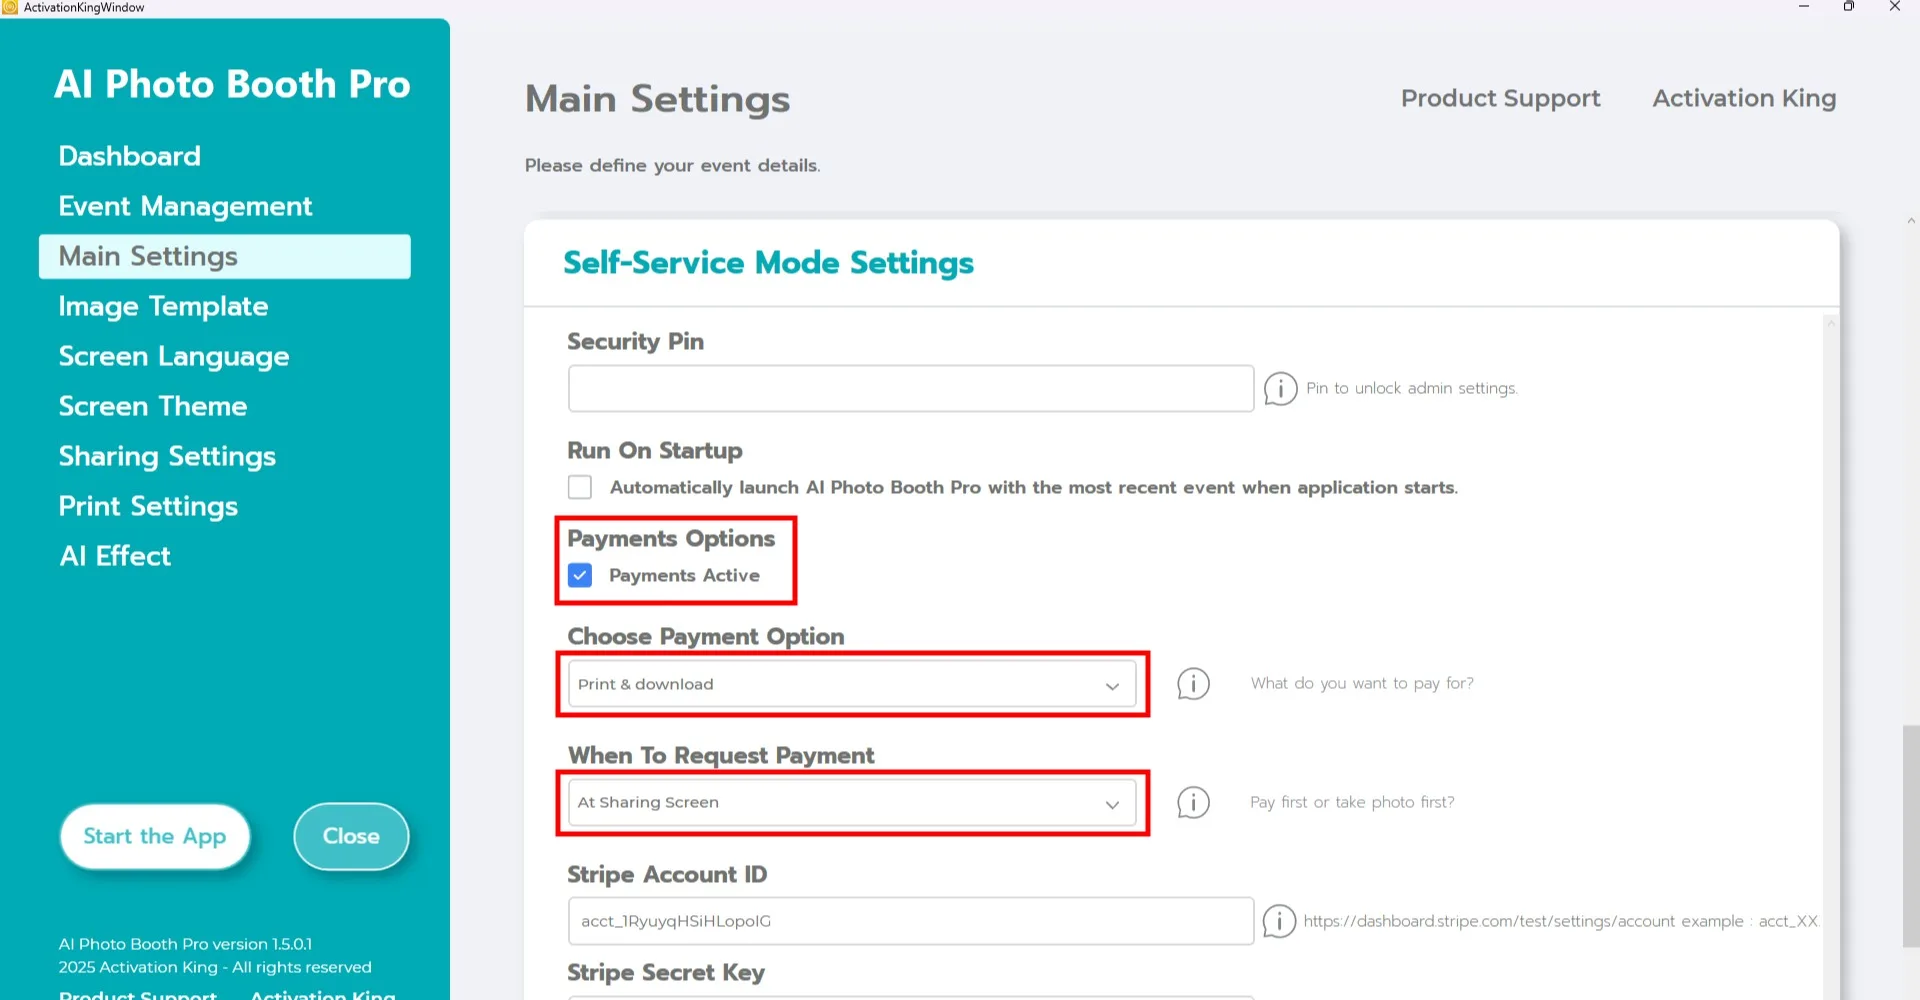
Scroll down to the Self Service Mode Settings section.
- Enable the "Payment Active" option.
- Select your preferred payment method from the "Choose Payment Option" section.
- Choose when the payment should be requested under the "When To Request Payment" section.
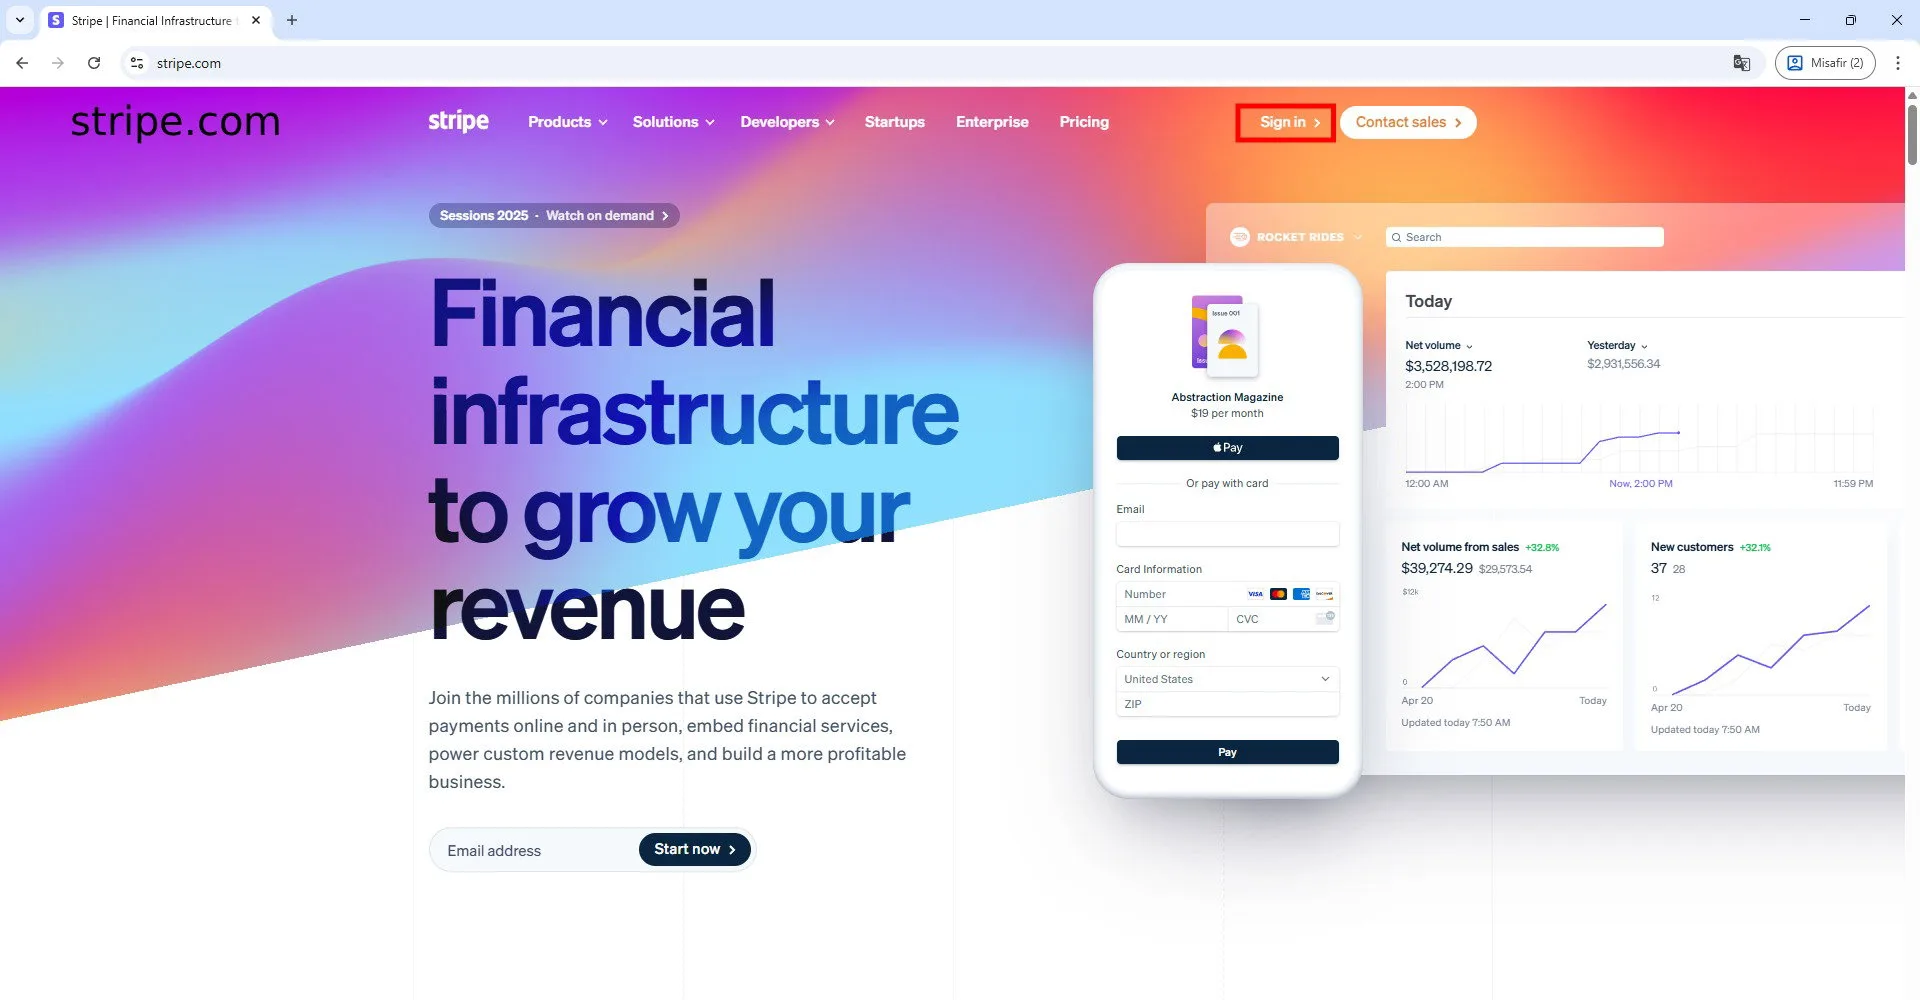
To accept online payments, visit Stripe.com and create an account.
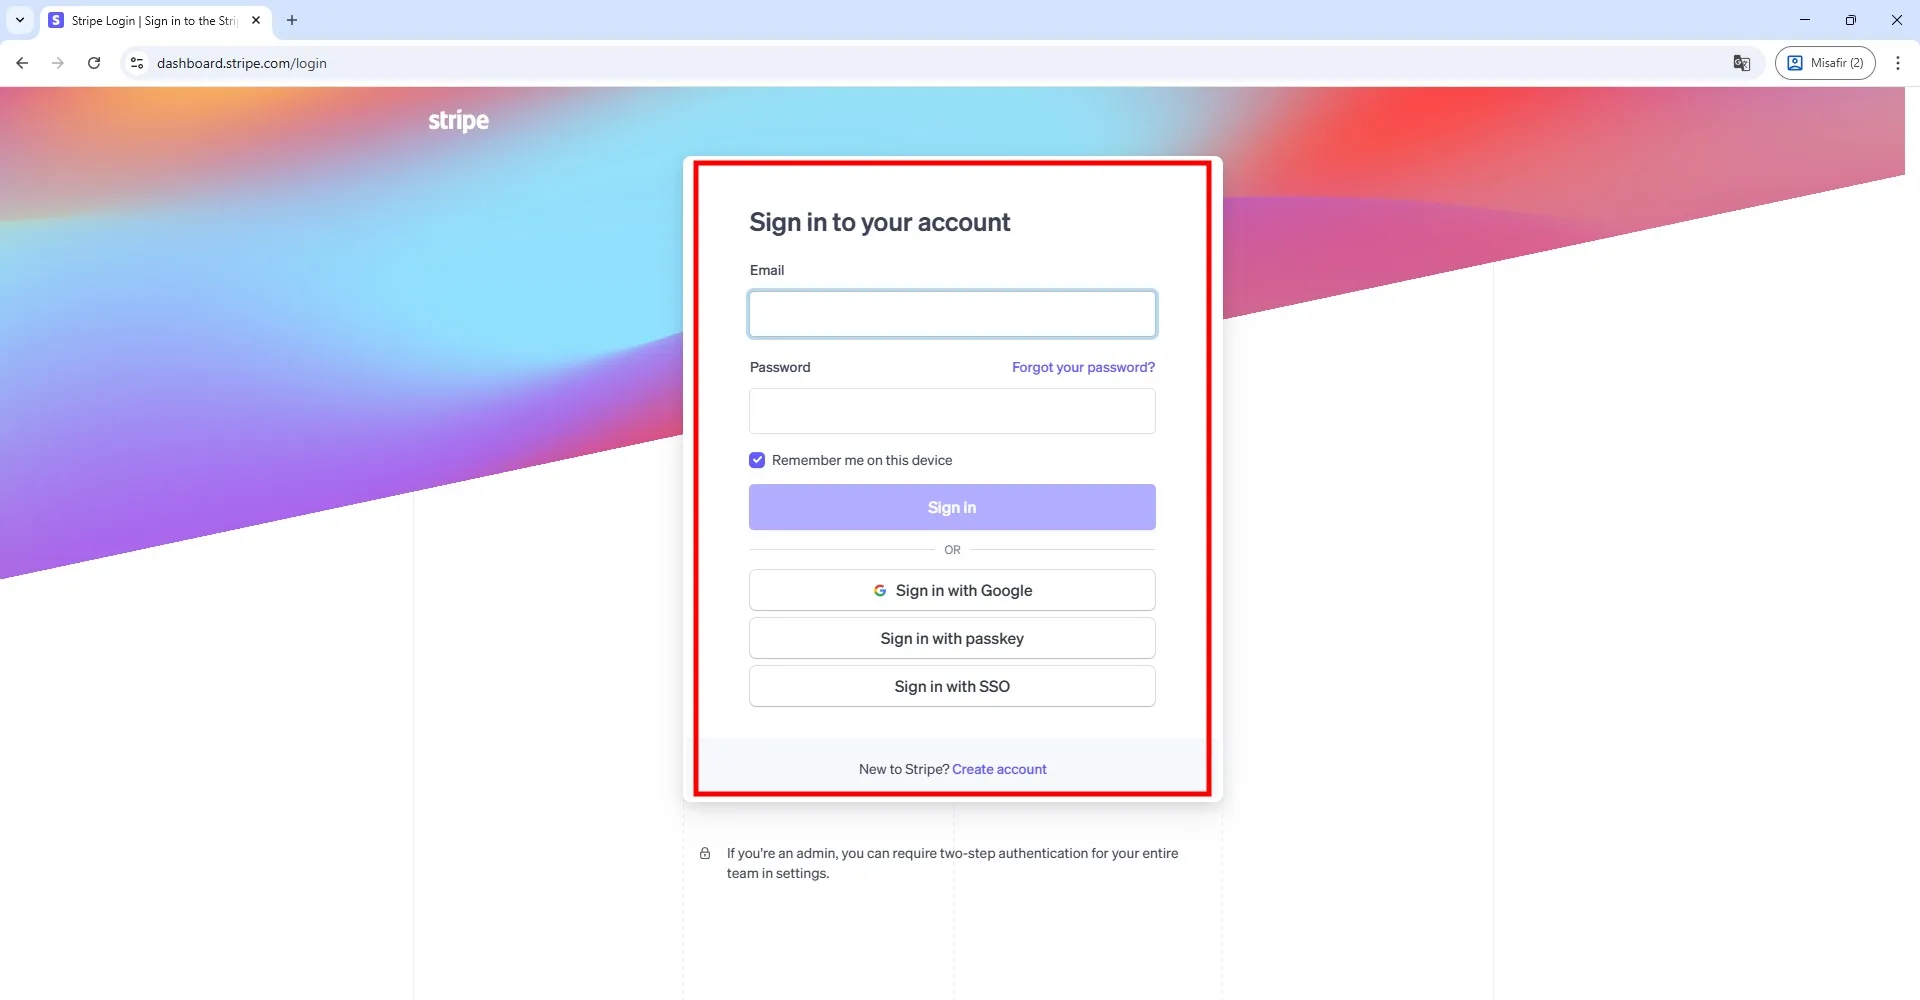
Log in to your account.
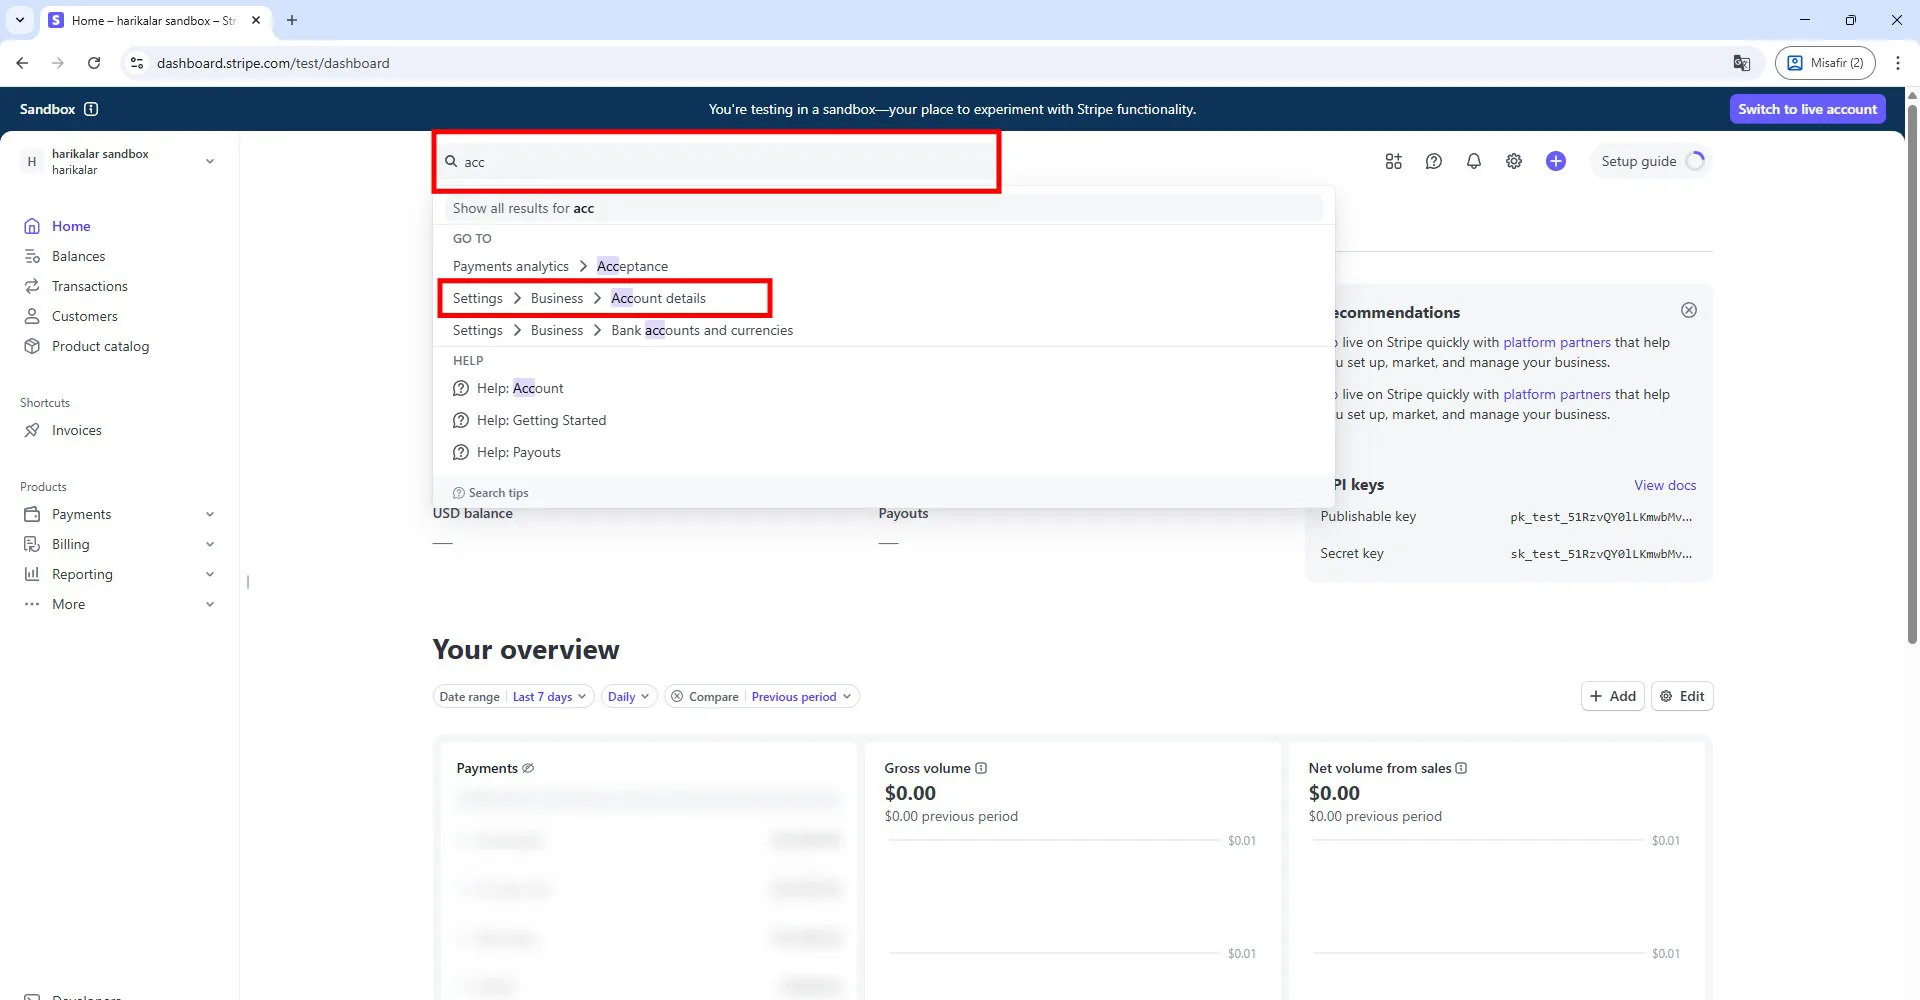
After accessing your account settings, type "account" in the search bar and open the page shown in the marked example.
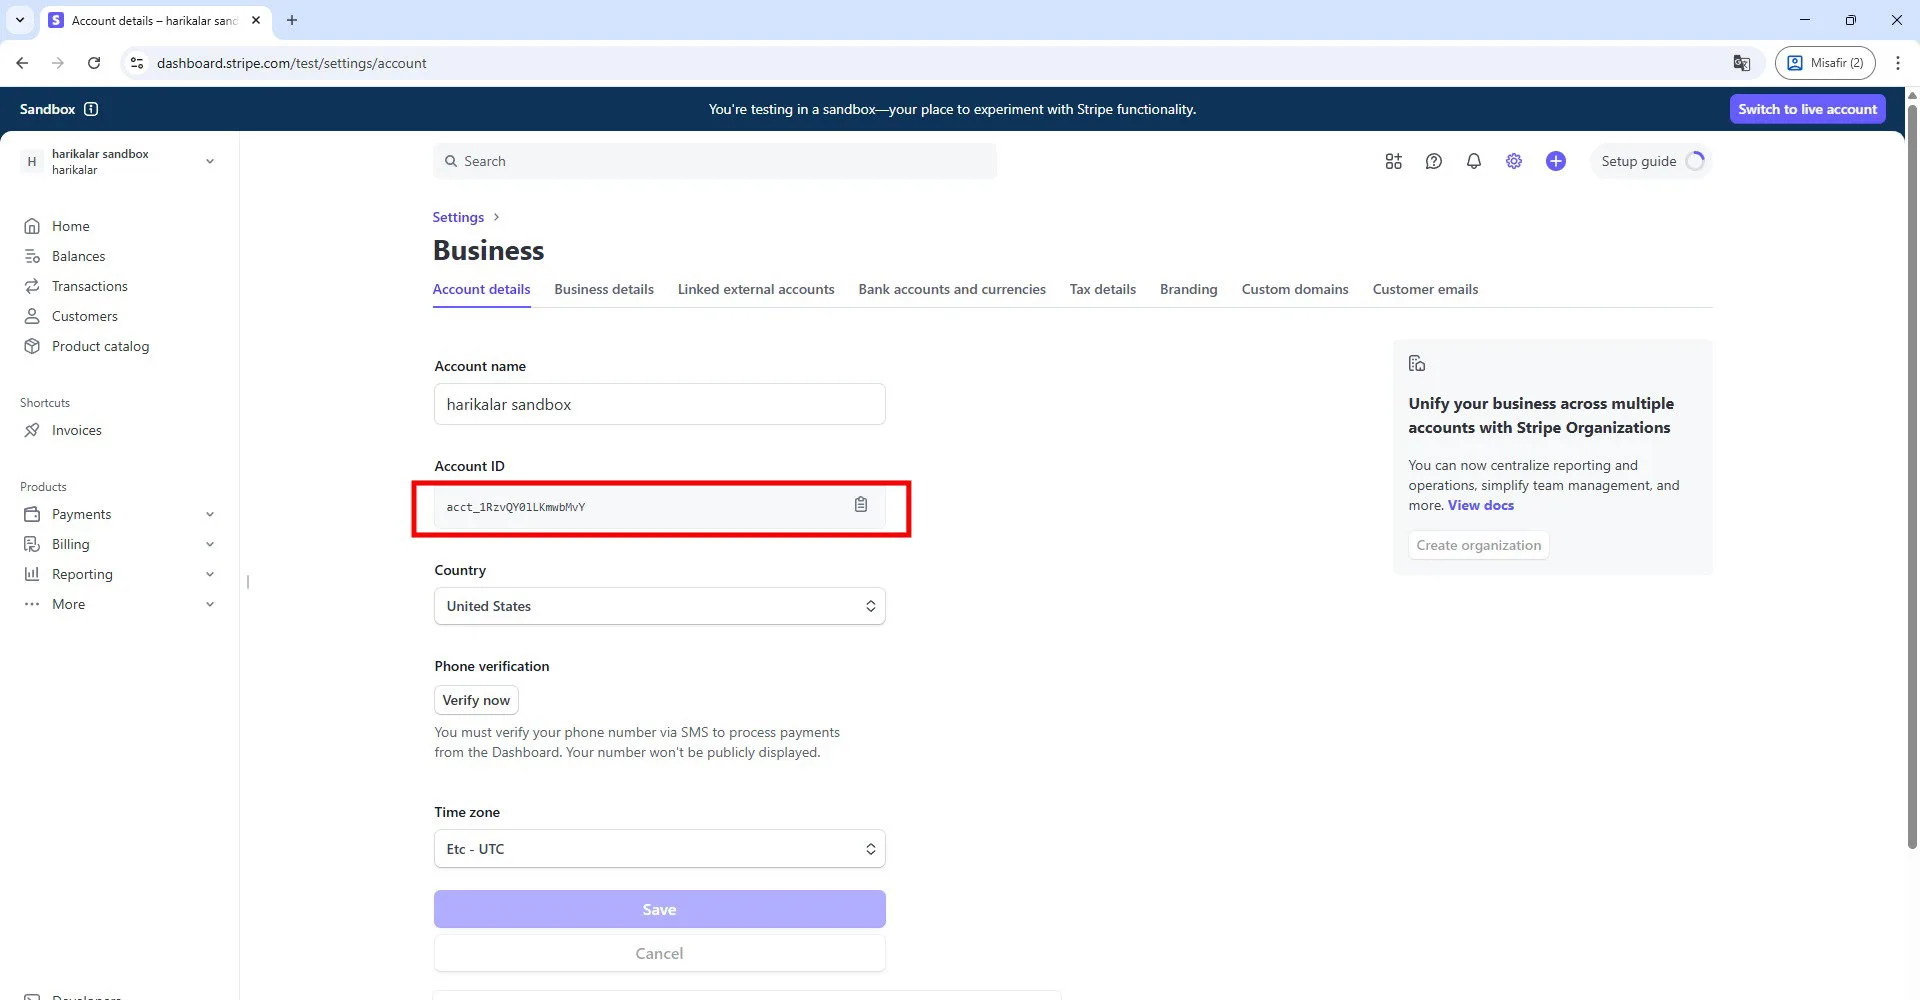
Copy the line displayed under the Account ID section.
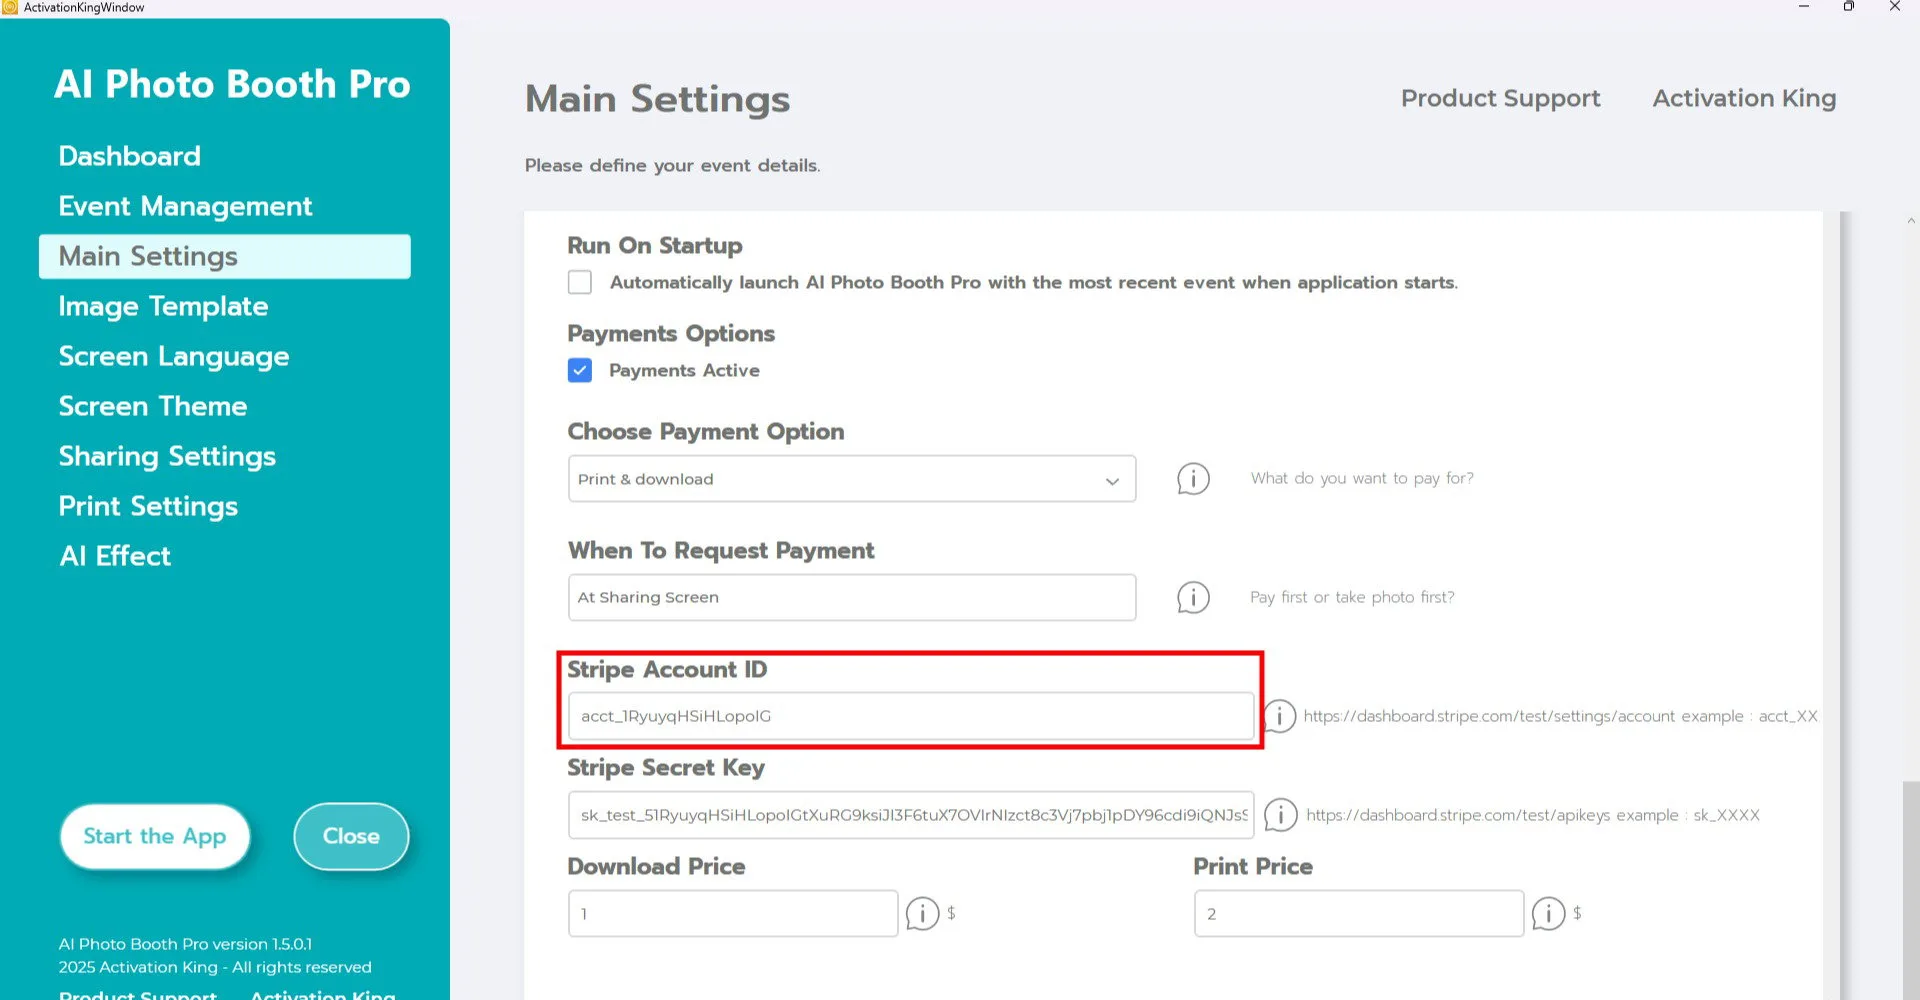
Paste it into the "Stripe Account ID" field in the software.
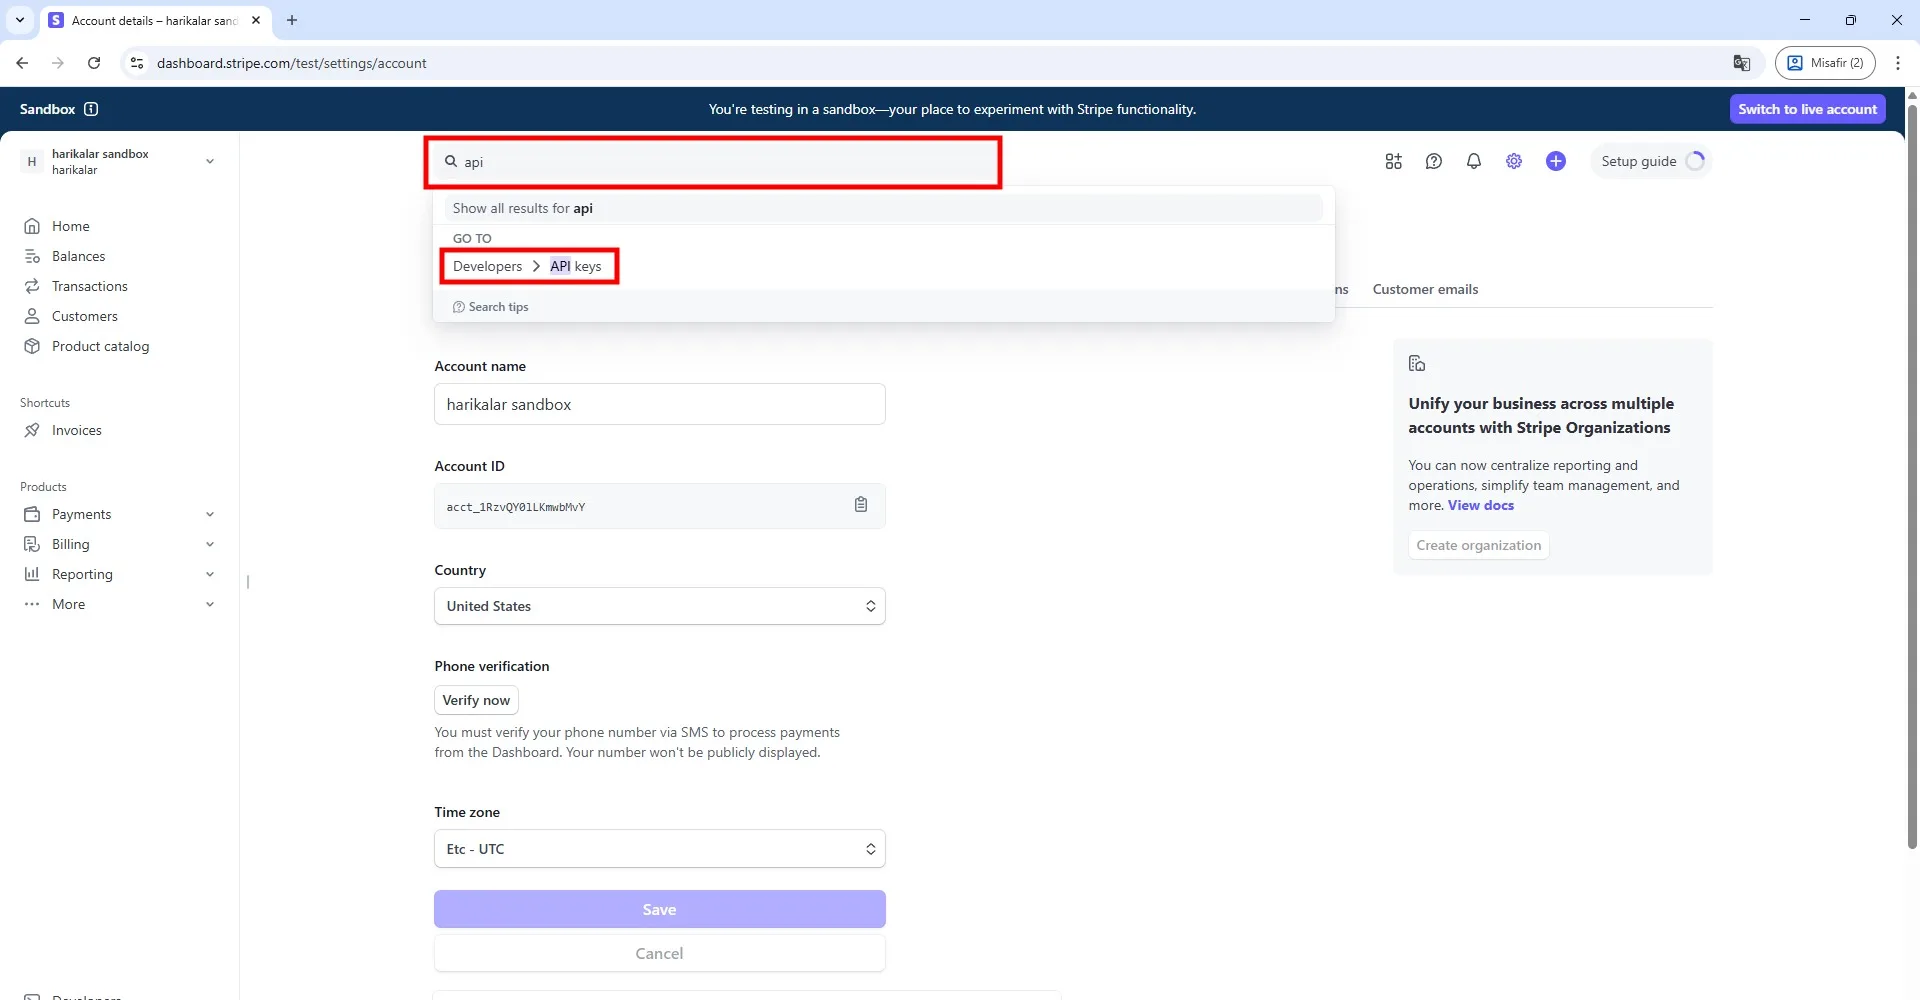
Return to the Stripe website, type "API" in the search bar, and open the page that appears.
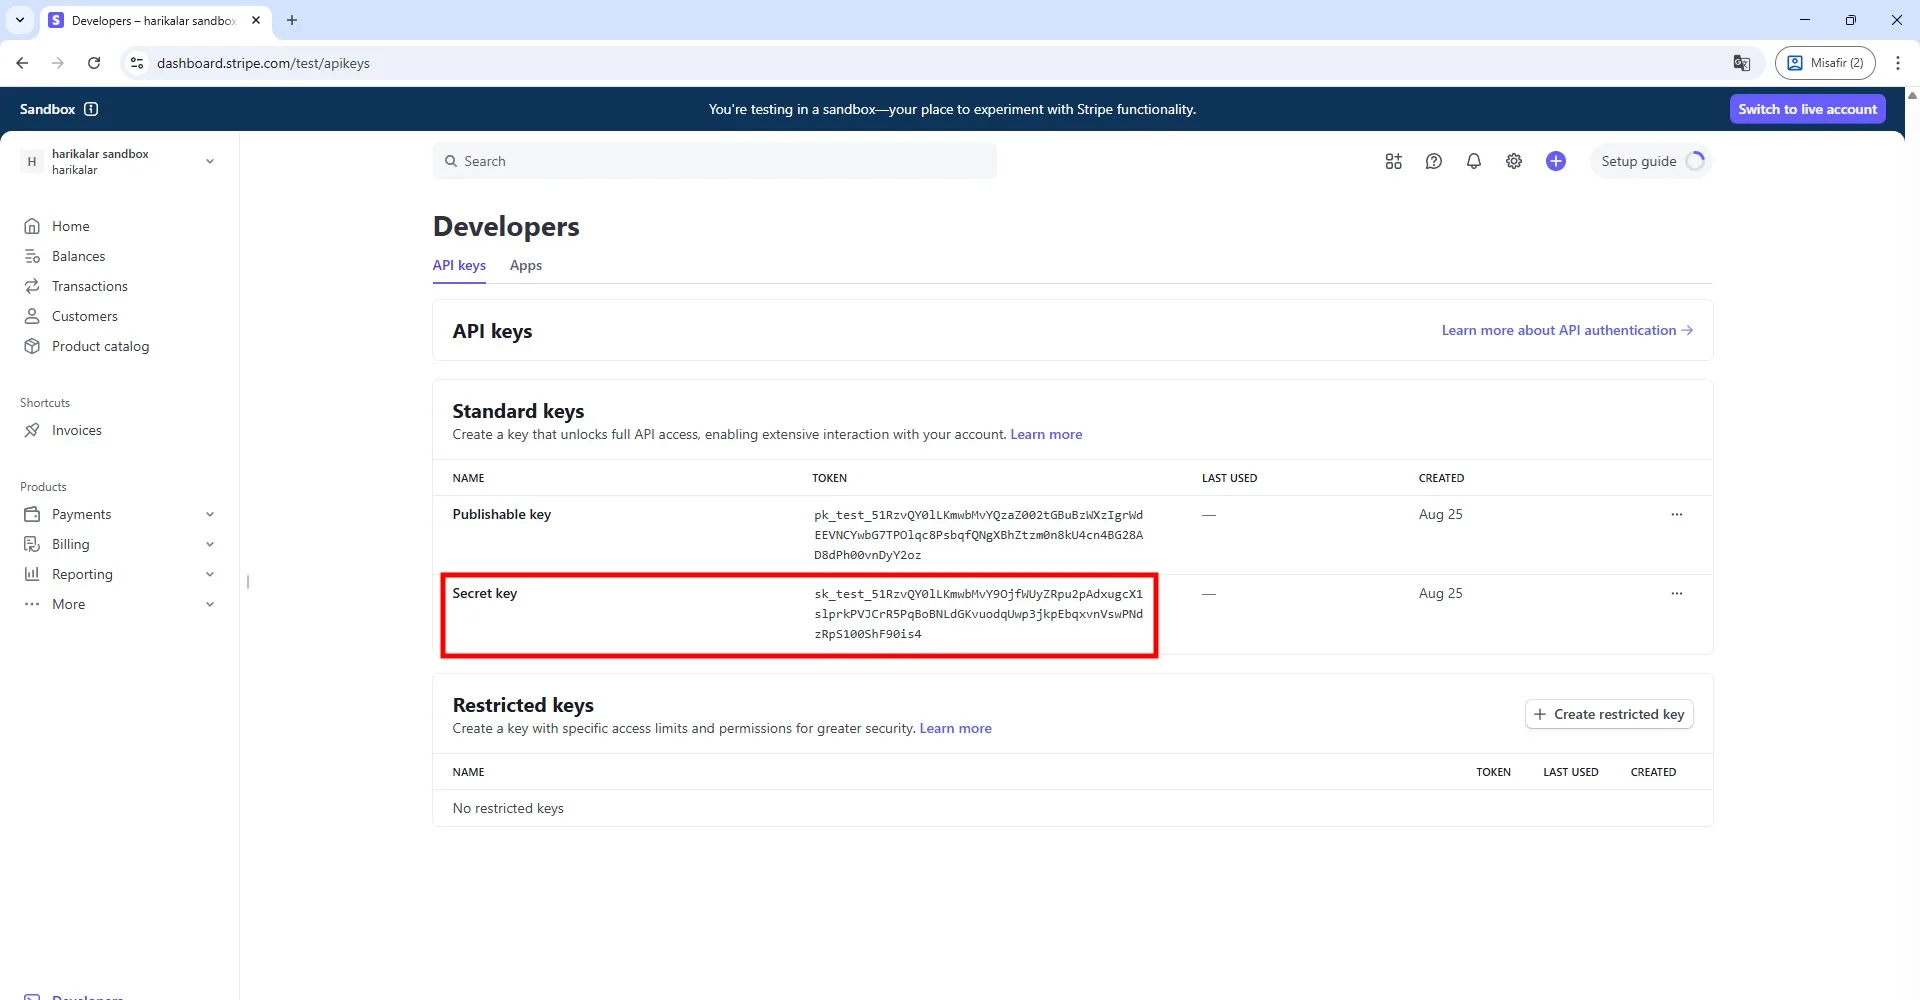
Copy the line shown under the "Secret Key" section on this page.
Note: If you accessed Stripe's test mode from your dashboard, your account will allow you to test essential functions such as creating cards, testing transactions, and simulating physical card shipping. This is temporary: when you switch to live mode, you will lose access to all cardholders and cards created in test mode. You may use test mode for experimenting, but if you want to go live, contact Stripe support and paste the Secret Key they provide into the software.
For more information, visit: https://support.stripe.com/questions/stripe-issuing-test-mode-configurations-and-differences-vs-live-mode
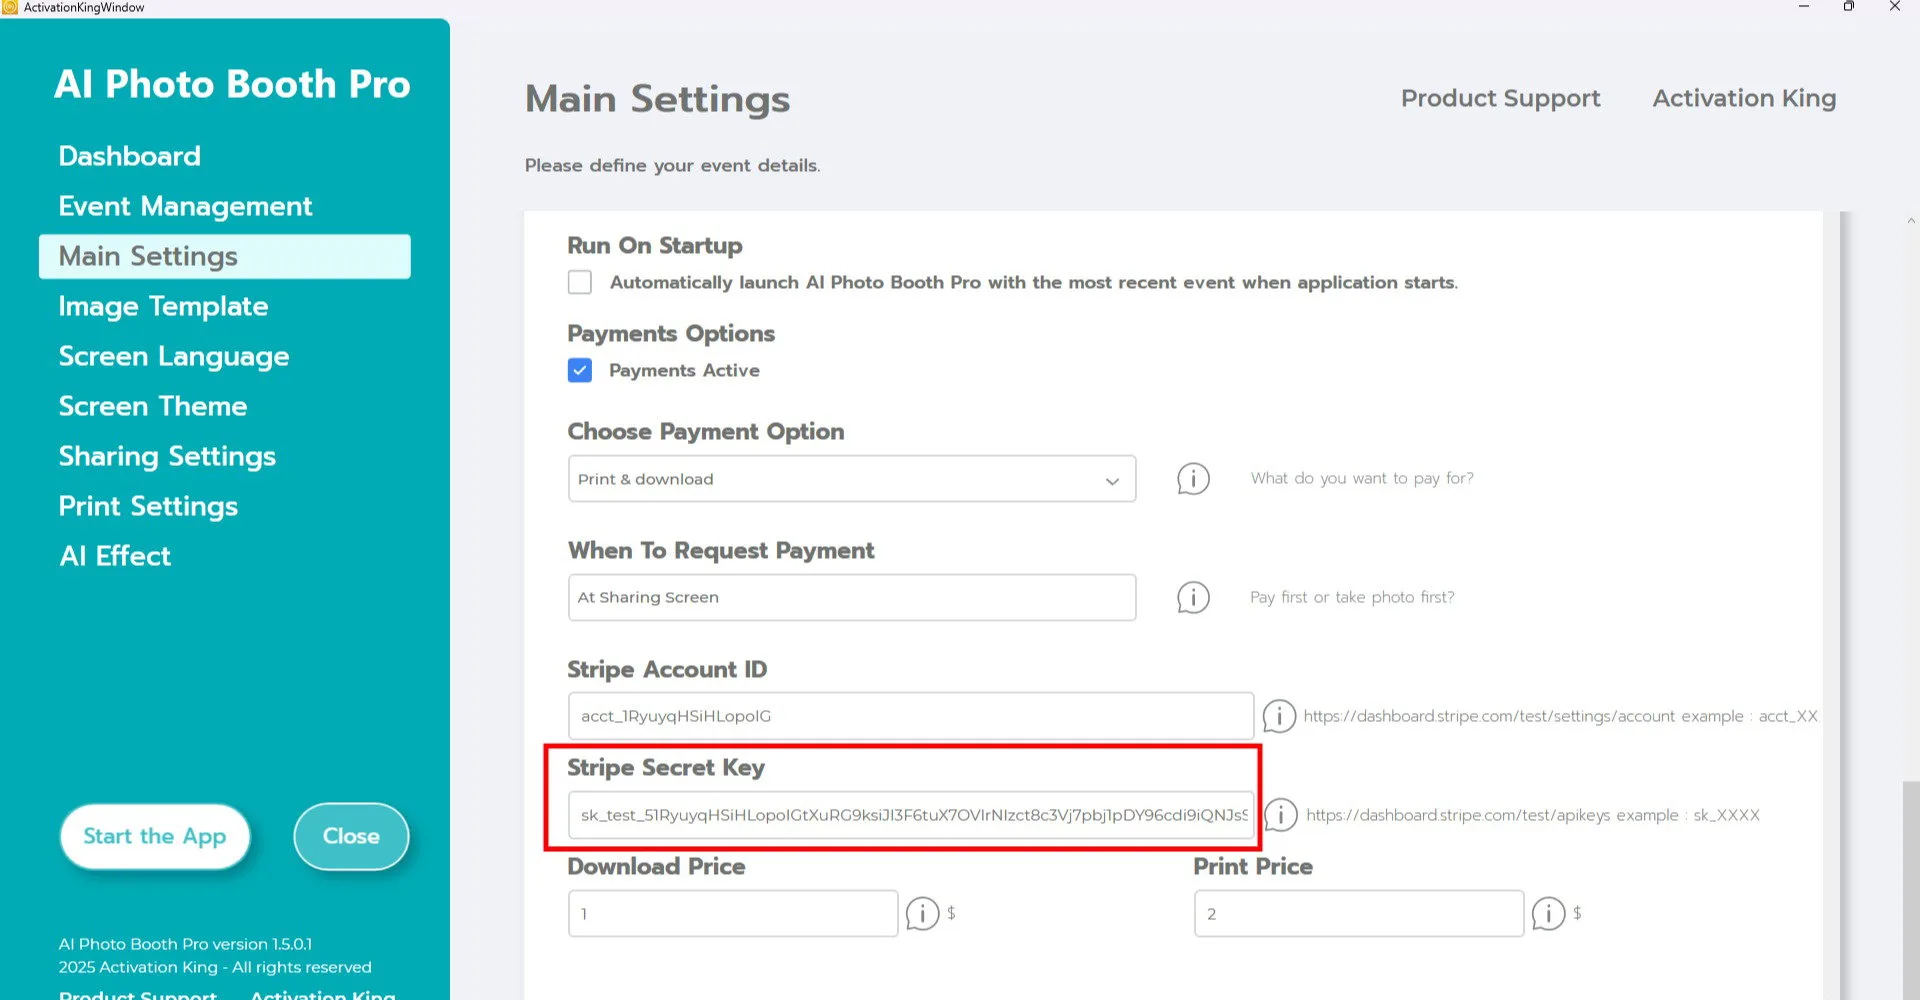
Paste the copied value into the "Stripe Secret Key" field inside the software.
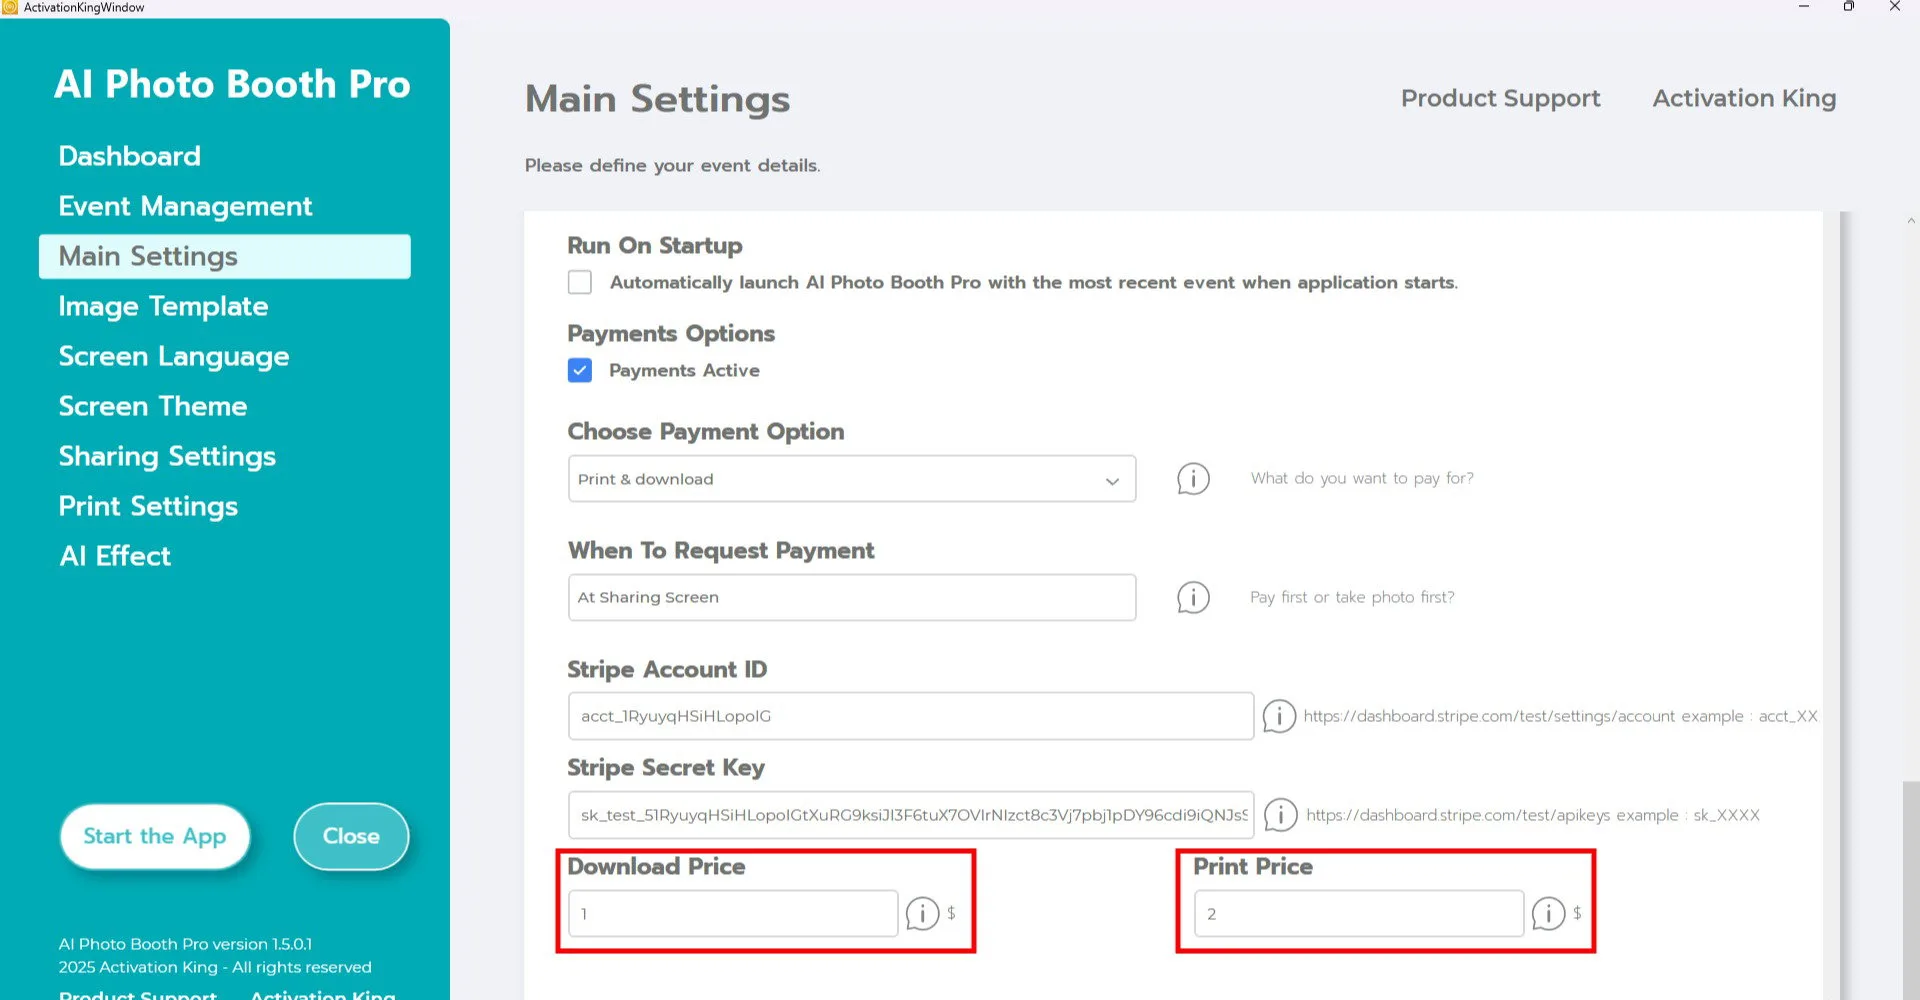
Enter the desired pricing for download and print in the boxes at the bottom. Users who purchase a print will automatically receive the download option as well. You can set your pricing accordingly.
Print Settings
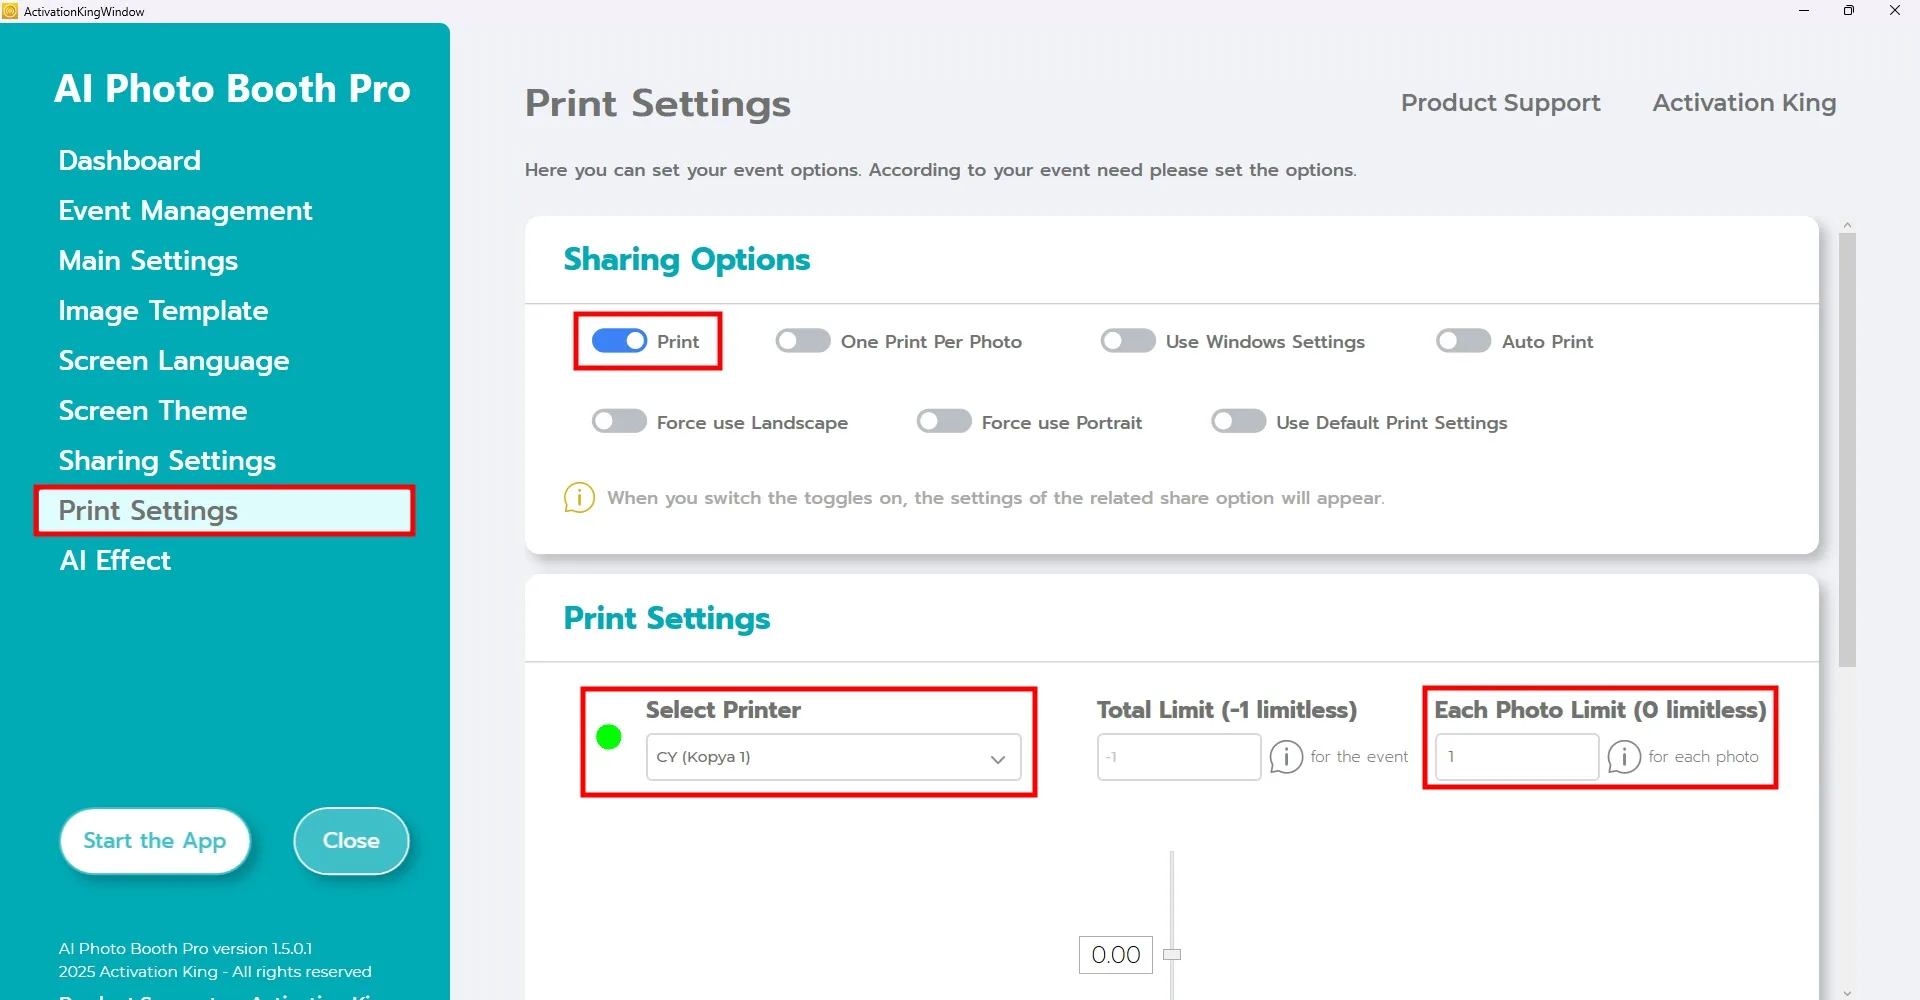
Go to the Print Settings section and configure your printer settings. Set a printing limit using the Photo Limit field on the right side. You can restrict this to 1 print if desired.
When a participant purchases 1 print, it means they can activate the print option on one photo, not print unlimited copies. If you do not set a limit here, participants will be able to print as many copies as they want.
Example: if a participant purchases 2 prints, they gain the right to activate the print button on two different photos. However, the total number of prints they can actually receive is restricted by the Photo Limit you set.
Start the App

Press the Start the App button. You can customize this screen as you wish, then click the Photo button.
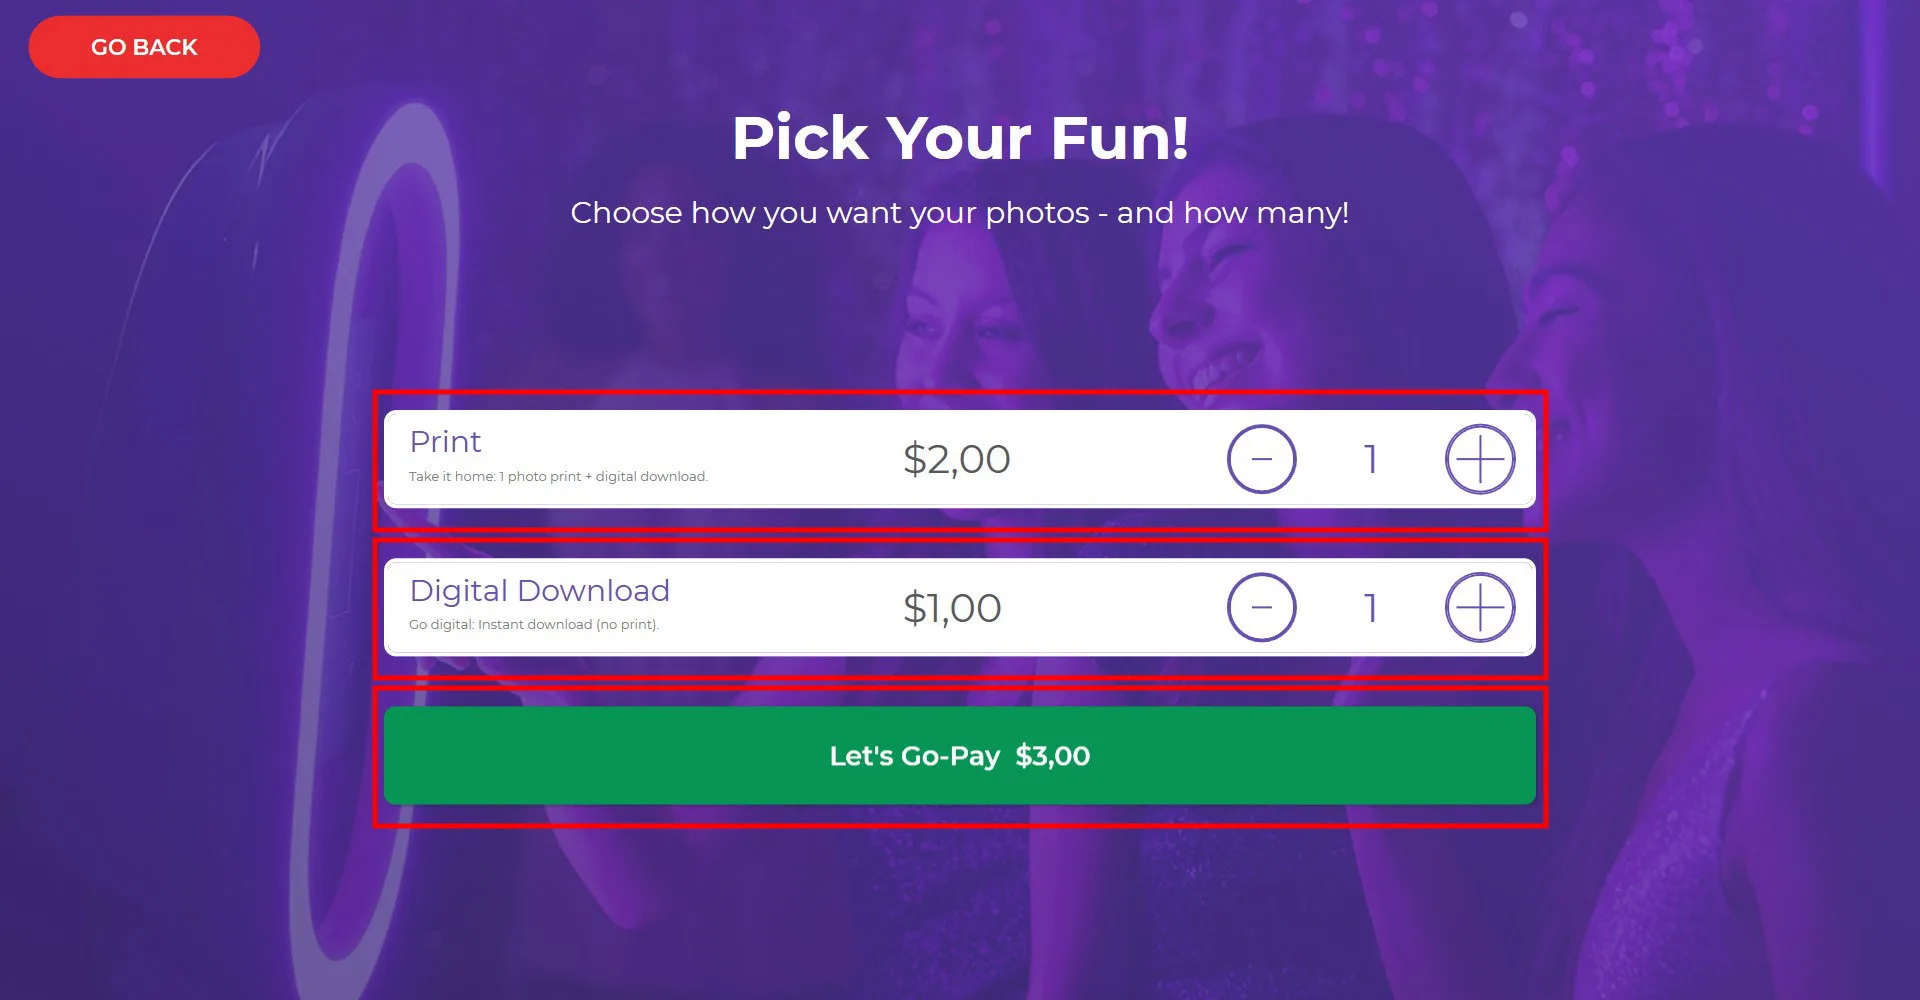
If you enabled the payment option on the start screen, the payment window will appear before taking a photo. Select either Print or Digital Download, then click Let's Go Pay.

Scan the QR code that appears on the screen.
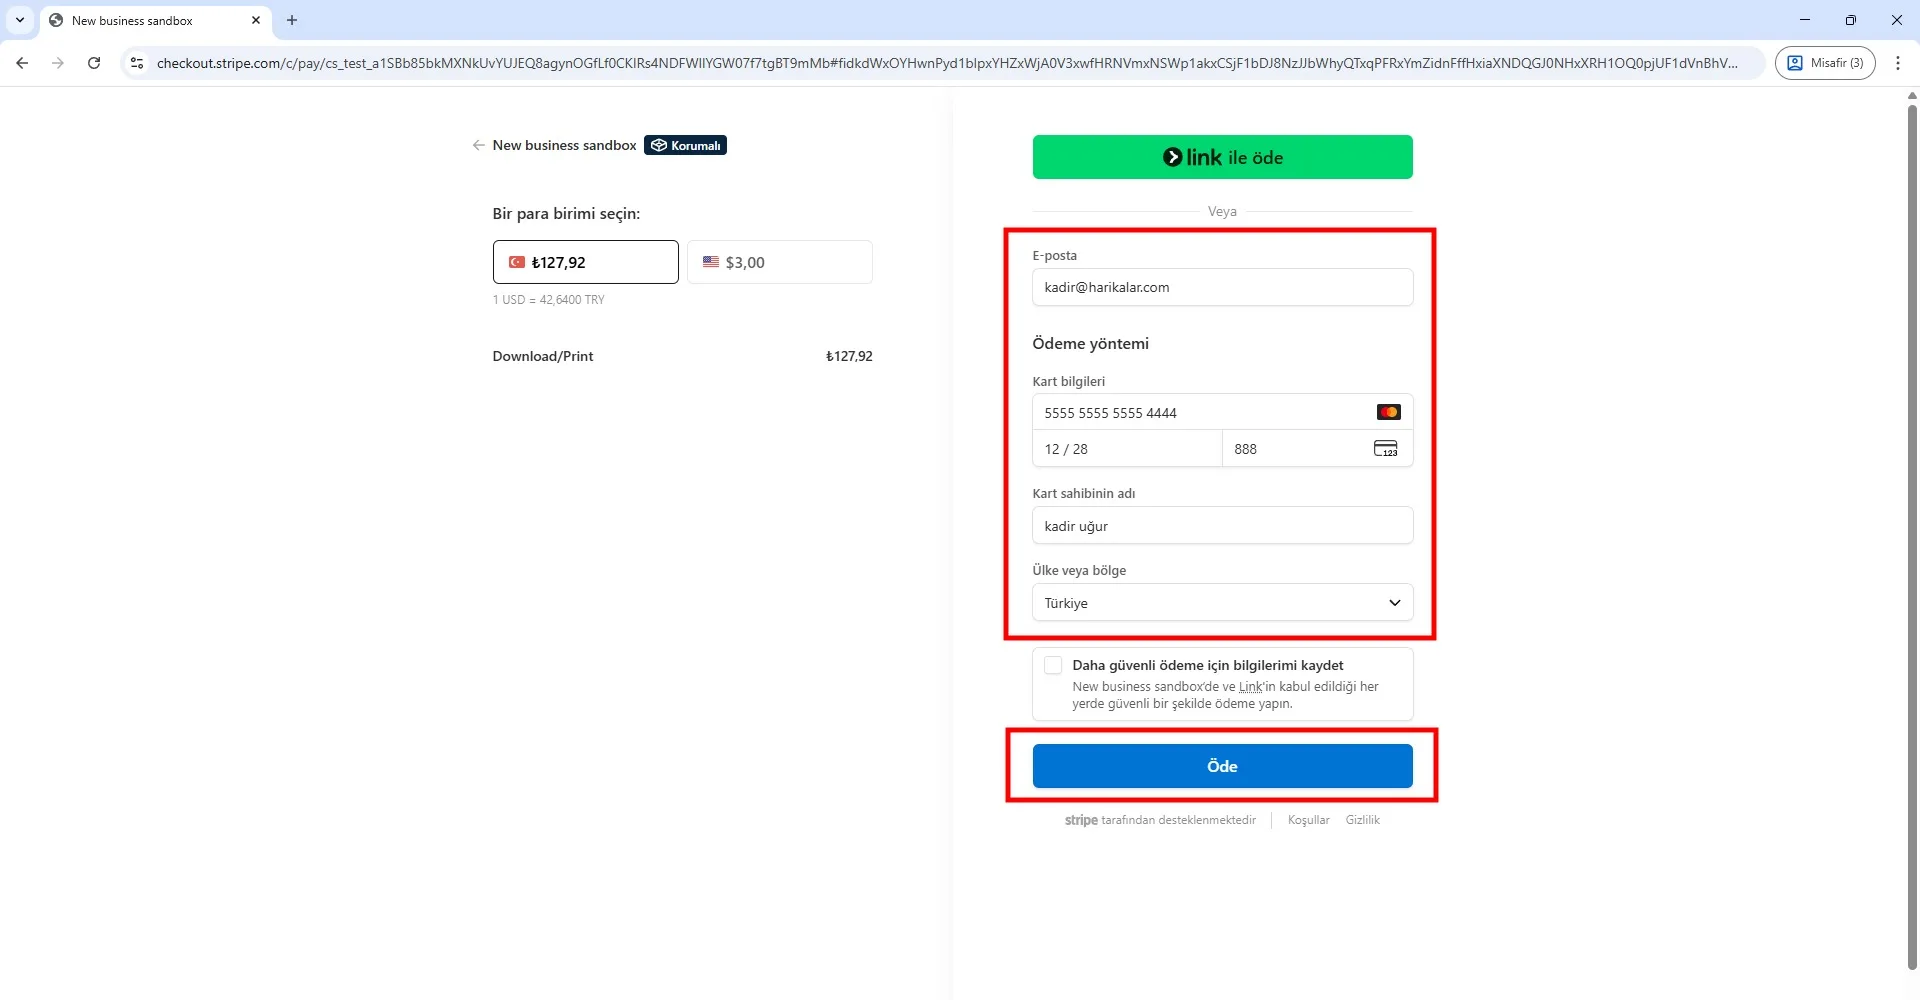
Enter your email address and card information to complete the payment. You may use the test card for trial purposes:
5555 5555 5555 4444, XX/XX, XXX
This is a Stripe test card. You can freely enter the expiration date, CVV, and cardholder name. When your Stripe account goes live, test cards will no longer work.
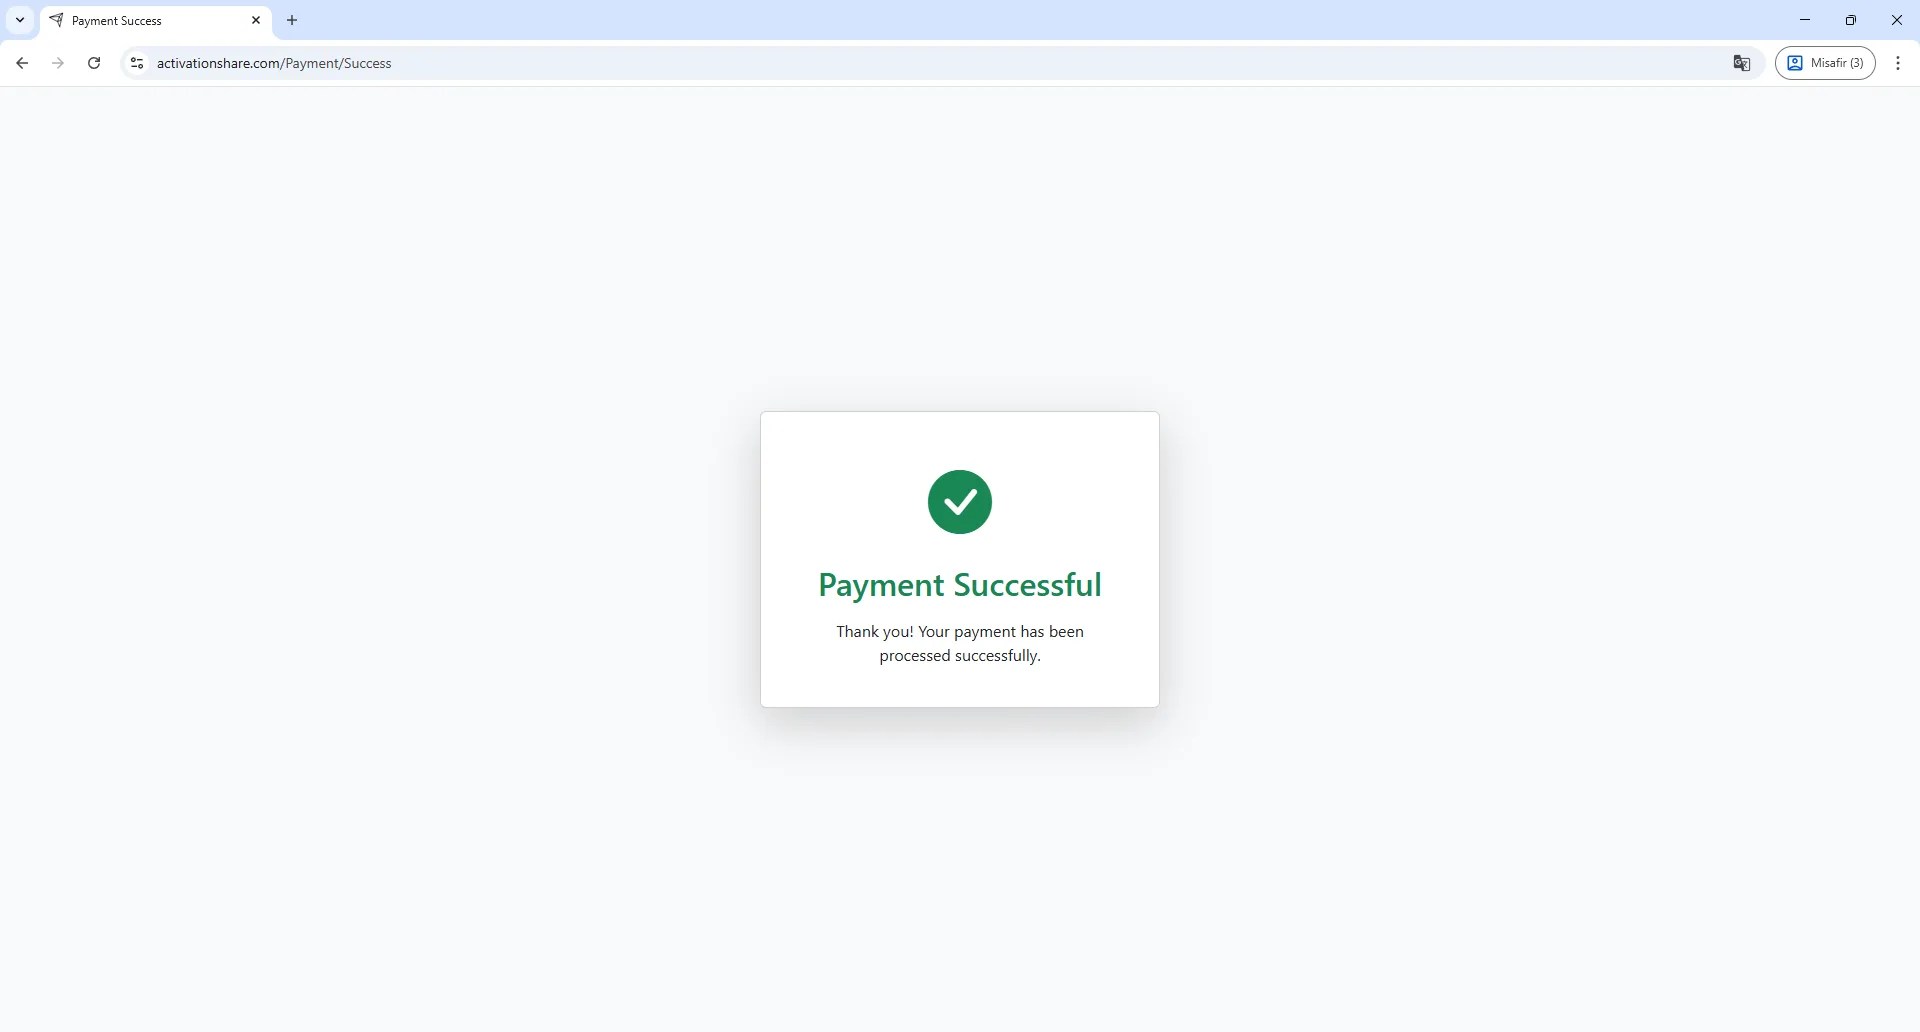
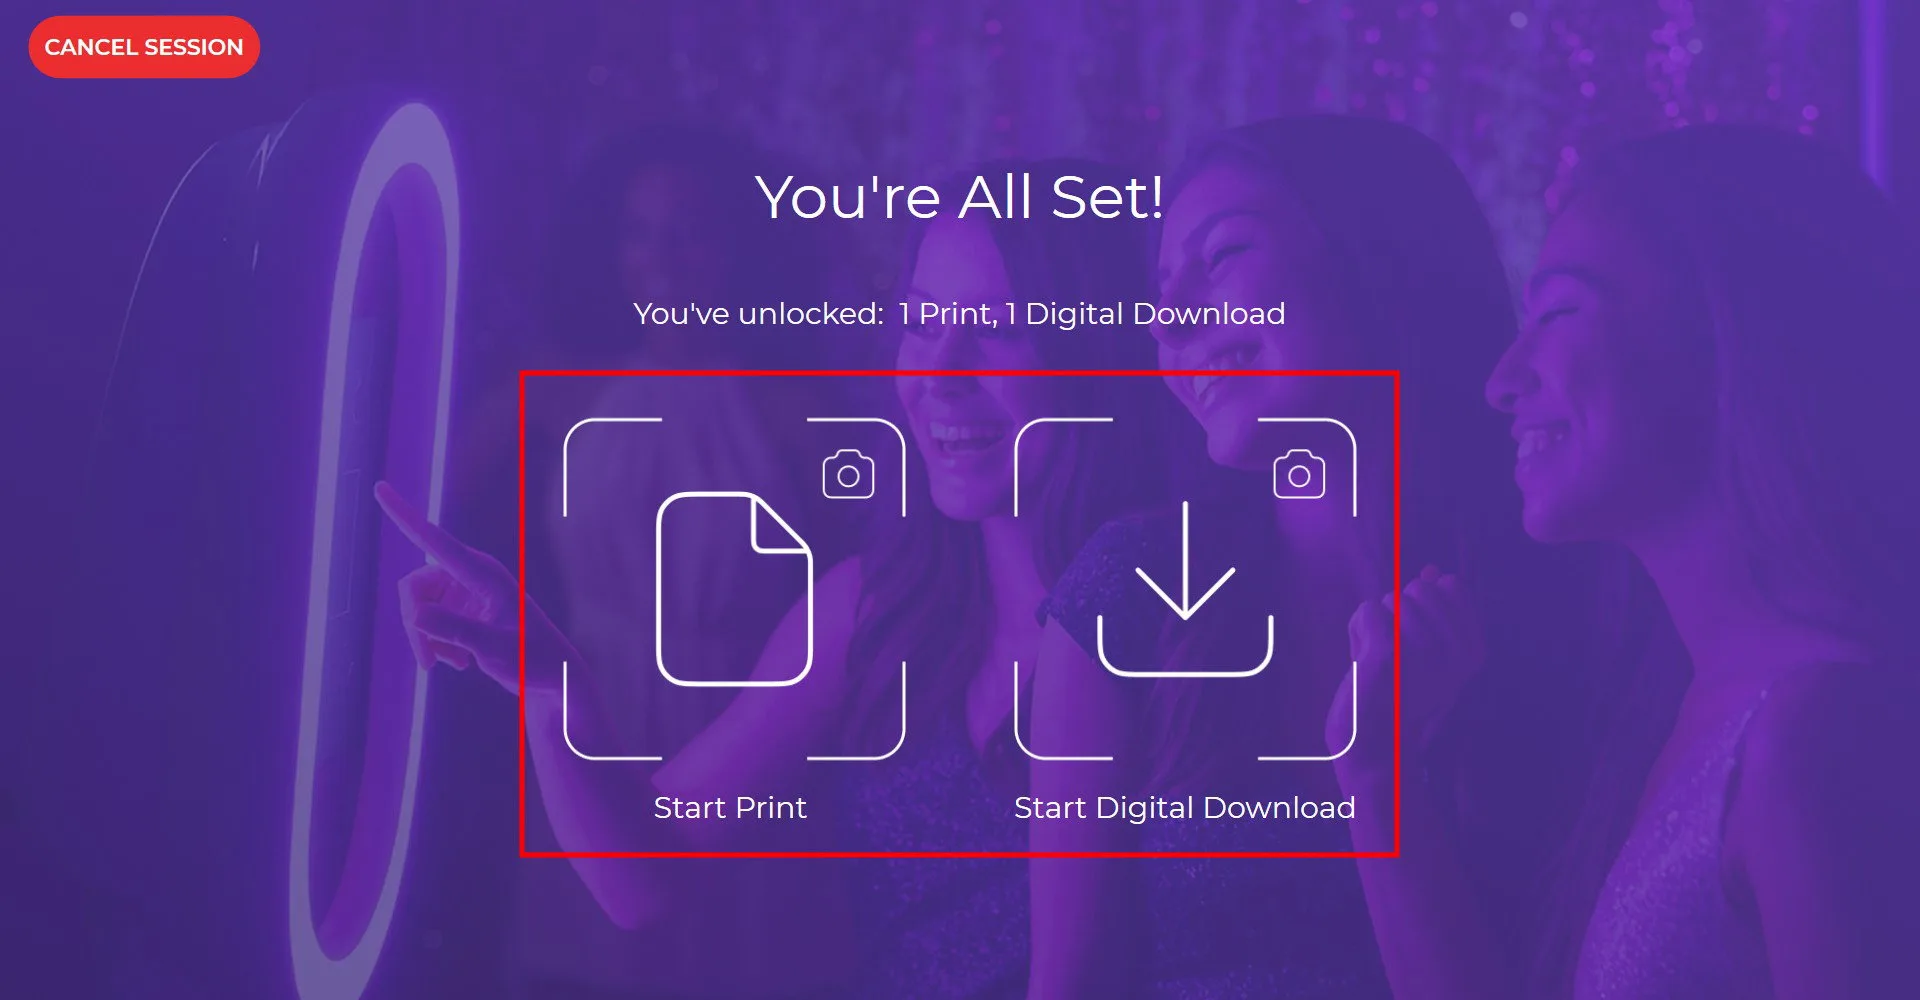
After the payment is completed, the appropriate button will appear based on the option the user purchased. Since both options were purchased in this example, there is the right to take 2 photos:
- For one photo, you can get a print and also download the digital copy.
- For the other, you can download only the digital version.
To proceed, click the desired button.
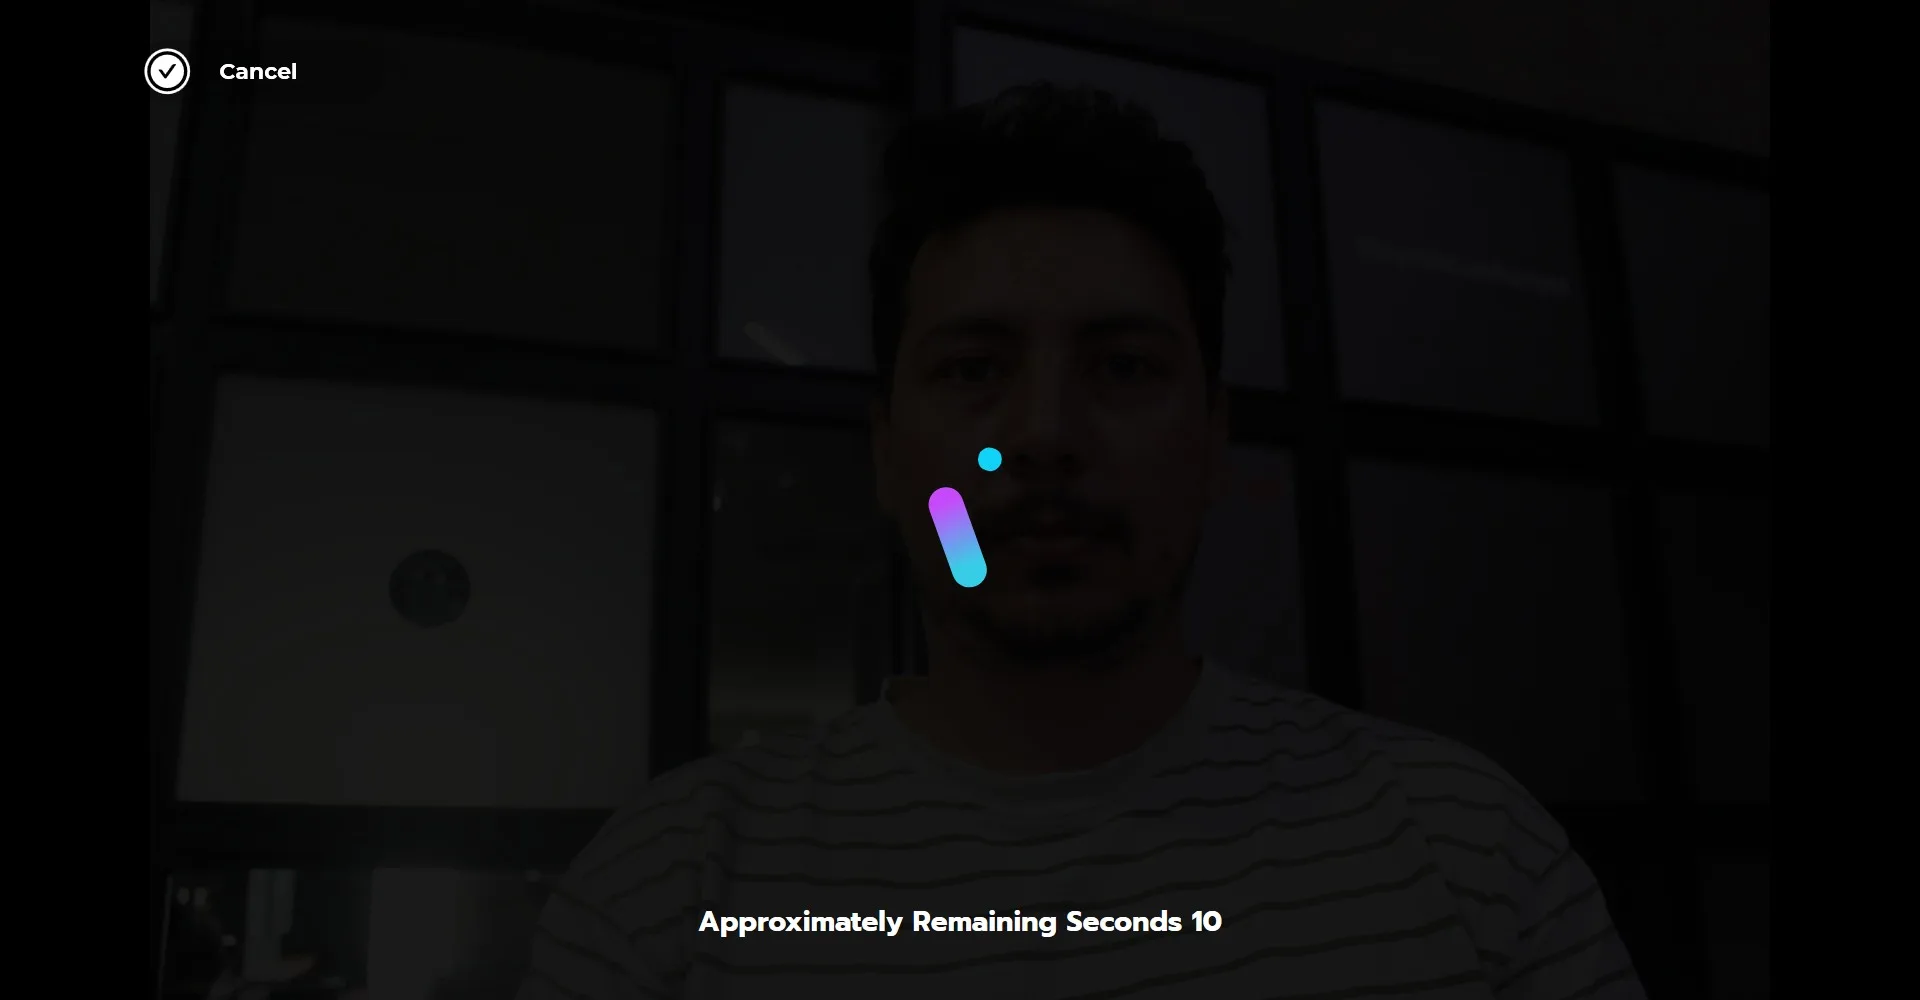
The photo capture will begin.
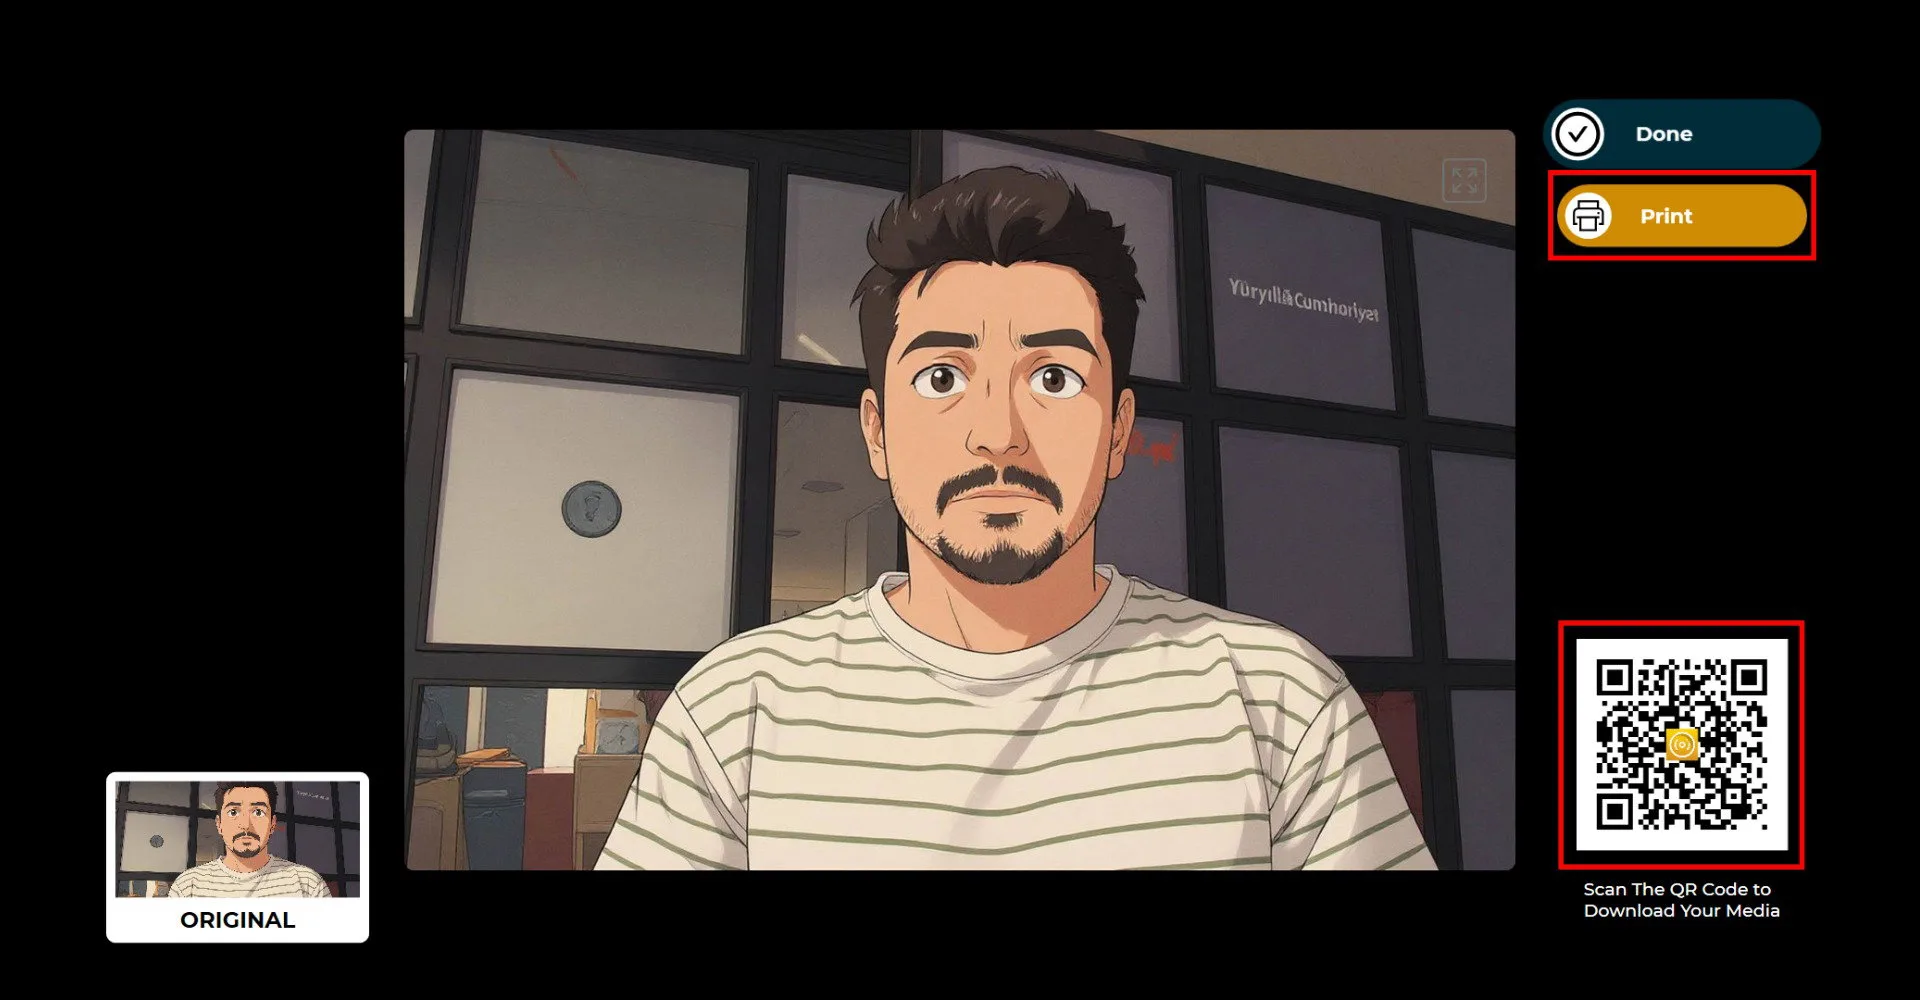
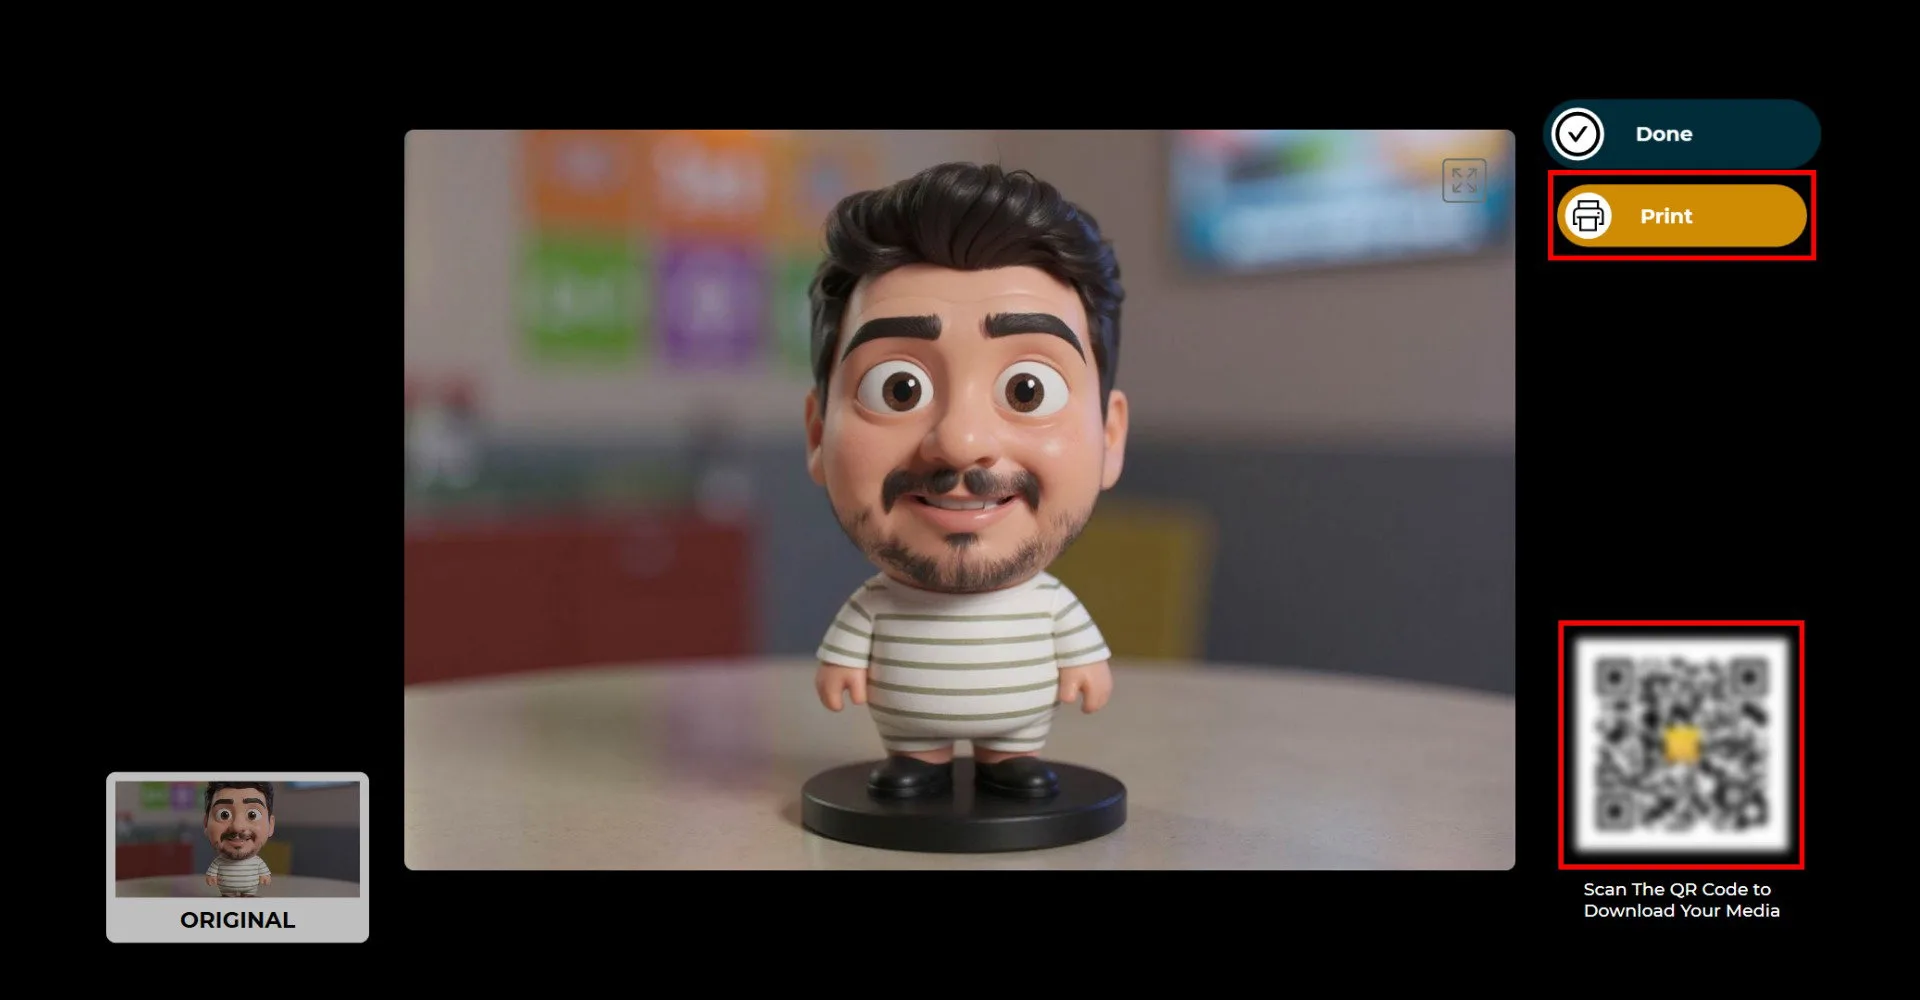
After the photo is taken, the selected mode will run. Since payment was made beforehand, the Printer and QR code options will appear active.
If you choose to take payment on the sharing screen, the QR code will appear blurred and the Print button will not be active. Clicking the Print button or the QR code will open the payment page.
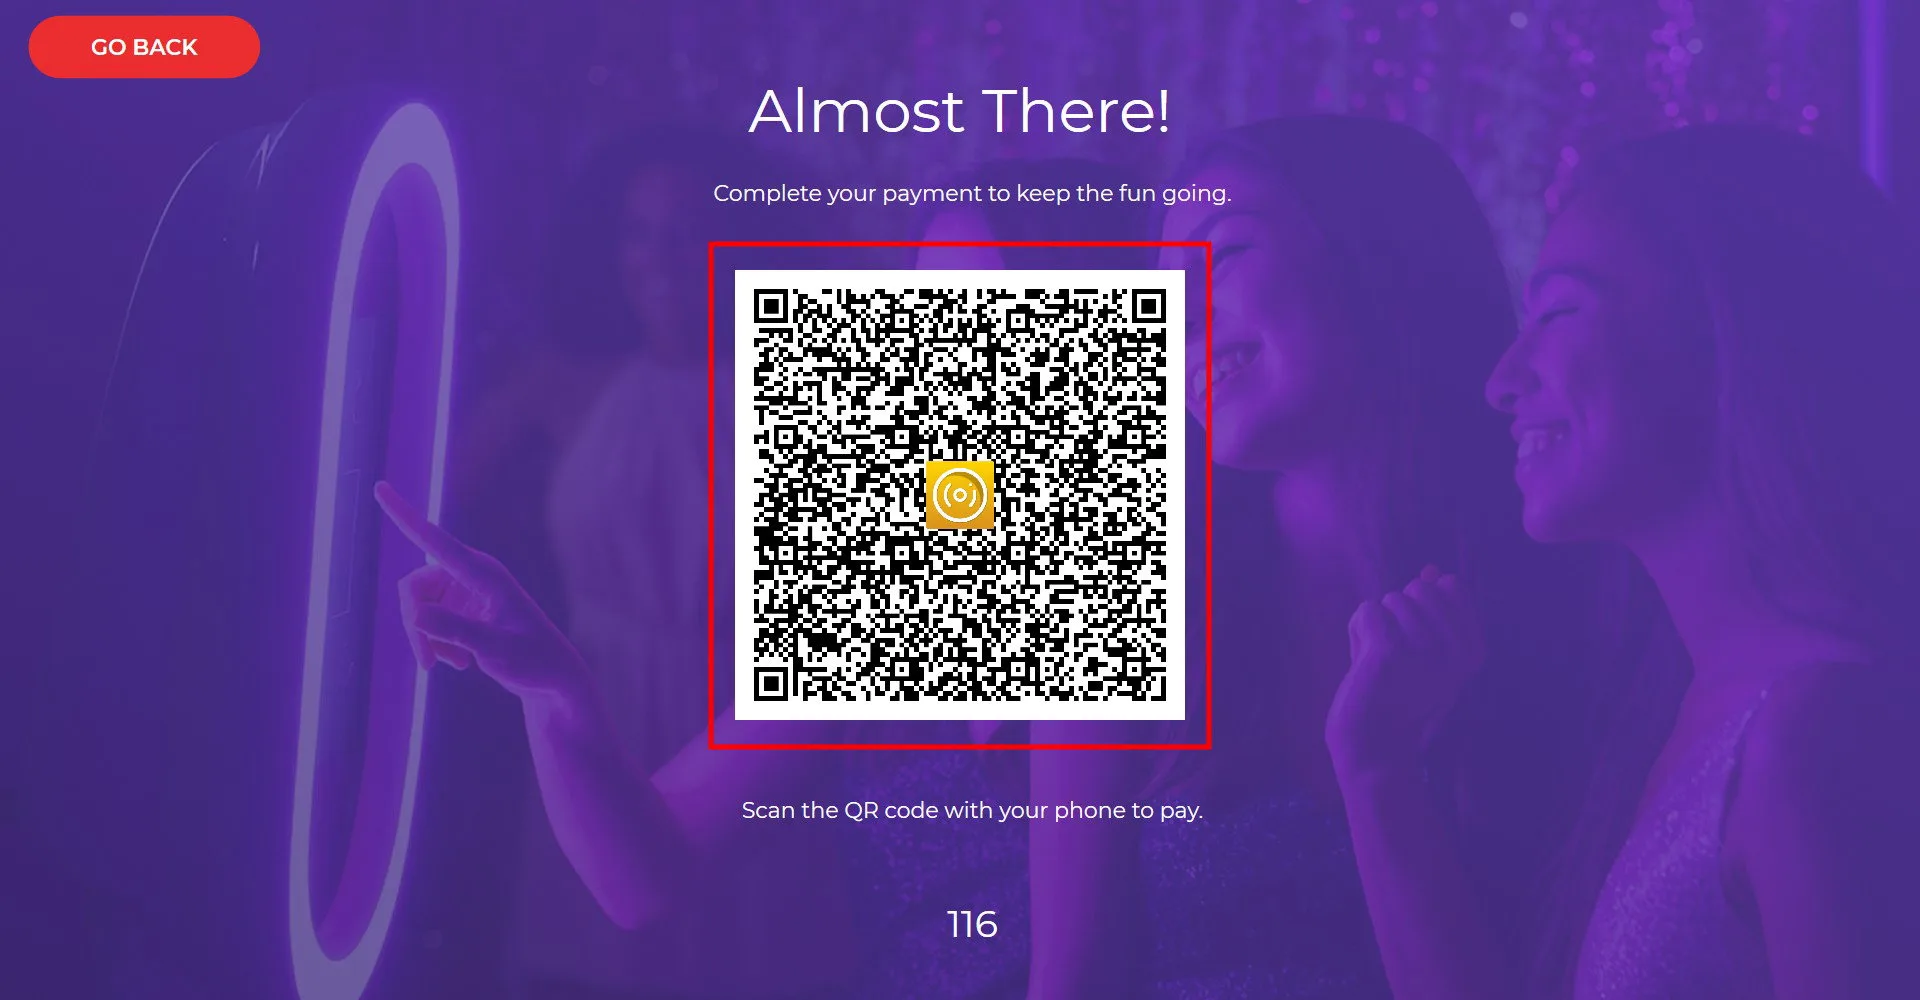
Complete the payment via the QR code.
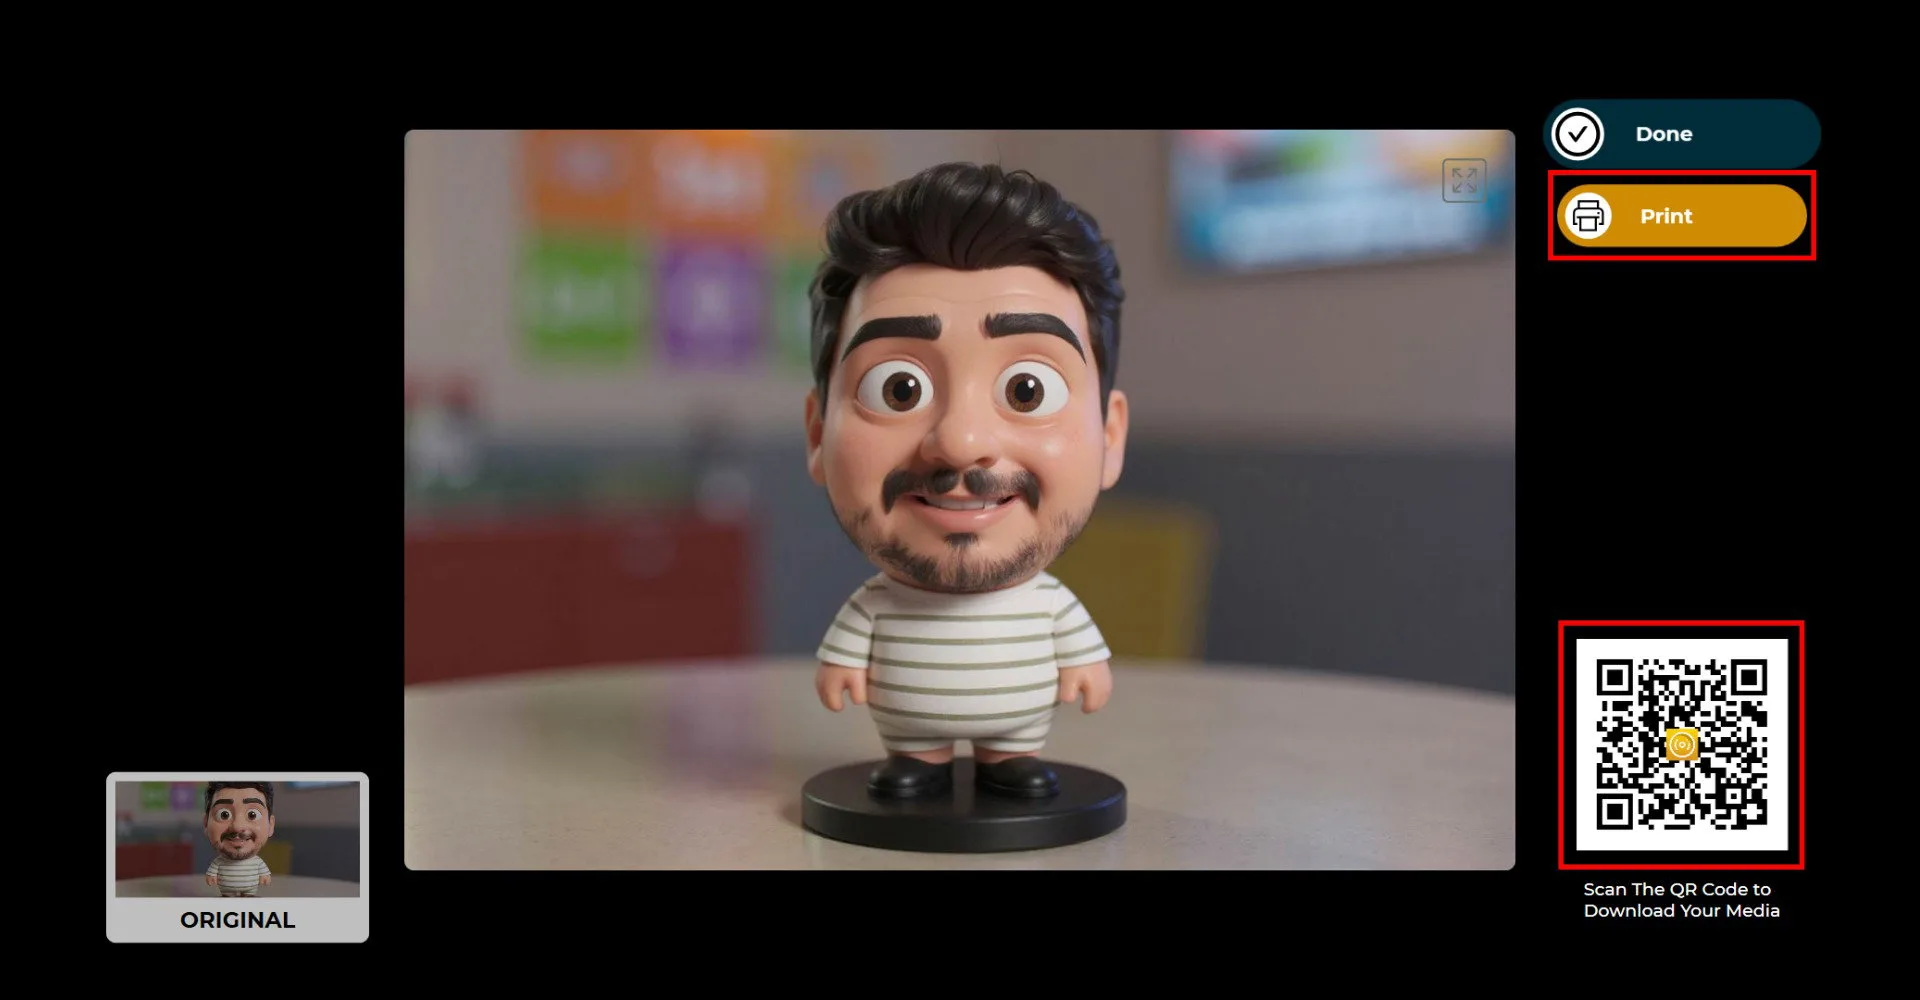
Once the payment is completed, the Print and QR code options will become active.