Mode Settings
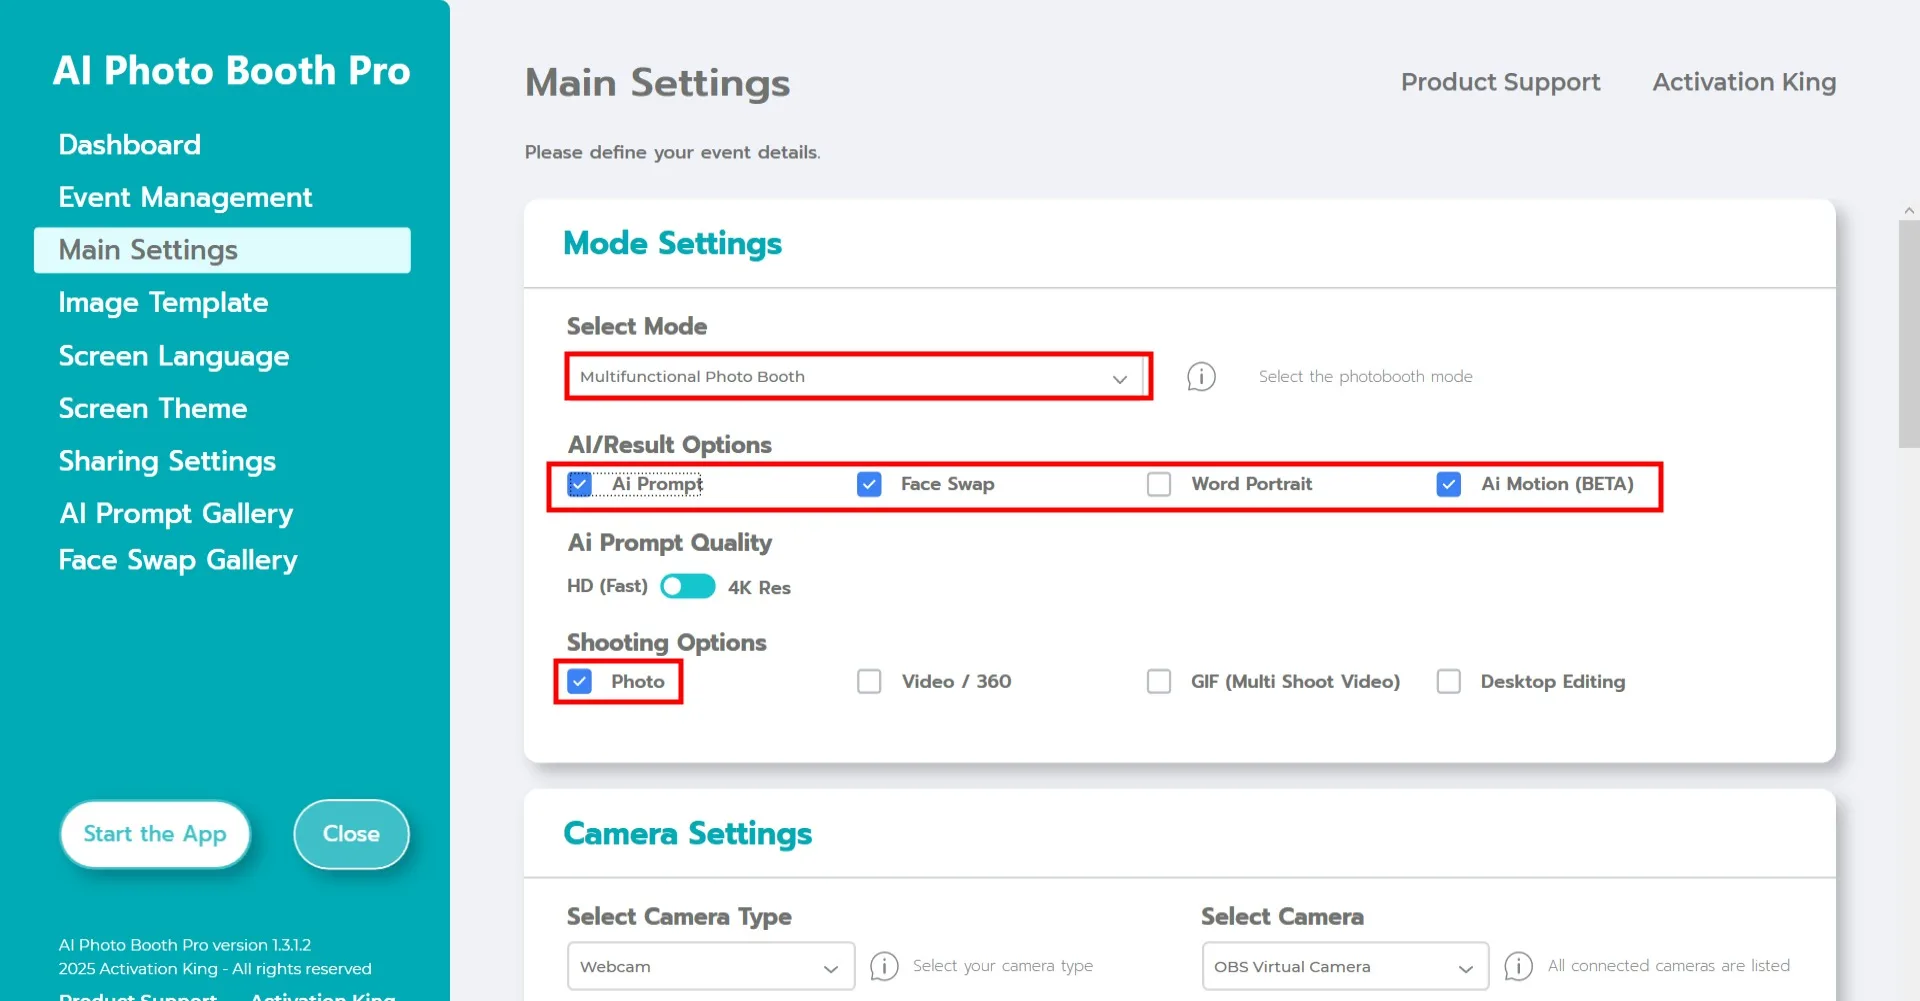
Select "Multifunctional Mode." After making your selection, choose either the "Face Swap" or "AI Prompt" button from the options below. Then activate the "AI Motion" toggle.
Camera Settings
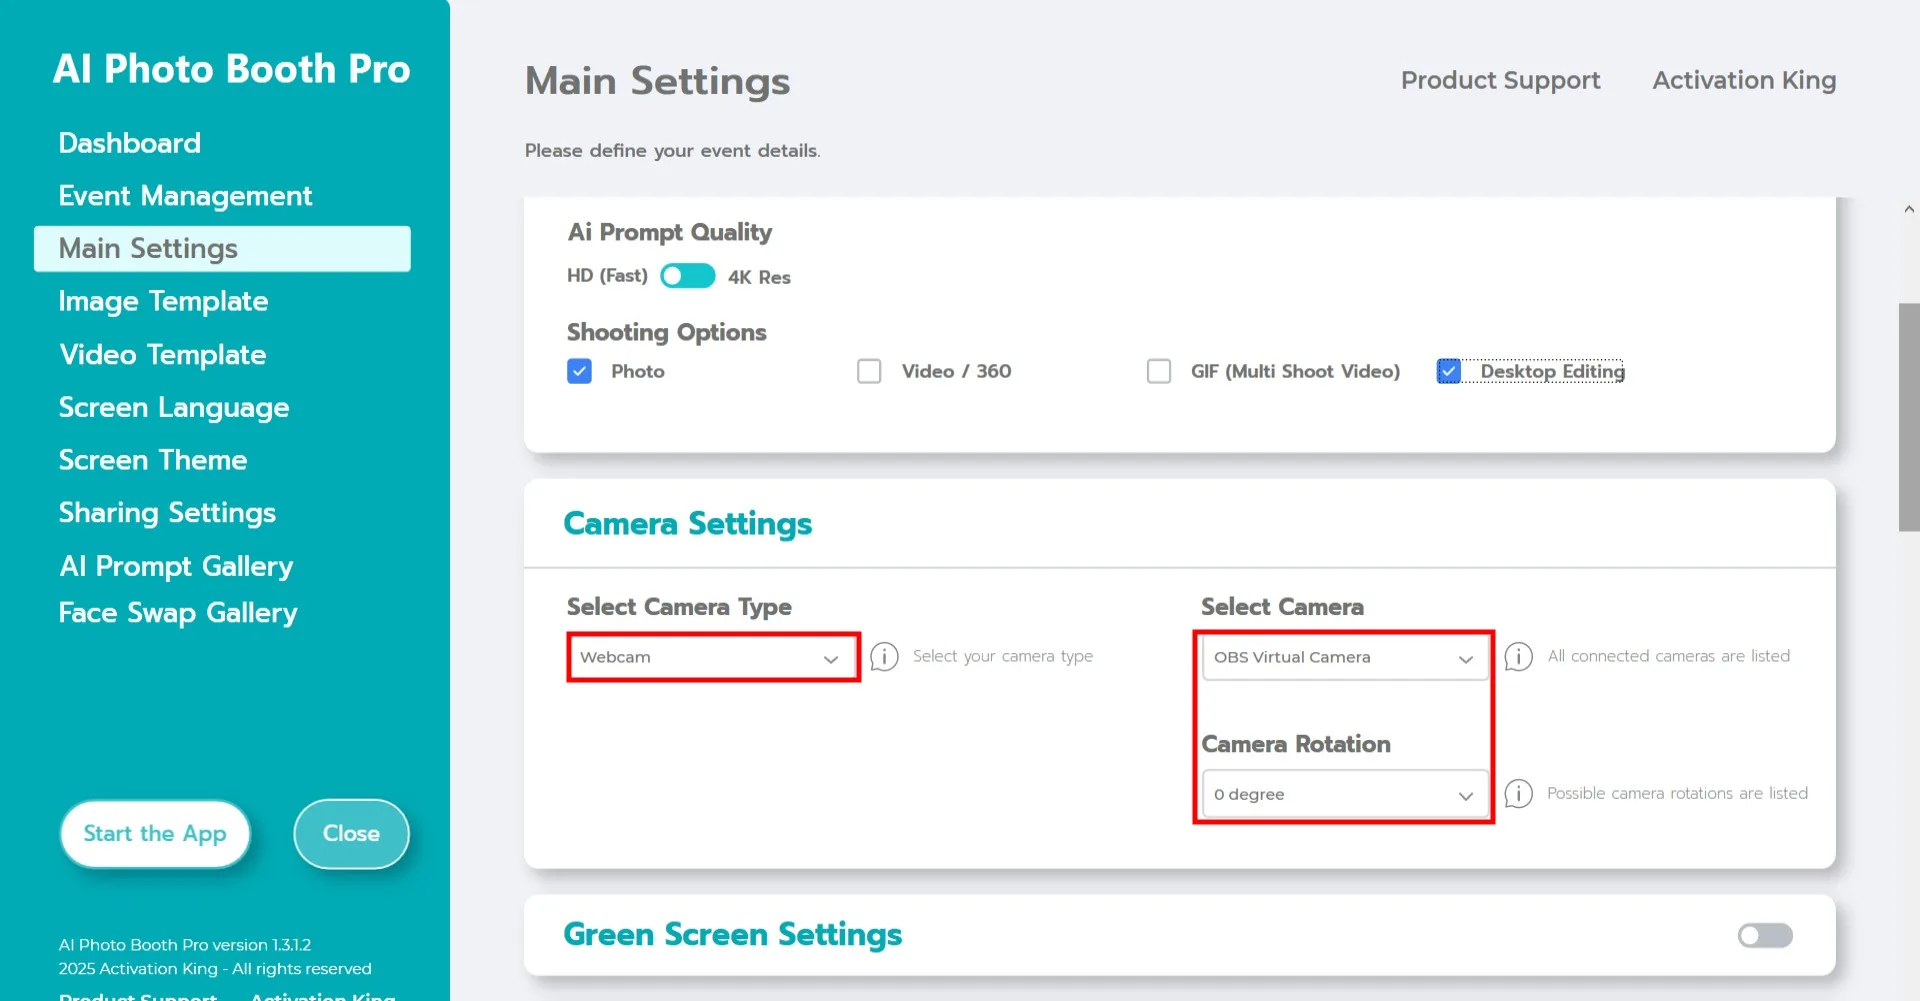
In the "Camera Settings" section, select the camera type you want to use from the "Select Camera Type" dropdown. Once your camera is connected to the computer, it will appear in the "Select Camera" field.
(If it does not appear, make sure your camera is powered on and properly connected, then try again.)
After selecting your camera, adjust the orientation for horizontal or vertical use in the "Camera Rotation" section.
In the "Shooting Options" section, activate the Photo button.
If you would like to use existing photos from your device, you can also activate the "Desktop Editing" button.
Shooting Settings
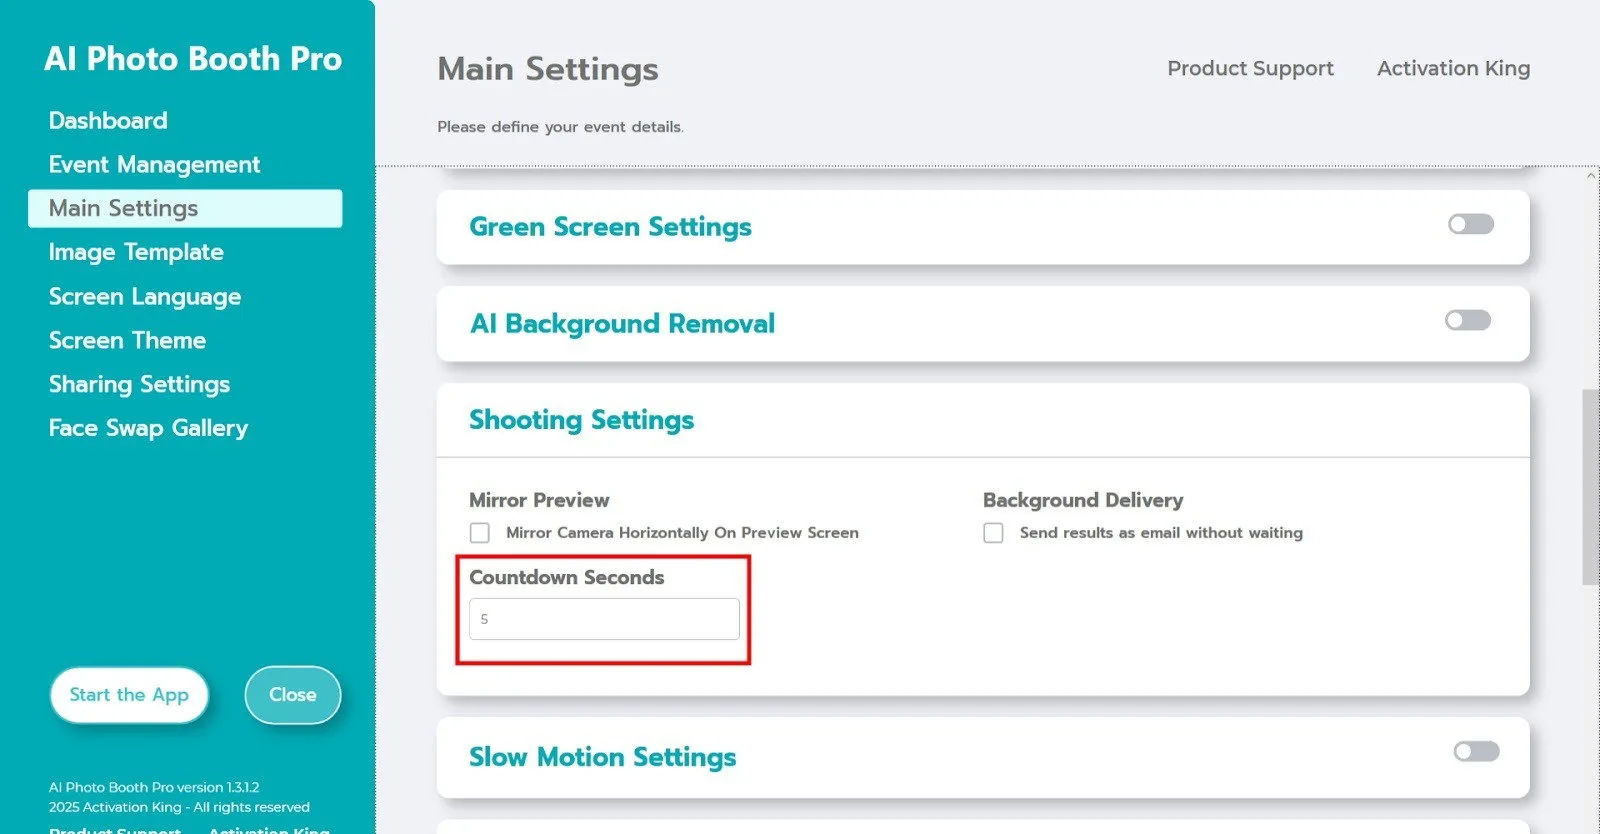
The "Countdown Seconds" field within Camera Settings determines how long the timer runs after you give the photo capture command, giving you time to see yourself on screen and adjust your pose. Set your preferred countdown duration here.
For more information about the AI Face Swap or AI Prompt modes, please visit their respective pages.
Start the App
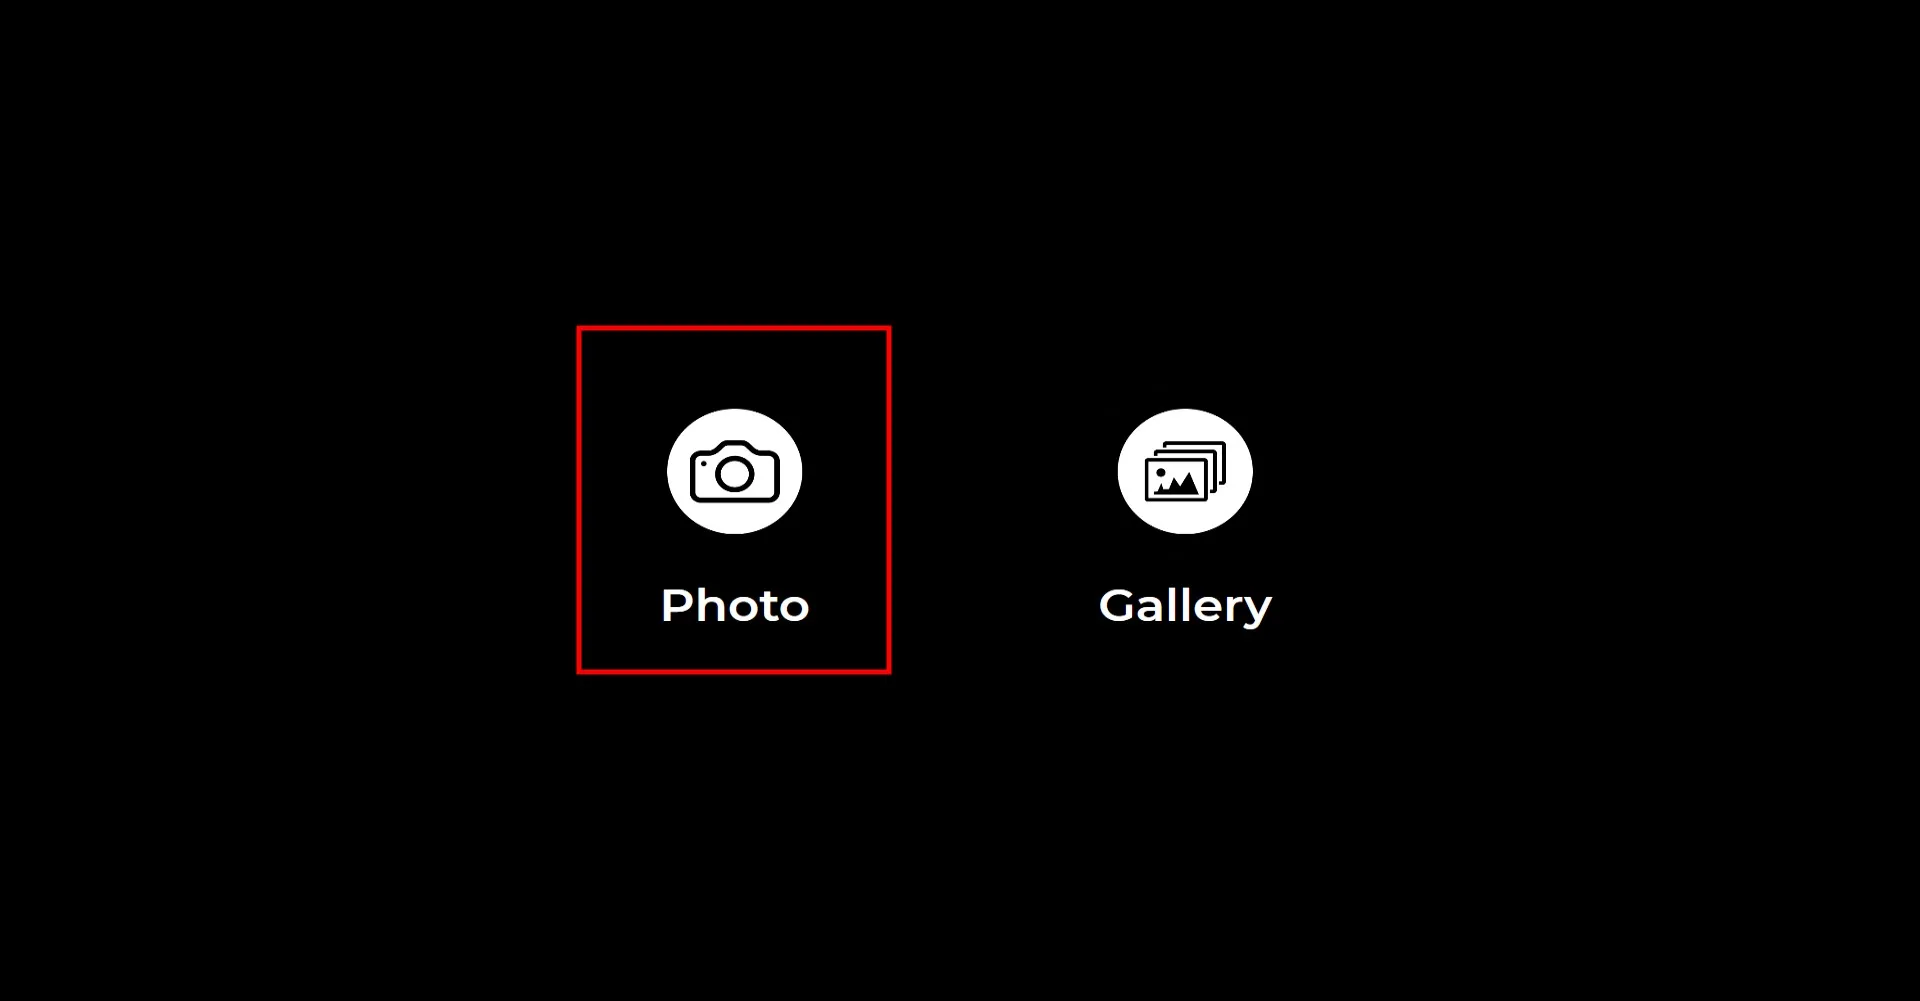
When you open the "Start the App" section, this screen will appear. Click the "Photo" icon once.
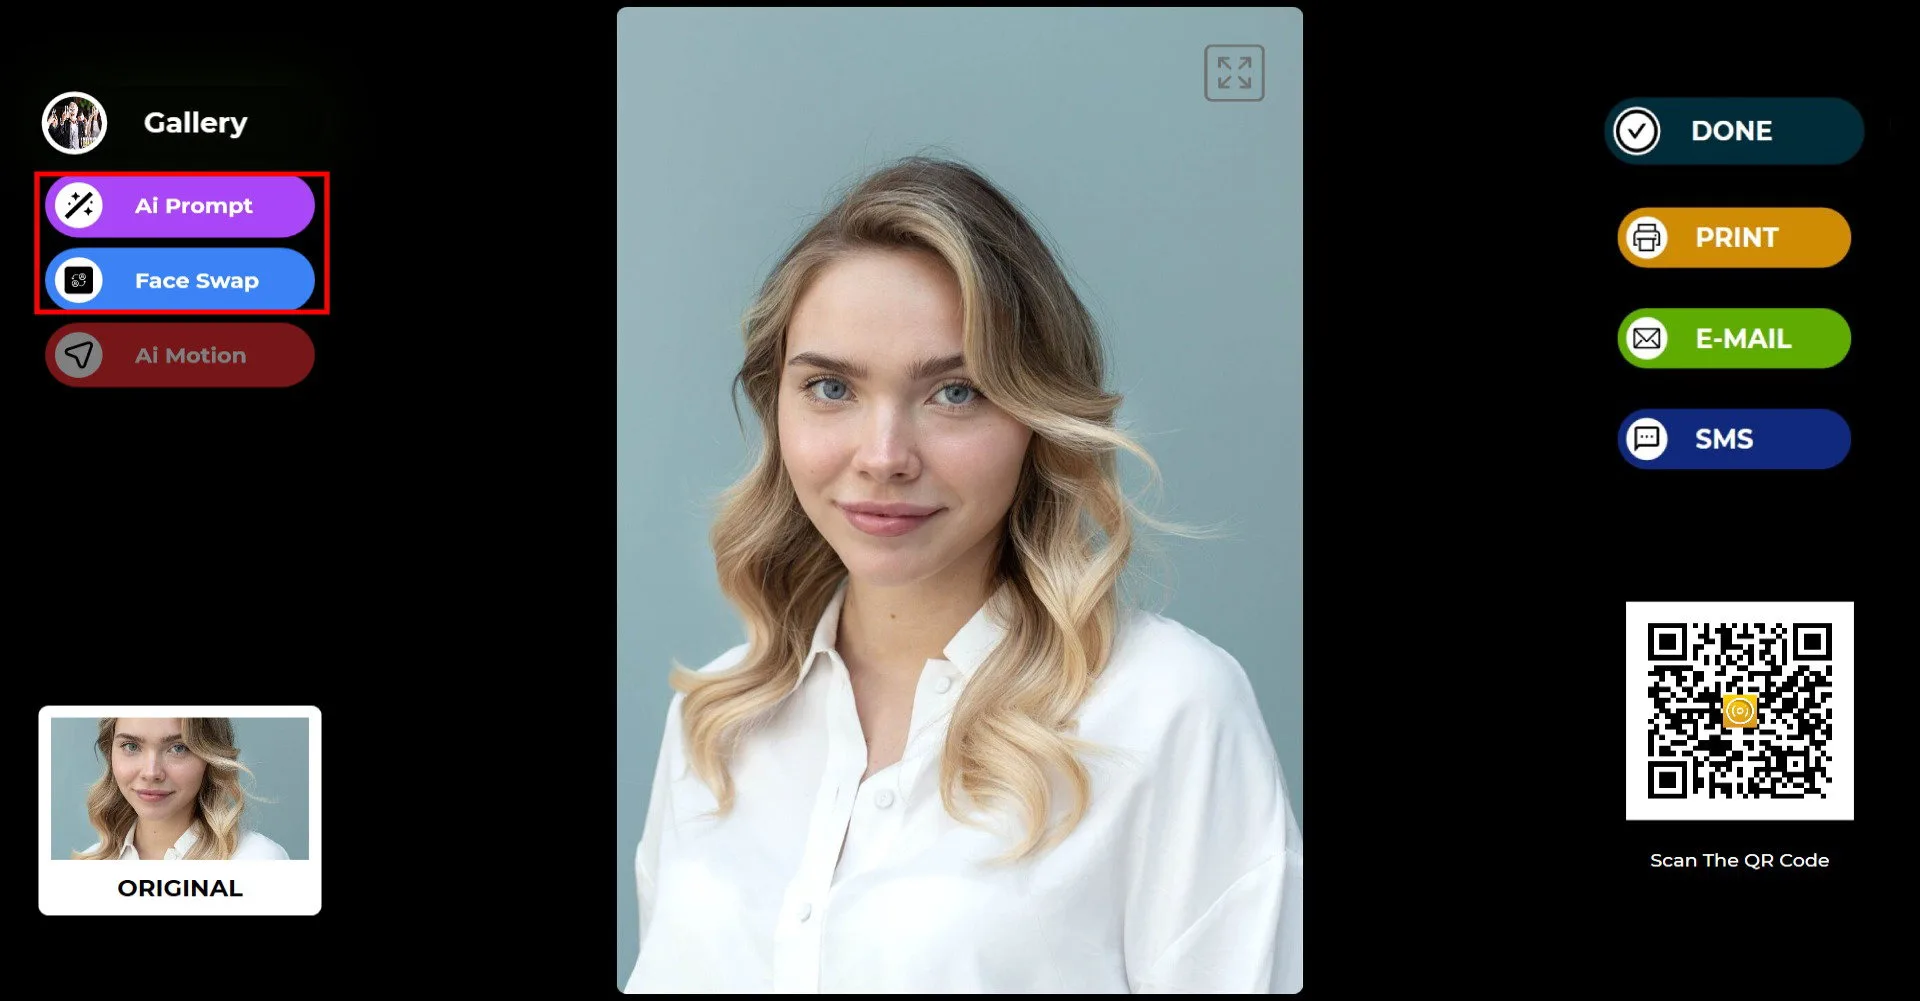
After taking the photo, click the button of the mode you want to use from the top-left section.
In this example, the AI Prompt mode is used.
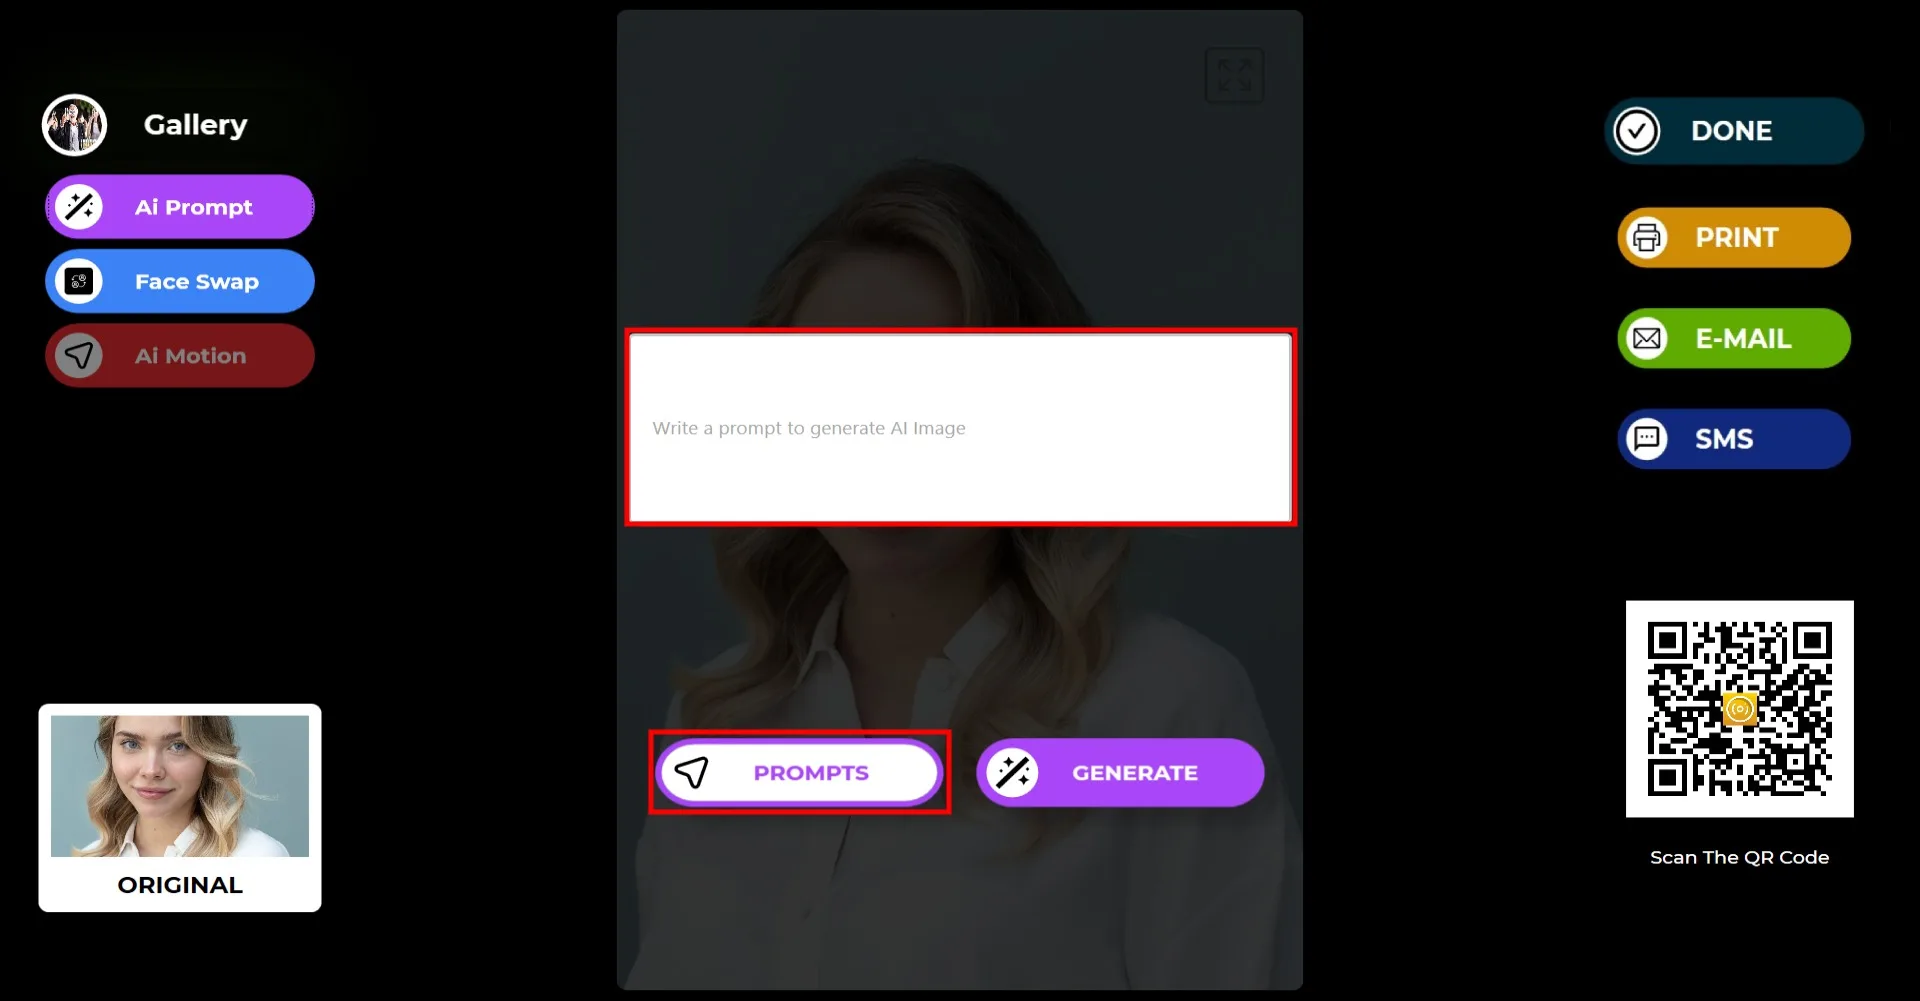
You can enter any prompt you want, or click the "Prompt" button to access prompts you have added under the Sample Prompts tab.
Click the "Prompt" button.
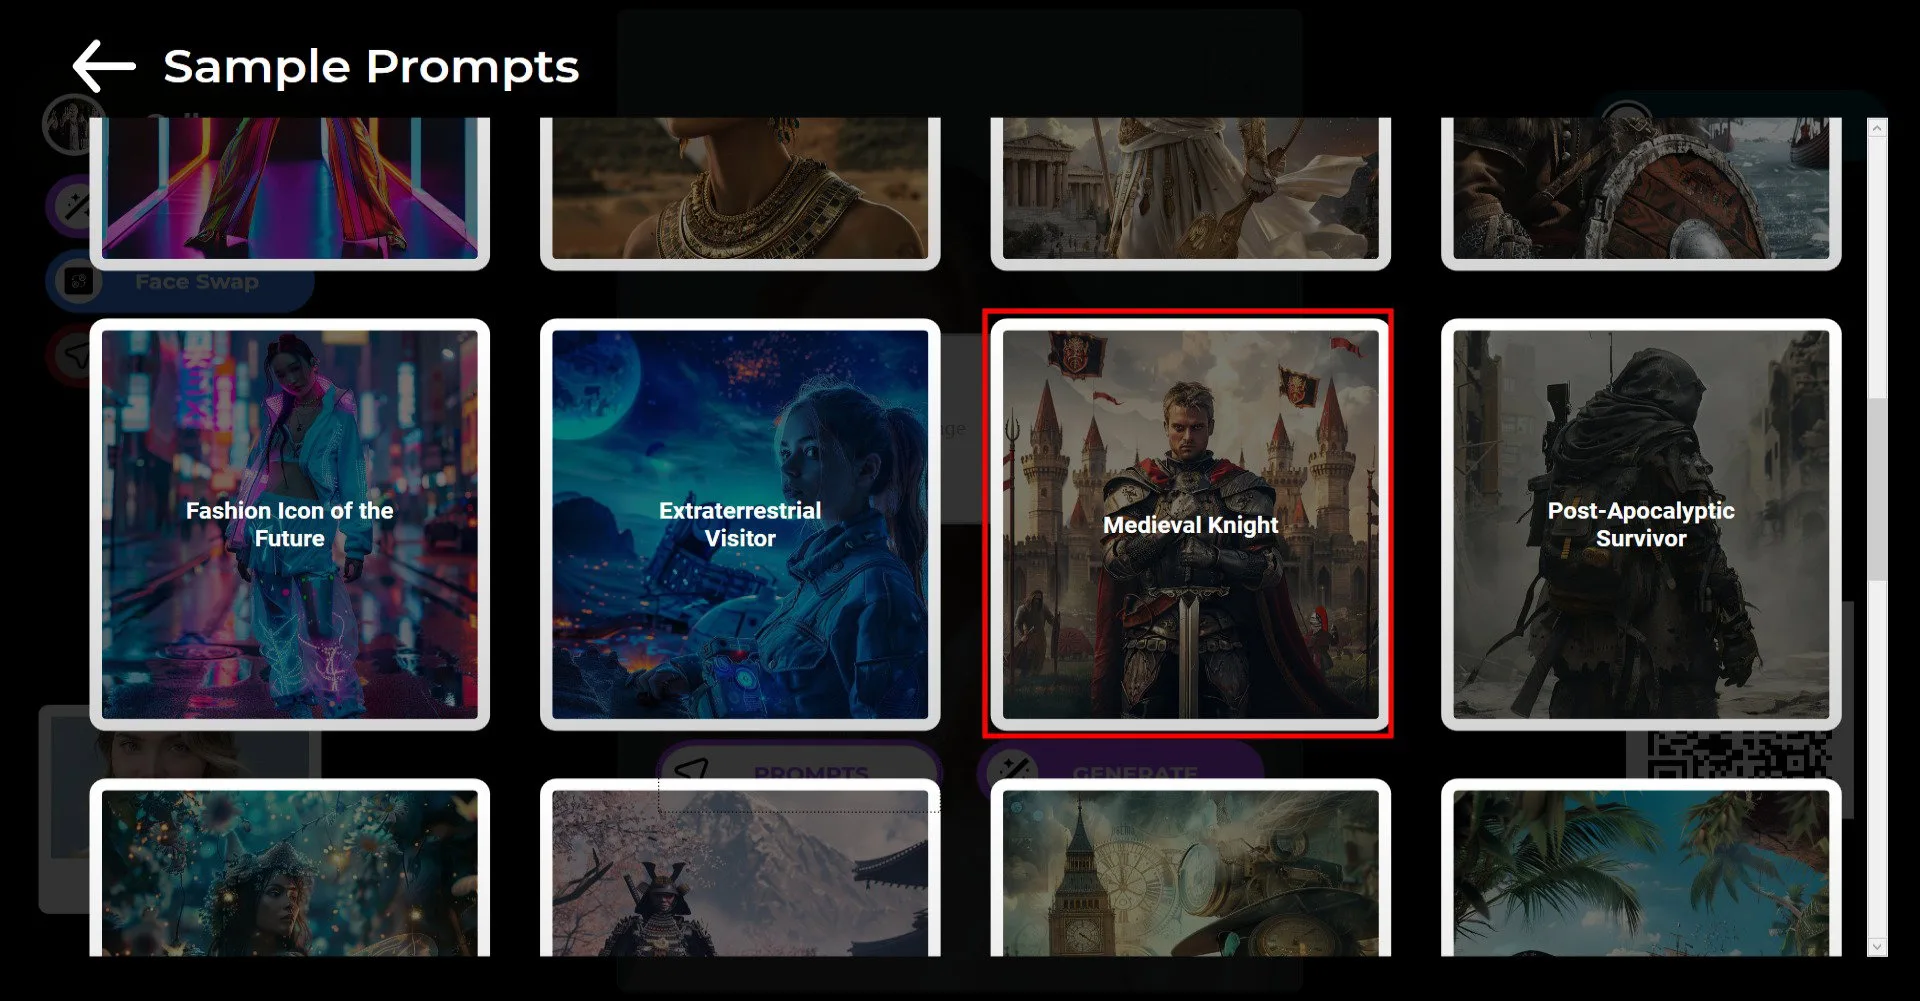
Select your prompt.
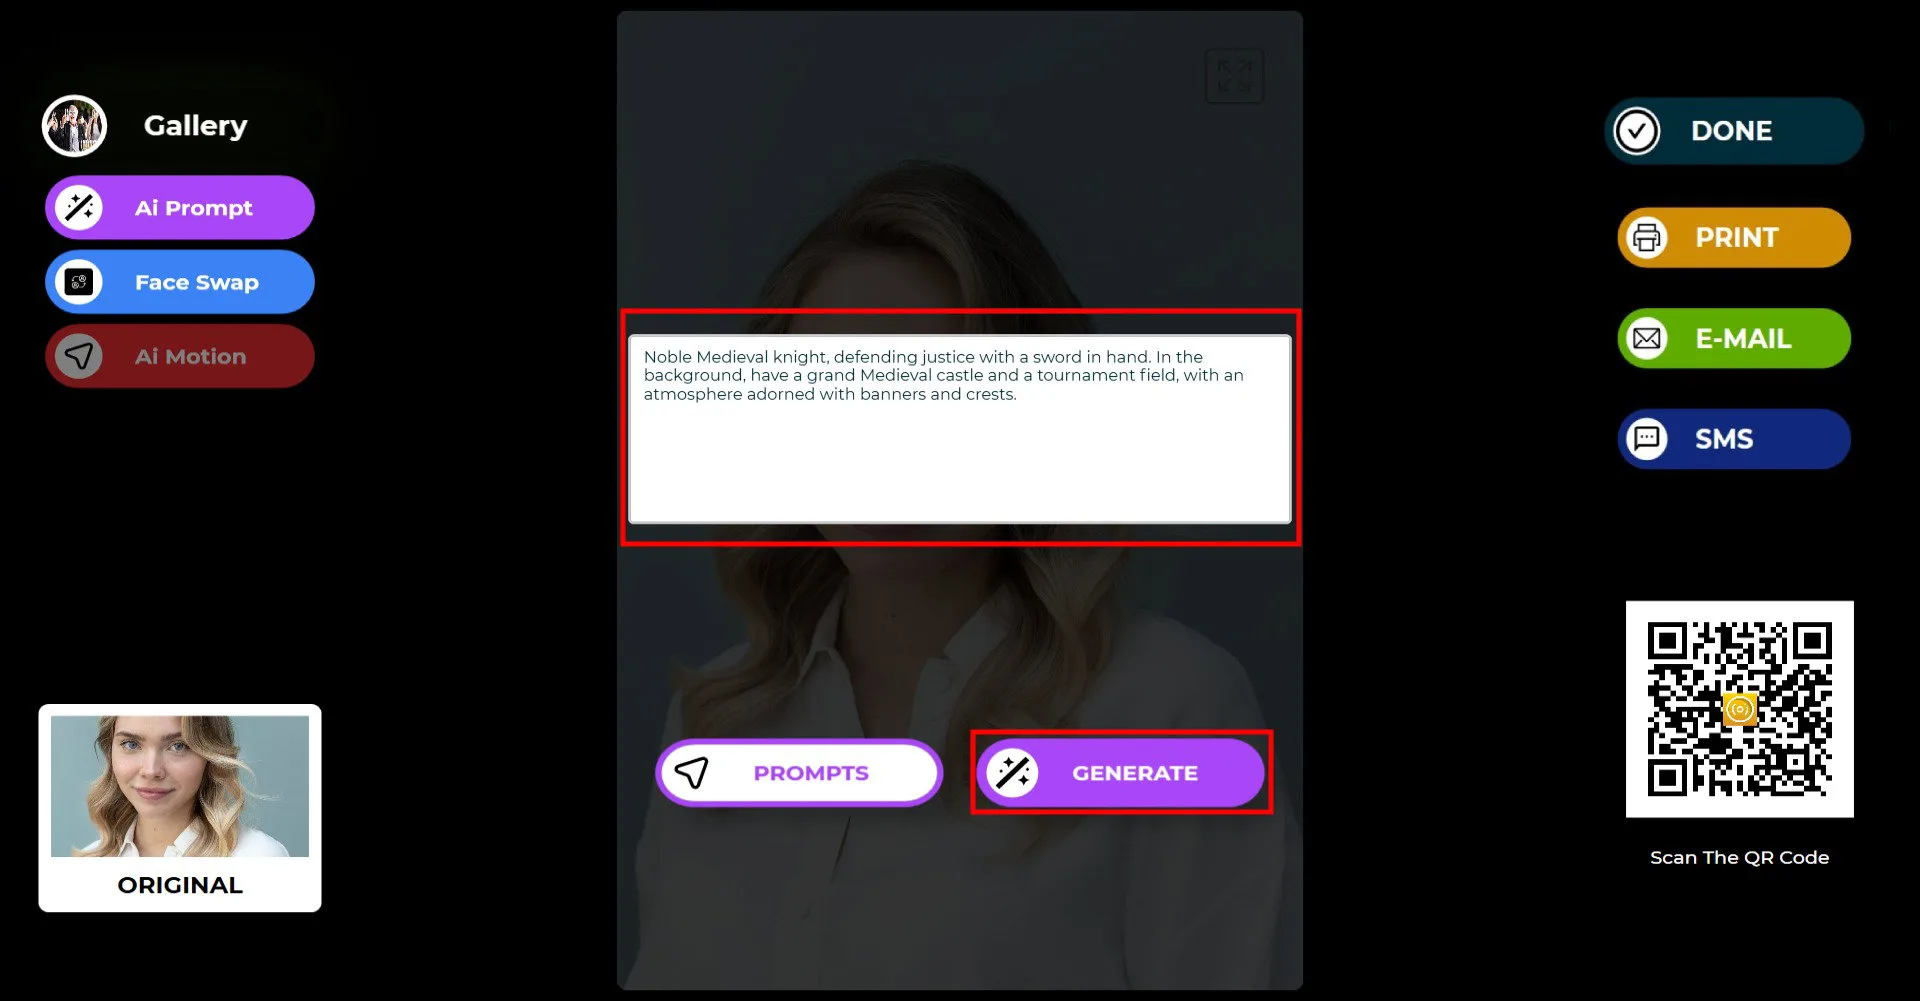
After selecting your prompt, click the Generate button.
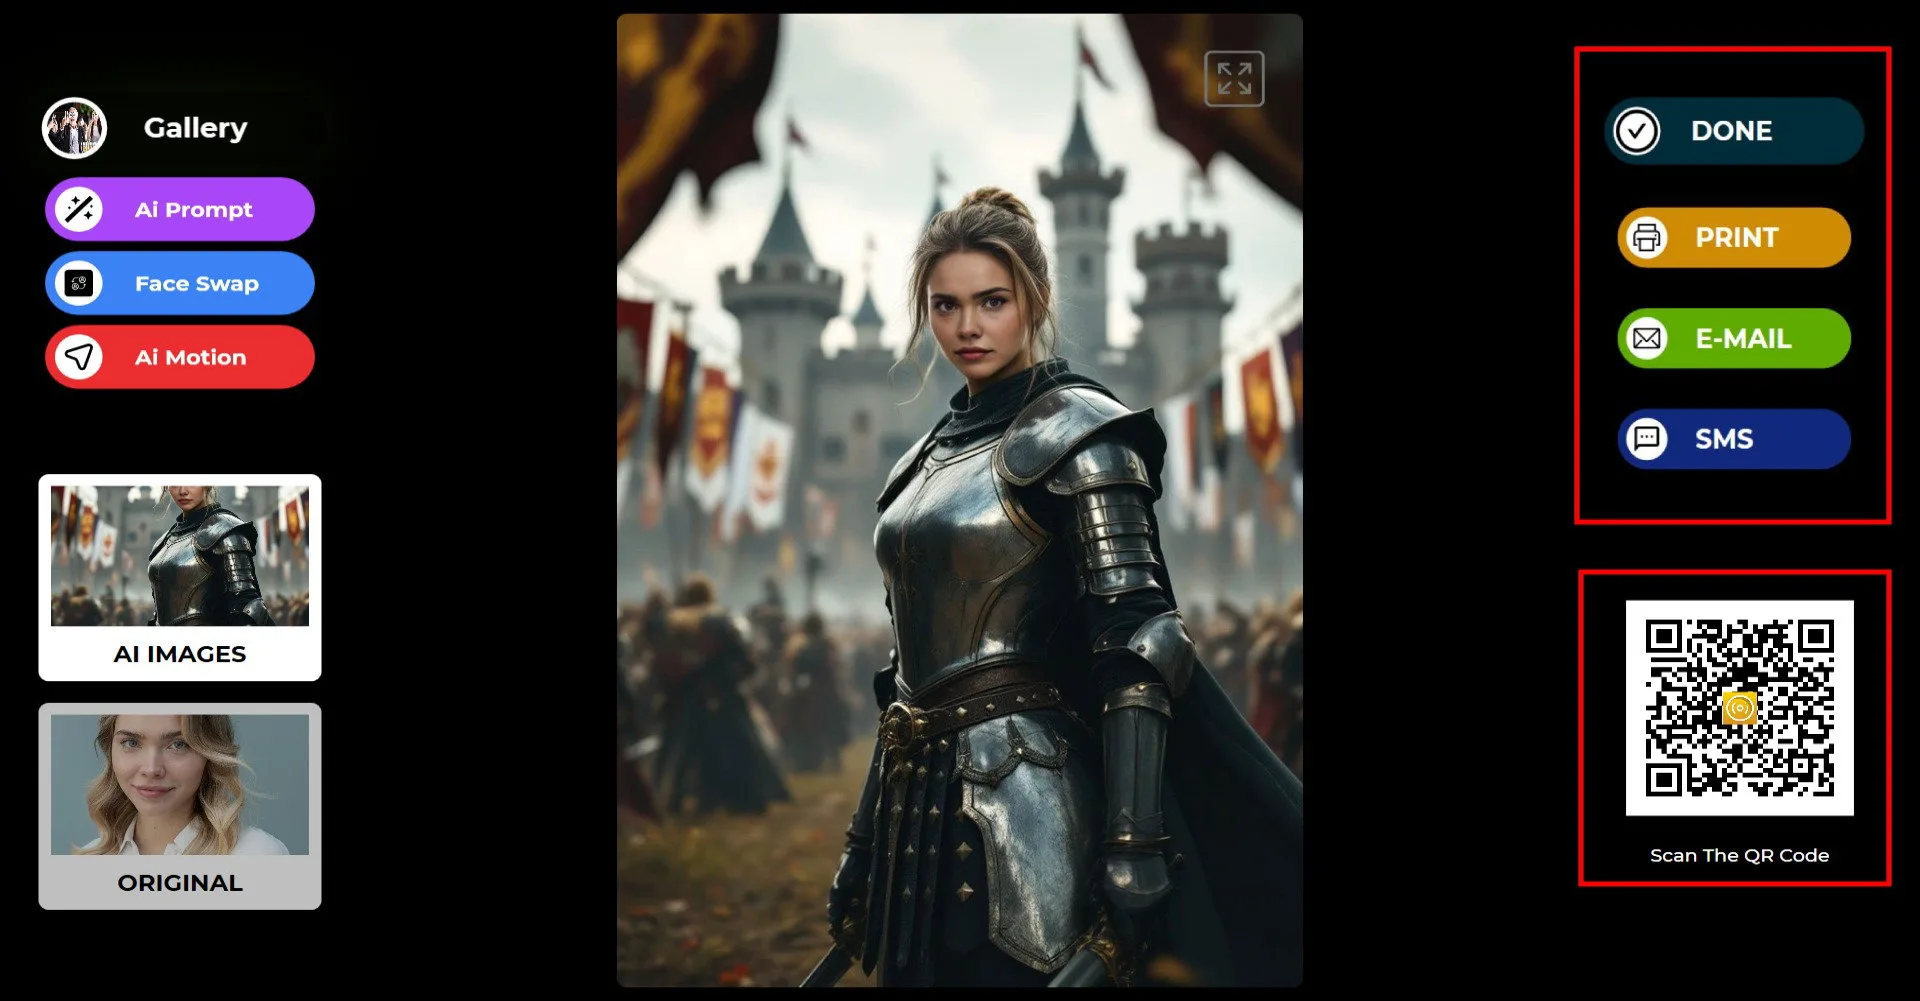
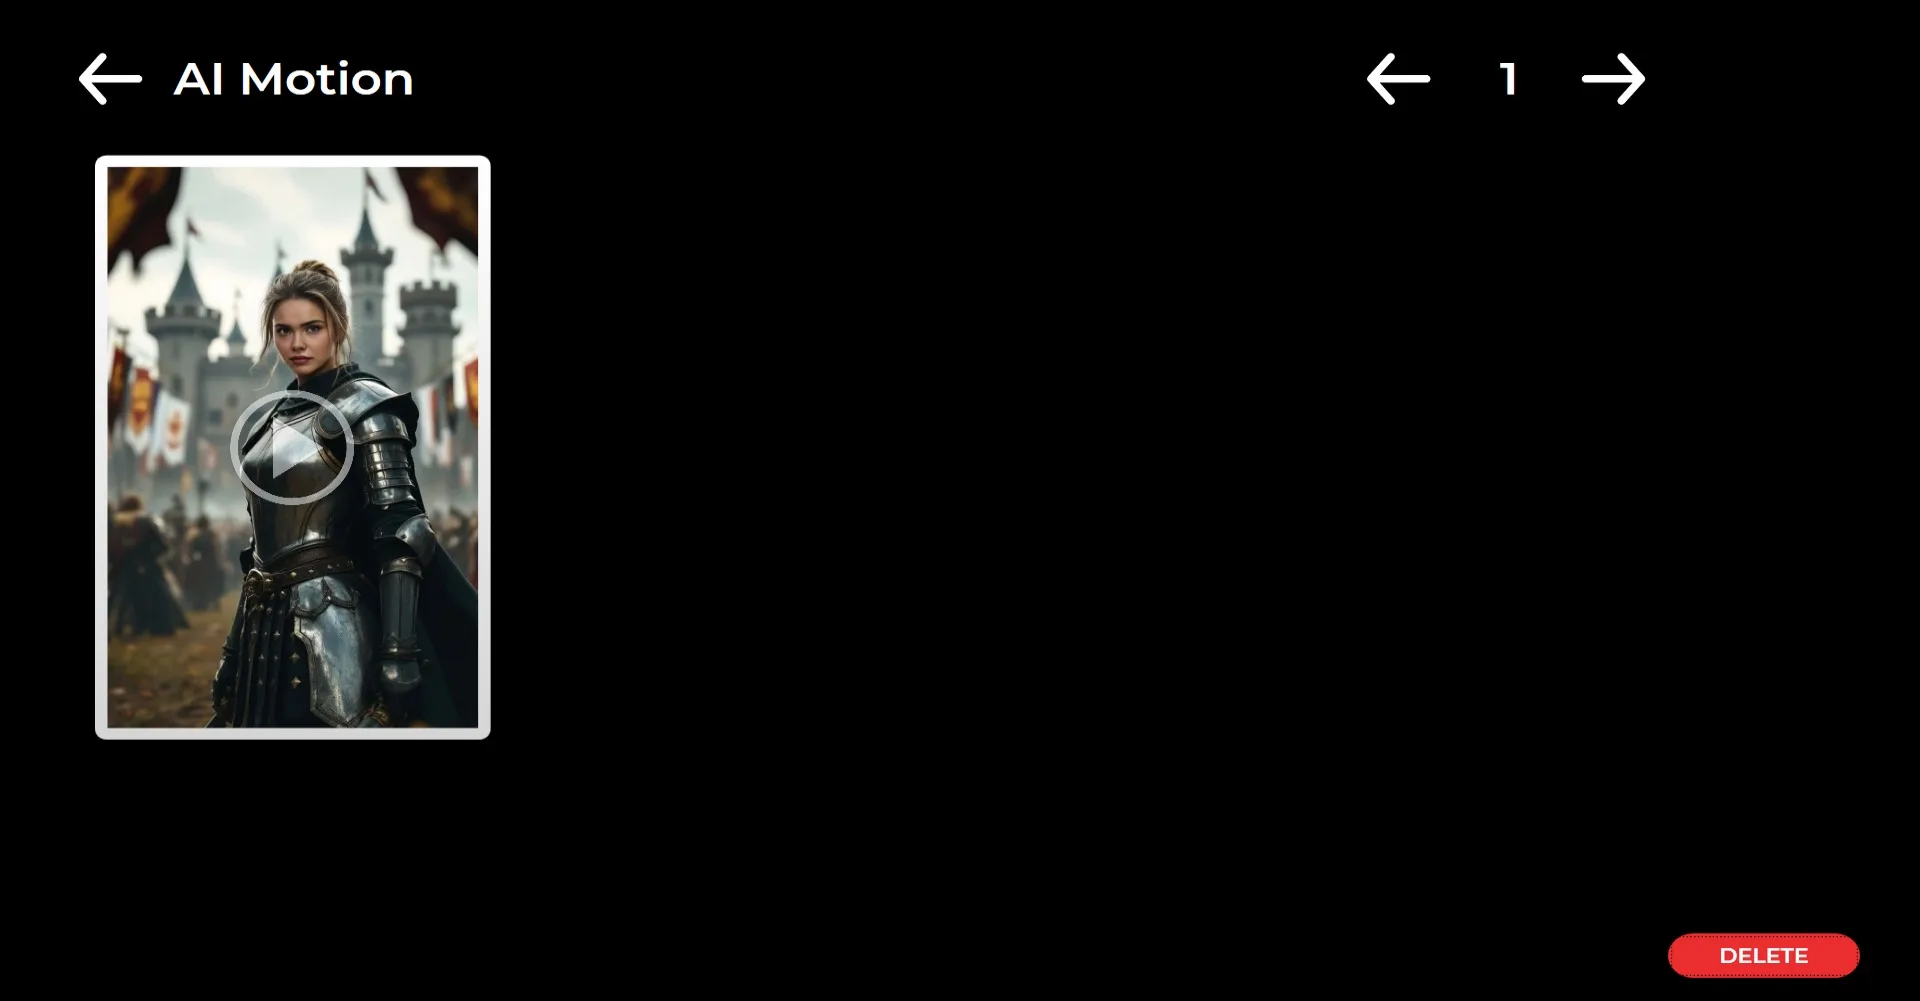
Once your photo is created, click the AI Motion button. This process may take a few minutes. You do not need to wait for it to finish; you can start another task while the system continues processing in the background.
If you are using this mode during an event, participants can scan the QR code and leave. When processing is complete, their videos will automatically appear at the QR link. This helps prevent long queues.
On the right side, you can use Print, E-mail, SMS, or QR code options to deliver the output.
To return to the capture screen, click the "DONE" icon.
When you click the "Gallery" icon, you can access all previously captured images.