Mode Settings
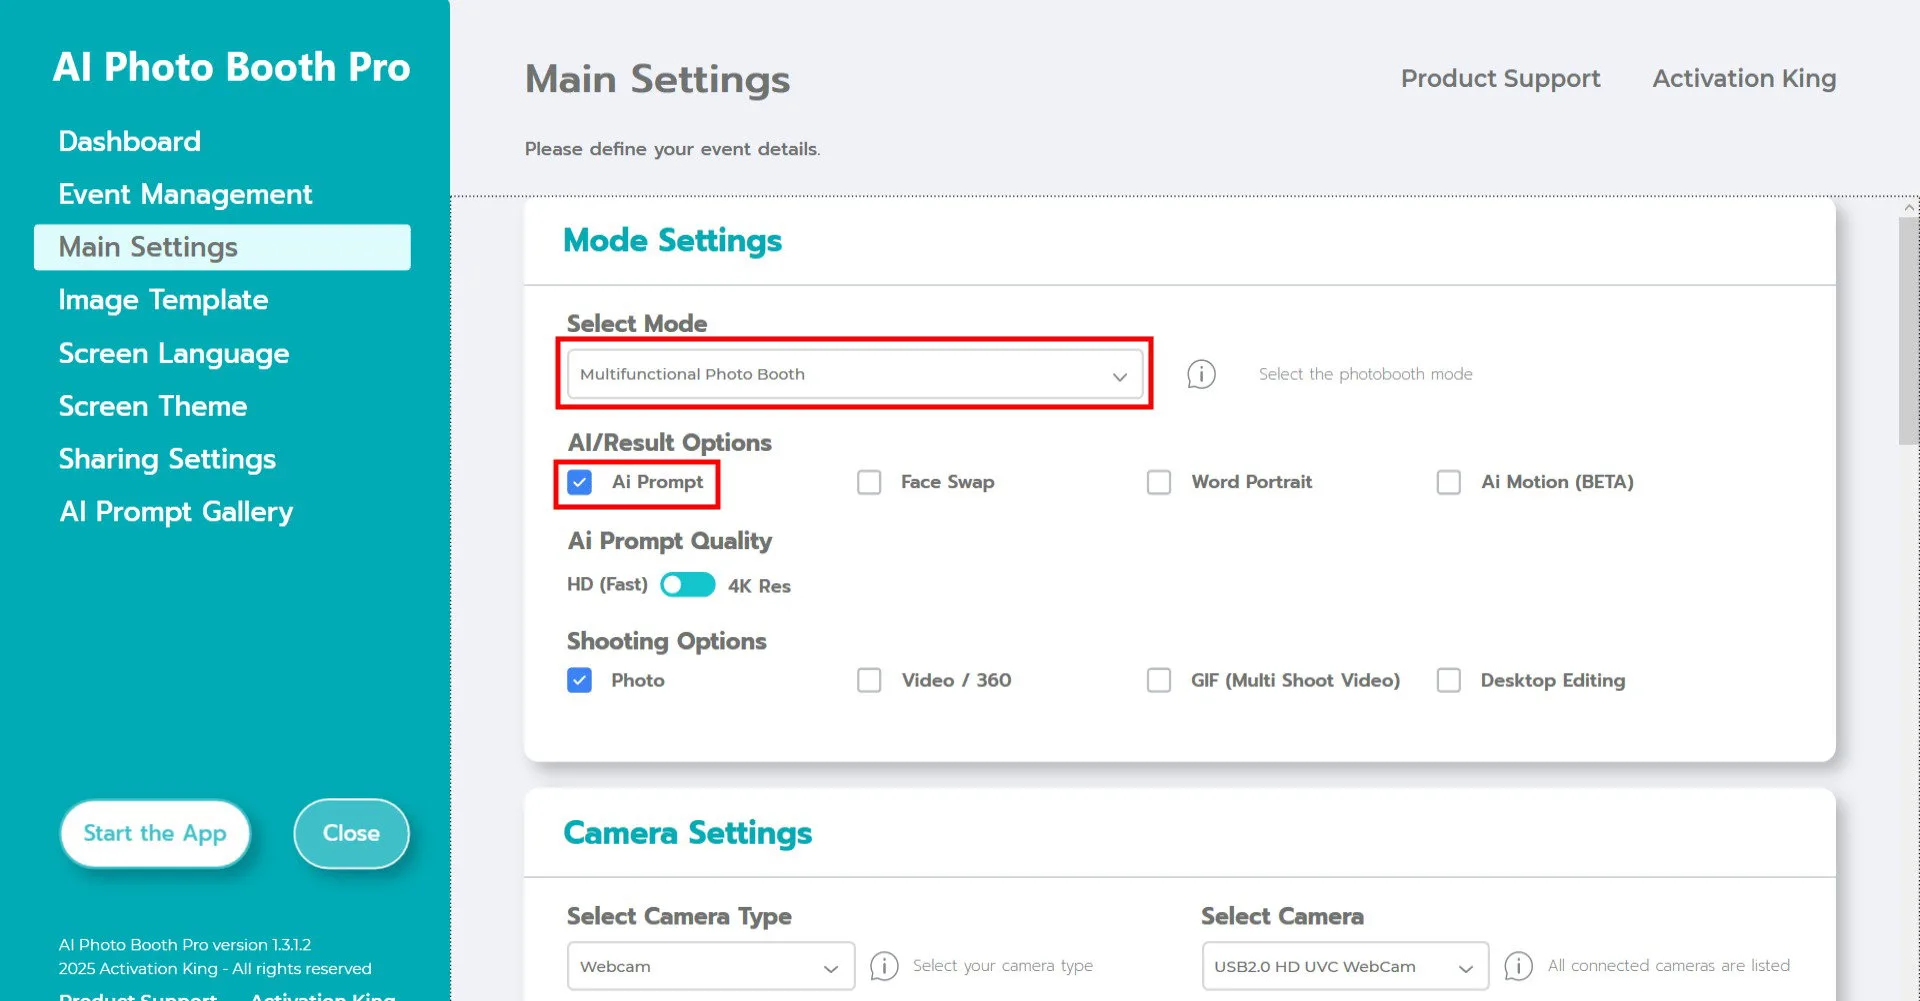
Select Multifunctional Mode.
After selecting the mode, check the AI Prompt option from the menu below.
Camera Settings
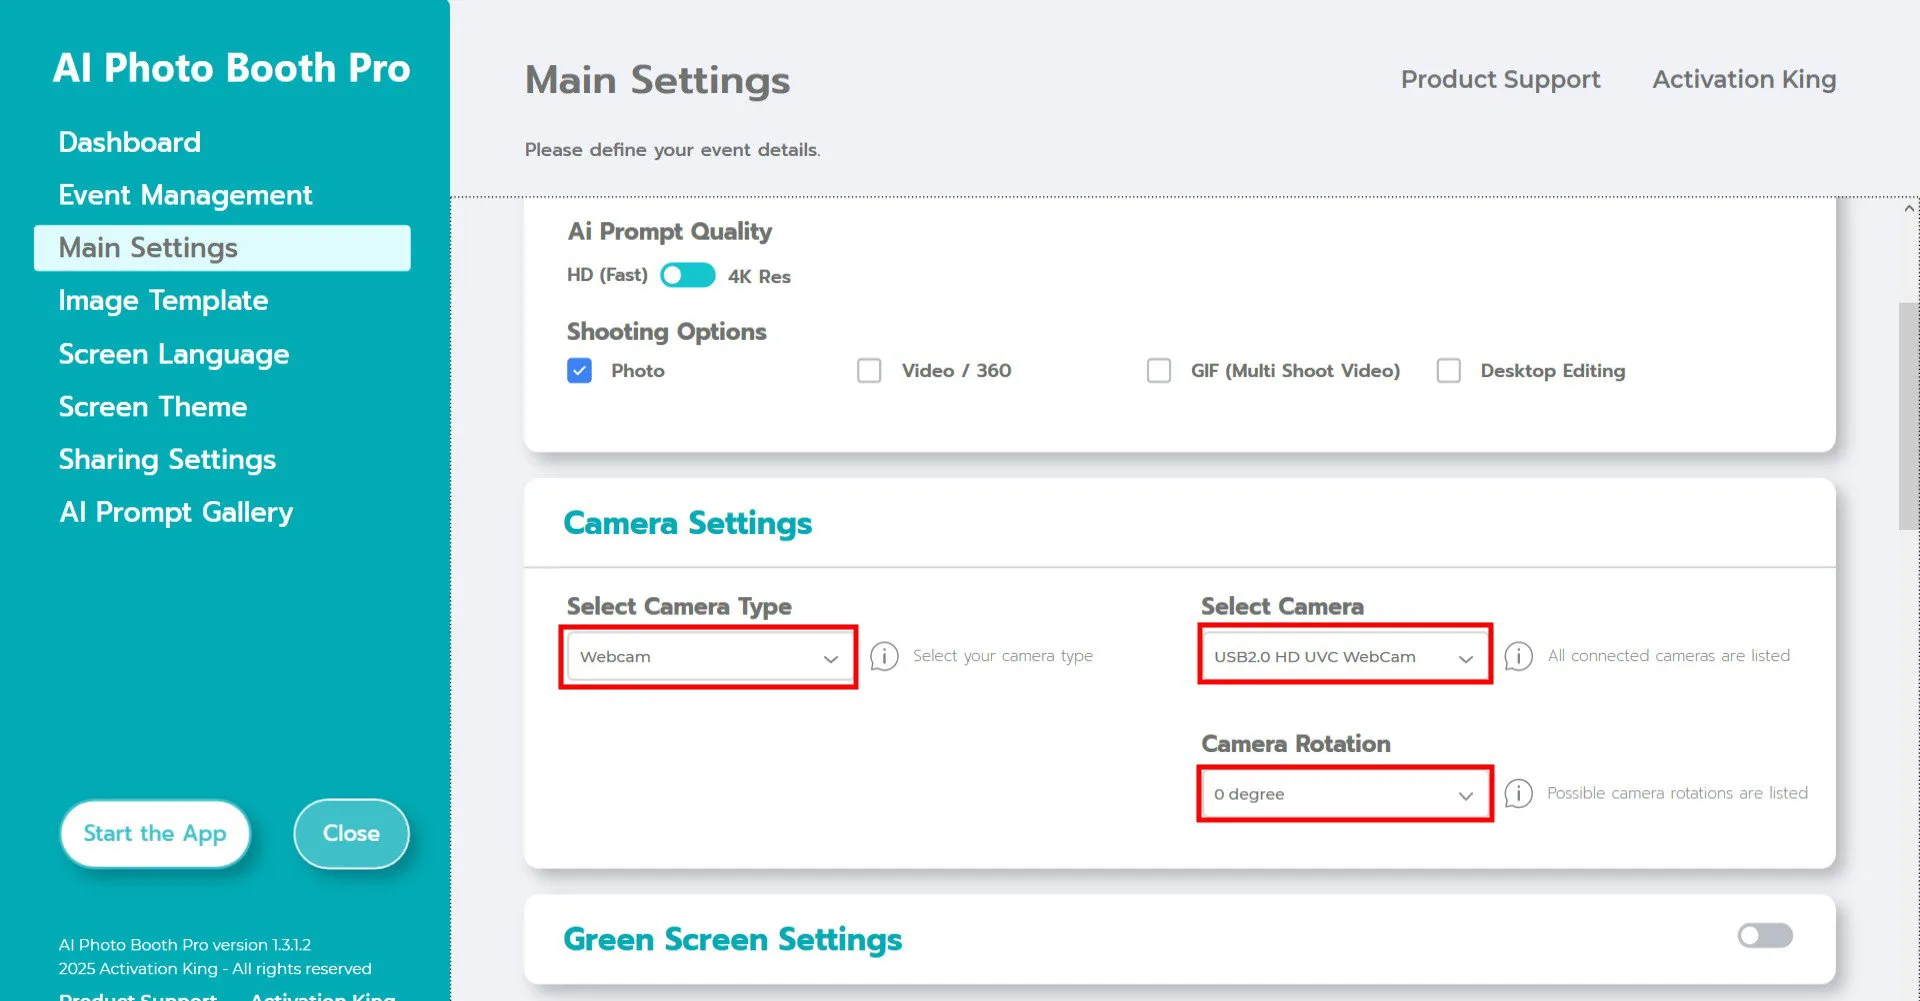
In the Camera Settings section, select the camera you want to use from the Select Camera dropdown.
Once your camera is connected to your computer, it will appear in this list. (If it does not appear, make sure the camera is turned on and properly connected, then try again.)
After selecting your camera, adjust the Camera Rotation to match your horizontal or vertical setup.
In the Shooting Options section, enable Photo.
If you want to work with existing photos on your device, also enable Desktop Editing.
Shooting Settings
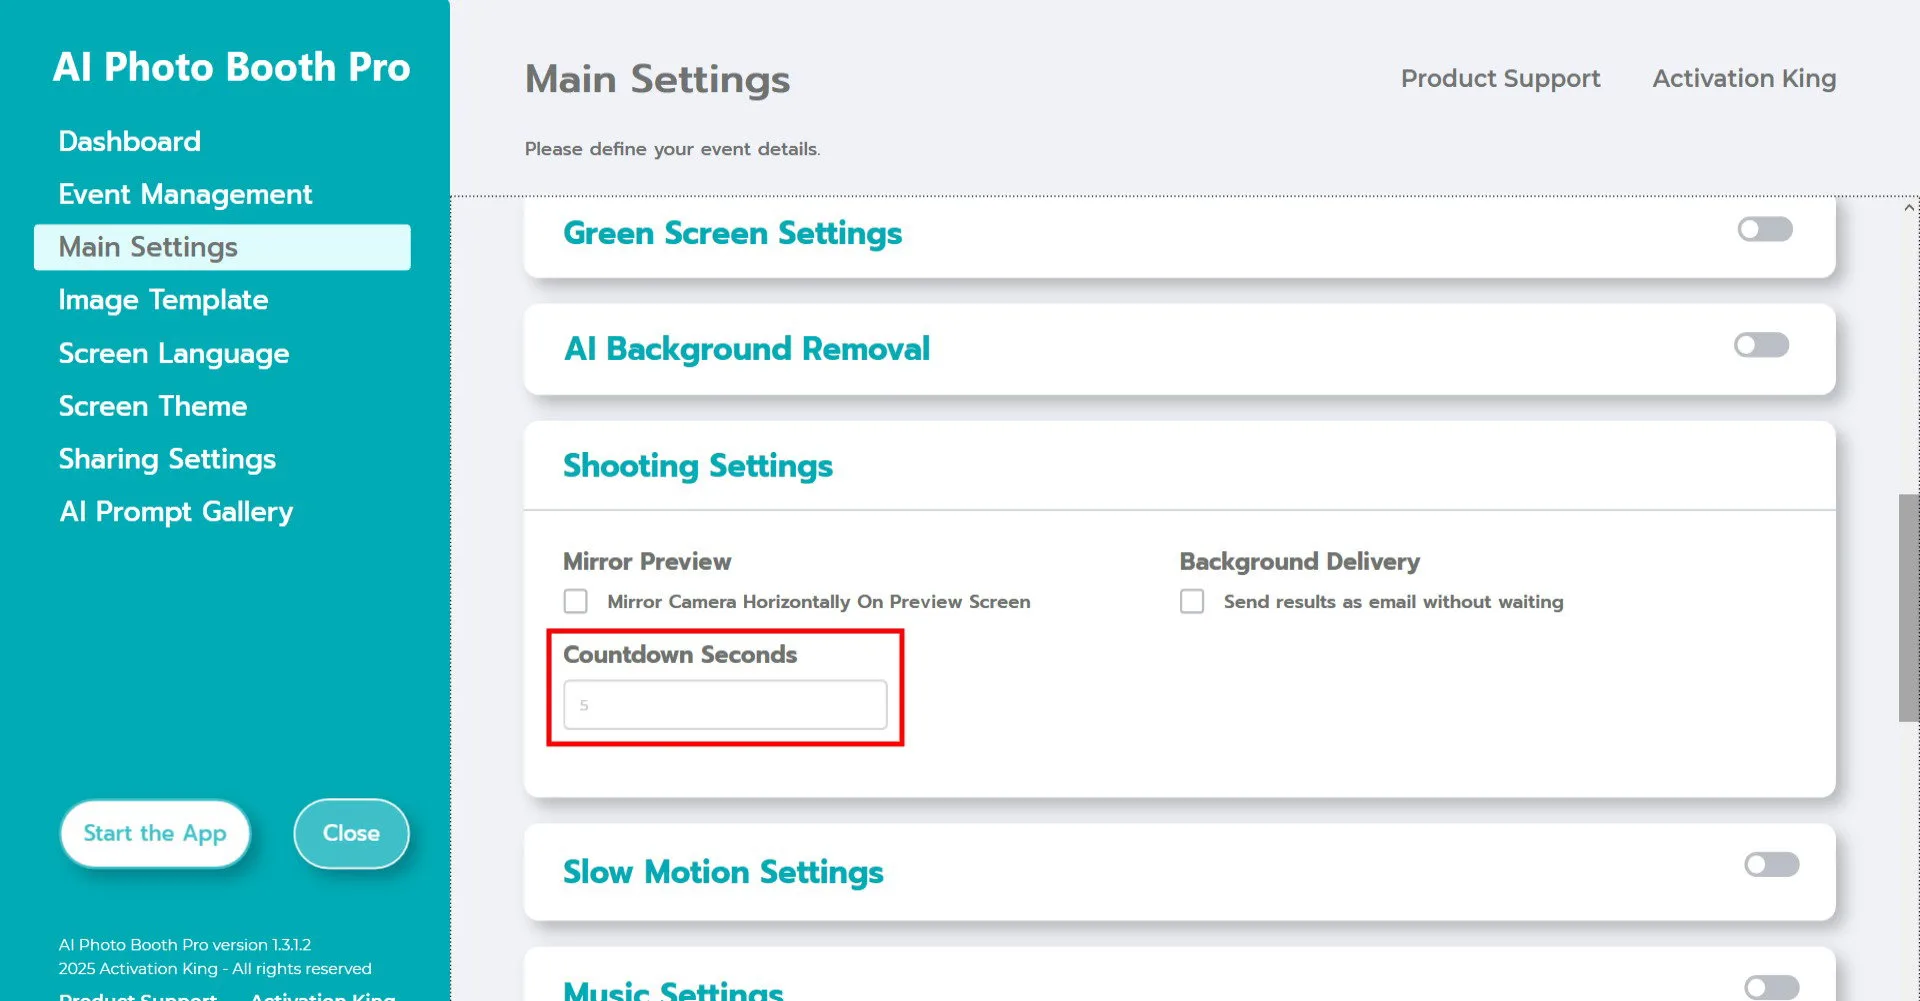
In the Shooting Settings area, the Countdown Seconds option determines how long the timer runs after pressing the capture button. This gives you time to see yourself on the screen and adjust your pose before the photo is taken.
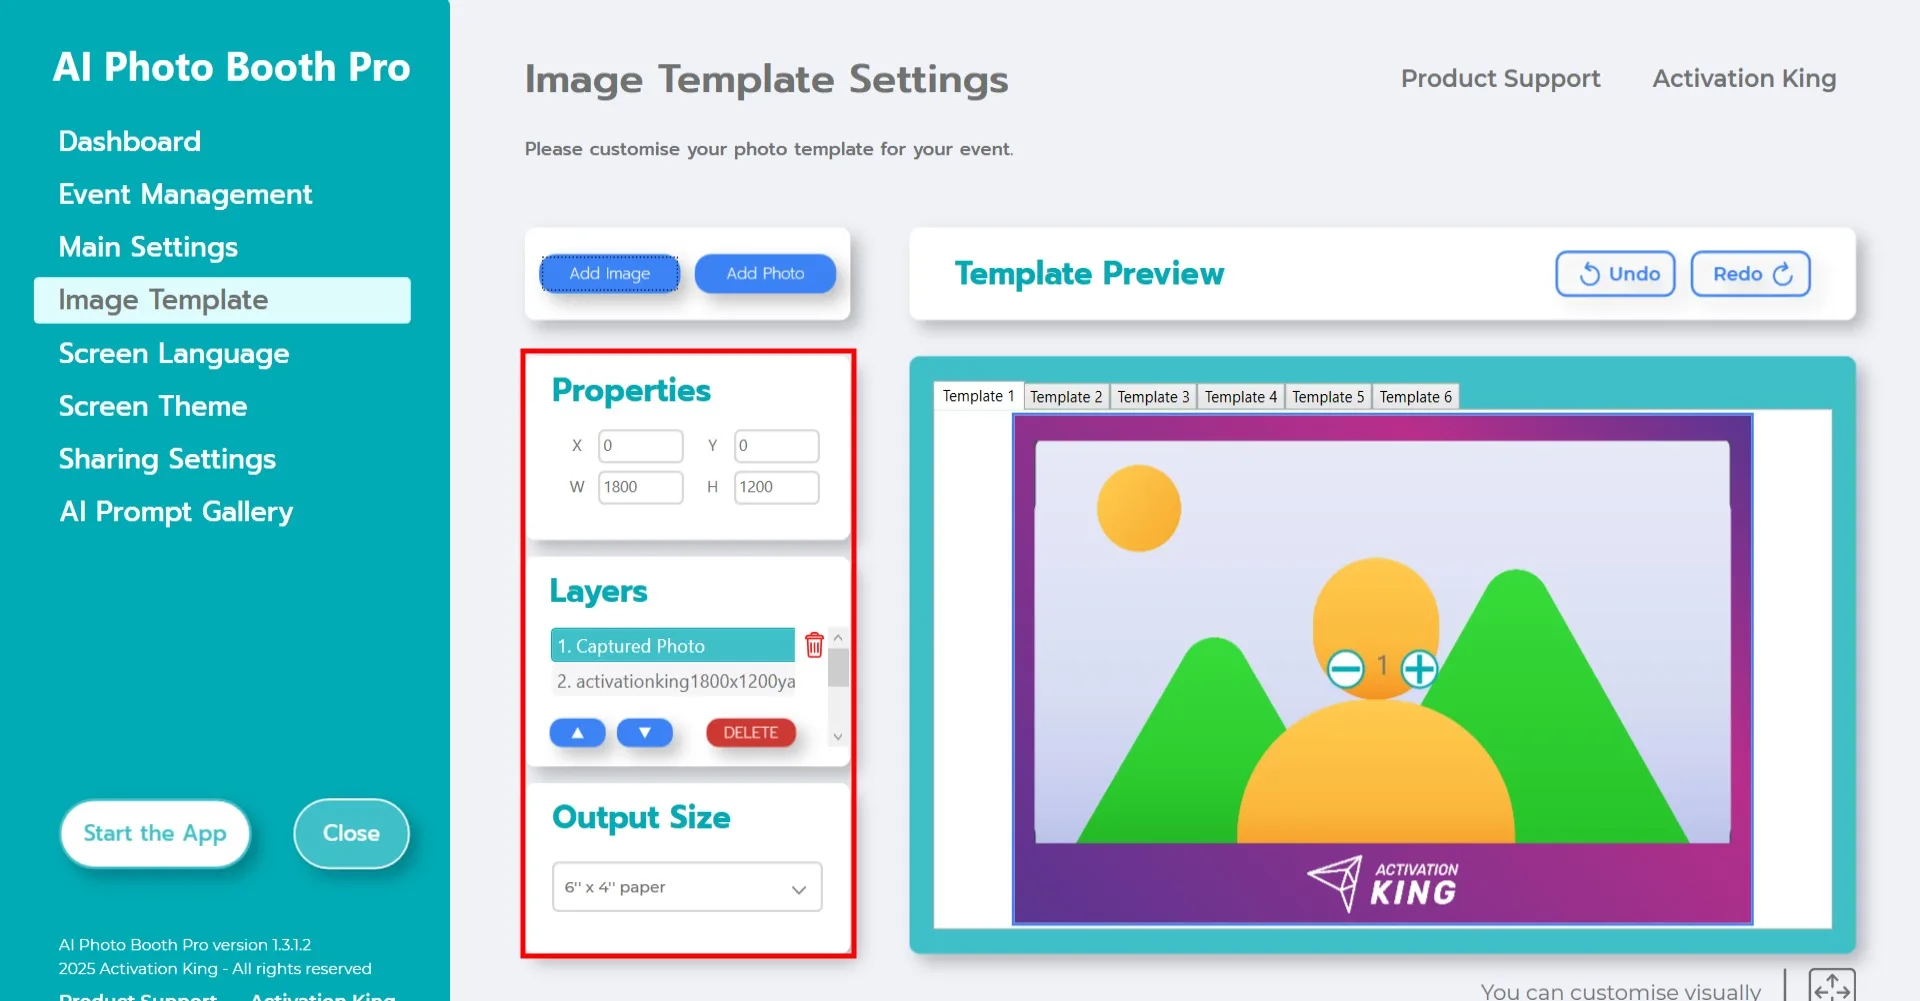
Image Template Settings
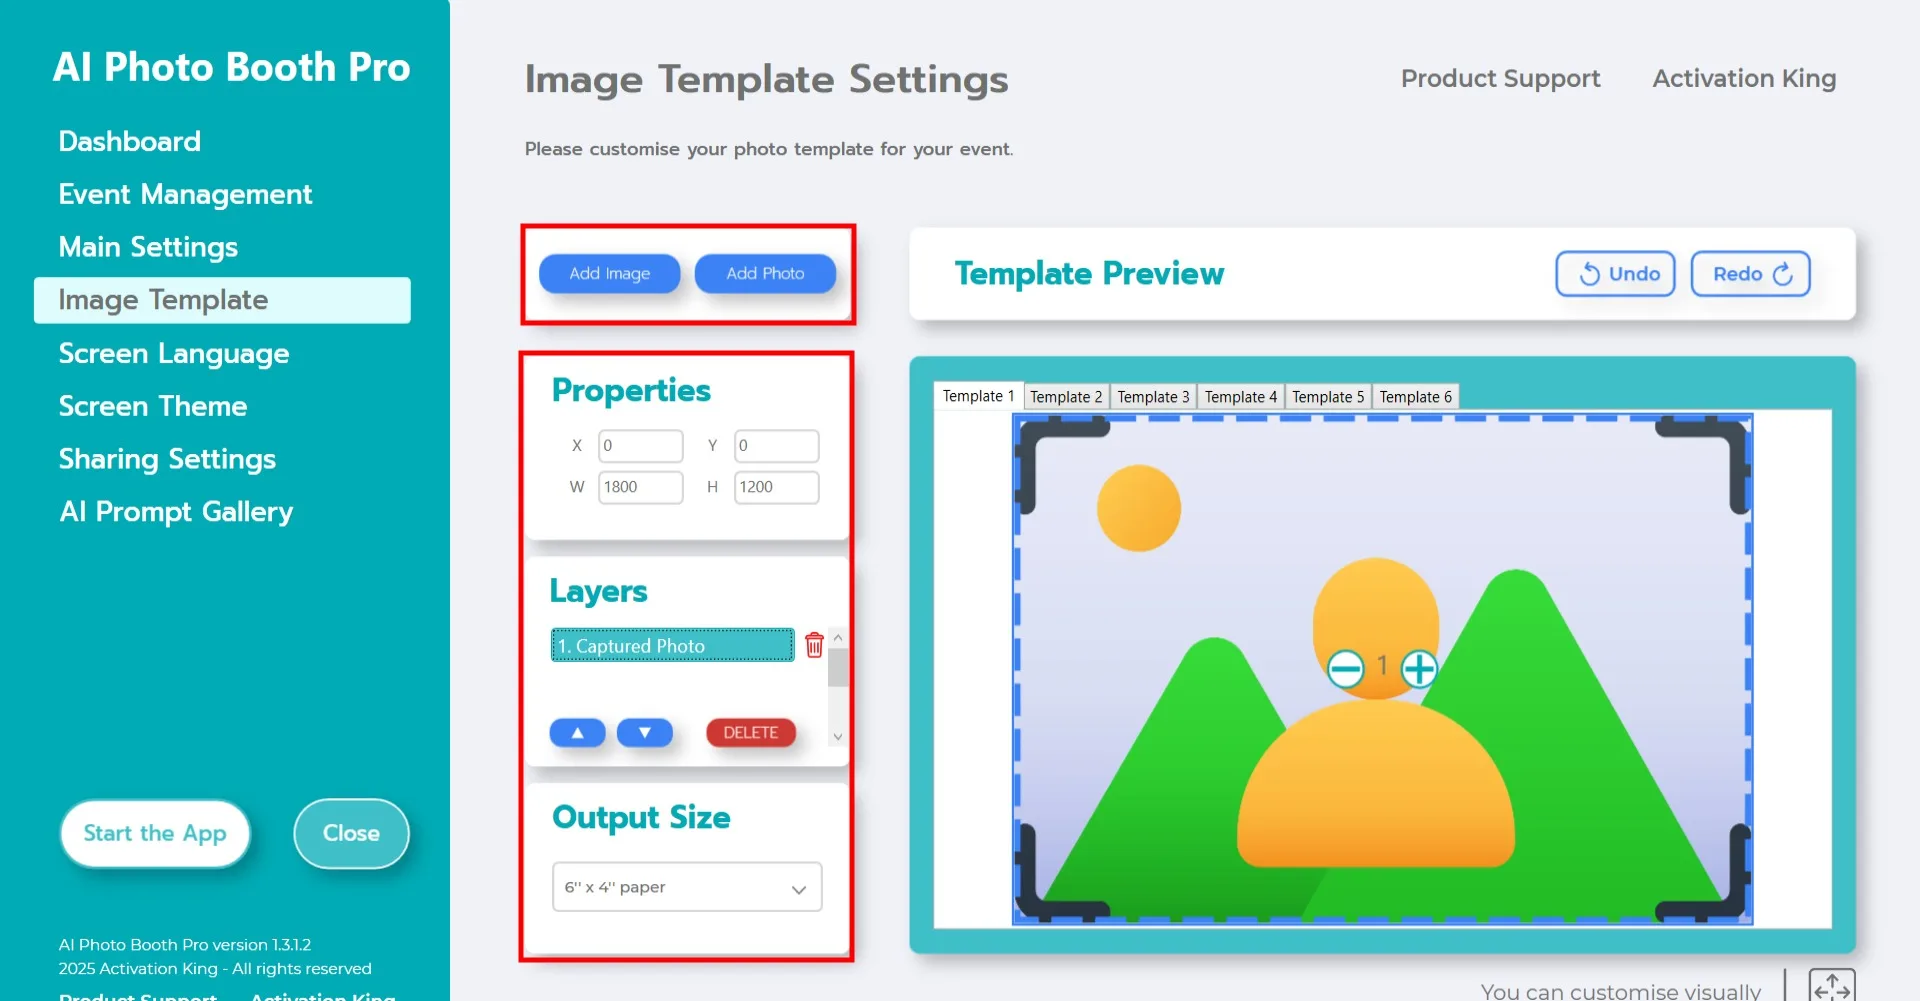
The Image Template Settings interface allows you to adjust the size and position of your photos and add digital frames or stickers.
In the Output Size section, set the dimensions for your final image.
- If you are printing, choose the size that matches your print media (6×4 or 6×8).
- For digital output only, use one of the available options: 1280×1280, 1080×1920, or 1280×720.
To add digital frames or stickers, click the Add Image button at the top.

Select the horizontal or vertical frame you want to use and click Open.
If the frame matches your Output Size, it will fit automatically.
You can make fine adjustments using the tools in the highlighted panel.
If you want to add multiple frames, insert them into the additional template pages at the top.
Sample Prompts Settings
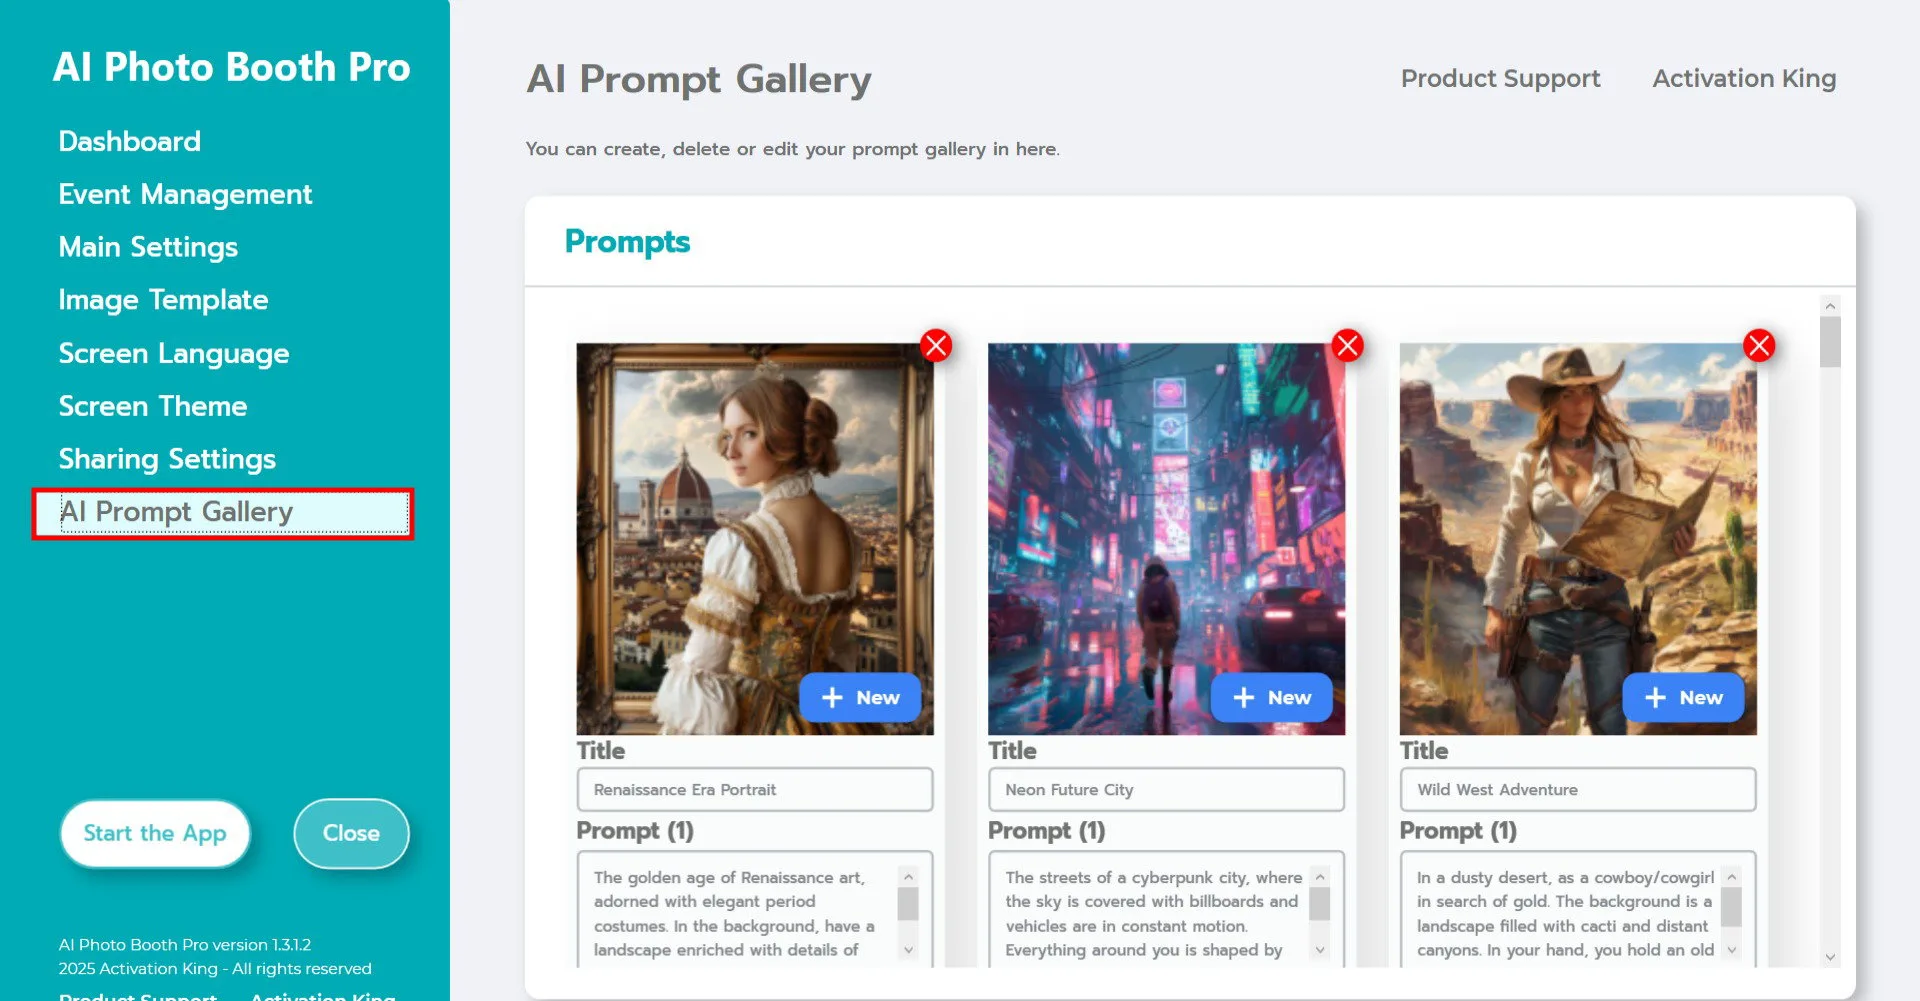
The Sample Prompts section contains ready-to-use prompts included with the software. You can use these prompts as they are or create your own.
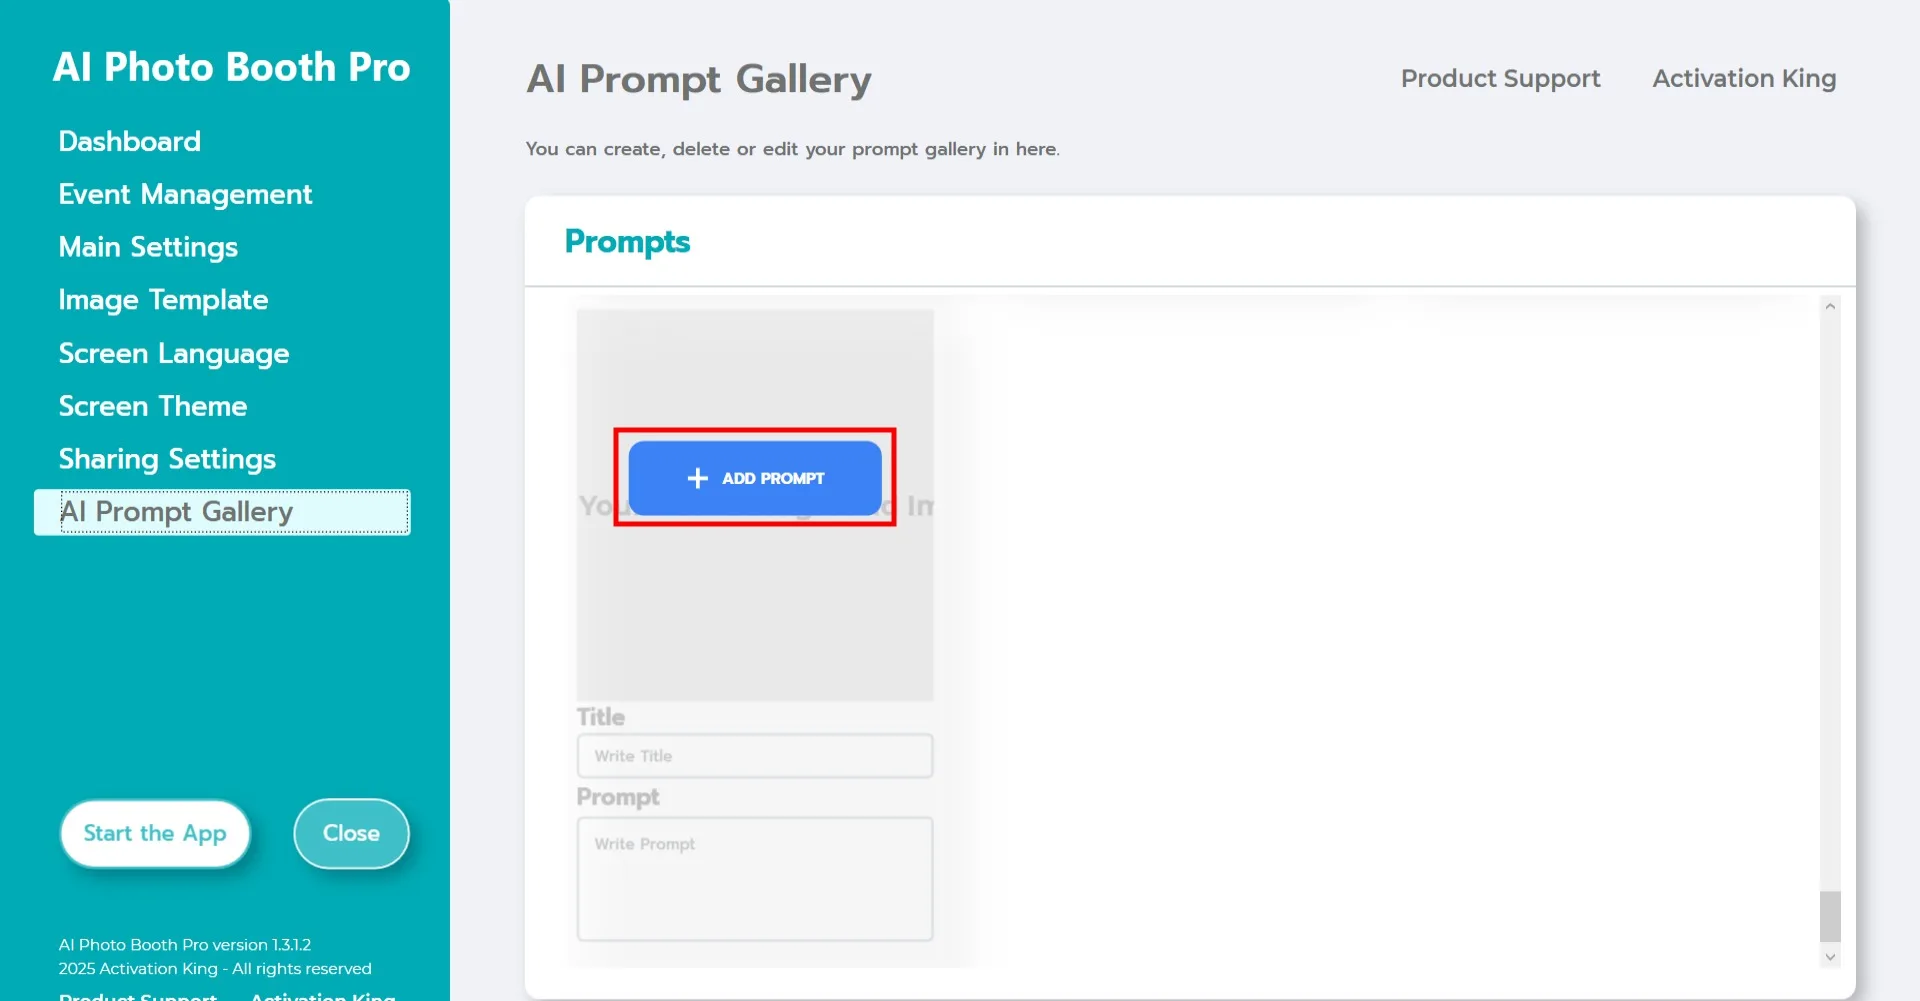
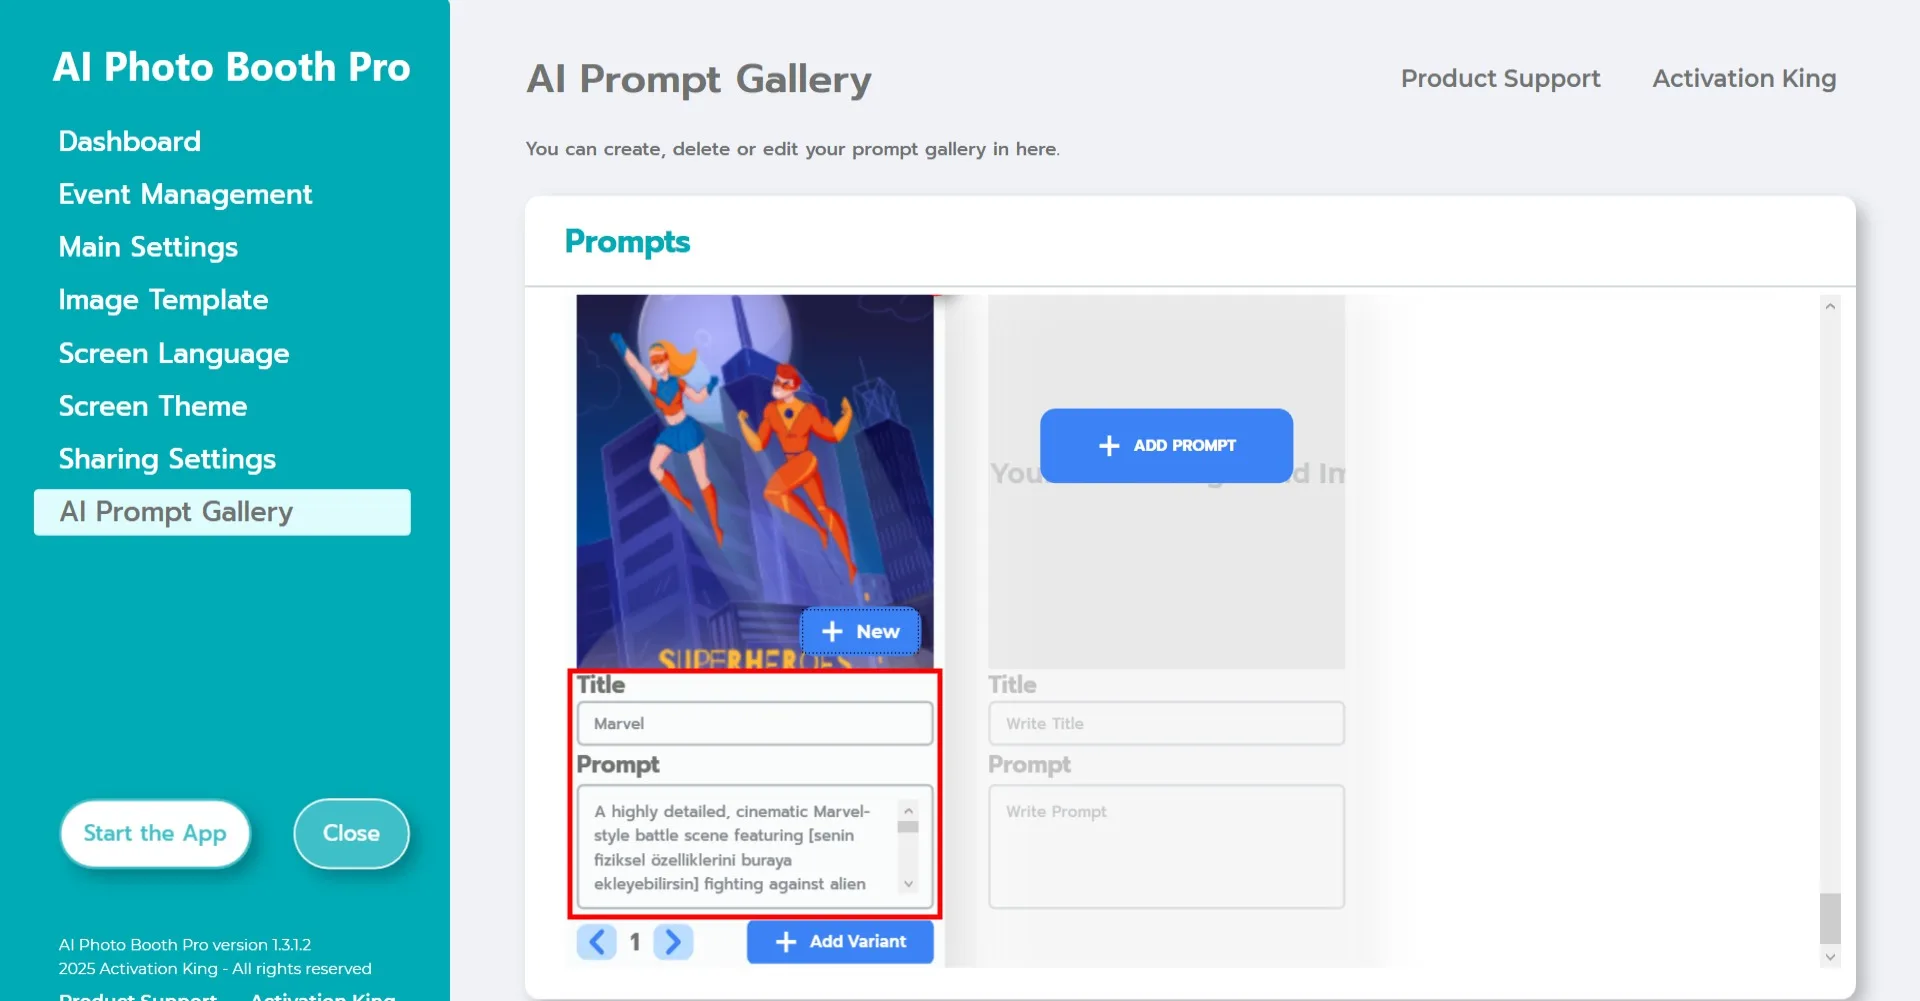

Scroll to the bottom of the Sample Prompts screen and fill in the Title and Prompt fields as desired.
To add a background image for your prompt, click +Add Prompt and upload your image.
Start the App
After completing all settings, click Start the App.
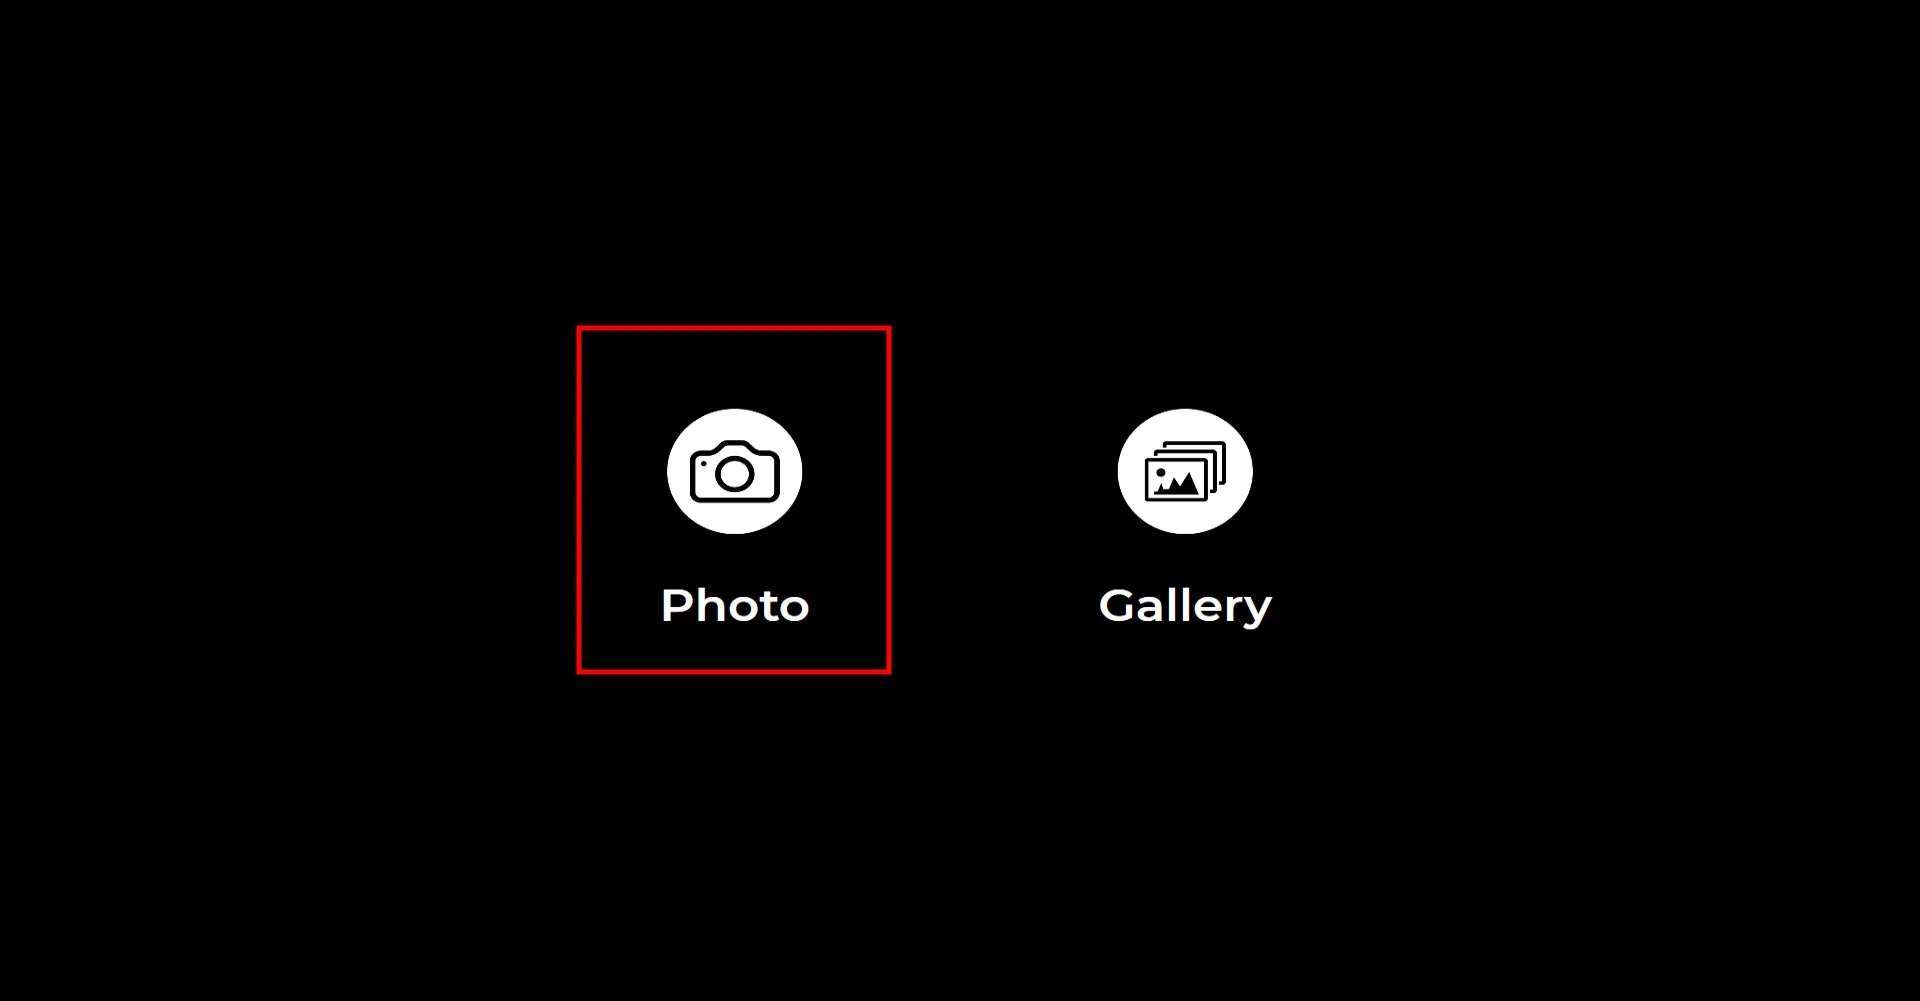
Click the Photo icon to take a picture. After the countdown, your photo will be captured.
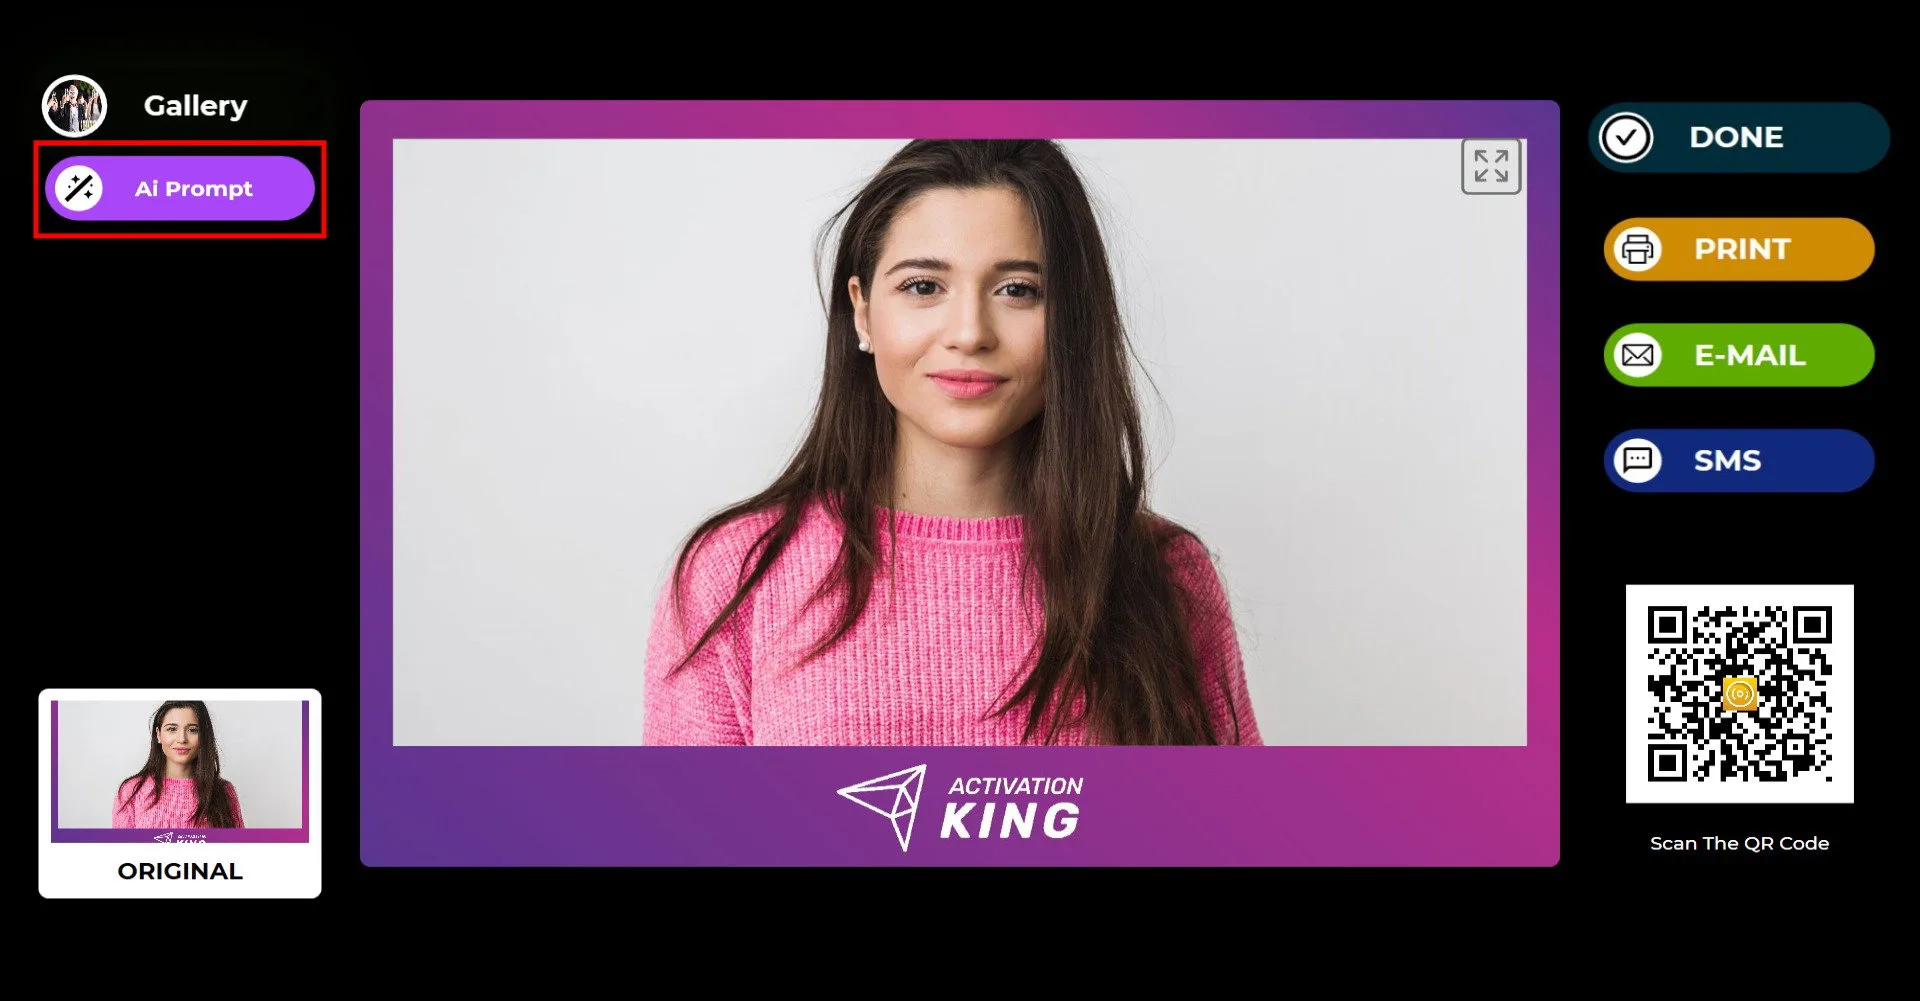
Once the photo is taken, click the AI Prompt button.
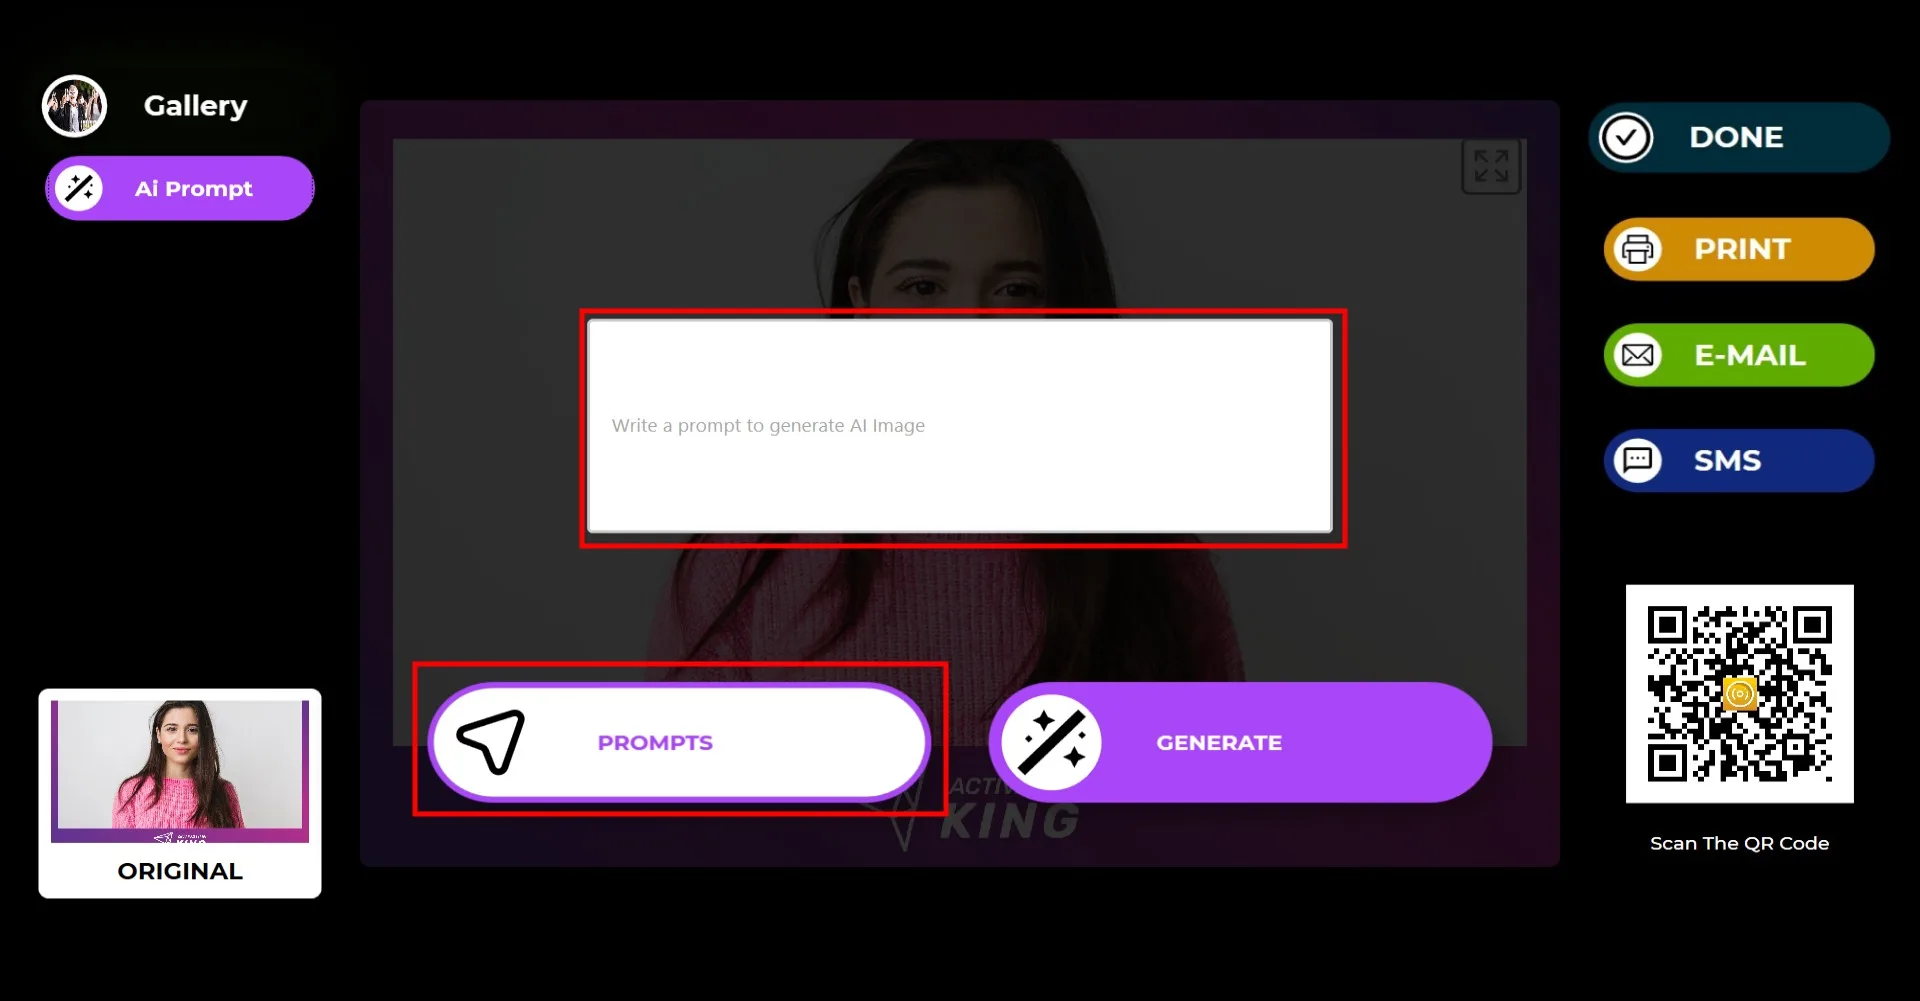
You may enter your own custom prompt or select one from your Sample Prompts list by clicking the Prompt button.
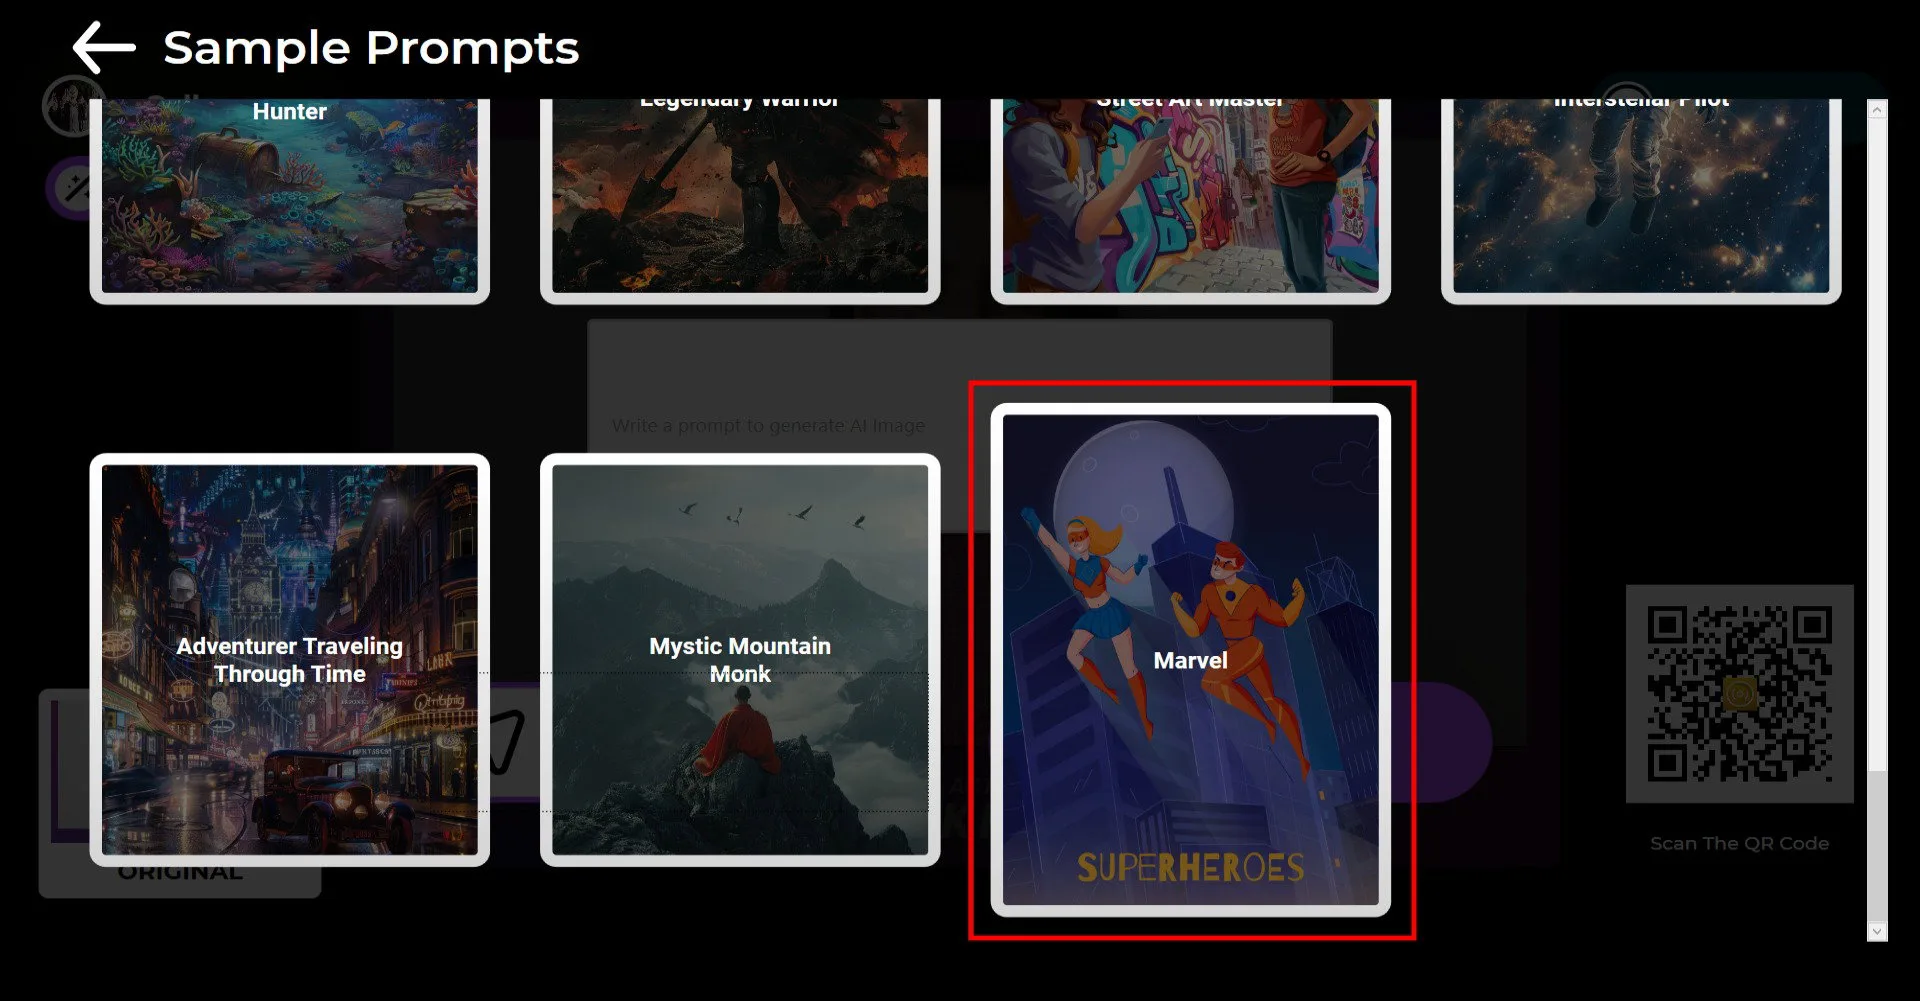
Choose any prompt you want from the list.
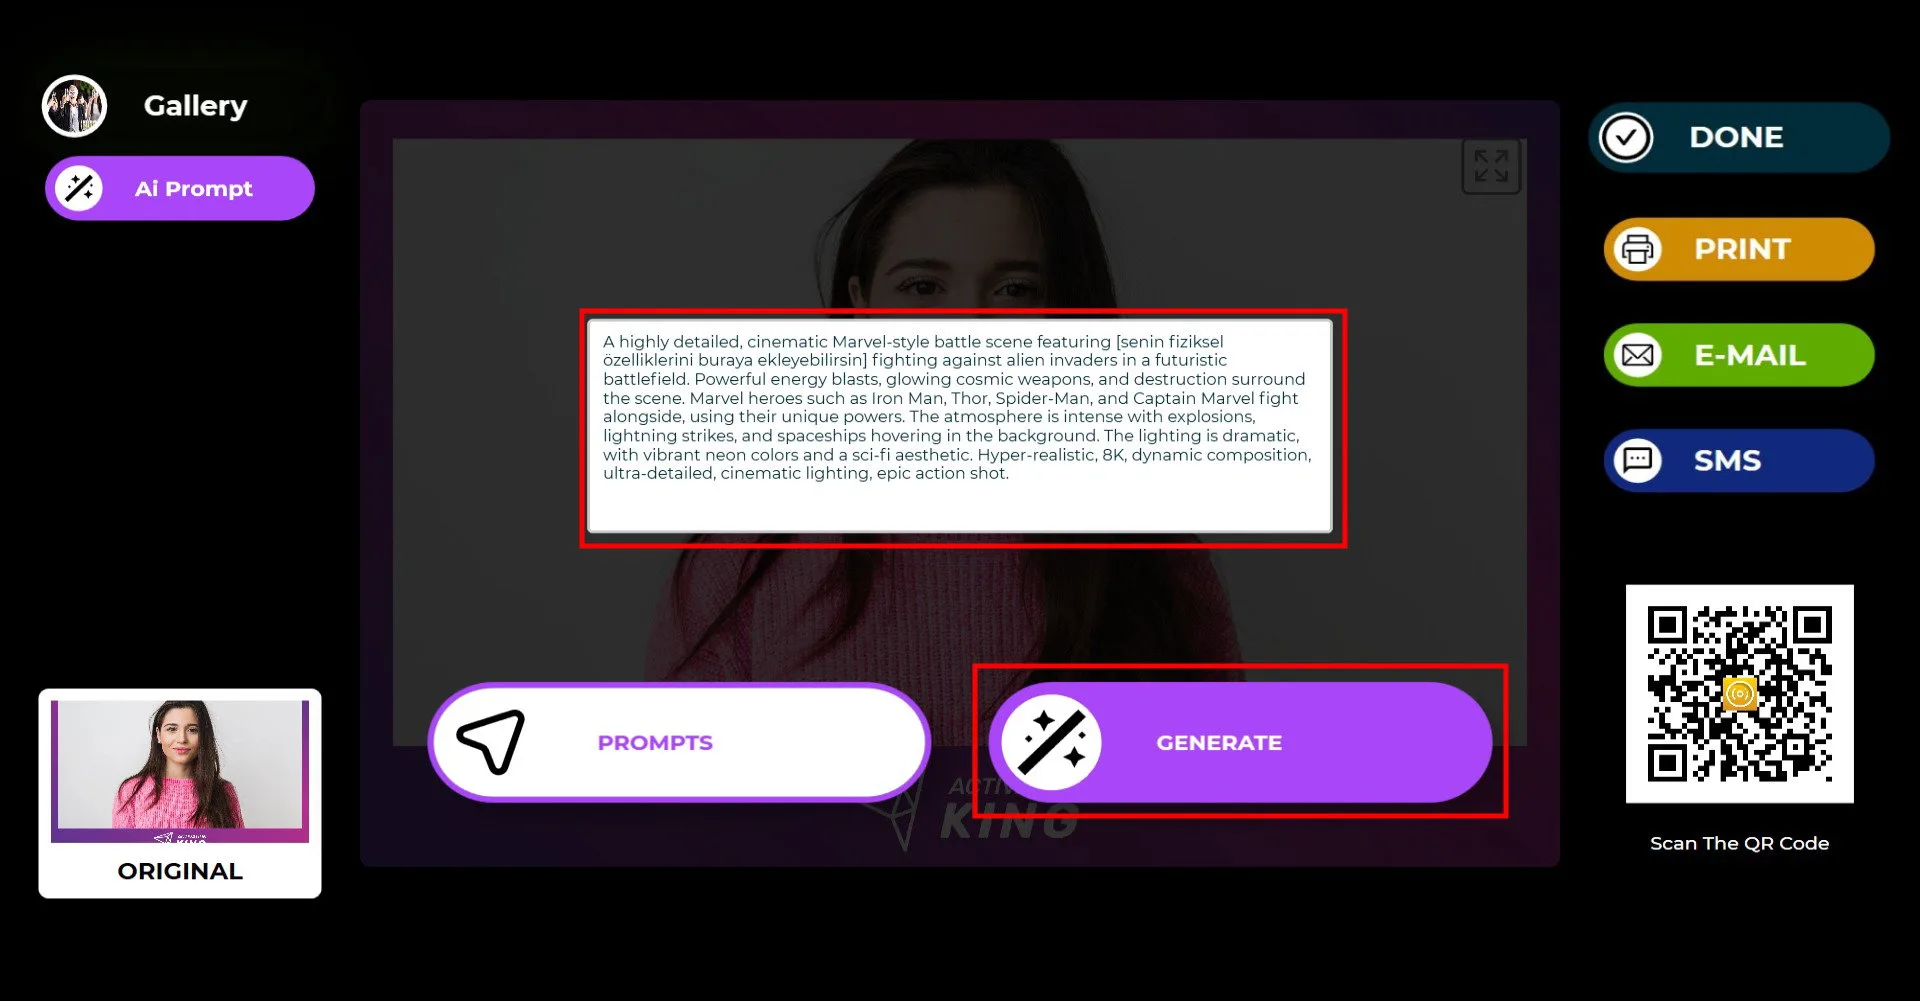
After selecting a prompt, click Generate and your AI result will be ready within seconds.
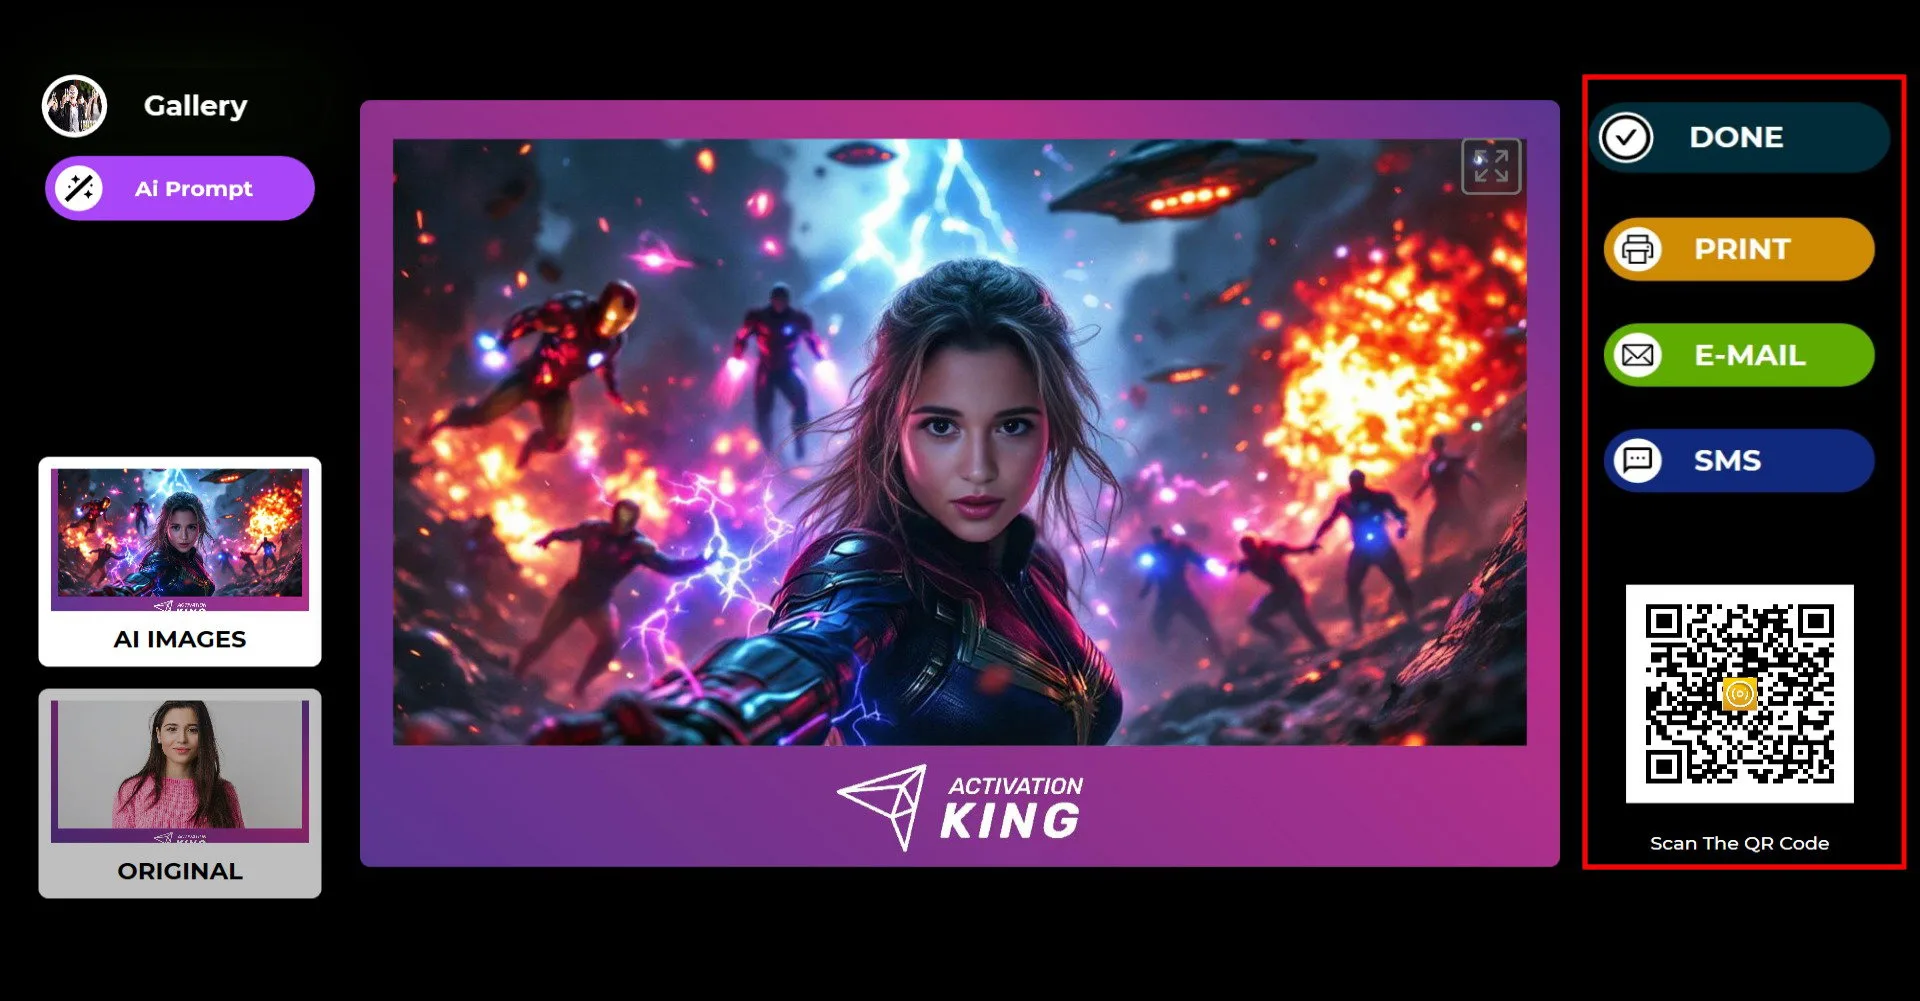
Once the process is finished, you can print the result or deliver it via Email, SMS, or QR code using the menu on the right.
If you want to make another AI variation on the same photo, press AI Prompt again and repeat the workflow.
All AI-generated results are automatically saved to your gallery and can be accessed at any time from the Gallery section.
To return to the capture screen, click DONE.

When you click the Gallery icon, you can view all previously captured and generated images.