Mode Settings
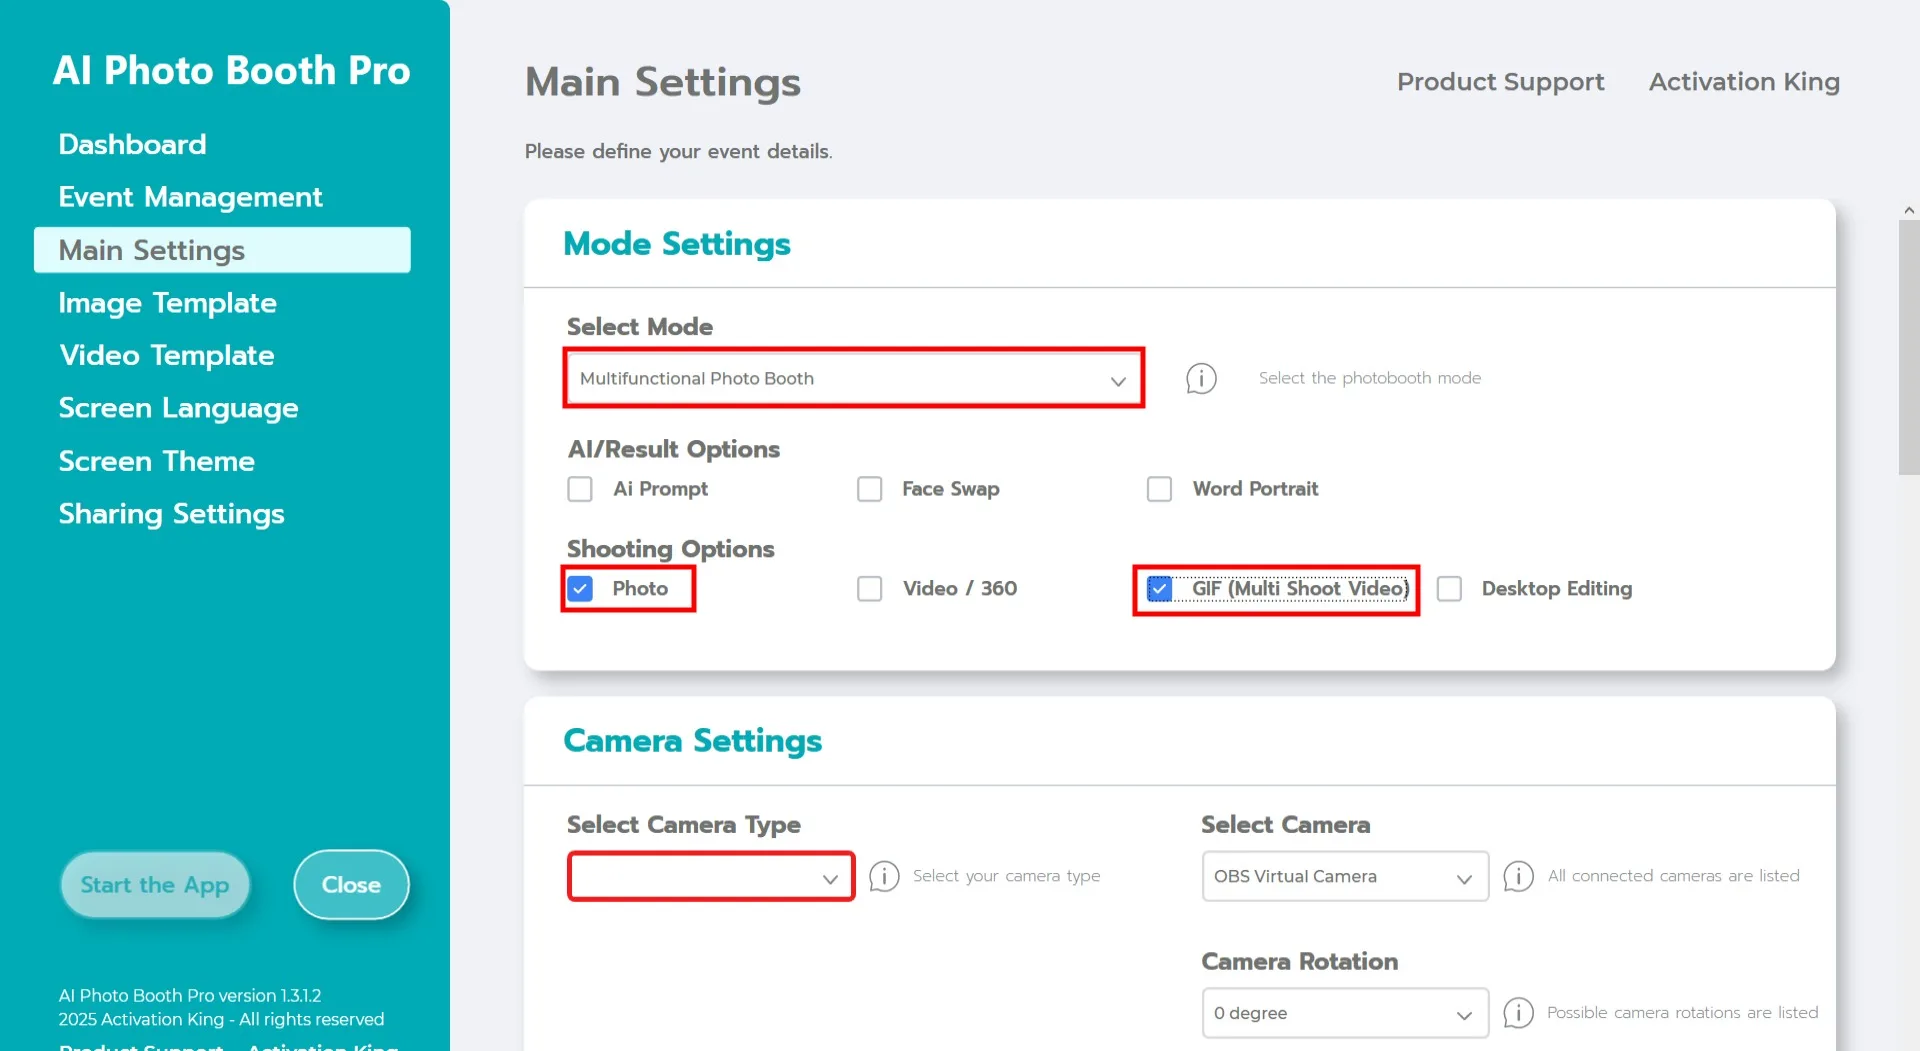
Select "Multifunctional Mode." After making the selection, choose the "Photo and GIF" option from the list below.
Camera Settings
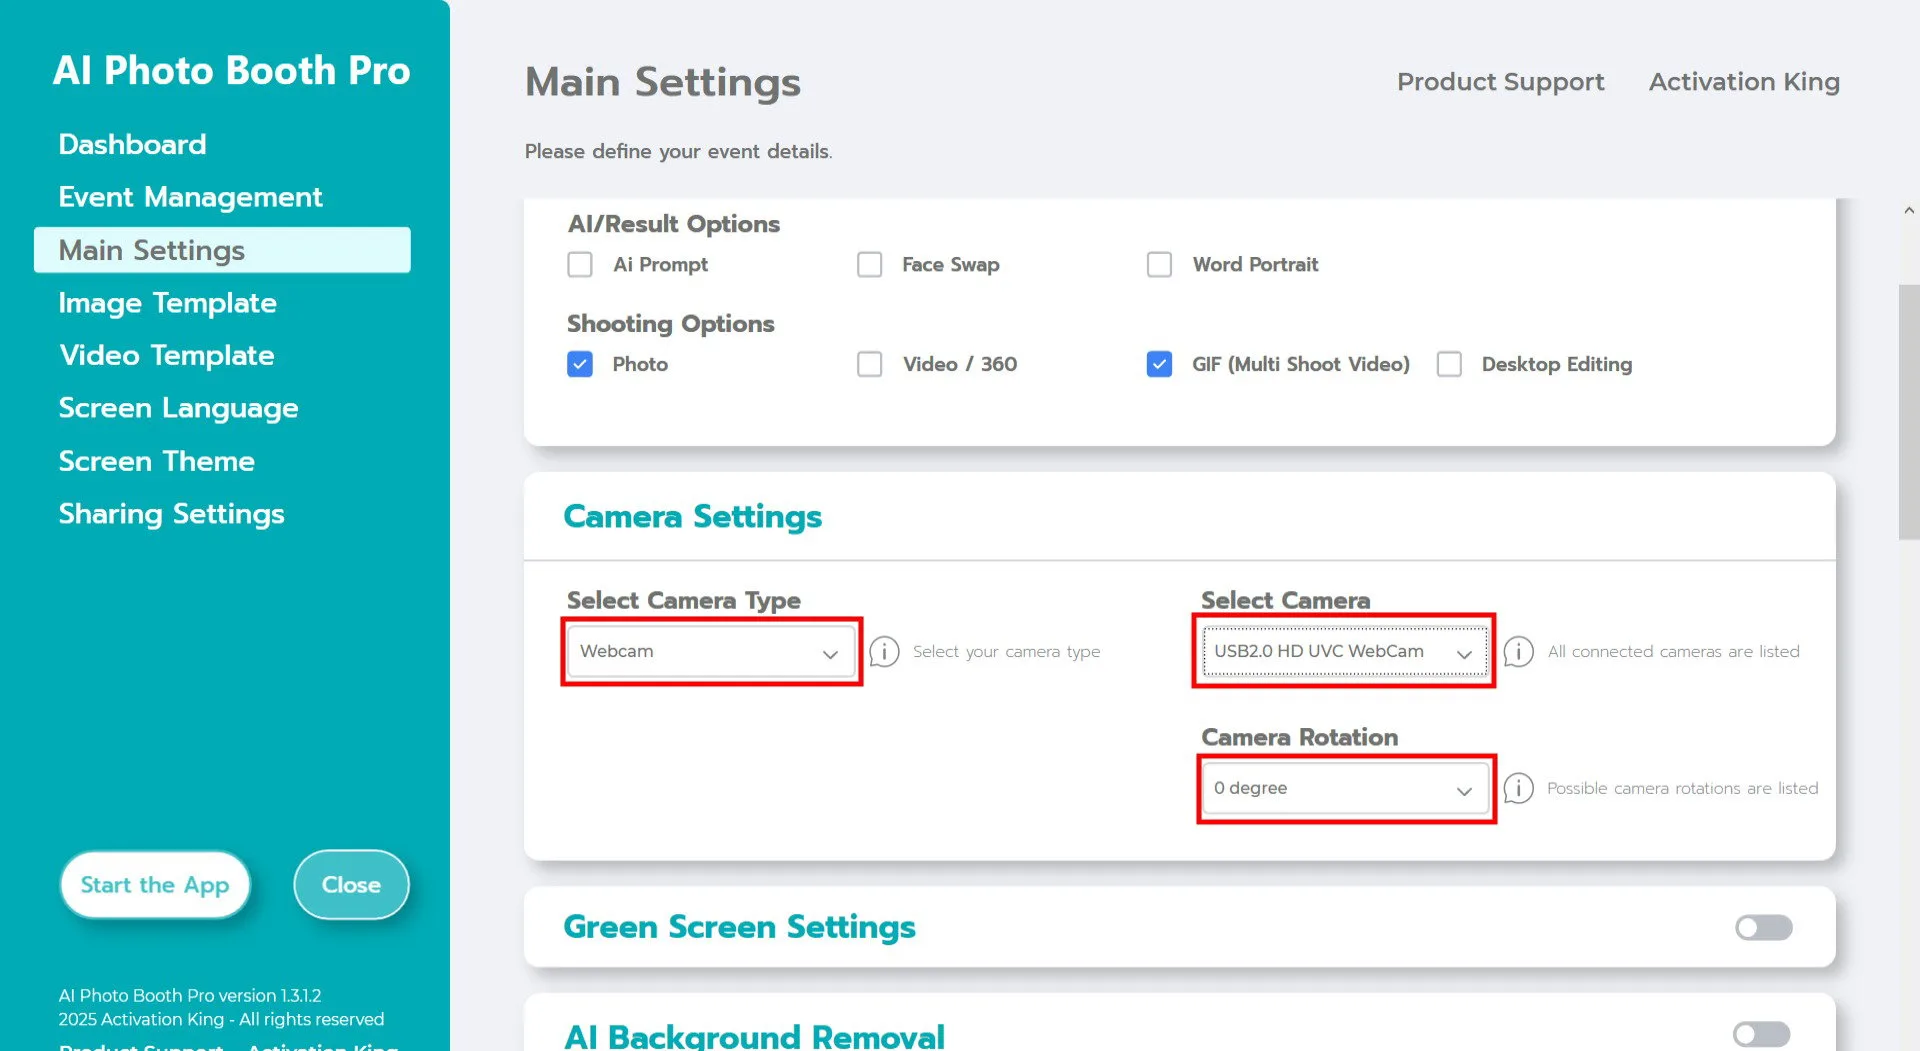
In the "Camera Settings" section, select the camera type you want to use from the "Select Camera Type" dropdown.
Once your camera is connected to your computer, it will appear in the "Select Camera" field. (If it does not appear, ensure that your camera is turned on and properly connected, then try again.)
After selecting your camera, adjust the orientation according to your setup by choosing horizontal or vertical in the "Camera Rotation" section.
Shooting Settings
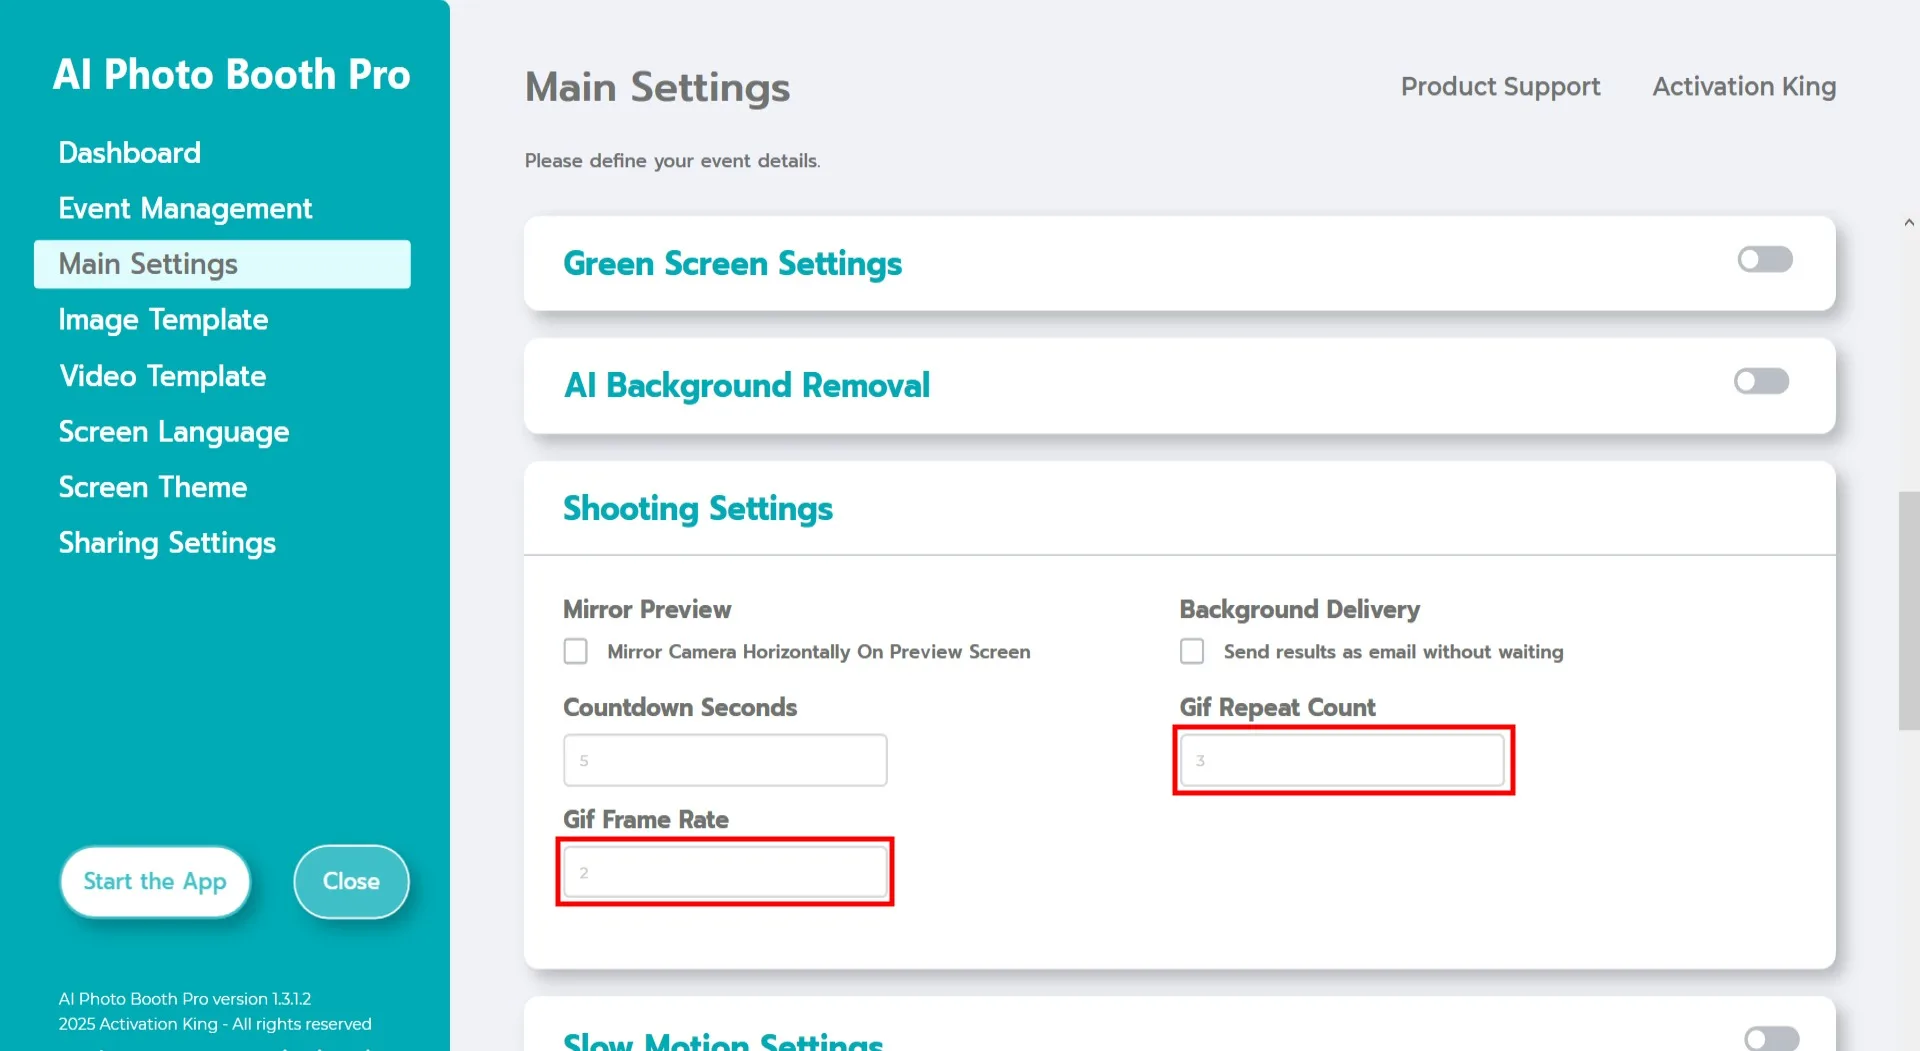
In the "Shooting Settings" section, "Countdown Seconds" indicates the amount of time you have to see yourself on the screen and adjust your pose after initiating the photo capture. In short, you can set your photo timer here.
In the "Gif Repeat Count" section, you can adjust how many times your GIF will loop, which determines its total length.
In the "Gif Frame Rate" section, you can set the frame rate of your GIF.
Image Template
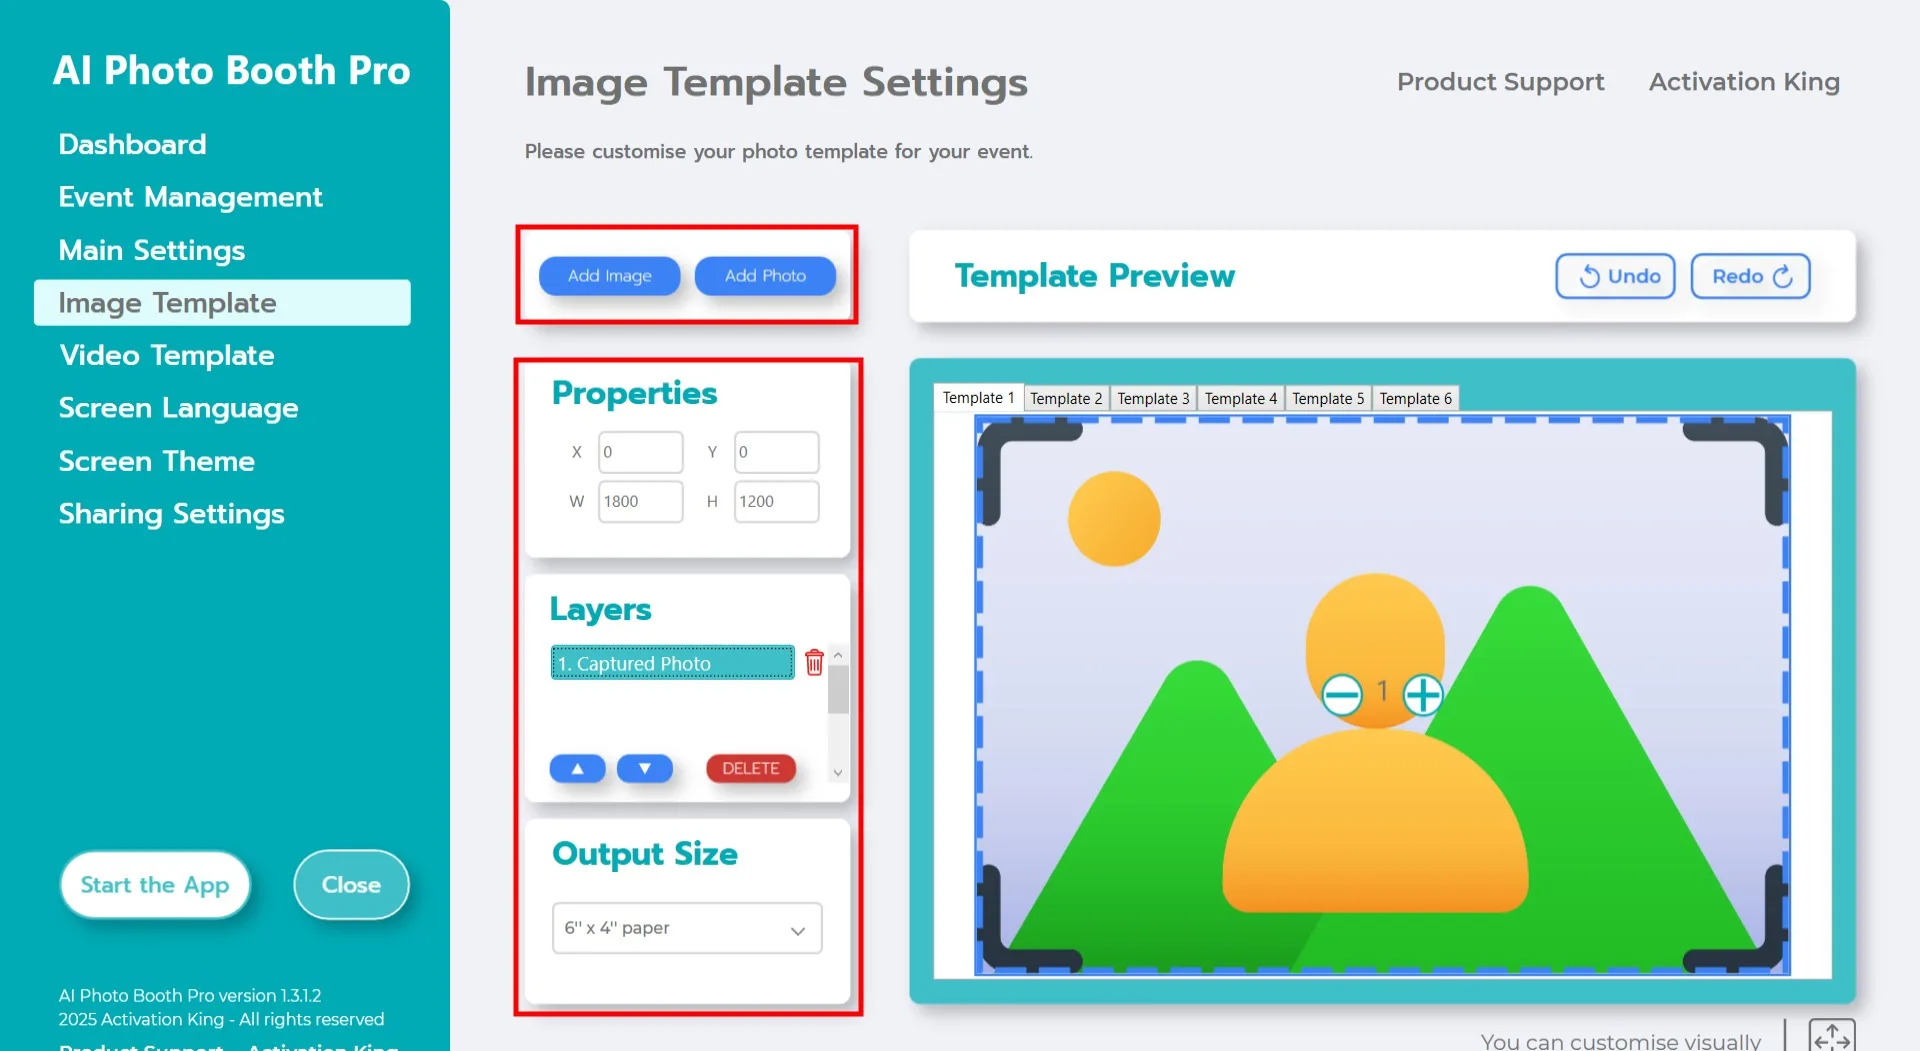
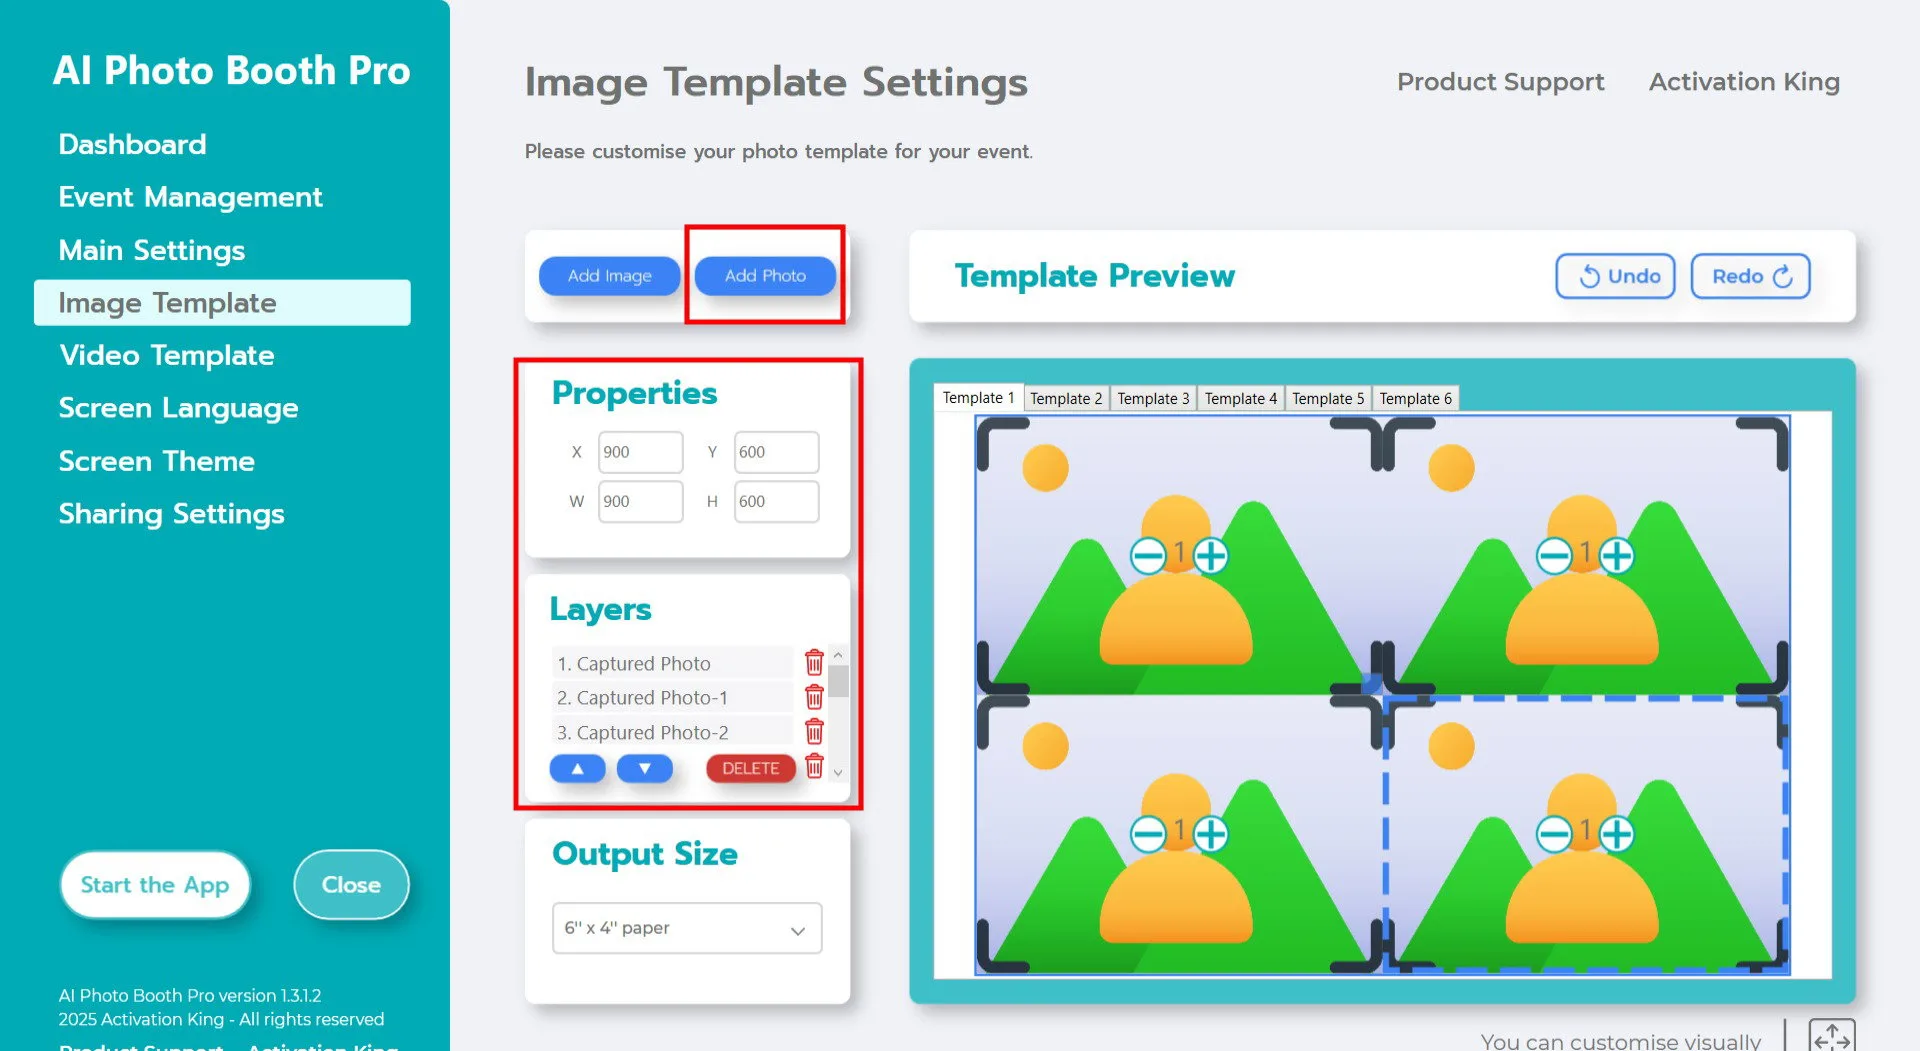
The "Template Settings" section is the interface where you can adjust the number, size, and position of the photos you take, as well as add digital frames and stickers.
In the "Output Size" field, you can set the dimensions of your final image. If you will print your output, we recommend entering the size of your print paper: 6x4 or 6x8. If you are creating a digital-only layout, you may also choose from 1280x1280, 1080x1920, or 1280x720.
Since we want to create a GIF, we need to take multiple photos. Click "Add Photo" to add additional photo slots. A new layer will appear in the "Template Layers" section. Add as many photo slots as the number of frames you plan to capture for your GIF.
Assuming you will capture 4 frames for your GIF: after adding 4 photo slots in the Template Layers section, click on each Captured Photo once and adjust its scale from the Image Properties panel. (If you plan to add a frame, scale the images according to the frame size to ensure they are not covered by the frame.)
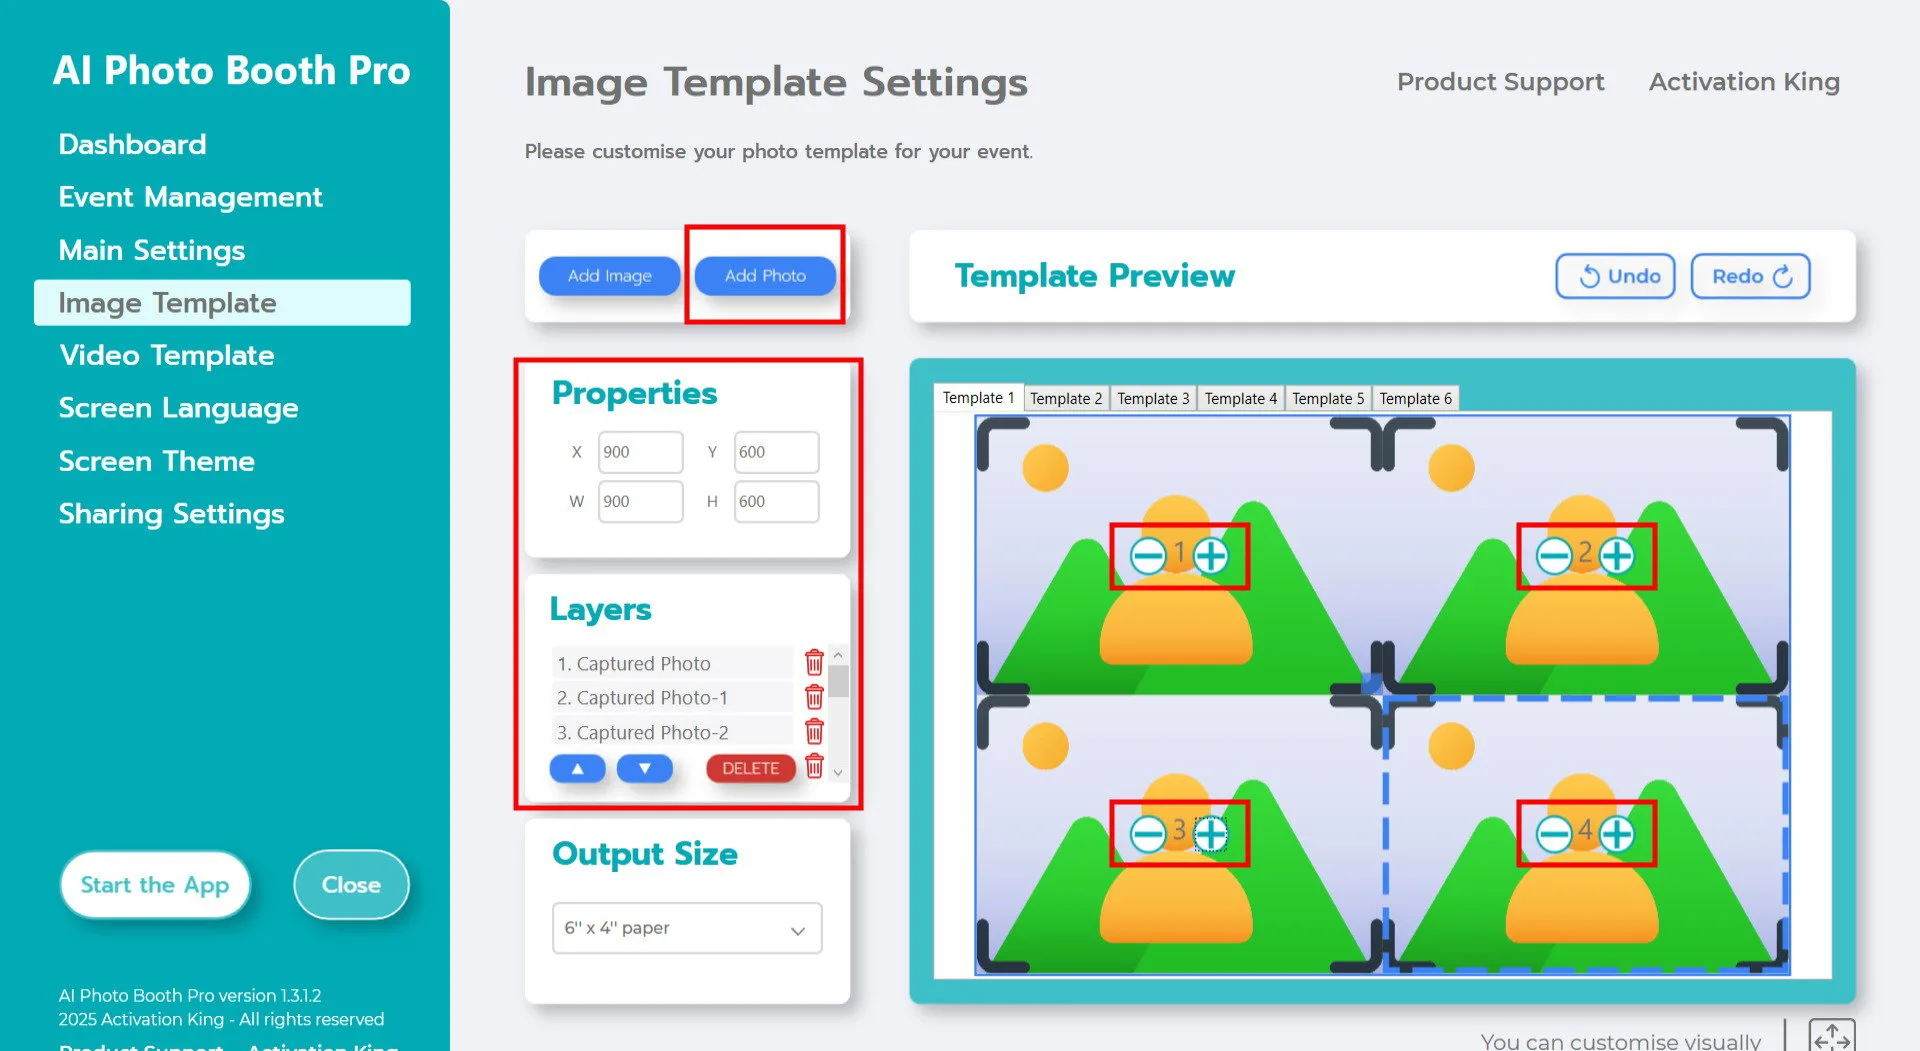
Once scaling is completed, number the images by clicking the + icon and assigning them as 1, 2, 3, 4. If the same number appears on multiple frames, the same image will be used on those frames, so proper numbering is essential.
To add a digital frame or sticker on top of your photos, click the "Add Image" button located above.

In this section, select the horizontal or vertical frame you want to use and click "Open."
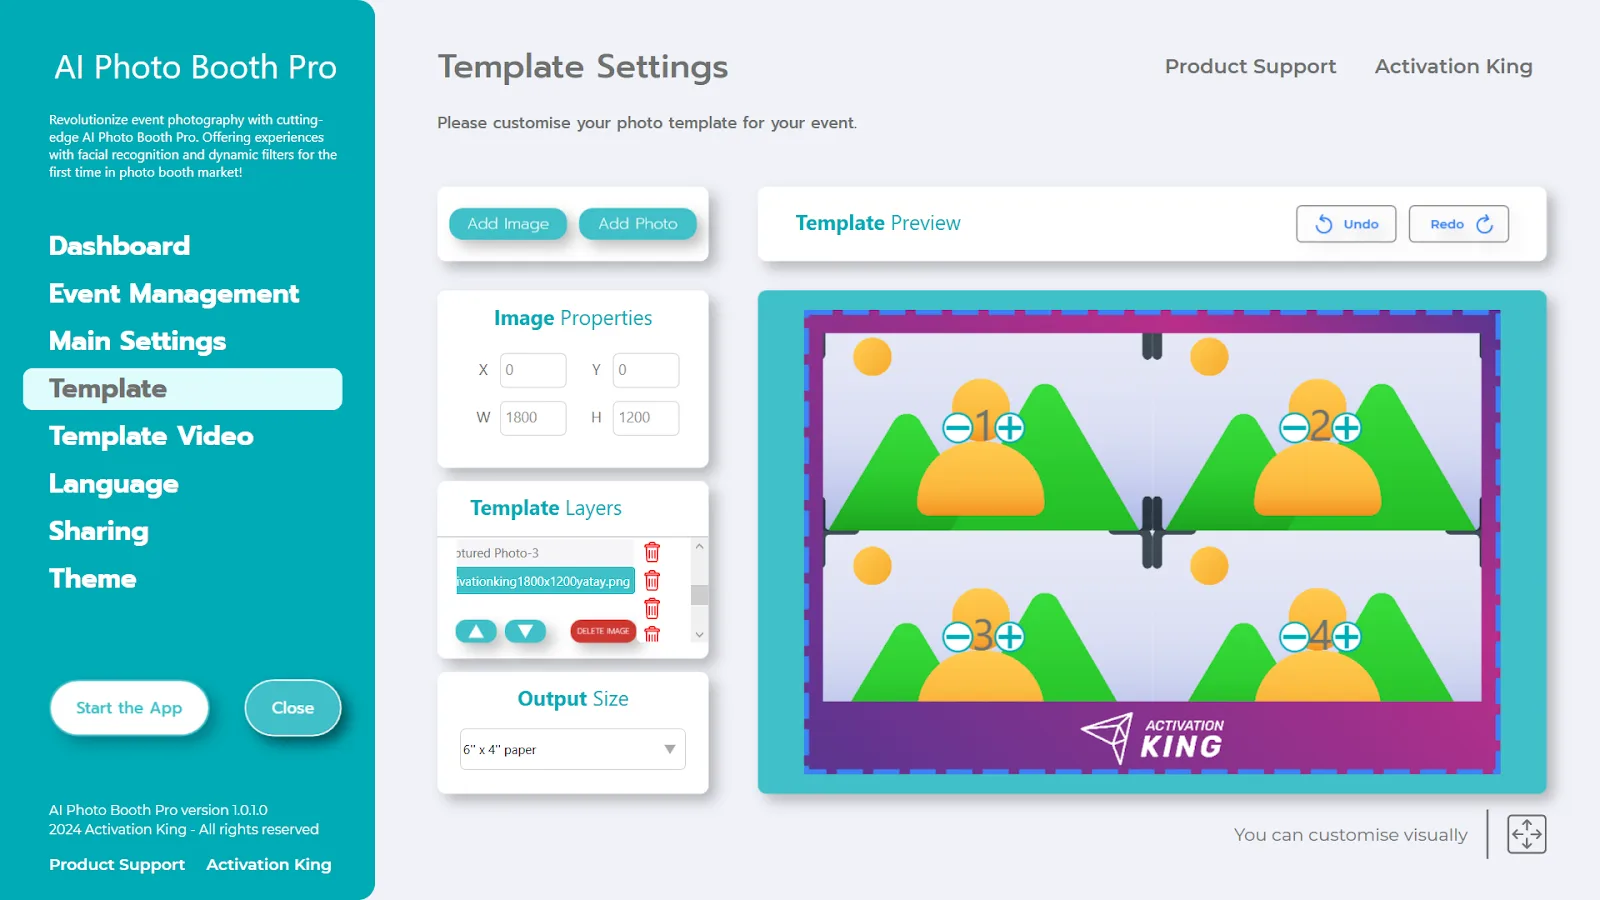
If the frame you added matches your "Output Size" dimensions, it will automatically fit into place. If it has different dimensions, click on the frame once in the Template Layers section, then enter the appropriate "Output Size" values in the Image Properties panel to ensure the frame fits perfectly on the image.
Video Template
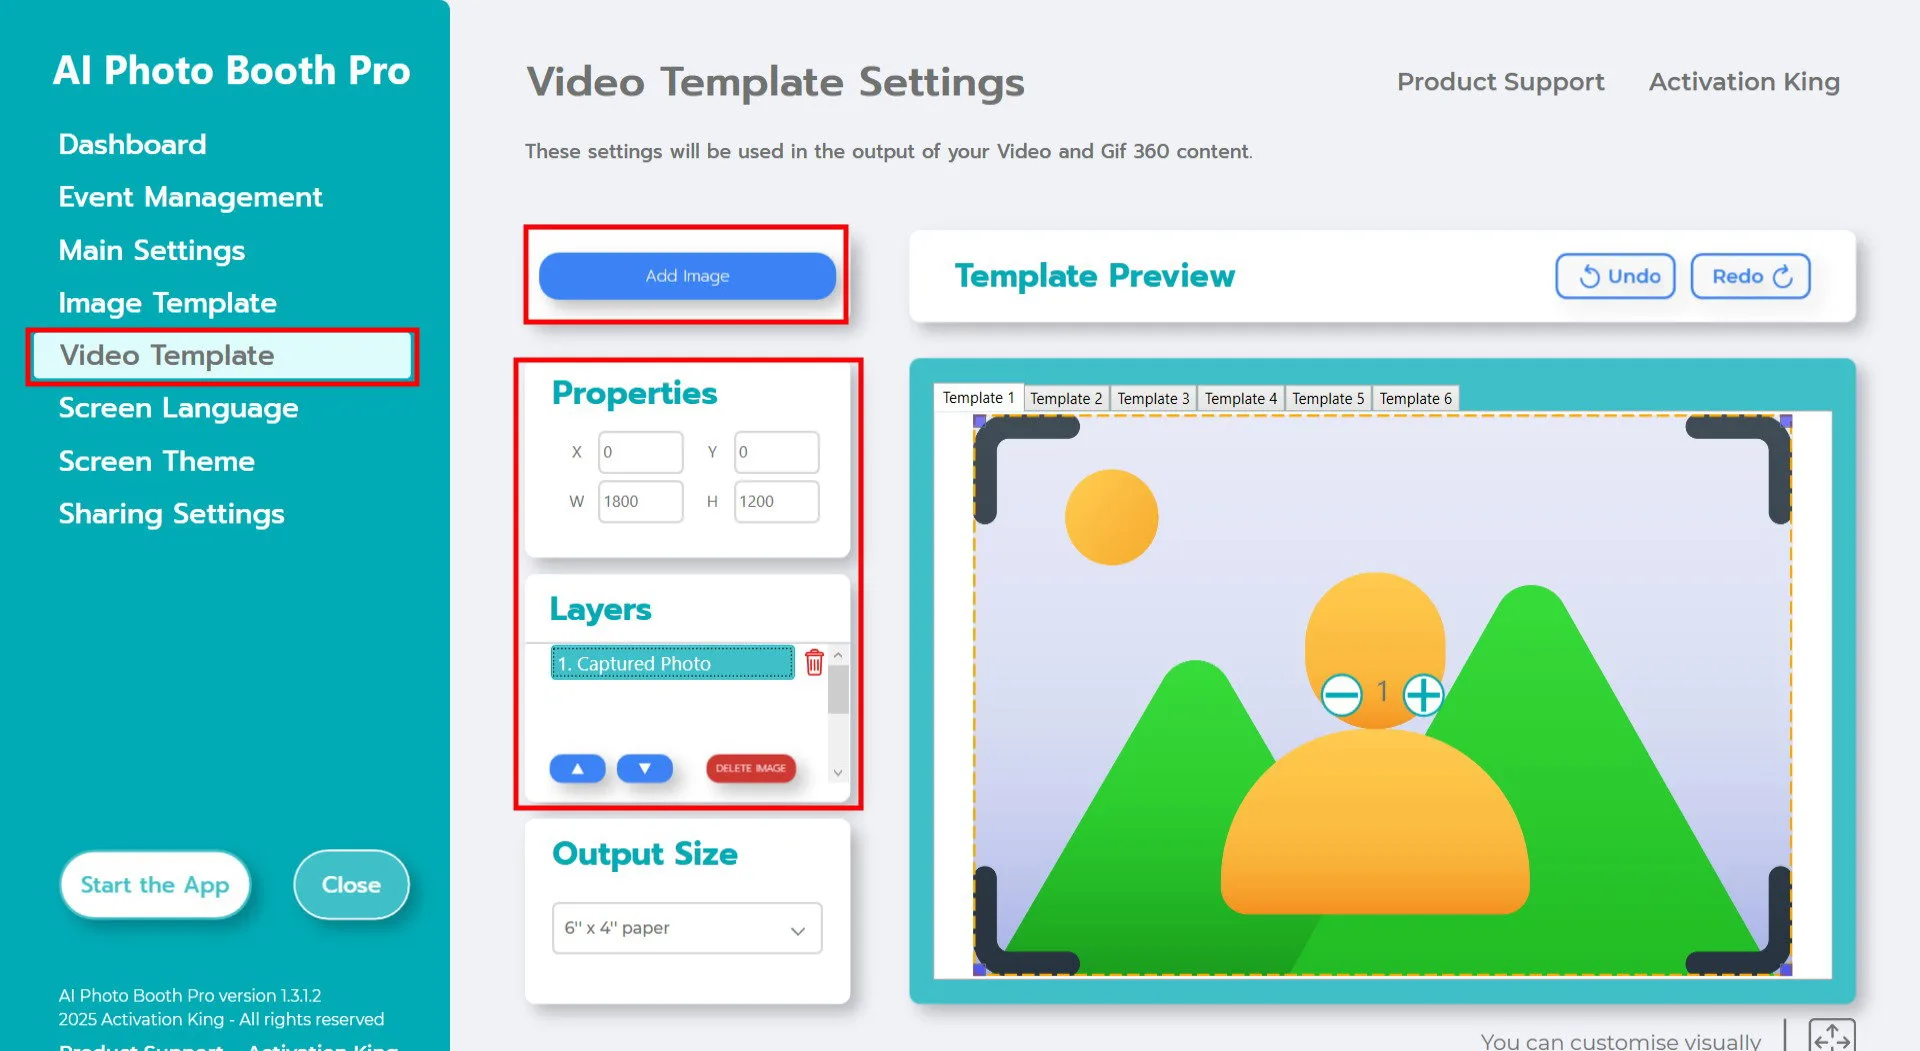
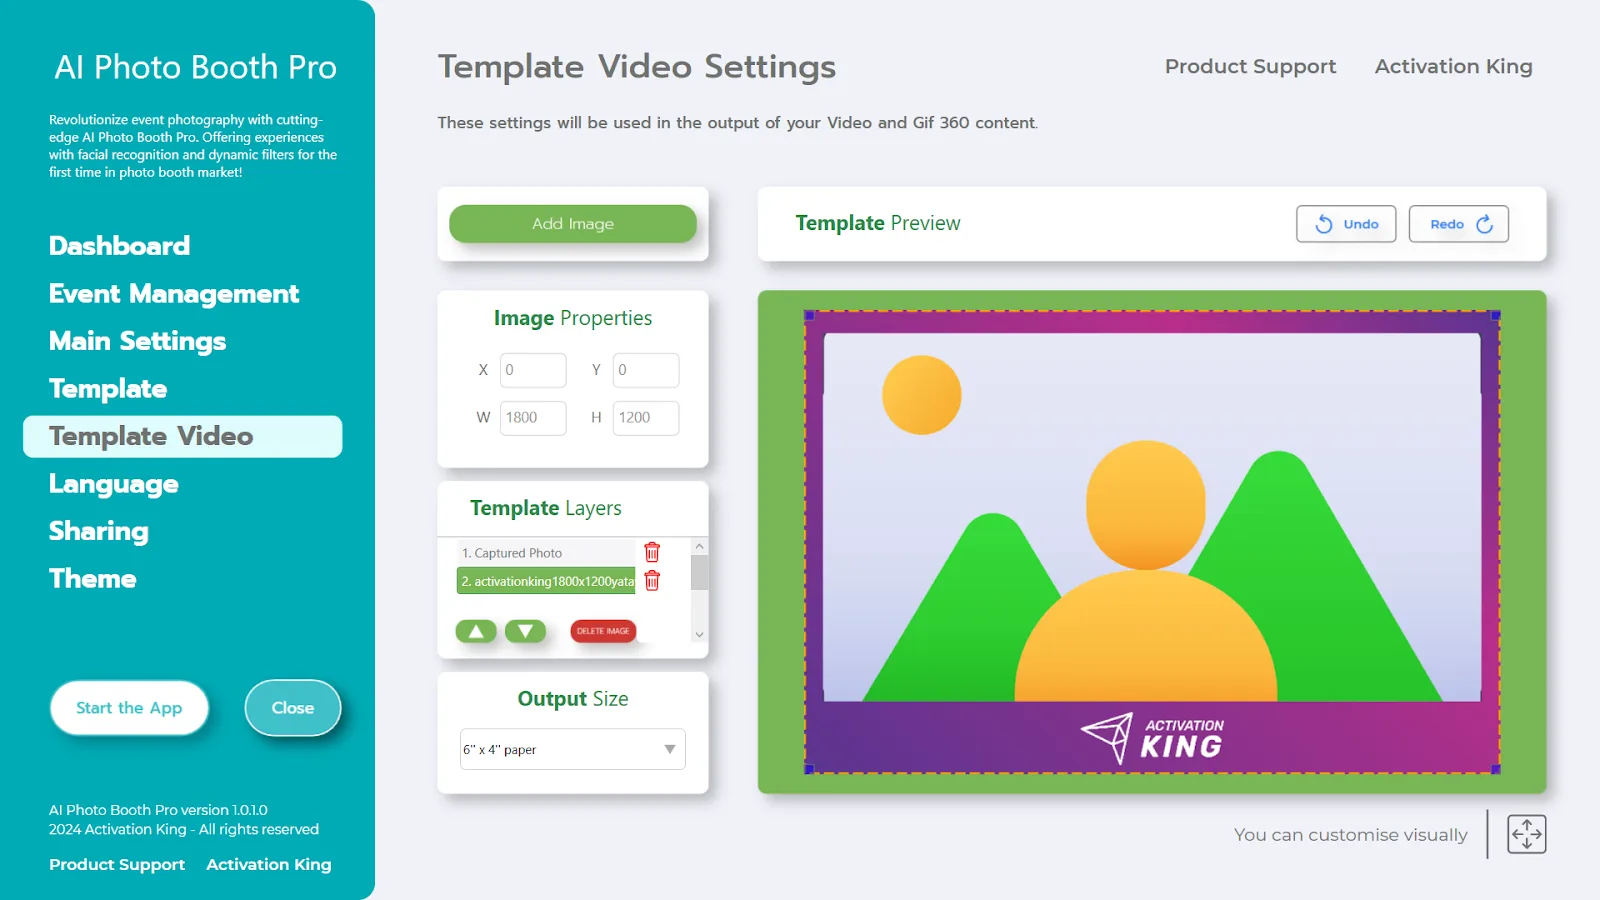
The "Template Video Settings" section is where you adjust the size and positioning of your GIF and add digital frames and stickers. The "Output Size" in Template Settings must match the "Output Size" in Template Video Settings; otherwise, your images may be cropped during GIF creation.
After matching the Output Size values, if you want to add a frame to your GIF, click the "Add Image" button.
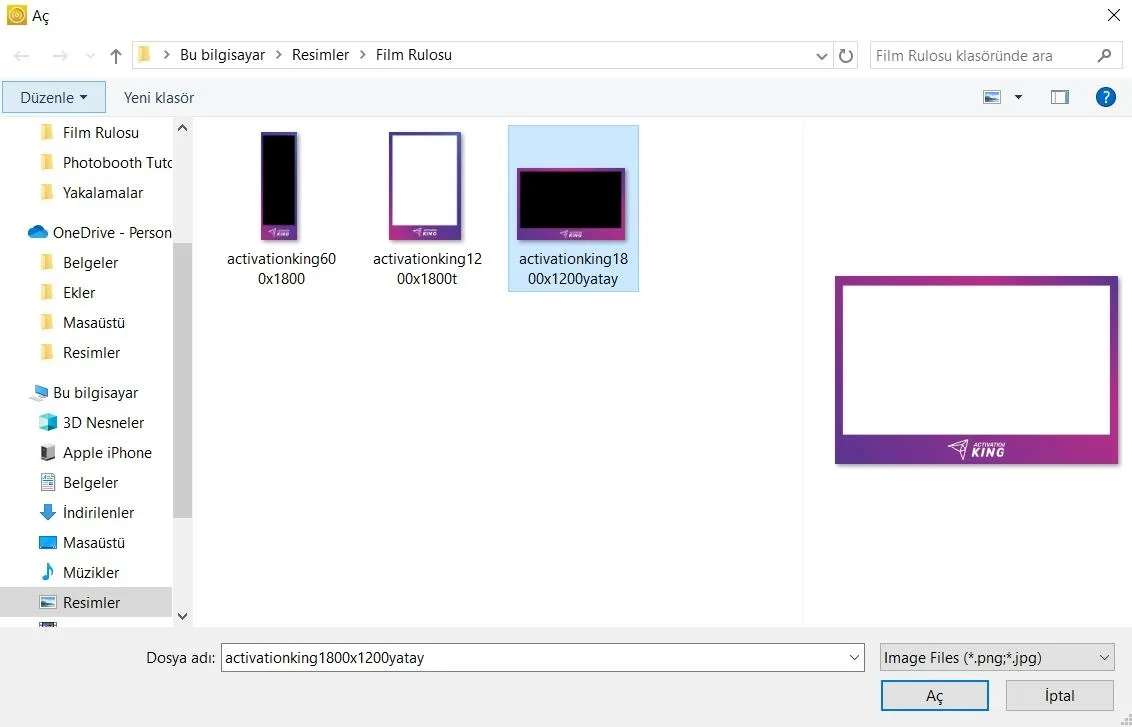
In this section, select the horizontal or vertical frame you want to use and click "Open."
After adding your frame, if it does not align properly with the image, click on the frame once in the "Template Layers" section. Then enter your "Output Size" values in the "Image Properties" panel to ensure the frame fits the image perfectly.
Once all these steps are completed, click the "Start the Apps" button.
Start the Apps

When you enter the "Start the Apps" section, this screen will appear. Click the "Photo" icon once.
After the photo is captured, your image will appear along with the frame you added.

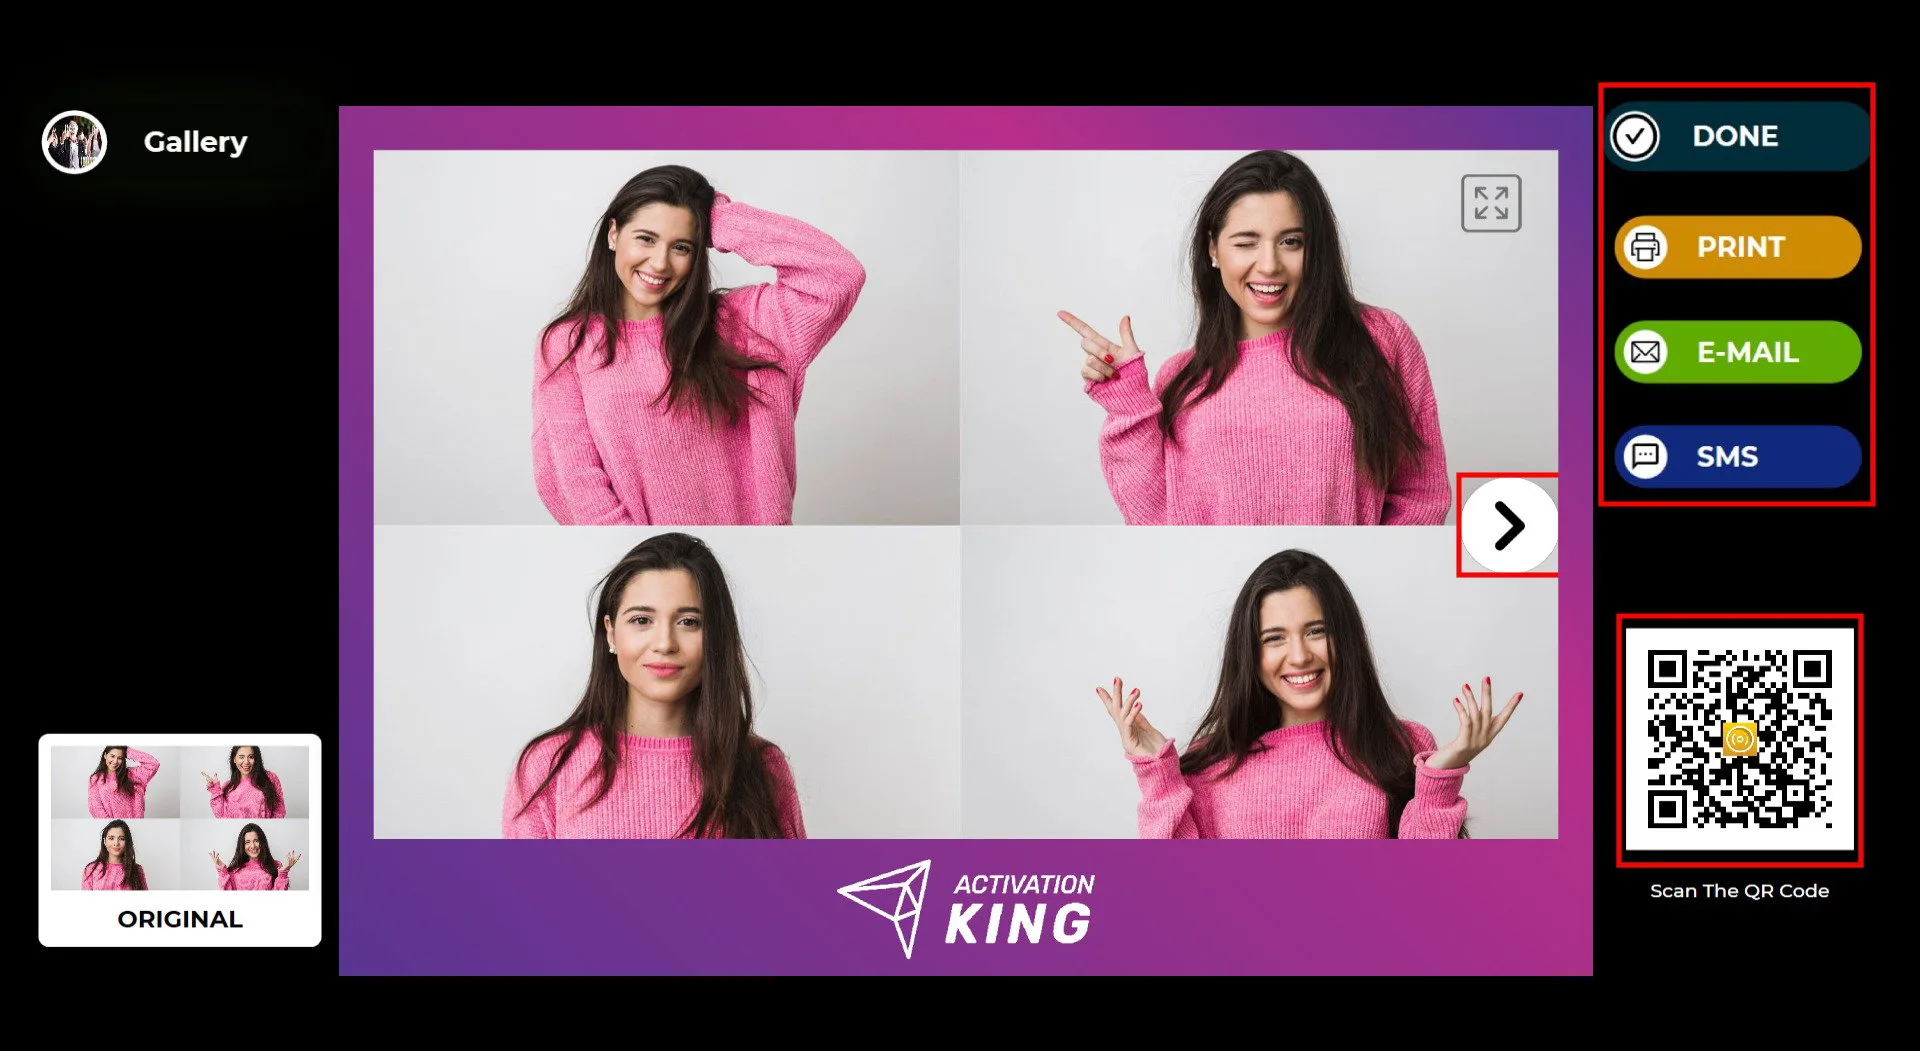
Press the "OK" icon on the image to open the GIF page. On the right side, you can use the Print, E-mail, SMS, or QR code options to receive your output. You do not need to scan a separate QR code or send a separate email for the photo and the GIF; one action is sufficient for both. To return to the capture screen, click the "DONE" icon.
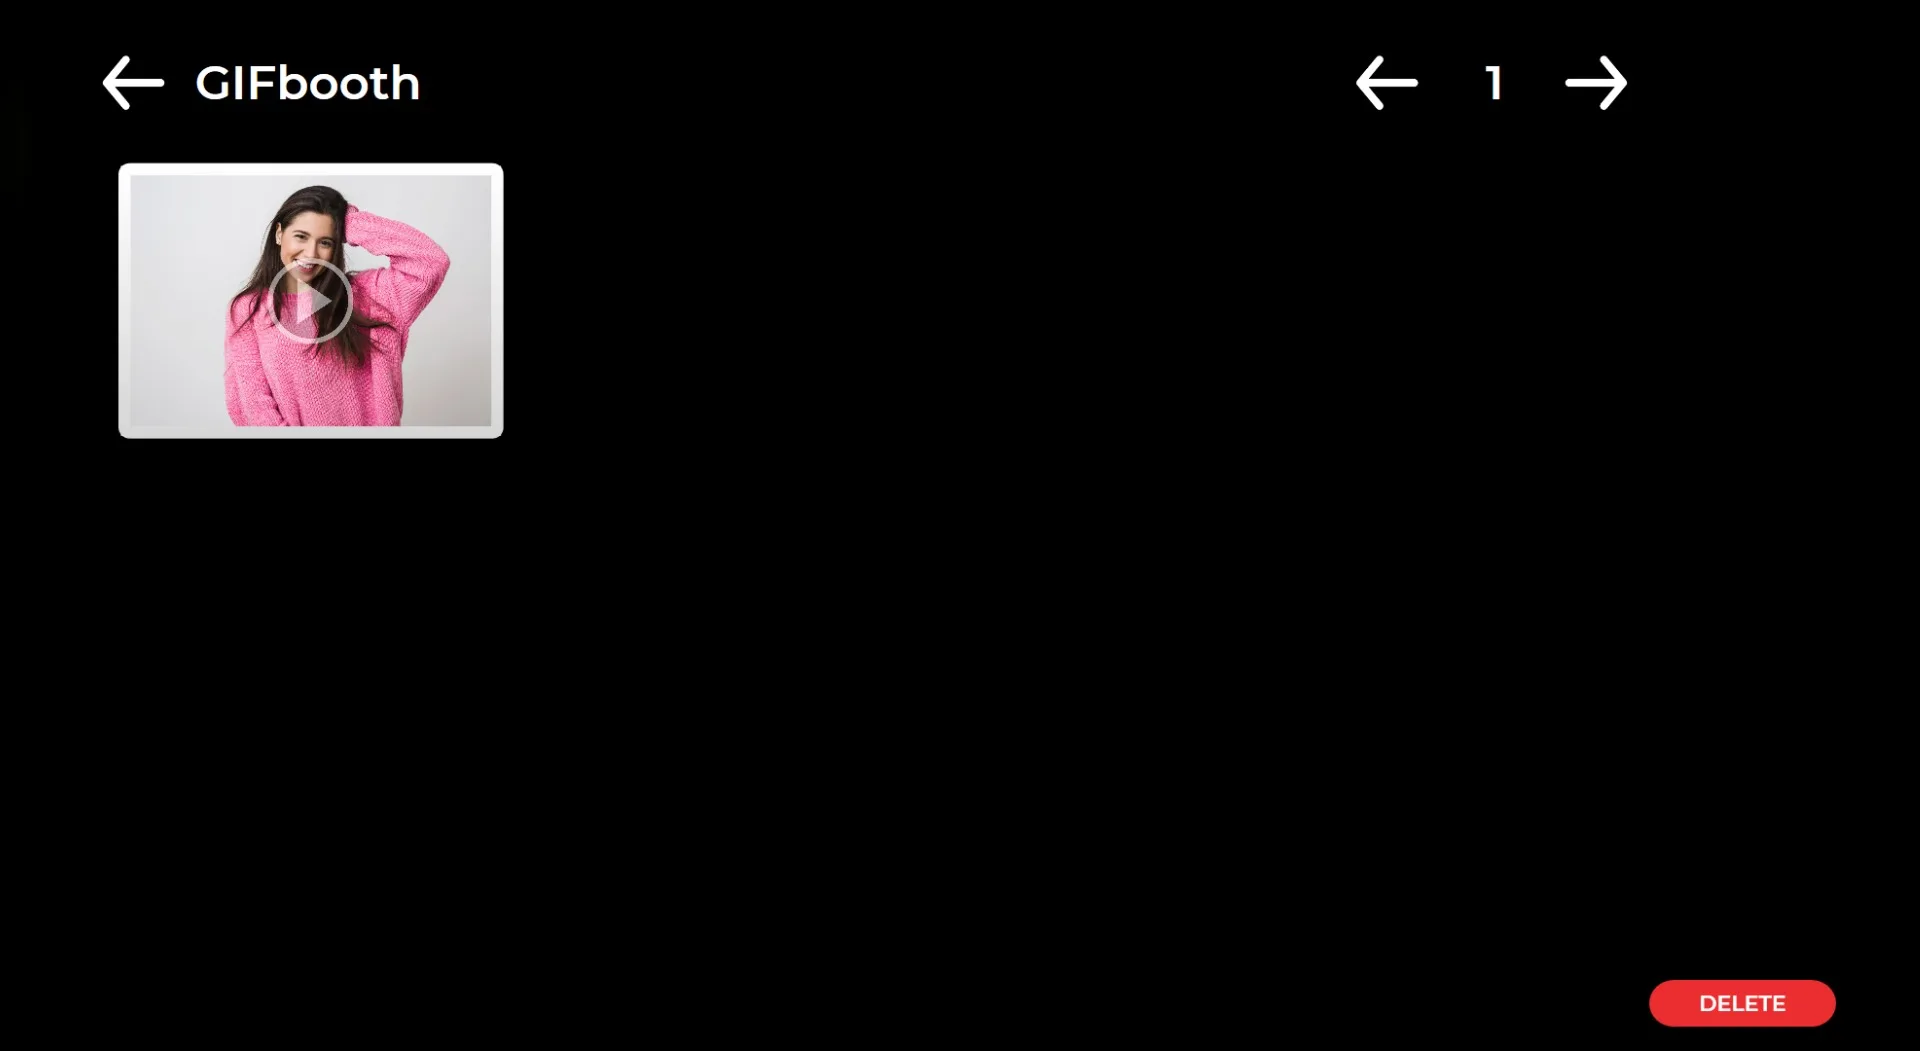
When you click the "Gallery" icon, you can view all previously captured images.
To return to the settings menu, press the F11 key. For touch-screen users, tapping the upper right corner of the screen five times consecutively will also open the settings menu.