Paramètres du mode
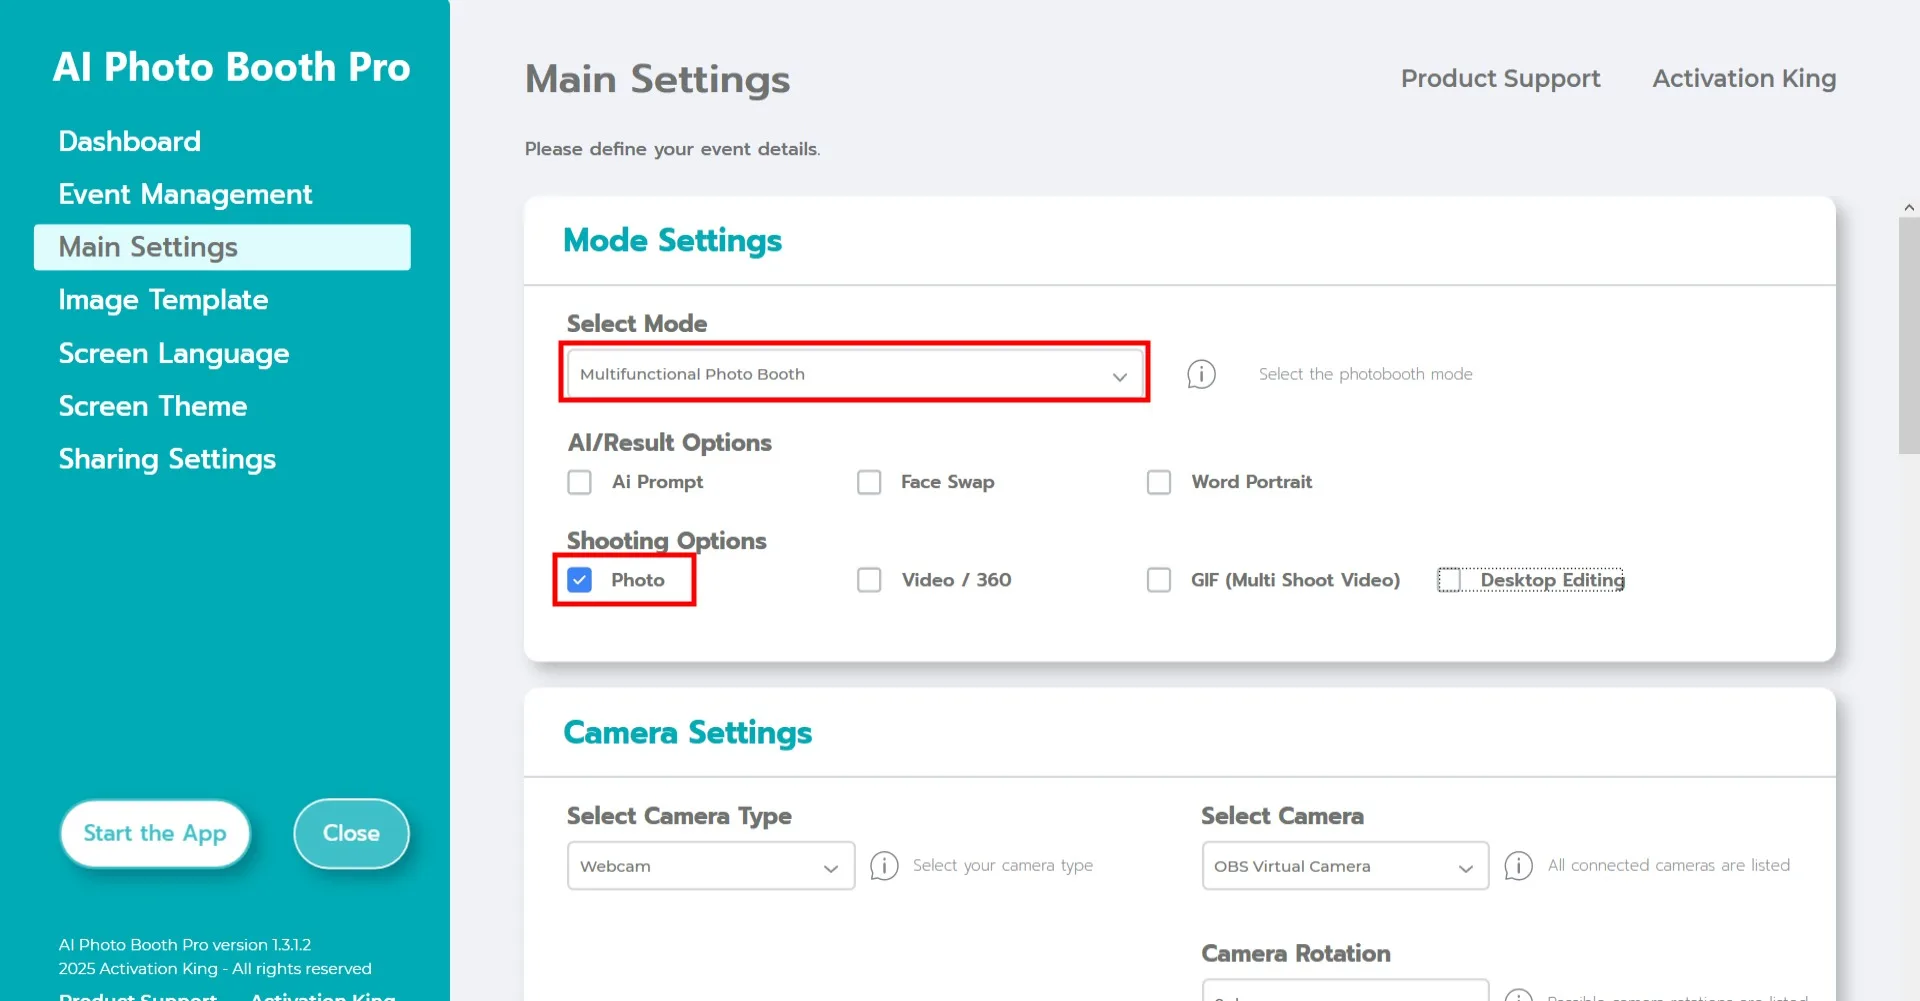
Sélectionnez "Mode multifonction." Après avoir effectué la sélection, cliquez sur l'option "Photo" dans la liste ci-dessous.
Paramètres de la caméra
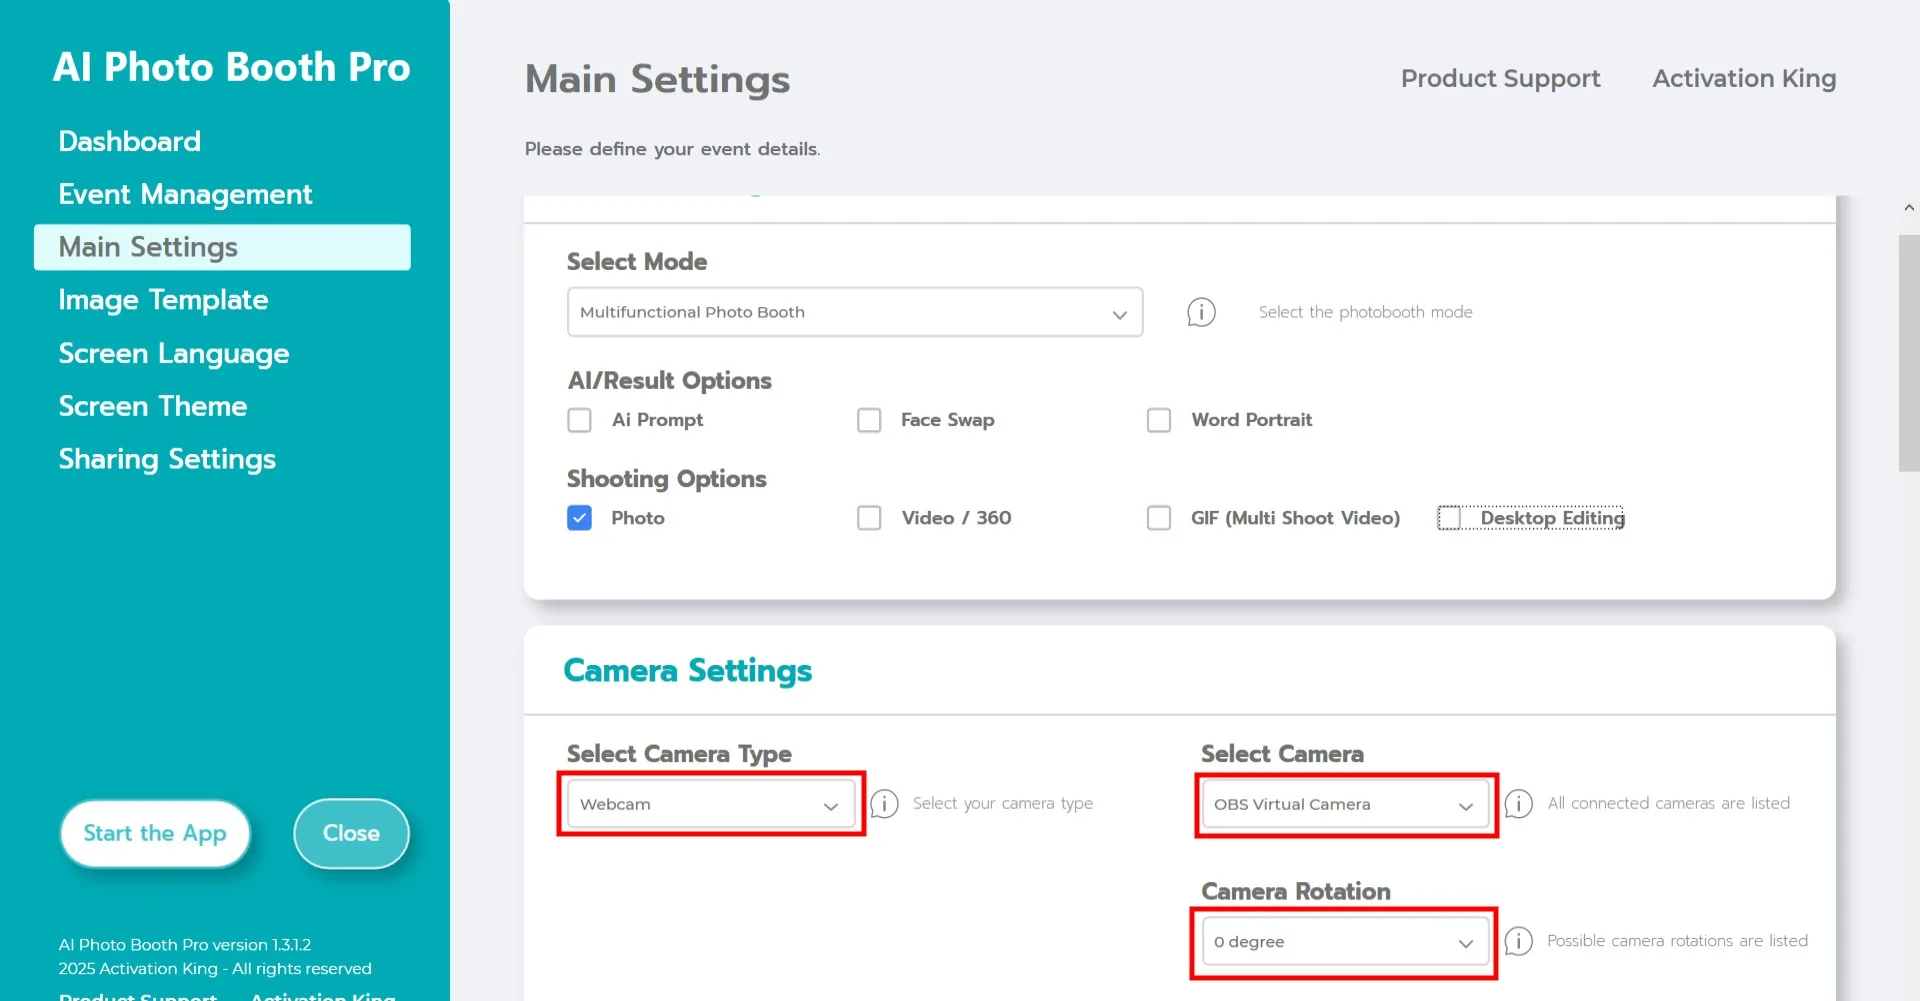
Dans la section "Paramètres de la caméra", choisissez le type de caméra dans le menu déroulant "Sélectionner le type de caméra".
Une fois votre caméra connectée à votre ordinateur, elle apparaîtra dans le champ "Sélectionner la caméra". (Si elle n'apparaît pas, assurez-vous que la caméra est allumée et correctement connectée, puis réessayez.)
Après avoir sélectionné votre caméra, ajustez son orientation en choisissant horizontal ou vertical dans la section "Rotation de la caméra".
Paramètres de fond vert
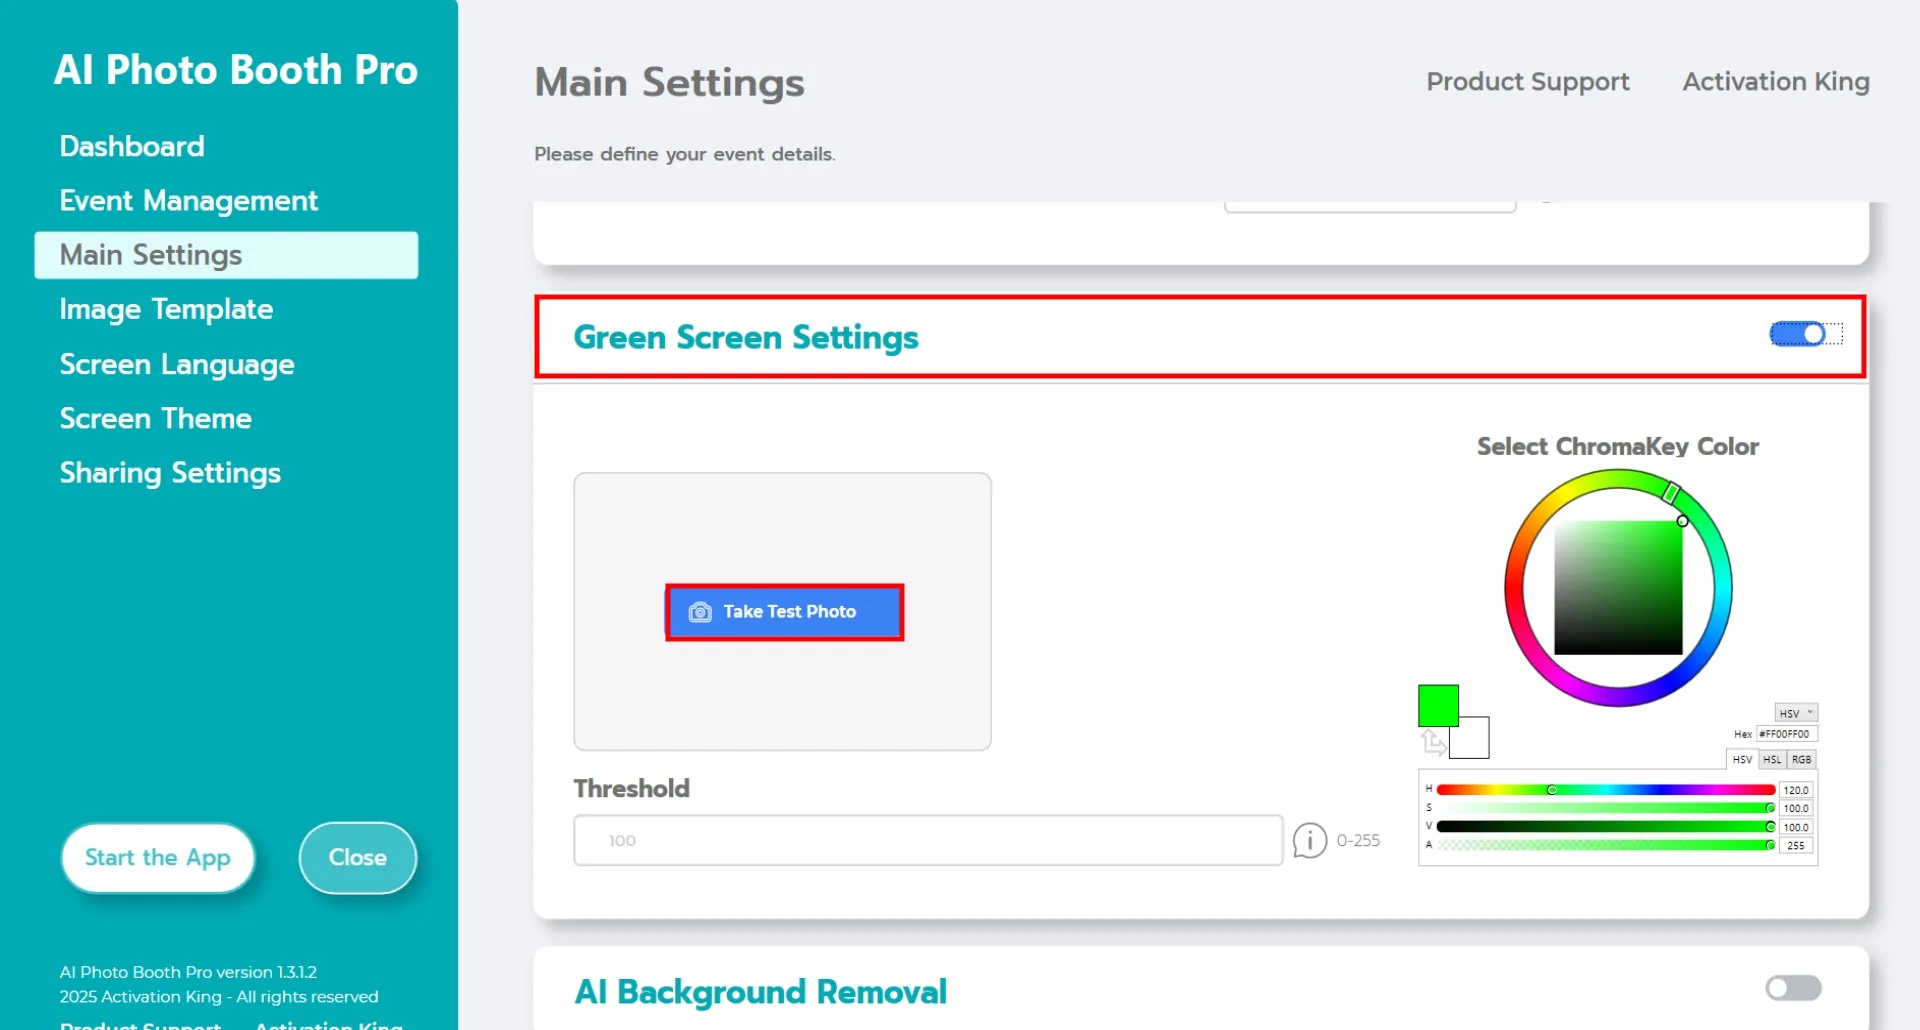
Après avoir activé la case à cocher "Paramètres de fond vert", des options supplémentaires pour la suppression de l'arrière-plan apparaîtront.
Sur le côté droit, la couleur par défaut dans la palette est le vert. Selon votre environnement et les conditions d'éclairage, la teinte exacte du vert peut varier.
Pour cette raison, allez dans la section "Photo de test" et cliquez sur "Prendre une photo de test."
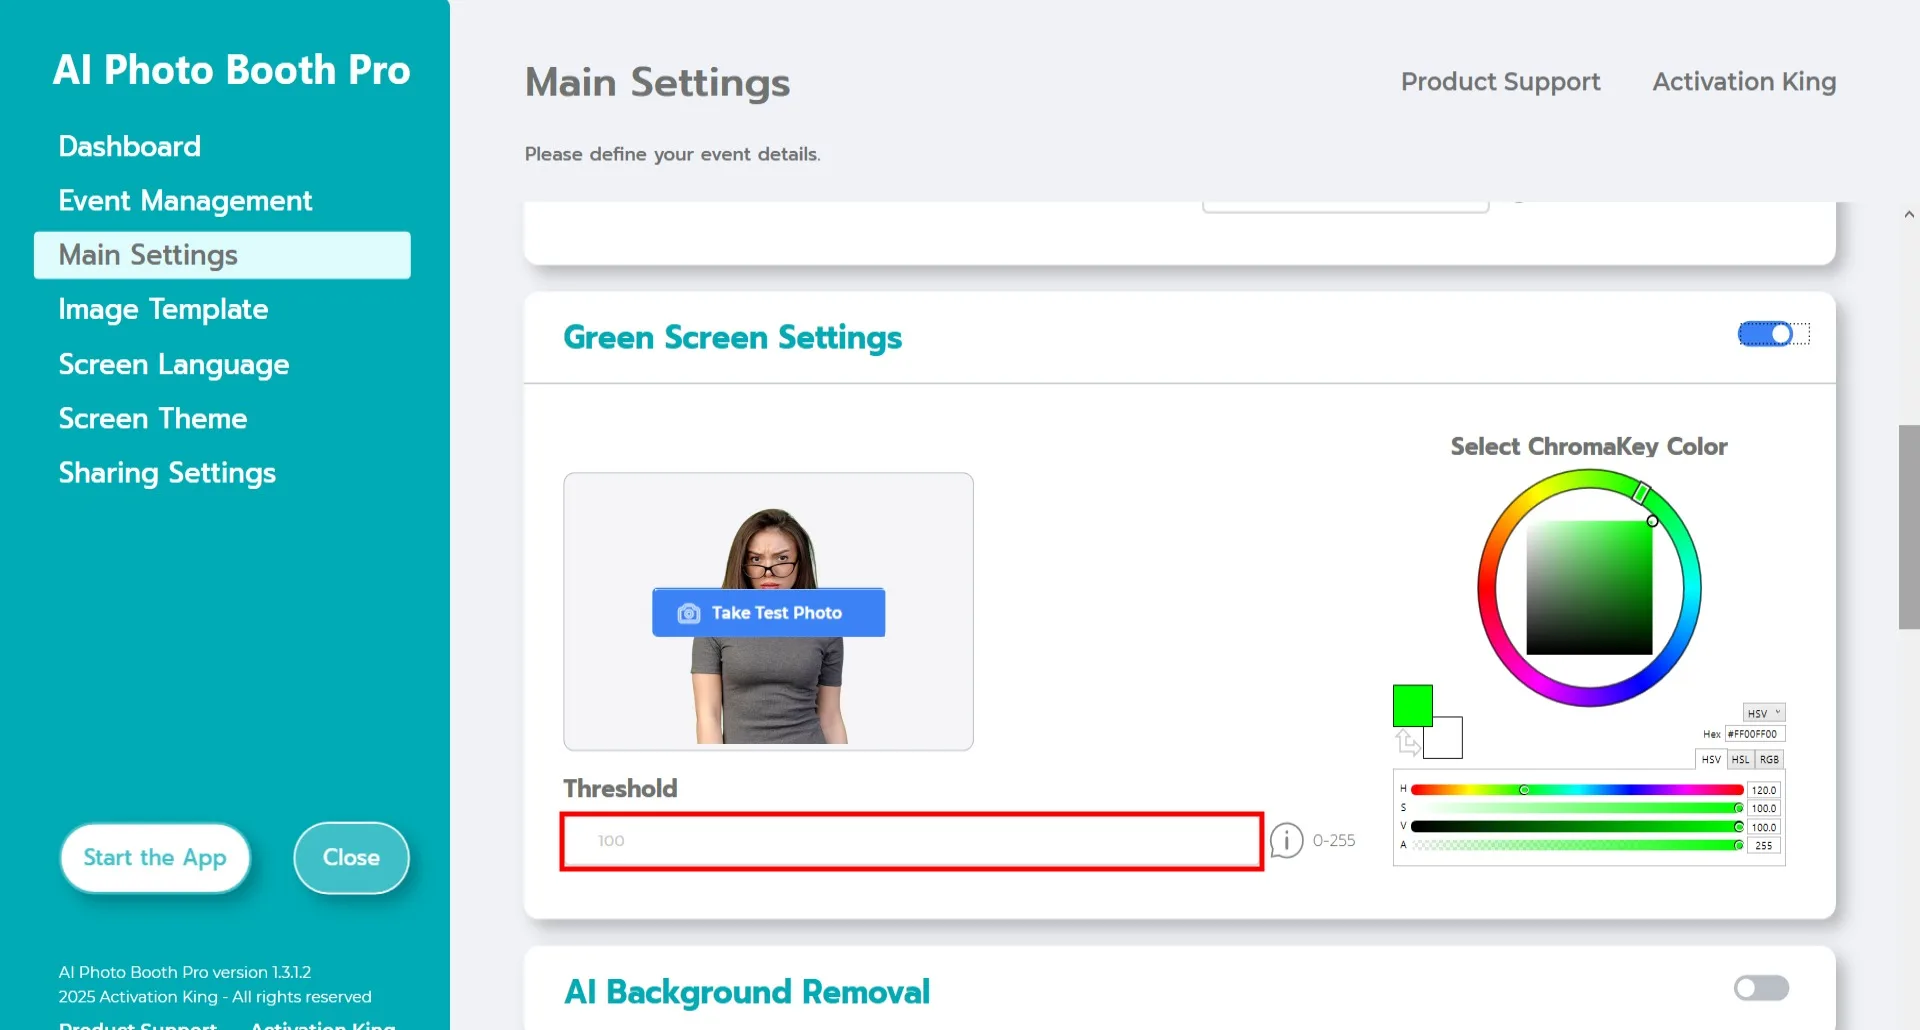
Après avoir pris la photo de test, vous pouvez ajuster manuellement la couleur depuis la palette à droite, ou simplement cliquer sur la couleur à supprimer directement sur votre image. Le logiciel supprimera automatiquement l'arrière-plan en fonction de la teinte sélectionnée. Vous pouvez affiner le résultat en augmentant ou diminuant la valeur du "Seuil" (plage : 0-100).
Modèle d'image
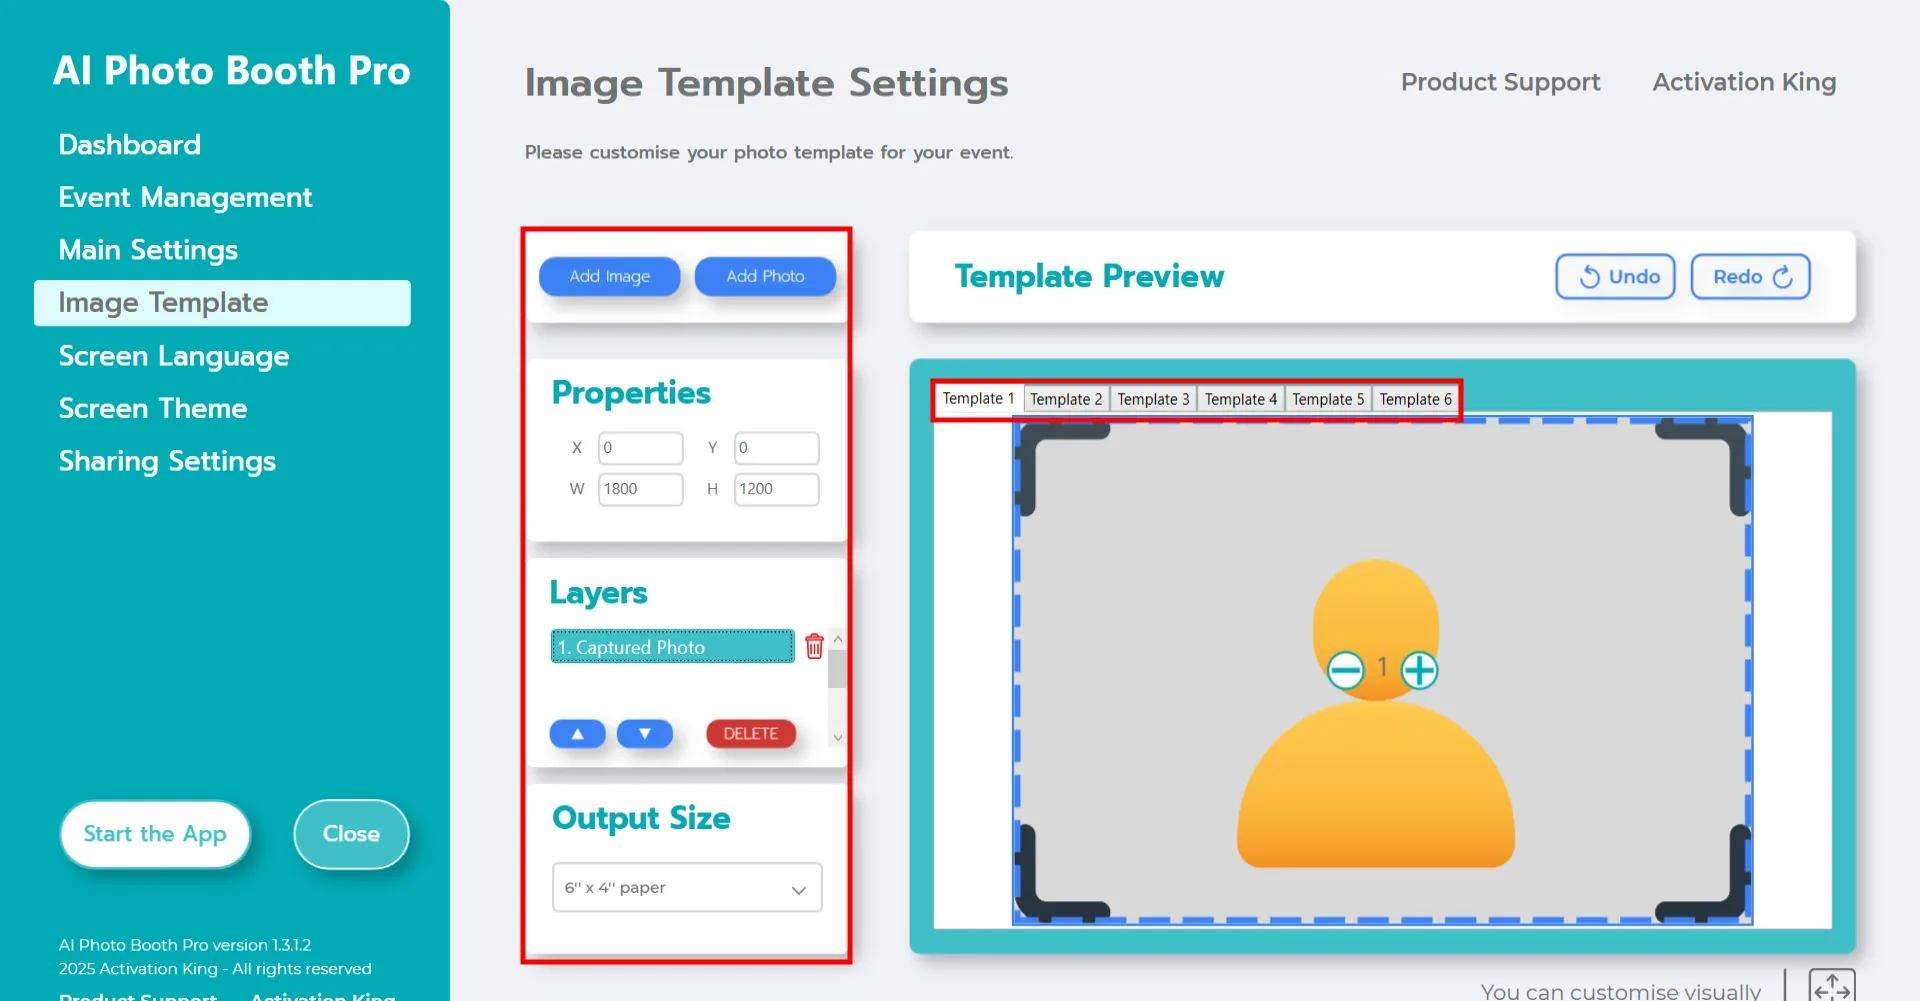
La section "Paramètres du modèle" est l'interface permettant d'ajuster la taille et la position de vos photos, d'attribuer une image d'arrière-plan et d'ajouter des cadres numériques ou des autocollants.
Dans le champ "Taille de sortie", définissez les dimensions de votre photo. Si vous prévoyez d'imprimer, nous recommandons de saisir 6x4 ou 6x8 selon la taille de votre papier. Pour une sortie uniquement numérique, vous pouvez choisir 1280x1280, 1080x1920 ou 1280x720.
Pour ajouter une image d'arrière-plan, cliquez sur le bouton "Ajouter une image".
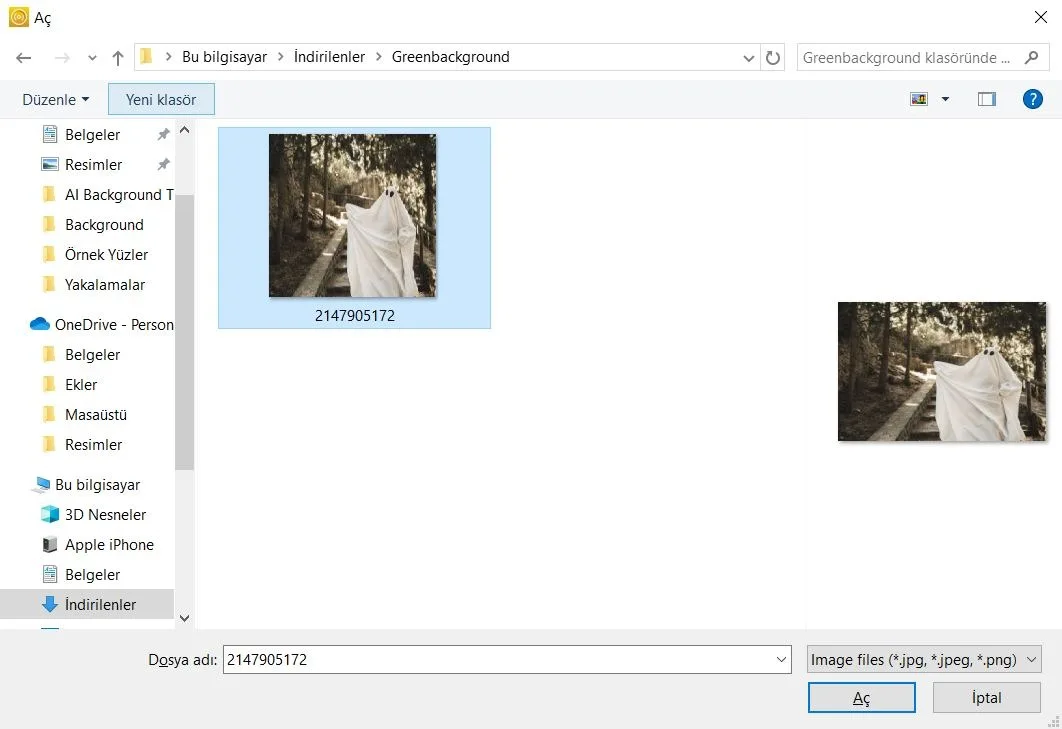
Après avoir localisé votre image sur votre ordinateur, cliquez dessus une fois et appuyez sur le bouton "Ouvrir".
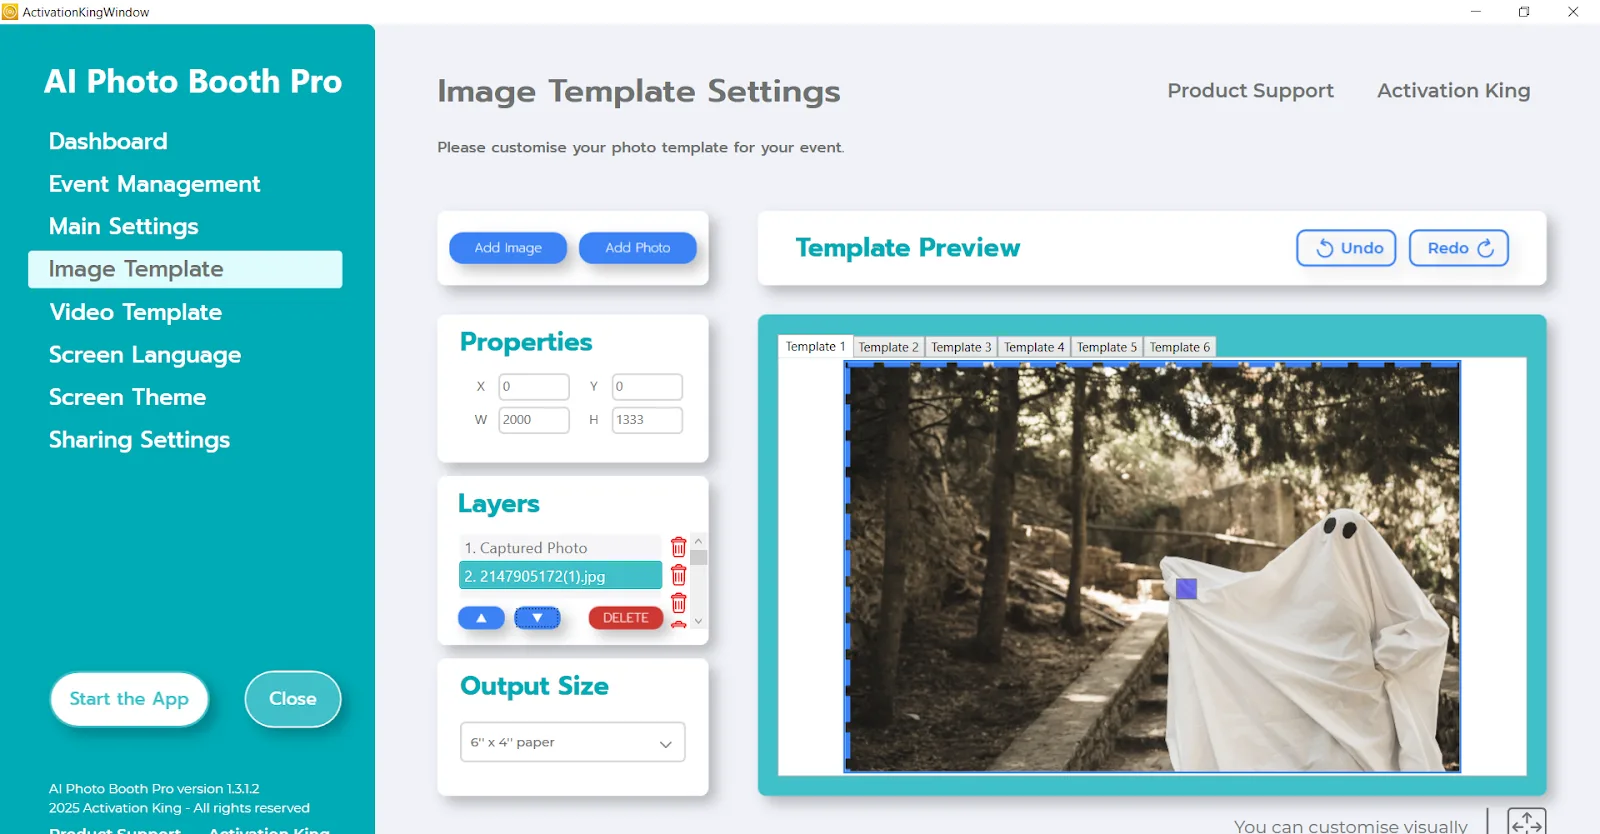
Si votre image correspond aux dimensions de votre "Taille de sortie", elle s'ajustera automatiquement.
Si les dimensions sont différentes, cliquez une fois sur l'image dans le panneau Calques du modèle. Puis, dans la section "Propriétés de l'image", définissez la largeur et la hauteur pour qu'elles correspondent à vos valeurs de Taille de sortie. Une fois saisies, votre image s'alignera parfaitement dans la zone d'aperçu du modèle.
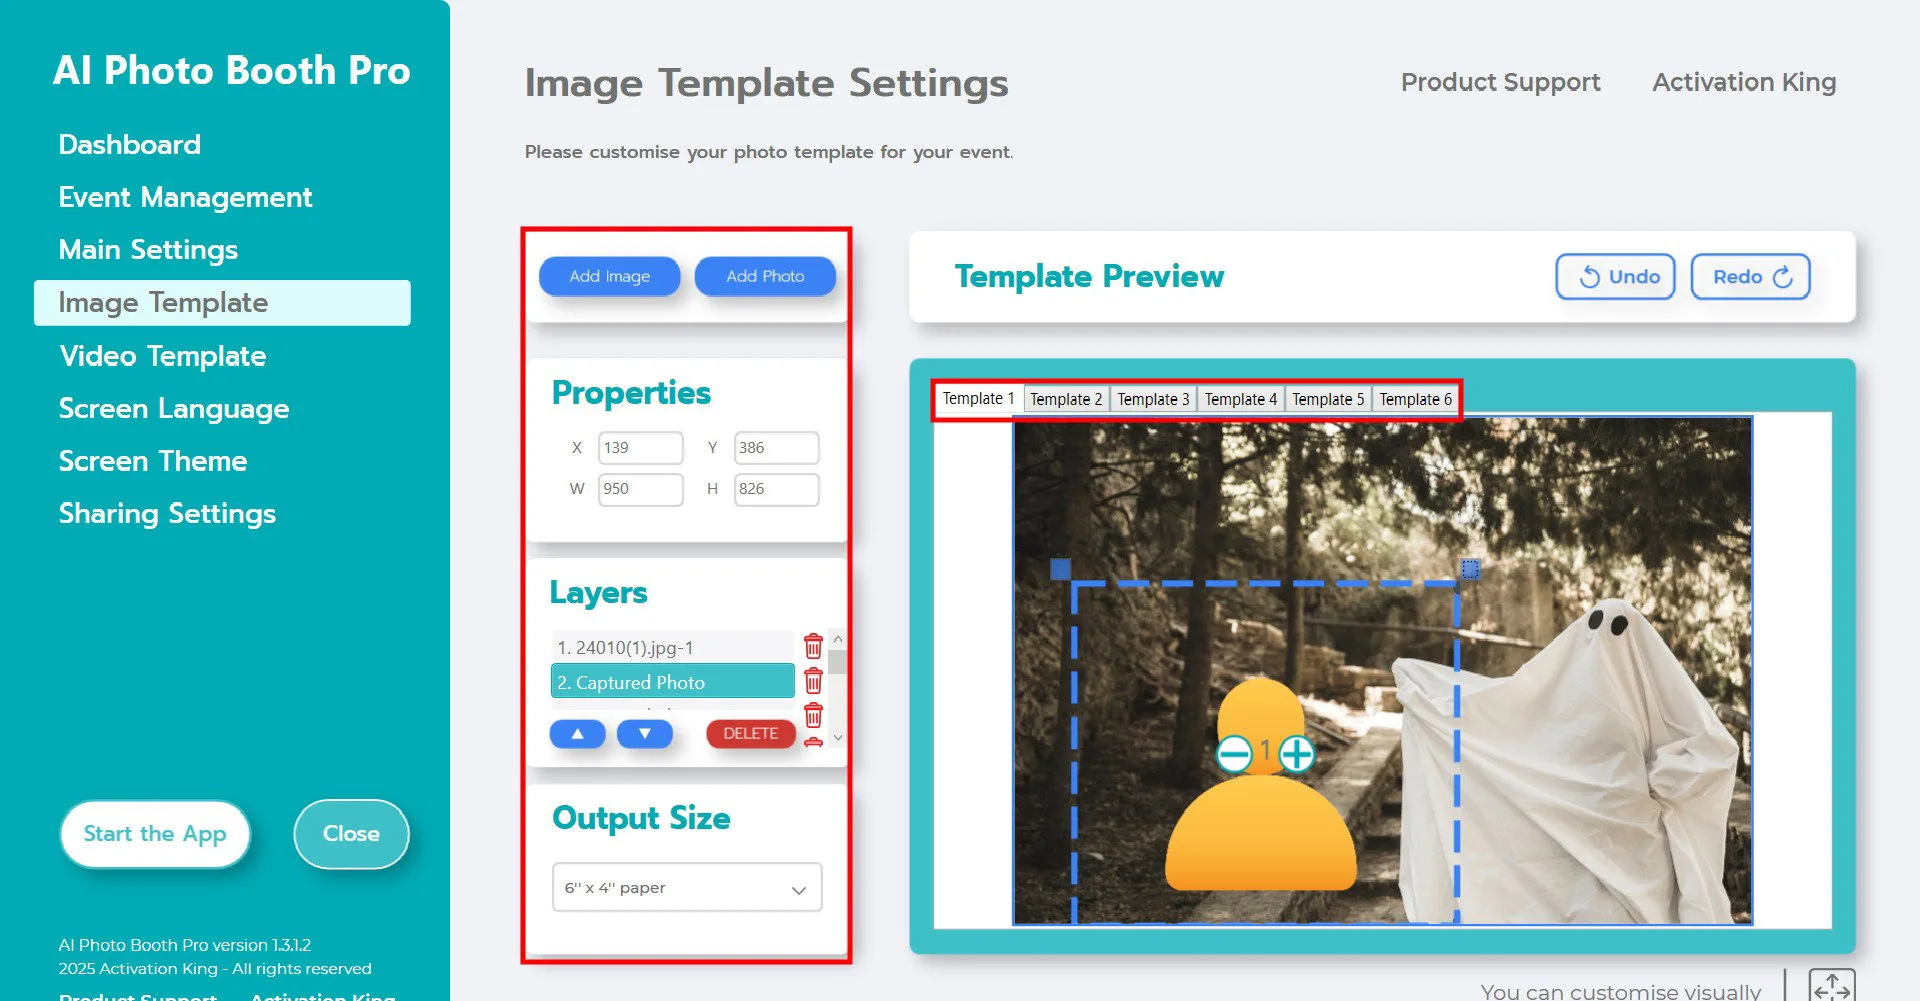
Revenez à la section "Calques du modèle" et cliquez une fois sur l'image d'arrière-plan que vous avez ajoutée. Utilisez ensuite les icônes de flèches ci-dessous pour la déplacer vers le calque supérieur. Cela place la personne devant l'arrière-plan, comme illustré dans l'exemple ci-dessus.
Ensuite, dans la section Calques du modèle, cliquez sur "Photo capturée." Vous pouvez ajuster la position de la photo sur l'arrière-plan manuellement dans la zone d'aperçu du modèle ou en saisissant des valeurs précises dans la section Propriétés de l'image.
Pour ajouter des cadres numériques ou des autocollants, cliquez sur le bouton "Ajouter une image" en haut.
Si le cadre que vous ajoutez correspond à votre Taille de sortie, il s'ajustera automatiquement. S'il a des dimensions différentes, cliquez dessus une fois dans la section Calques du modèle, puis saisissez vos mesures de Taille de sortie dans la zone Propriétés de l'image pour que le cadre s'adapte parfaitement.
Après avoir effectué tous ces ajustements, cliquez sur le bouton "Démarrer l'application".
Démarrer l'application
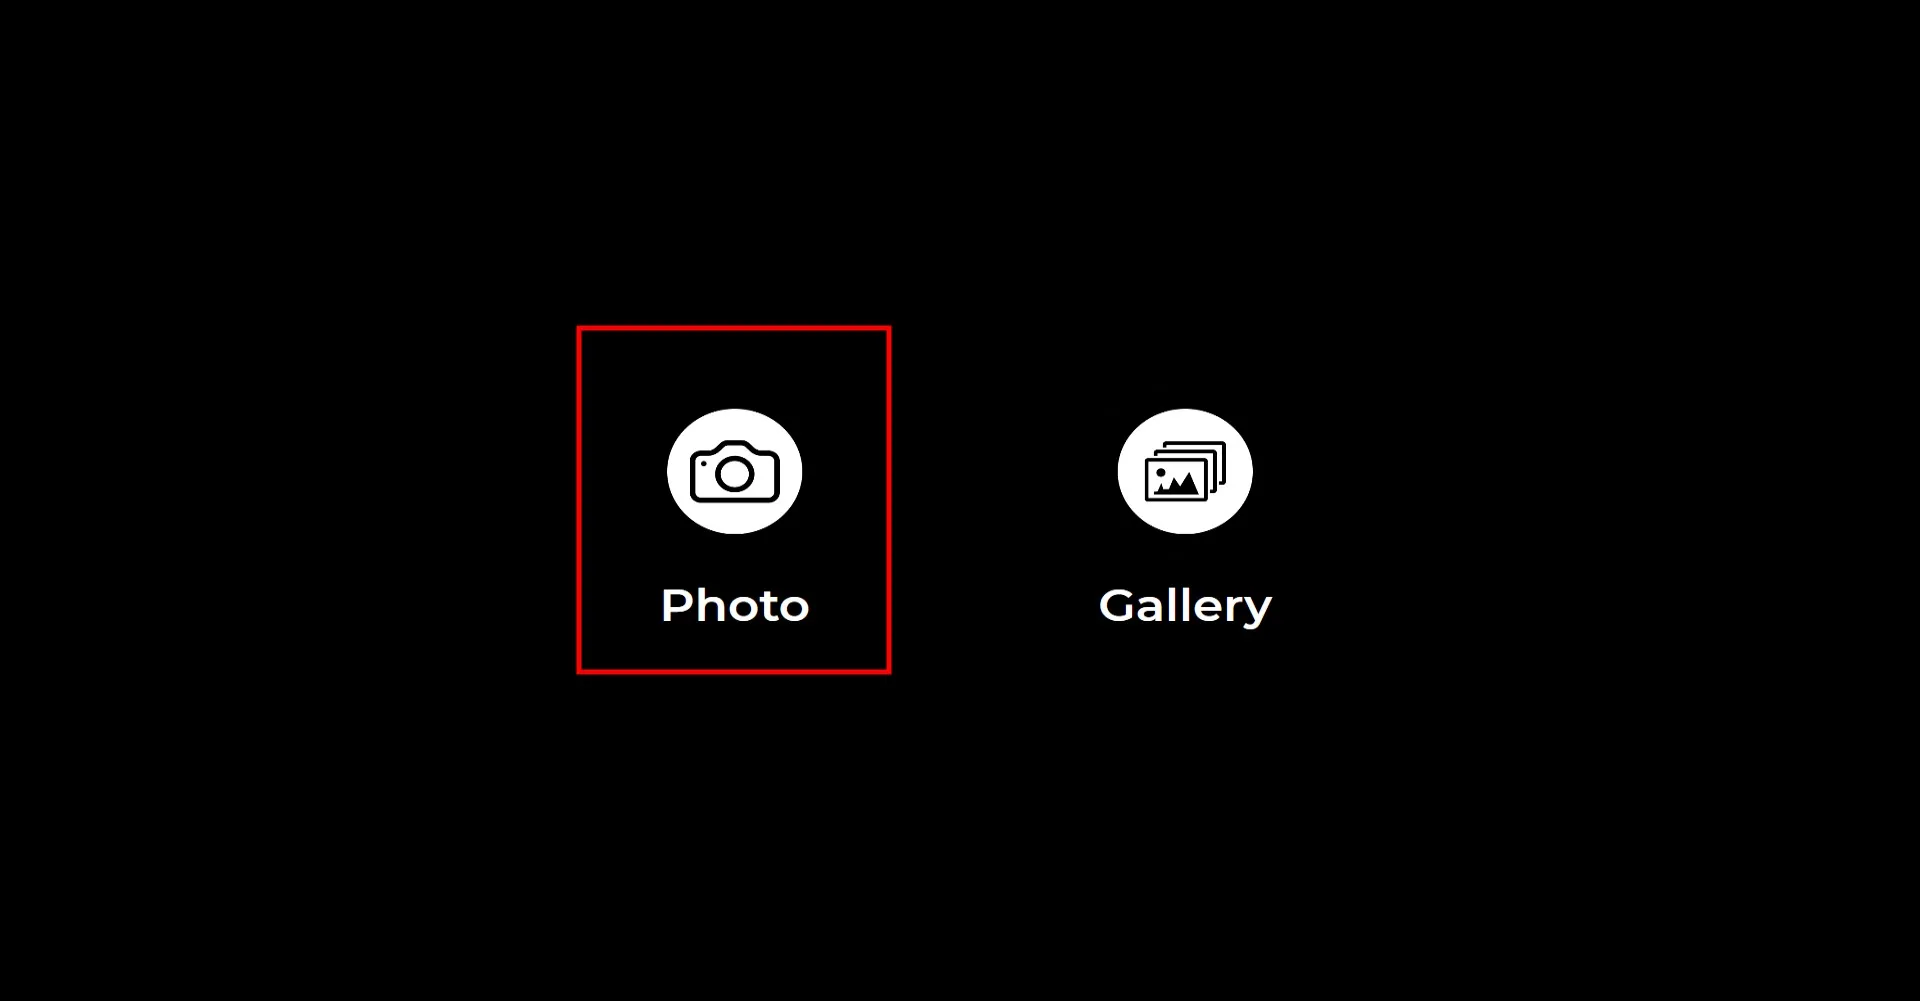
Lorsque vous ouvrez la section "Démarrer l'application", cet écran apparaîtra. Cliquez une fois sur l'icône "Photo". Après le compte à rebours que vous avez défini, votre photo sera capturée.
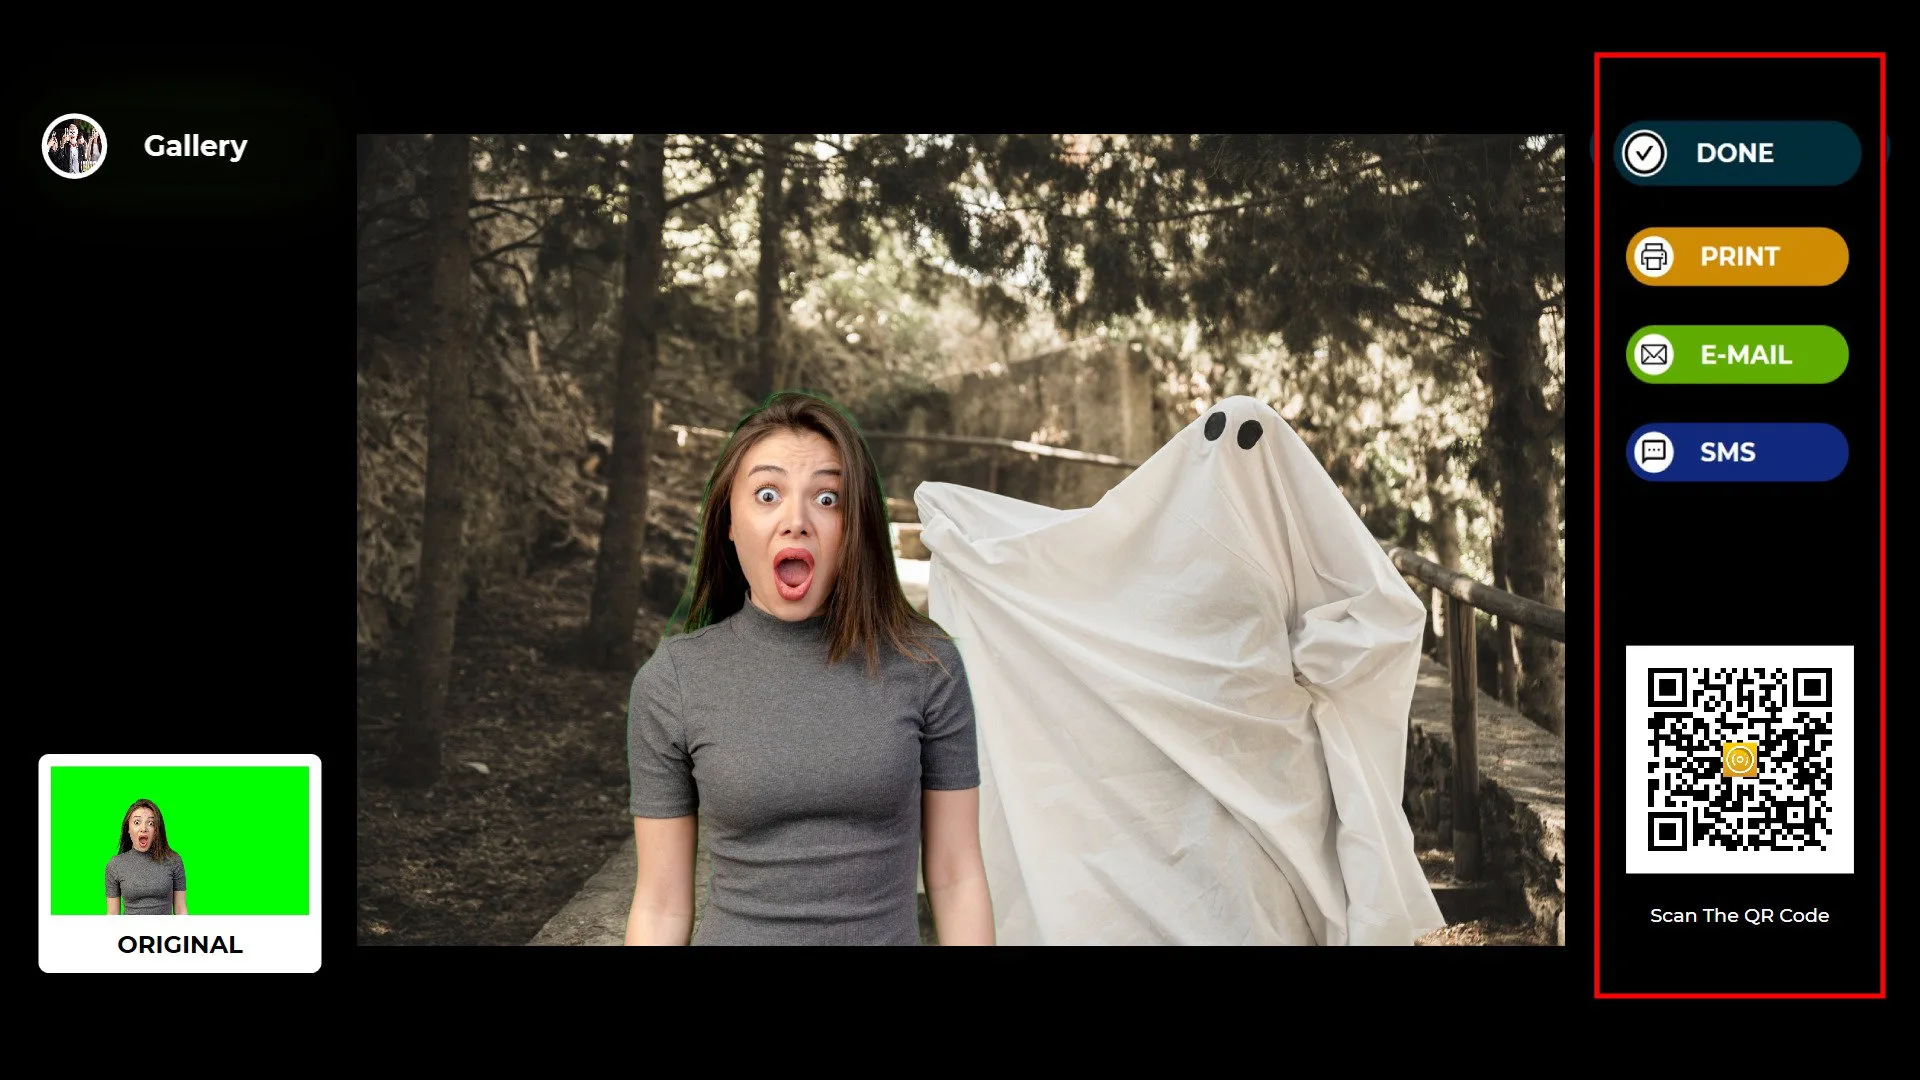
Une fois la photo prise, votre image apparaîtra avec l'arrière-plan et le cadre que vous avez ajoutés.
Sur le côté droit, vous pouvez utiliser les options Imprimer, E-mail, SMS ou QR code pour recevoir votre sortie.
Pour revenir à l'écran de capture, cliquez sur l'icône "TERMINÉ".

En cliquant sur l'icône "Galerie", vous pouvez accéder à toutes les images précédemment capturées.
Pour revenir au menu des paramètres, appuyez sur la touche F11. Pour les utilisateurs d'écran tactile, appuyer cinq fois de suite sur le coin supérieur droit de l'écran ouvrira également le menu des paramètres.