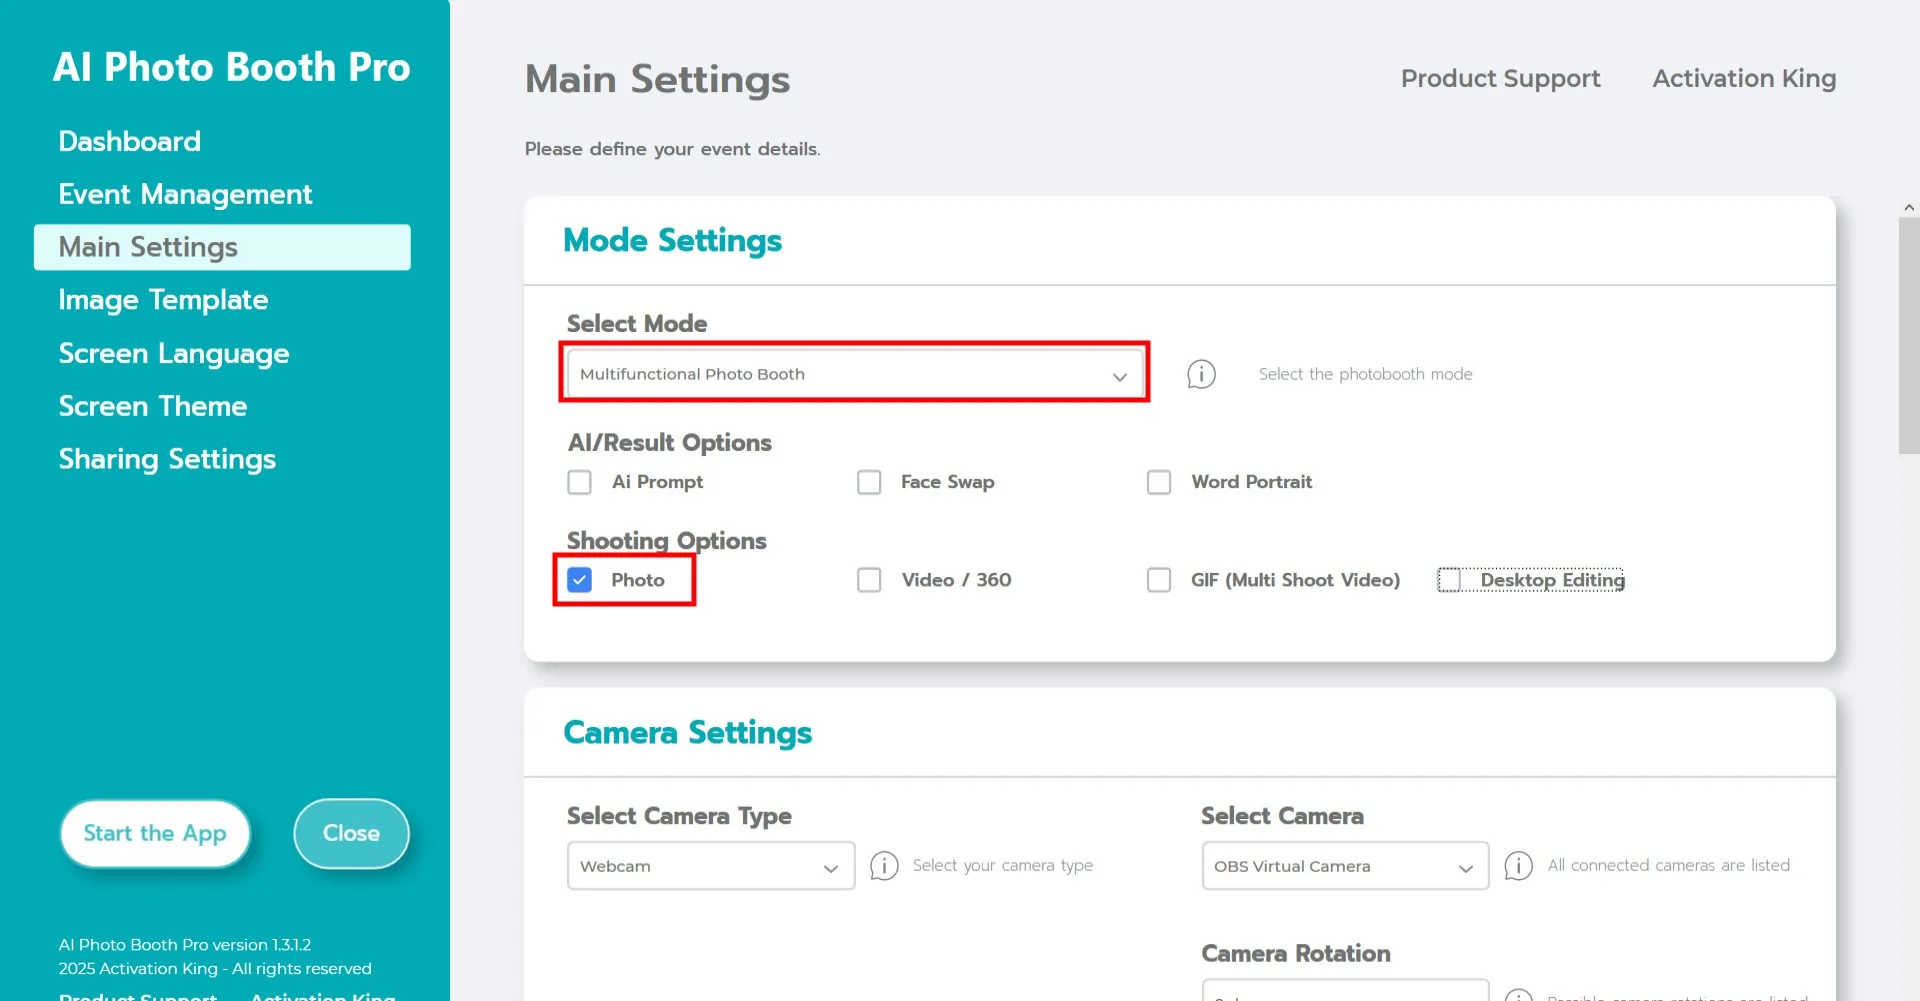
Mode Settings
Select "Multifunctional Photobooth Mode". After making the selection, check the "Photo" option from the list below.
Camera Settings
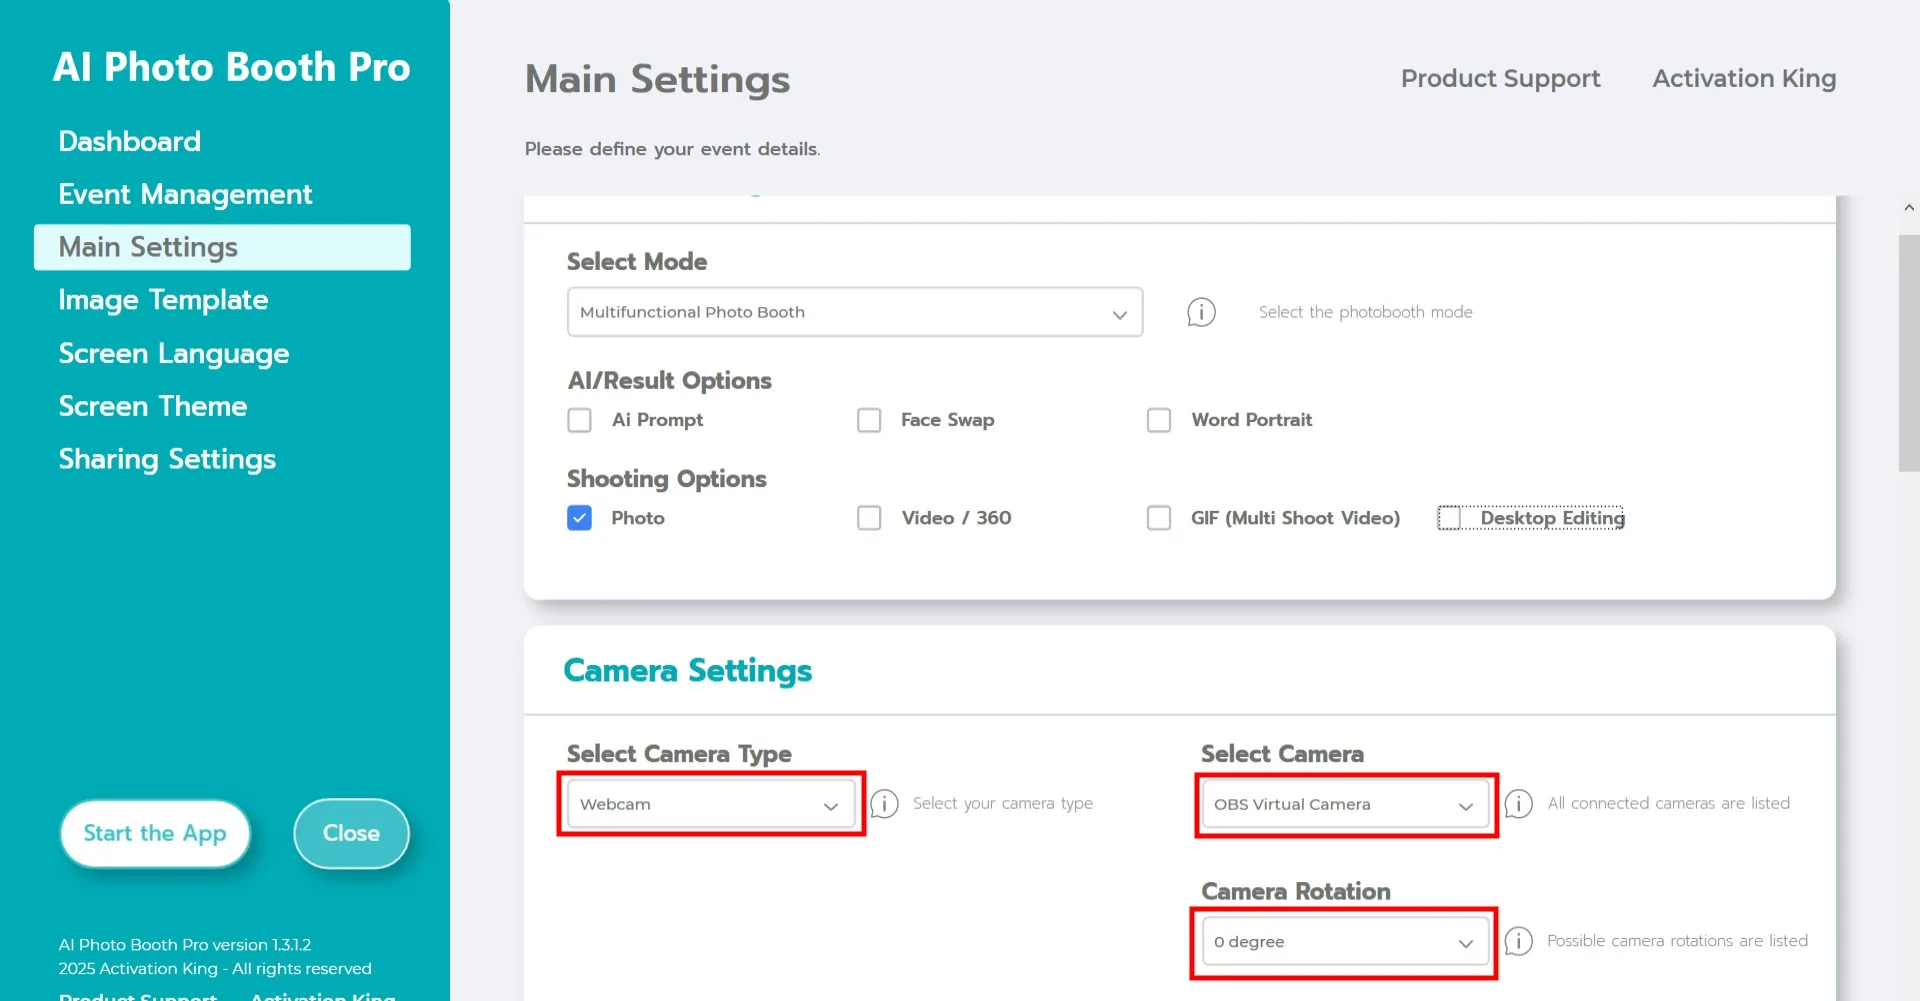
In the "Camera Settings" section, select the camera type you want to use from the "Select Camera Type" dropdown. When you connect your camera to your computer, it will appear in the "Select Camera" field. After selecting your camera, adjust the orientation for horizontal or vertical use in the "Camera Rotation" section.
(If your camera does not appear, check that it is turned on and connected to your computer, then try again.)
AI Background Removal
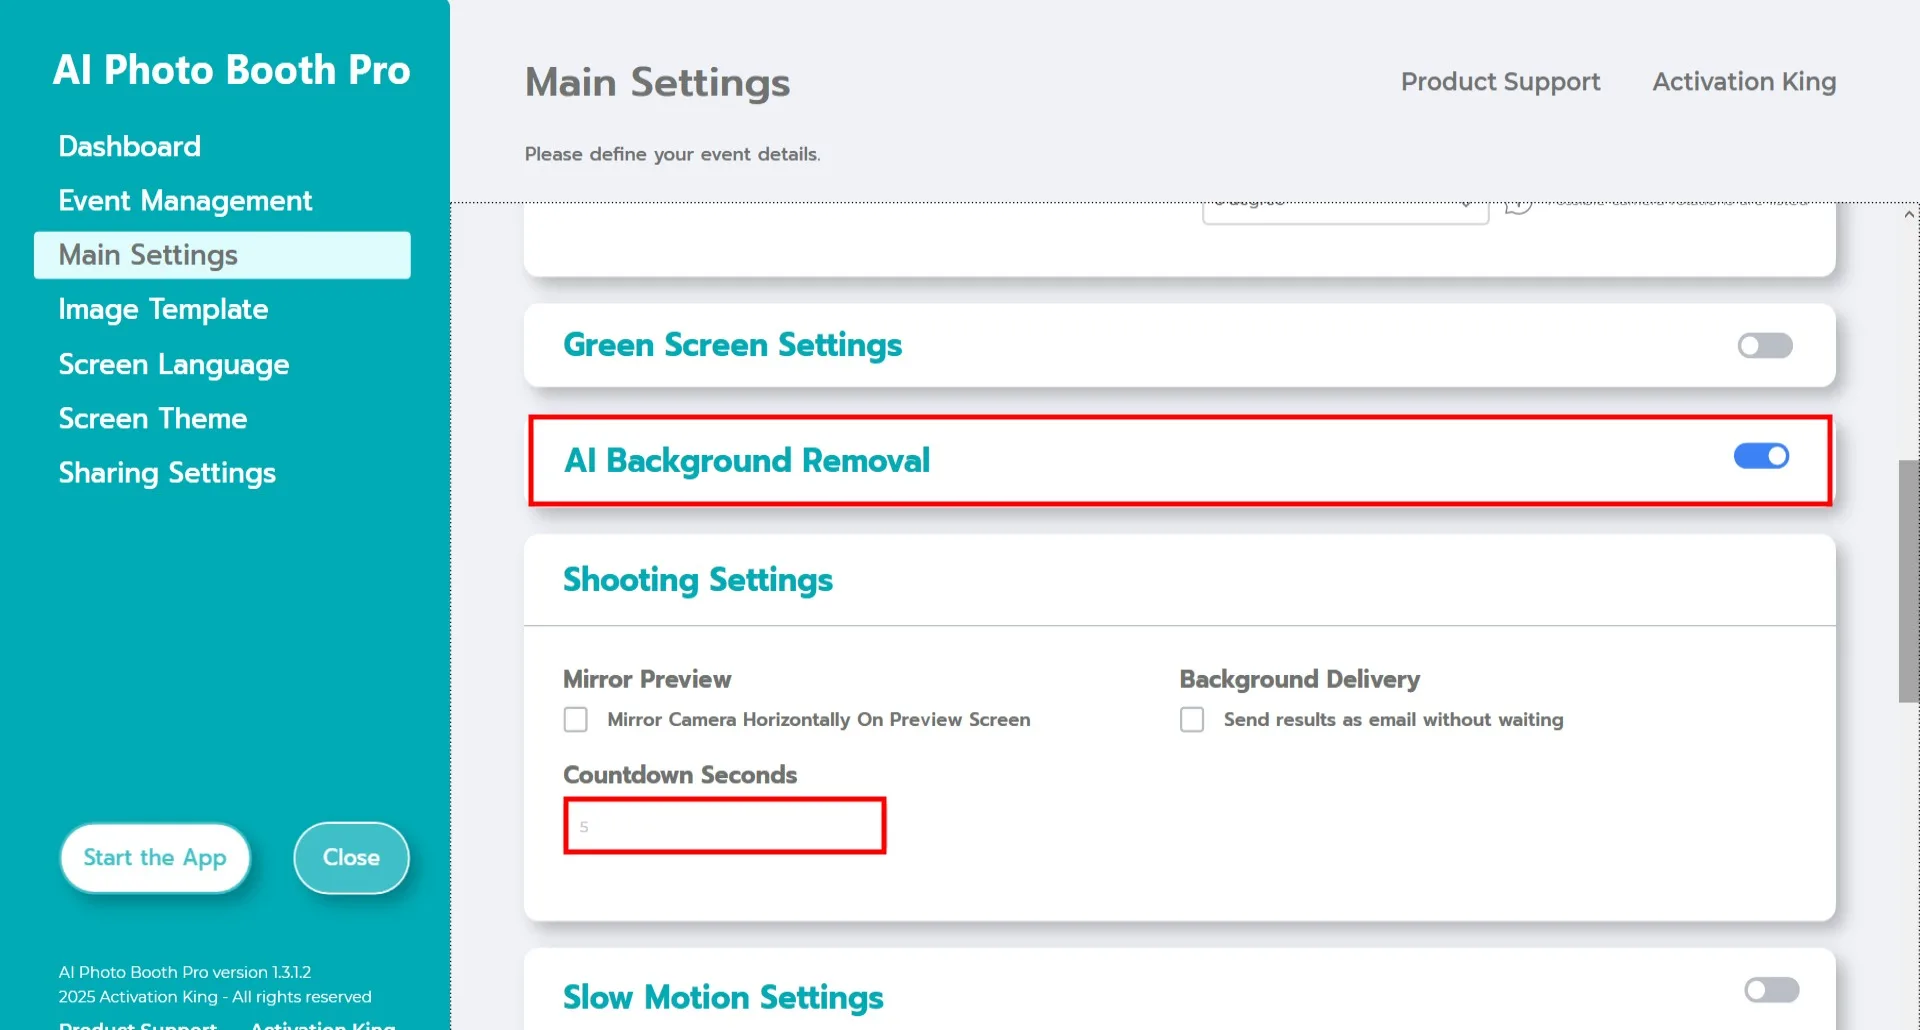
Activate the AI Background Removal toggle. You can adjust the camera monitoring time from the Countdown Seconds section.
Image Template
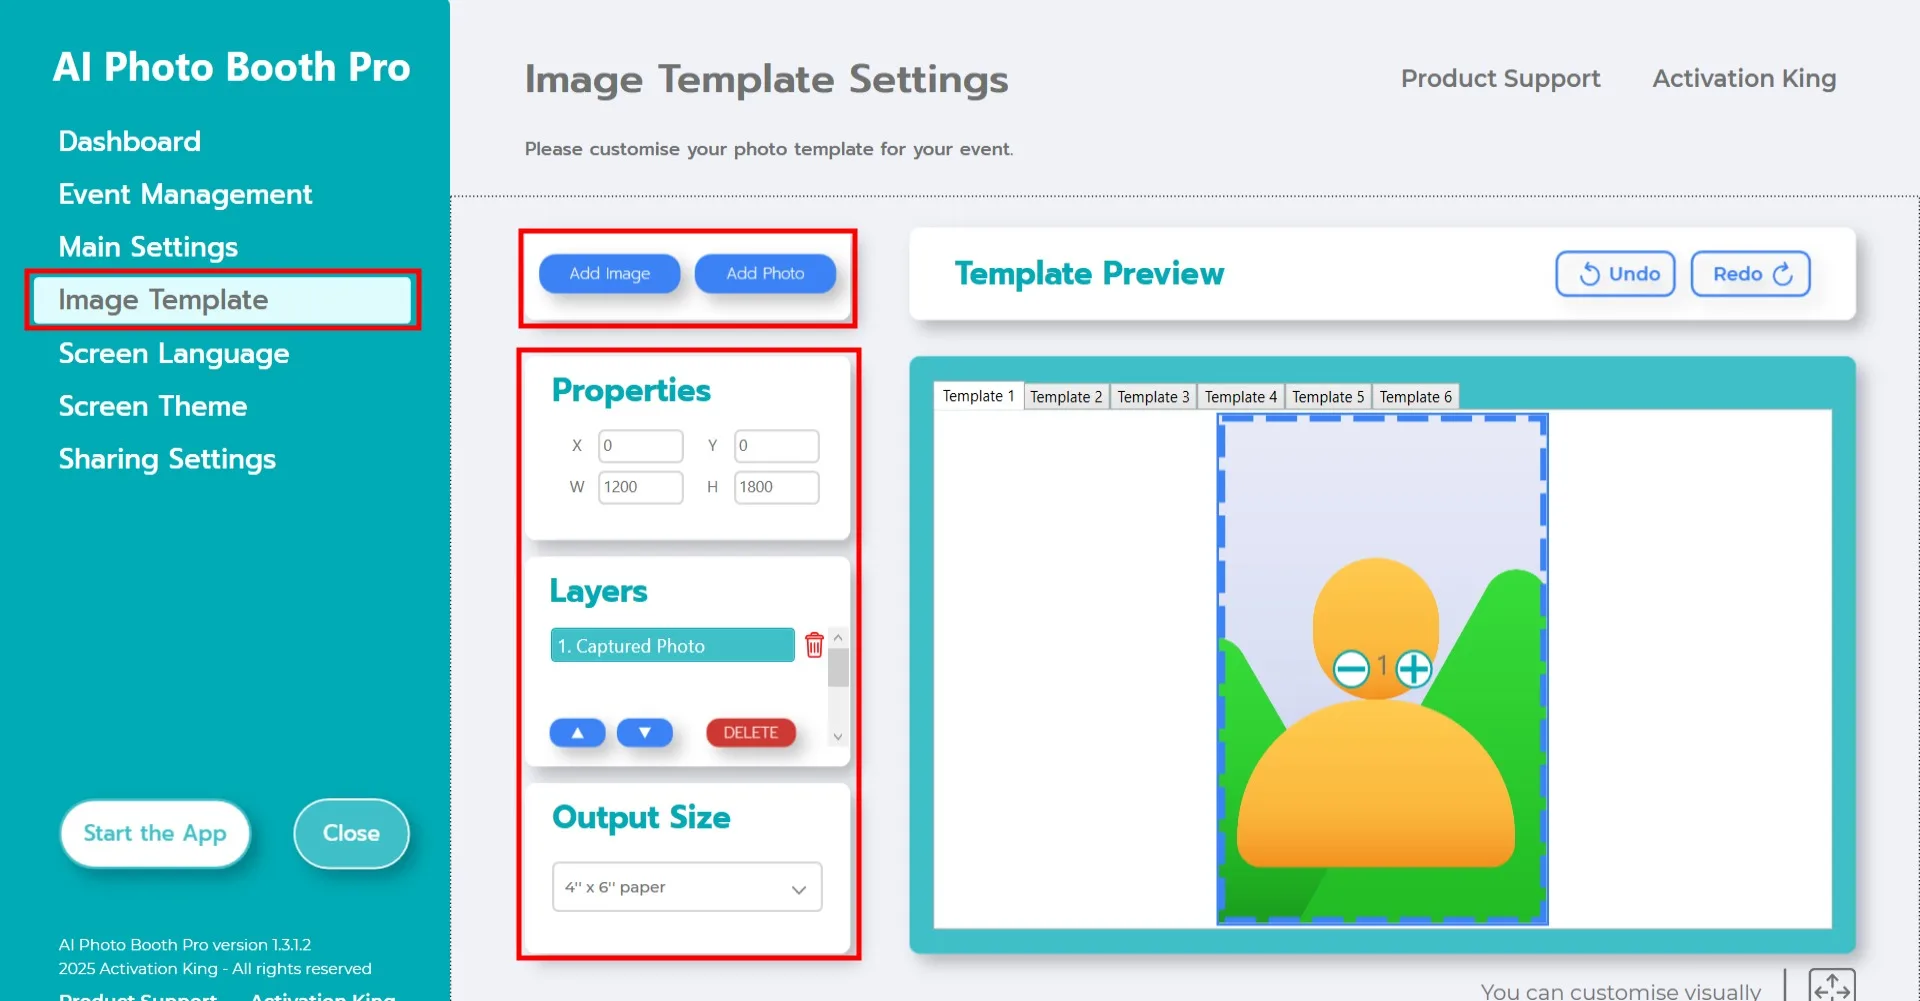
The "Image Template Settings" section is the interface used to adjust the size and position of photos and to add digital frames and backgrounds.
In the "Output Size" section, set the dimensions for your final photo. If you are printing, we recommend entering your paper size as 6x4 or 6x8. For digital-only output, you can choose 1280x1280, 1080x1920, or 1280x720.
To add a background or digital frame, click the "Add Image" button at the top.
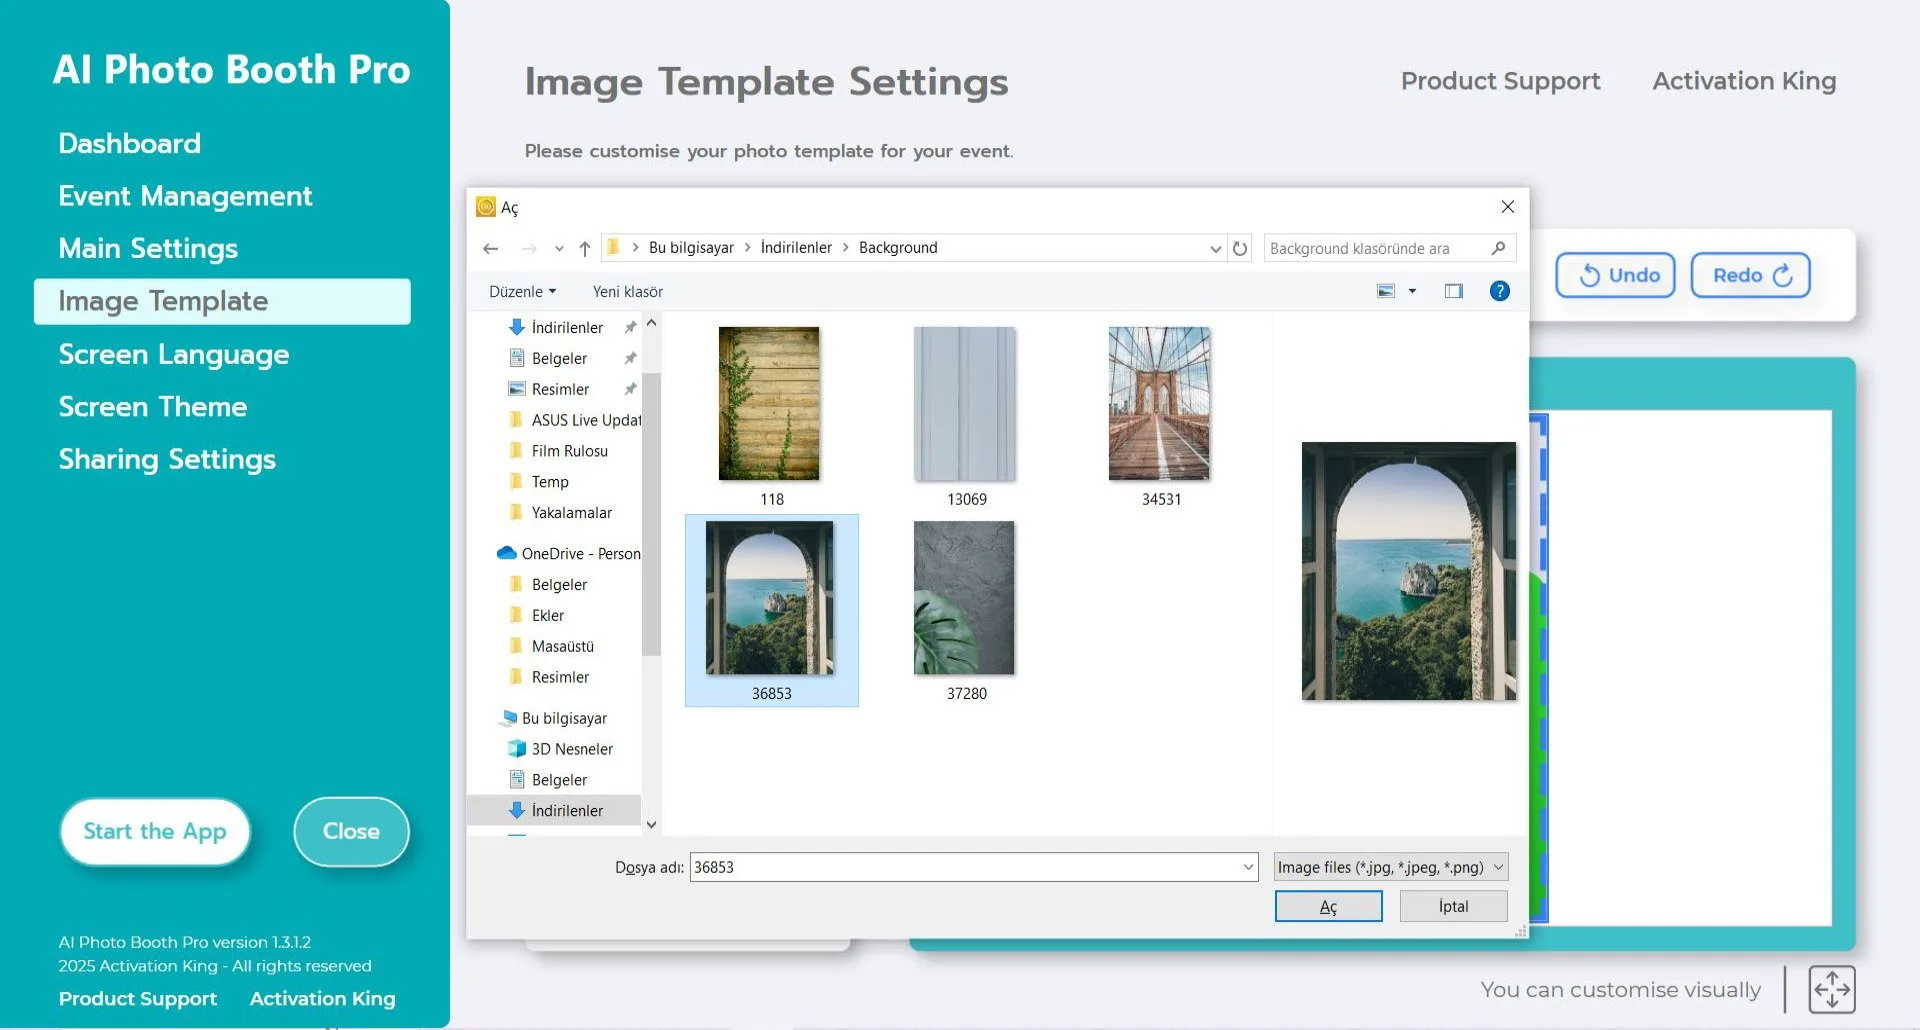
Select the background and frame you want to add.
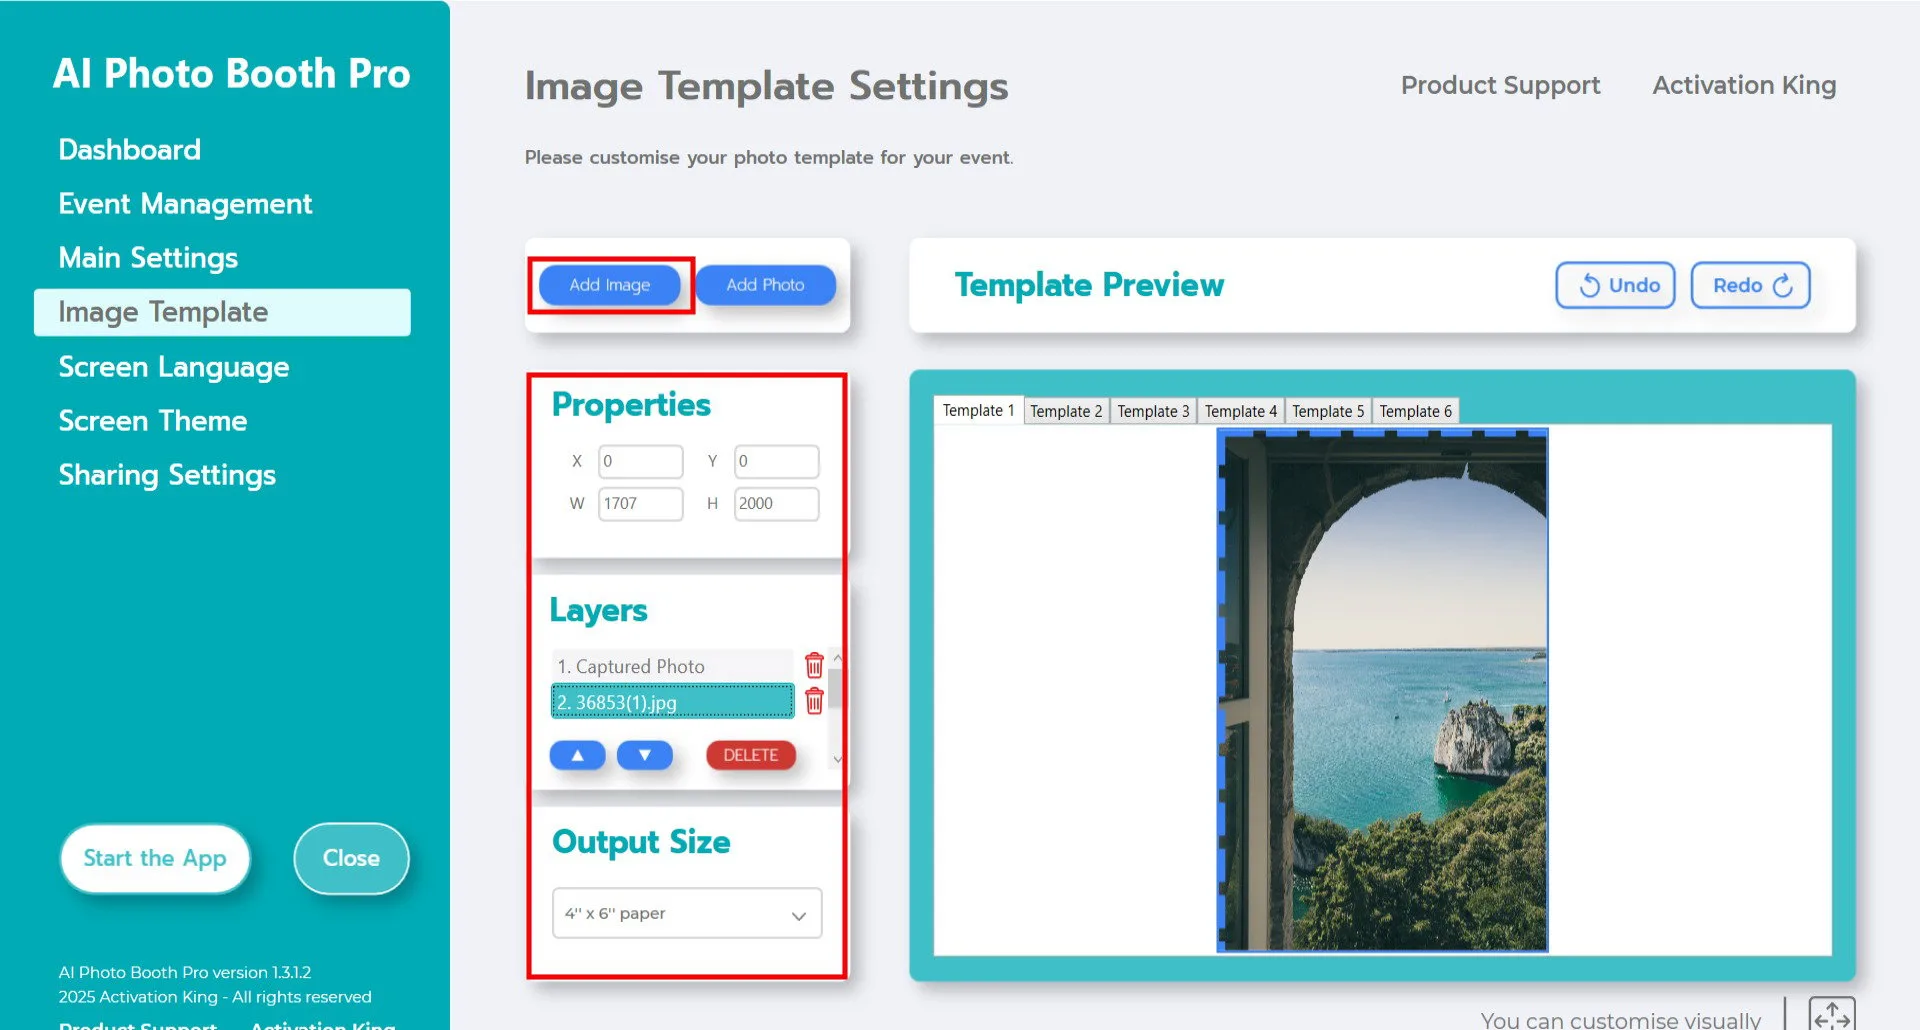
After adding, make sure the background fits perfectly. For 4x6 output, enter 1200x1800 in the Properties section.
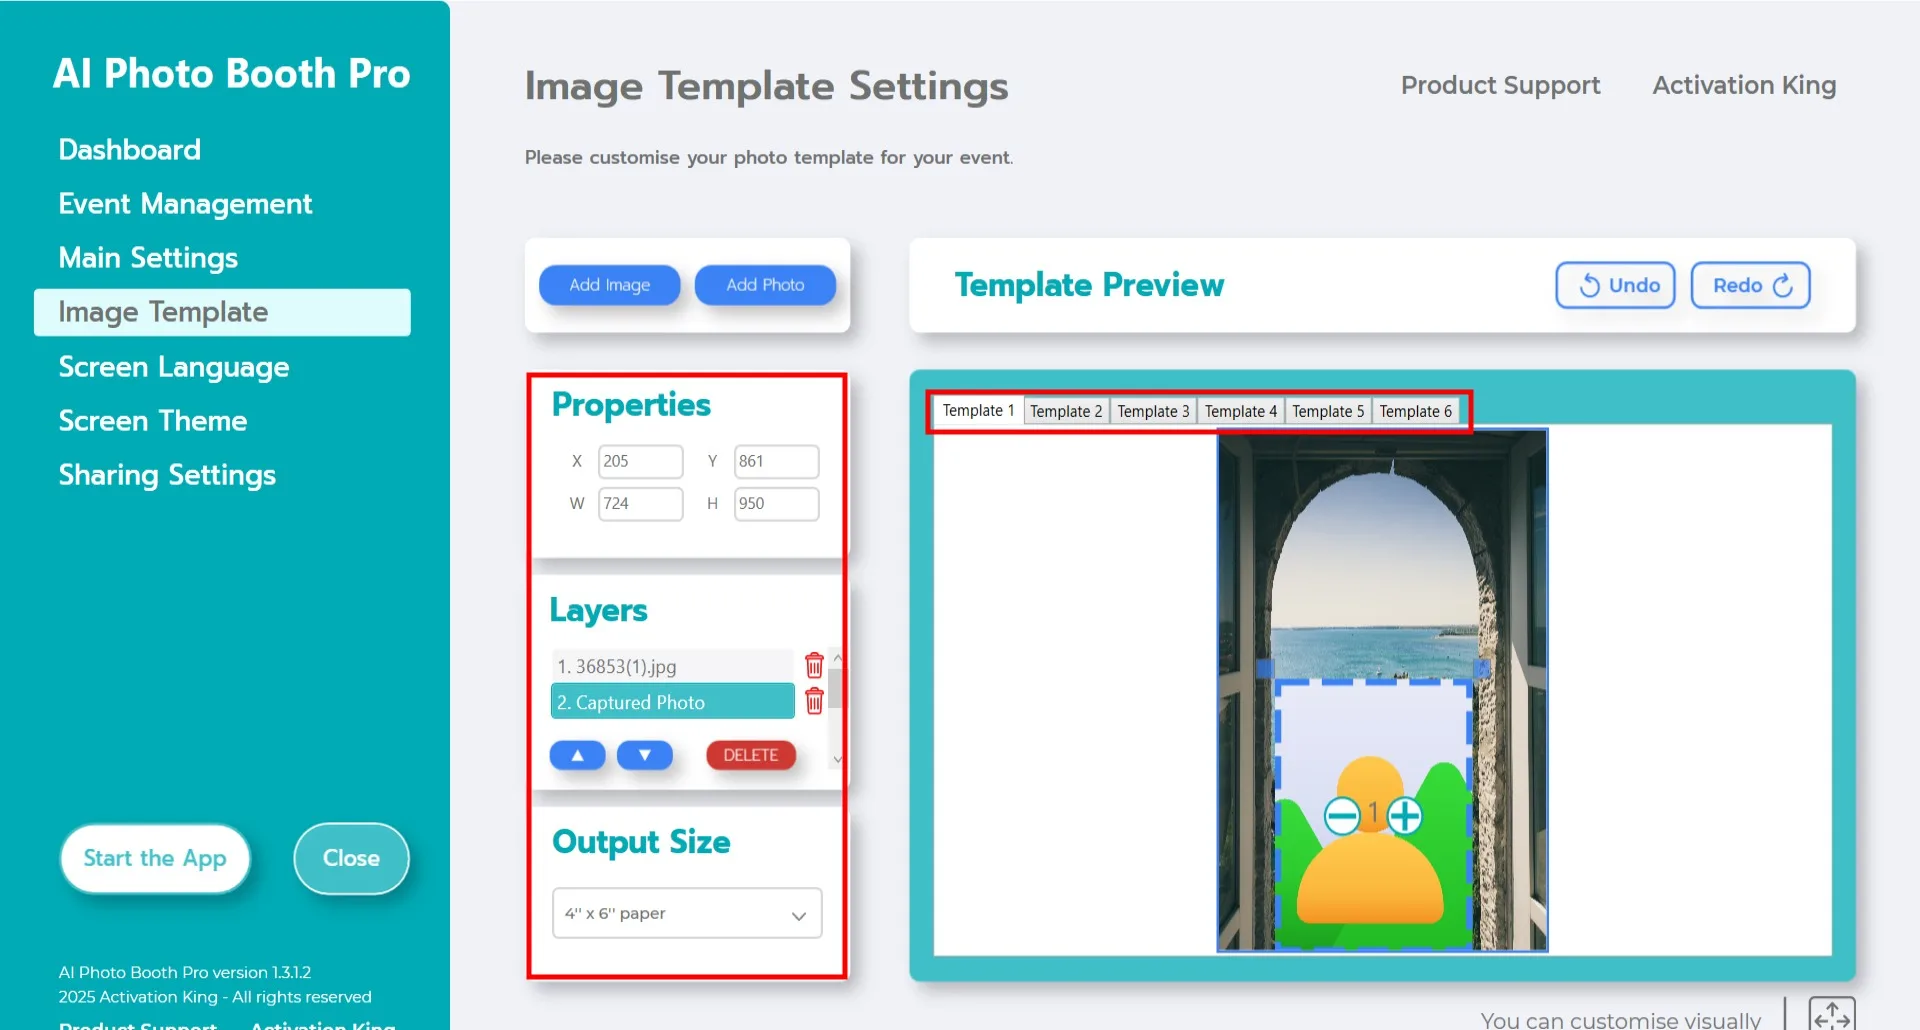
Then adjust the position of the captured photo layer. Select it from the Layer section at the top. You can drag and drop it with your mouse or enter exact dimensions in the Properties section.
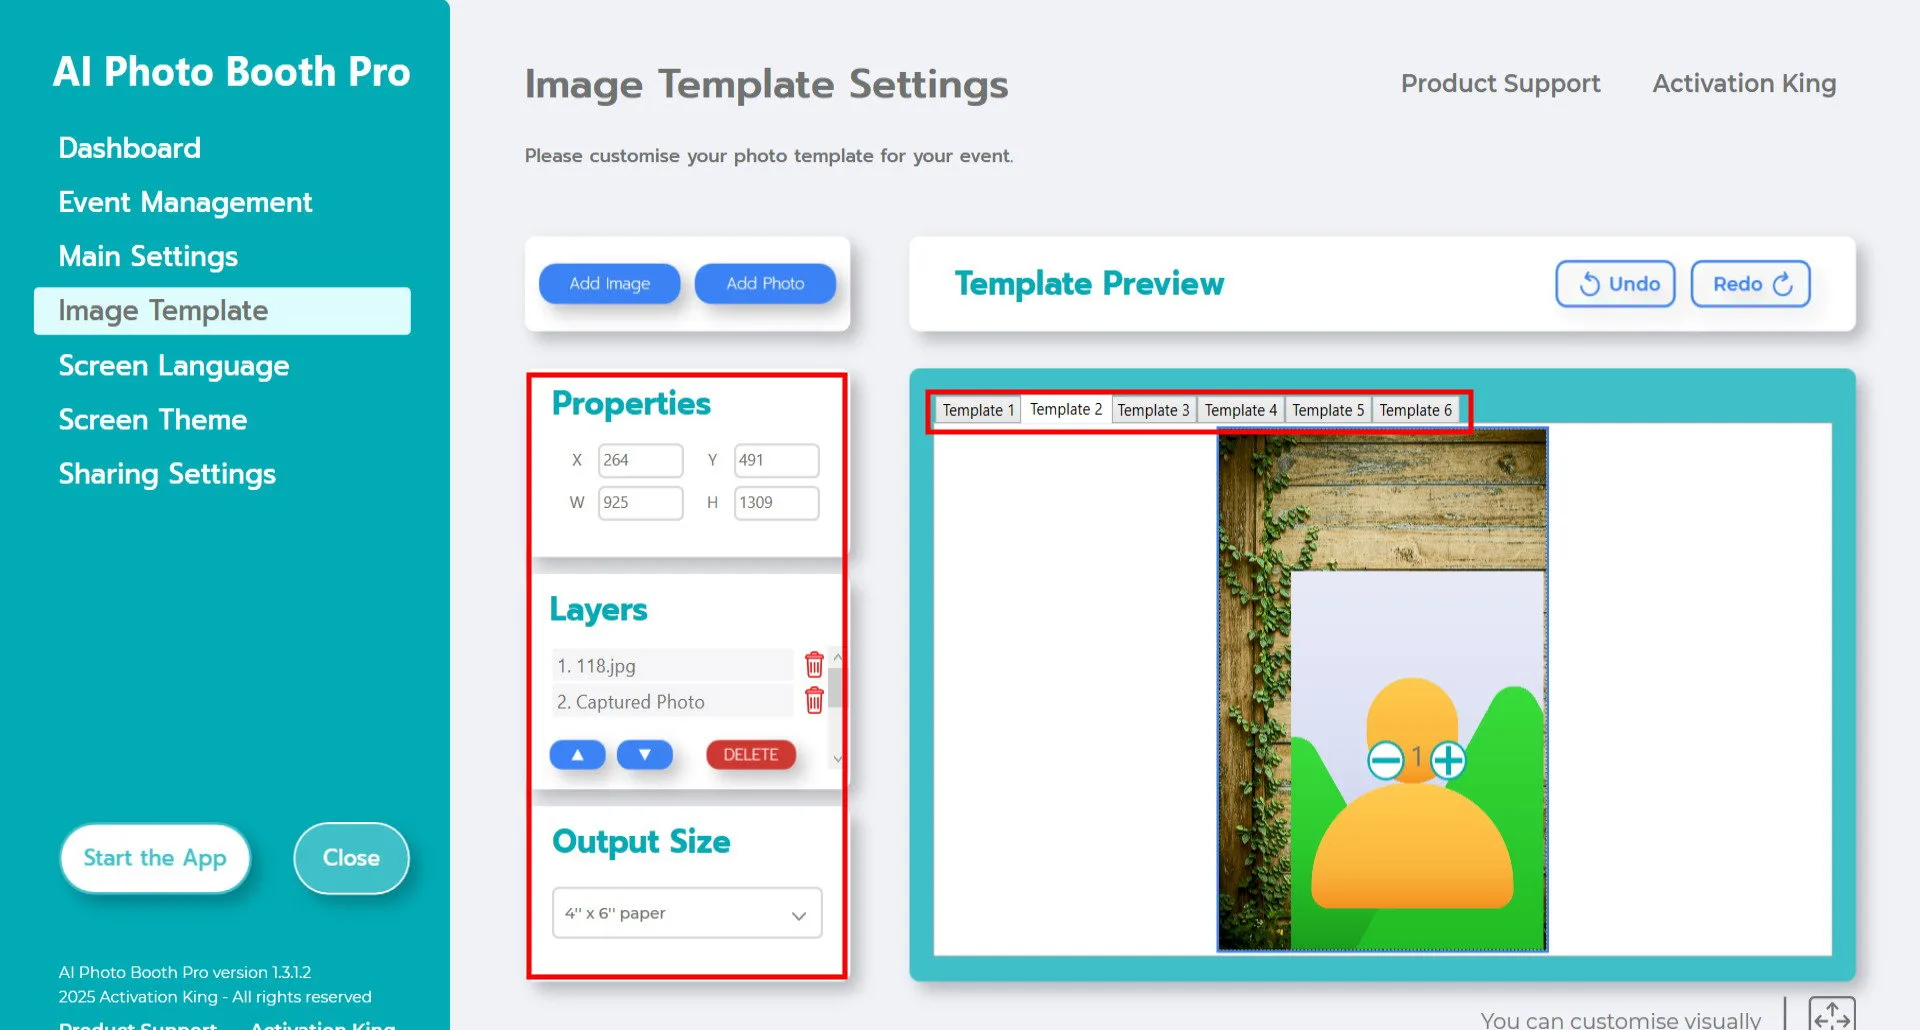
If you want to add more than one background, continue by adding them in the Template 2 and Template 3 slots.
Start the App
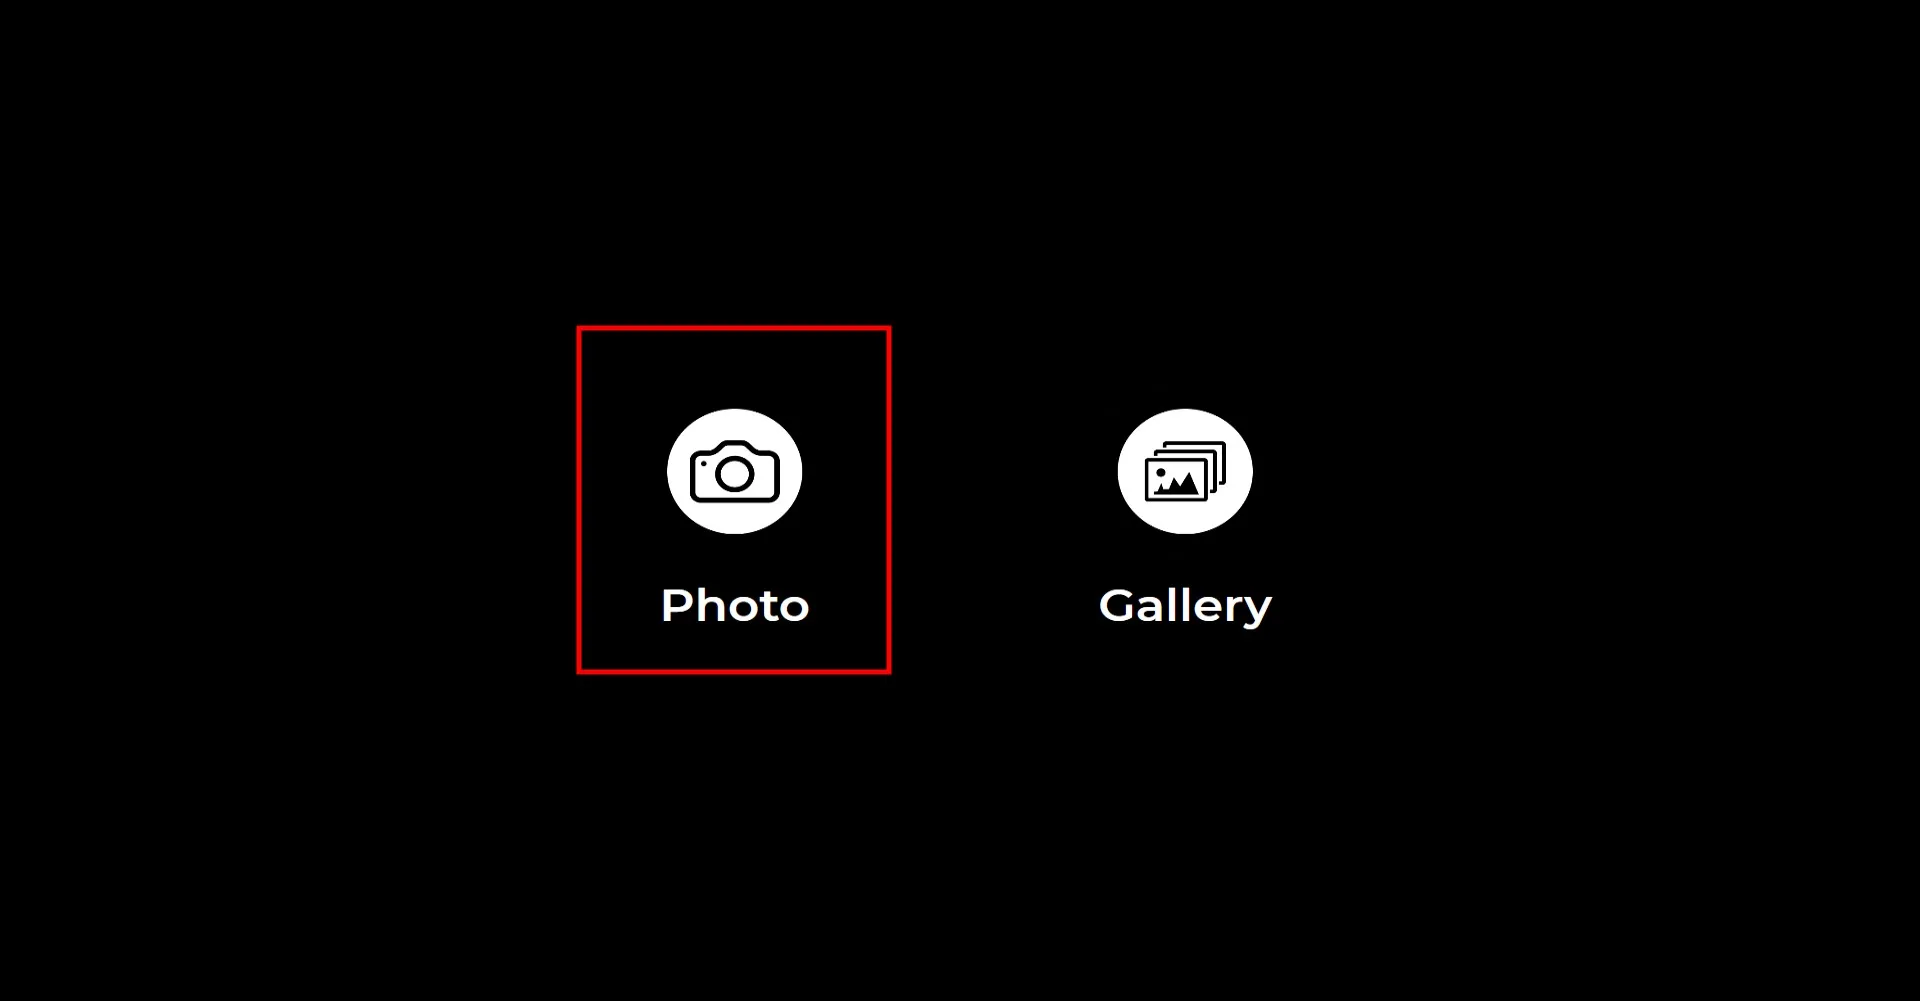
When you open the "Start the App" section, you will see this screen. Click the "Photo" icon.
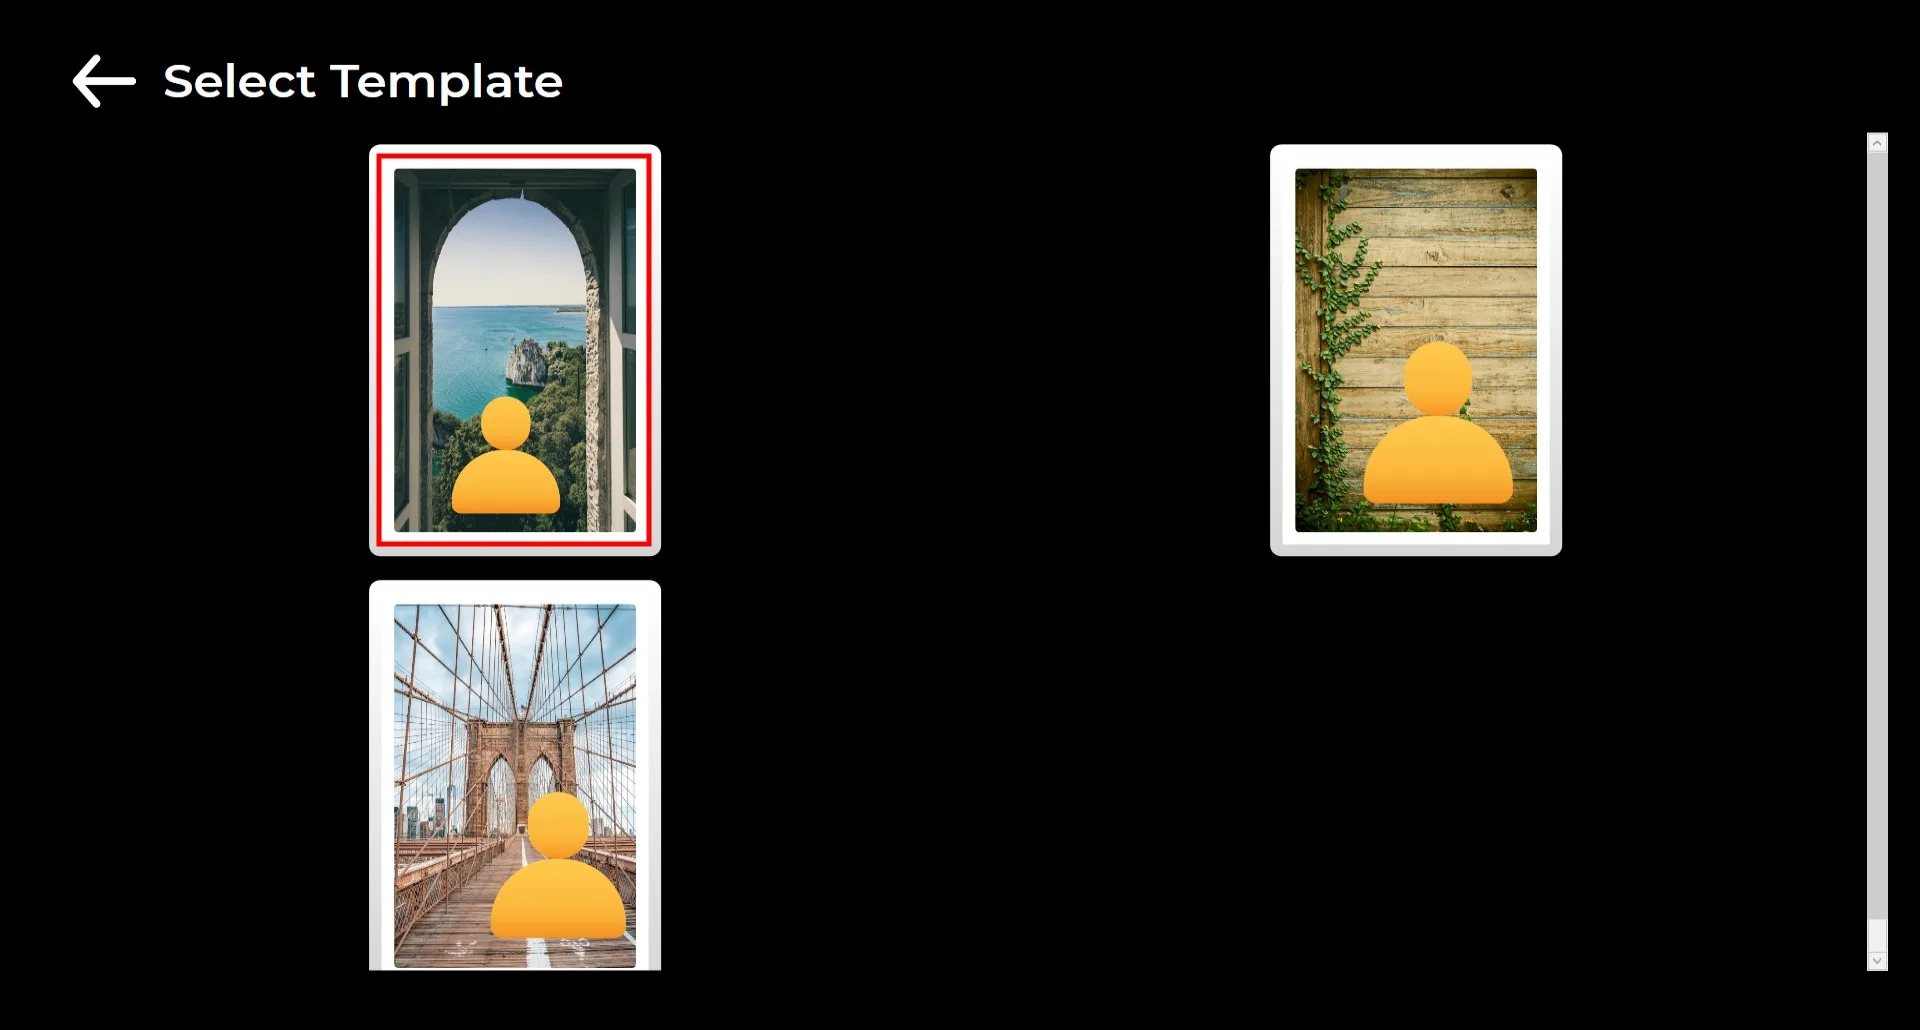
If you uploaded more than one background, a selection screen will appear. Choose the background you want to use.
After your selection, the photo will be taken.
During the photo shoot, make sure the person's back is not too busy and, if possible, that there are no other people behind them.
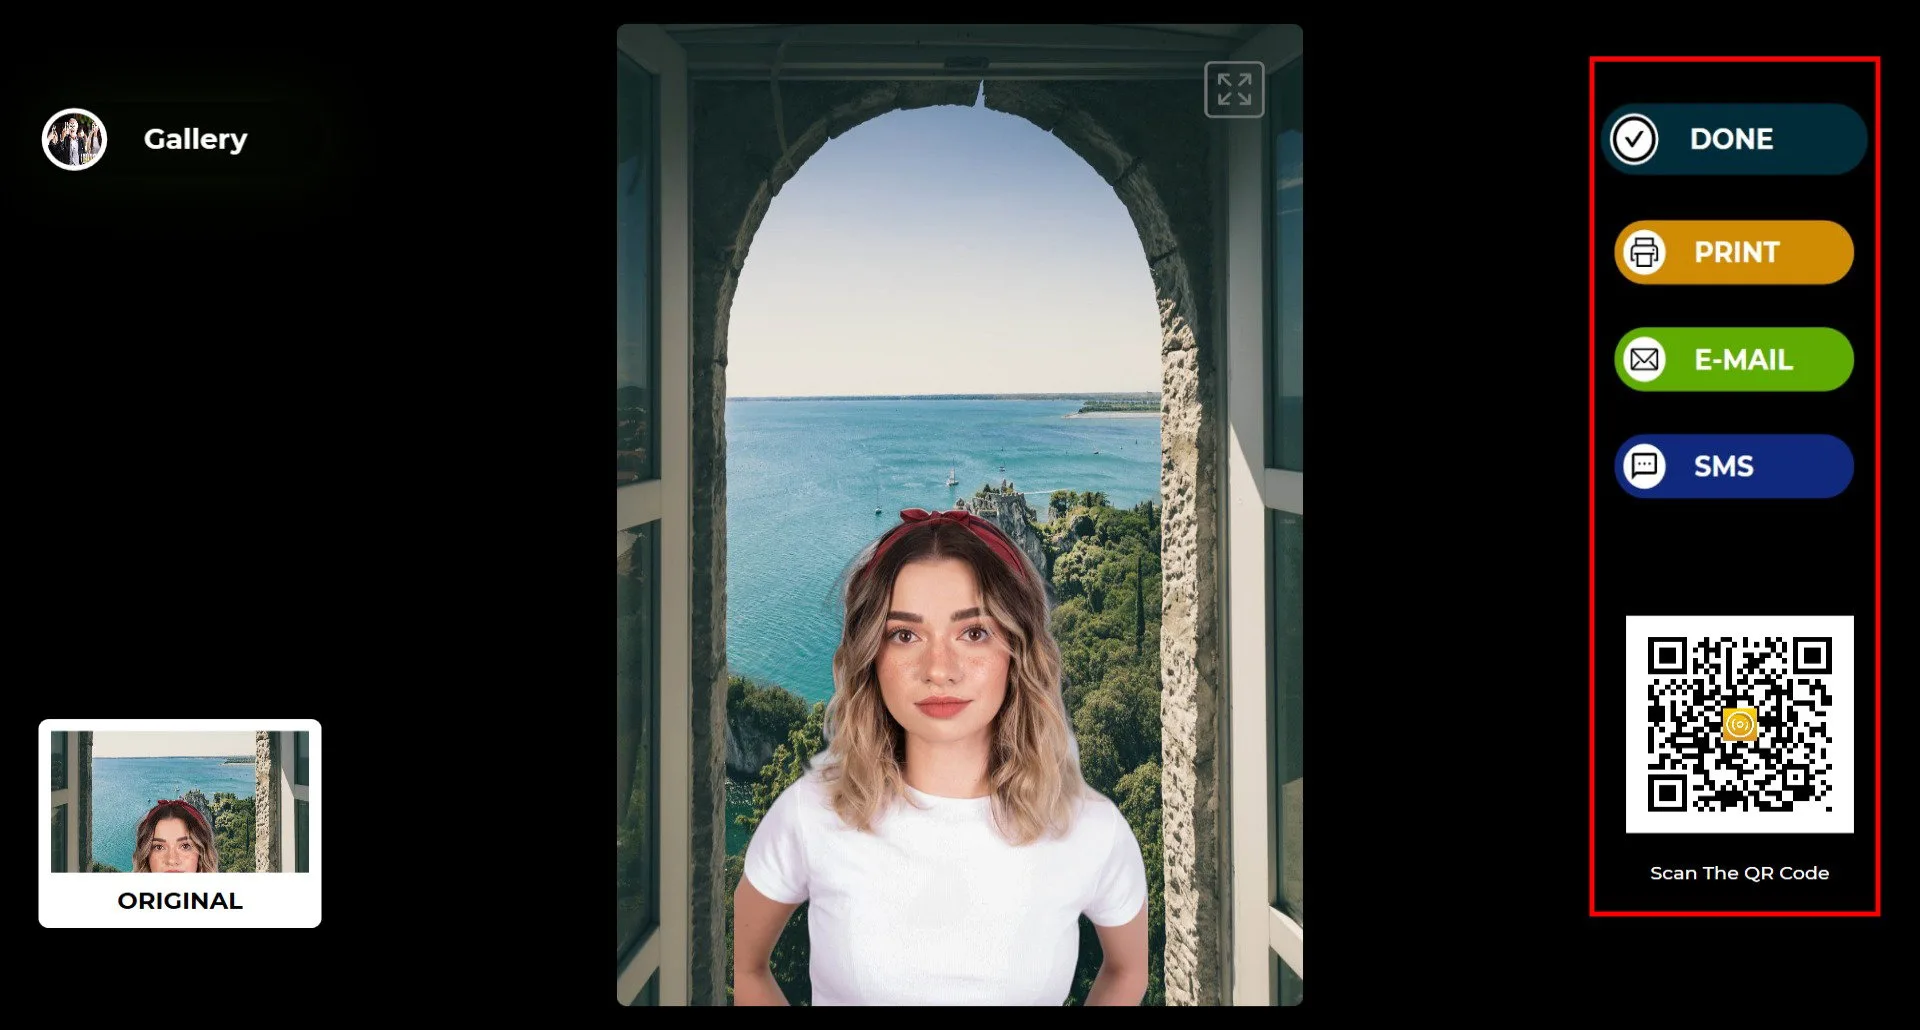
You can deliver the result via Print, E-mail, SMS, or by scanning the QR code on the right.
Press the "DONE" icon to return to the shooting screen.
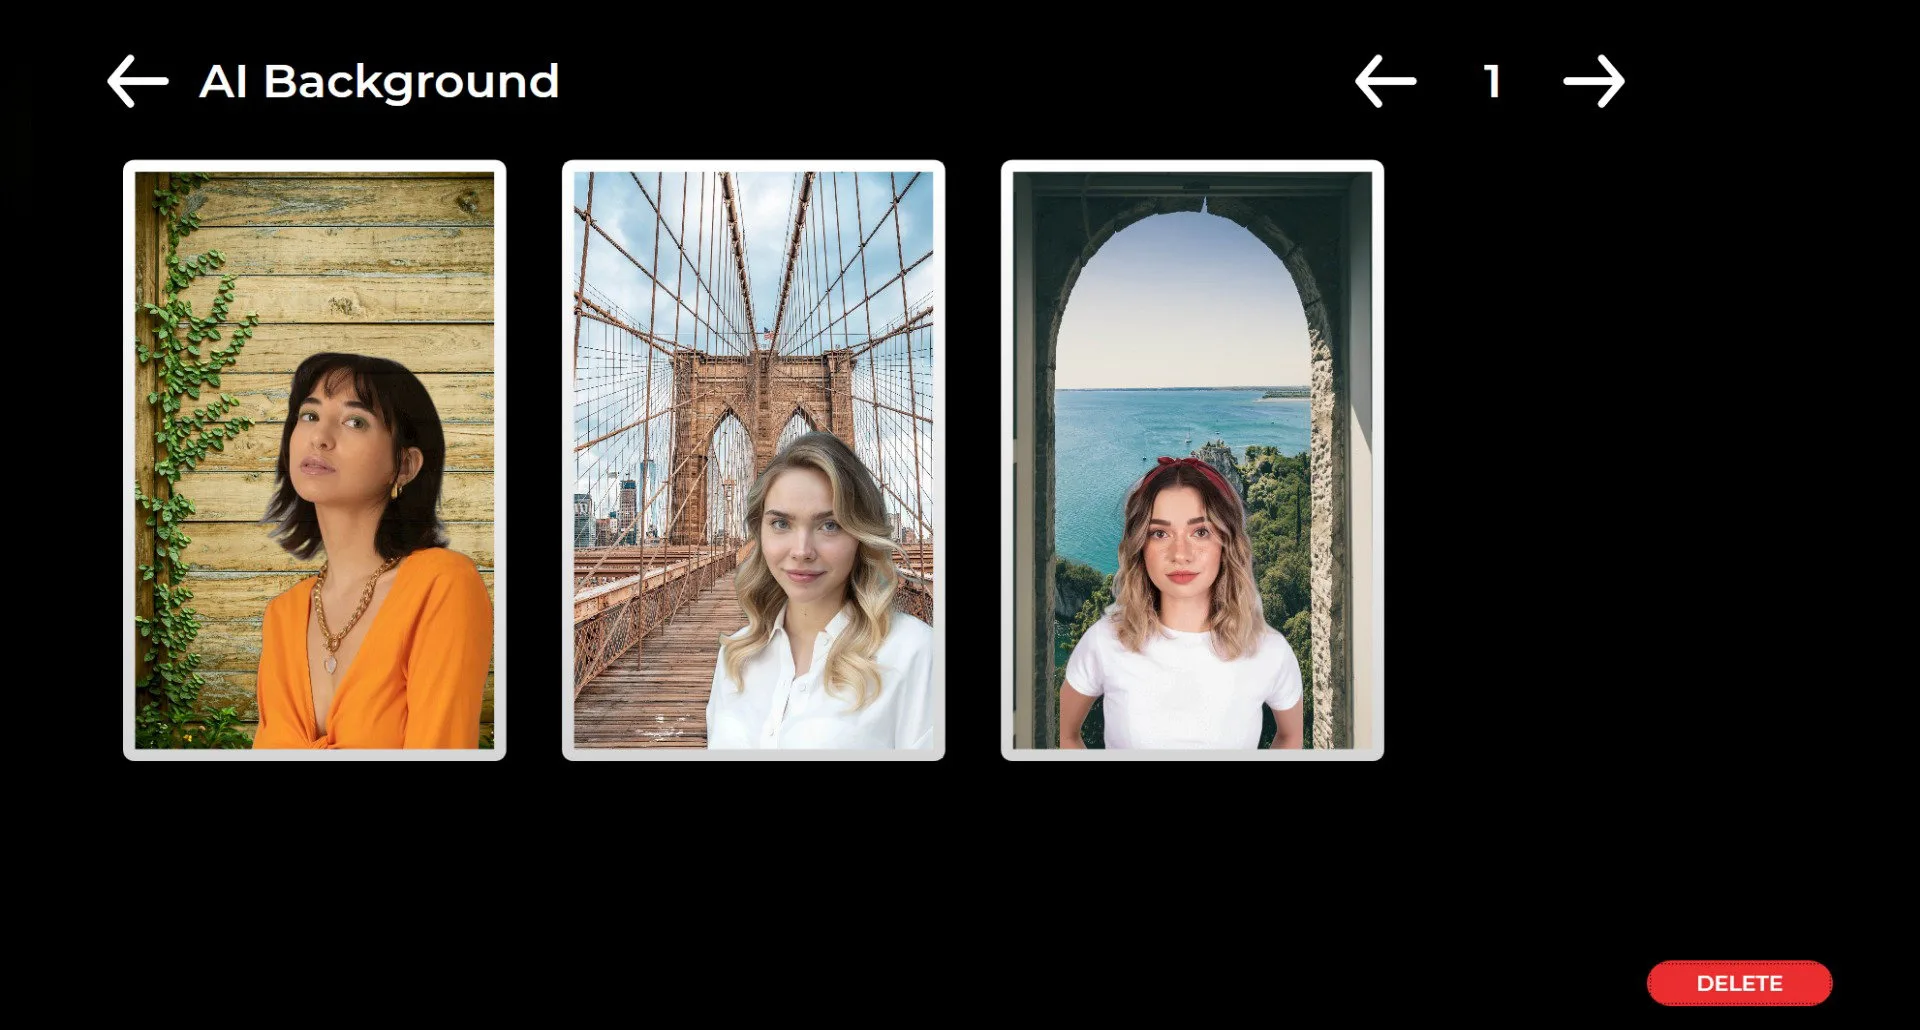
When you click the "Gallery" icon, you can access all previously captured images.
To return to the Settings Menu, press the F11 key. For touchscreen users, tap the top-right corner of the screen five times in a row.