Mode Settings
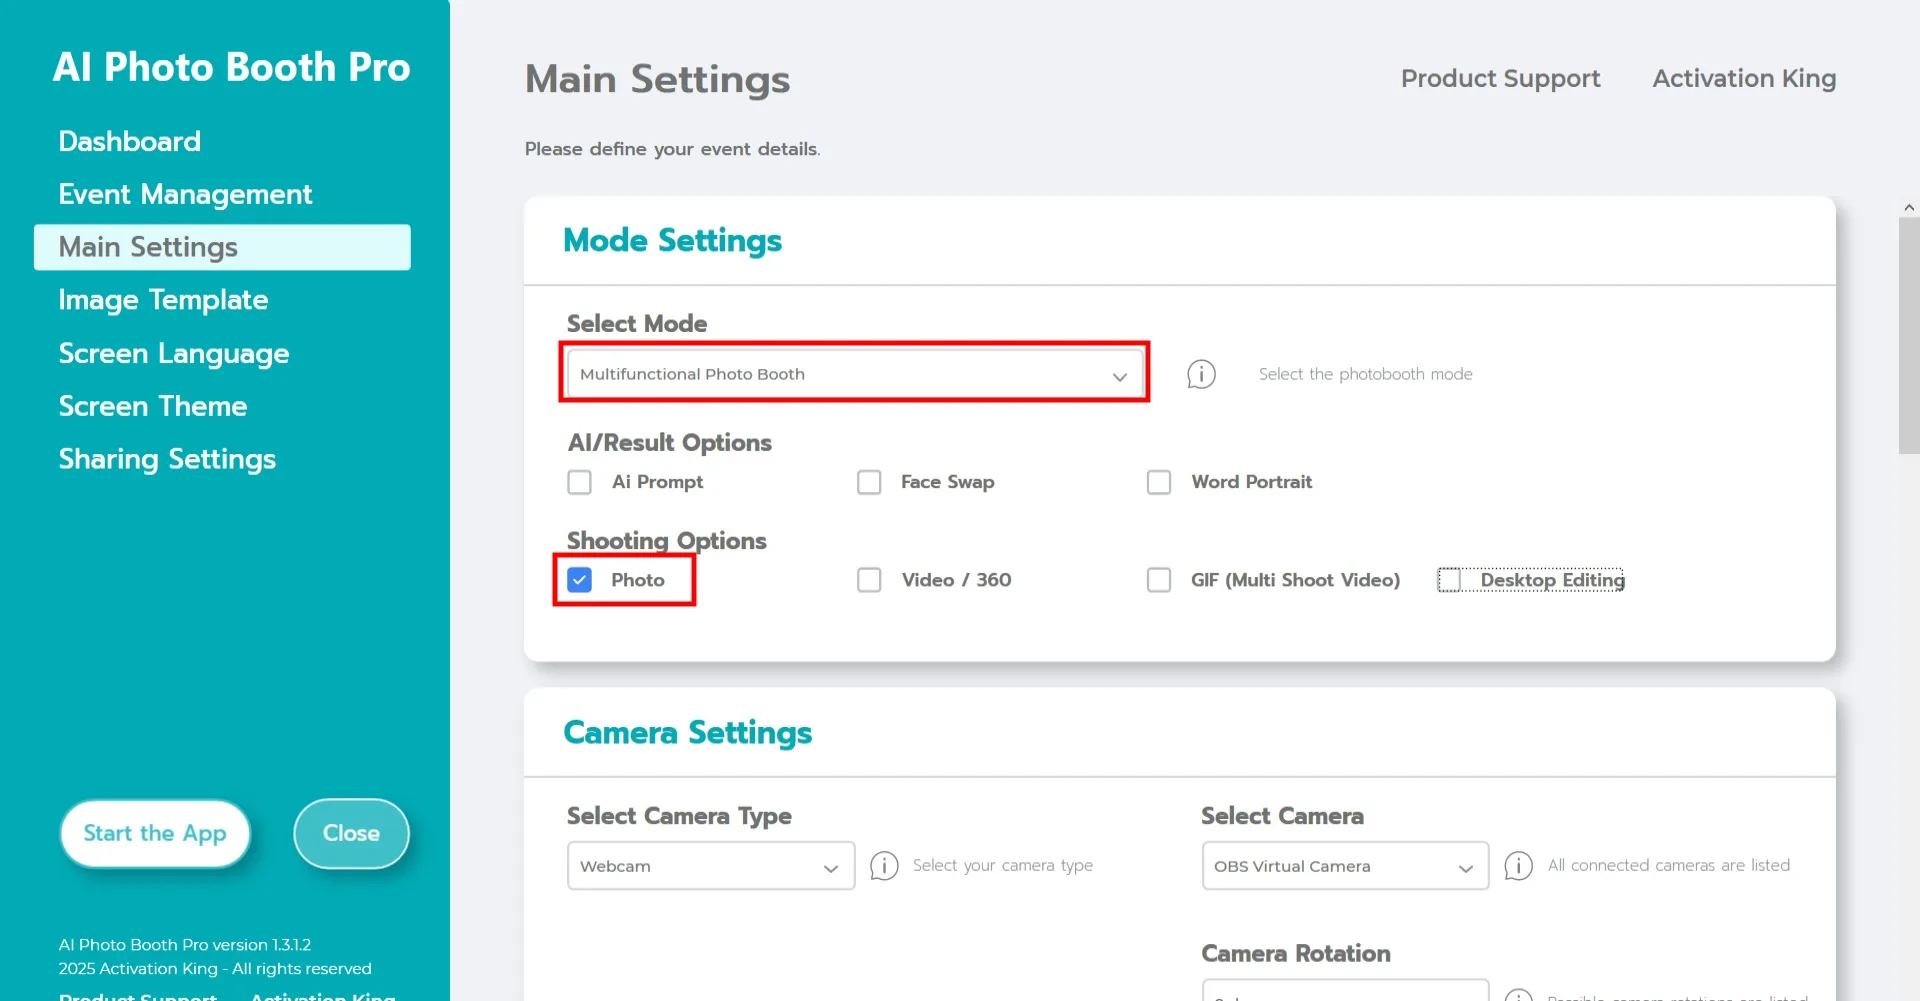
Select "Multifunctional Mode." After making your selection, click the "Photo" option from the list below.
Camera Settings
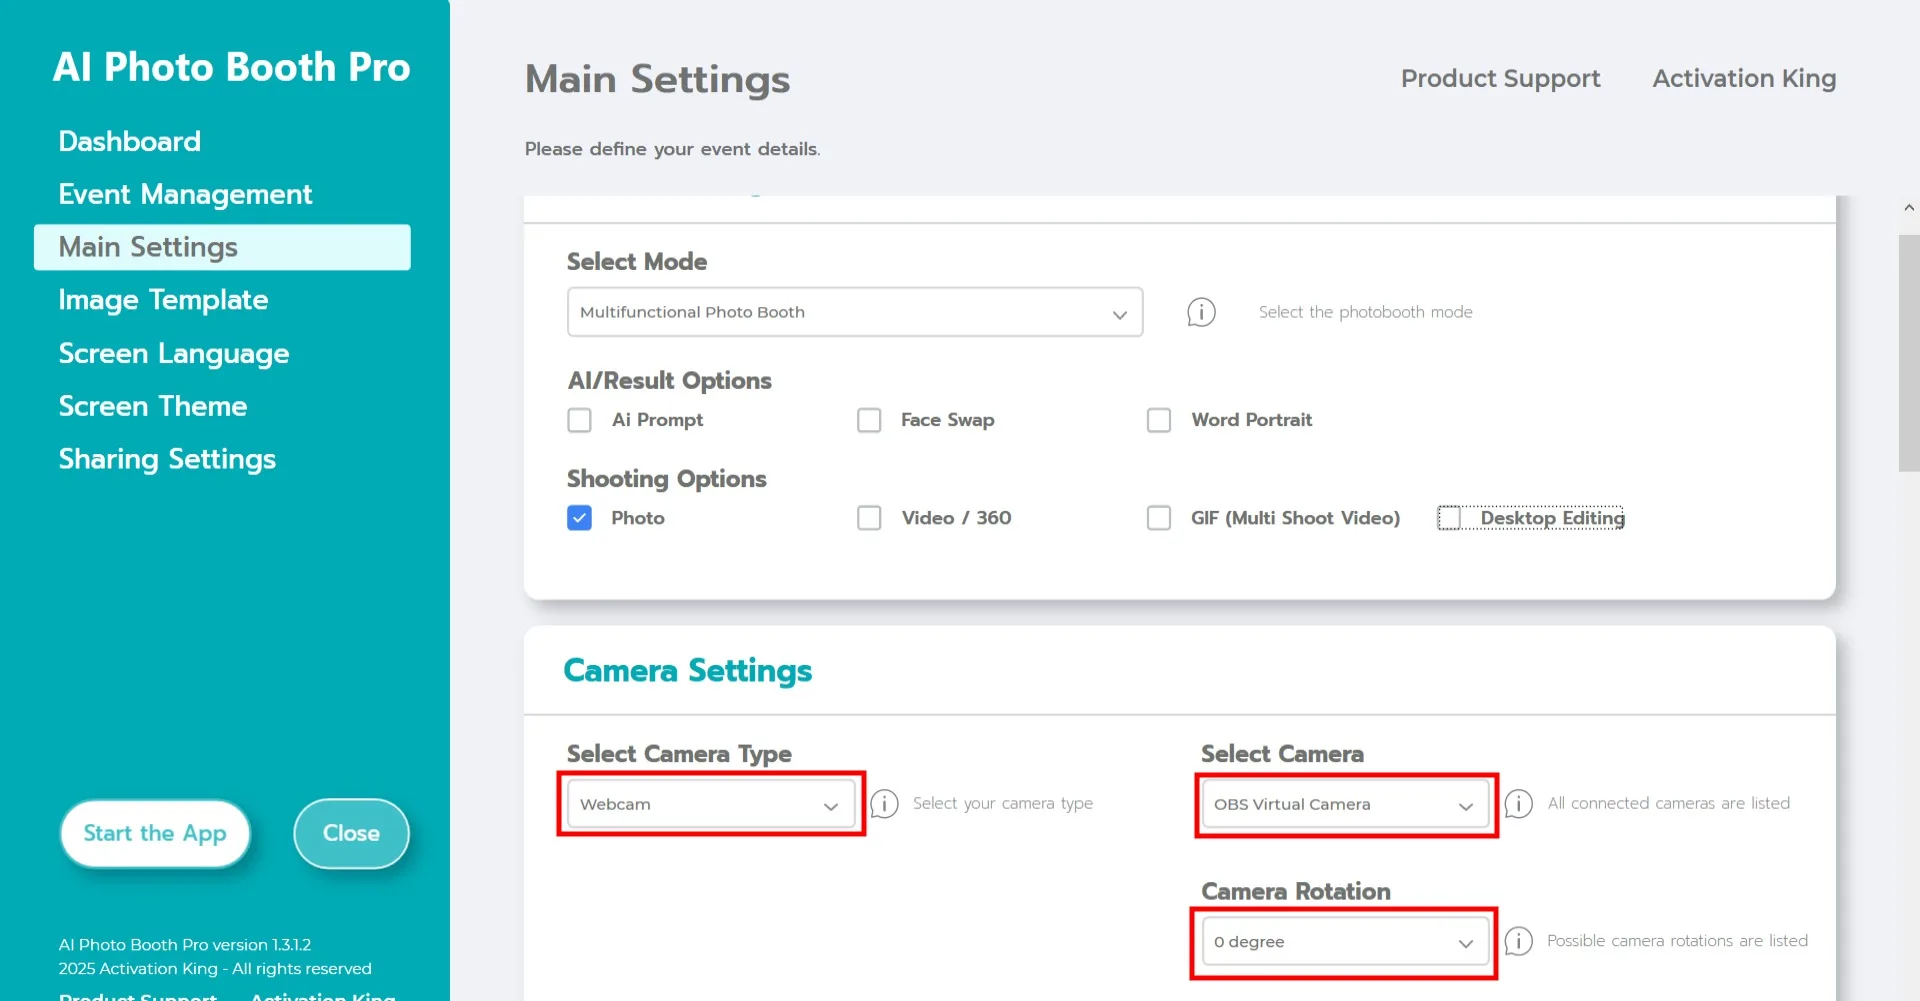
In the "Camera Settings" section, choose the camera type you want to use from the "Select Camera Type" dropdown.
Once your camera is connected to your computer, it will appear in the "Select Camera" field. (If it does not appear, ensure that your camera is turned on and properly connected, then try again.)
After selecting your camera, adjust its orientation using the "Camera Rotation" section, based on whether you want to use it horizontally or vertically.
Shooting Settings
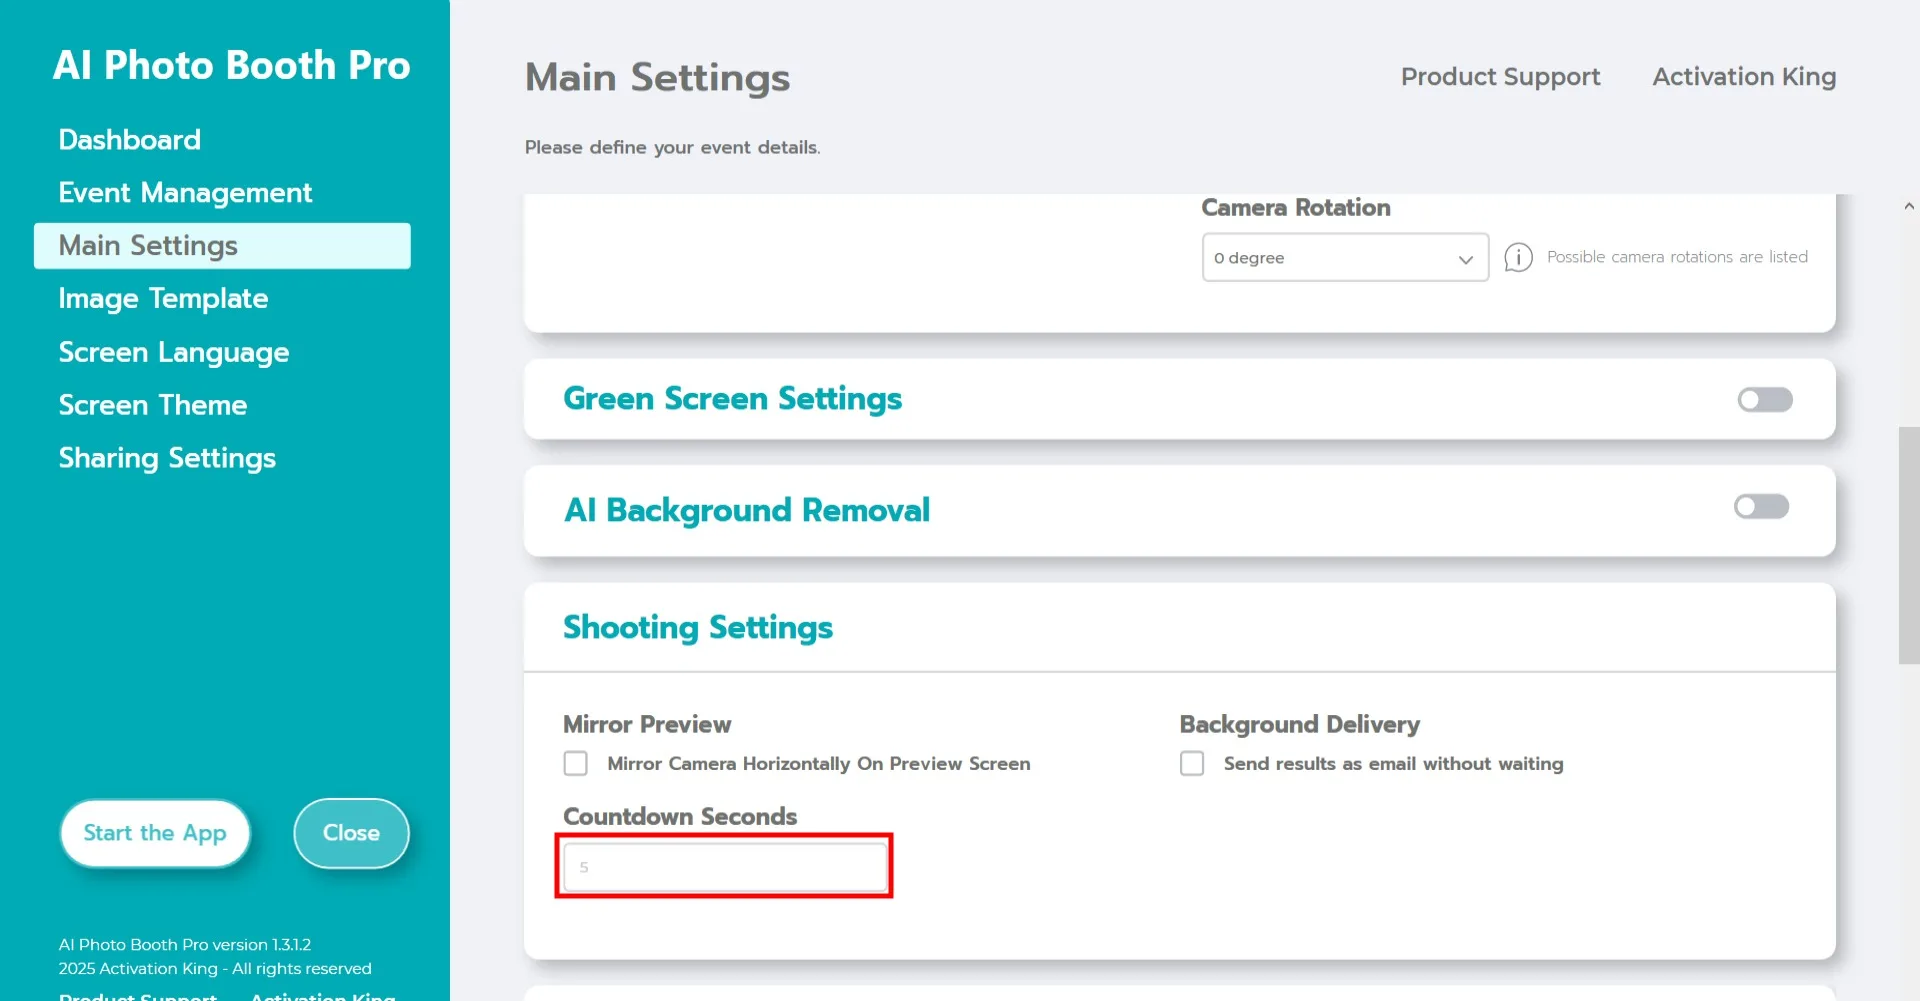
In the "Shooting Settings" section, the "Countdown Seconds" field indicates how much time you have to see yourself on the screen and adjust your pose after pressing the capture button. In short, you can set your photo timer here.
Image Template
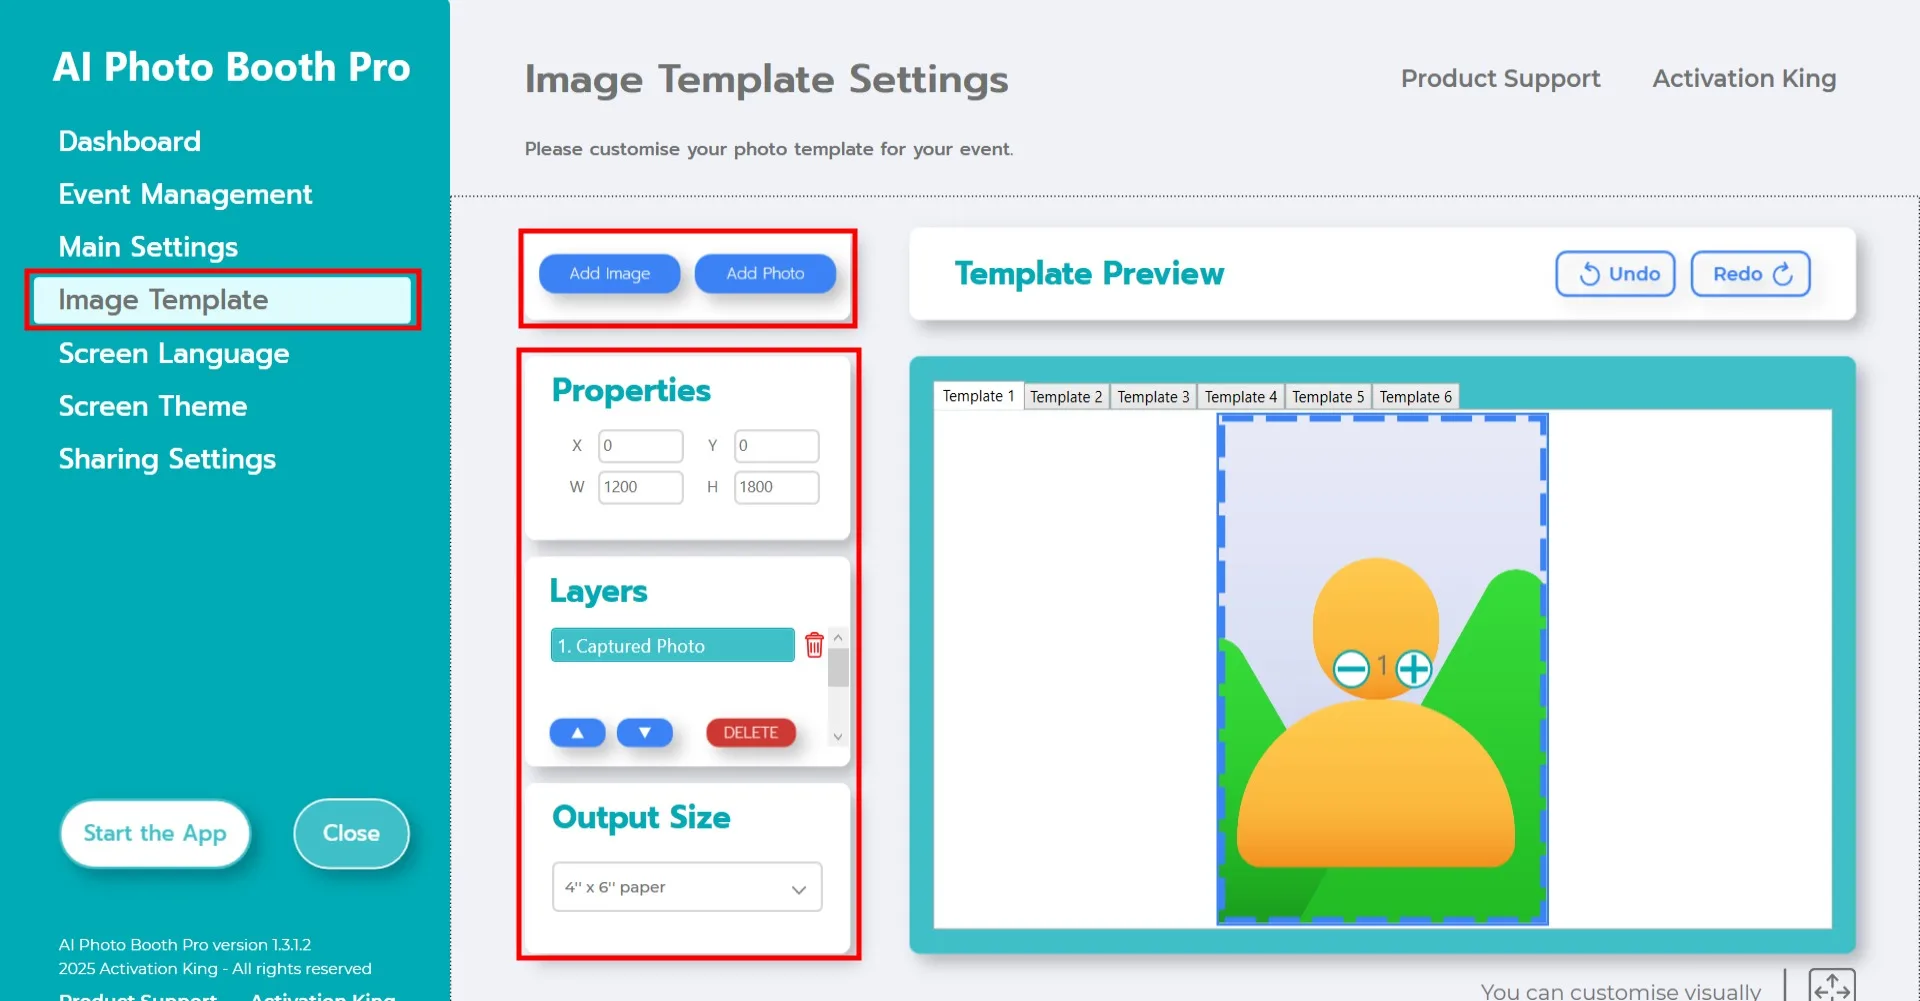
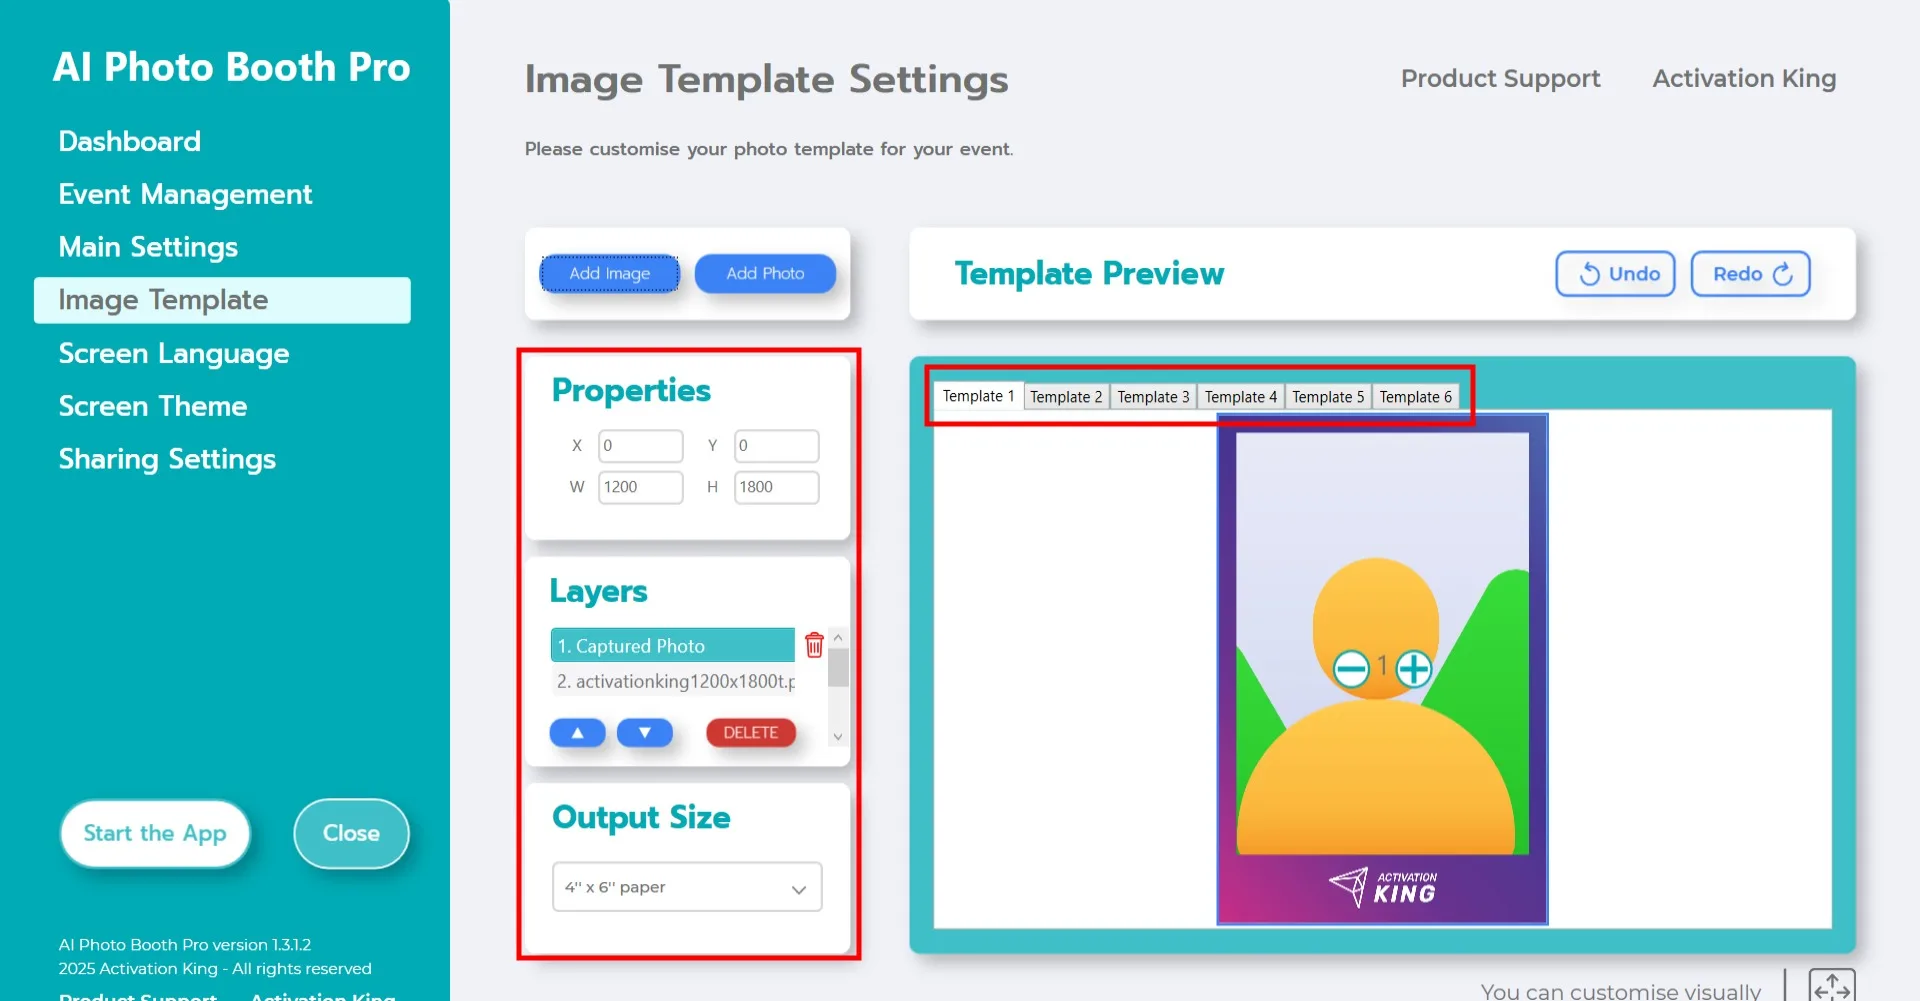
The "Template Settings" section is where you adjust the size and position of your photos, and add digital frames or stickers.
In the "Output Size" area, you can define the dimensions of your photo. If you plan to print the output, we recommend entering 6x4 or 6x8 depending on your paper size. If you are preparing a digital-only layout, you may choose 1280x1280, 1080x1920, or 1280x720.
To add a digital frame or sticker onto your photos, click the "Add Image" button at the top.
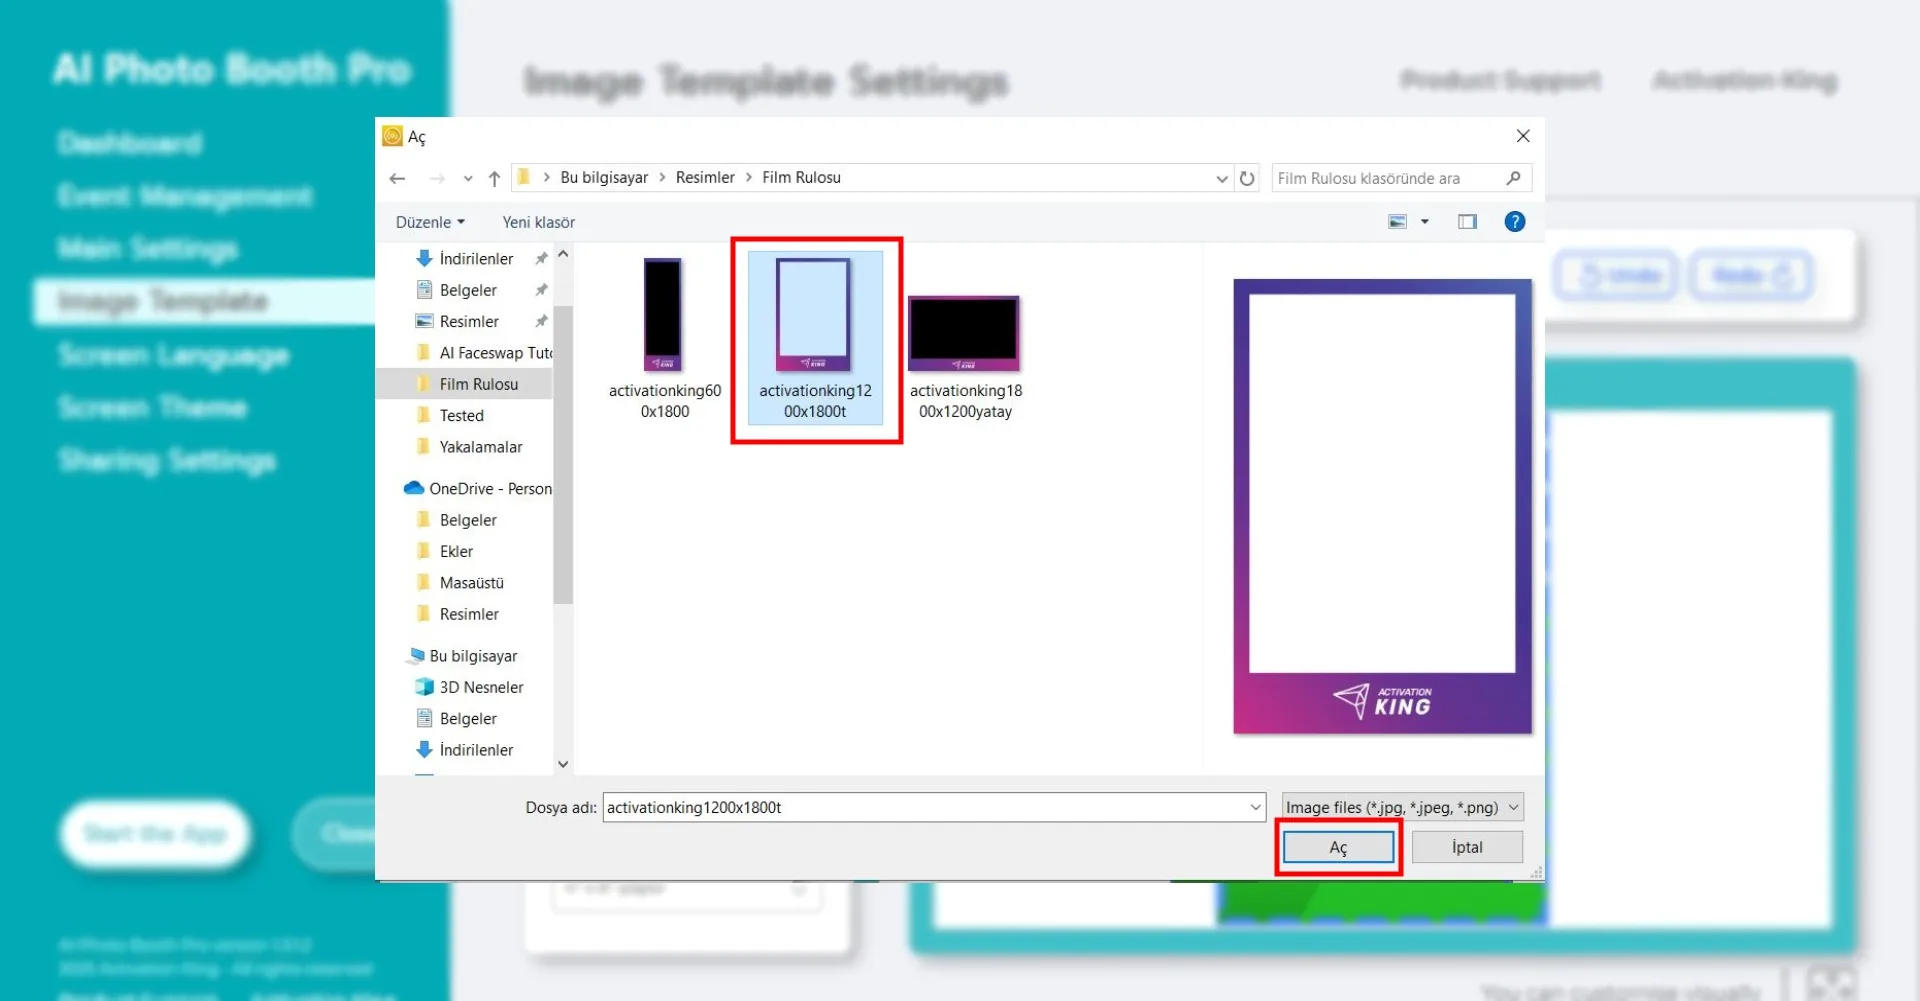
In this section, select the horizontal or vertical frame you want to use and click "Open."
If the frame you added matches your Output Size values, it will automatically align correctly.
If the dimensions differ, click on the frame once in the Template Layers section. Then, in the Image Properties area, enter your Output Size values to ensure the frame fits perfectly on the image.
Start the App
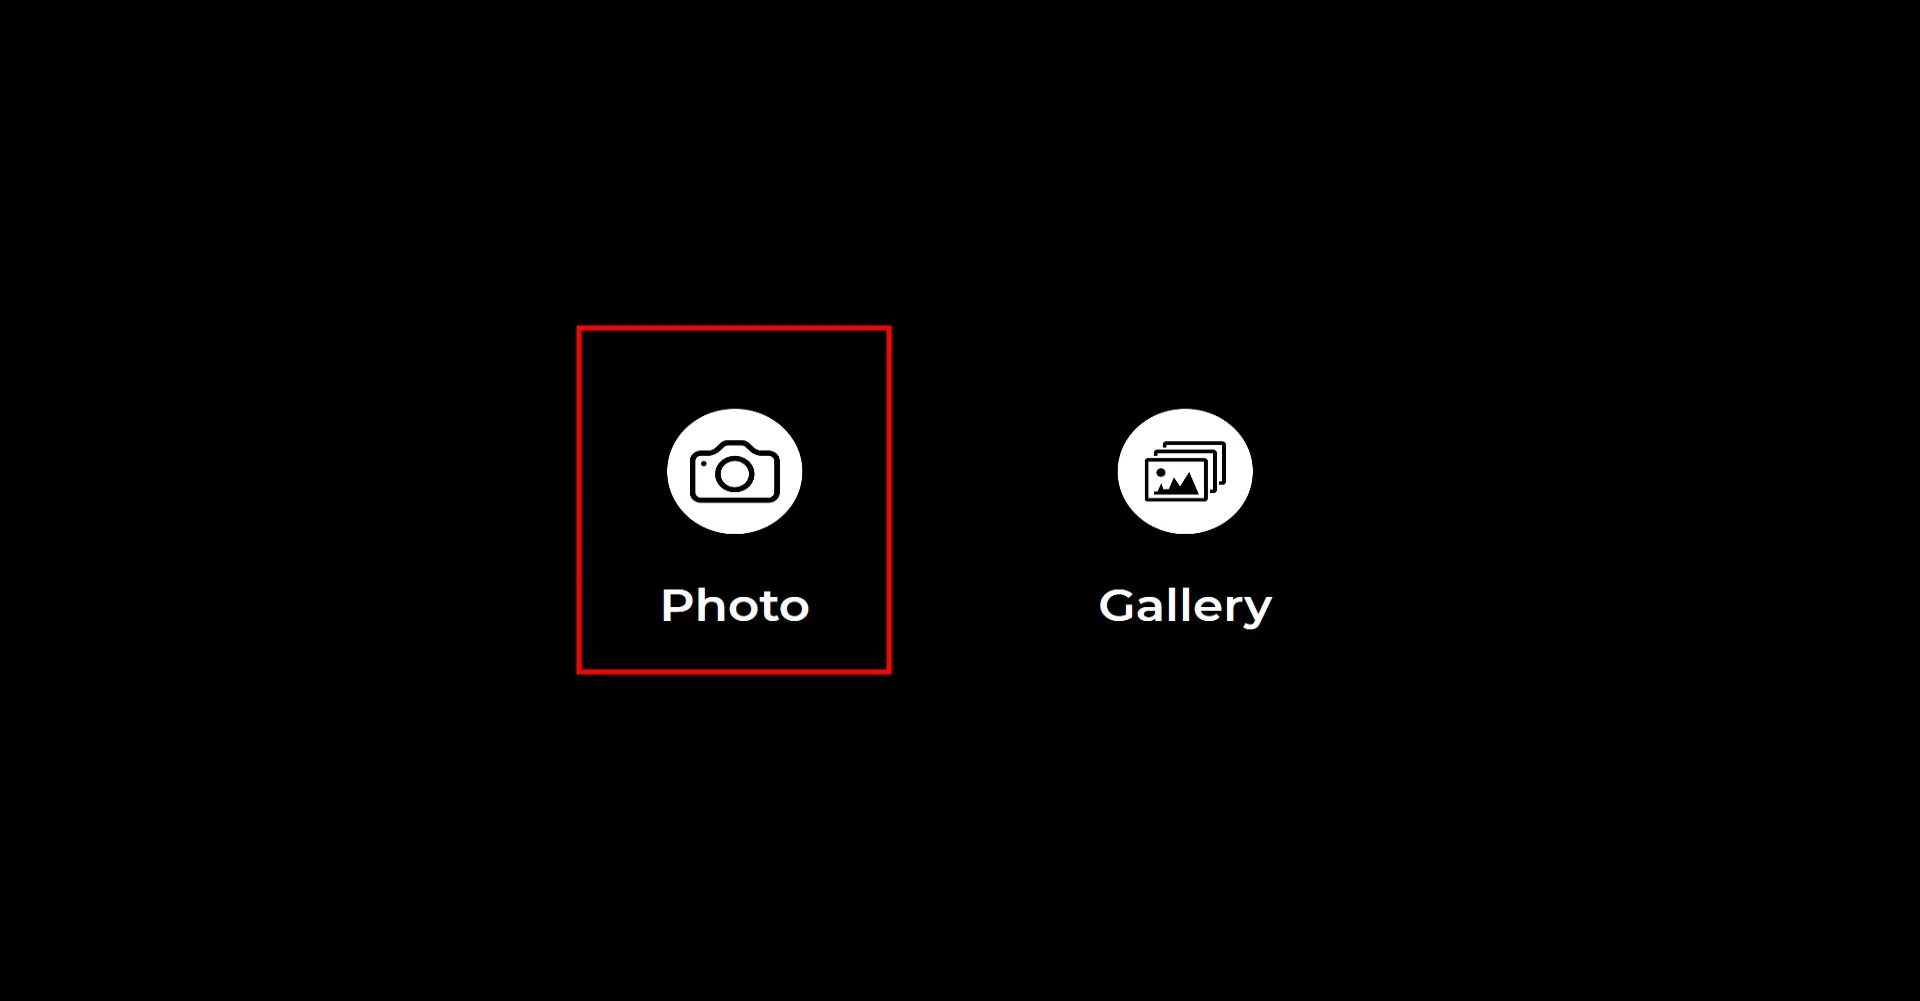
When you enter the "Start the App" section, this screen will appear. Click the "Photo" icon once. After the countdown you set, your photo will be captured.
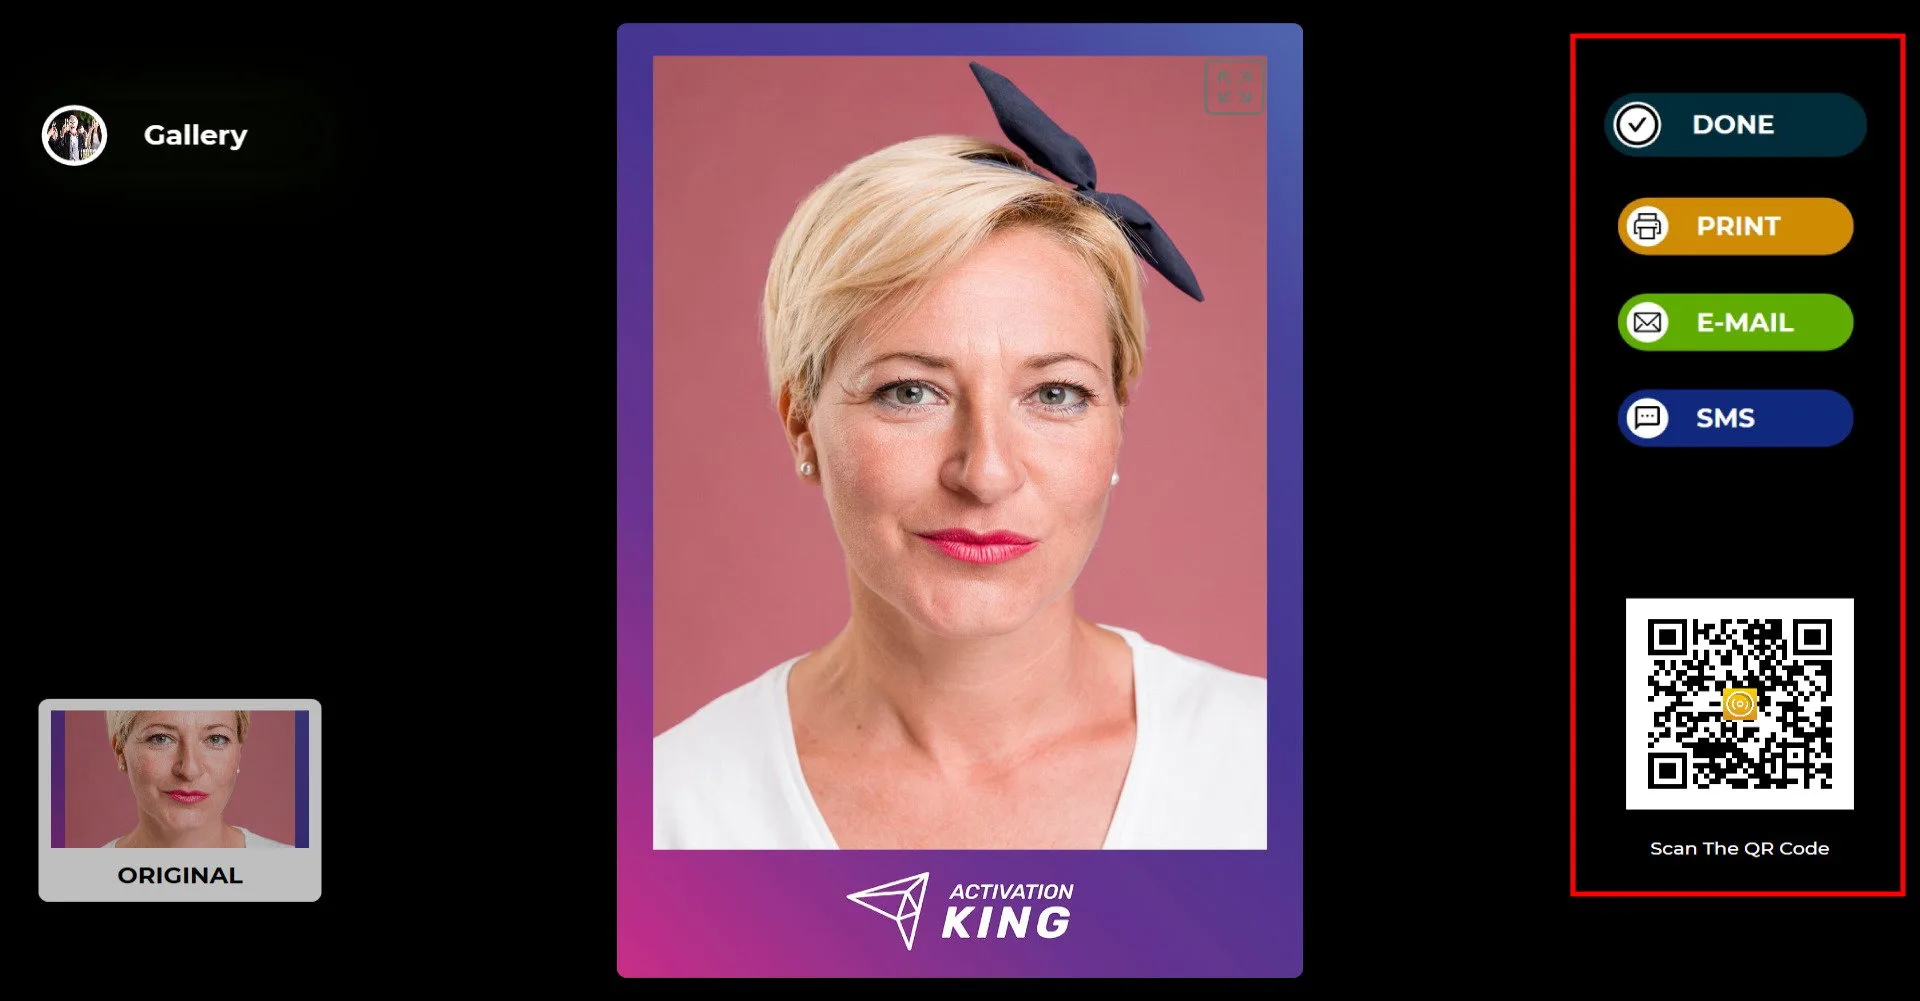
After the photo is taken, your image will appear on the screen along with the frame you added. On the right side, you can receive your output via Print, E-mail, SMS, or QR code. To return to the capture screen, click the "DONE" icon.
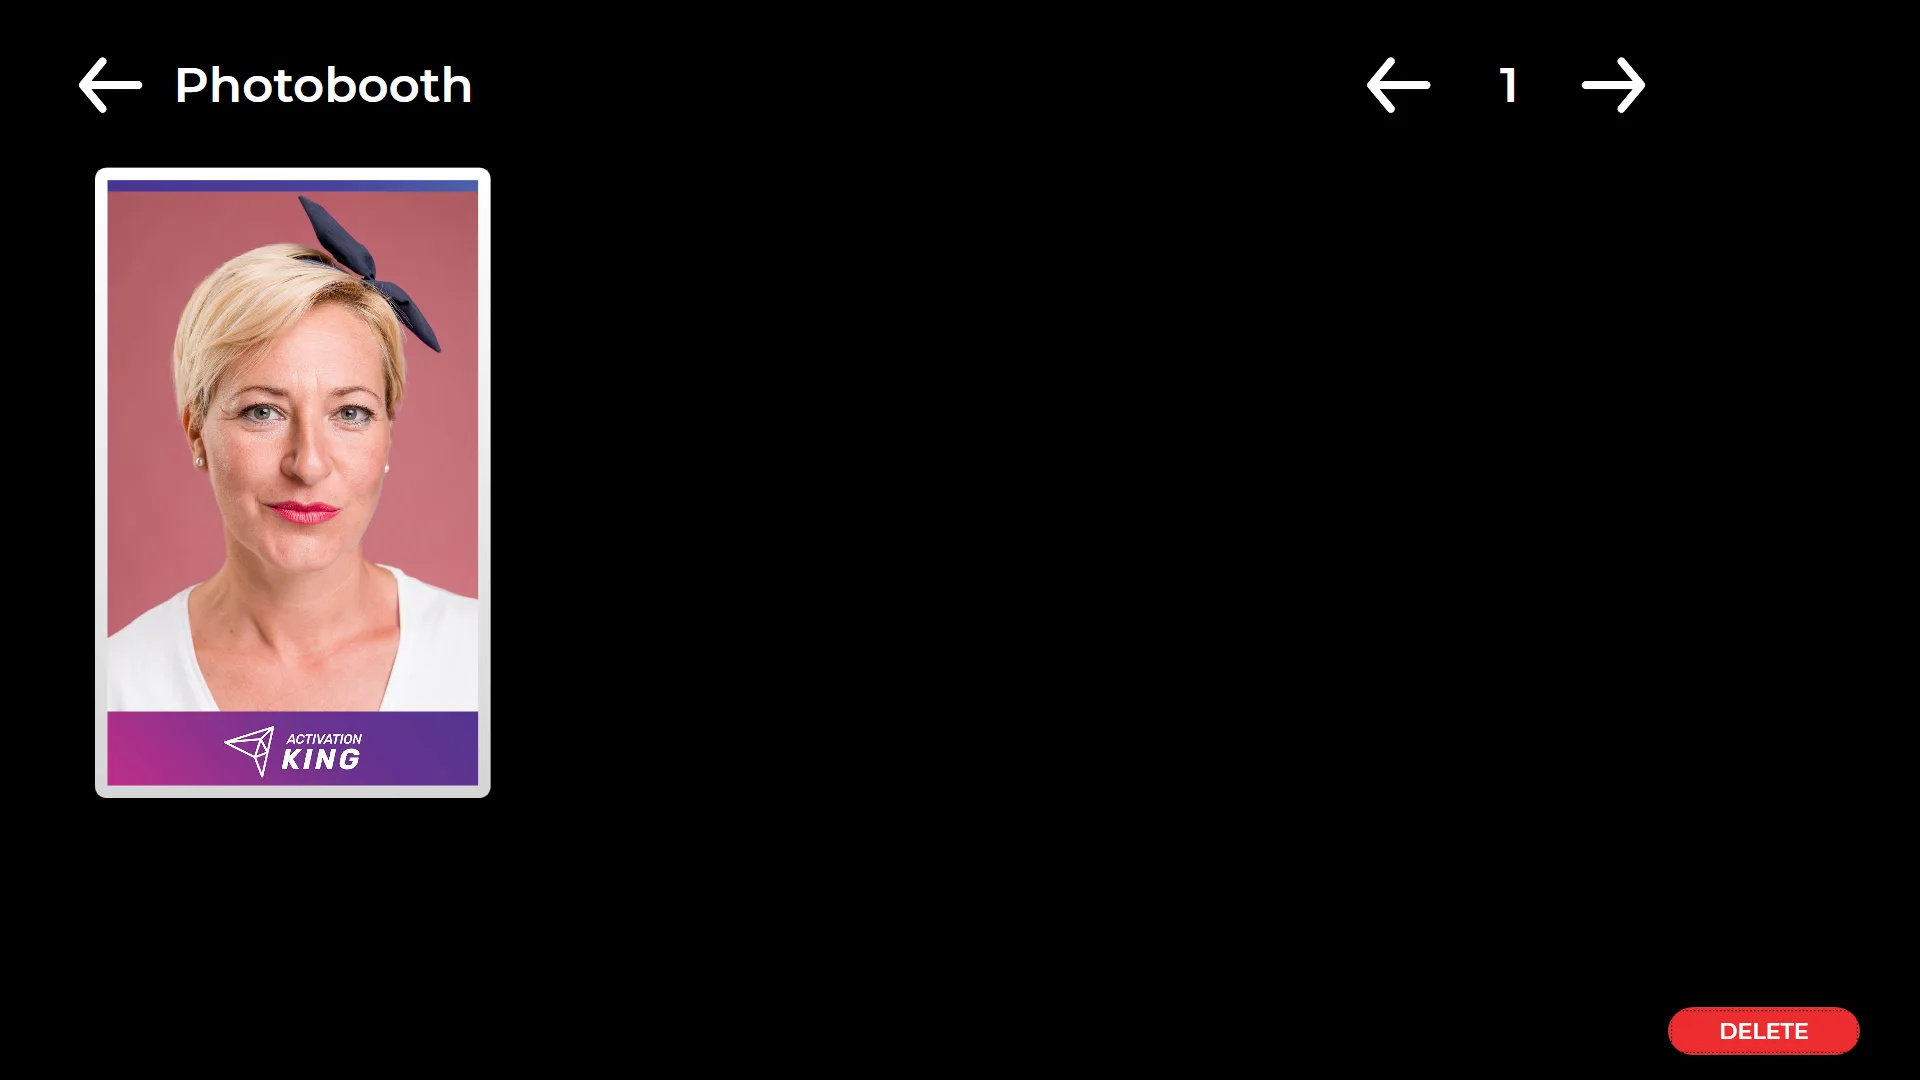
When you click the "Gallery" icon, you can access all previously captured images.