QR Payments (Accept Payments via QR Code)
The QR Payments feature allows guests to pay instantly for photo prints and digital downloads using a QR code displayed on the kiosk screen.
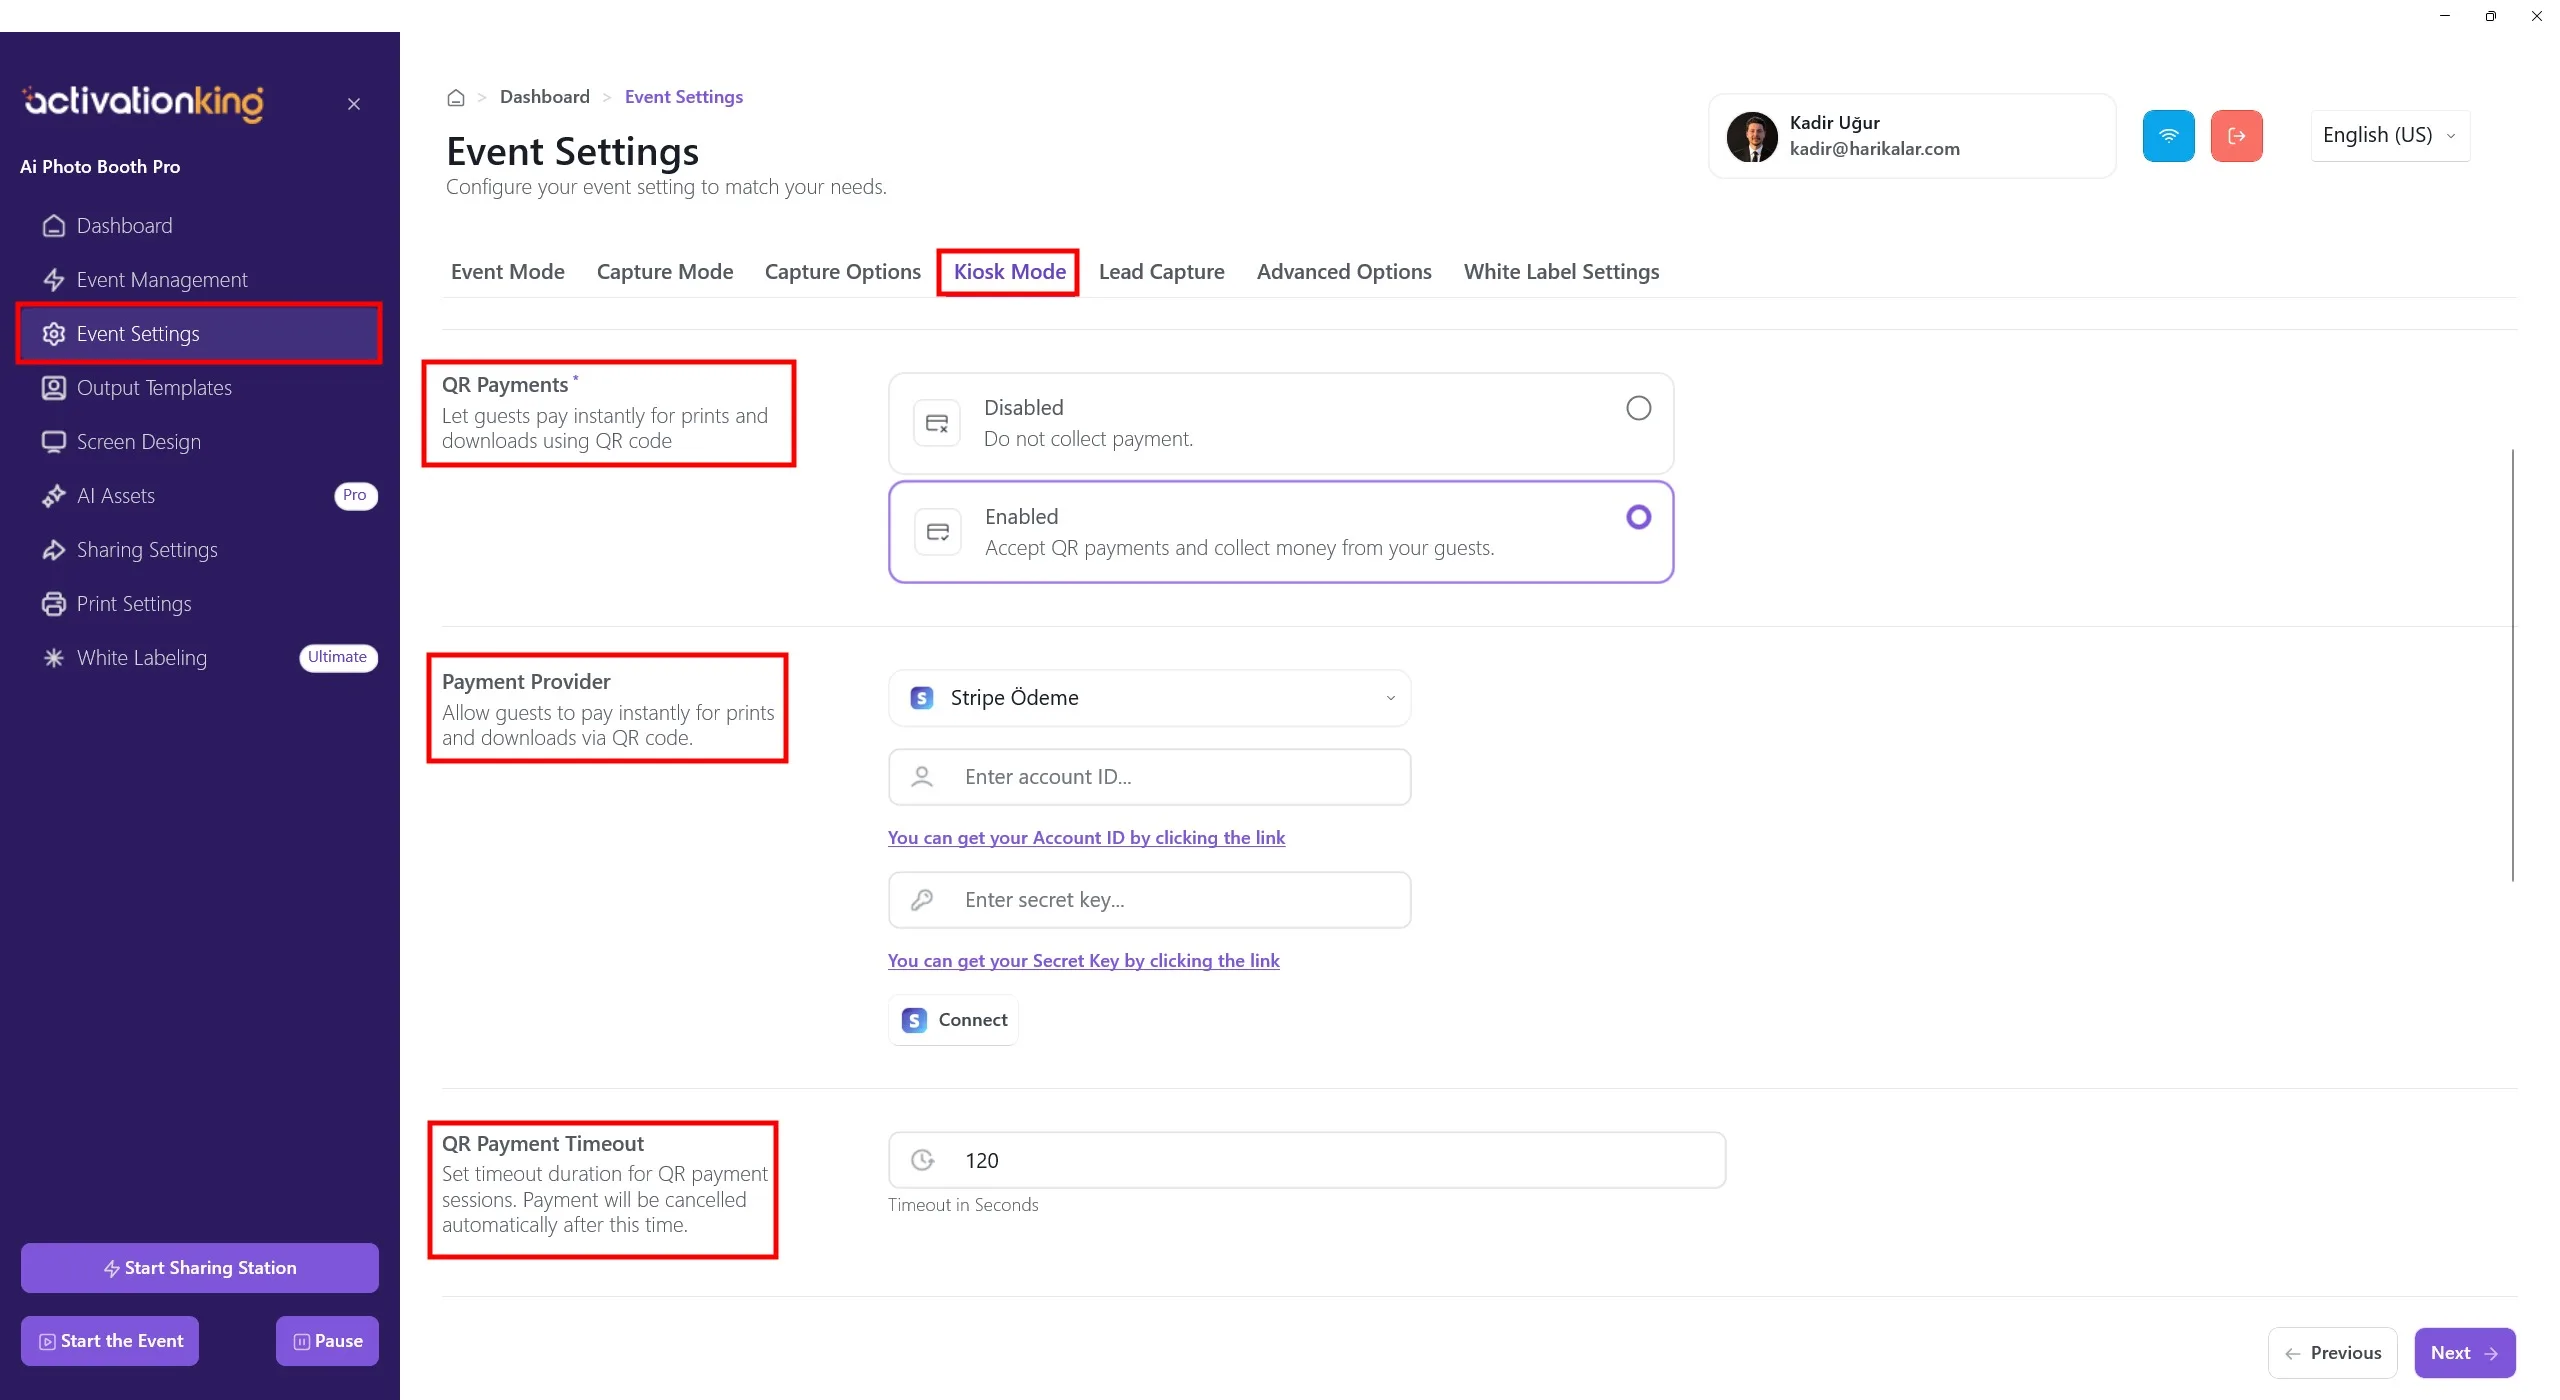
How to Access QR Payments Settings
- Go to Dashboard
- Open Event Settings
- Select the Kiosk Mode tab
- Scroll to QR Payments
QR Payments Options
Disabled
- QR payments are turned off
- No payment is collected from guests
- Suitable for free events or internal use
Enabled
- QR payments are activated
- Guests can pay via QR code
- Printing and/or downloading requires payment
To accept payments, Enabled must be selected.
Payment Provider: Stripe
QR payments are processed via Stripe.
Required fields:
- Account ID
- Secret Key
You can obtain these details from your Stripe Dashboard. Helpful links are provided below each field in the software.
Connecting Stripe
- Enter your Account ID
- Enter your Secret Key
- Click Connect
Once connected successfully, QR payments become active.
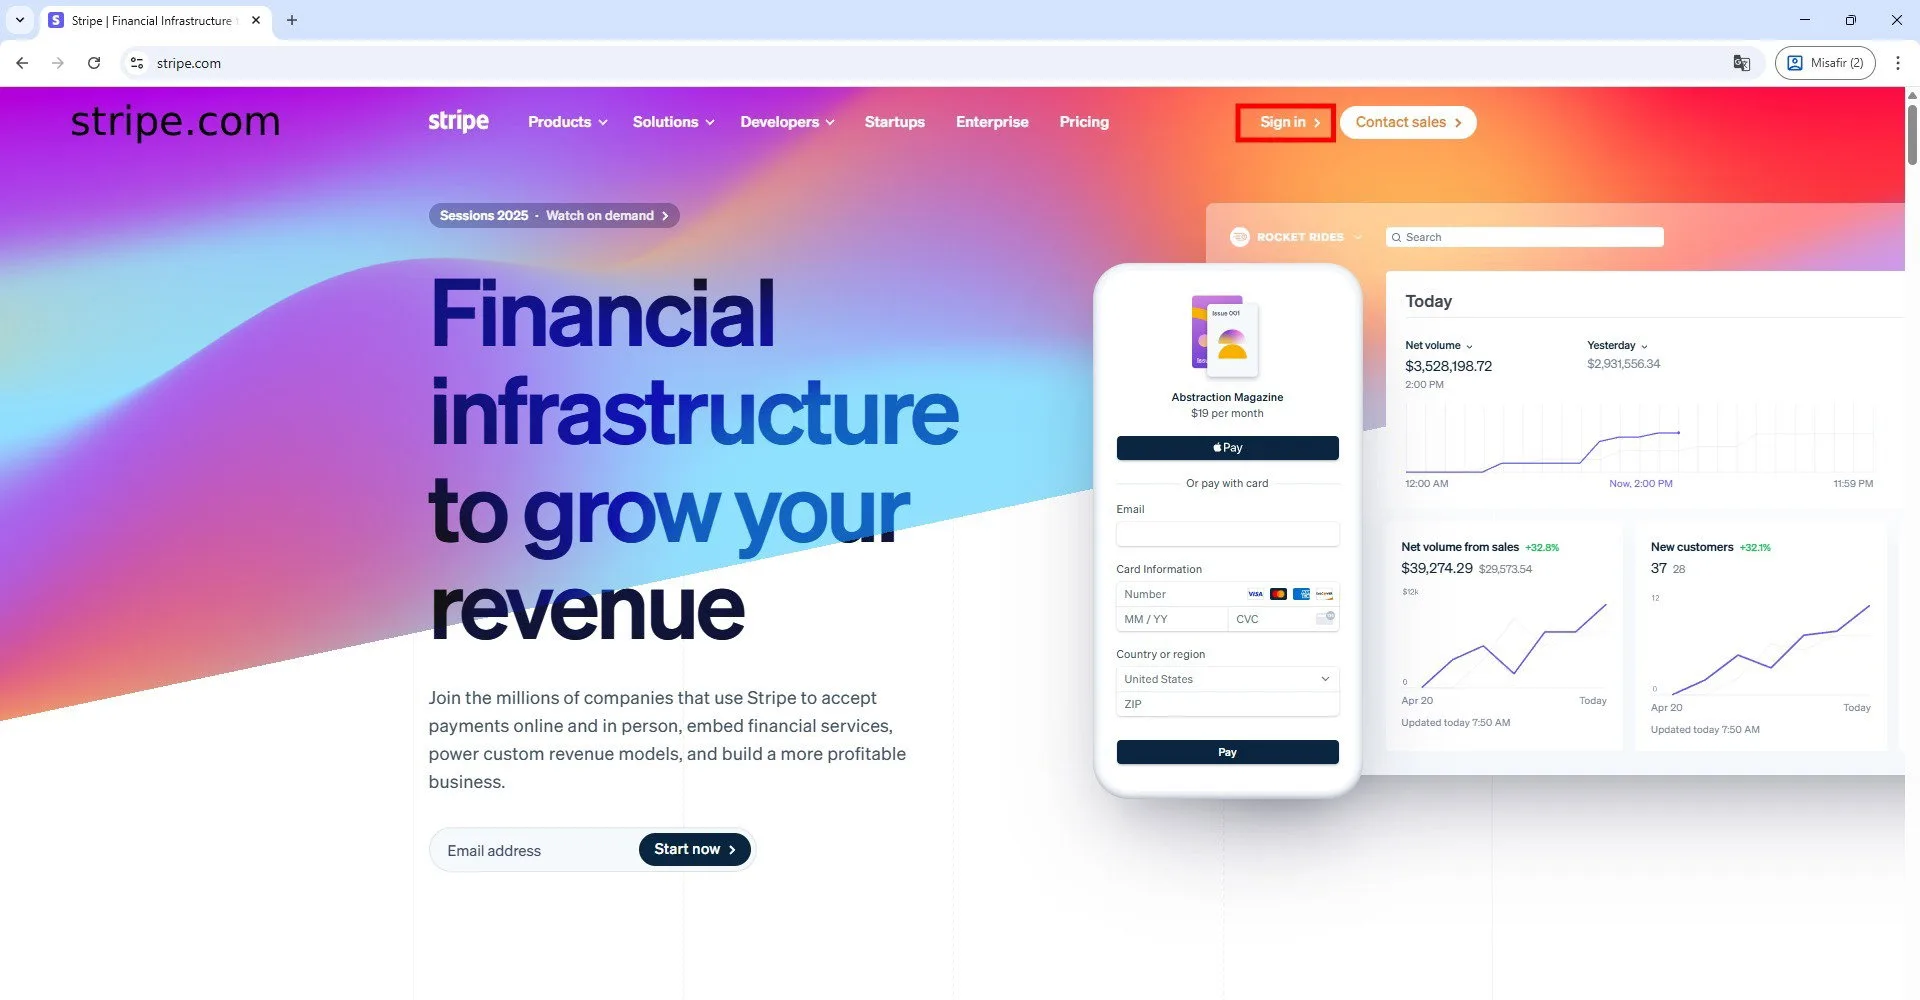
To accept online payments, visit Stripe.com and create an account.
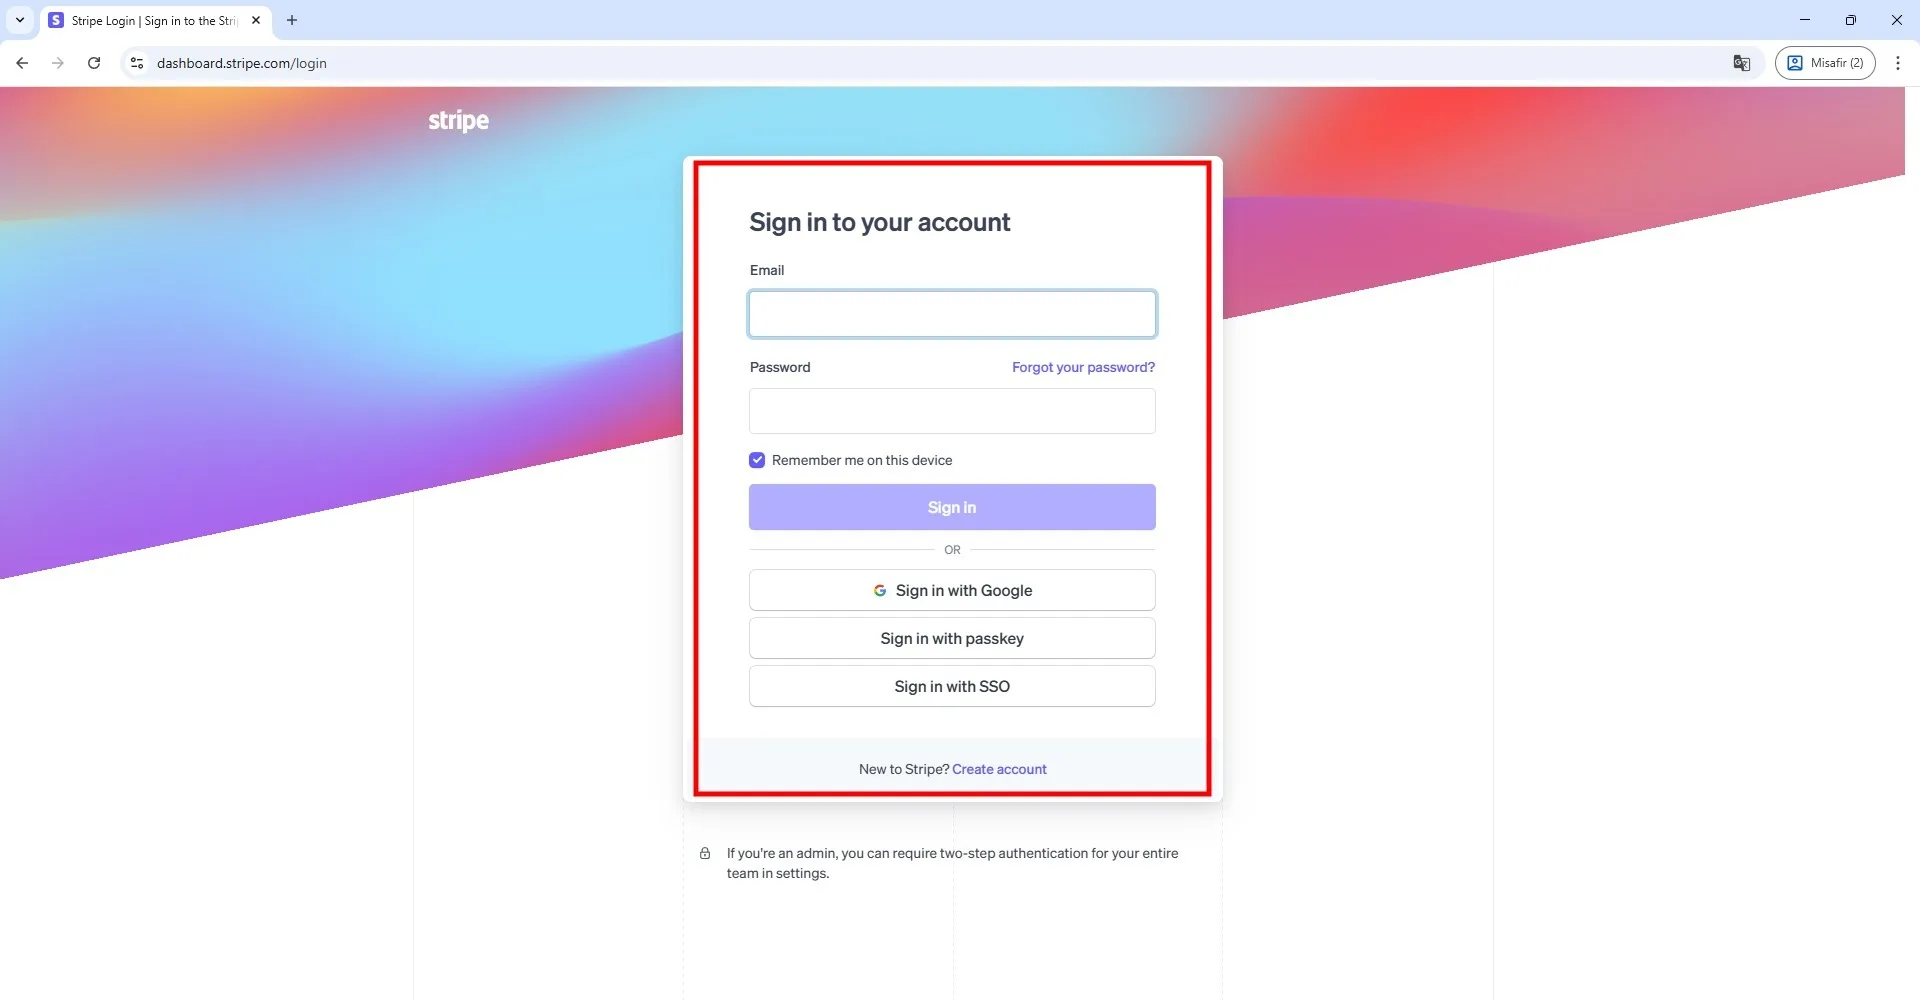
Log in to your account.
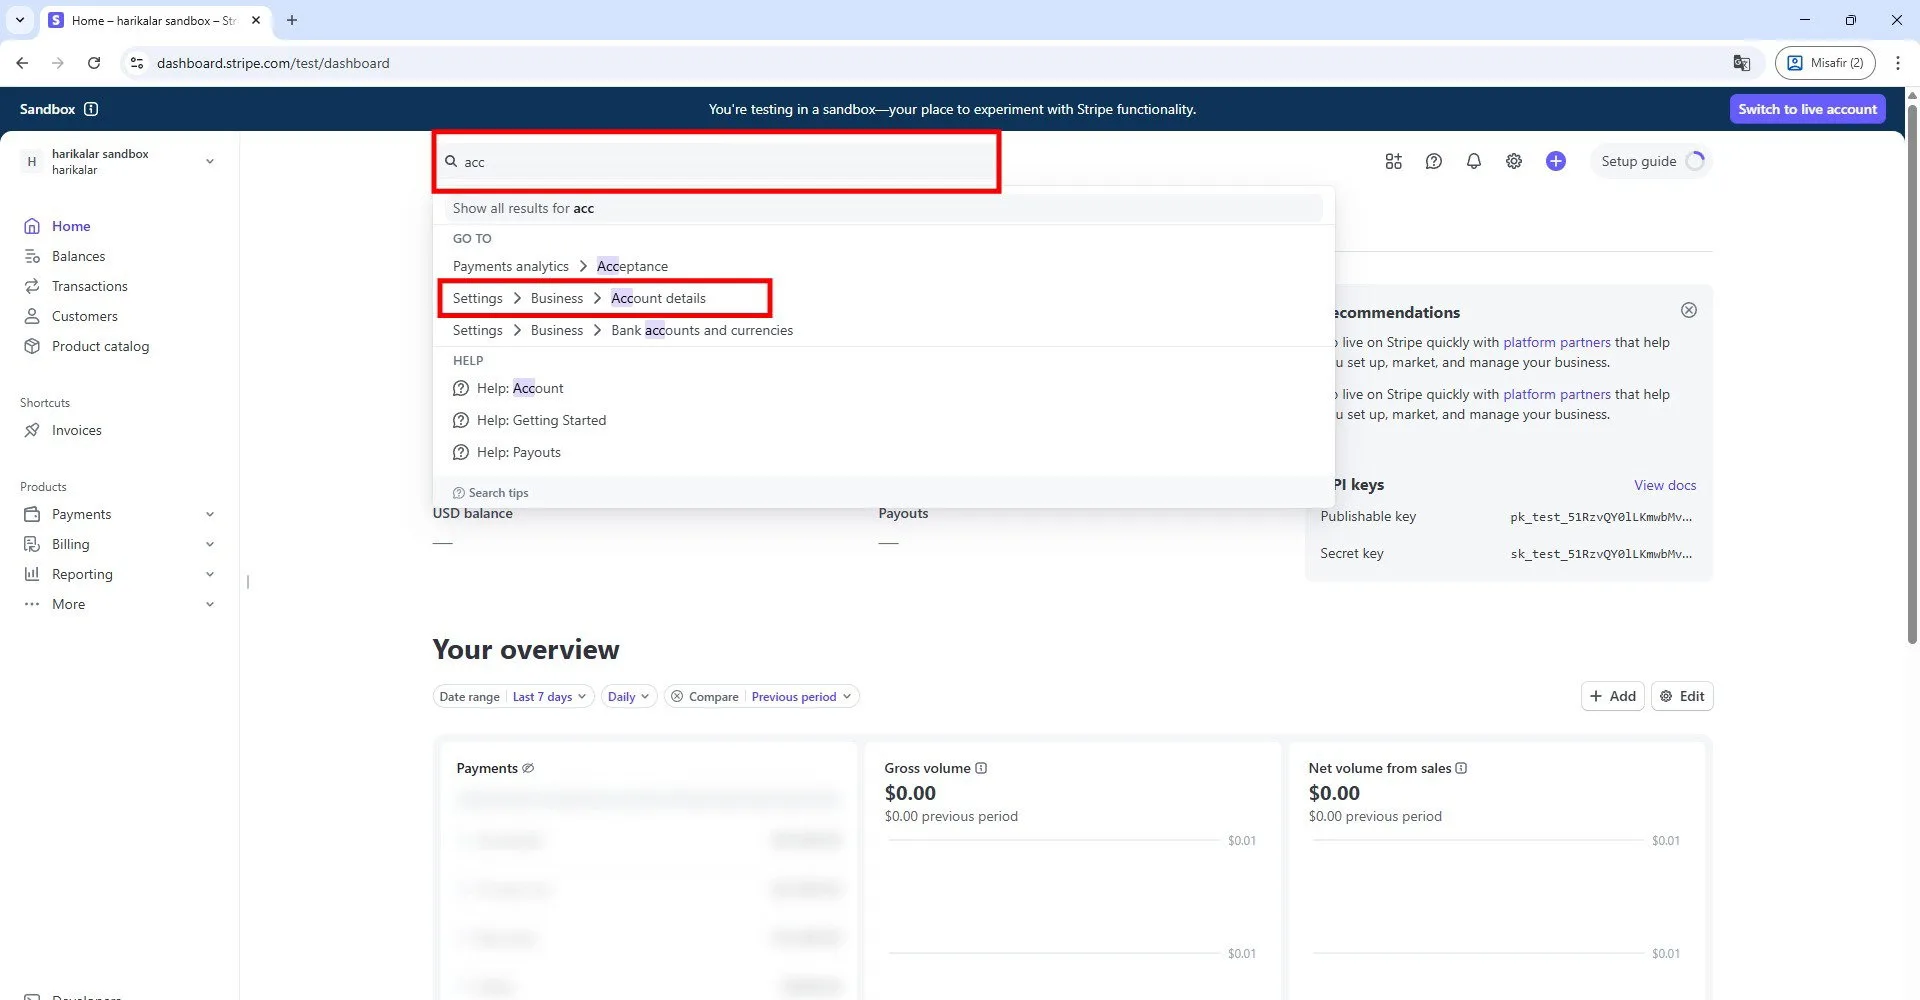
After accessing your account settings, type "account" in the search bar and open the page shown in the marked example.
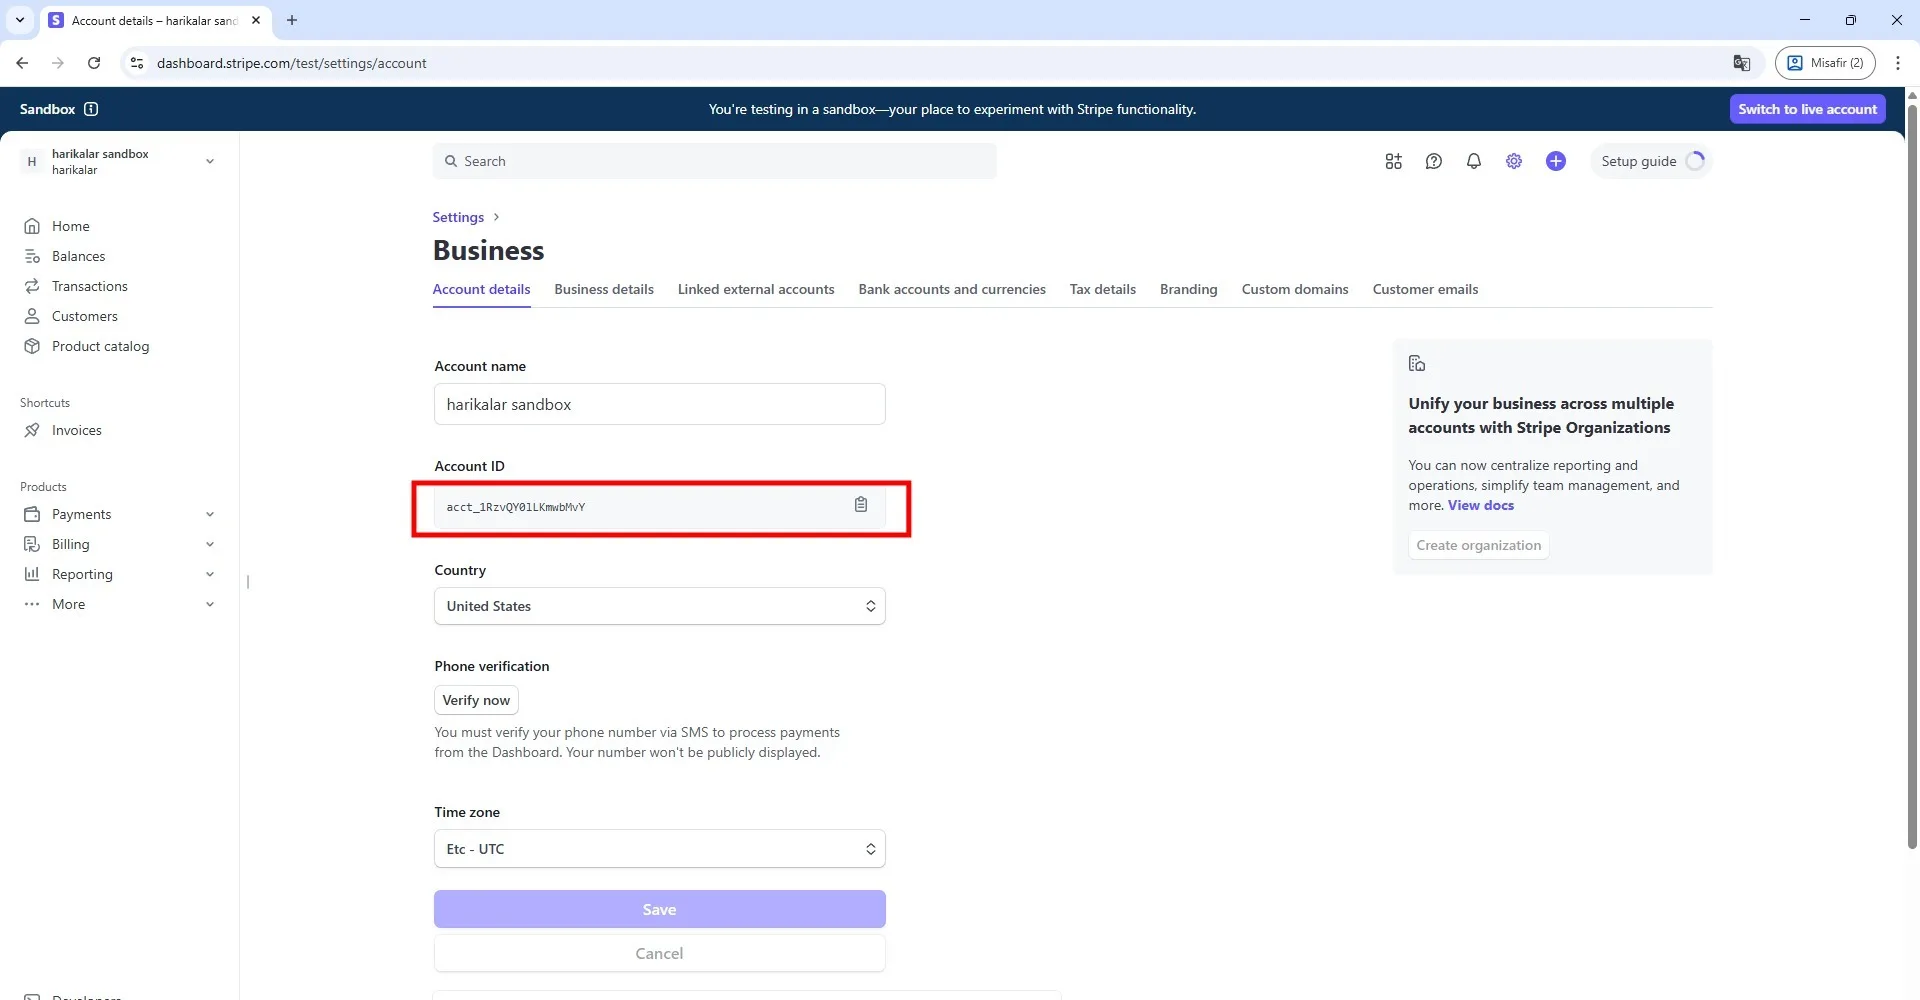
Copy the line displayed under the Account ID section. Paste it into the "Stripe Account ID" field in the software.
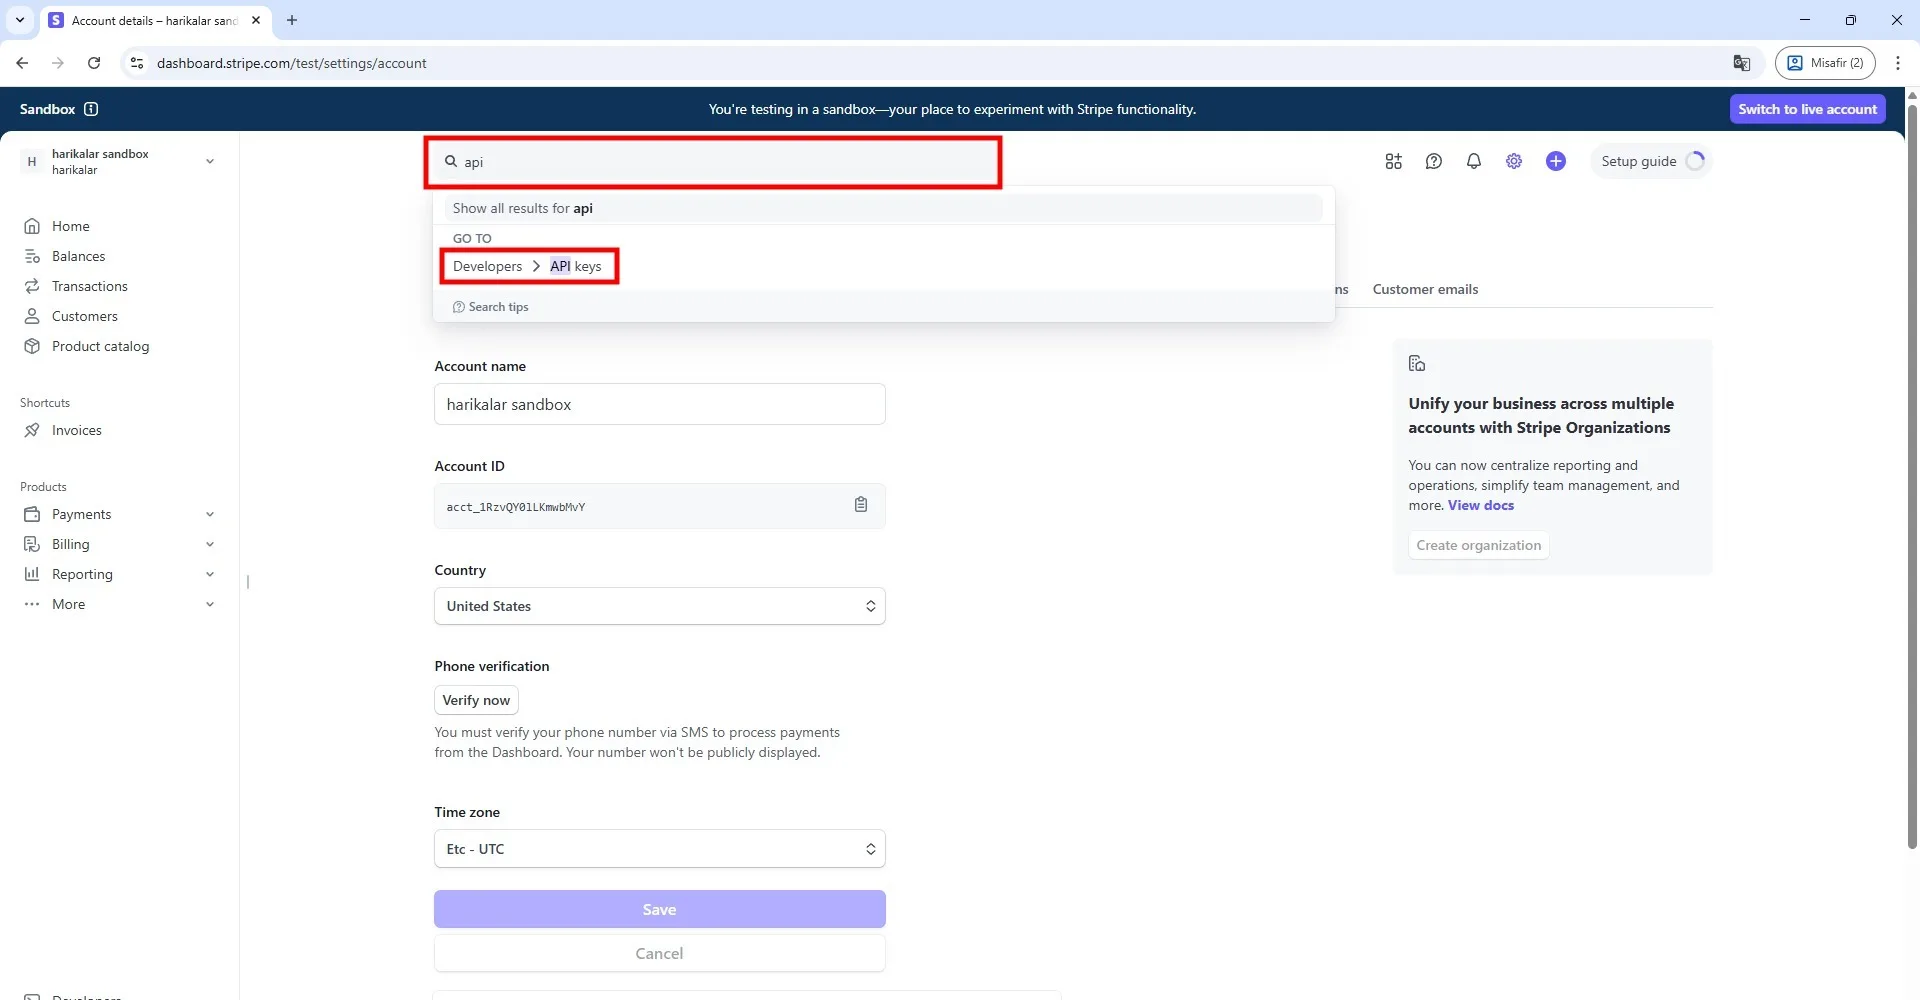
Return to the Stripe website, type "API" in the search bar, and open the page that appears.
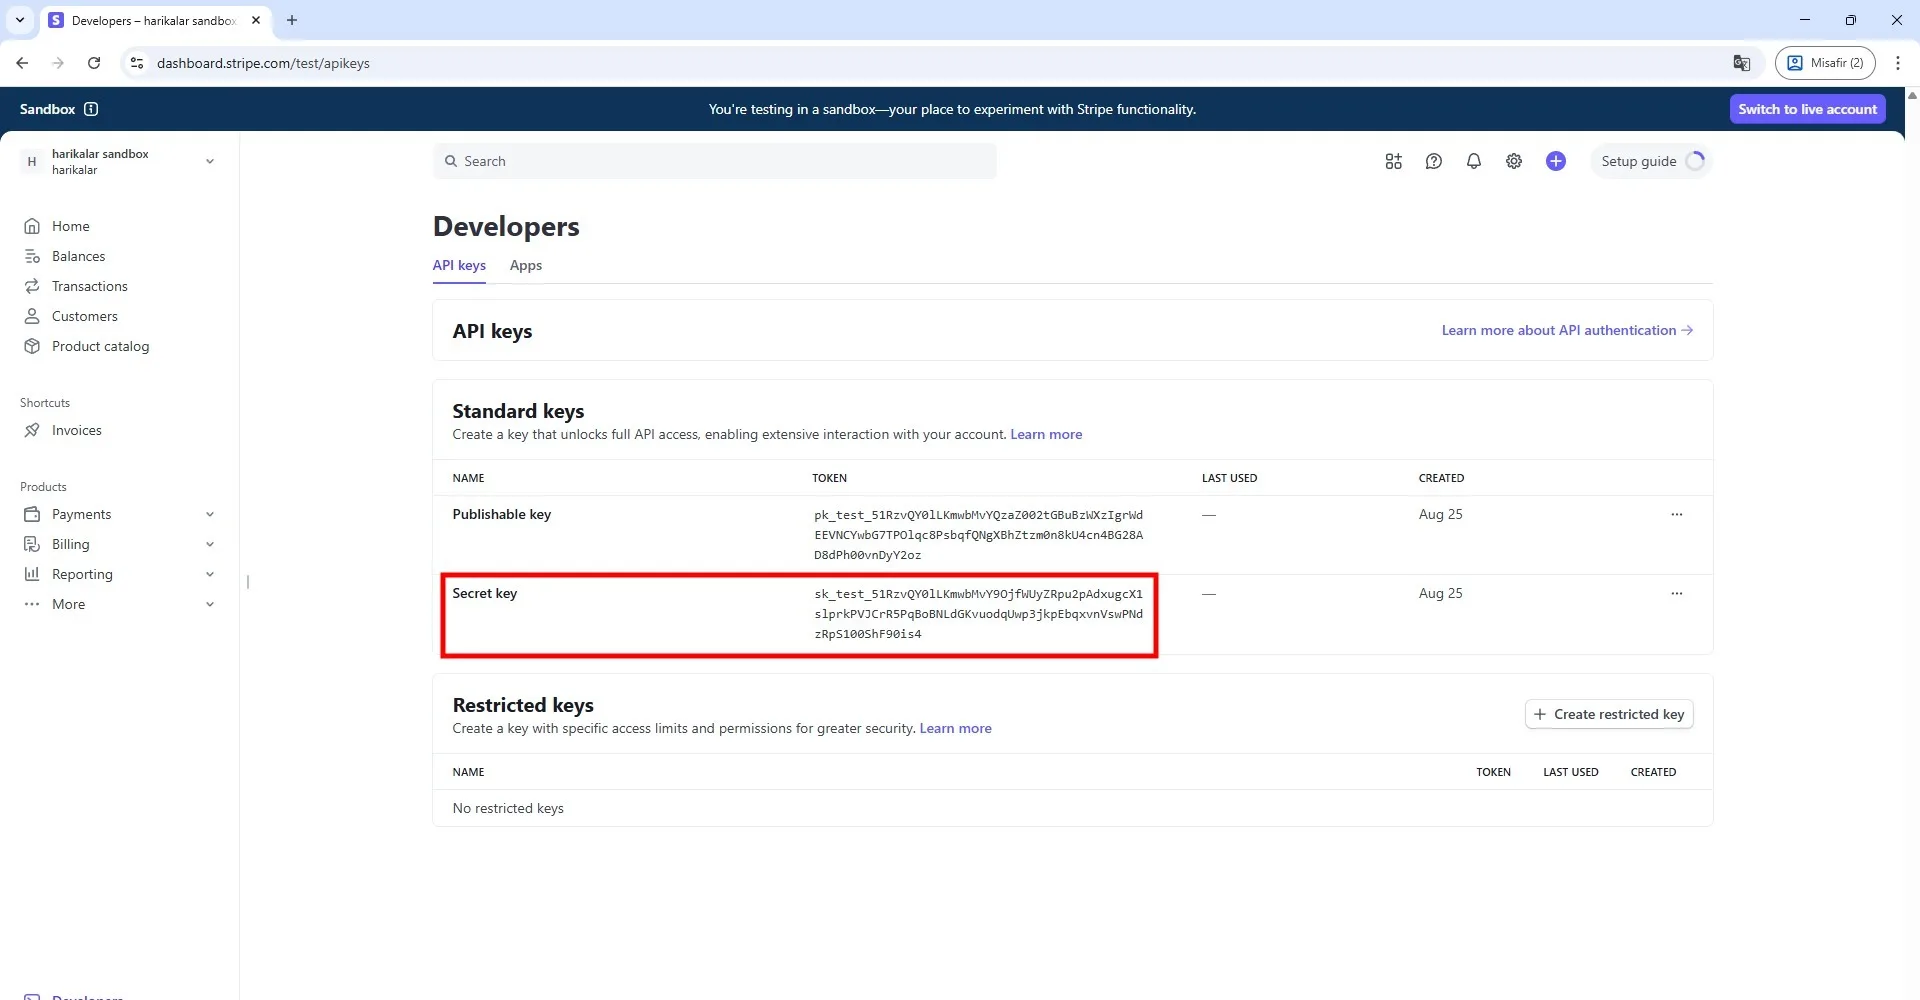
Copy the line shown under the "Secret Key" section on this page.
Note: If you accessed Stripe's test mode from your dashboard, your account will allow you to test essential functions such as creating cards, testing transactions, and simulating physical card shipping. This is temporary: when you switch to live mode, you will lose access to all cardholders and cards created in test mode. You may use test mode for experimenting, but if you want to go live, contact Stripe support and paste the Secret Key they provide into the software.
For more information, visit: https://support.stripe.com/questions/stripe-issuing-test-mode-configurations-and-differences-vs-live-mode
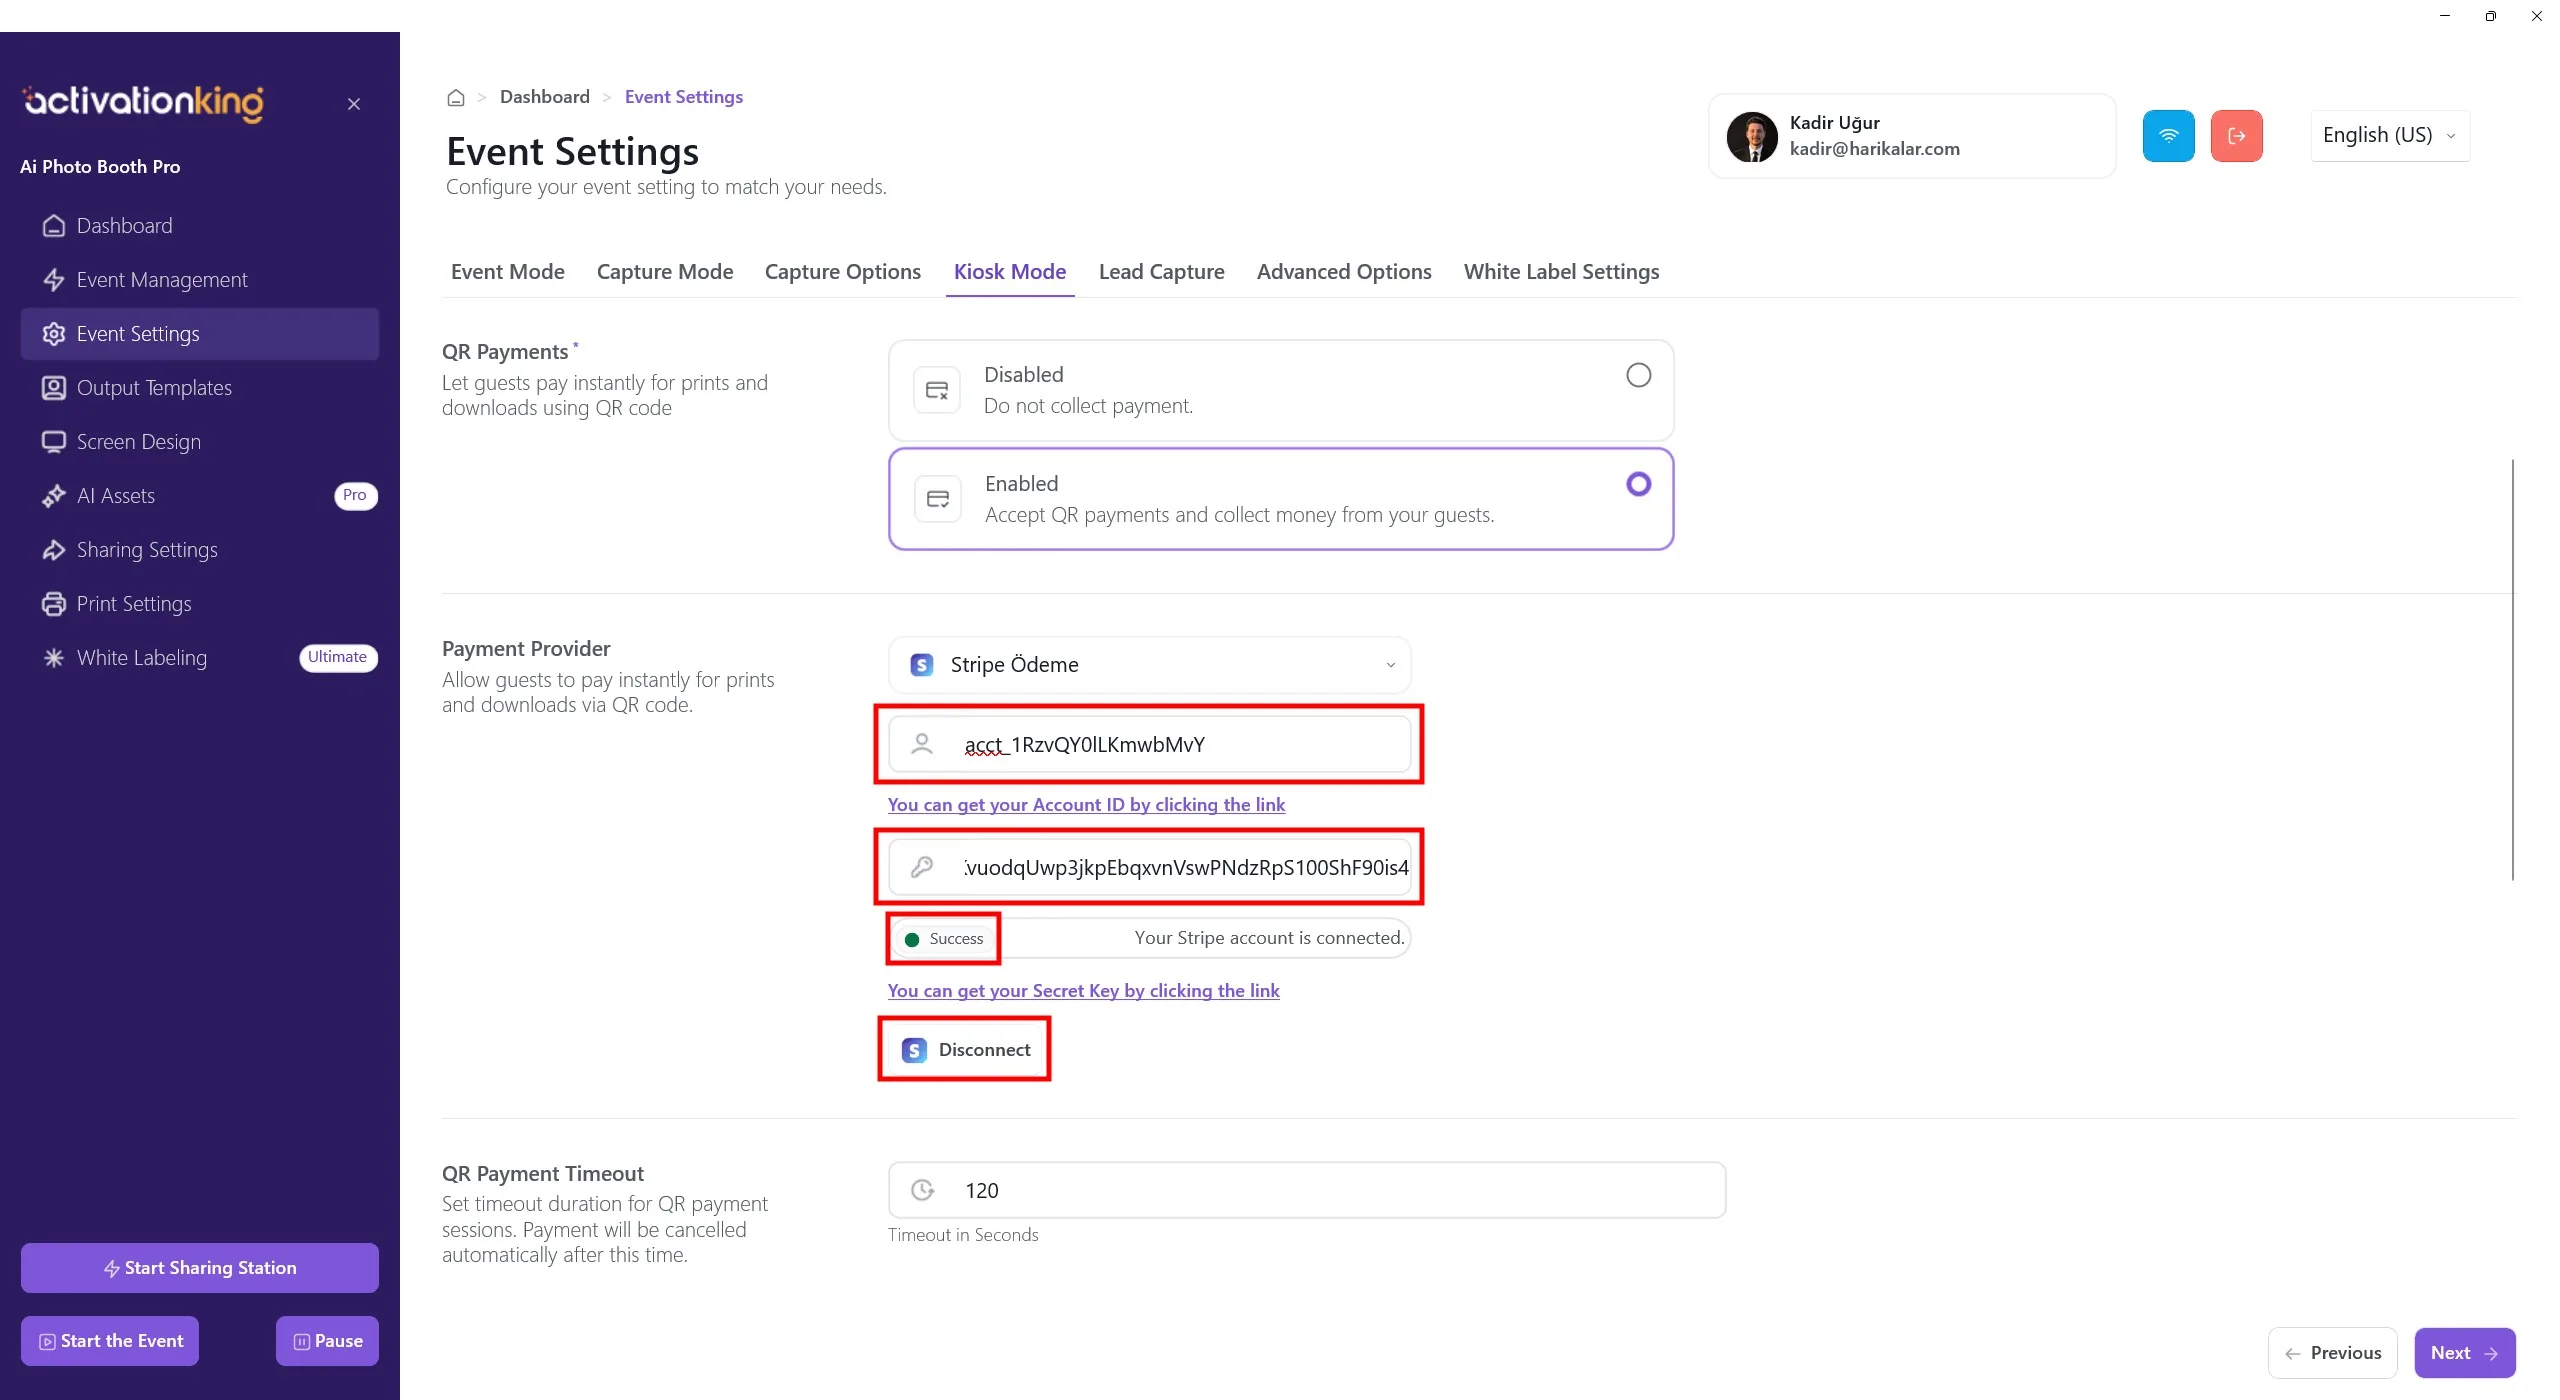
Finally, paste the copied value into the "Stripe Secret Key" field inside the software.
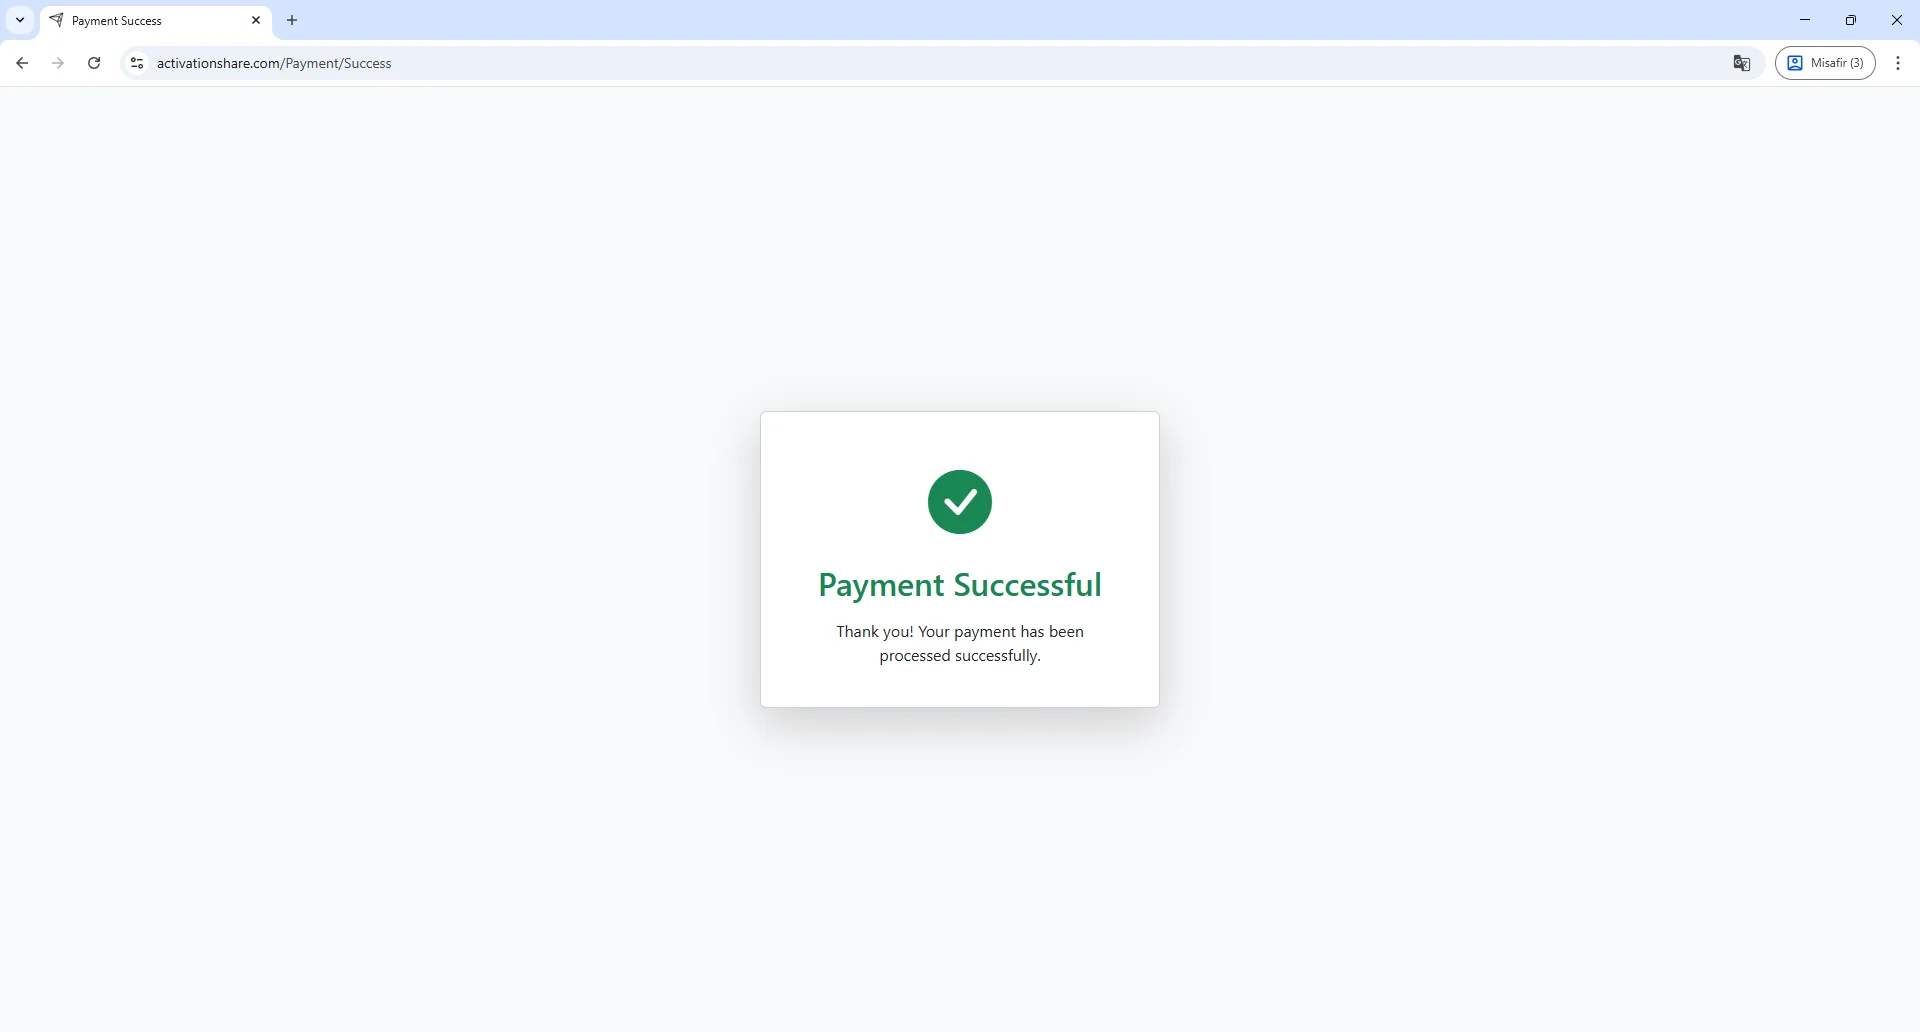
Press the Connect button. If you have entered the information correctly, you will see the word "success".
Enter the desired pricing for download and print in the boxes at the bottom. Users who purchase a print will automatically receive the download option as well. You can set your pricing accordingly.
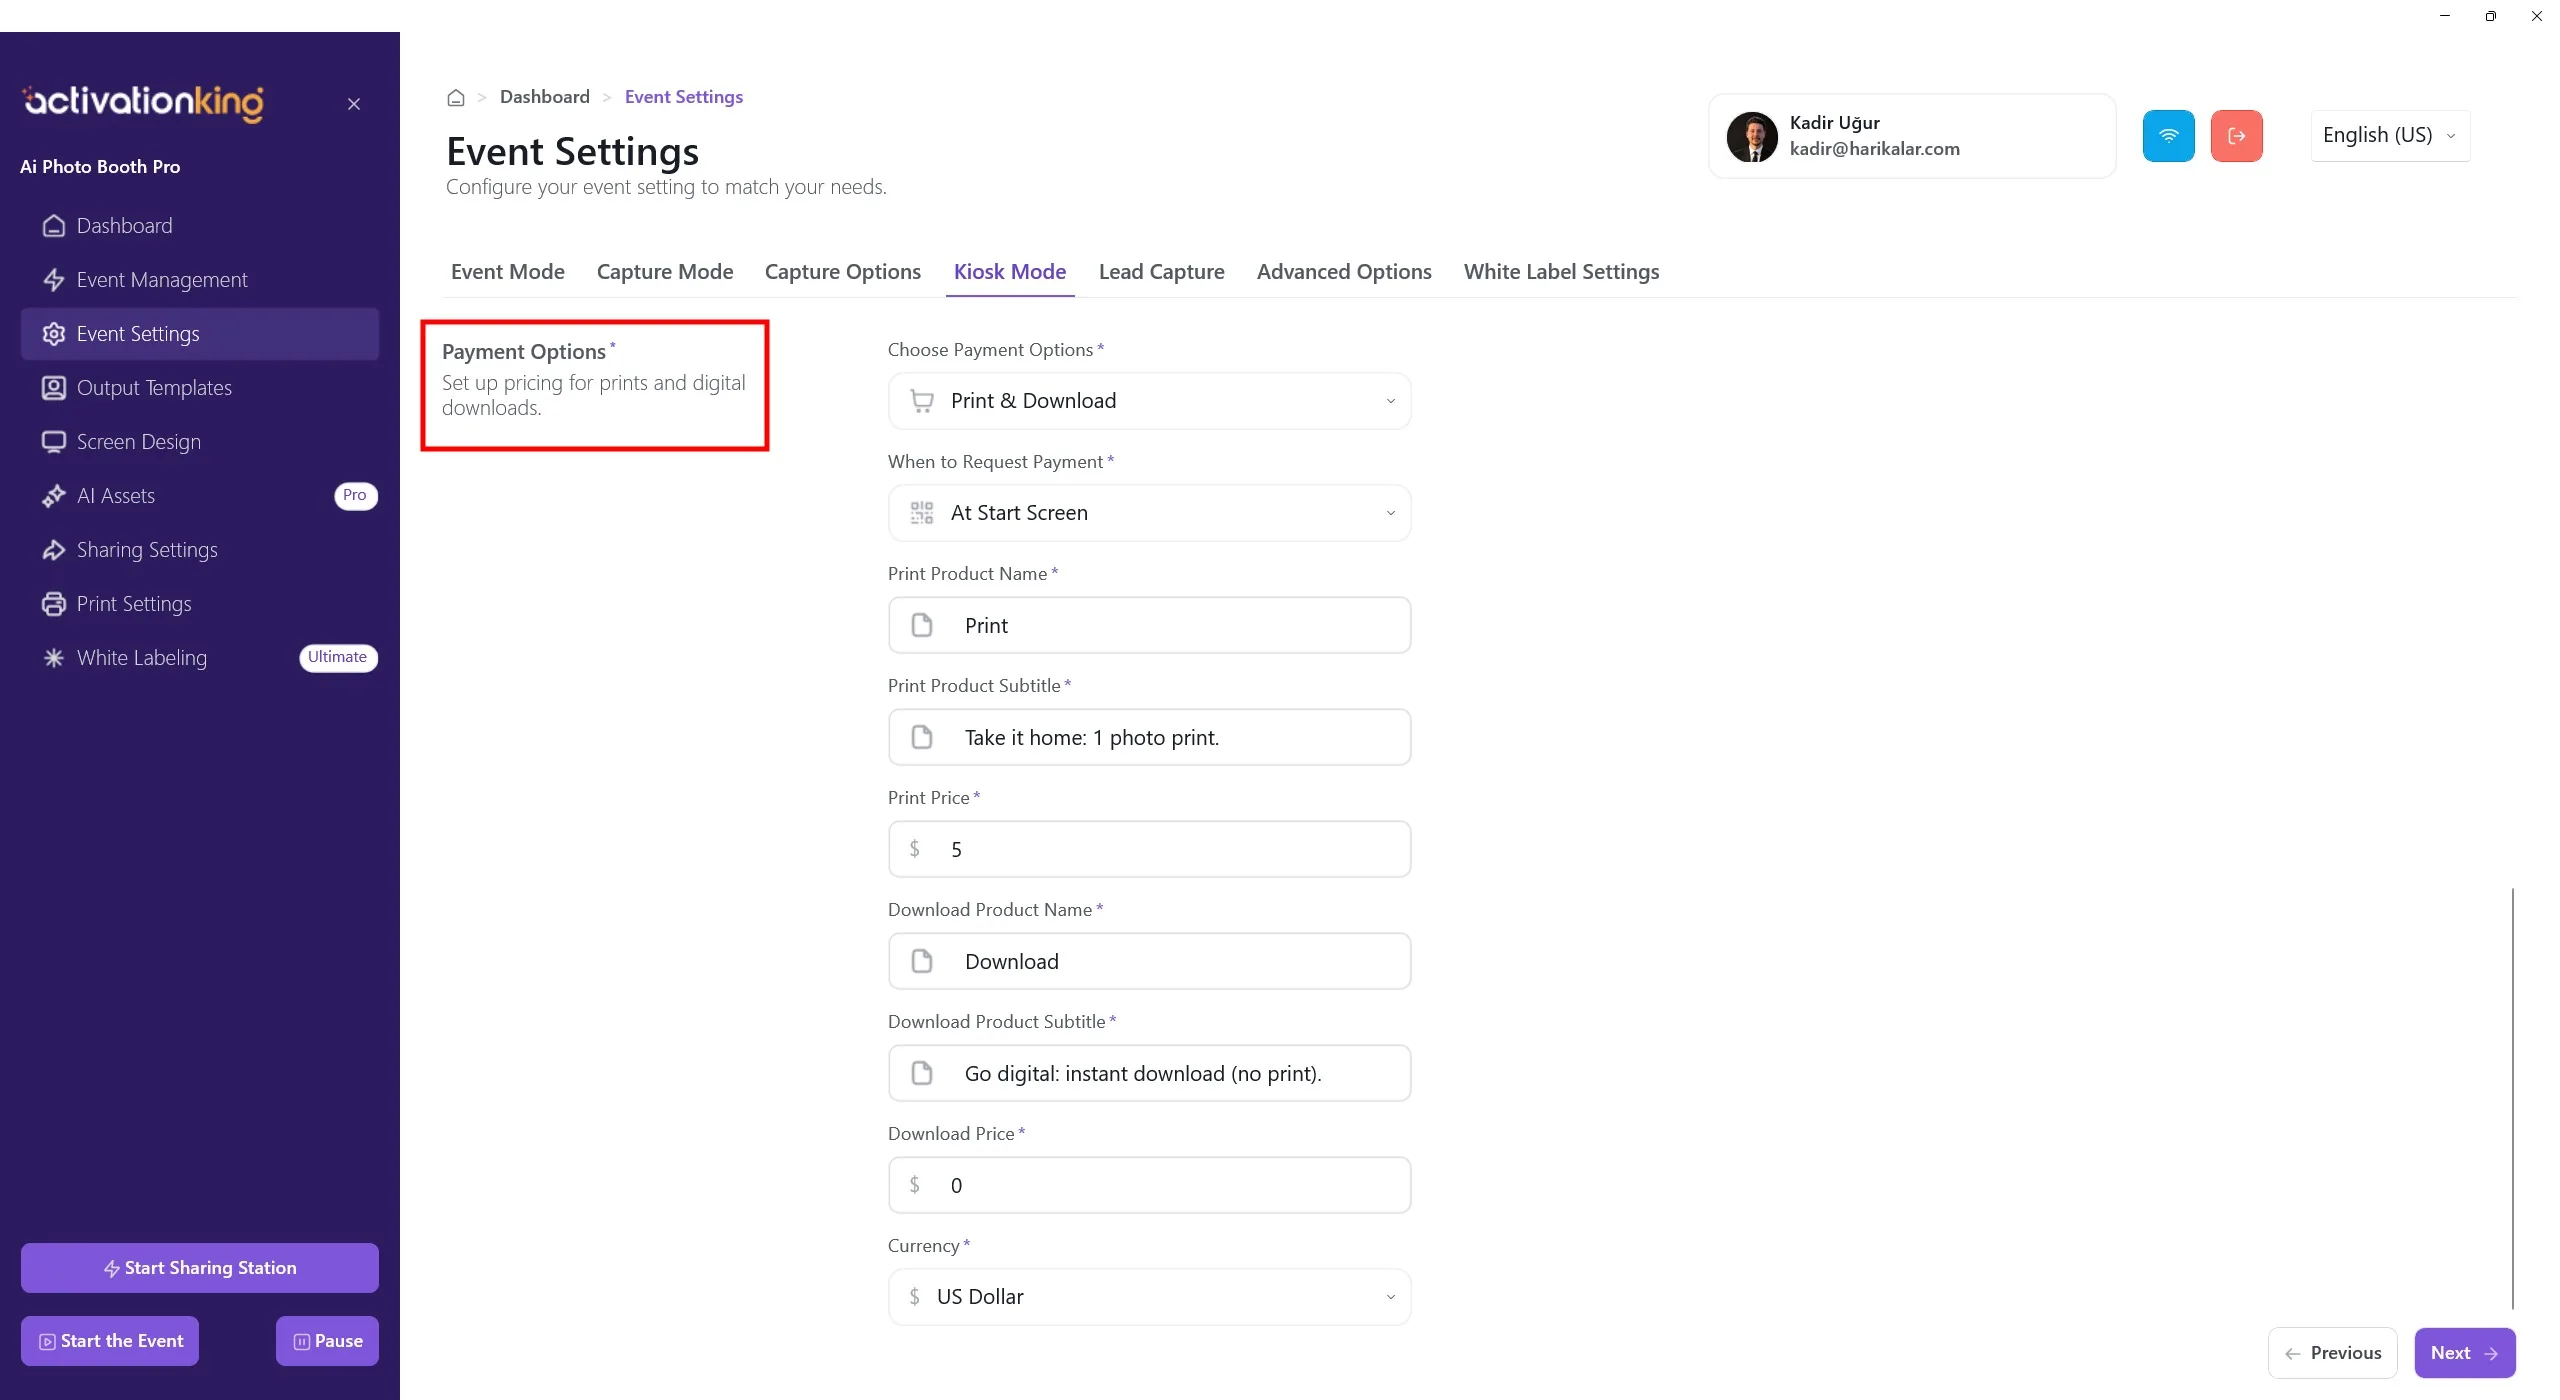
Payment Options (Print & Download Pricing)
This section controls what guests can purchase and how much they pay.
Requirements:
- QR Payments must be Enabled
- Stripe must be connected
Choose Payment Options
Select which products are available to guests:
- Print Only — physical photo prints only
- Download Only — digital download only
- Print & Download — both options available
When to Request Payment
Defines when the payment screen is shown.
- At Start Screen: guests pay before taking photos. Recommended for paid events to avoid unpaid sessions.
Print Product Settings
These fields define how the print option appears to guests.
Print Product Name
Displayed product title. Example: Print
Print Product Subtitle
Short description. Example: Take it home: 1 photo print.
Print Price
Price for a single print. Example: $5
Download Product Settings
These fields configure the digital download option.
Download Product Name
Example: Download
Download Product Subtitle
Example: Go digital: instant download (no print).
Download Price
Price for digital download. Example: $0
Common setup: paid print + free download.
Currency
Select the currency used for payments.
- Must be supported by your Stripe account
- Example: USD — US Dollar
Guest Payment Flow
- Guest approaches the kiosk
- Payment screen is shown (Start Screen)
- Guest selects Print or Download
- QR code appears
- Guest completes payment via Stripe
- Based on selection, the photo is printed or the digital download is delivered
Important Notes
- Product names and prices are shown exactly as entered
- Payments are processed entirely by Stripe
- The software applies pricing automatically
- Incorrect pricing is not a software error
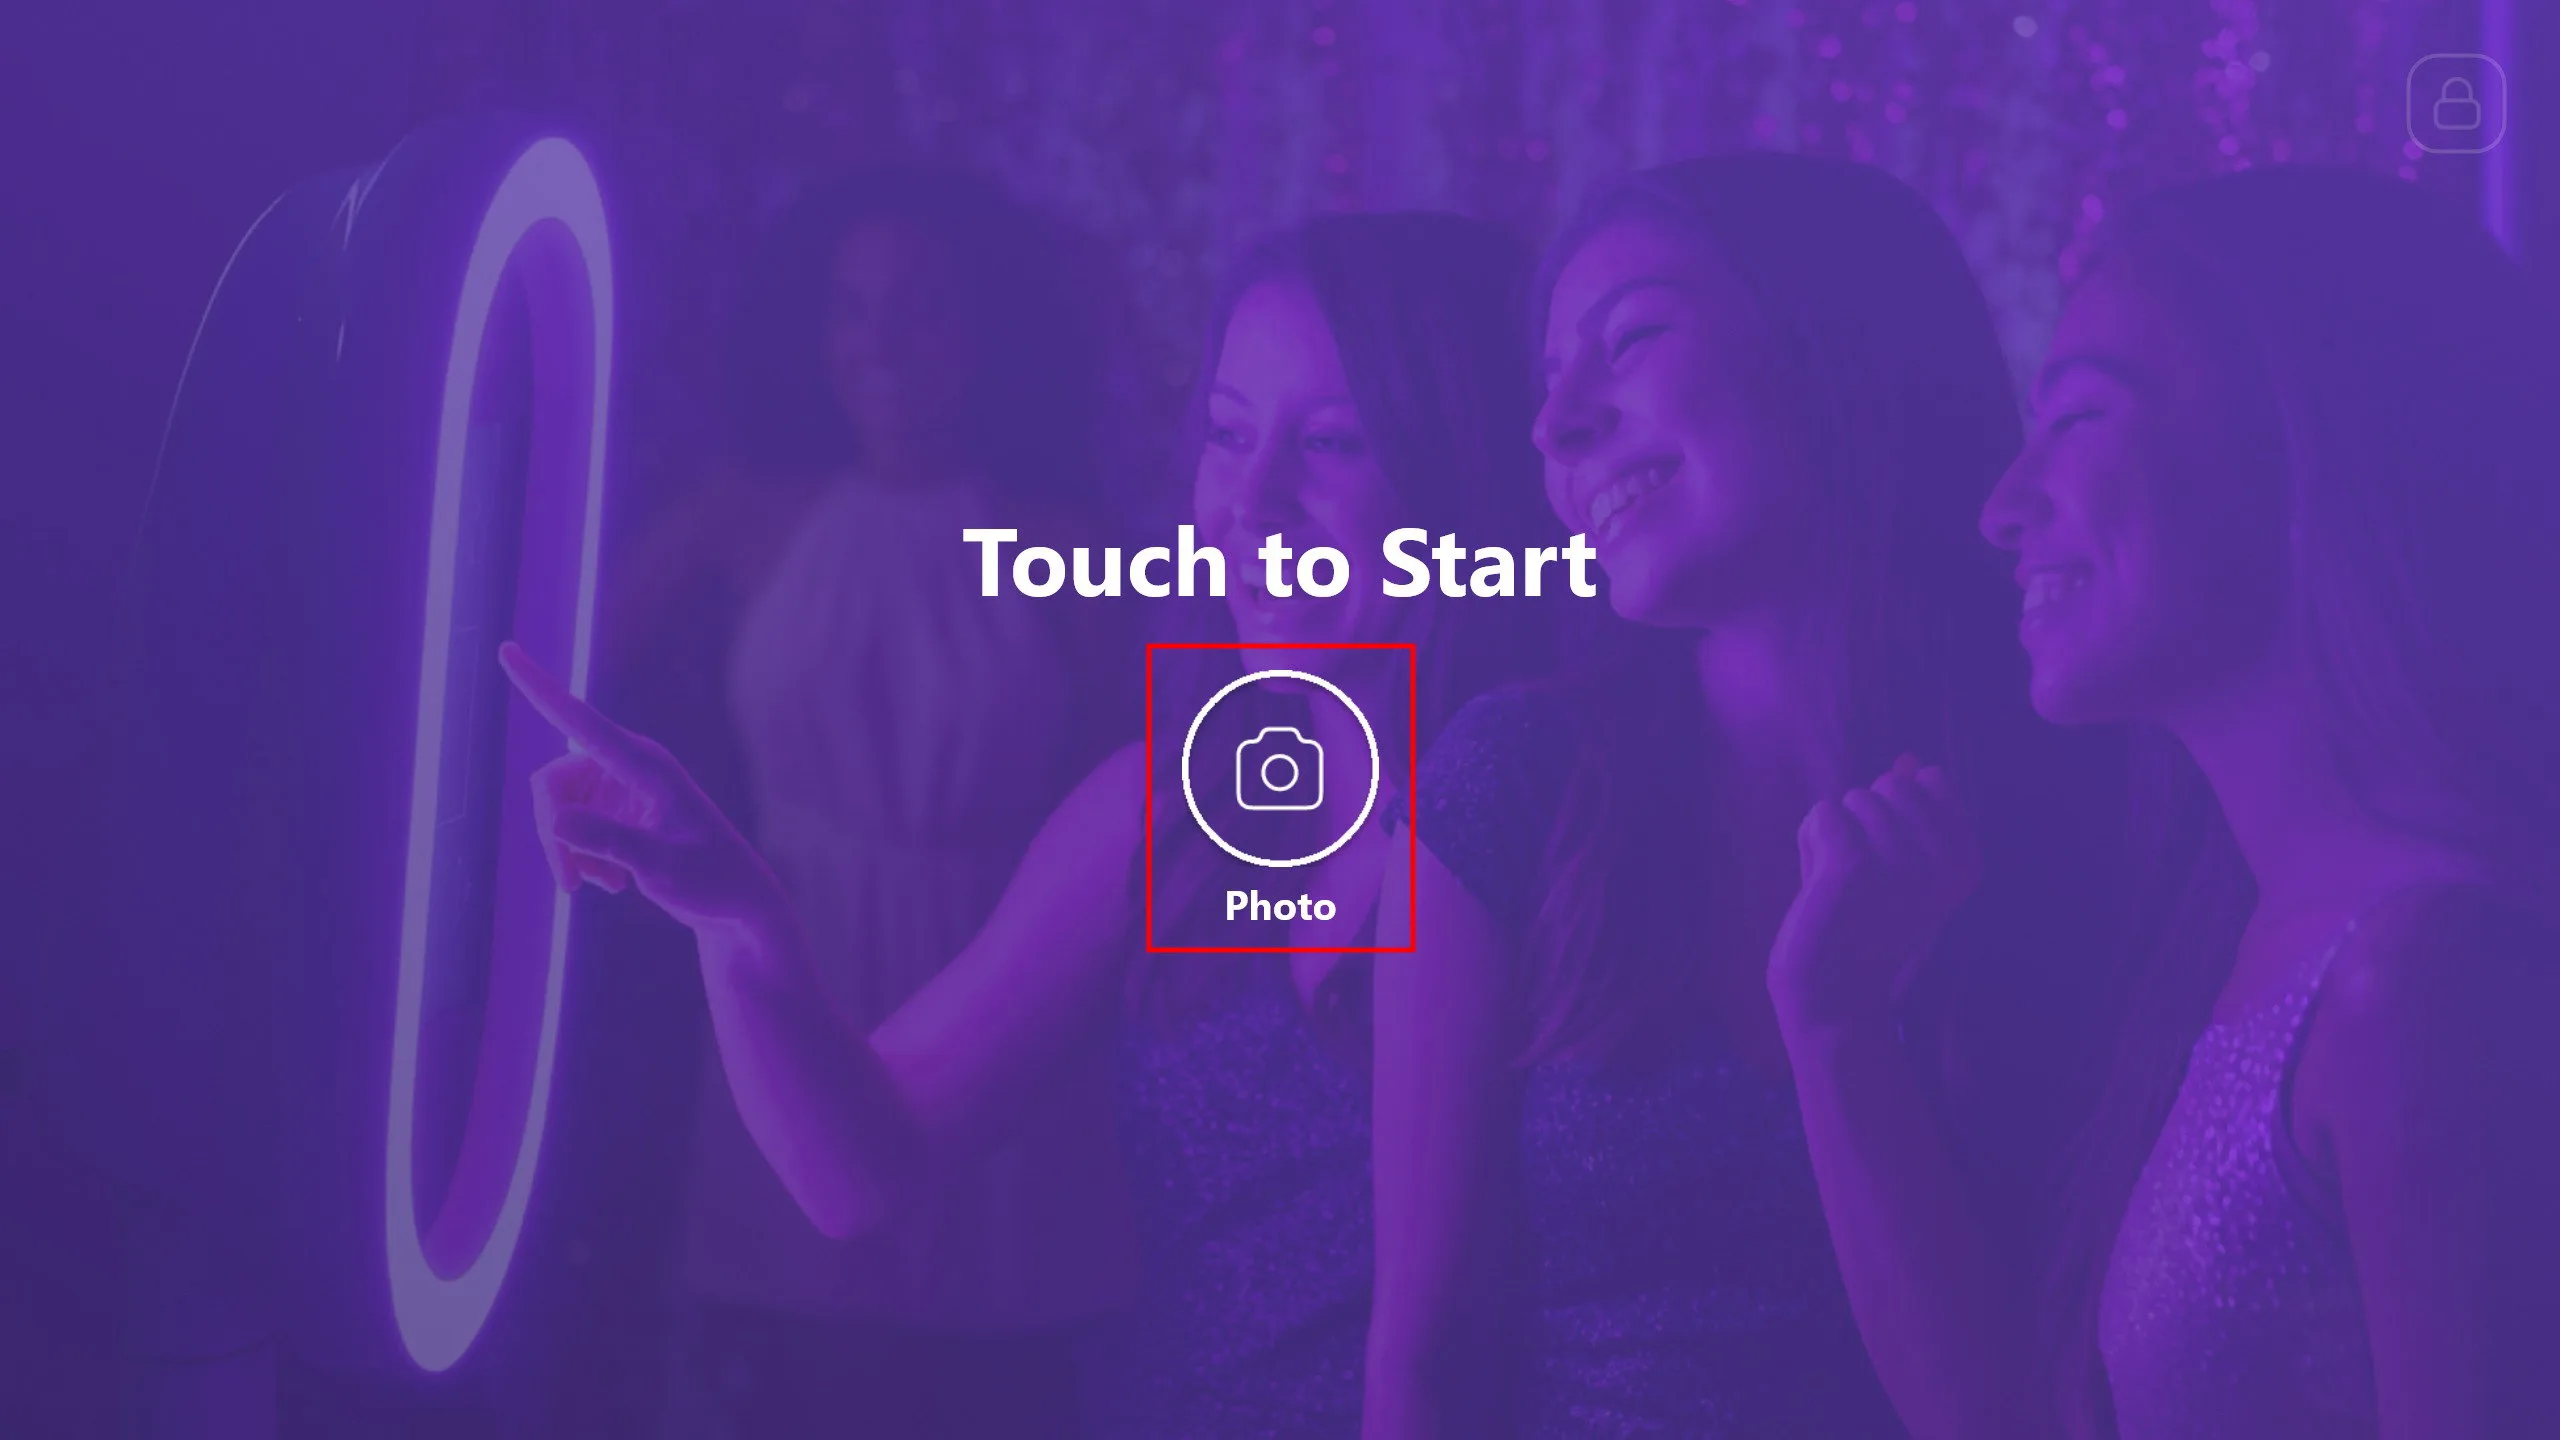
Press the Start the App button. You can customize this screen as you wish, then click the Photo button.
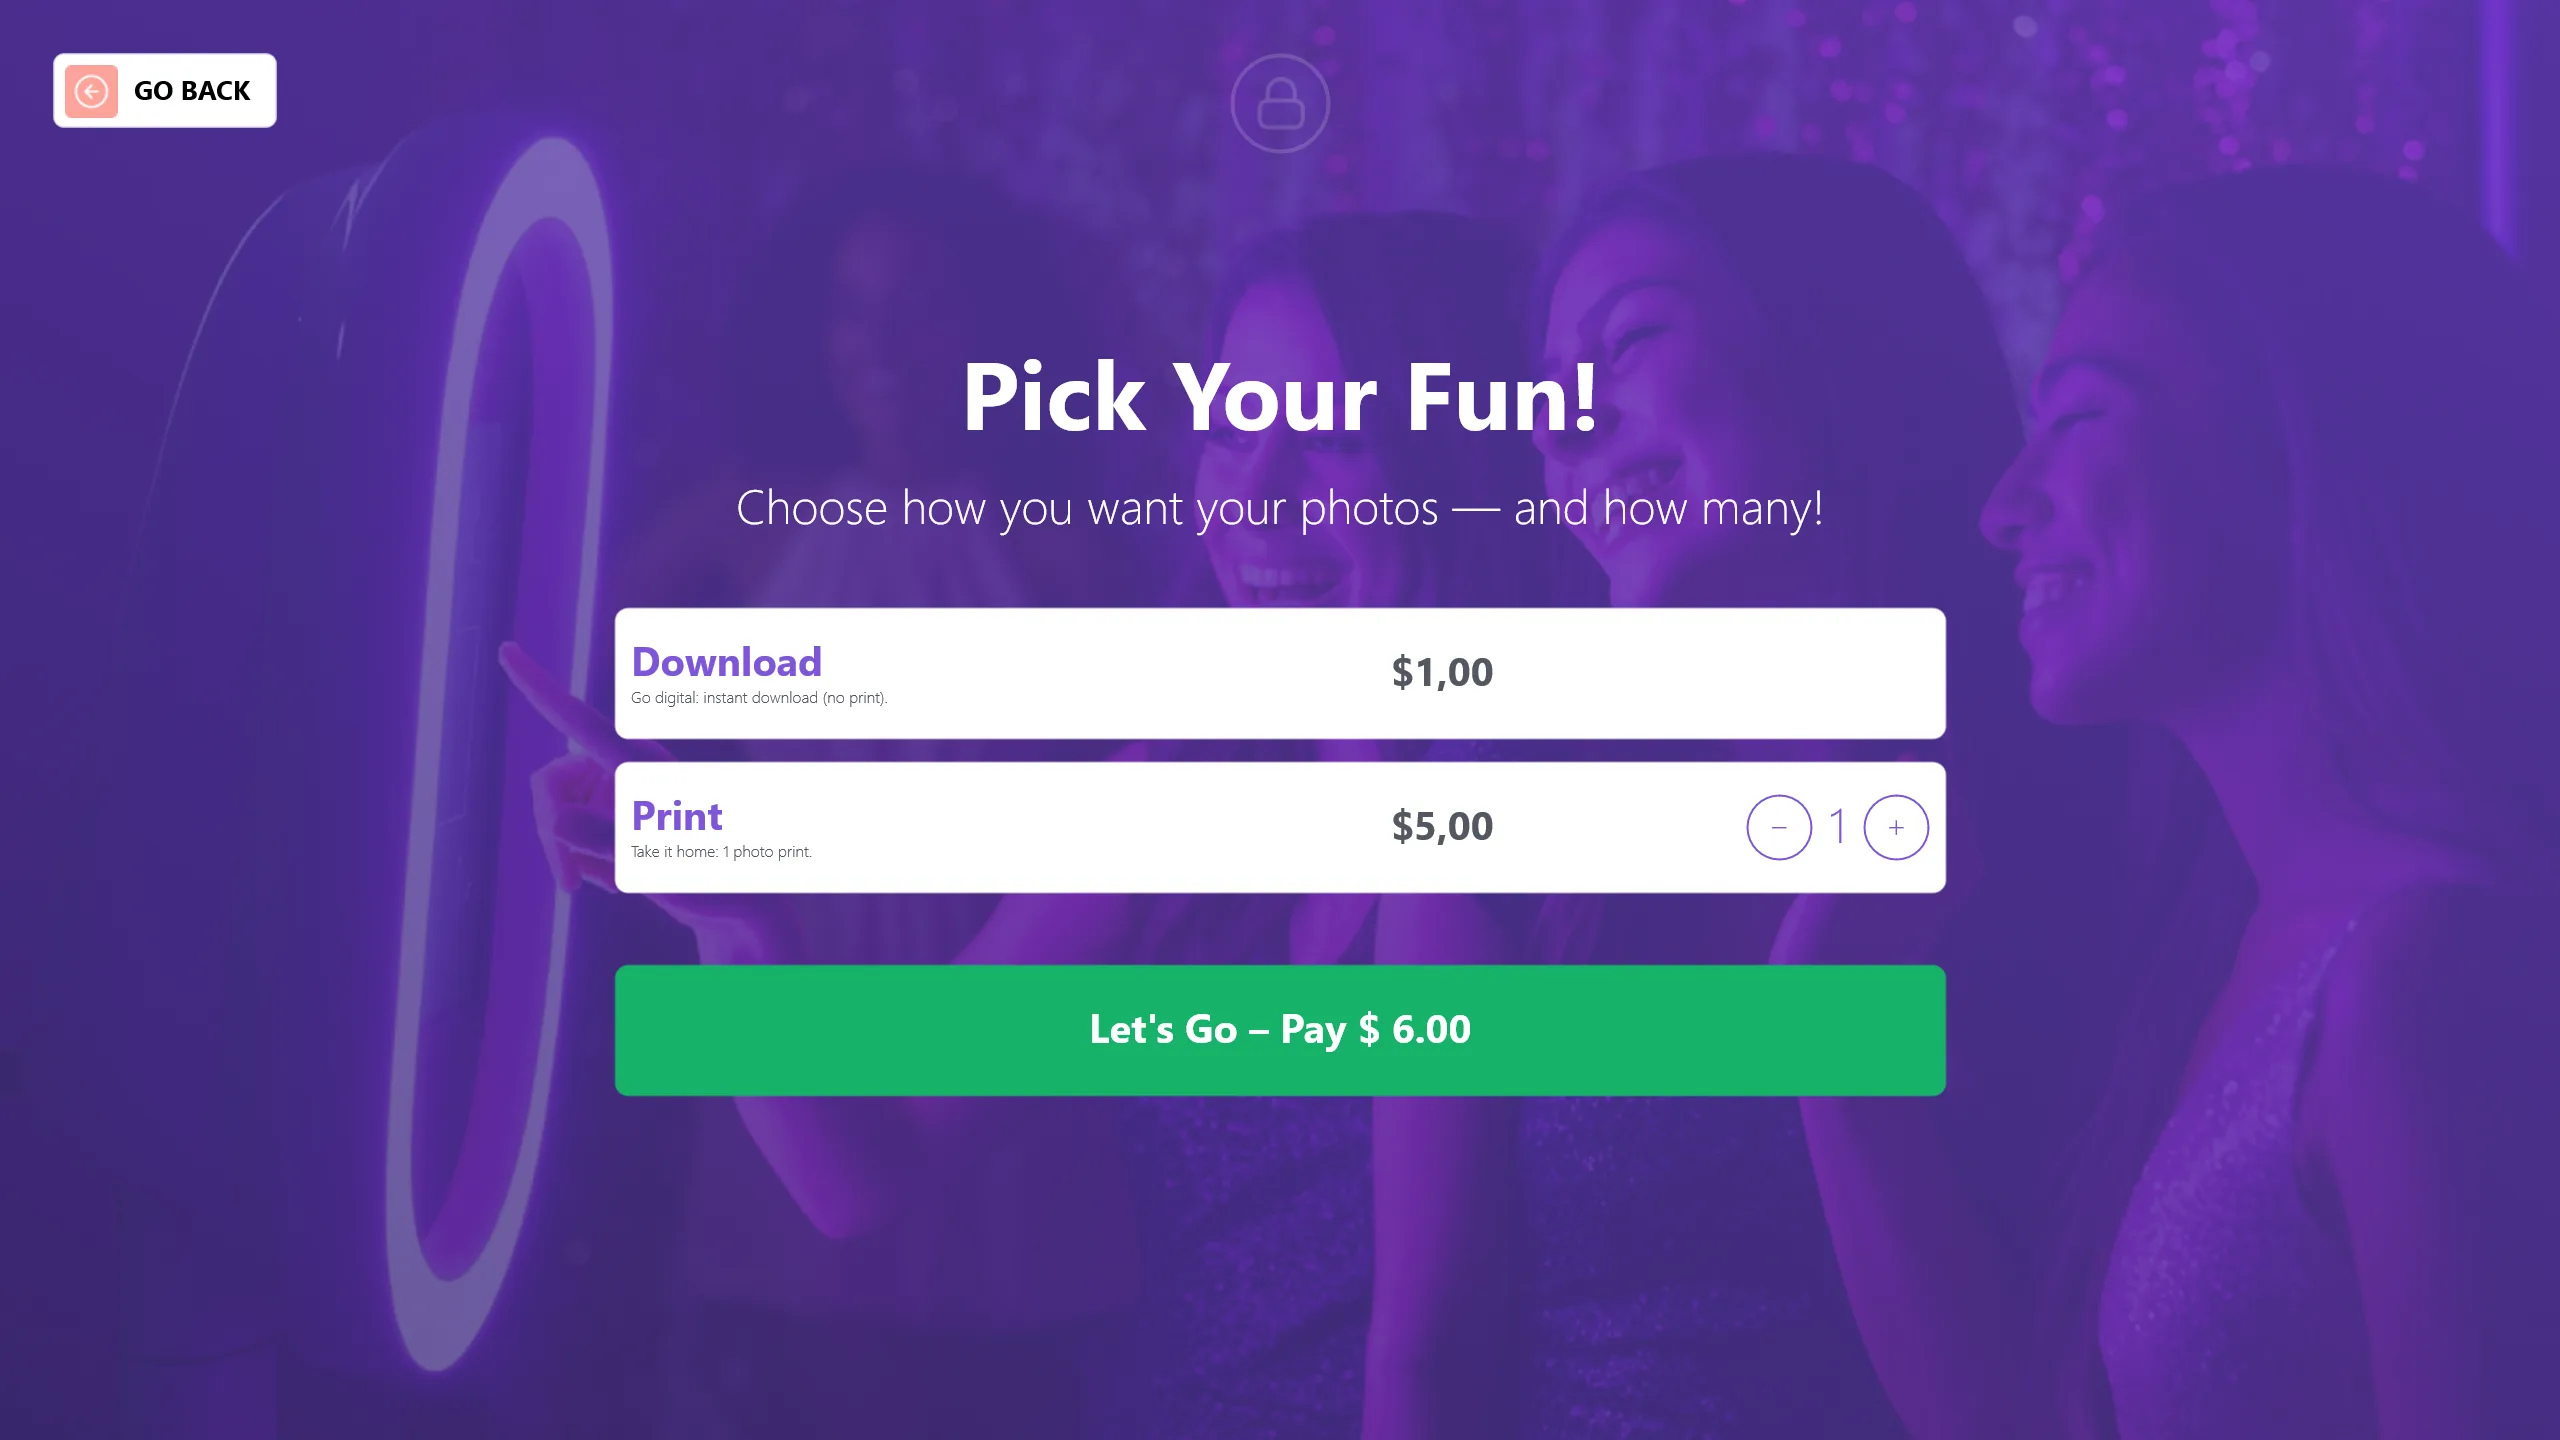
If you enabled the payment option on the start screen, the payment window will appear before taking a photo. Select either Print or Digital Download, then click Let's Go Pay.
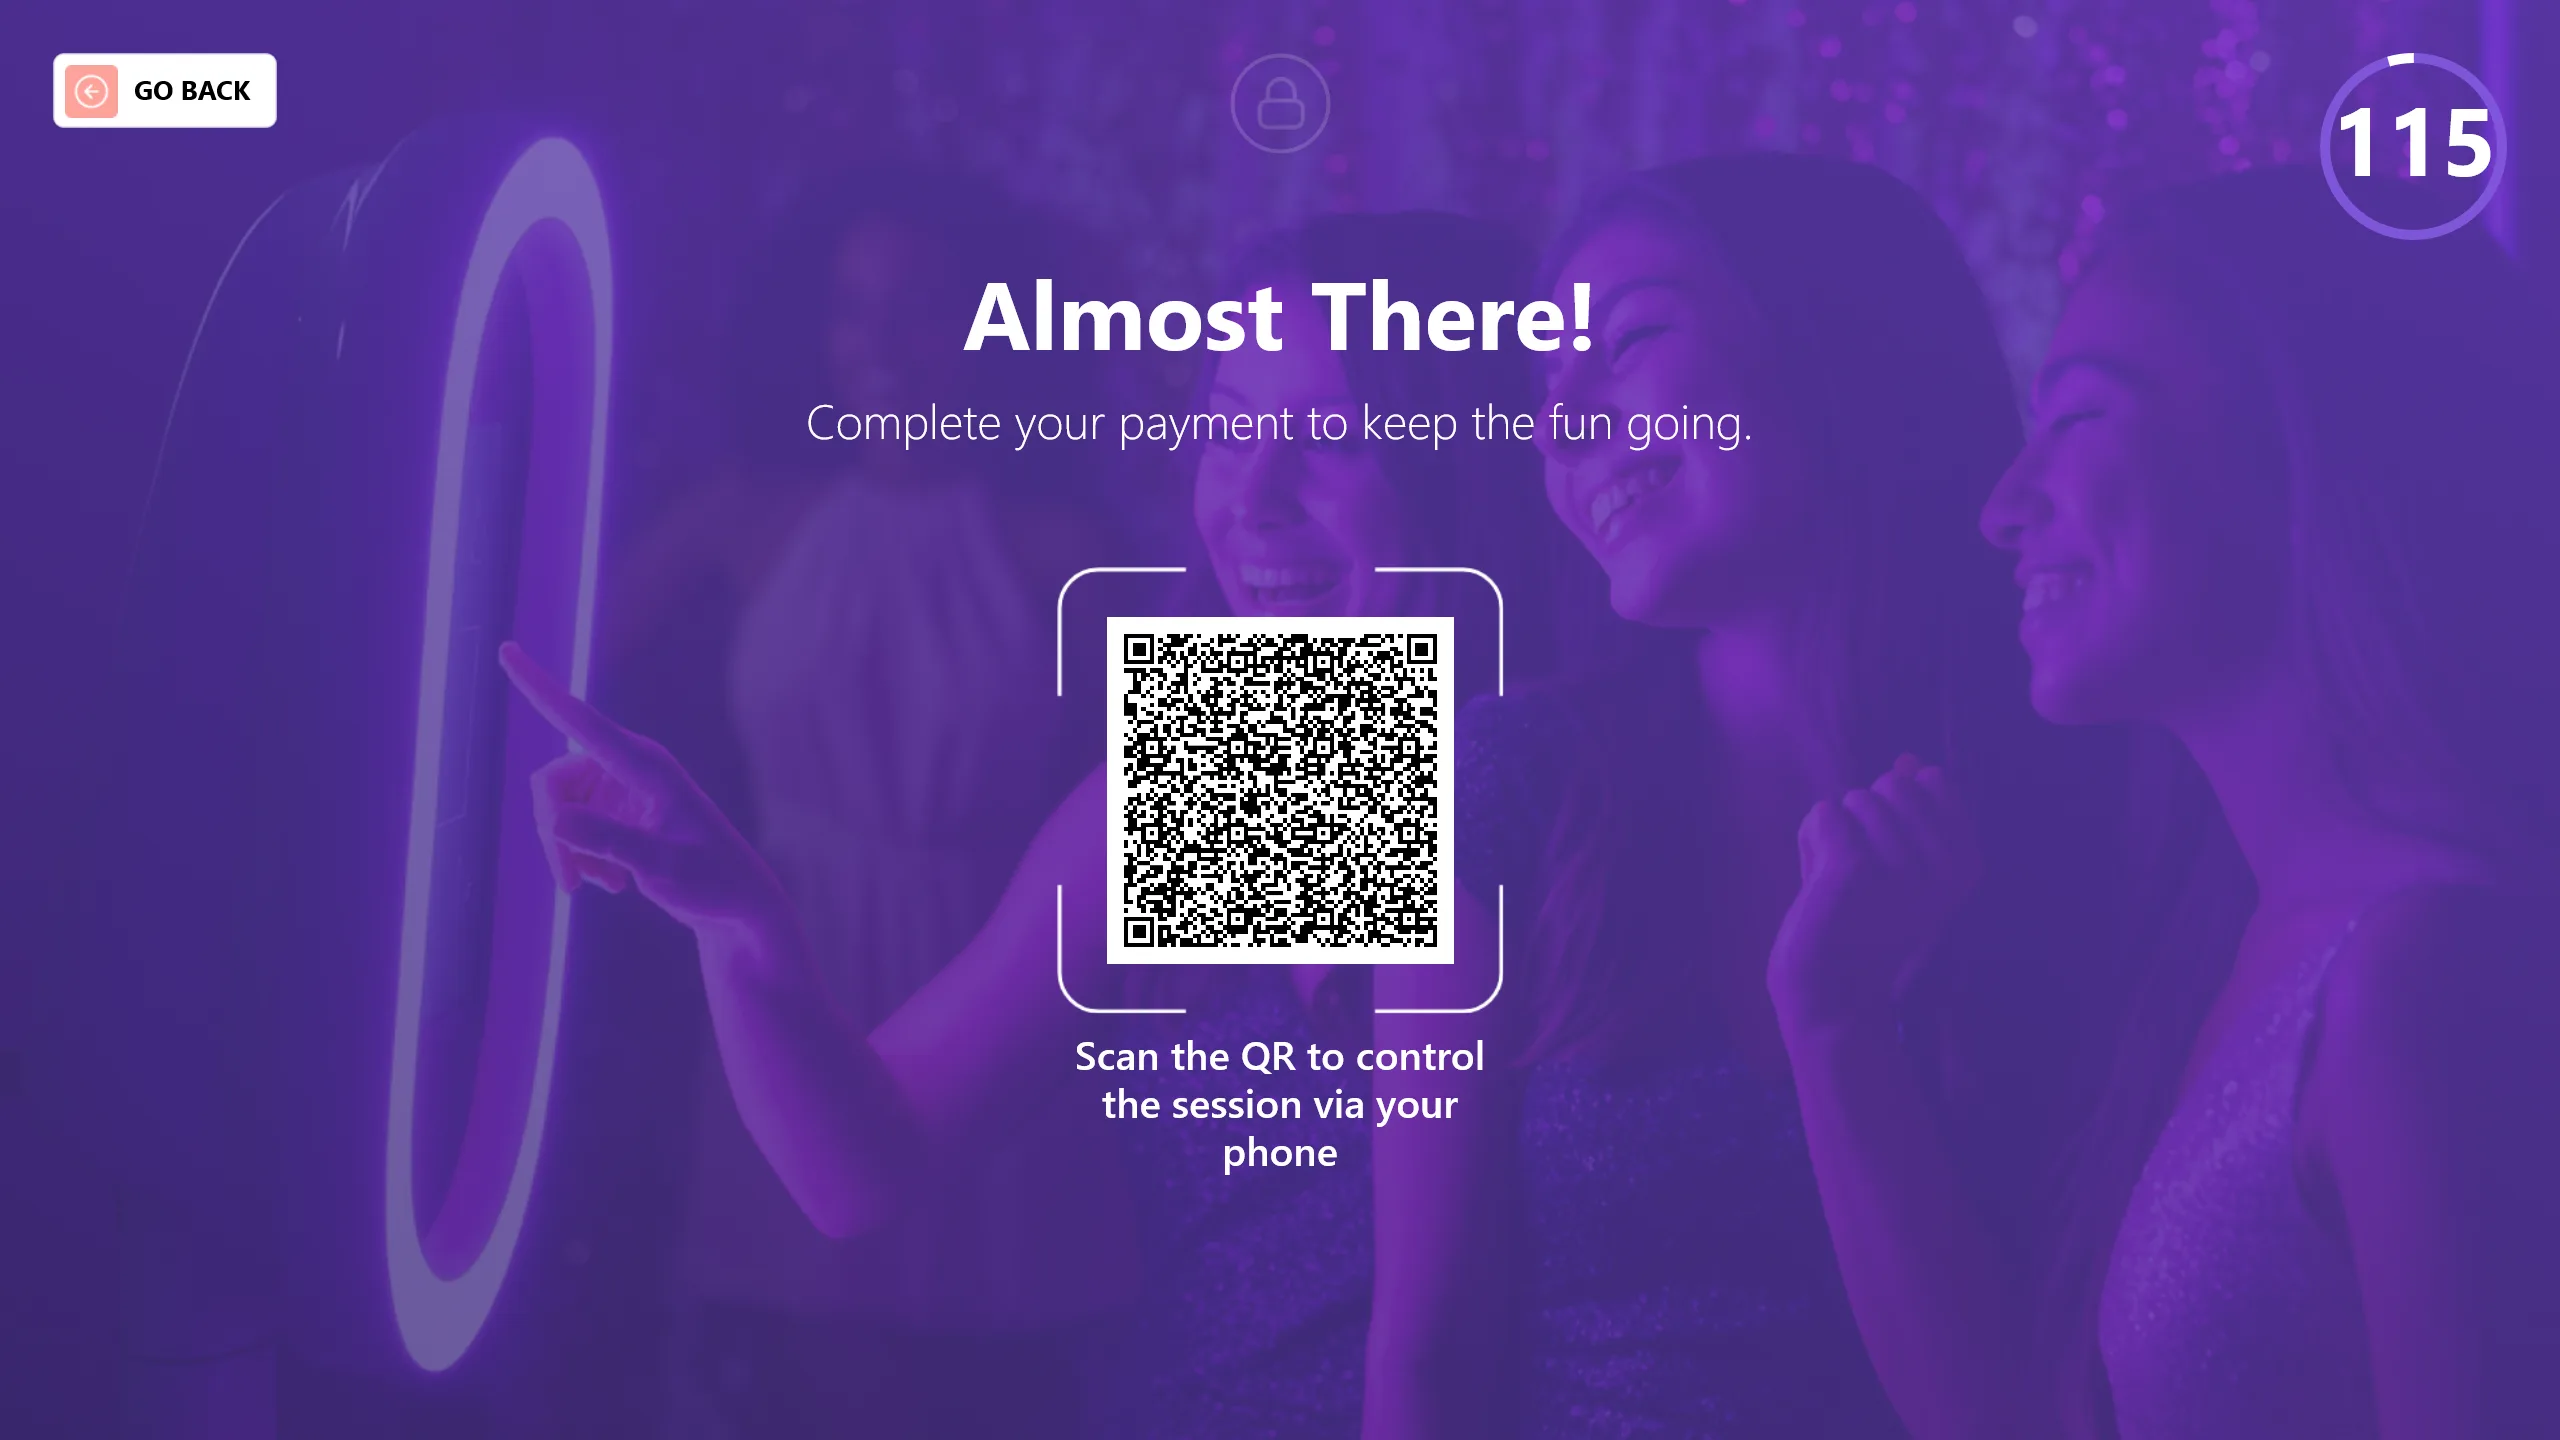
Scan the QR code that appears on the screen.
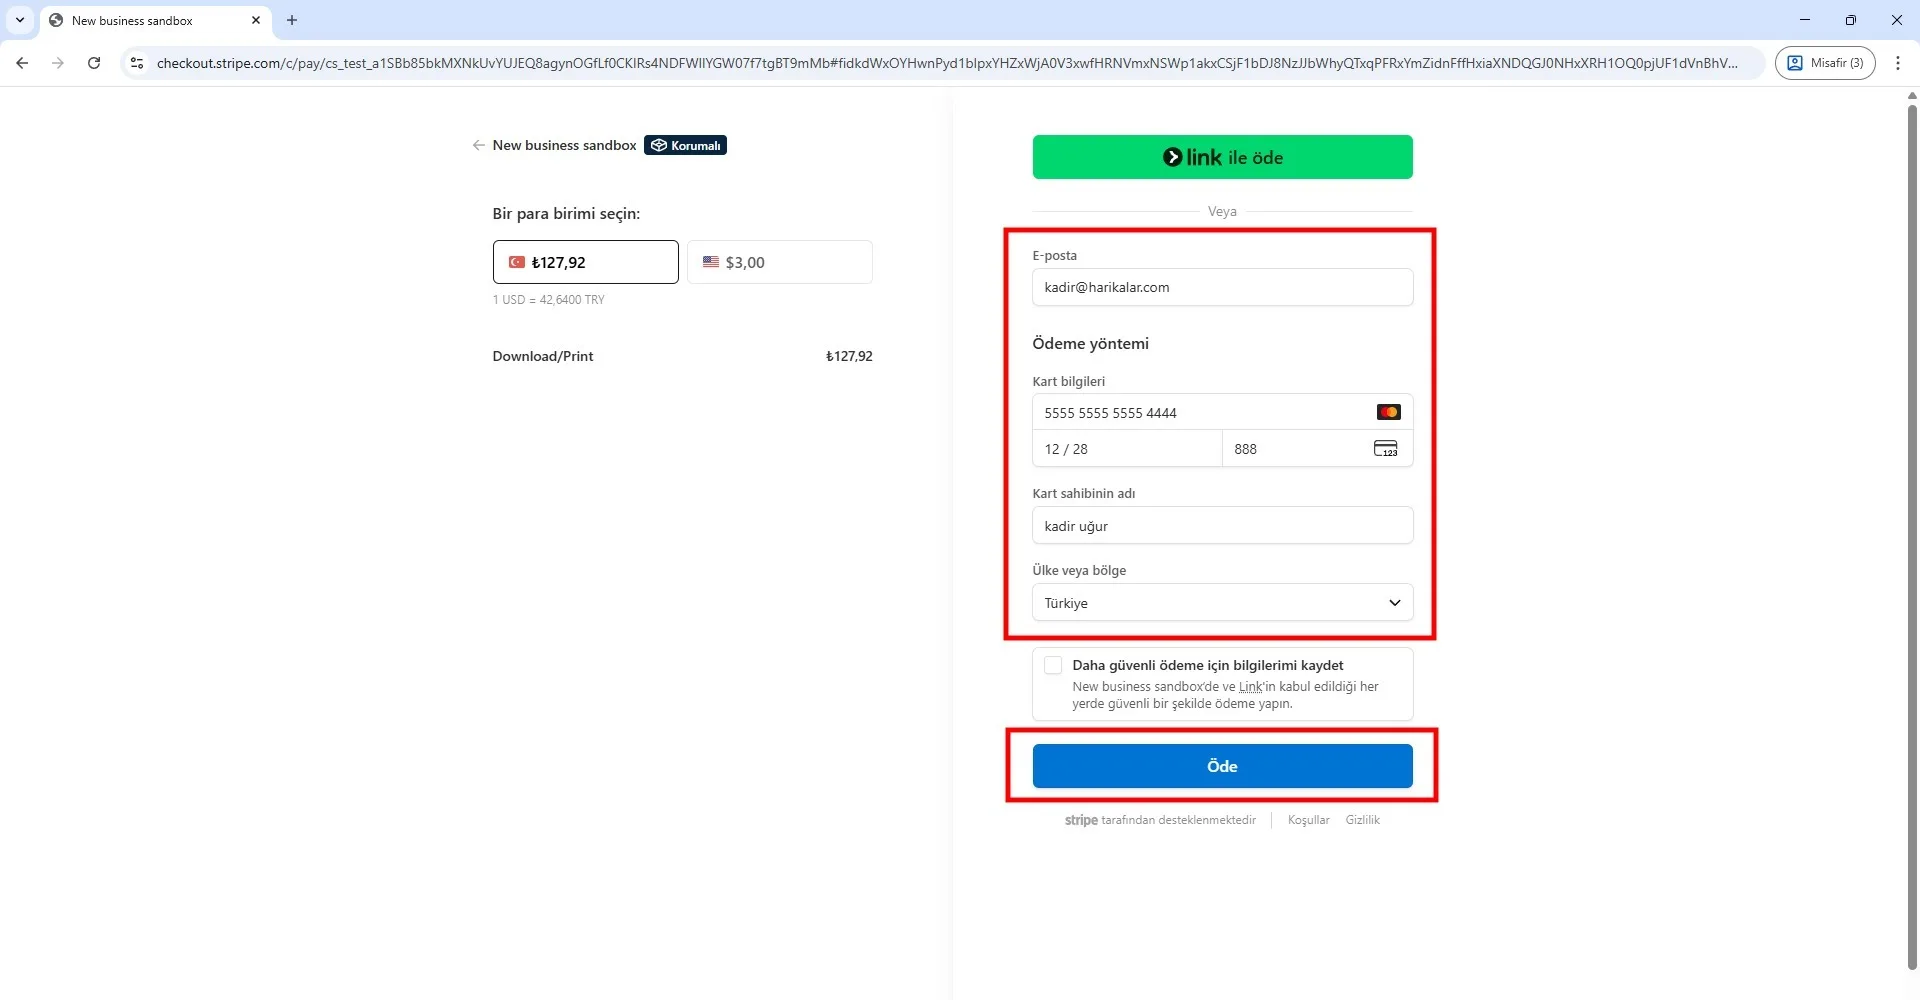
Enter your email address and card information to complete the payment. You may use the test card for trial purposes:
5555 5555 5555 4444, XX/XX, XXX
This is a Stripe test card. You can freely enter the expiration date, CVV, and cardholder name. When your Stripe account goes live, test cards will no longer work.
Print Quantity & Usage Limits
Each guest can print only the number of copies they have purchased.
- If a guest purchases 1 print, they are allowed to receive 1 physical print.
- If a guest purchases multiple prints, they can print up to the purchased quantity.
Once the print limit is reached, the system will display a "Print limit reached" message and the guest will not be able to print again unless they complete a new payment.
To continue printing after reaching the limit, the guest must:
- Return to the payment screen
- Complete another QR payment
- Purchase additional prints
This behavior is intentional and ensures that printing strictly matches the number of paid print credits.
Summary
The QR Payments + Payment Options system allows you to monetize prints and downloads, reduce operator involvement, and run fully automated kiosk experiences. When configured correctly, it provides a smooth, professional, and scalable payment workflow.
Common Questions
The QR code does not appear
- QR Payments may be disabled
- Stripe may not be connected
- Internet connection may be missing
Payment was successful but printing did not start
- Check printer configuration
- Printing relies on system-level printer settings
- Payment and printing are separate processes
Can I charge only for prints and keep downloads free?
- Yes, this is a fully supported and common setup.