Event Management

After logging into the software, we first need to create an event. Enter the event name and then click the Create an Event button.
Event Settings

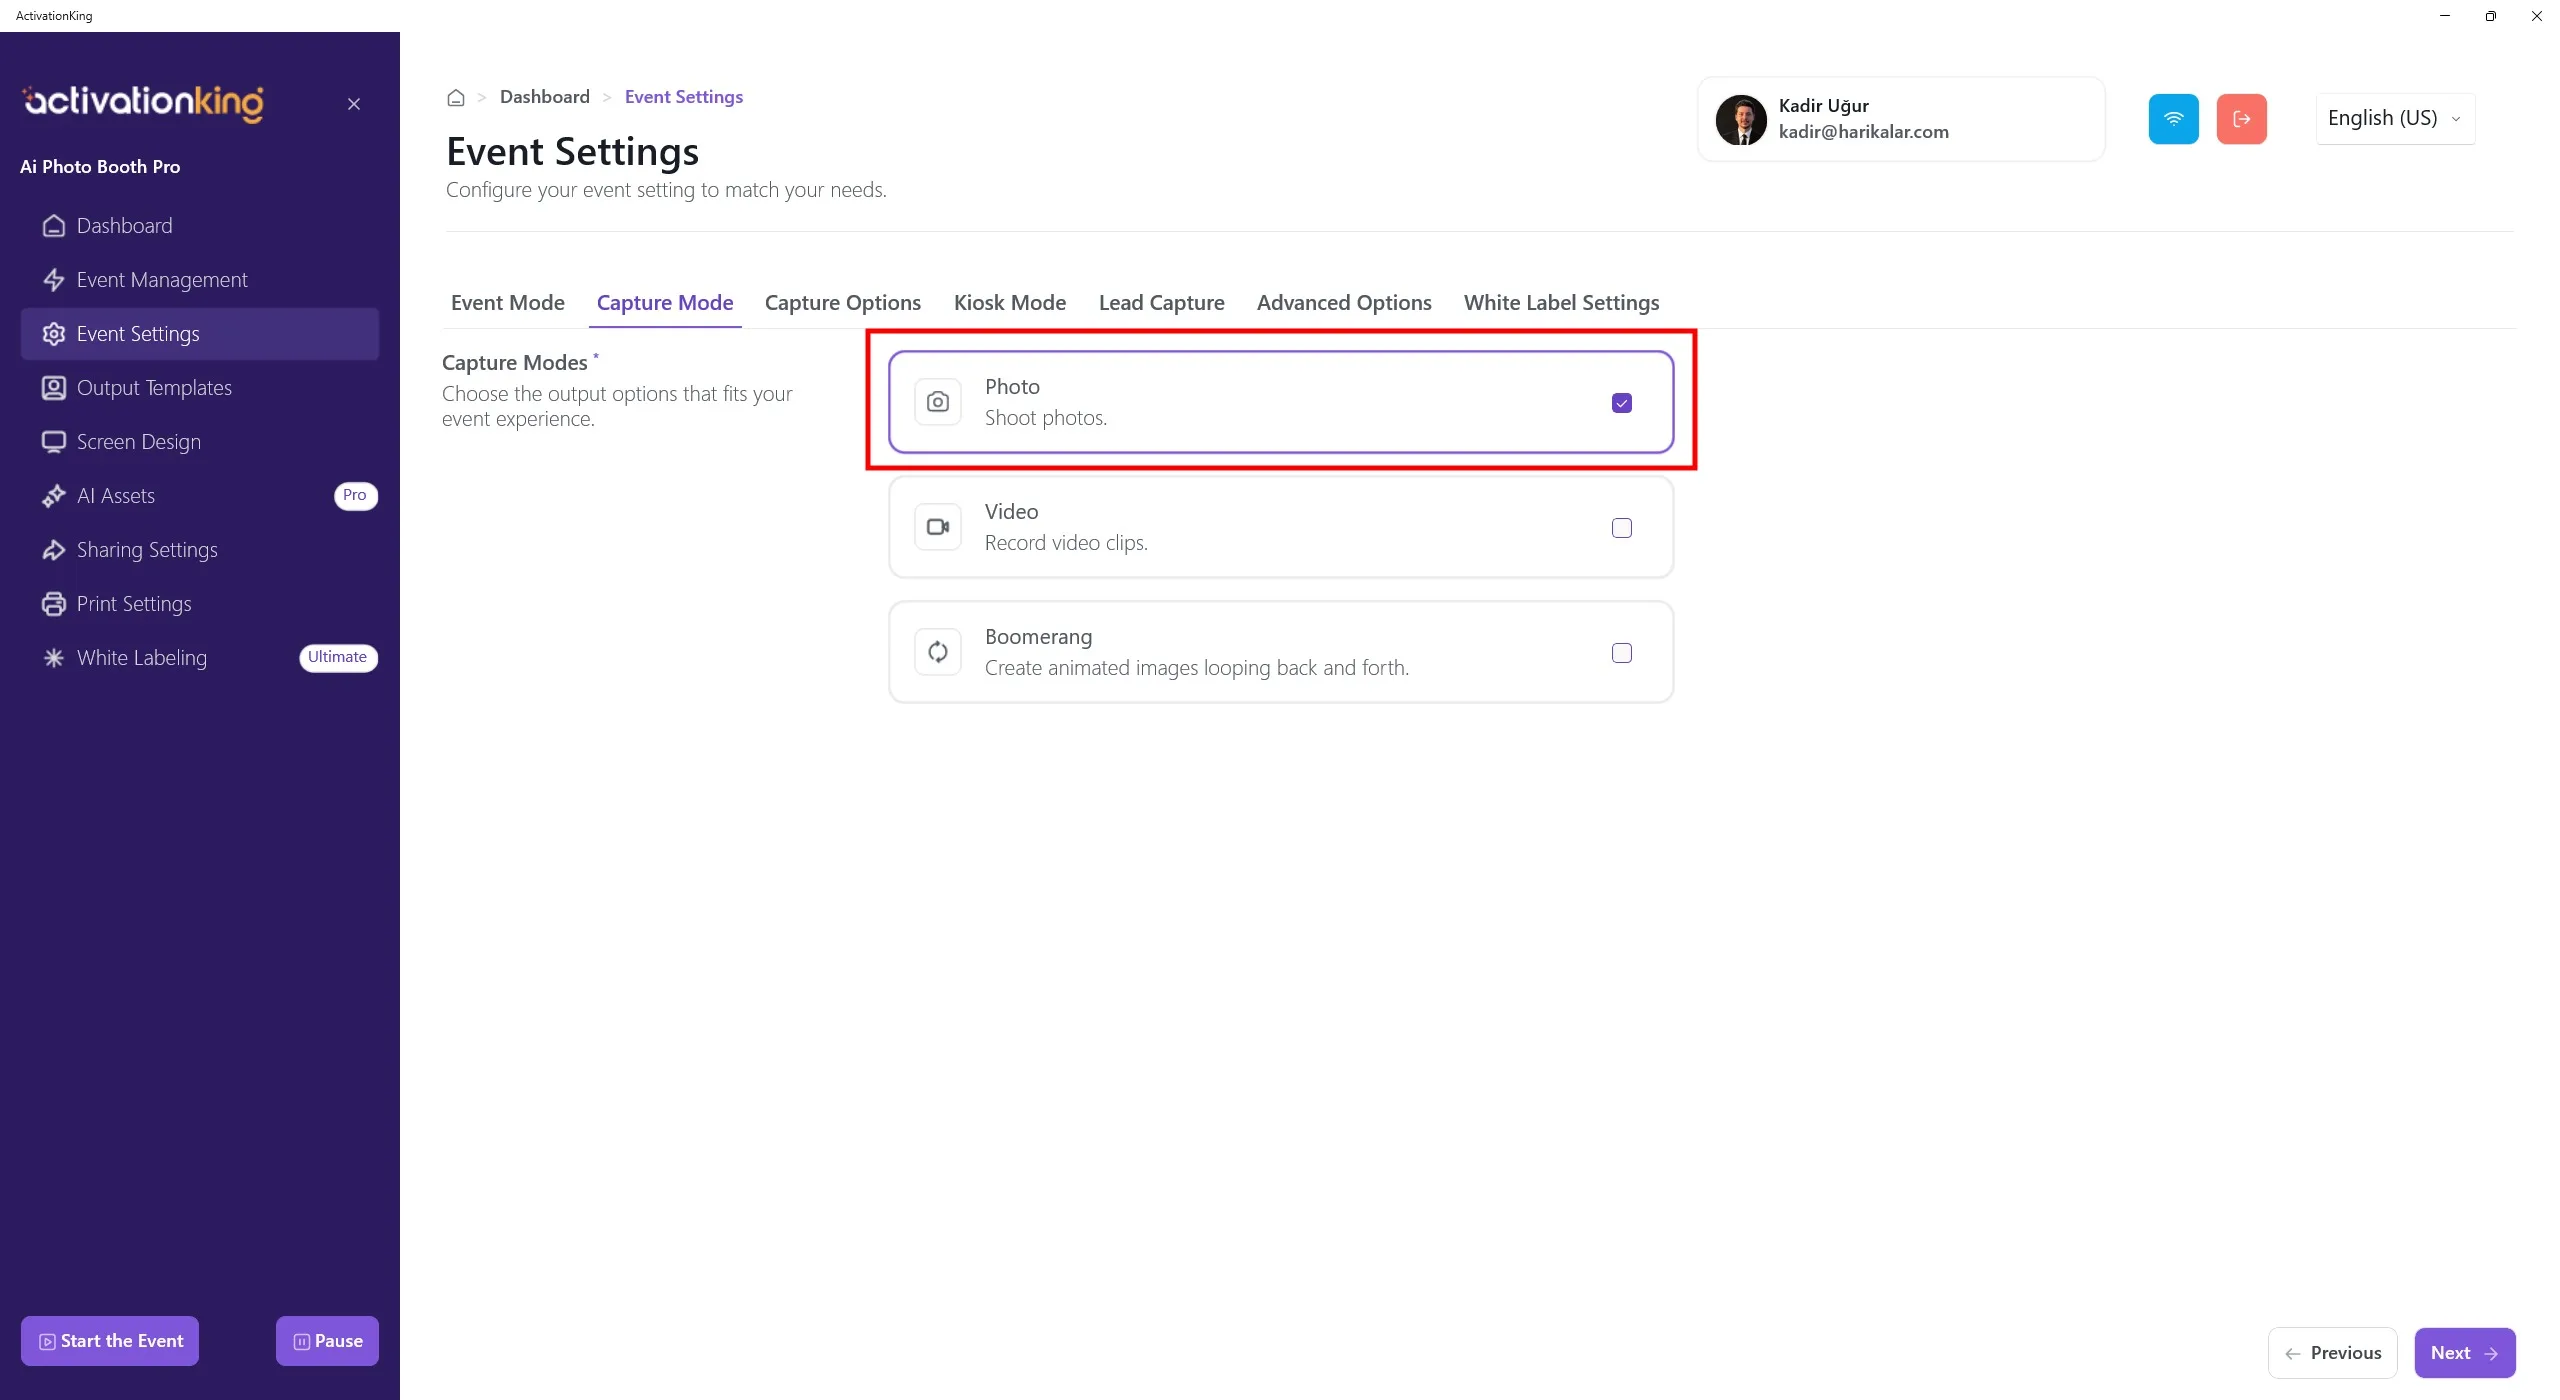
First, select the mode you will use and then navigate to the Capture Options page.
Capture Options
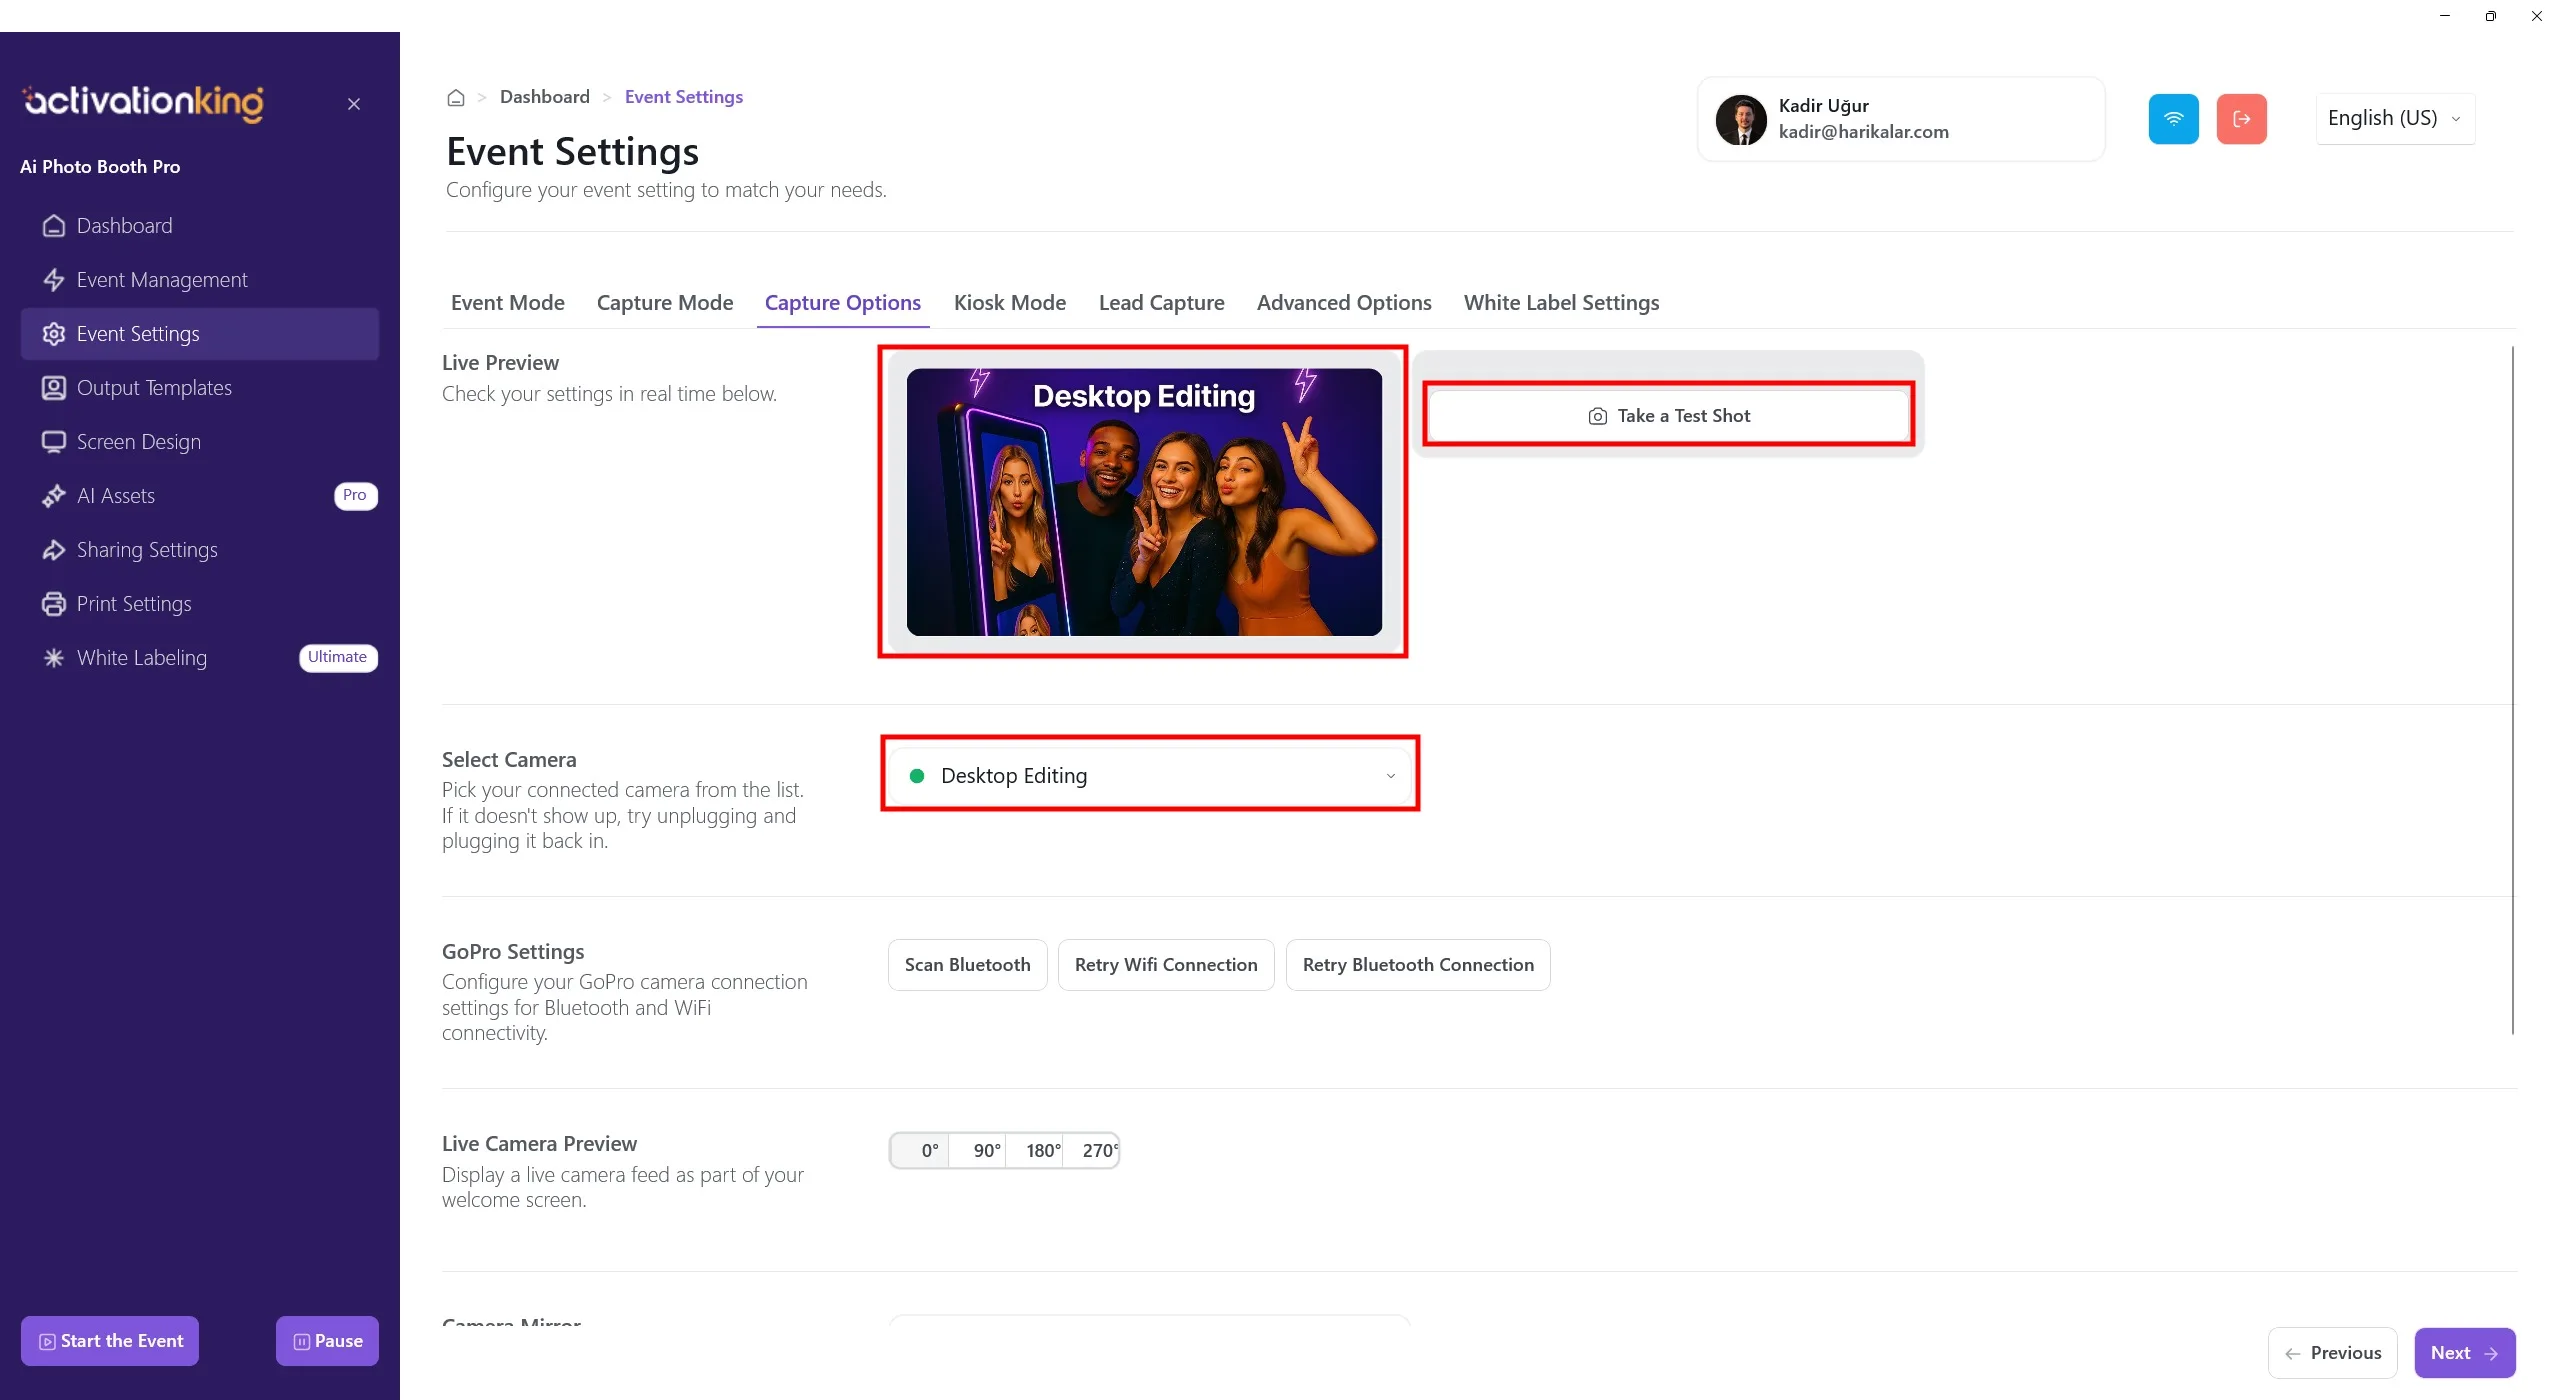
On this page, you can configure all your camera settings. If you select Desktop Editing from the Select Camera section, you can work with existing photos on your device without connecting a camera. You can also select a camera connected to your device from the same section. Once a camera is selected, your live image will appear in the Live Preview section. You can take test photos to check the lighting conditions and your current camera settings.
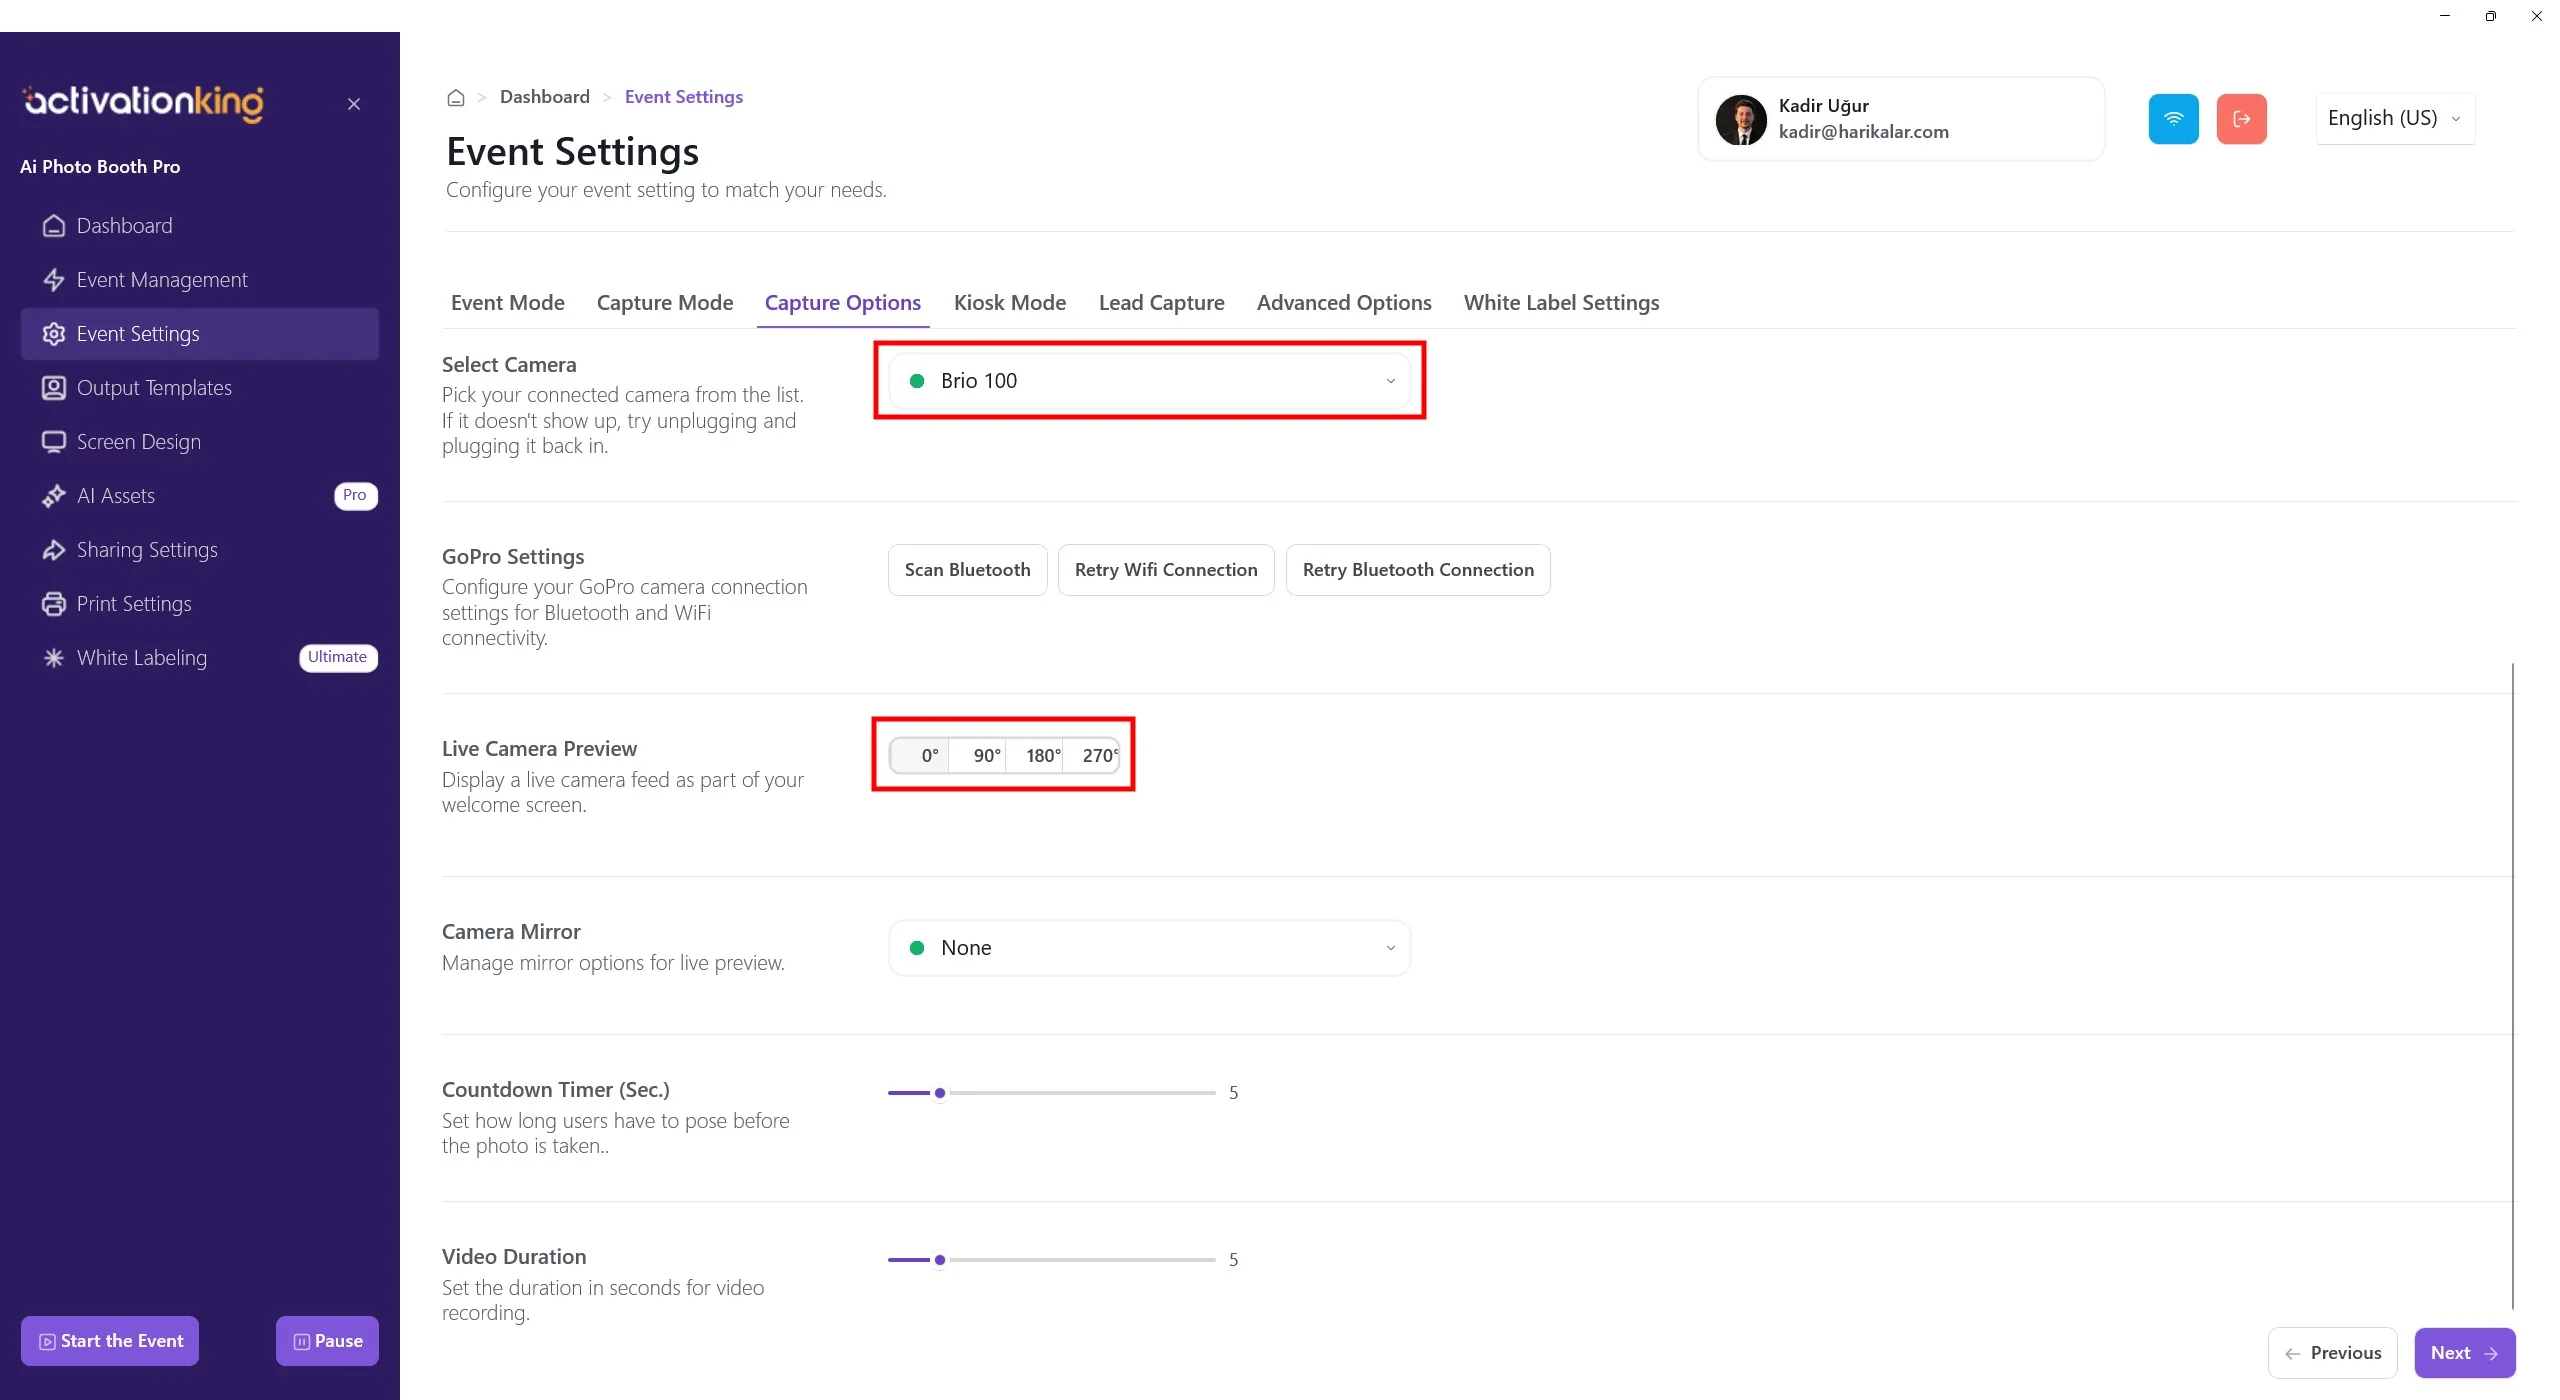
When you scroll to the bottom of the page, you can adjust the camera angle. You can also configure the camera mirror settings and set the countdown time before the photo is taken.
Output Templates
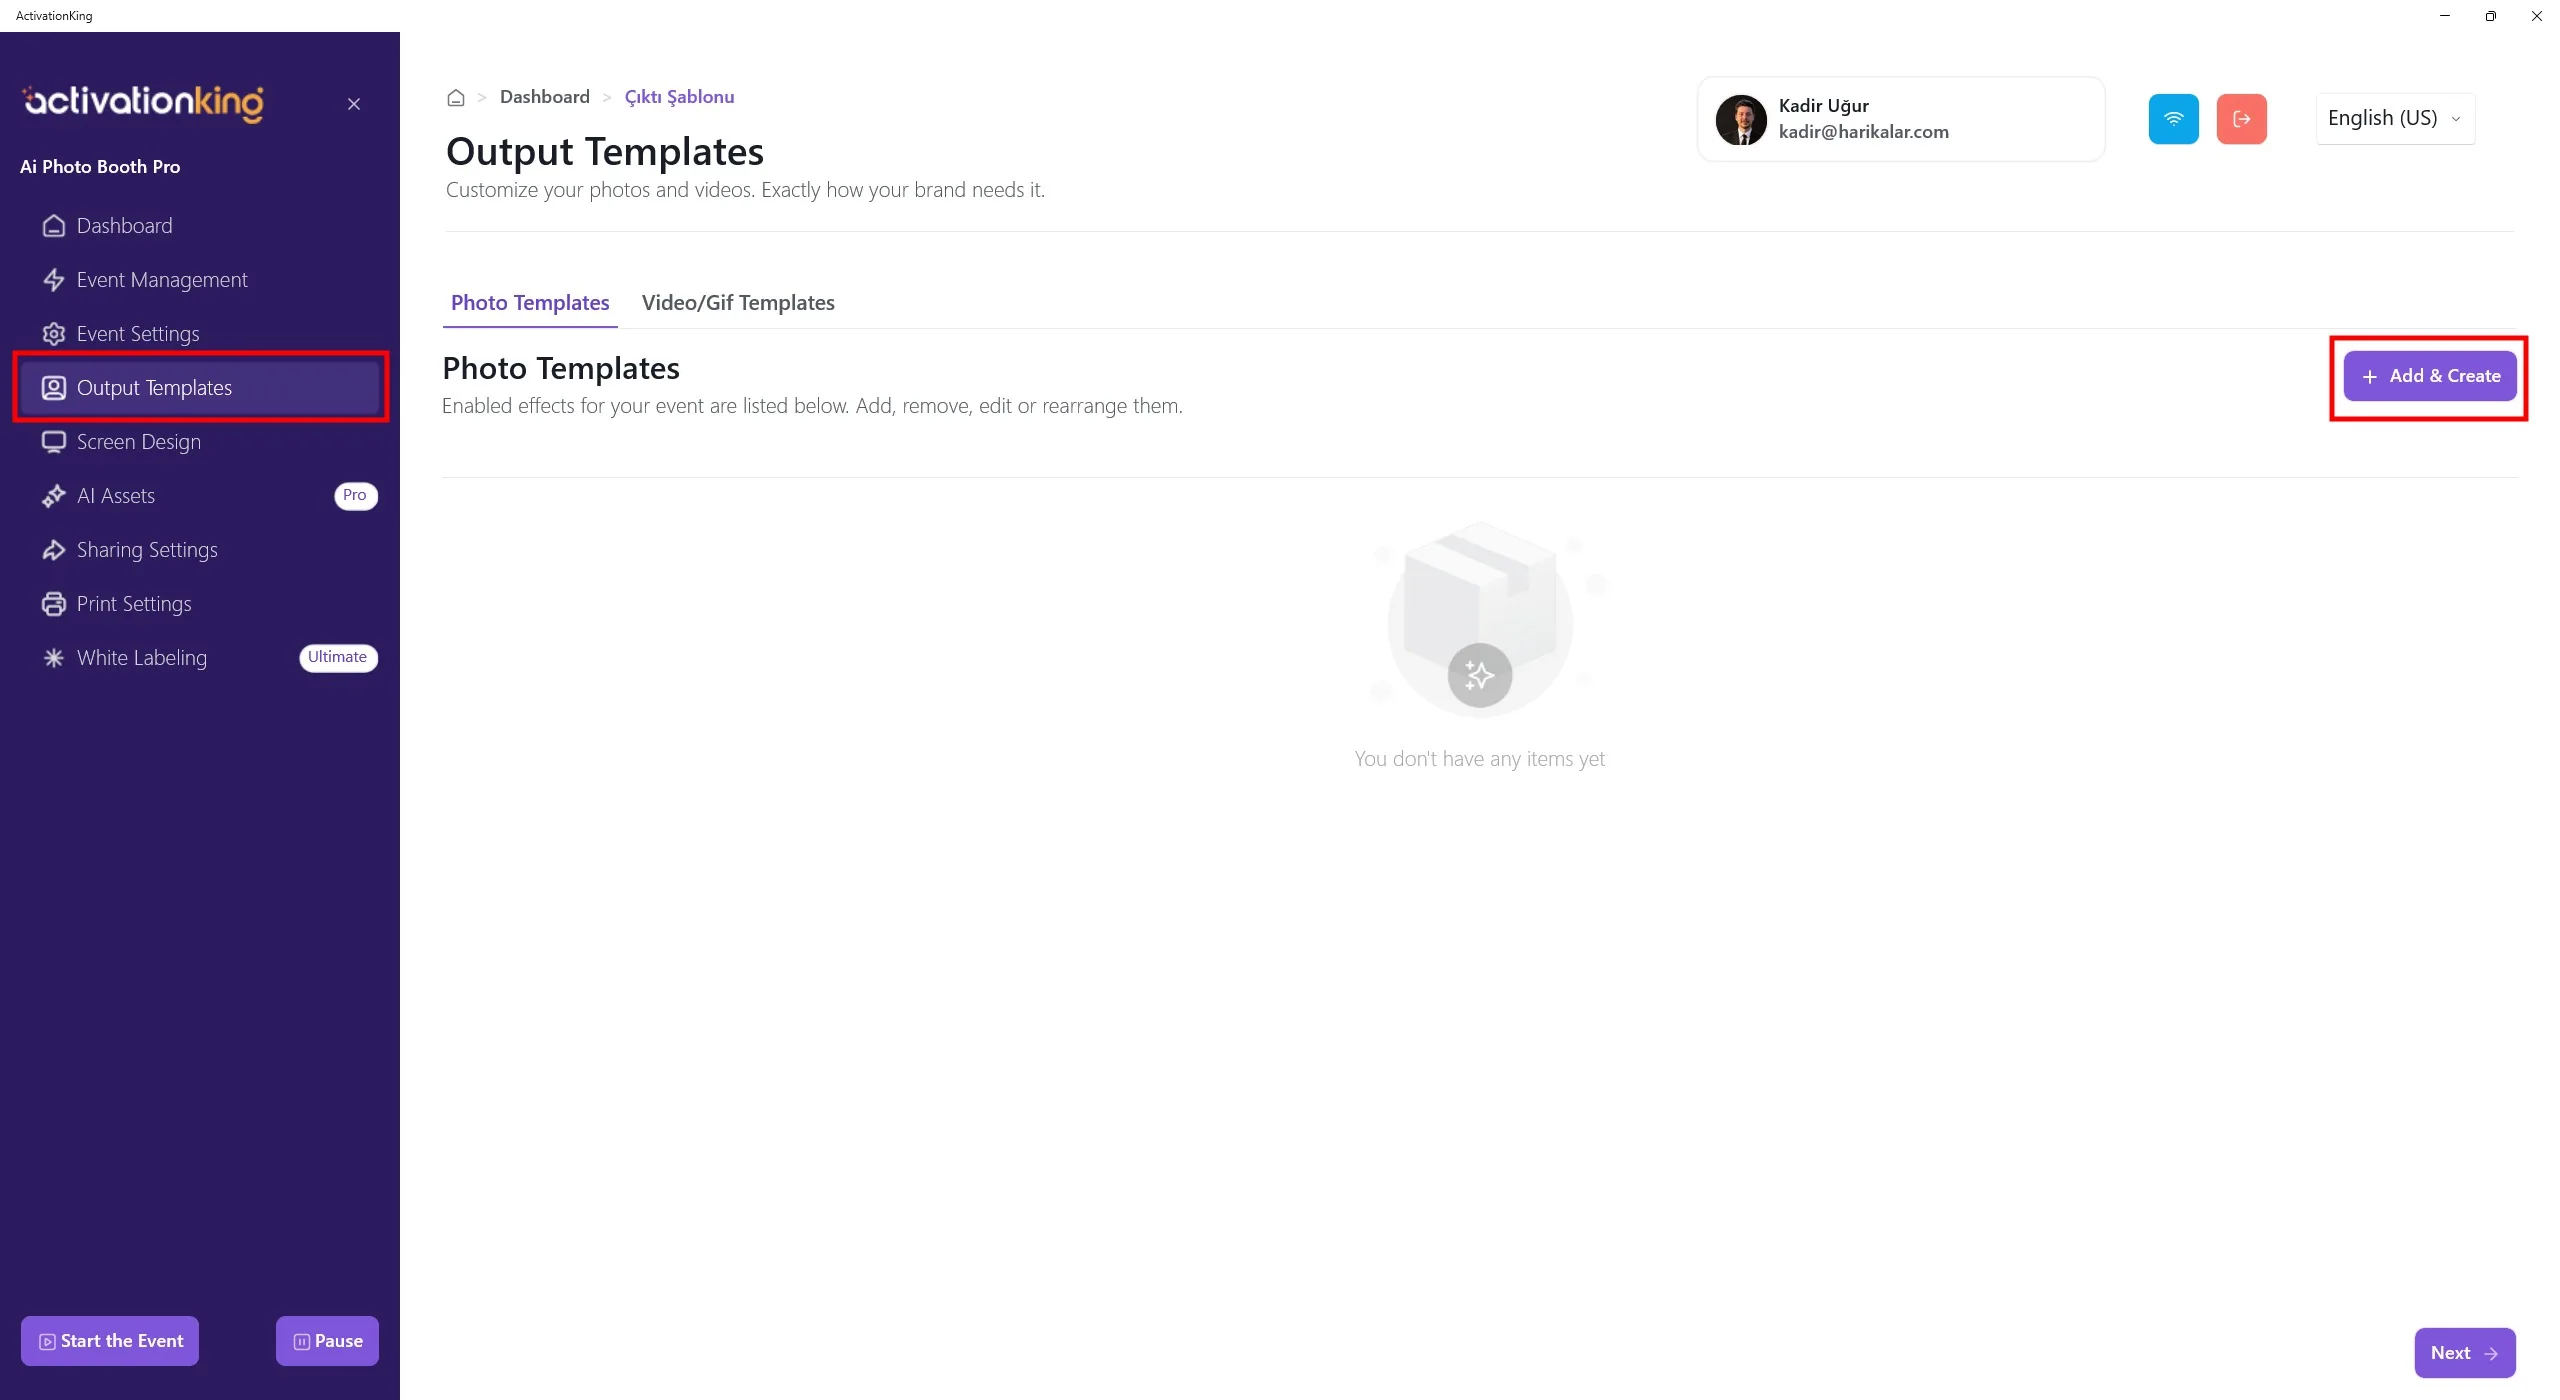
When the page opens, you will see the default templates. You can use these templates if you wish, or delete all of them and create a new template only for the mode you need.
Having multiple templates in this section requires selecting a template before taking a photo. If you are not using multiple AI modes or multiple frames/templates, this is not necessary. You can delete all templates and restore them quickly at any time.
To create a template for AI Motion, click the +Add & Create button.
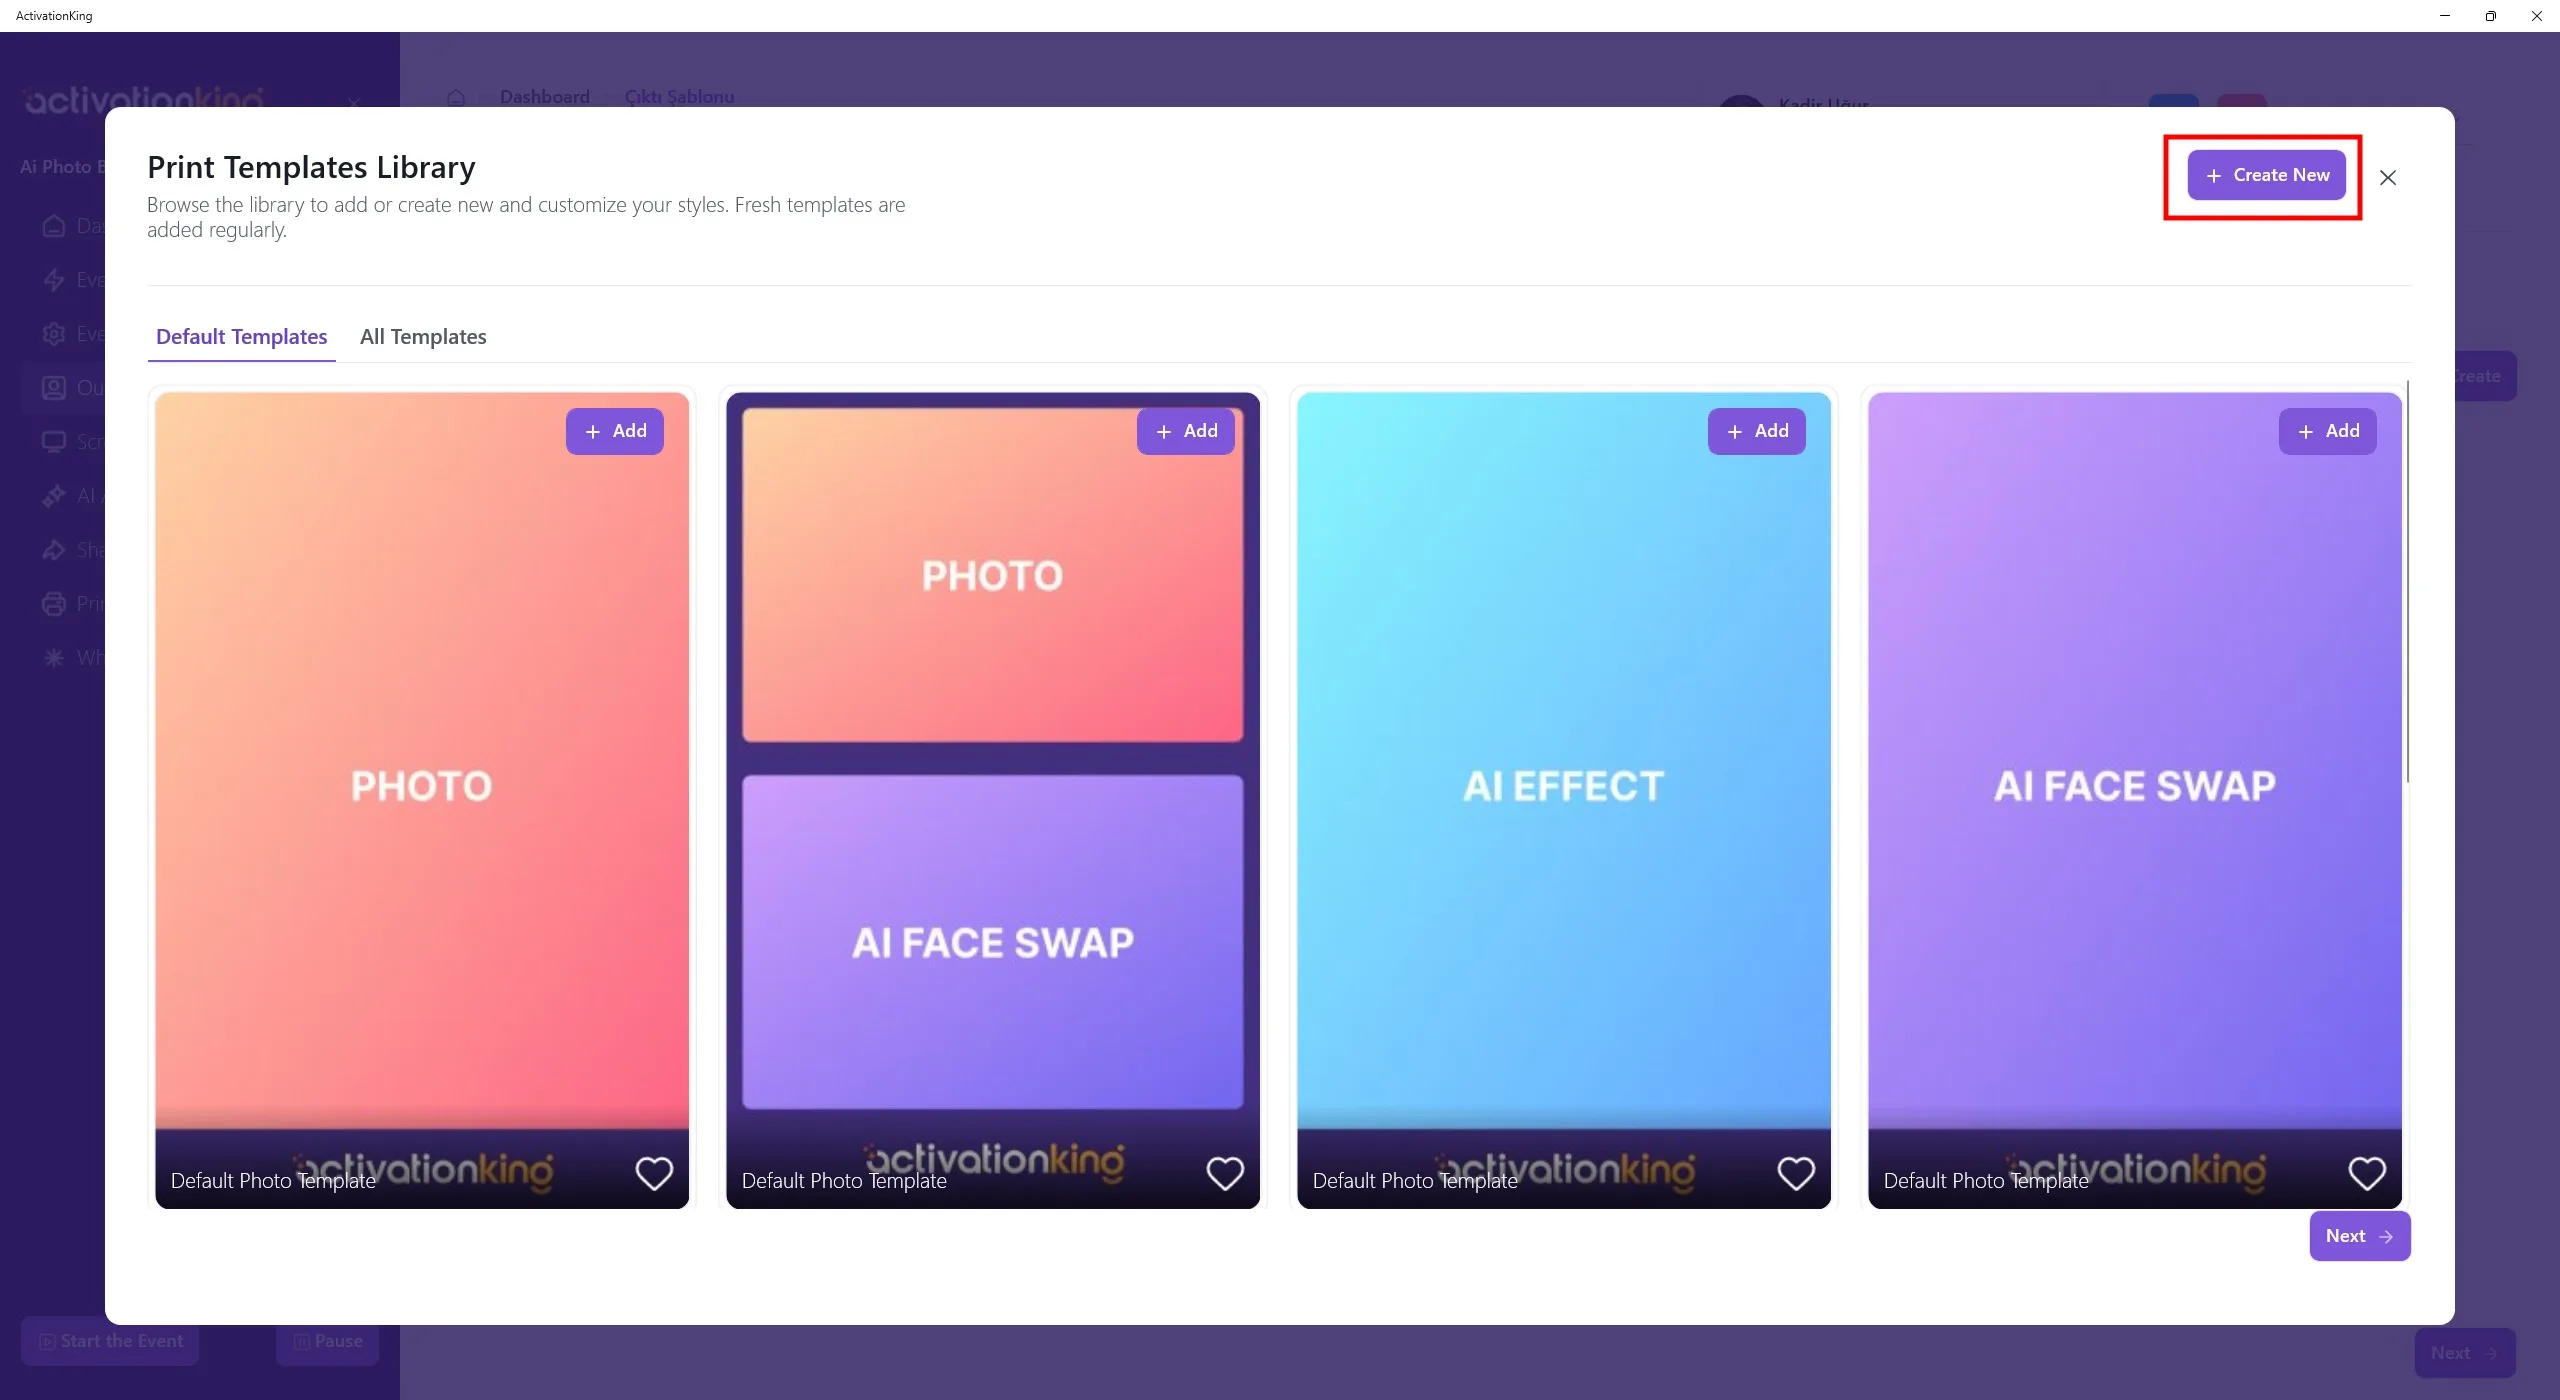
Even if you delete the templates, you can quickly add them again from this section. For now, click the Create New button.
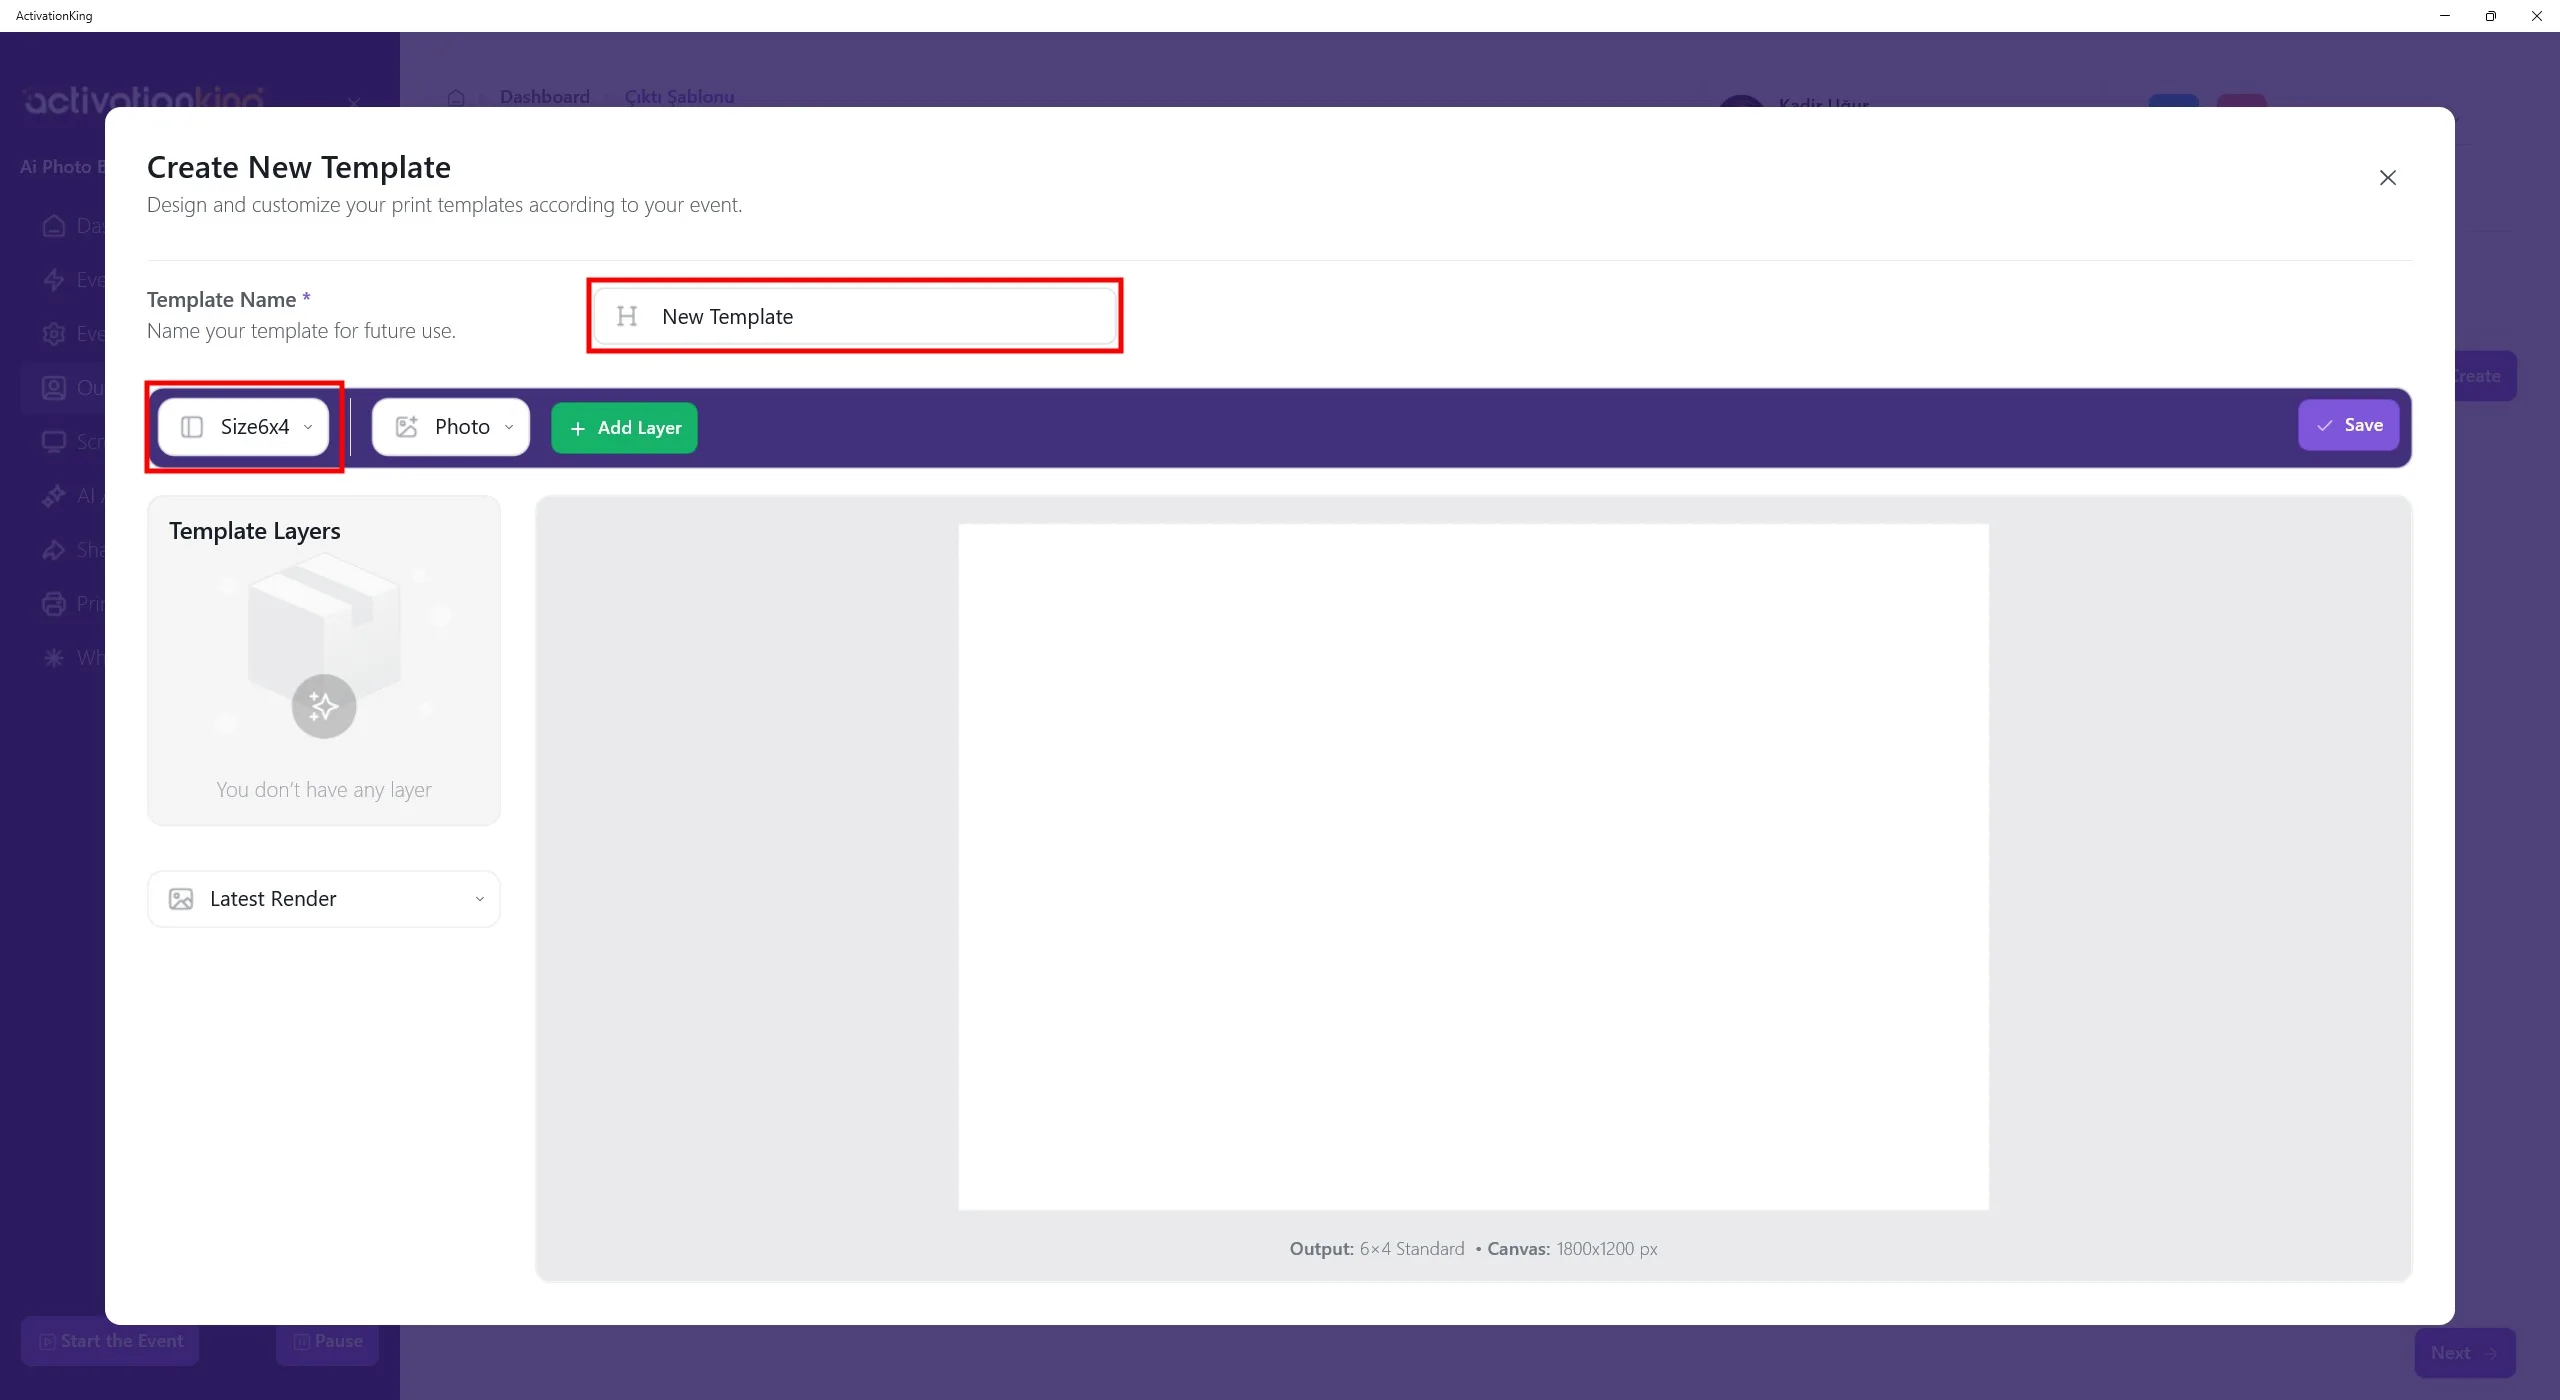
On the page that opens, you can name your templates if you plan to use more than one. If you will only use a single template, this is not necessary. Adjust the template size from the top-left section.
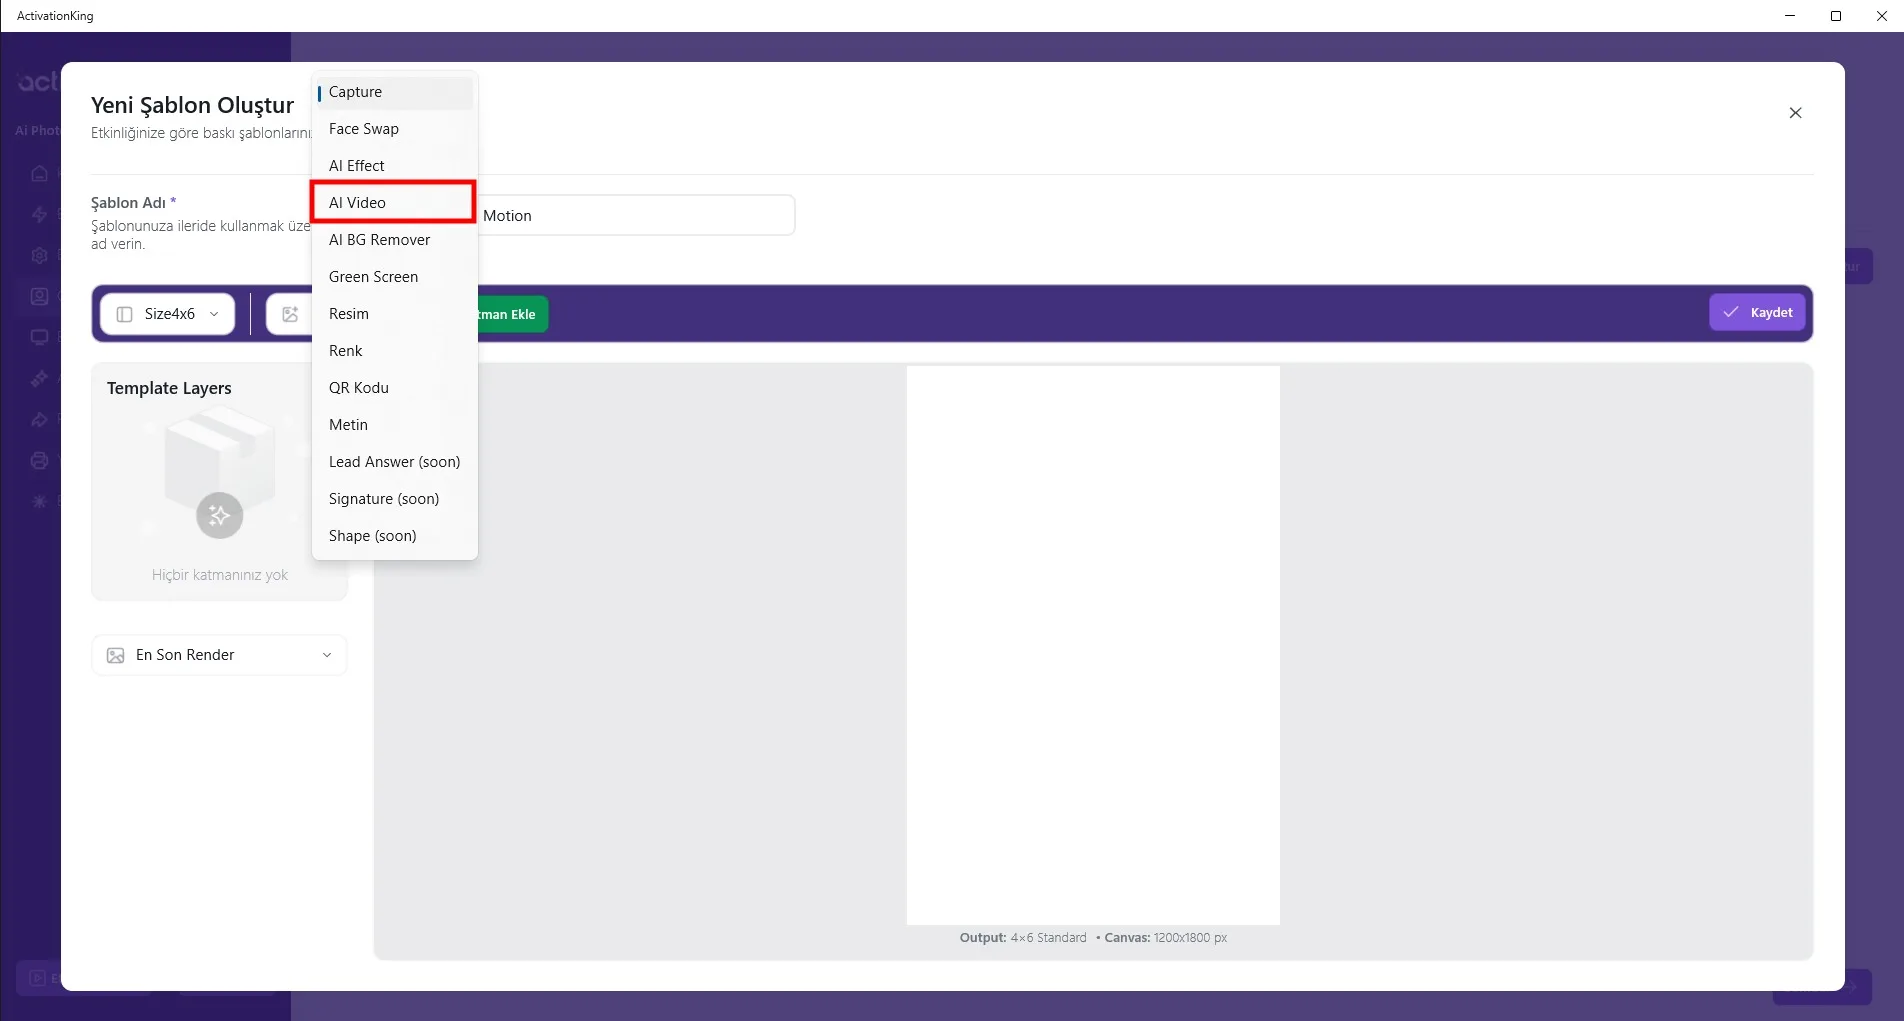
Click the button next to the size field to reveal mode options. Select AI Video and then click the Add Layer button.
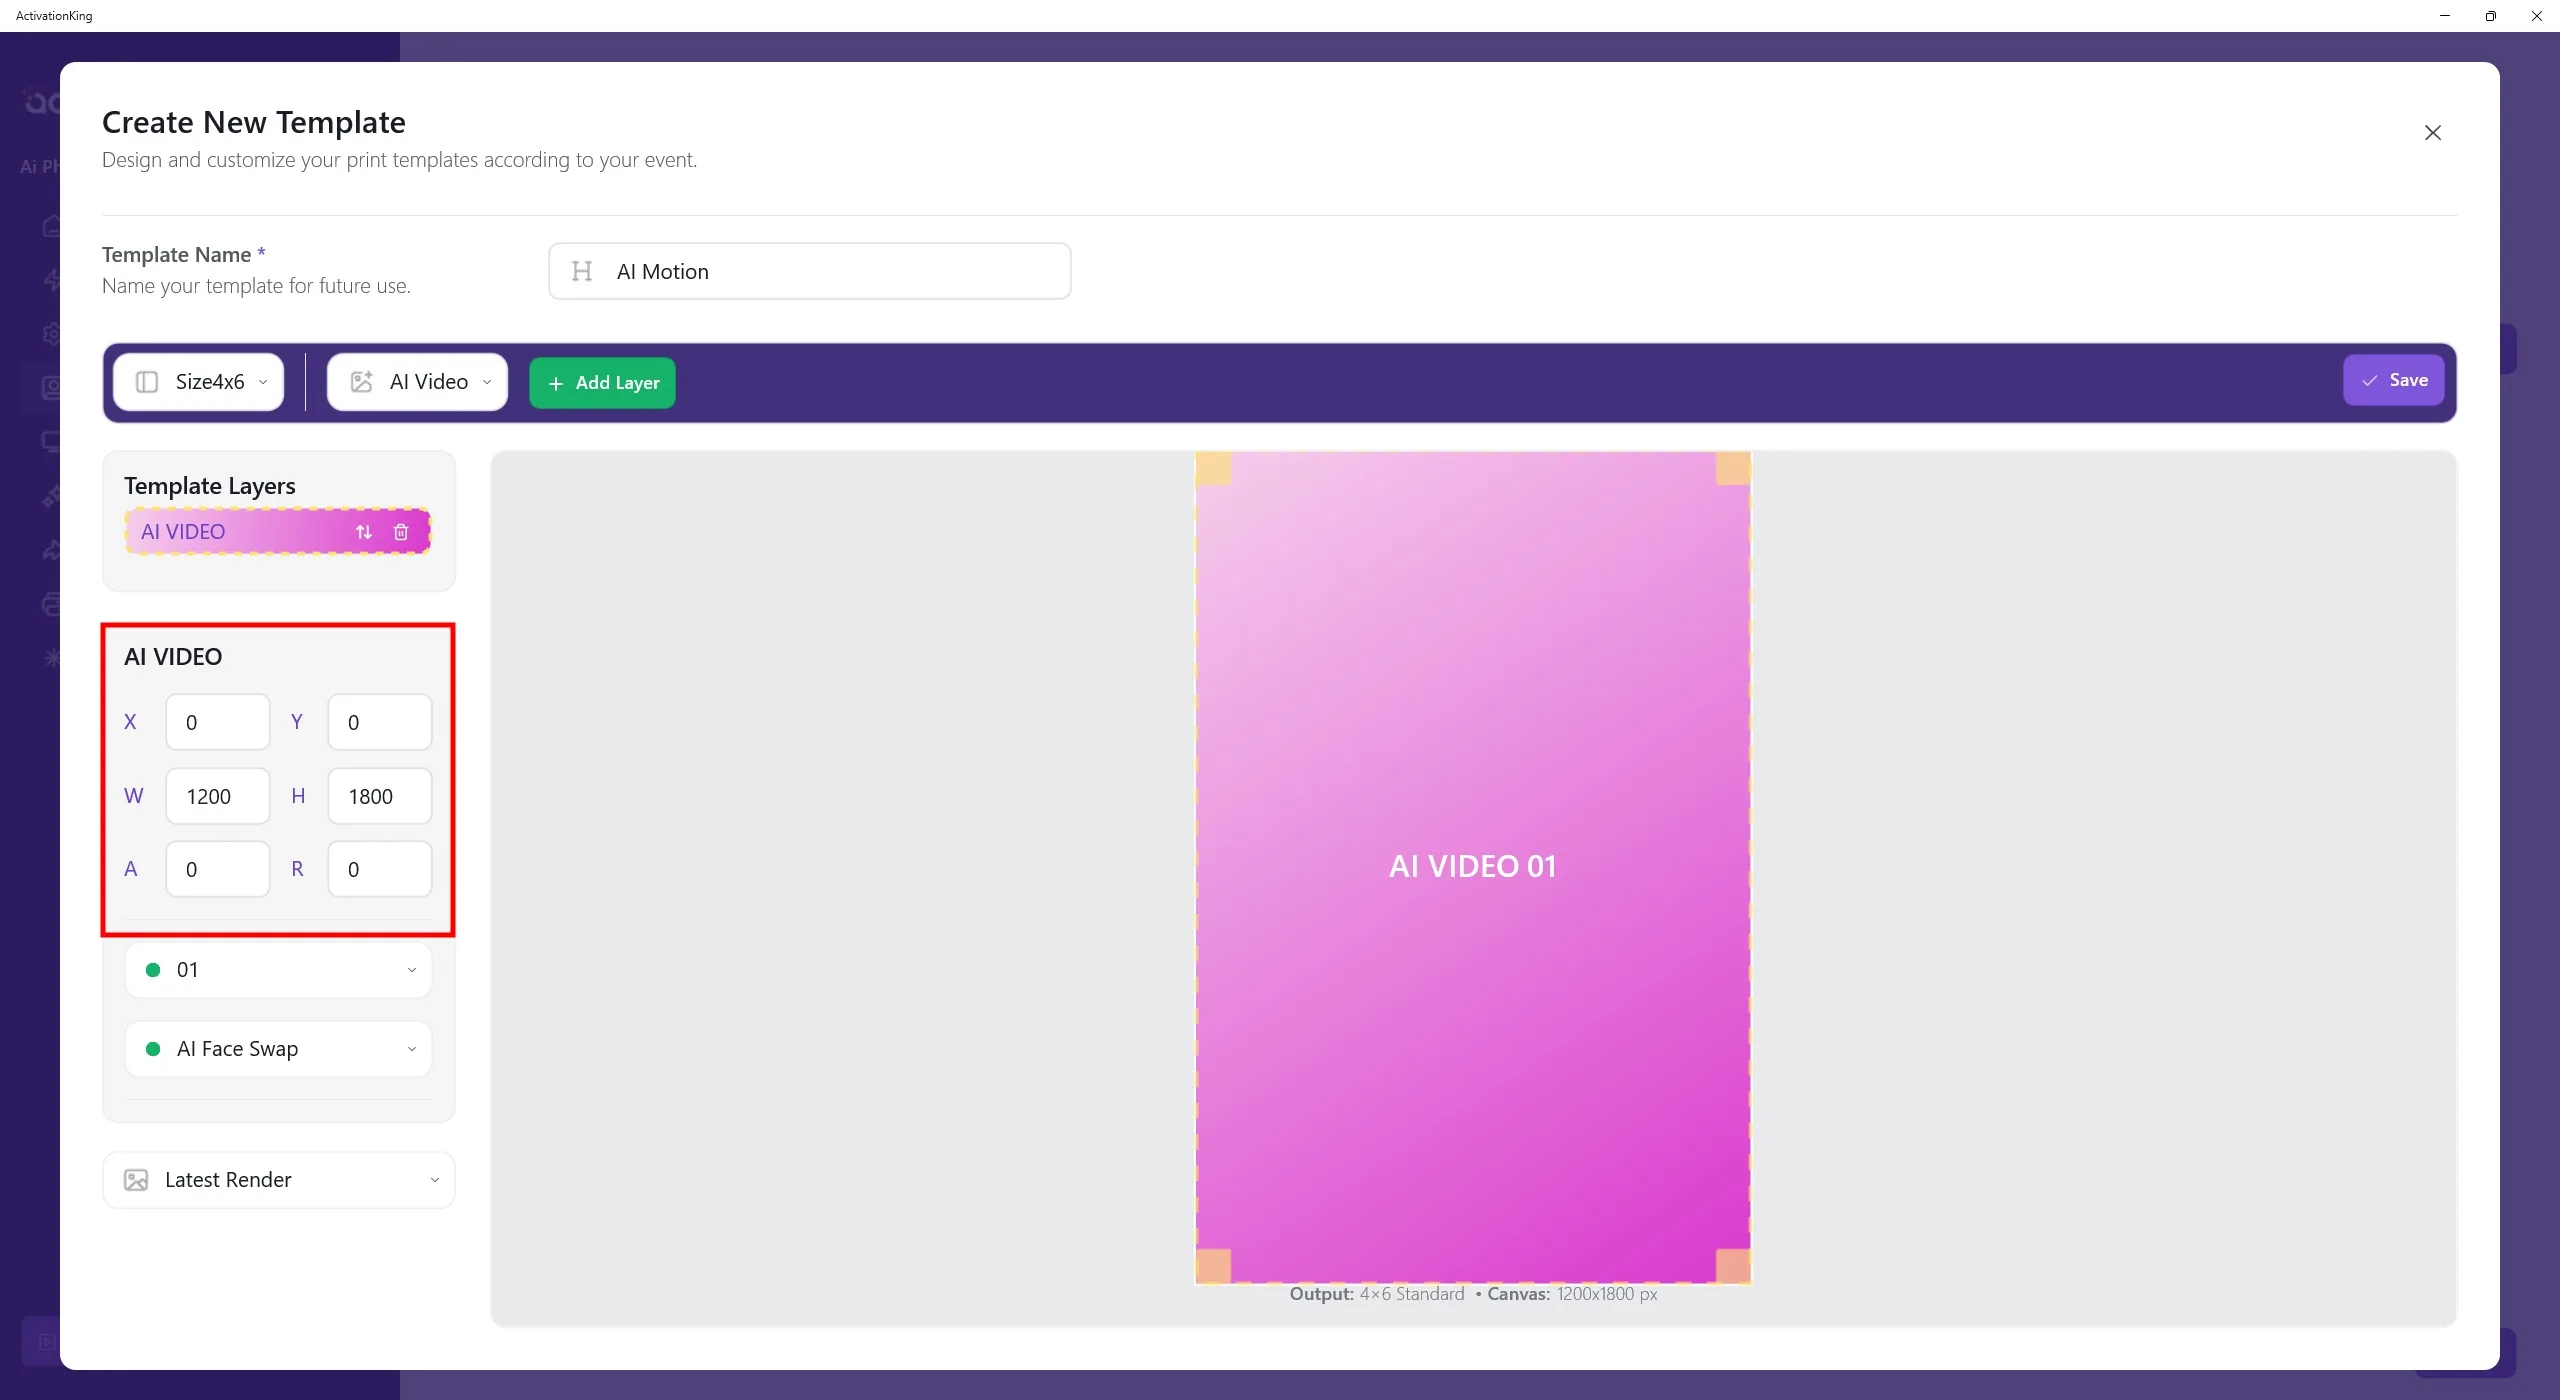
Once the layer appears on the screen, adjust its size and dimensions.
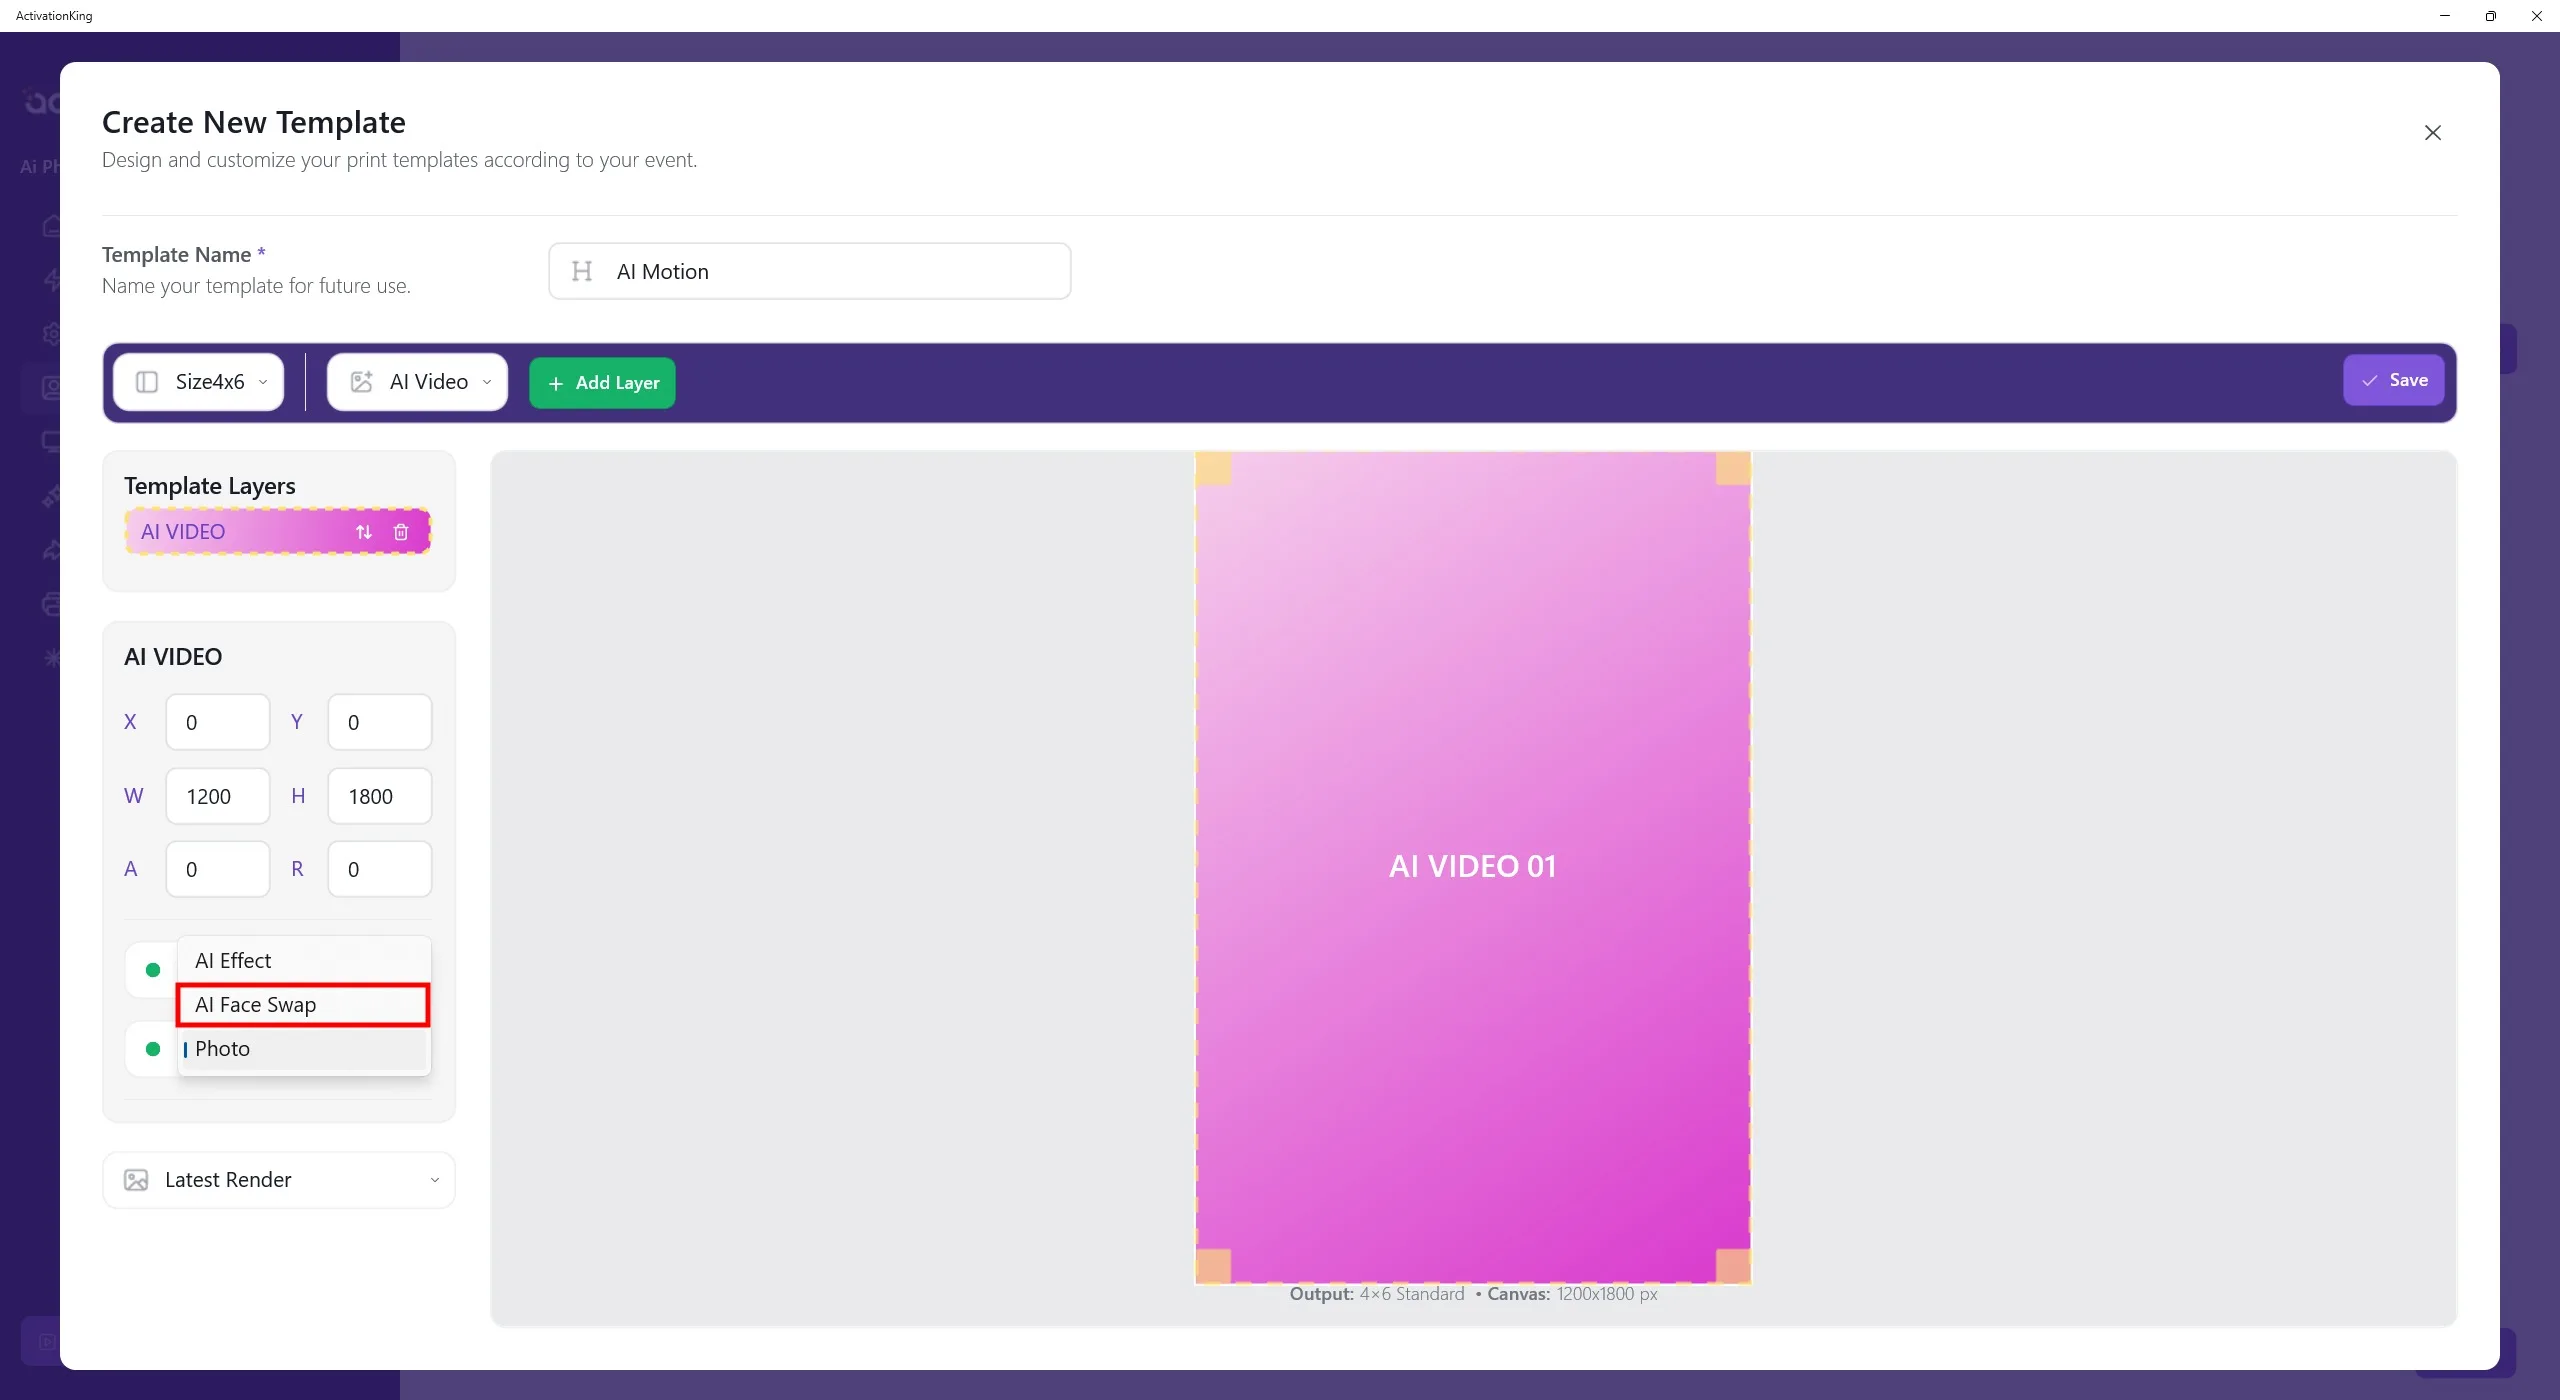
From the box below the sizing section, select the AI mode output that you want to convert into AI Motion.
If you want to apply motion to more than one AI mode, you need to create a separate template for each mode.
After completing all settings, click the Save button.
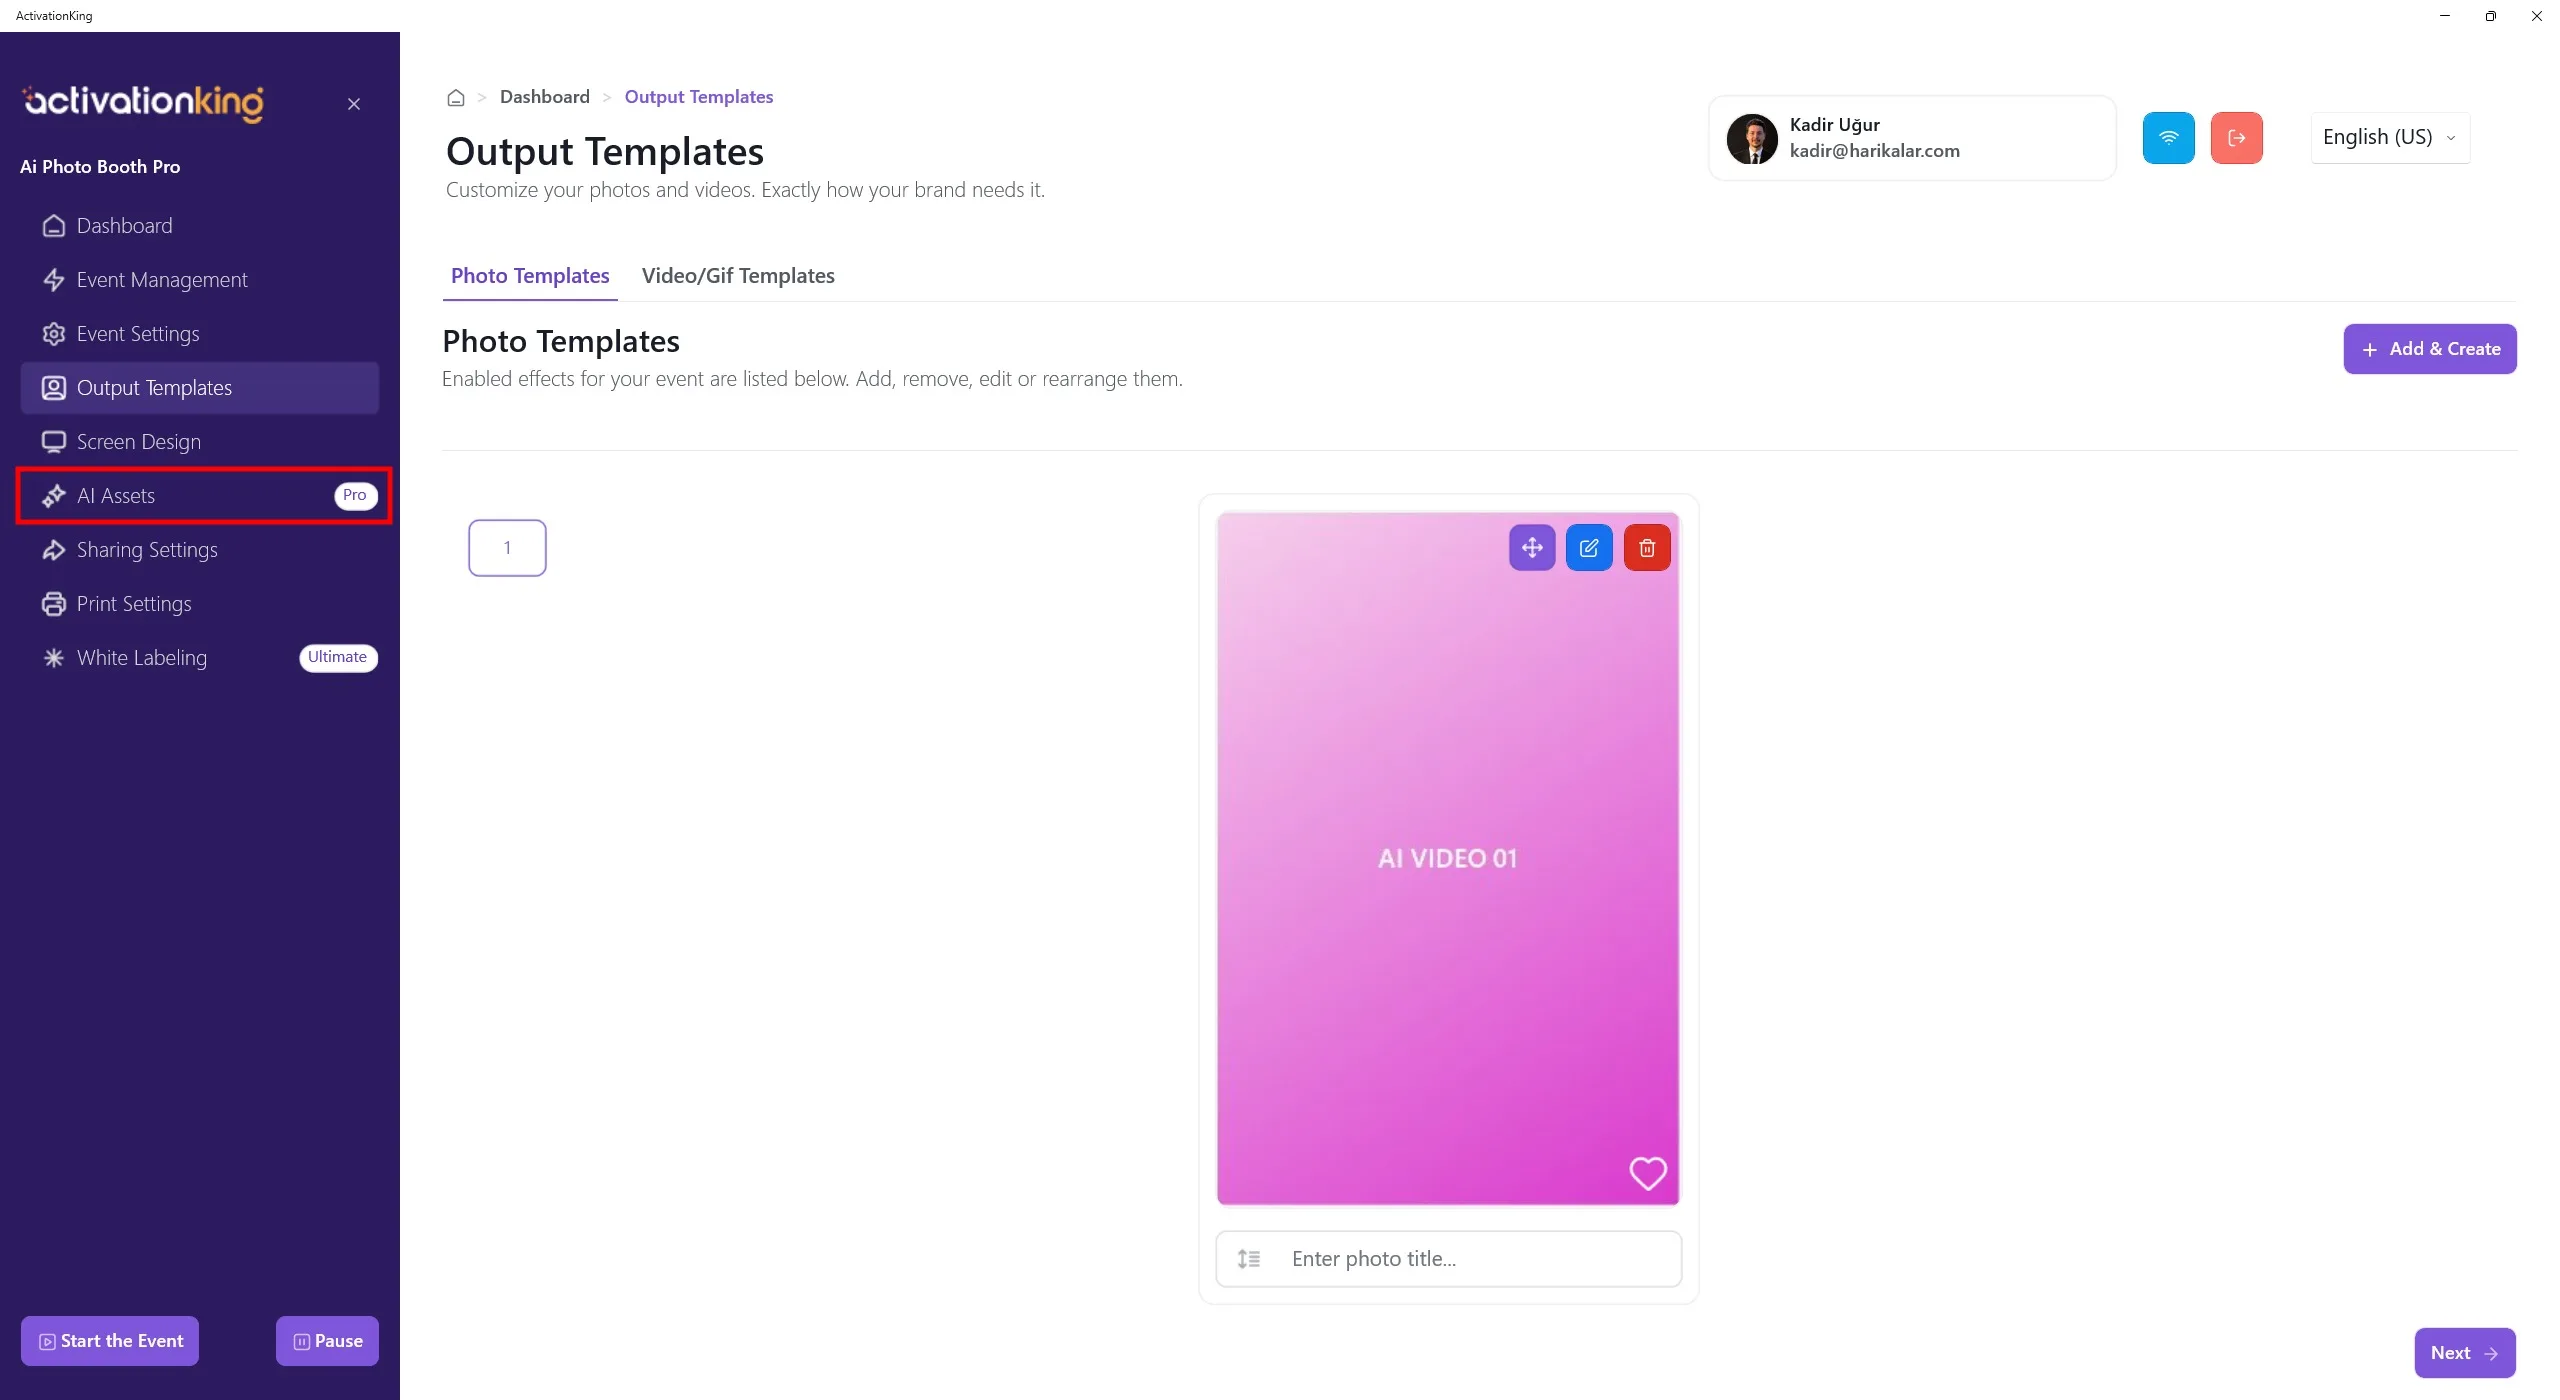
Open the AI Asset page.
AI Assets
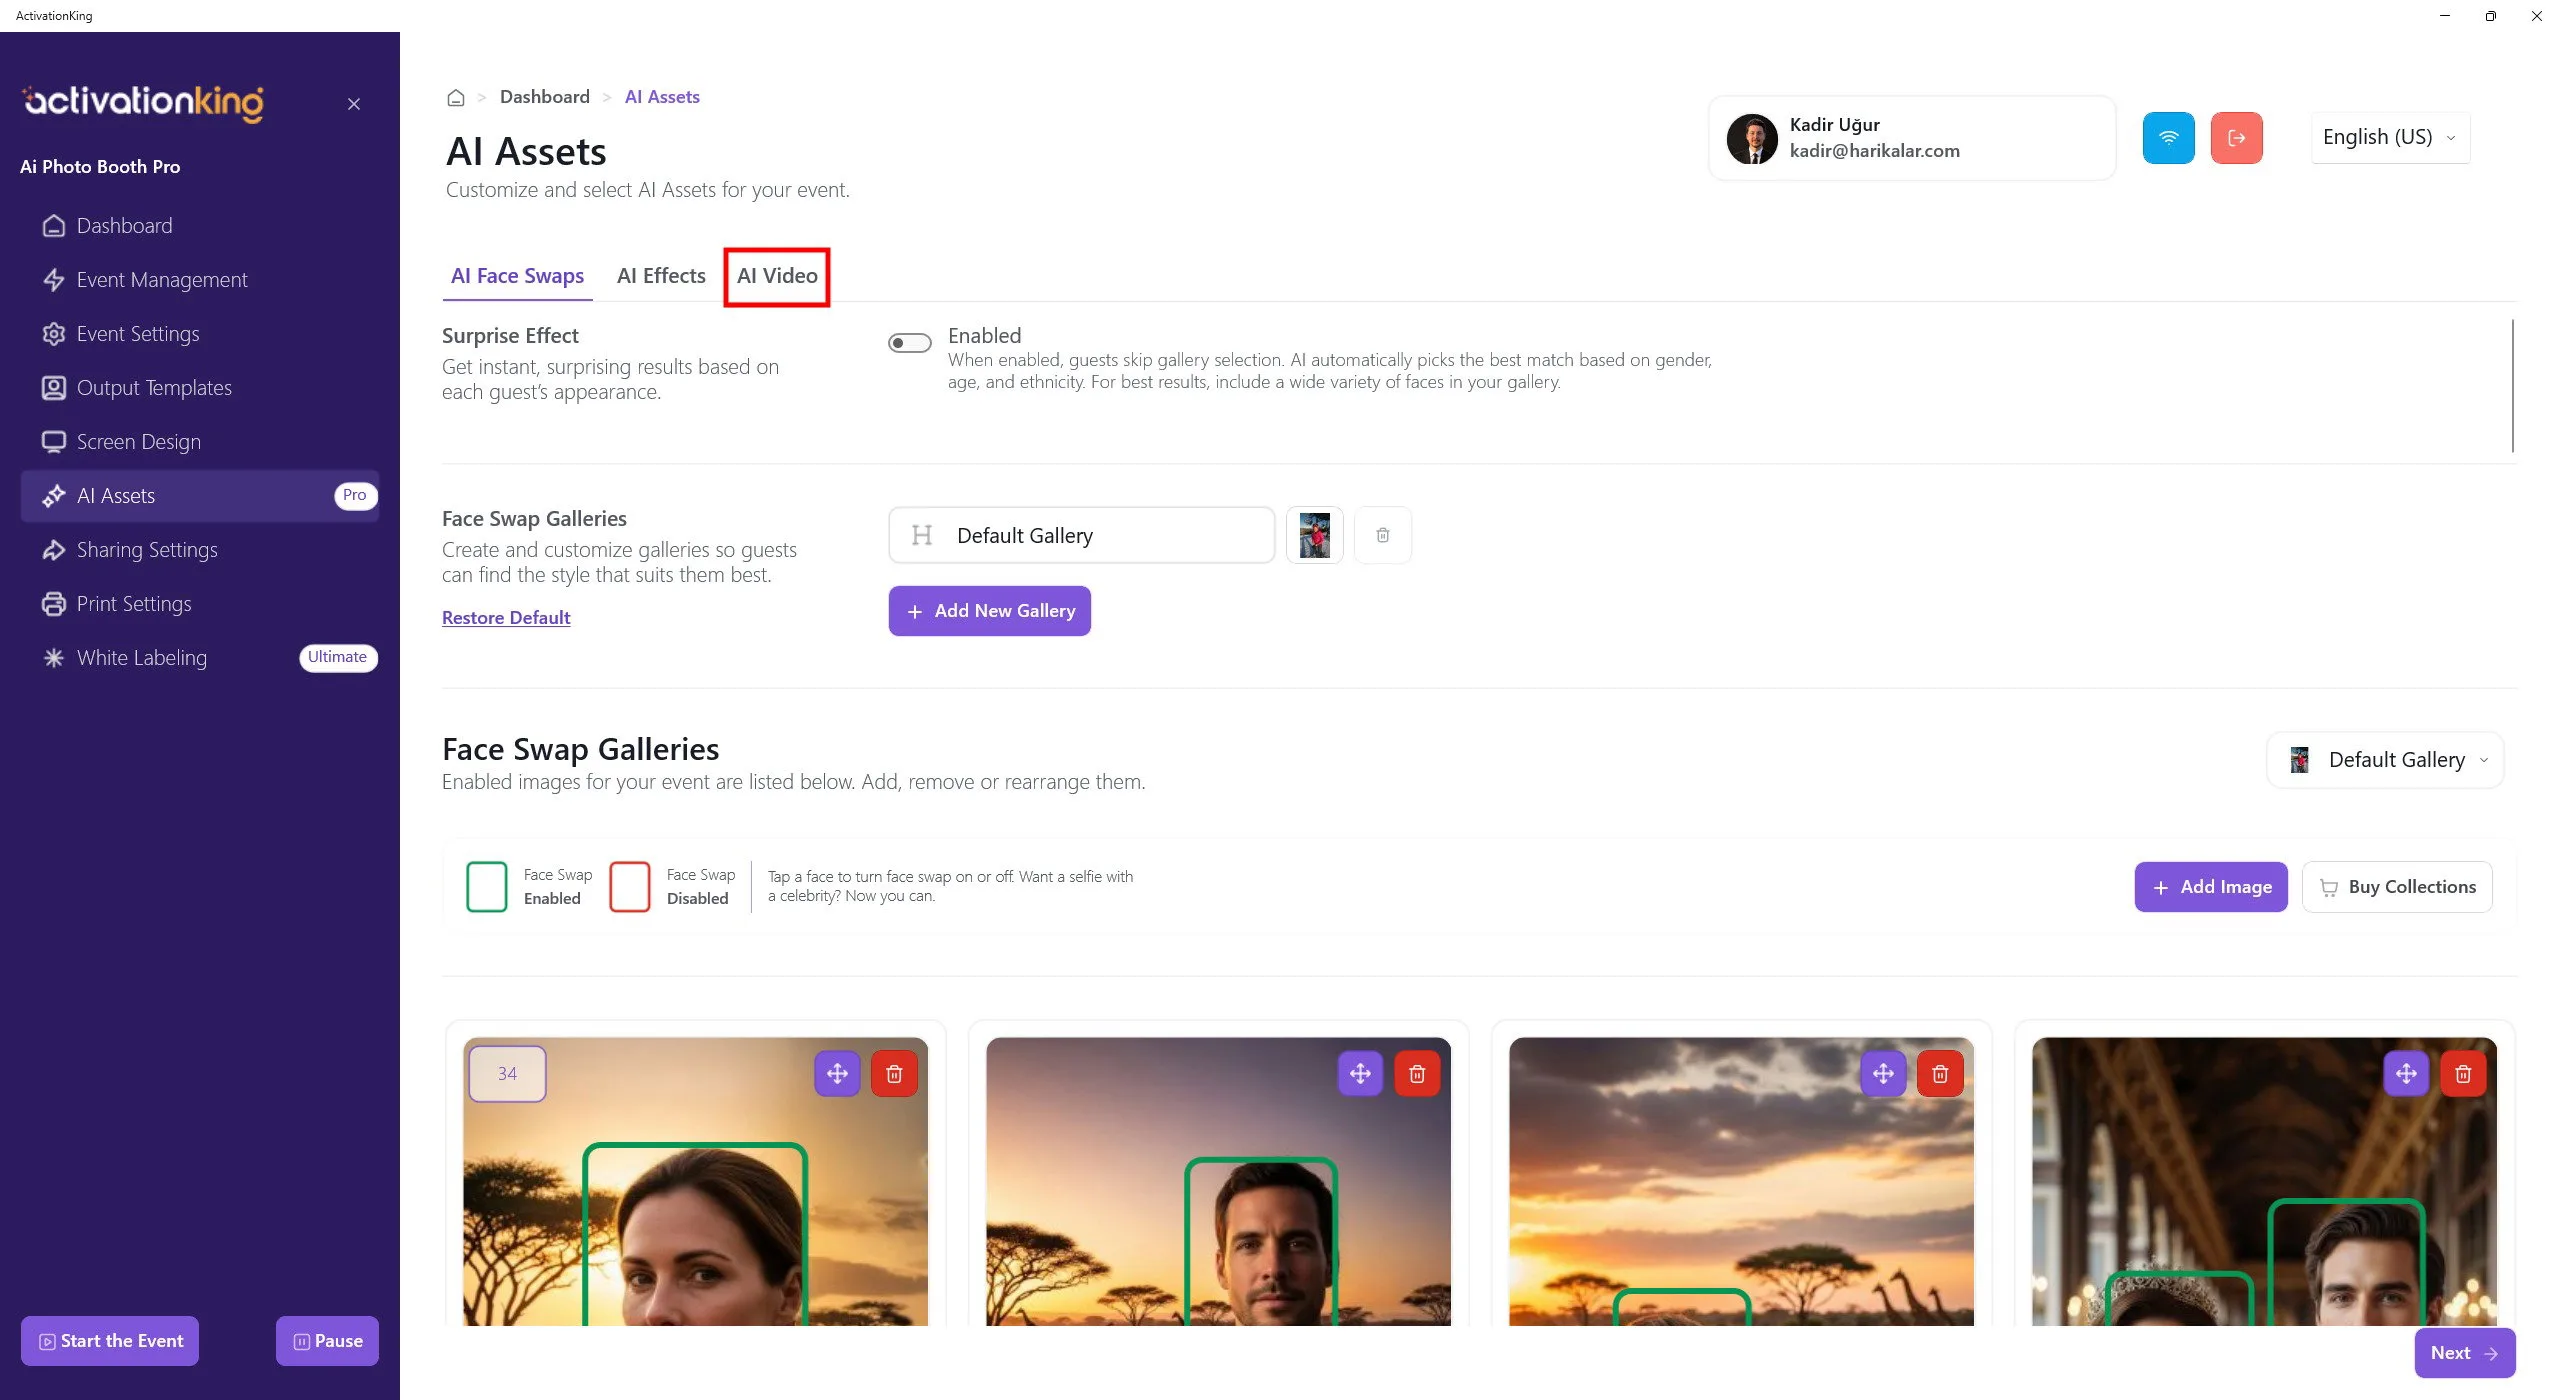
On the page that opens, switch to the AI Video tab.
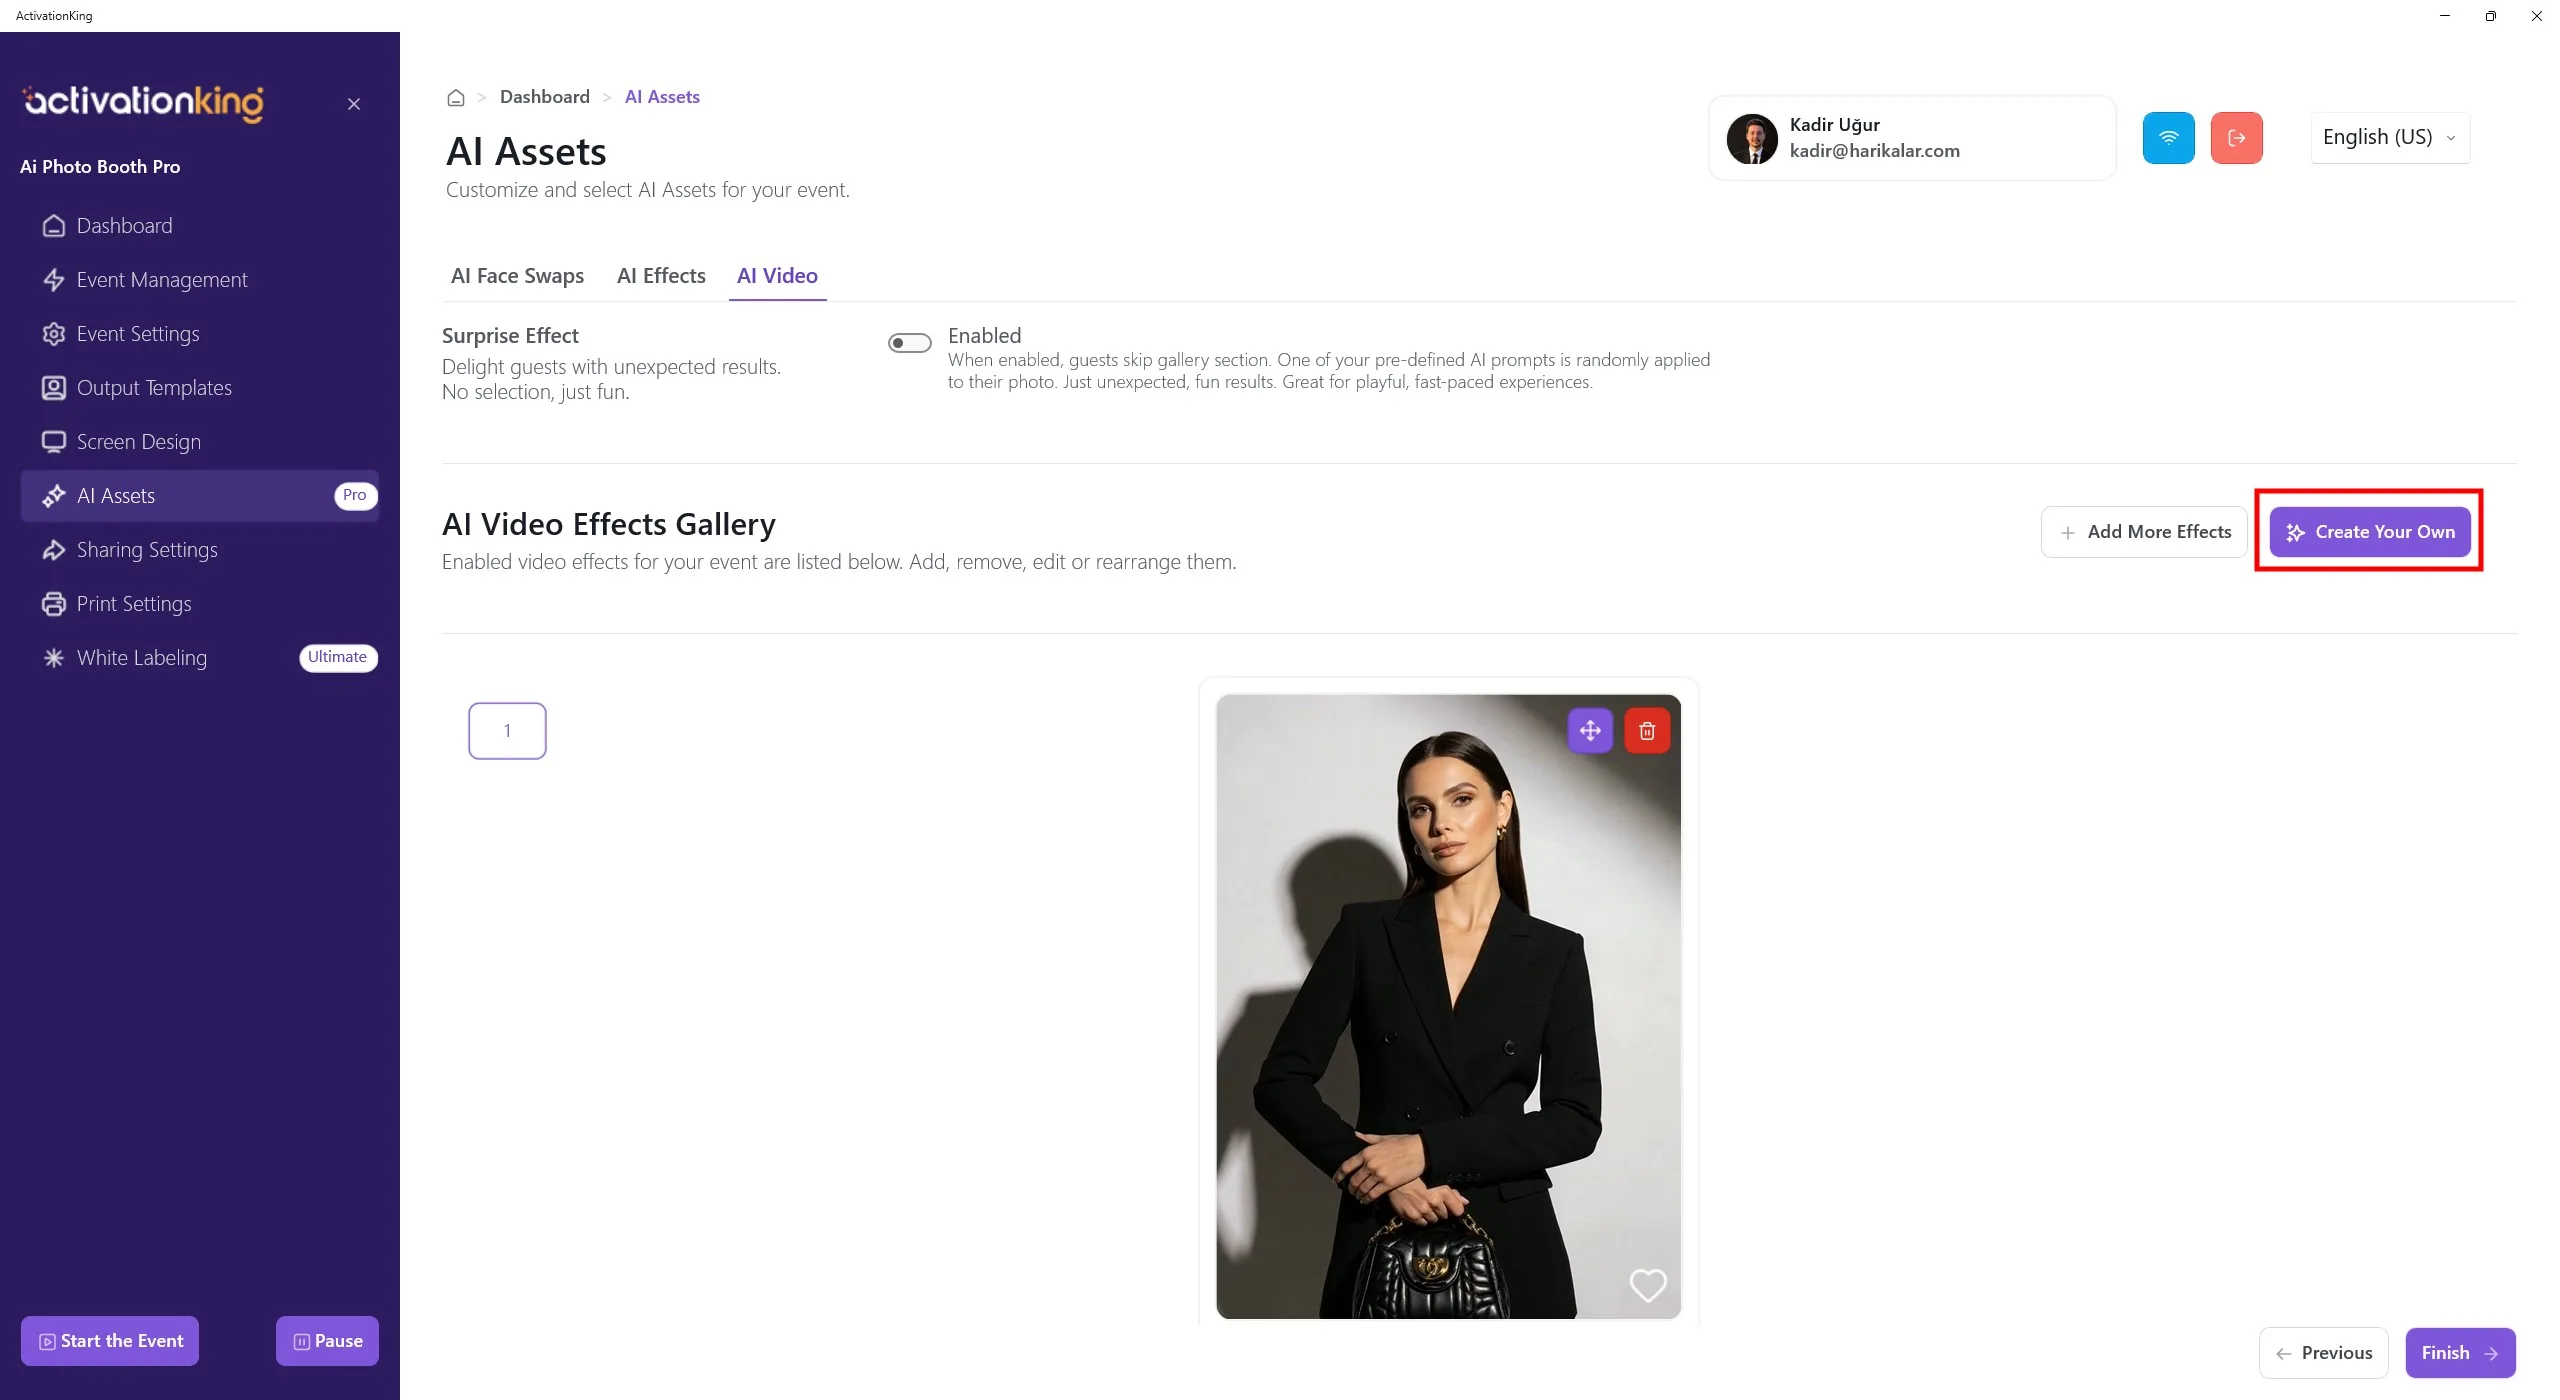
To create your own effect, click the Create Your Own button.

On the page that opens, enter your effect name and write your prompt in the Prompt field. You can use ChatGPT for help crafting a prompt. Make sure the prompts you write are compatible with your photo.
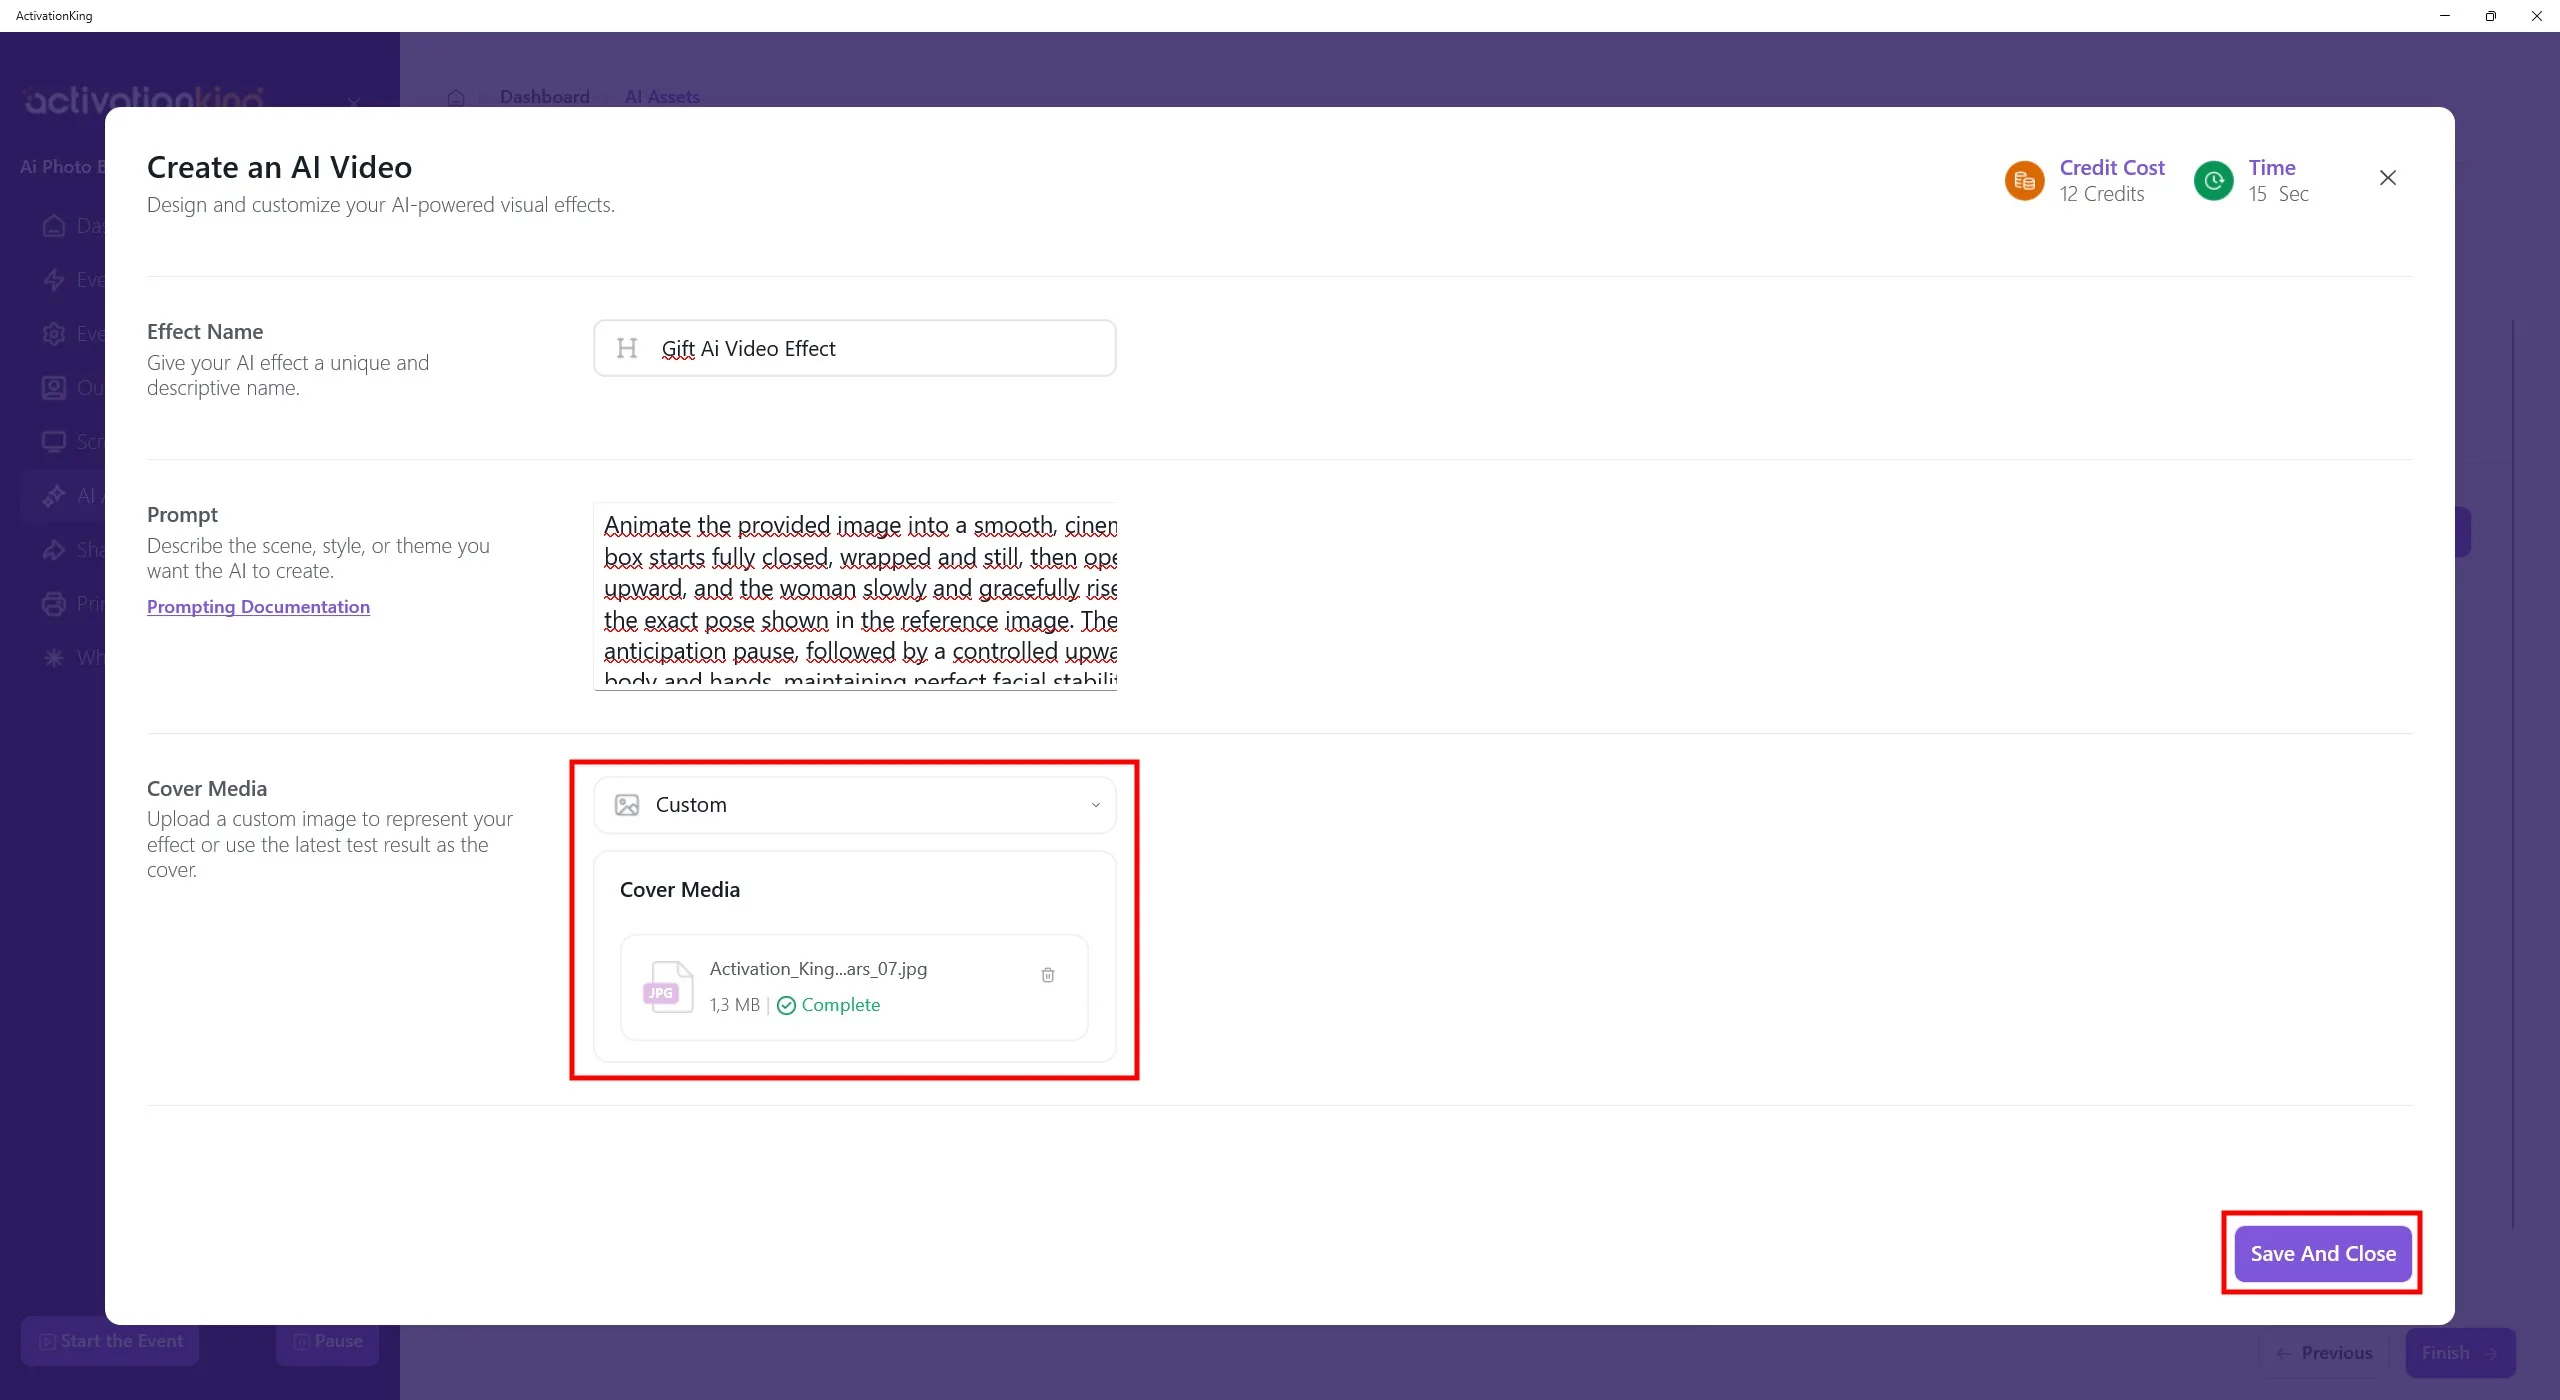
From this section, you can add a sample image or video.
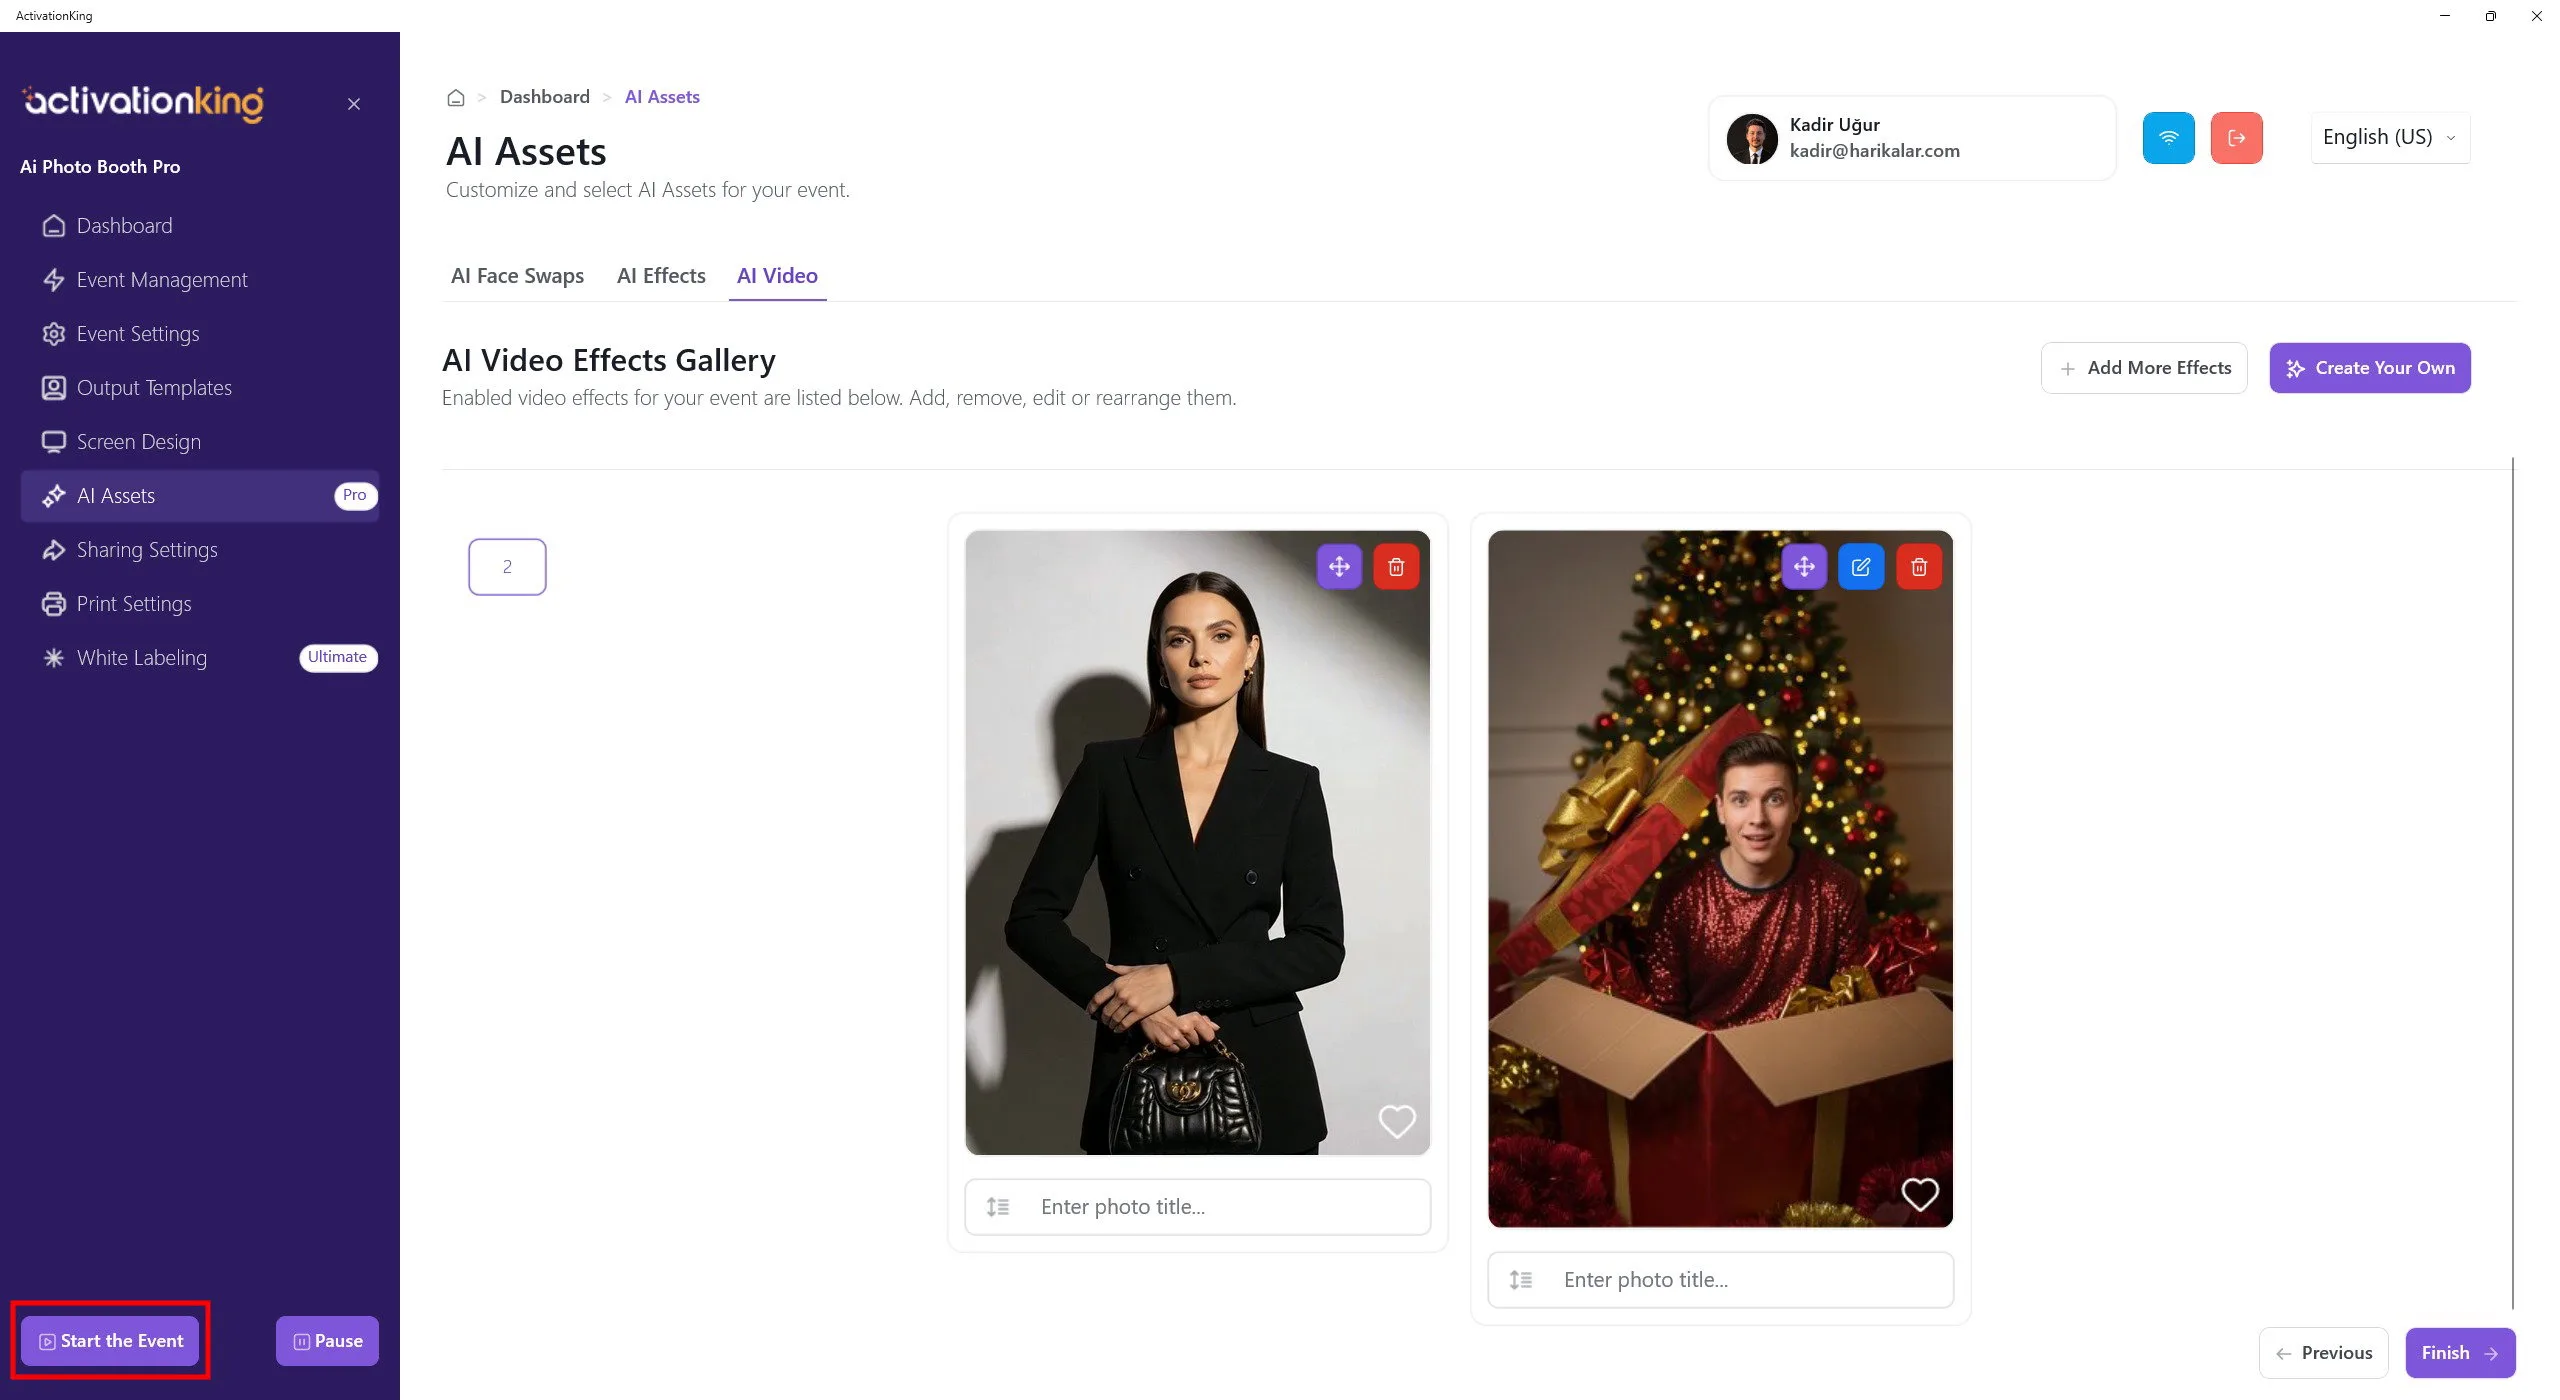
After finishing, click the Save and Close button, then click the Start the Event button located in the bottom-left corner.
Start the Event
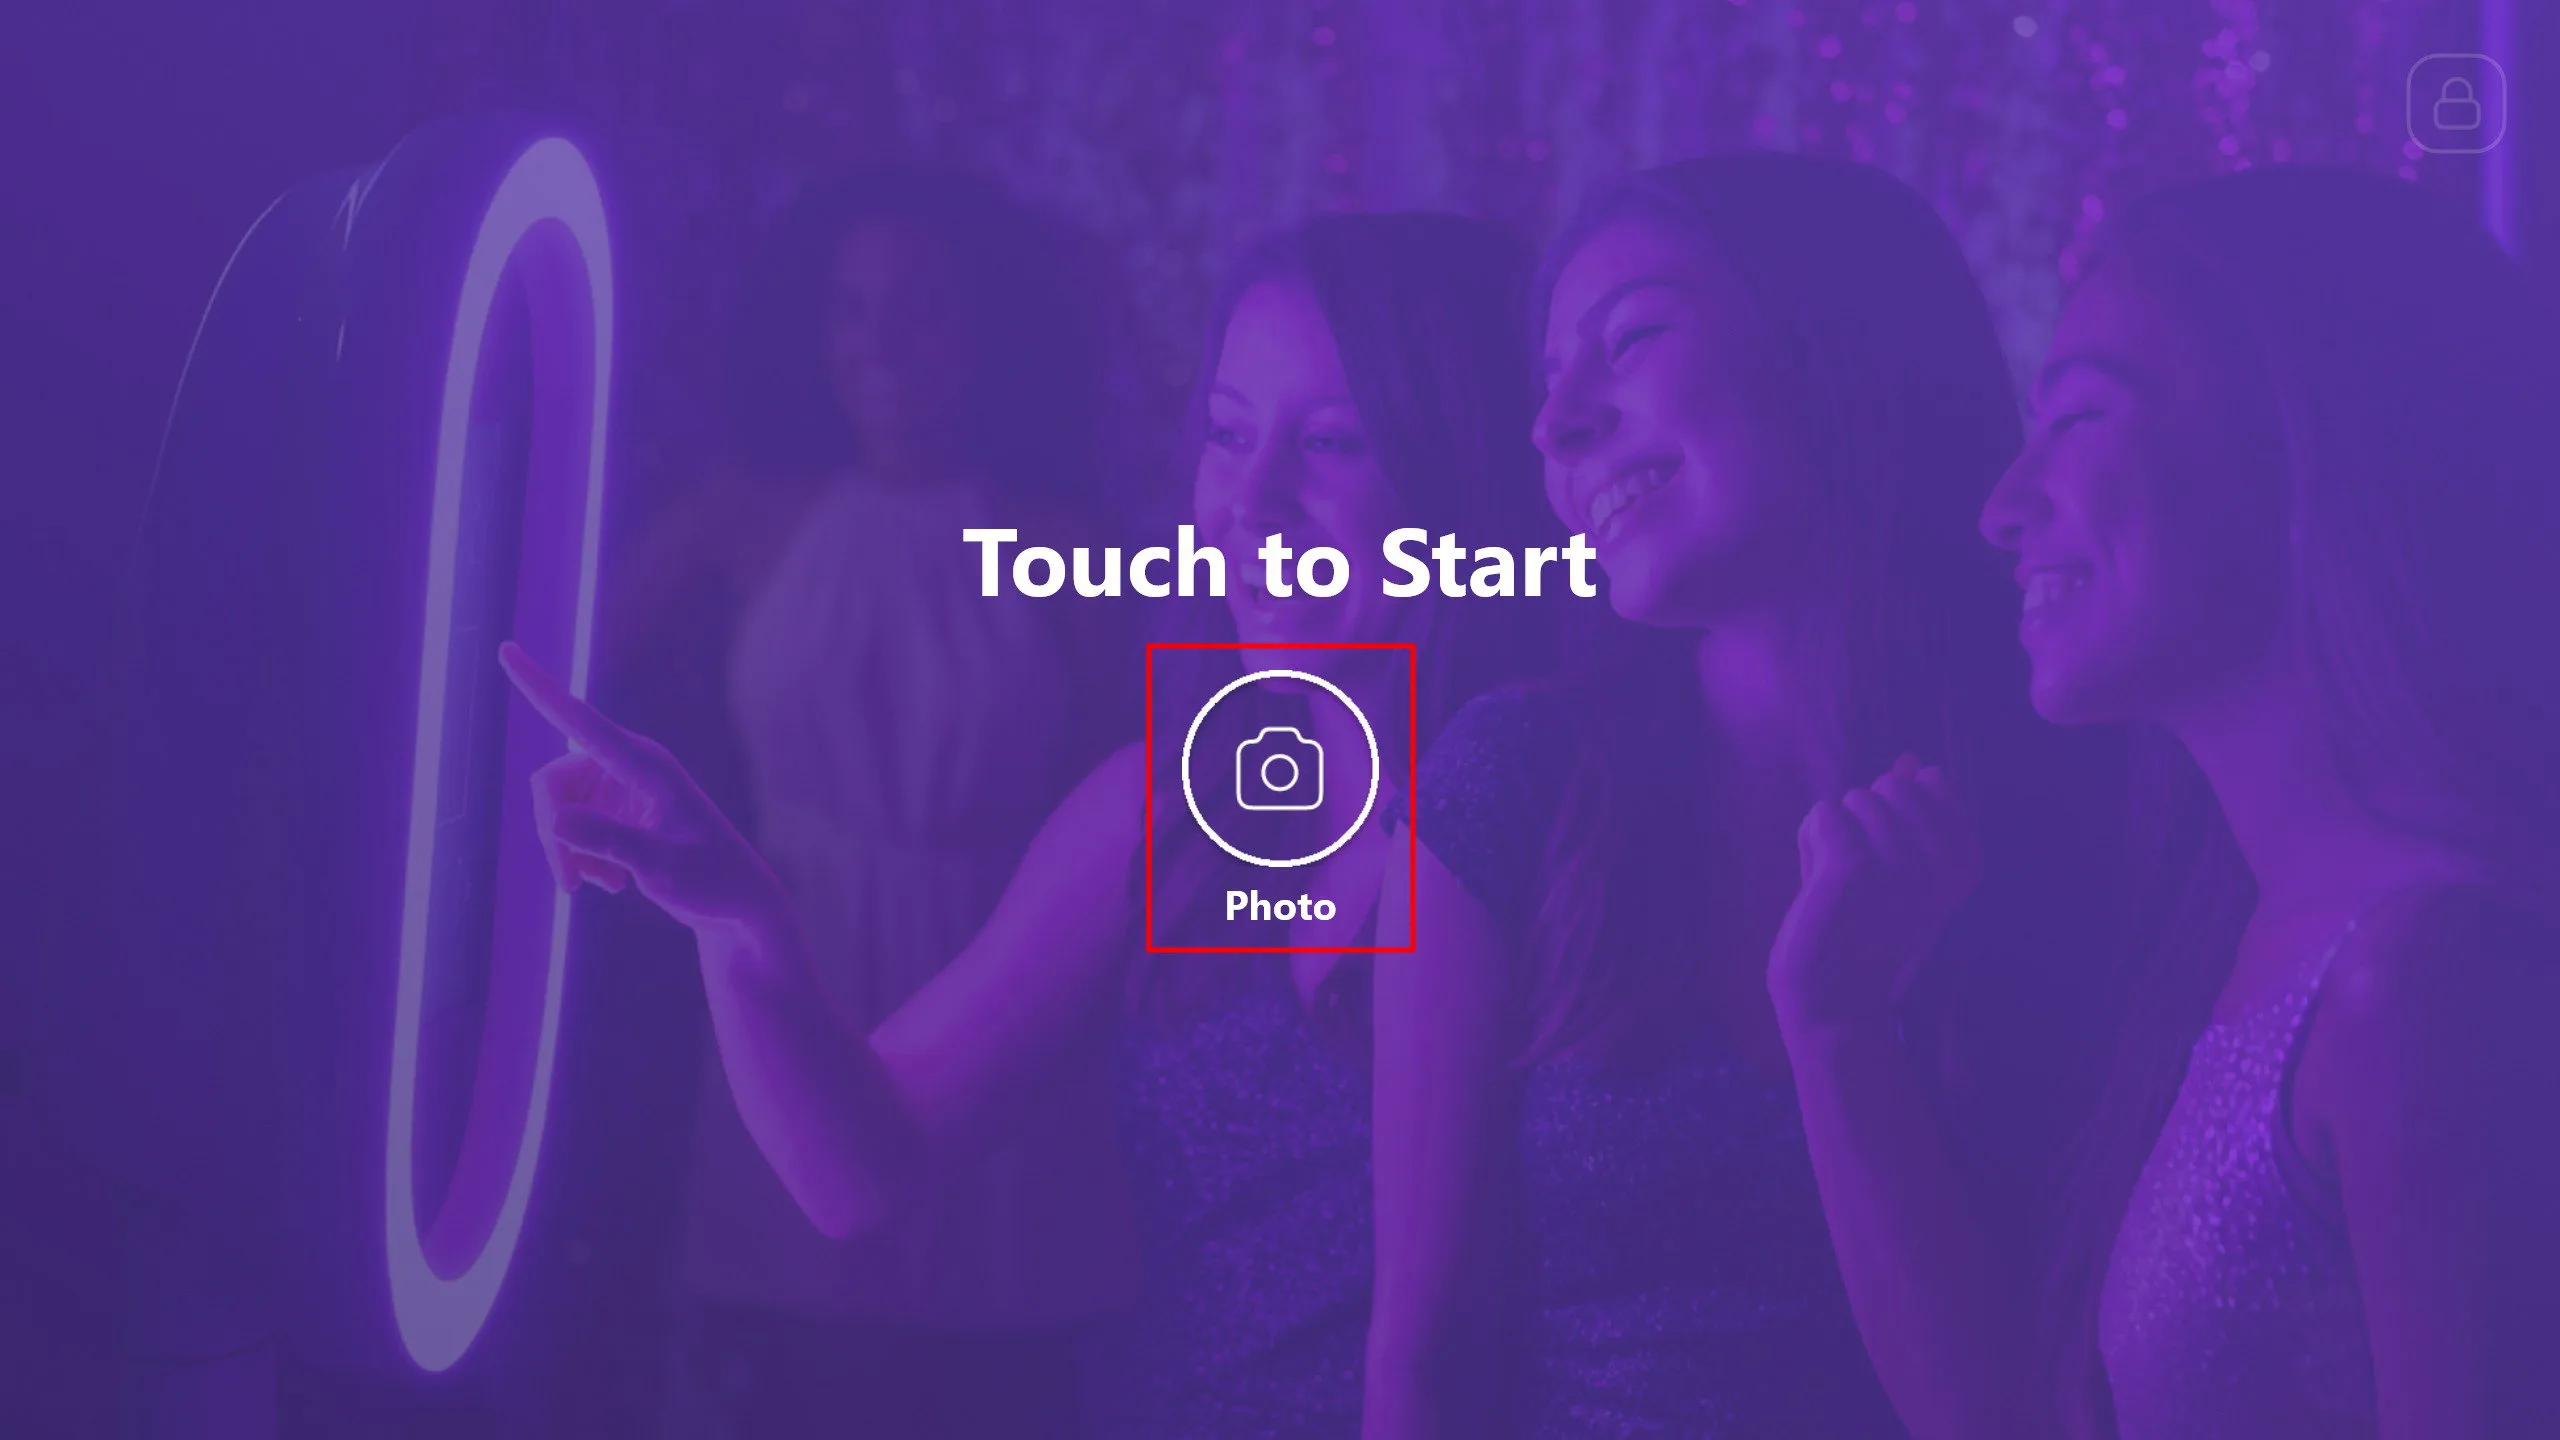
You can customize this screen in the software as you wish. Click the Photo button.
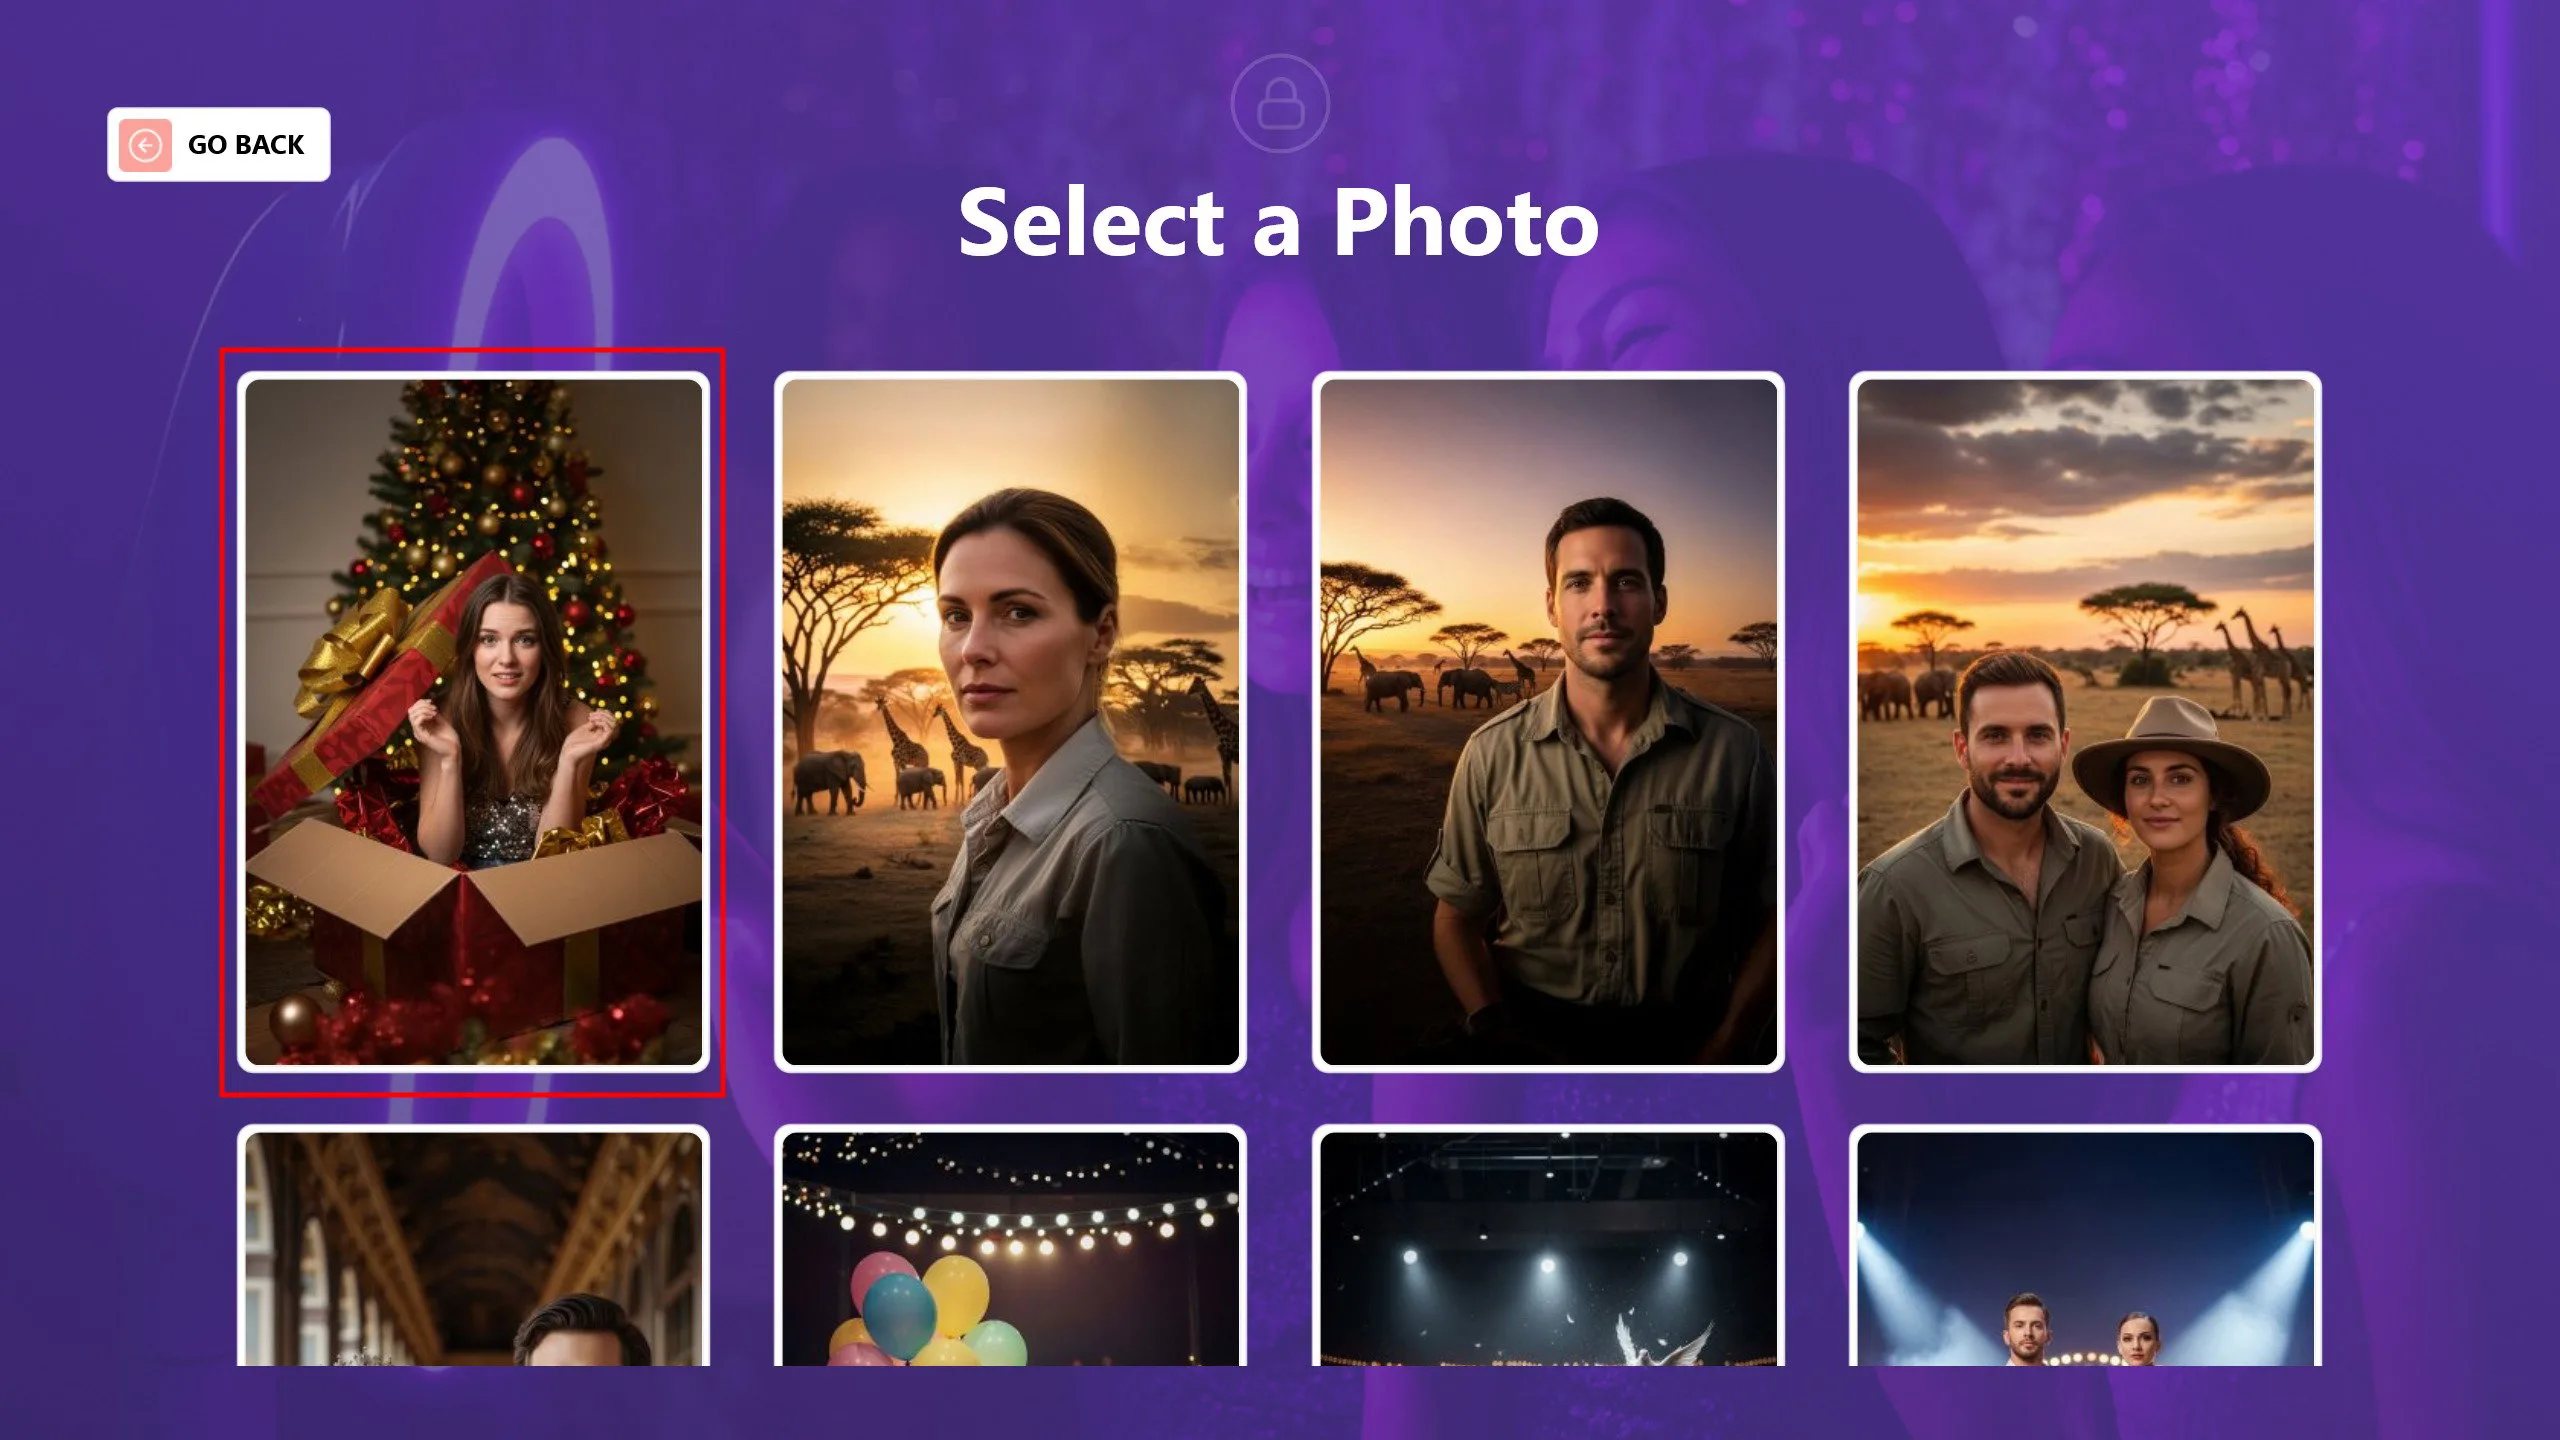
First, select the photo you want to apply the face swap to.
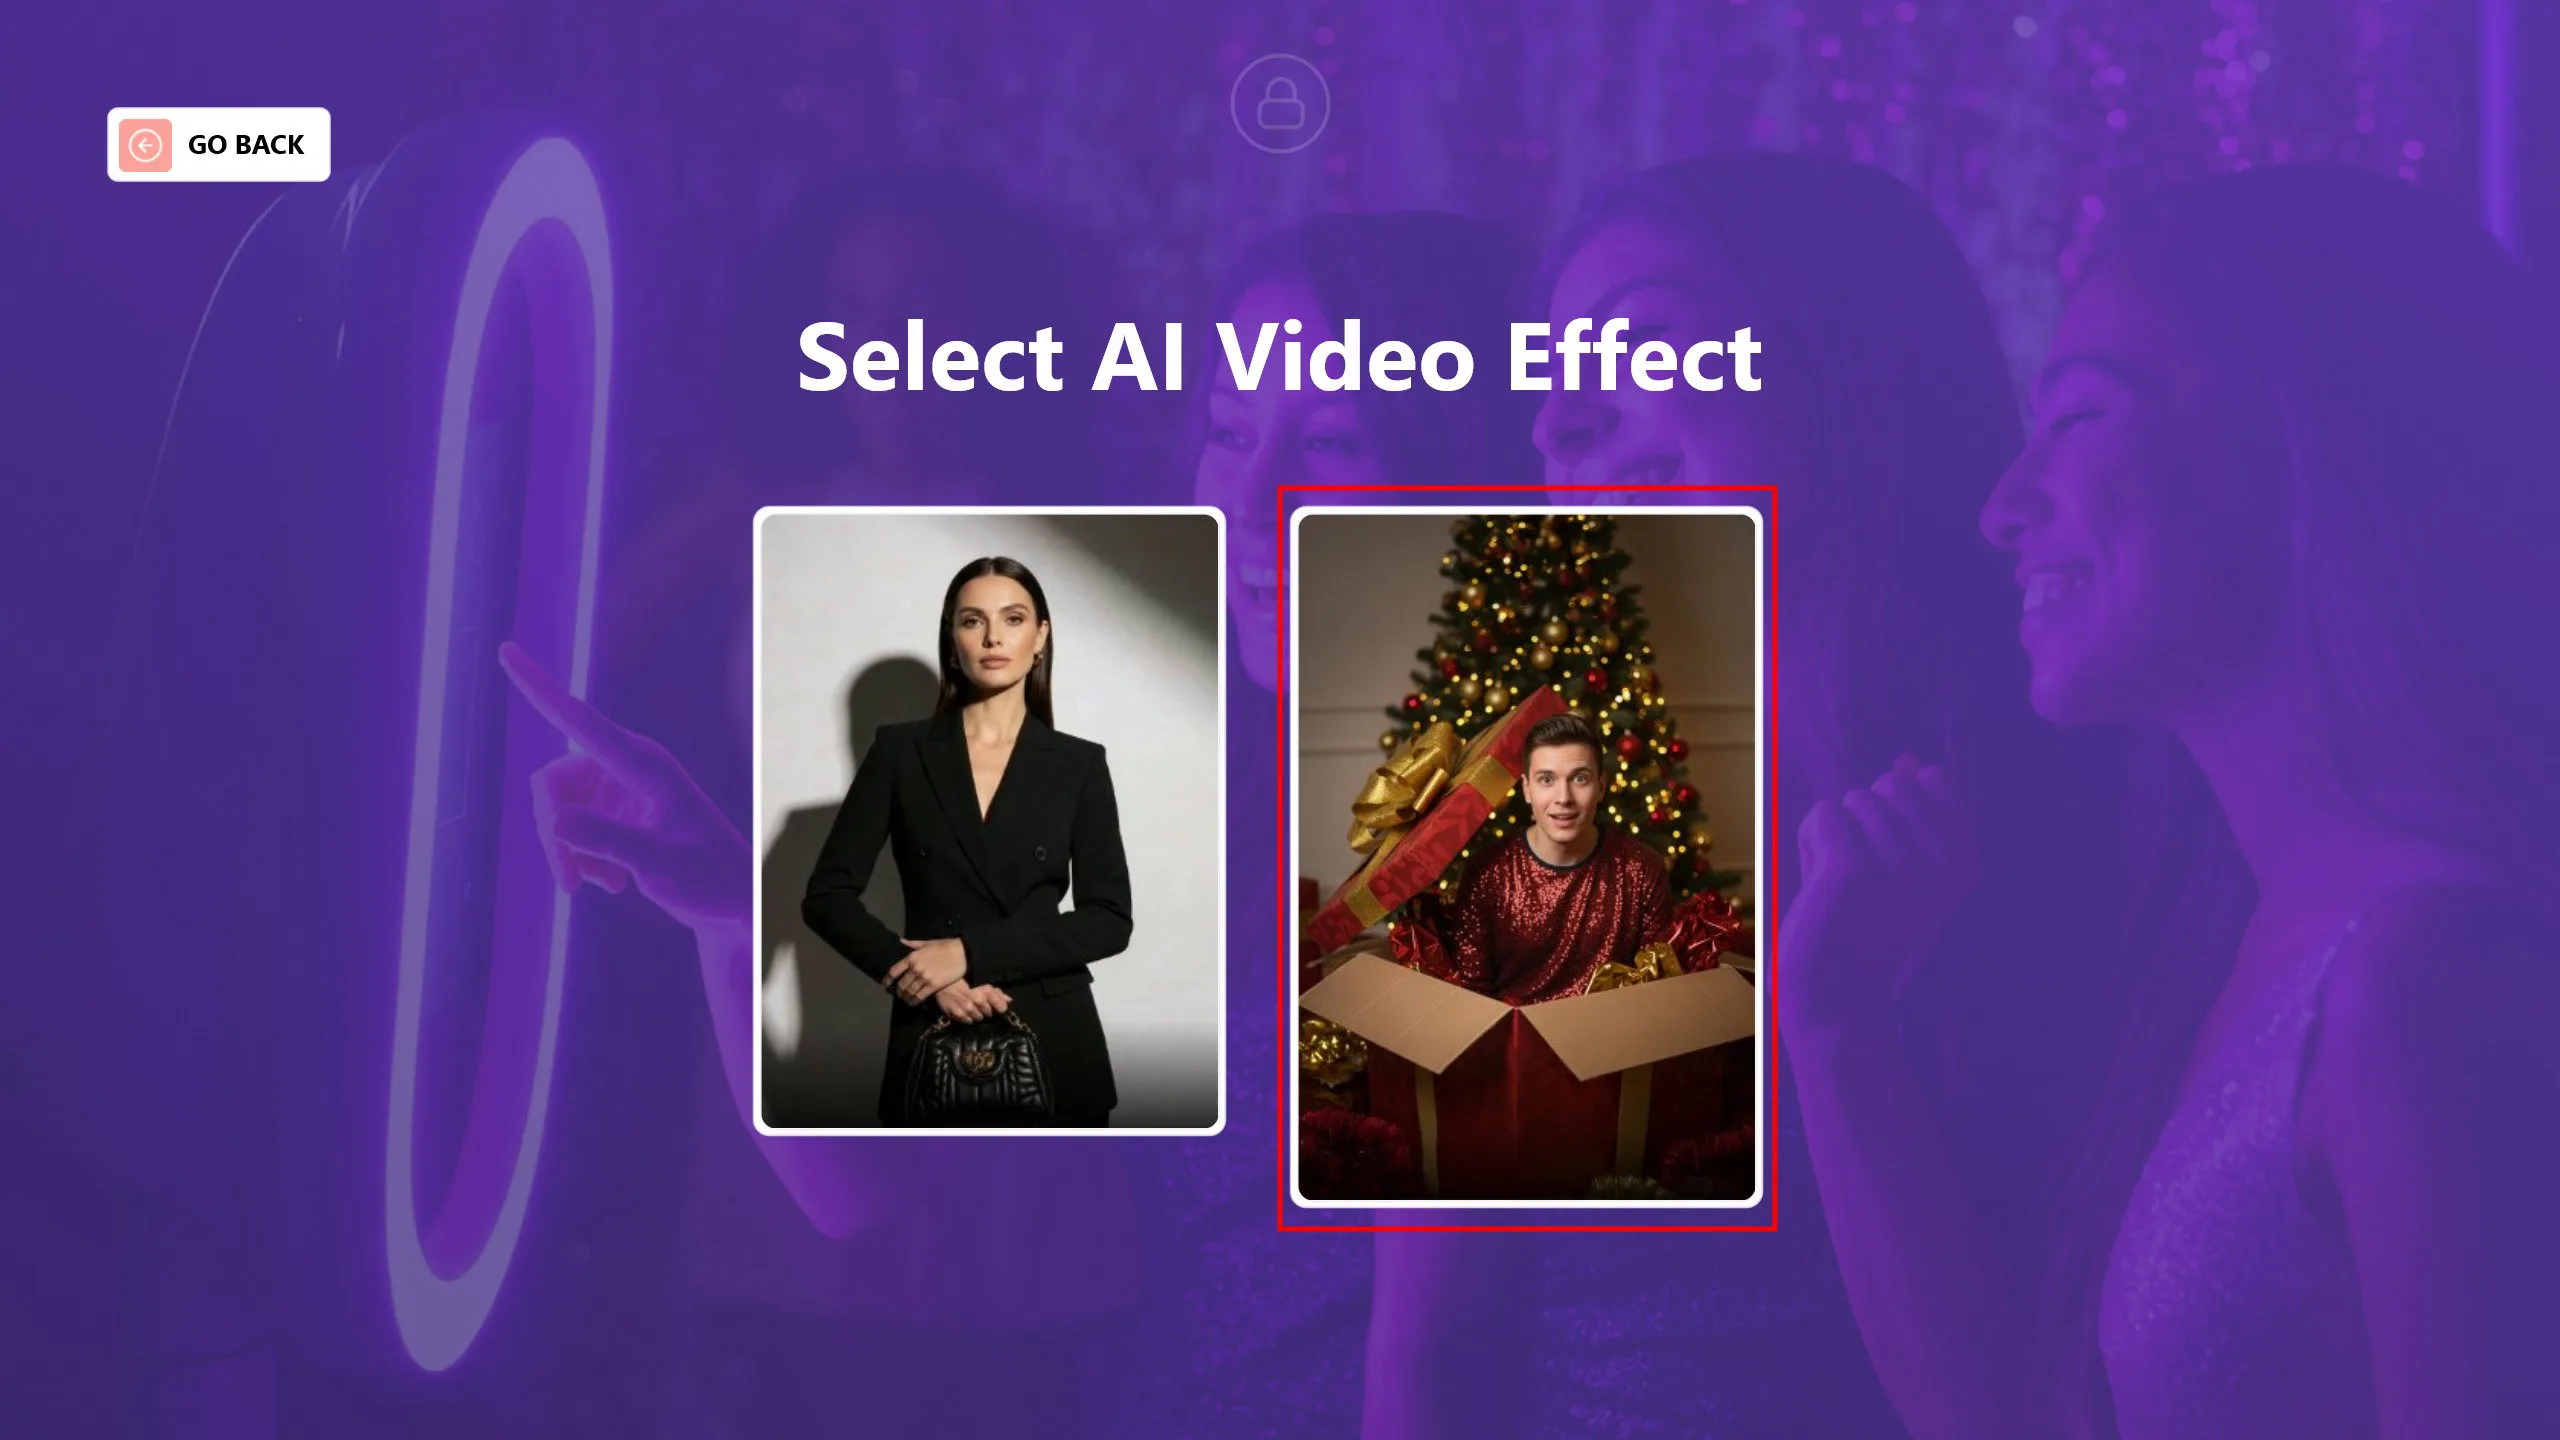
Then, select the effect you want to use on the chosen photo.
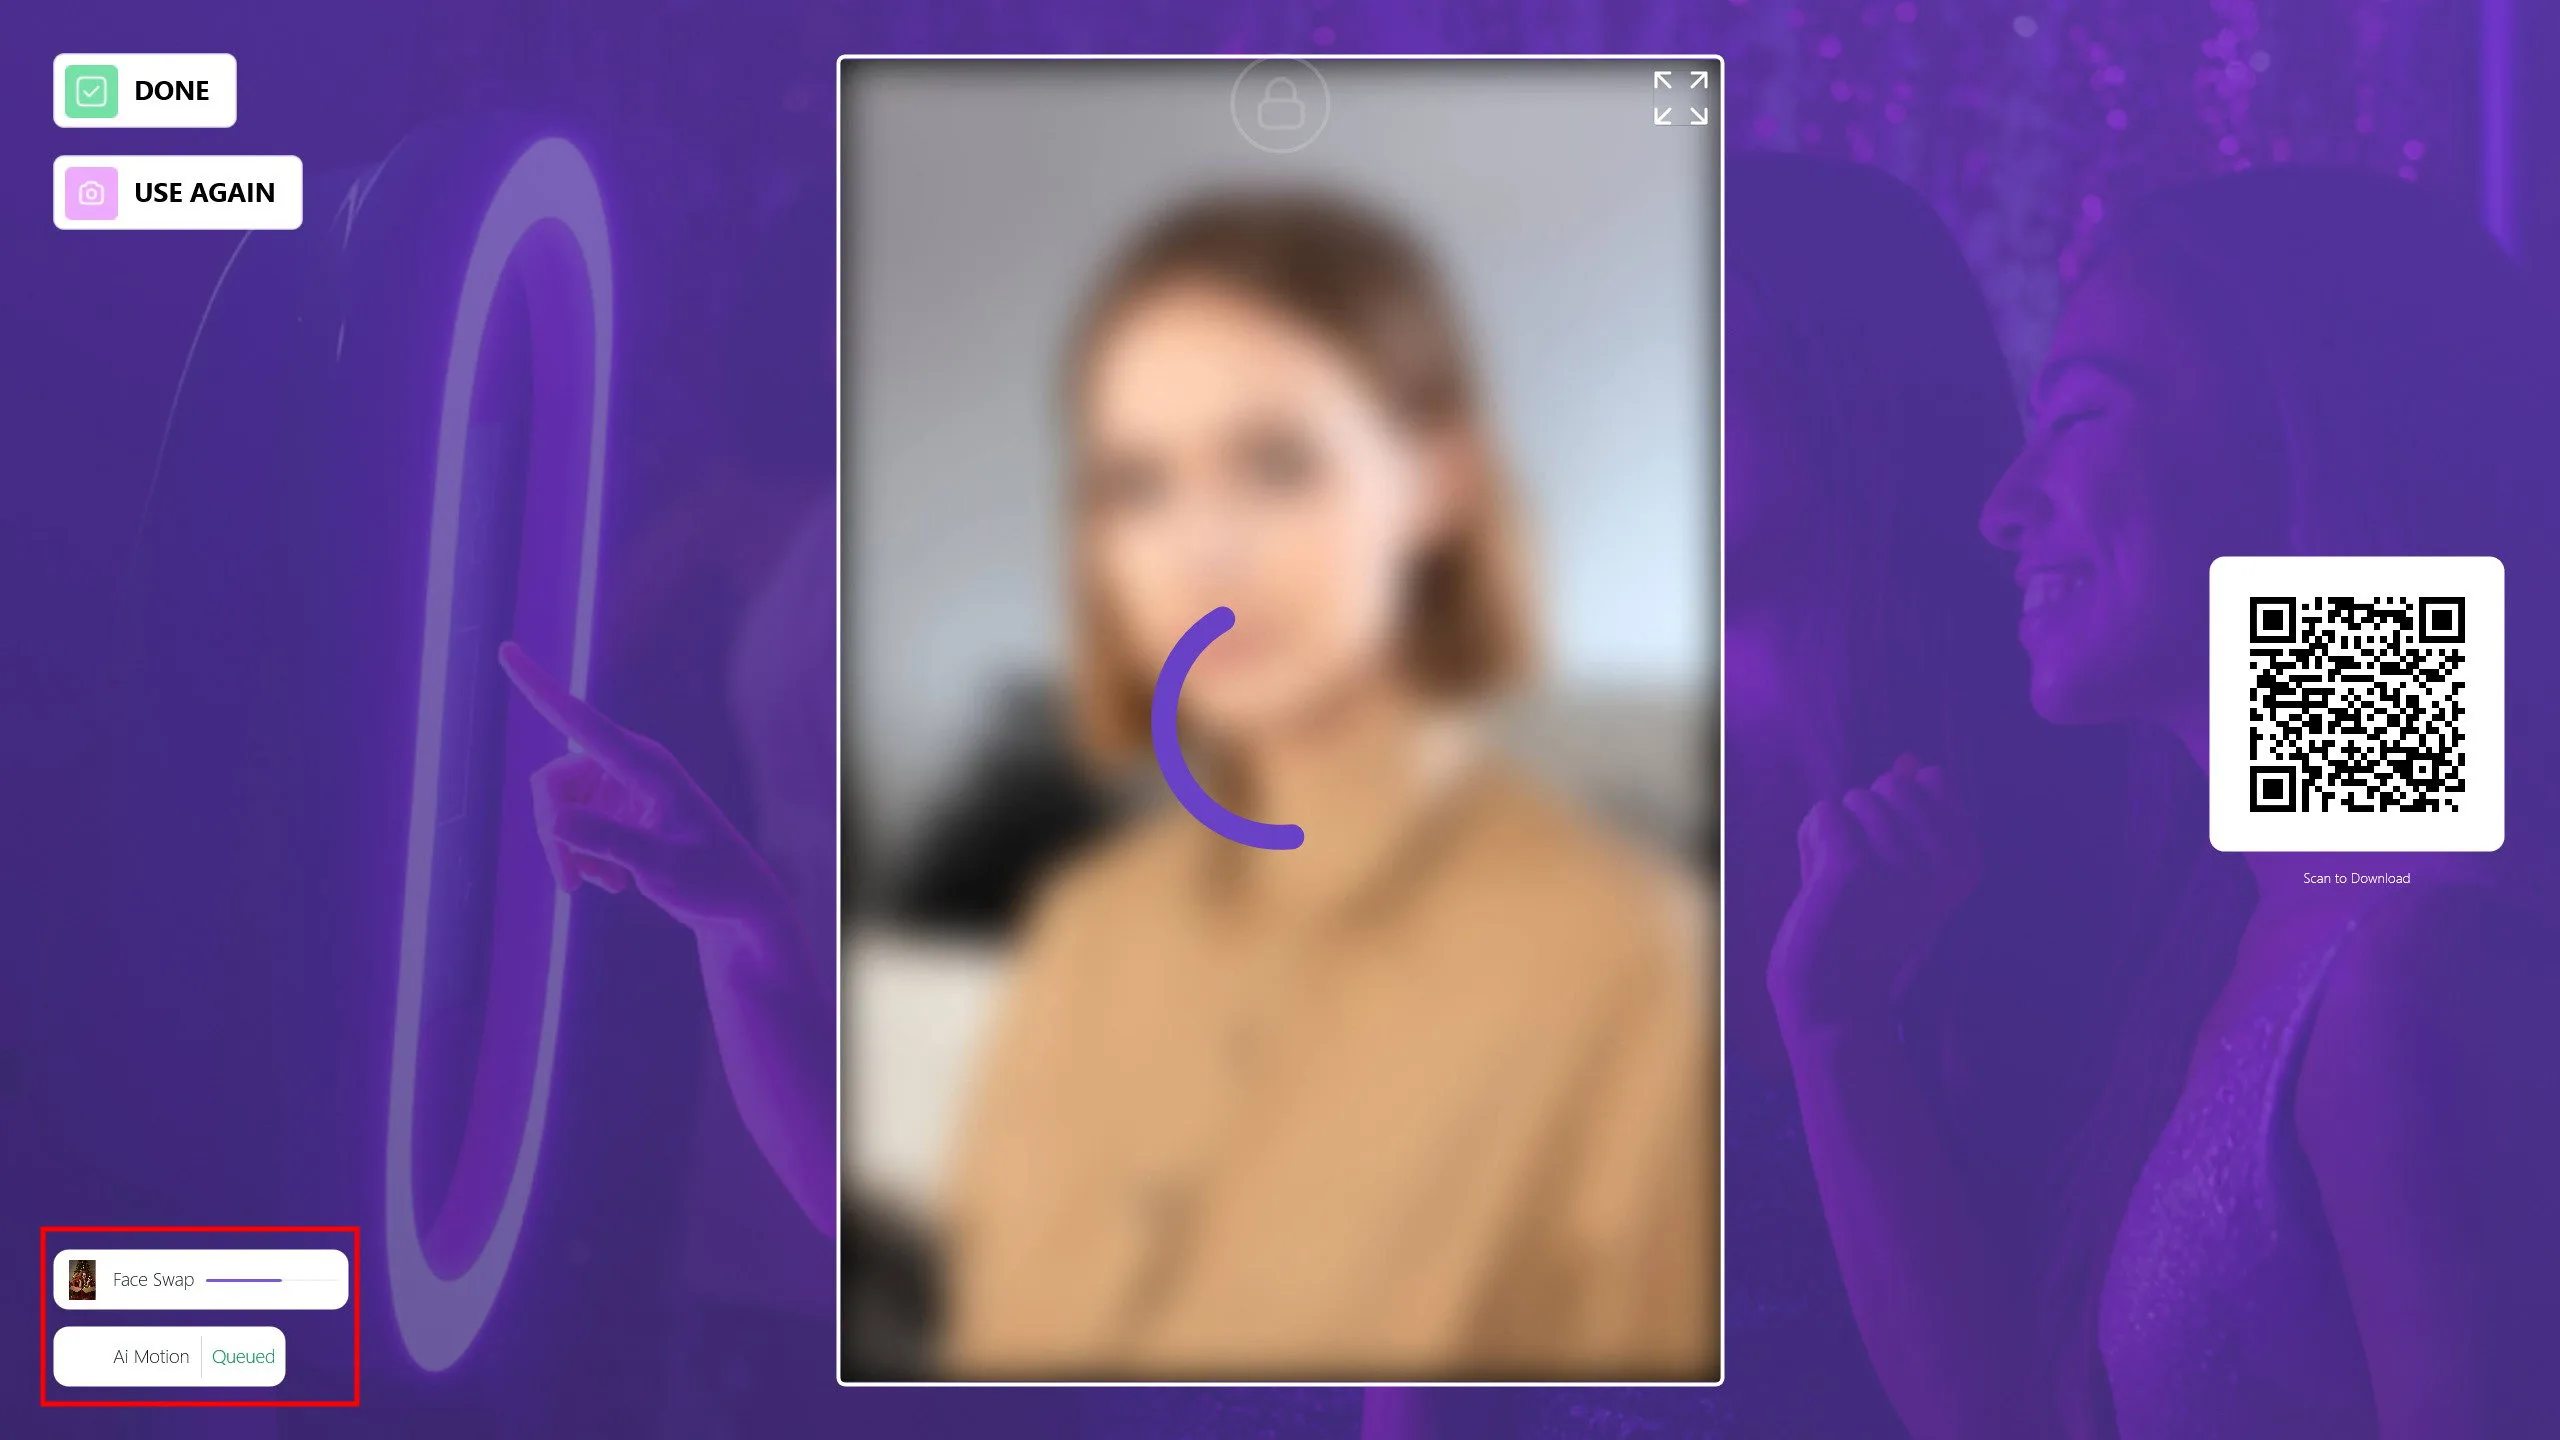
After selecting the effect, the photo will start processing. You can track the progress from the bottom-left section.
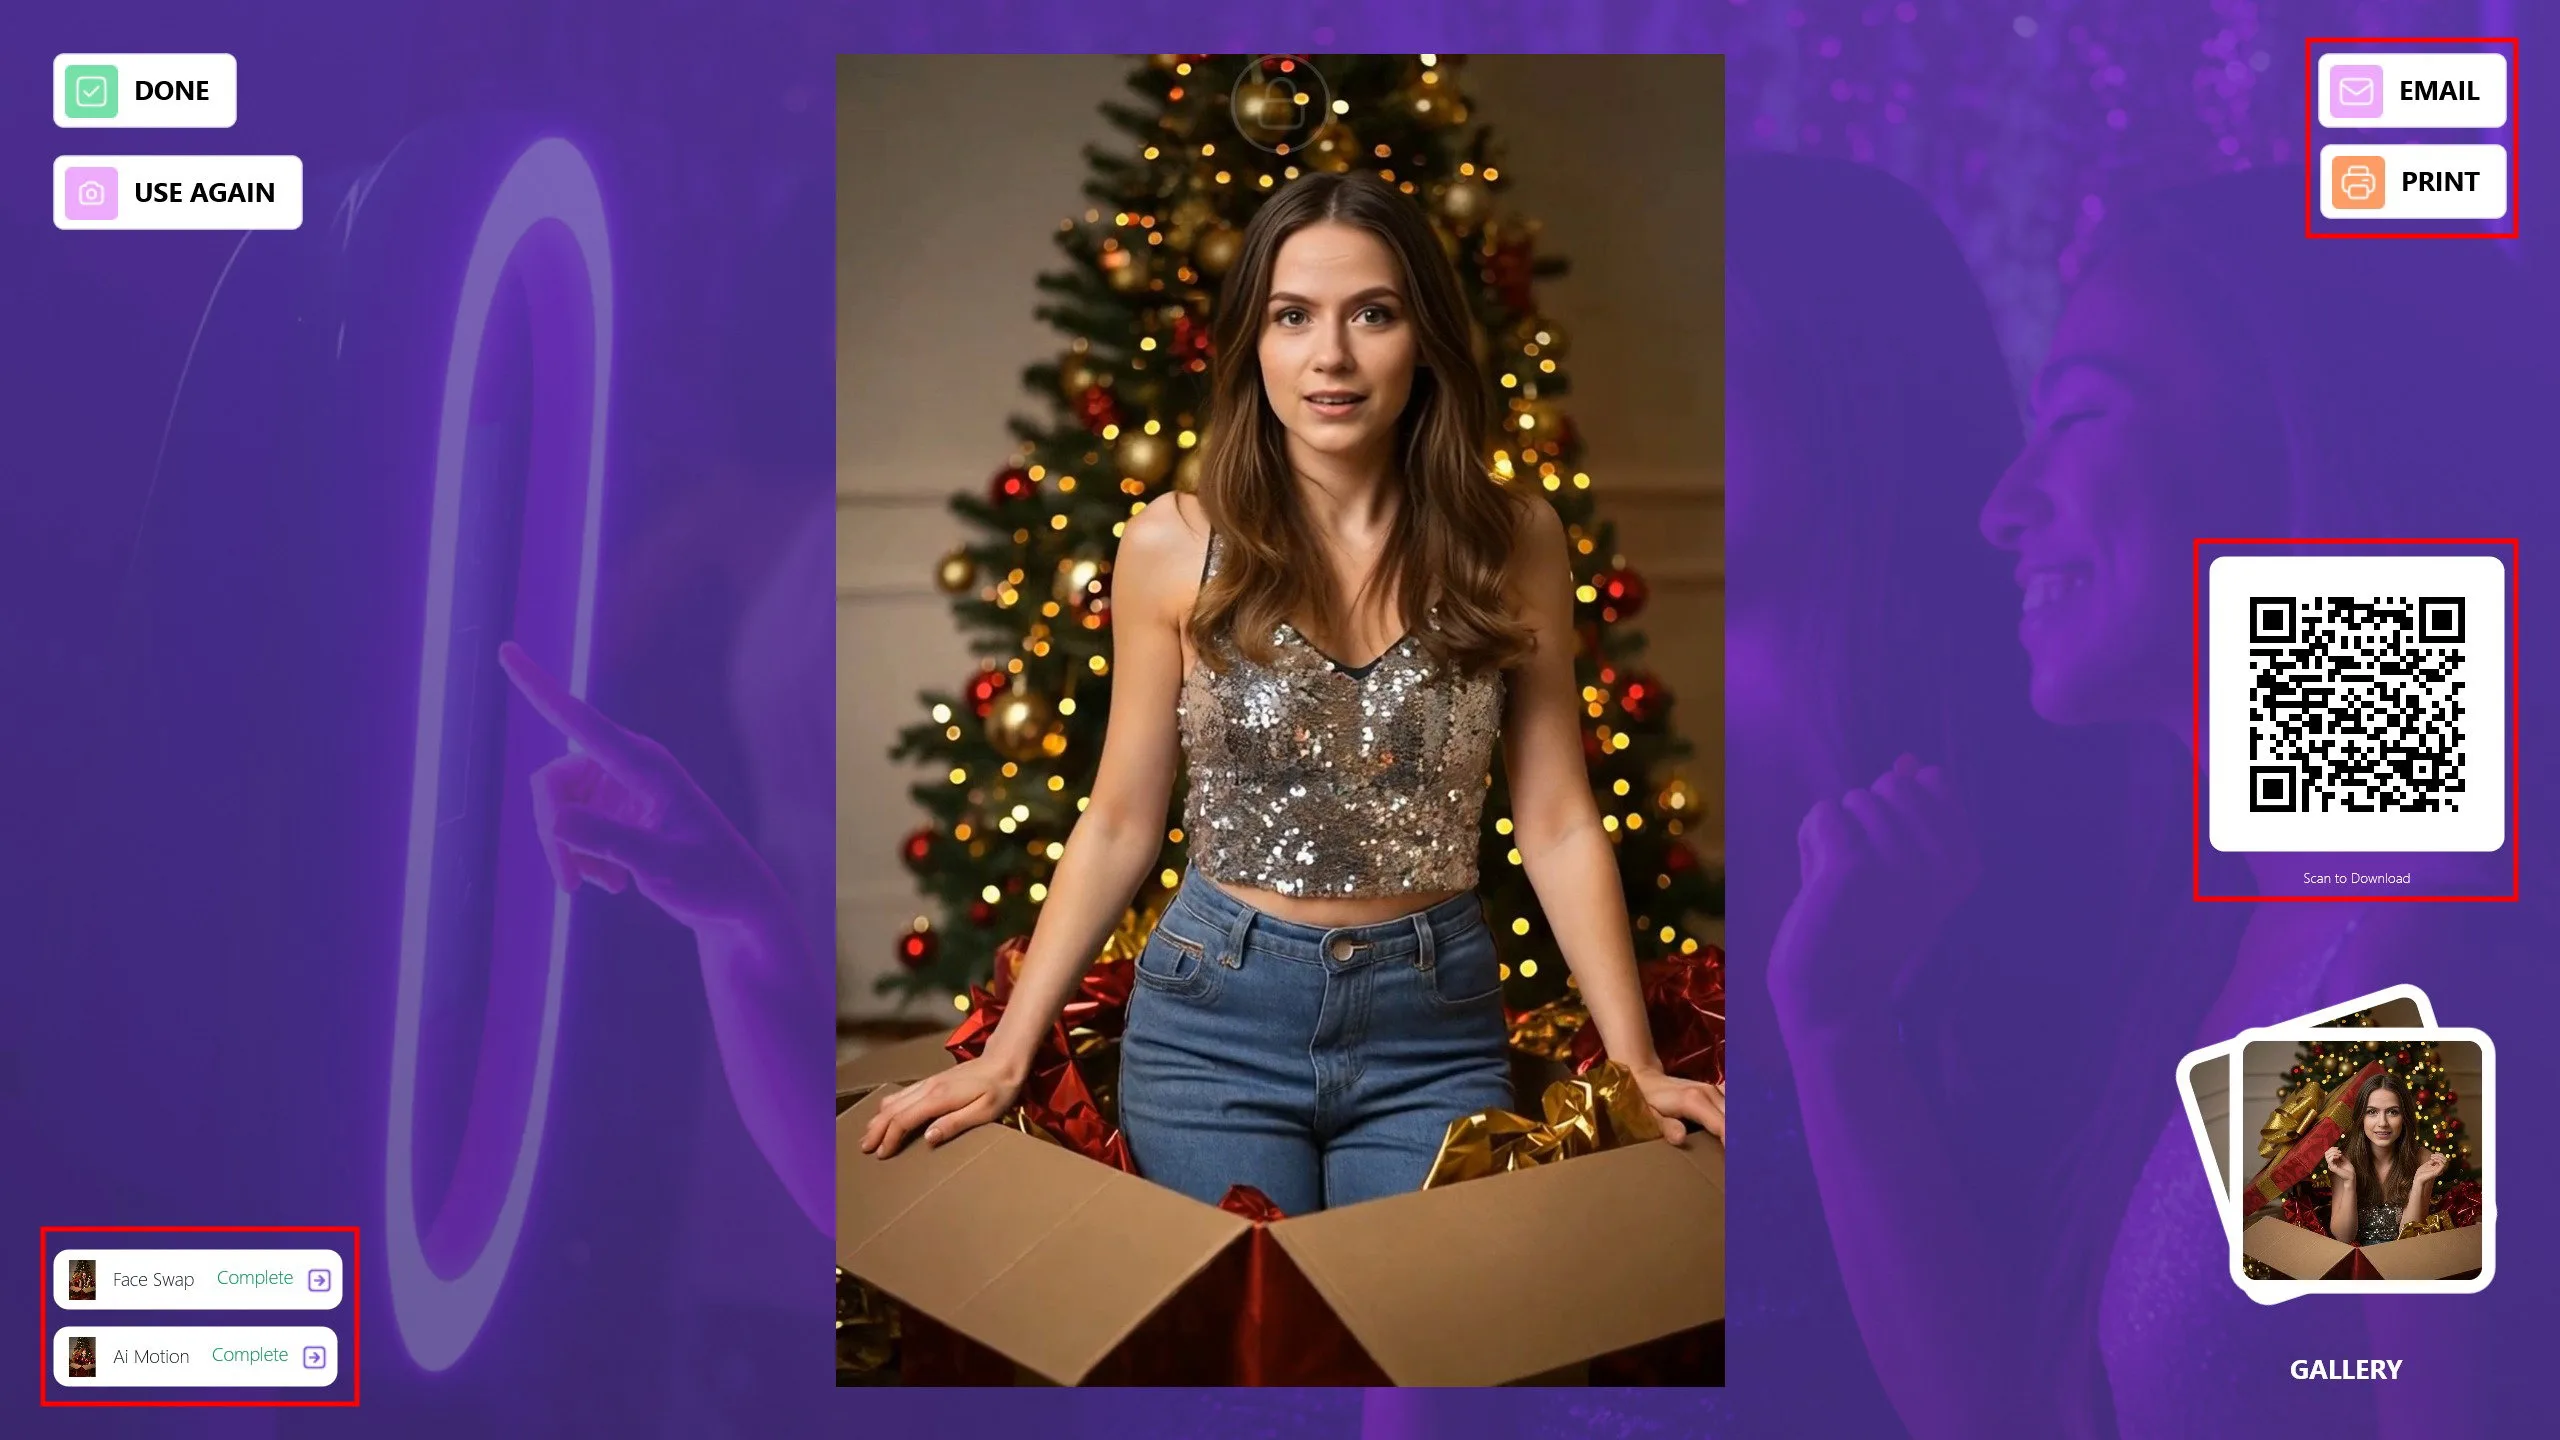
You can share this video with your guests via Email, Print, or QR code. If you want to apply additional effects to the same photo, click the Use Again button to reuse it. Click Done to return to the main screen and get ready for the next guest.
You can view additional AI Motion videos generated with the default face swap images at the links below.
https://v2.activationshare.com/m/695a66032d153ea8570ead00
https://v2.activationshare.com/m/695a64972d153ea8570eacfb
Possible Errors in AI Motion Mode
1) Unclear or Insufficient Motion Prompts
If the motion prompt is not clear, the AI may not correctly understand which movement should be applied. This can result in no motion, very subtle motion, or unexpected animations.
2) Mismatch Between Visual Content and Motion Prompt
Defining highly dynamic or aggressive movements for a static or calm image can cause the animation to appear unnatural, broken, or artificial.
3) Overly Complex or Conflicting Motion Prompts
Including conflicting motion descriptions within the same prompt (for example, both "subtle" and "fast motion") can cause the AI Motion system to produce inconsistent or unstable results.
4) Multiple Motion Requests on a Single Image
Requesting multiple types of motion at the same time, such as facial movement, body movement, background motion, and camera motion, can cause movements to overlap, conflict, or fail to apply altogether.
5) Mismatch Between Motion Duration and Motion Type
Requesting long or complex movements within a short motion duration can cause the animation to appear incomplete or meaningless.