Sharing Settings
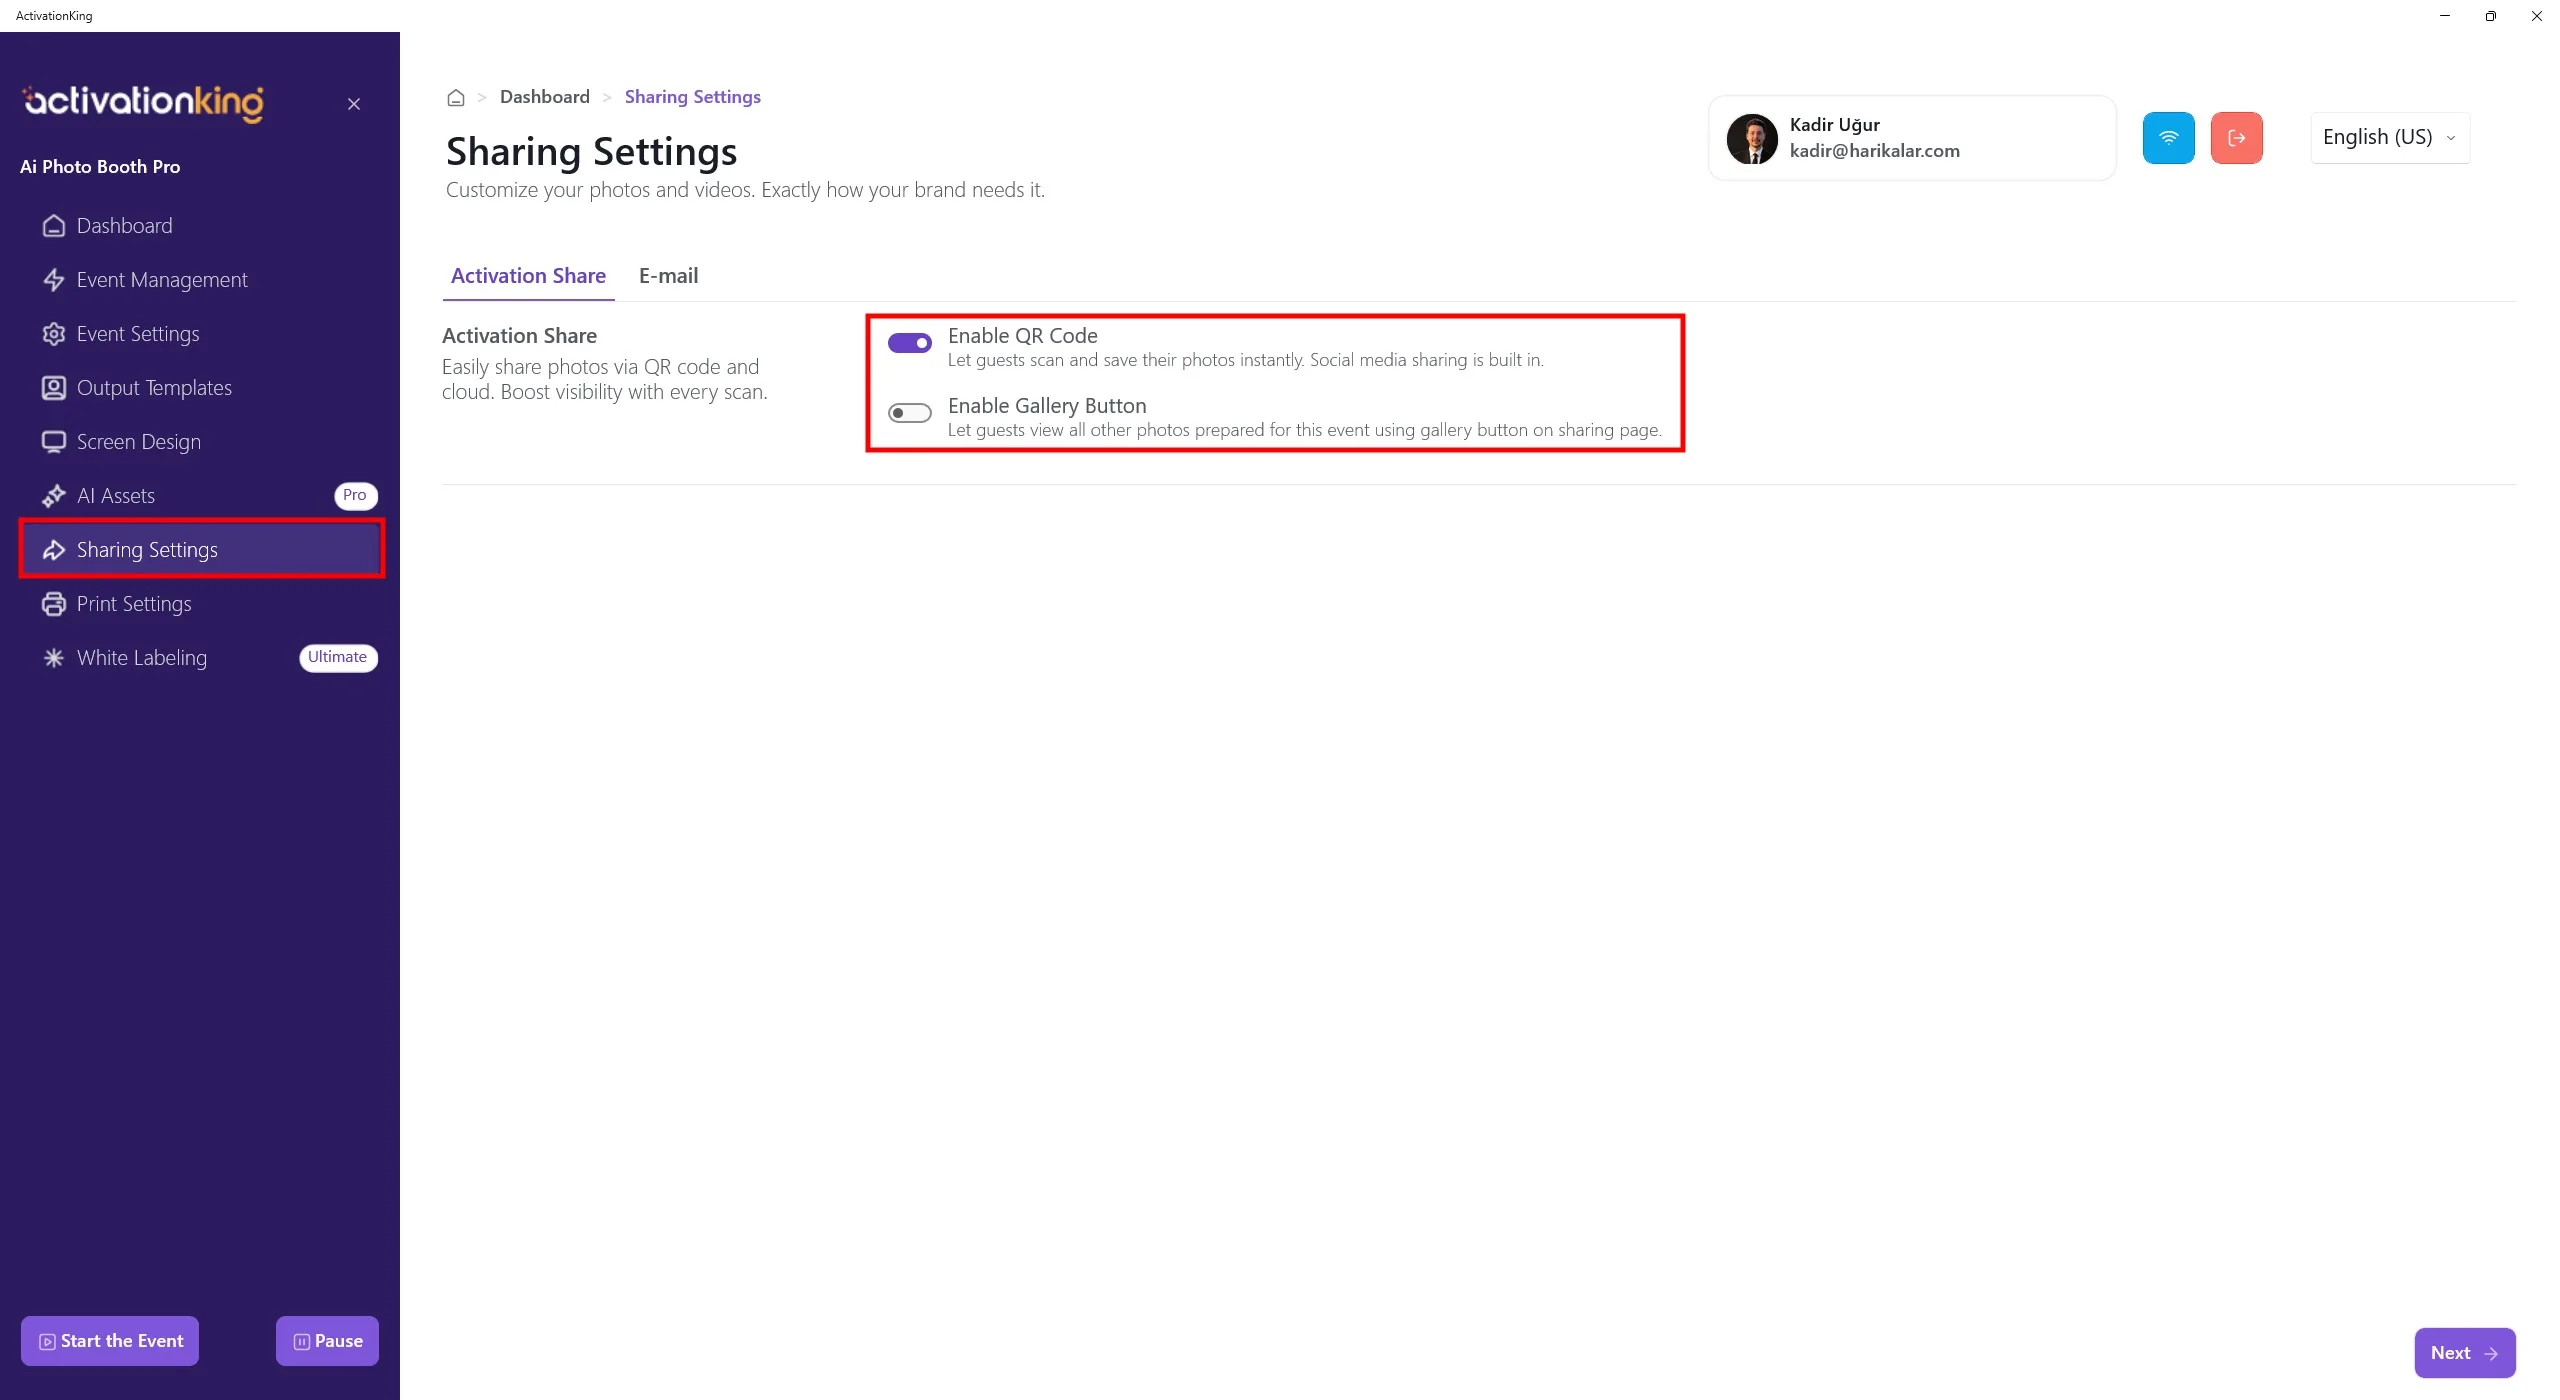
When you open the page, the ActivationShare tab will be displayed by default. To allow your users to receive their photos via QR code, you need to enable the Enable QR Code option.
If the Enable Gallery option is enabled, scanning the QR code of any photo will allow users to access all photos within that event. Please use this option with caution.
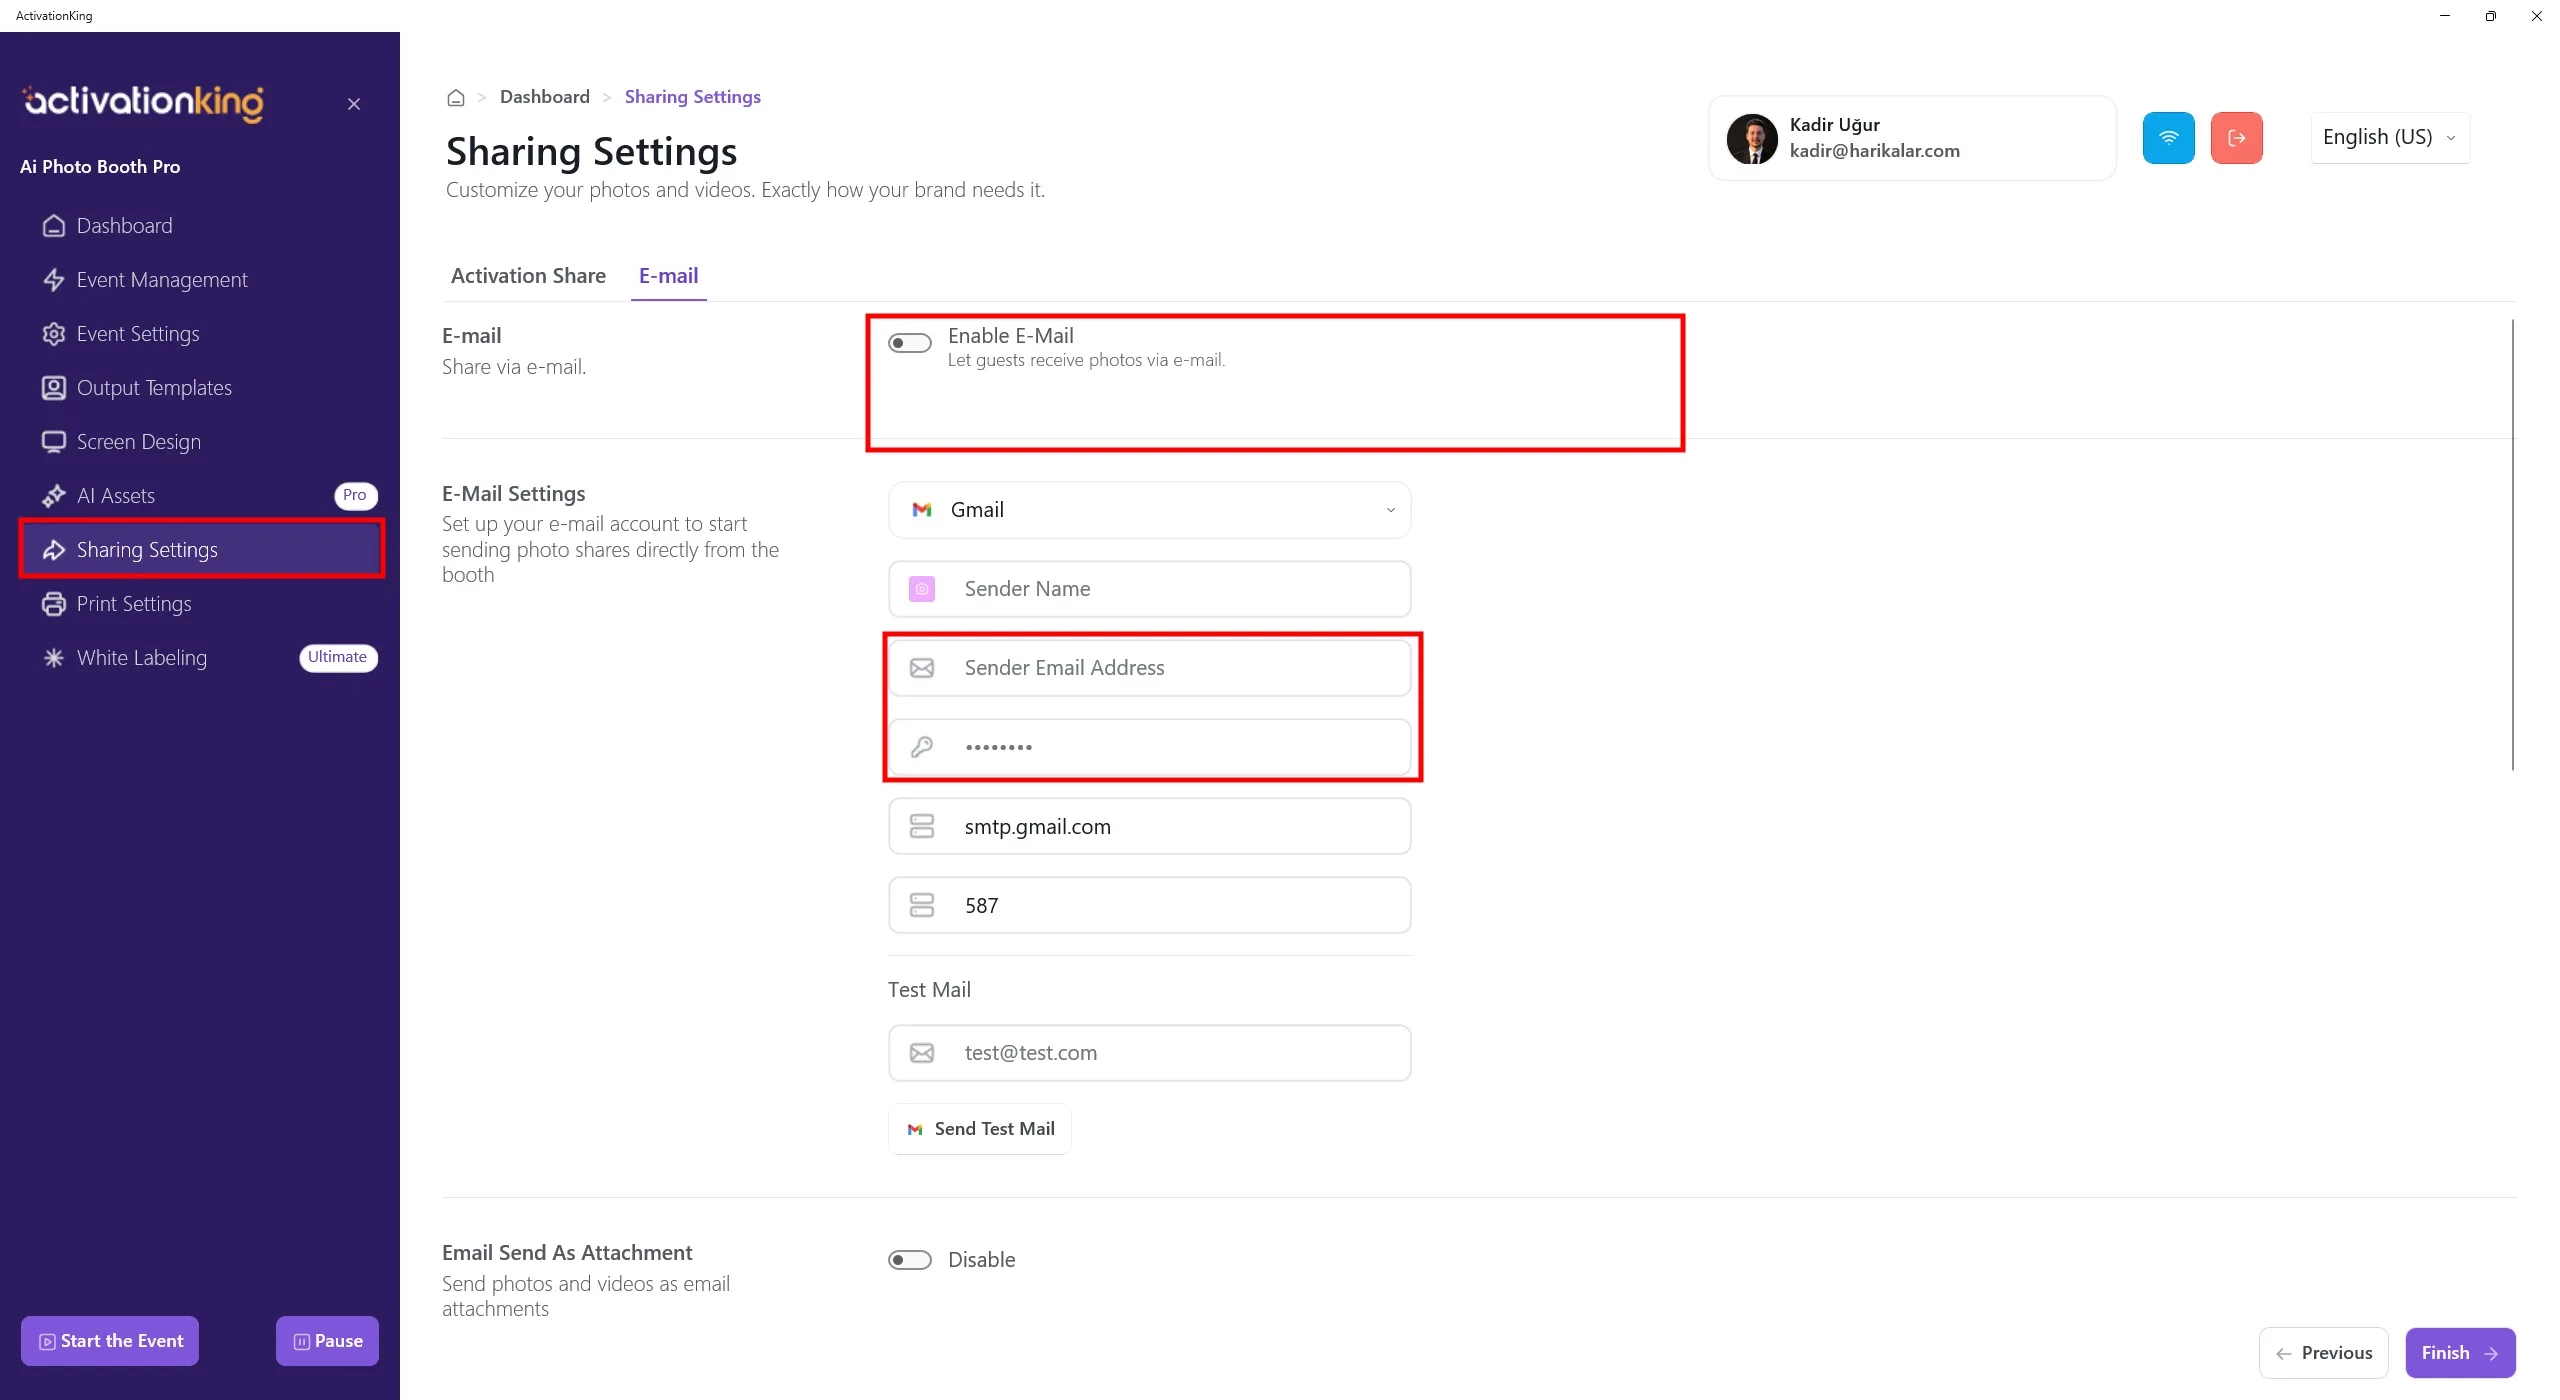
When you navigate to the Email tab, you can enable the email sending feature.
In the Email Settings section, enter the email address and credentials that will be used for sending emails. All Email Settings fields must be filled out correctly for the email system to work properly.
- Sender Email Address: Enter the email address you want to use for sending emails.
- Sender Email Password: Enter the app password associated with the email address provided in the Sender Email Address field.
The software is configured with Gmail settings by default. It is recommended to use a Gmail account. If you wish to use other email providers such as Hotmail, Outlook, or Yandex, you will need to update the Sender Server and Sender Port fields according to your email provider's settings.
If you are using a Gmail account, you must first generate an App Password. Please follow the steps below to complete it.
Google App Password Setup
1) Sign In to Your Google Account
Go to https://myaccount.google.com and sign in with your Google account.
2) Go to the Security Tab
Click on Security from the left-hand menu.
3) Check Two-Step Verification
Under the "Signing in to Google" section:
- 2-Step Verification must be enabled
- If it is disabled, you must enable it before proceeding
4) Open the App Passwords Page
Scroll down on the same Security page and click App Passwords. You may be asked to re-enter your Google account password.
Direct link: https://myaccount.google.com/apppasswords
5) Select App and Device
On the App Passwords screen:
- Select app, for example Mail
- Select device, for example Windows Computer
- Or choose Other (Custom) and enter a custom name, such as AI Photobooth SMTP
6) Generate the Password
Click the Generate button.
- Google will provide a 16-character app password
- You can enter it with or without spaces
- Make sure to copy it, as it will not be shown again
7) Use It in the Software
Enter this app password into the relevant field within the software. This password is used instead of your Google account password.
8) Send a Test Email
To verify that everything is working correctly:
- Enter your email address in the Test Mail section
- Click Send Test Mail
If the email is delivered successfully, your configuration is working properly.
You may also choose to send photos and videos as email attachments.
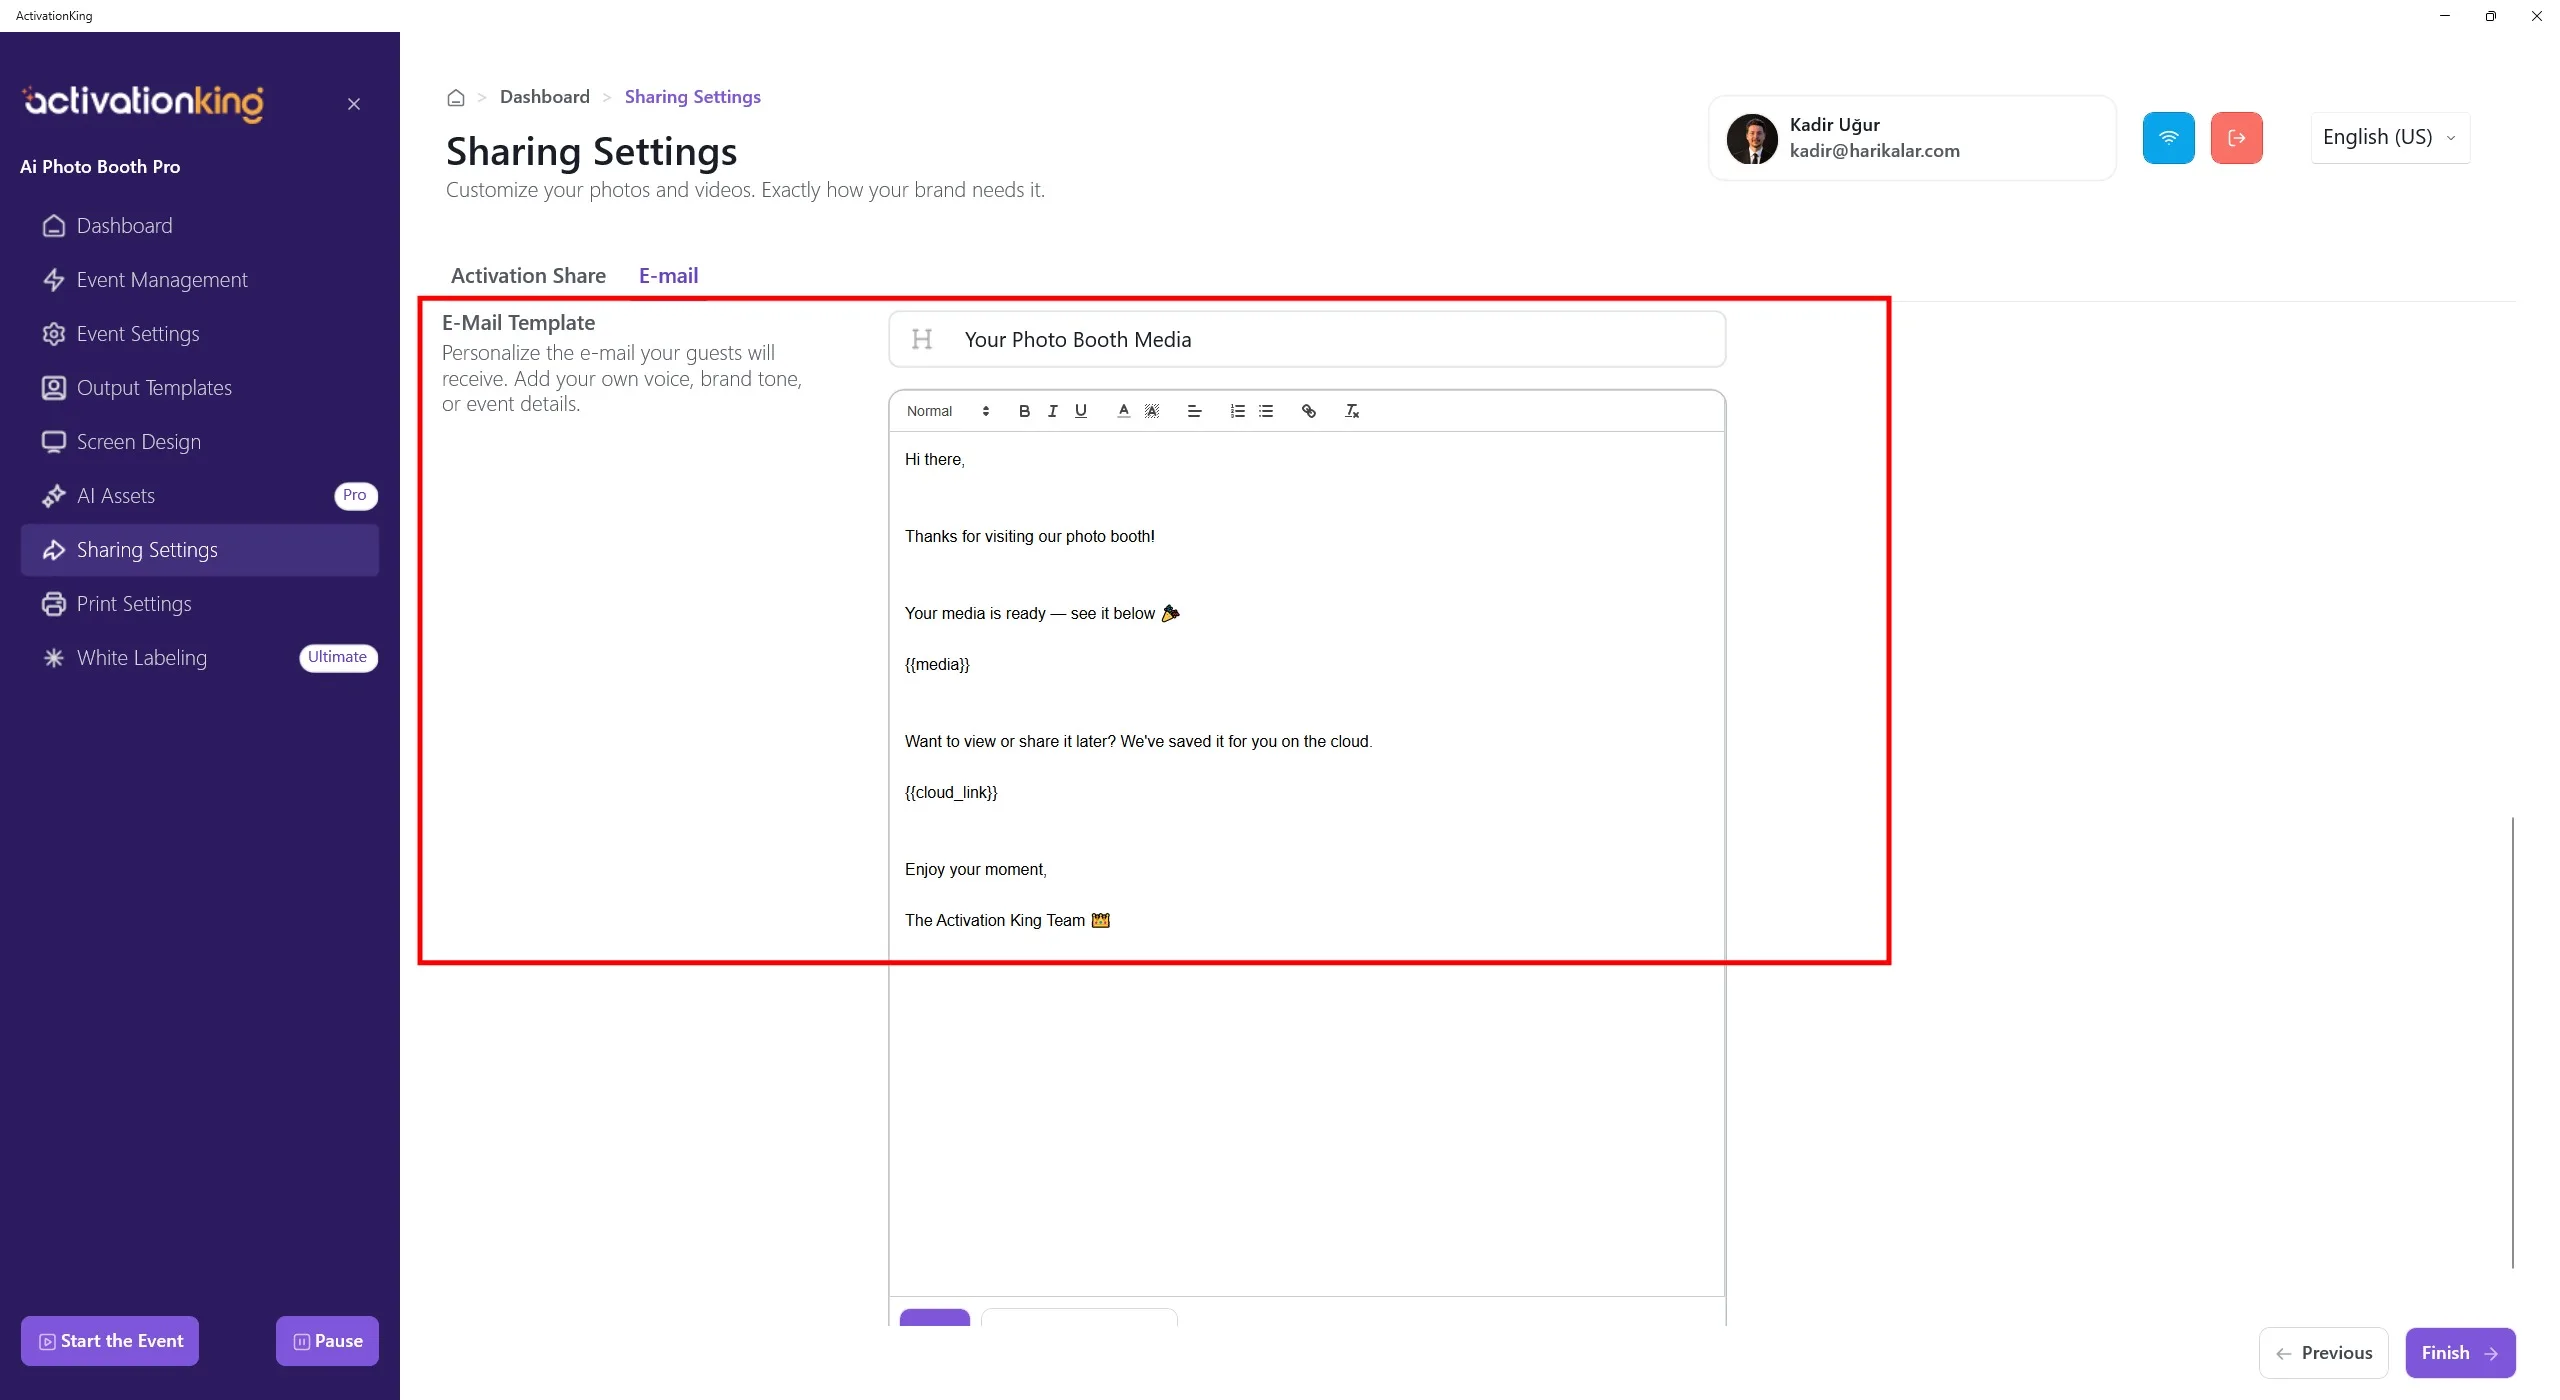
In the Email Template section, you can customize the layout and content as you wish.
The placeholder {{media}} represents the area where photos and videos will be displayed within the email.
The placeholder {{cloud_link}} indicates the location of the ActivationShare link where the photos and videos are hosted.
After customizing this page, make sure to click the Save button at the bottom of the page.