Gestionarea evenimentelor
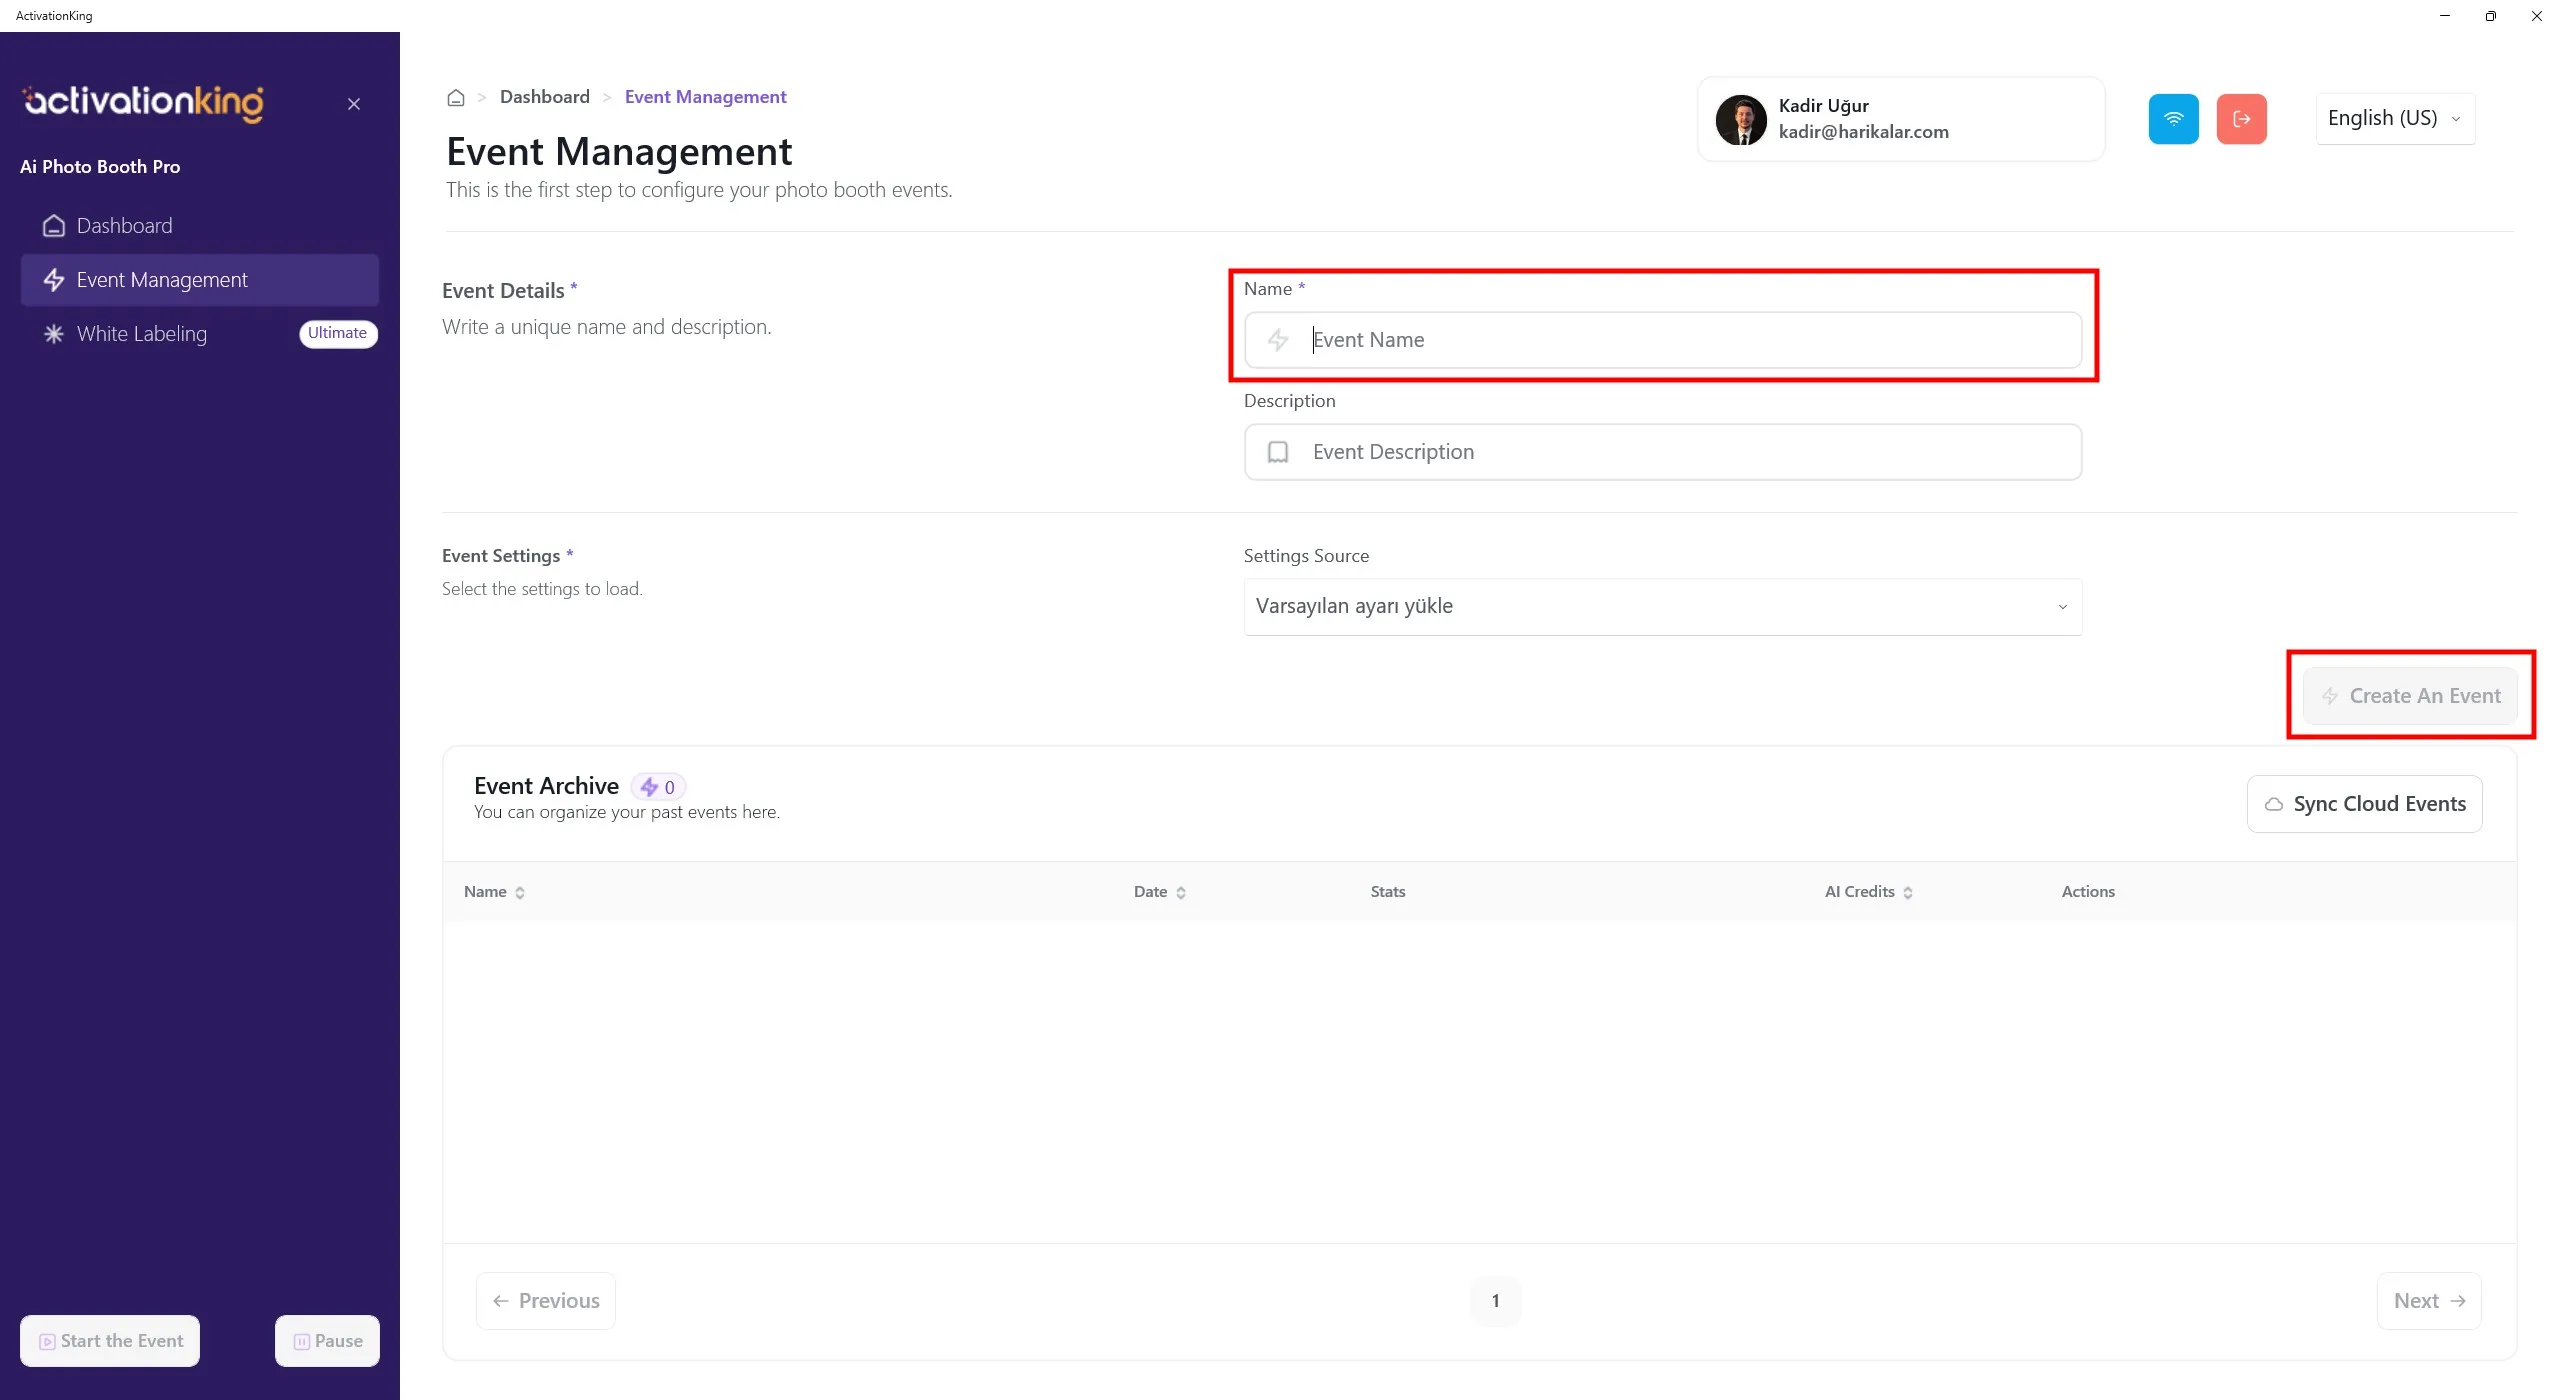
Dupa autentificarea in software, trebuie mai intai sa cream un eveniment. Introduceti numele evenimentului si faceti clic pe butonul Creati un eveniment.
Setarile evenimentului
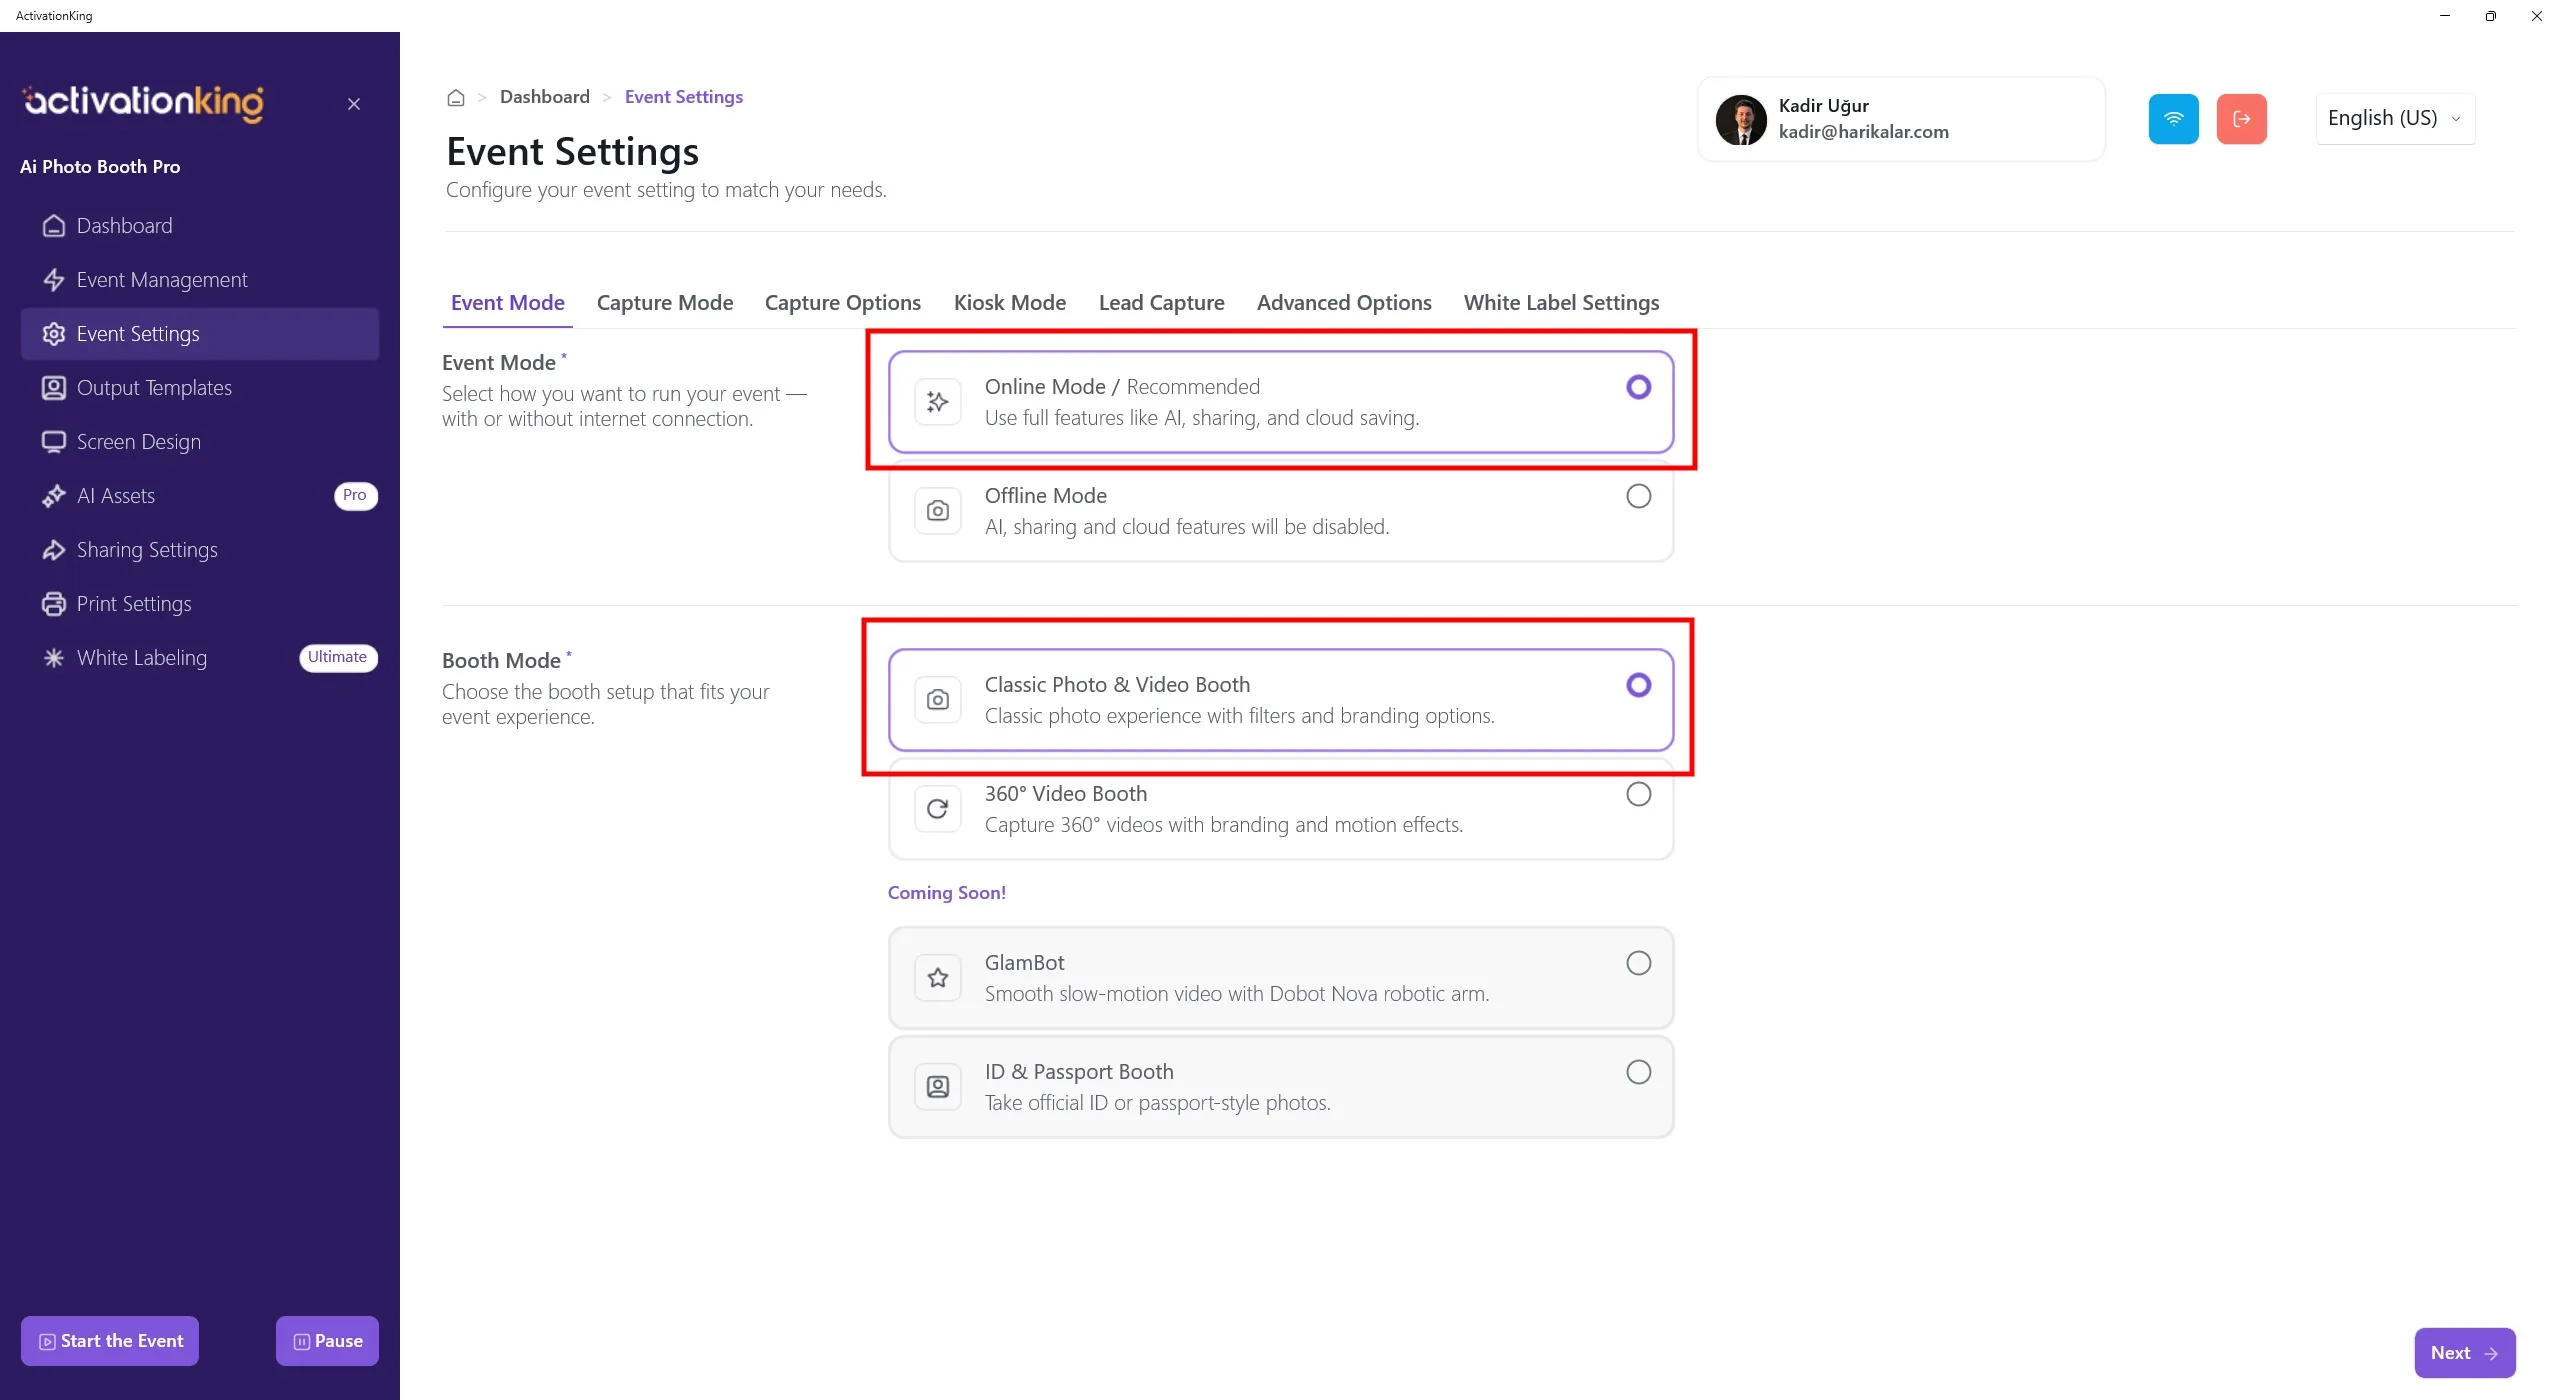
Selectati mai intai modul pe care il veti folosi, apoi navigati la pagina Optiuni de captura.
Optiuni de captura
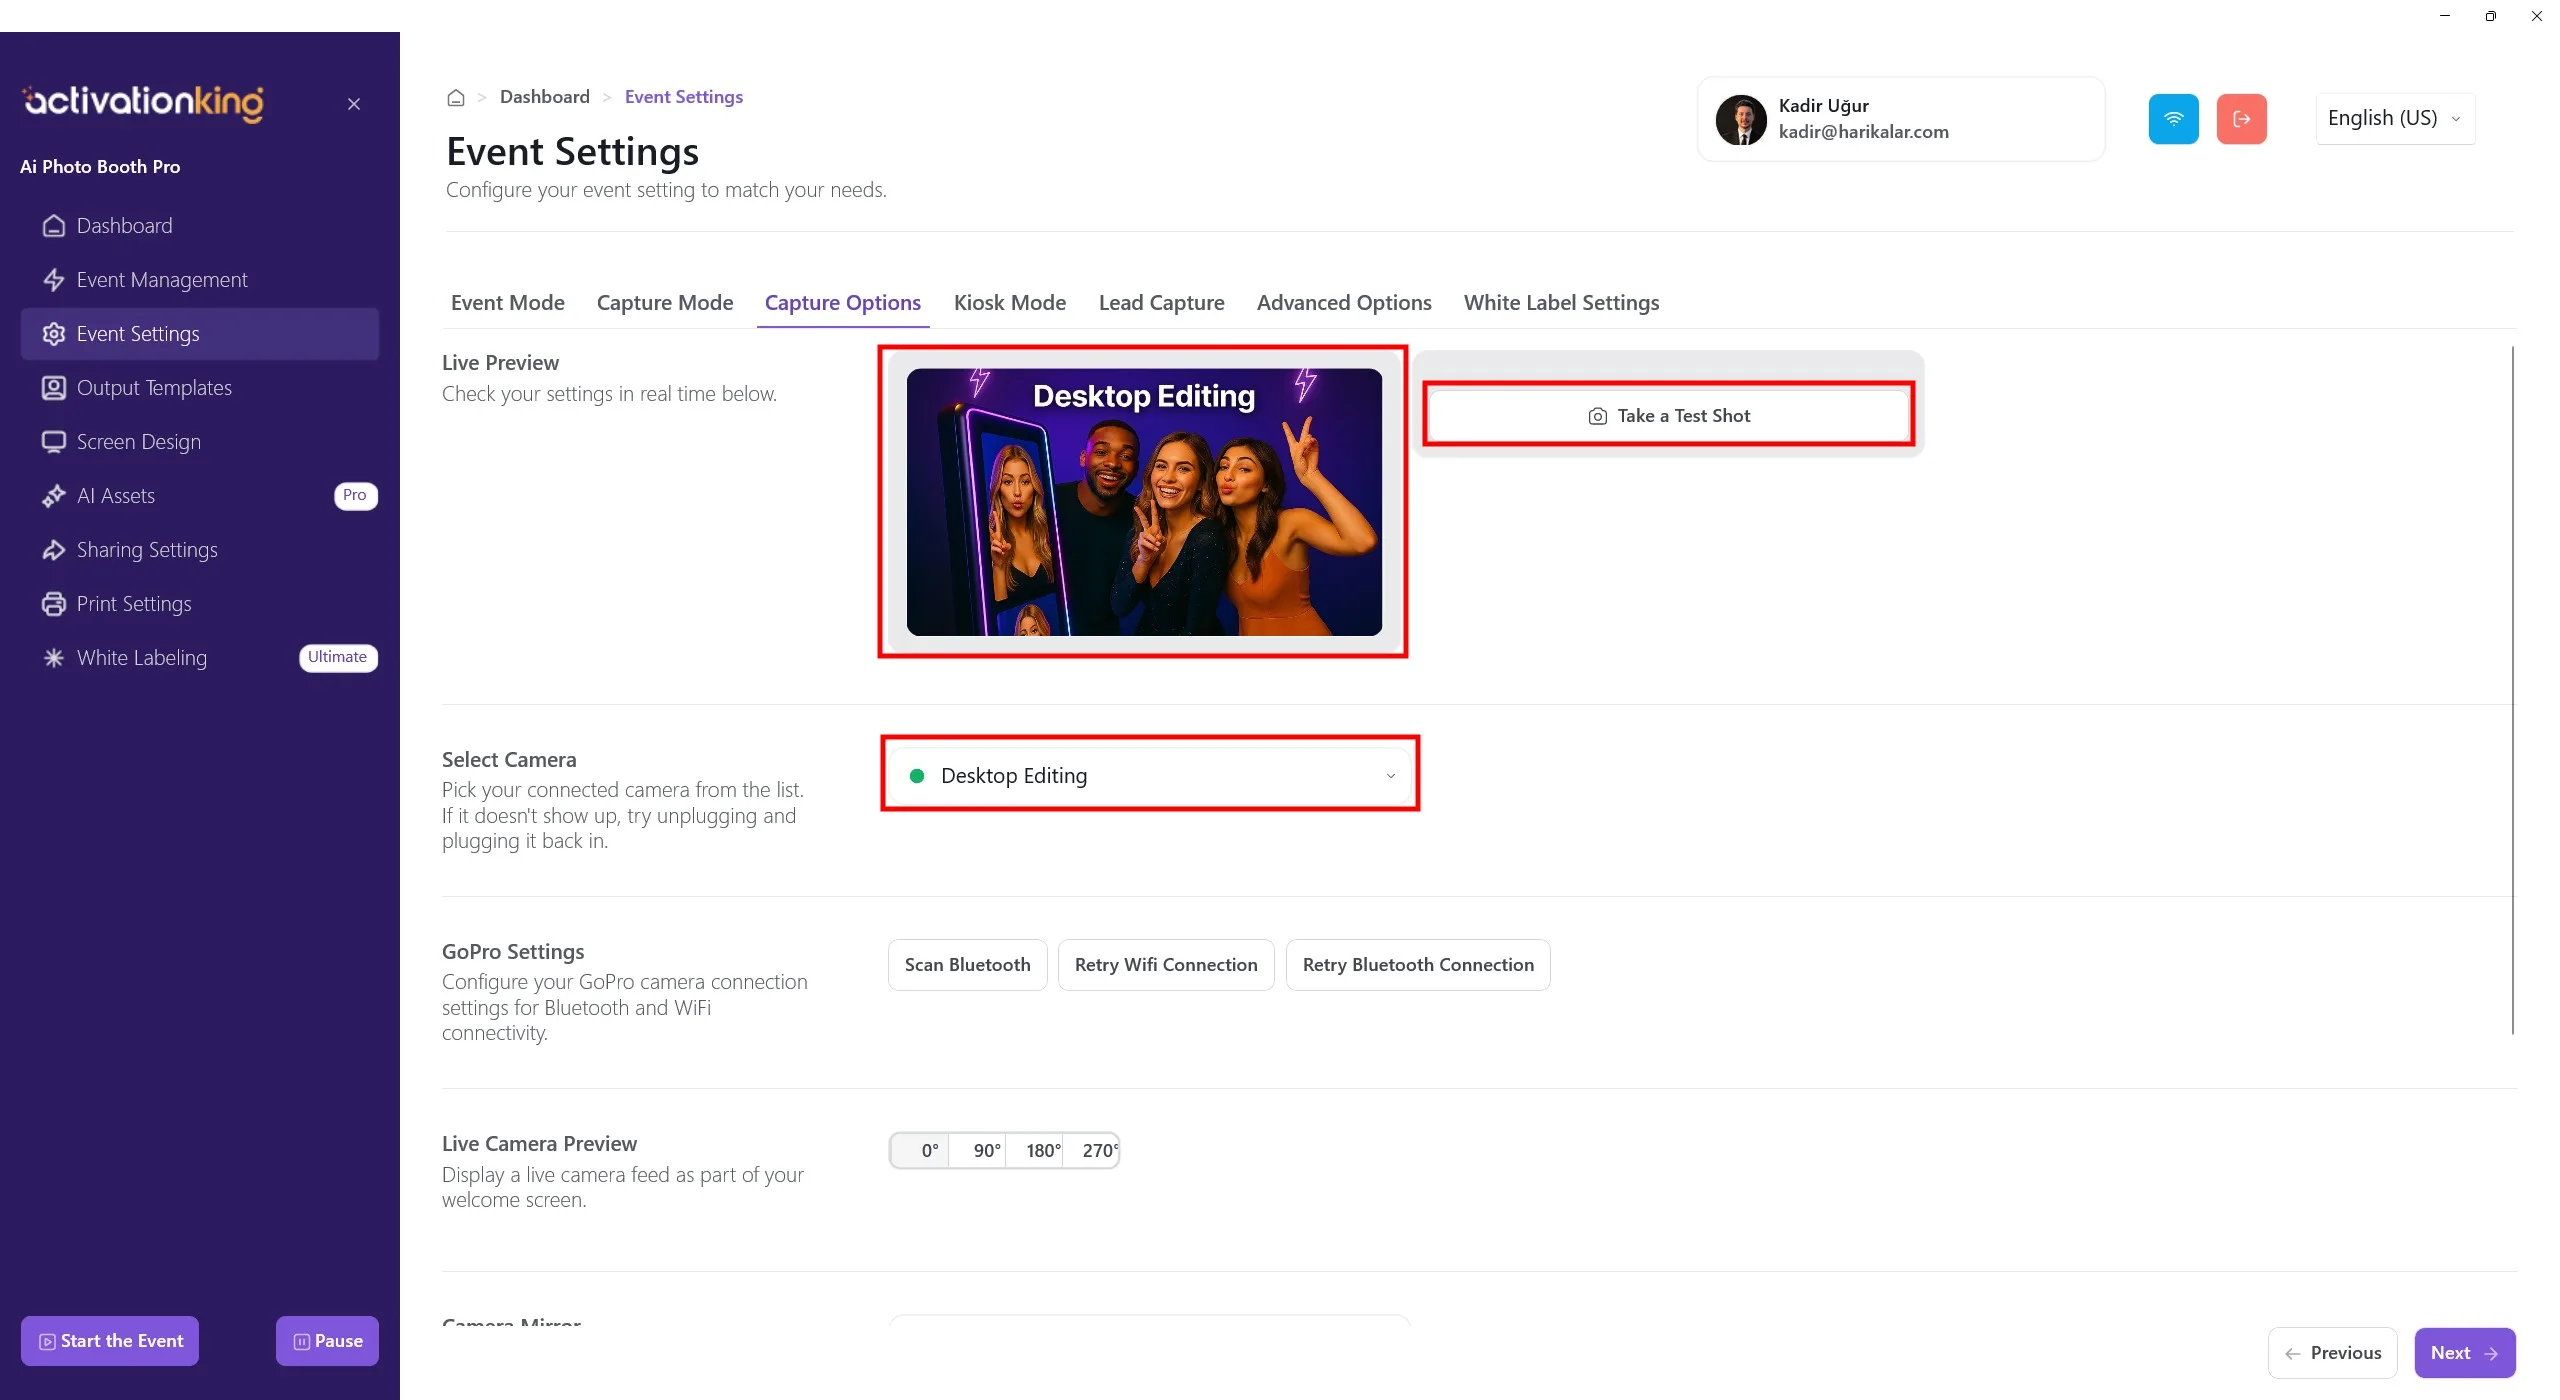
Pe aceasta pagina puteti configura toate setarile camerei. Daca selectati Editare desktop din sectiunea Selectati camera, puteti lucra cu fotografii existente pe dispozitiv fara a conecta o camera. Puteti selecta si o camera conectata la dispozitiv din aceeasi sectiune. Dupa selectarea unei camere, imaginea live va aparea in sectiunea Previzualizare live. Puteti face fotografii de test pentru a verifica conditiile de iluminare si setarile curente ale camerei.
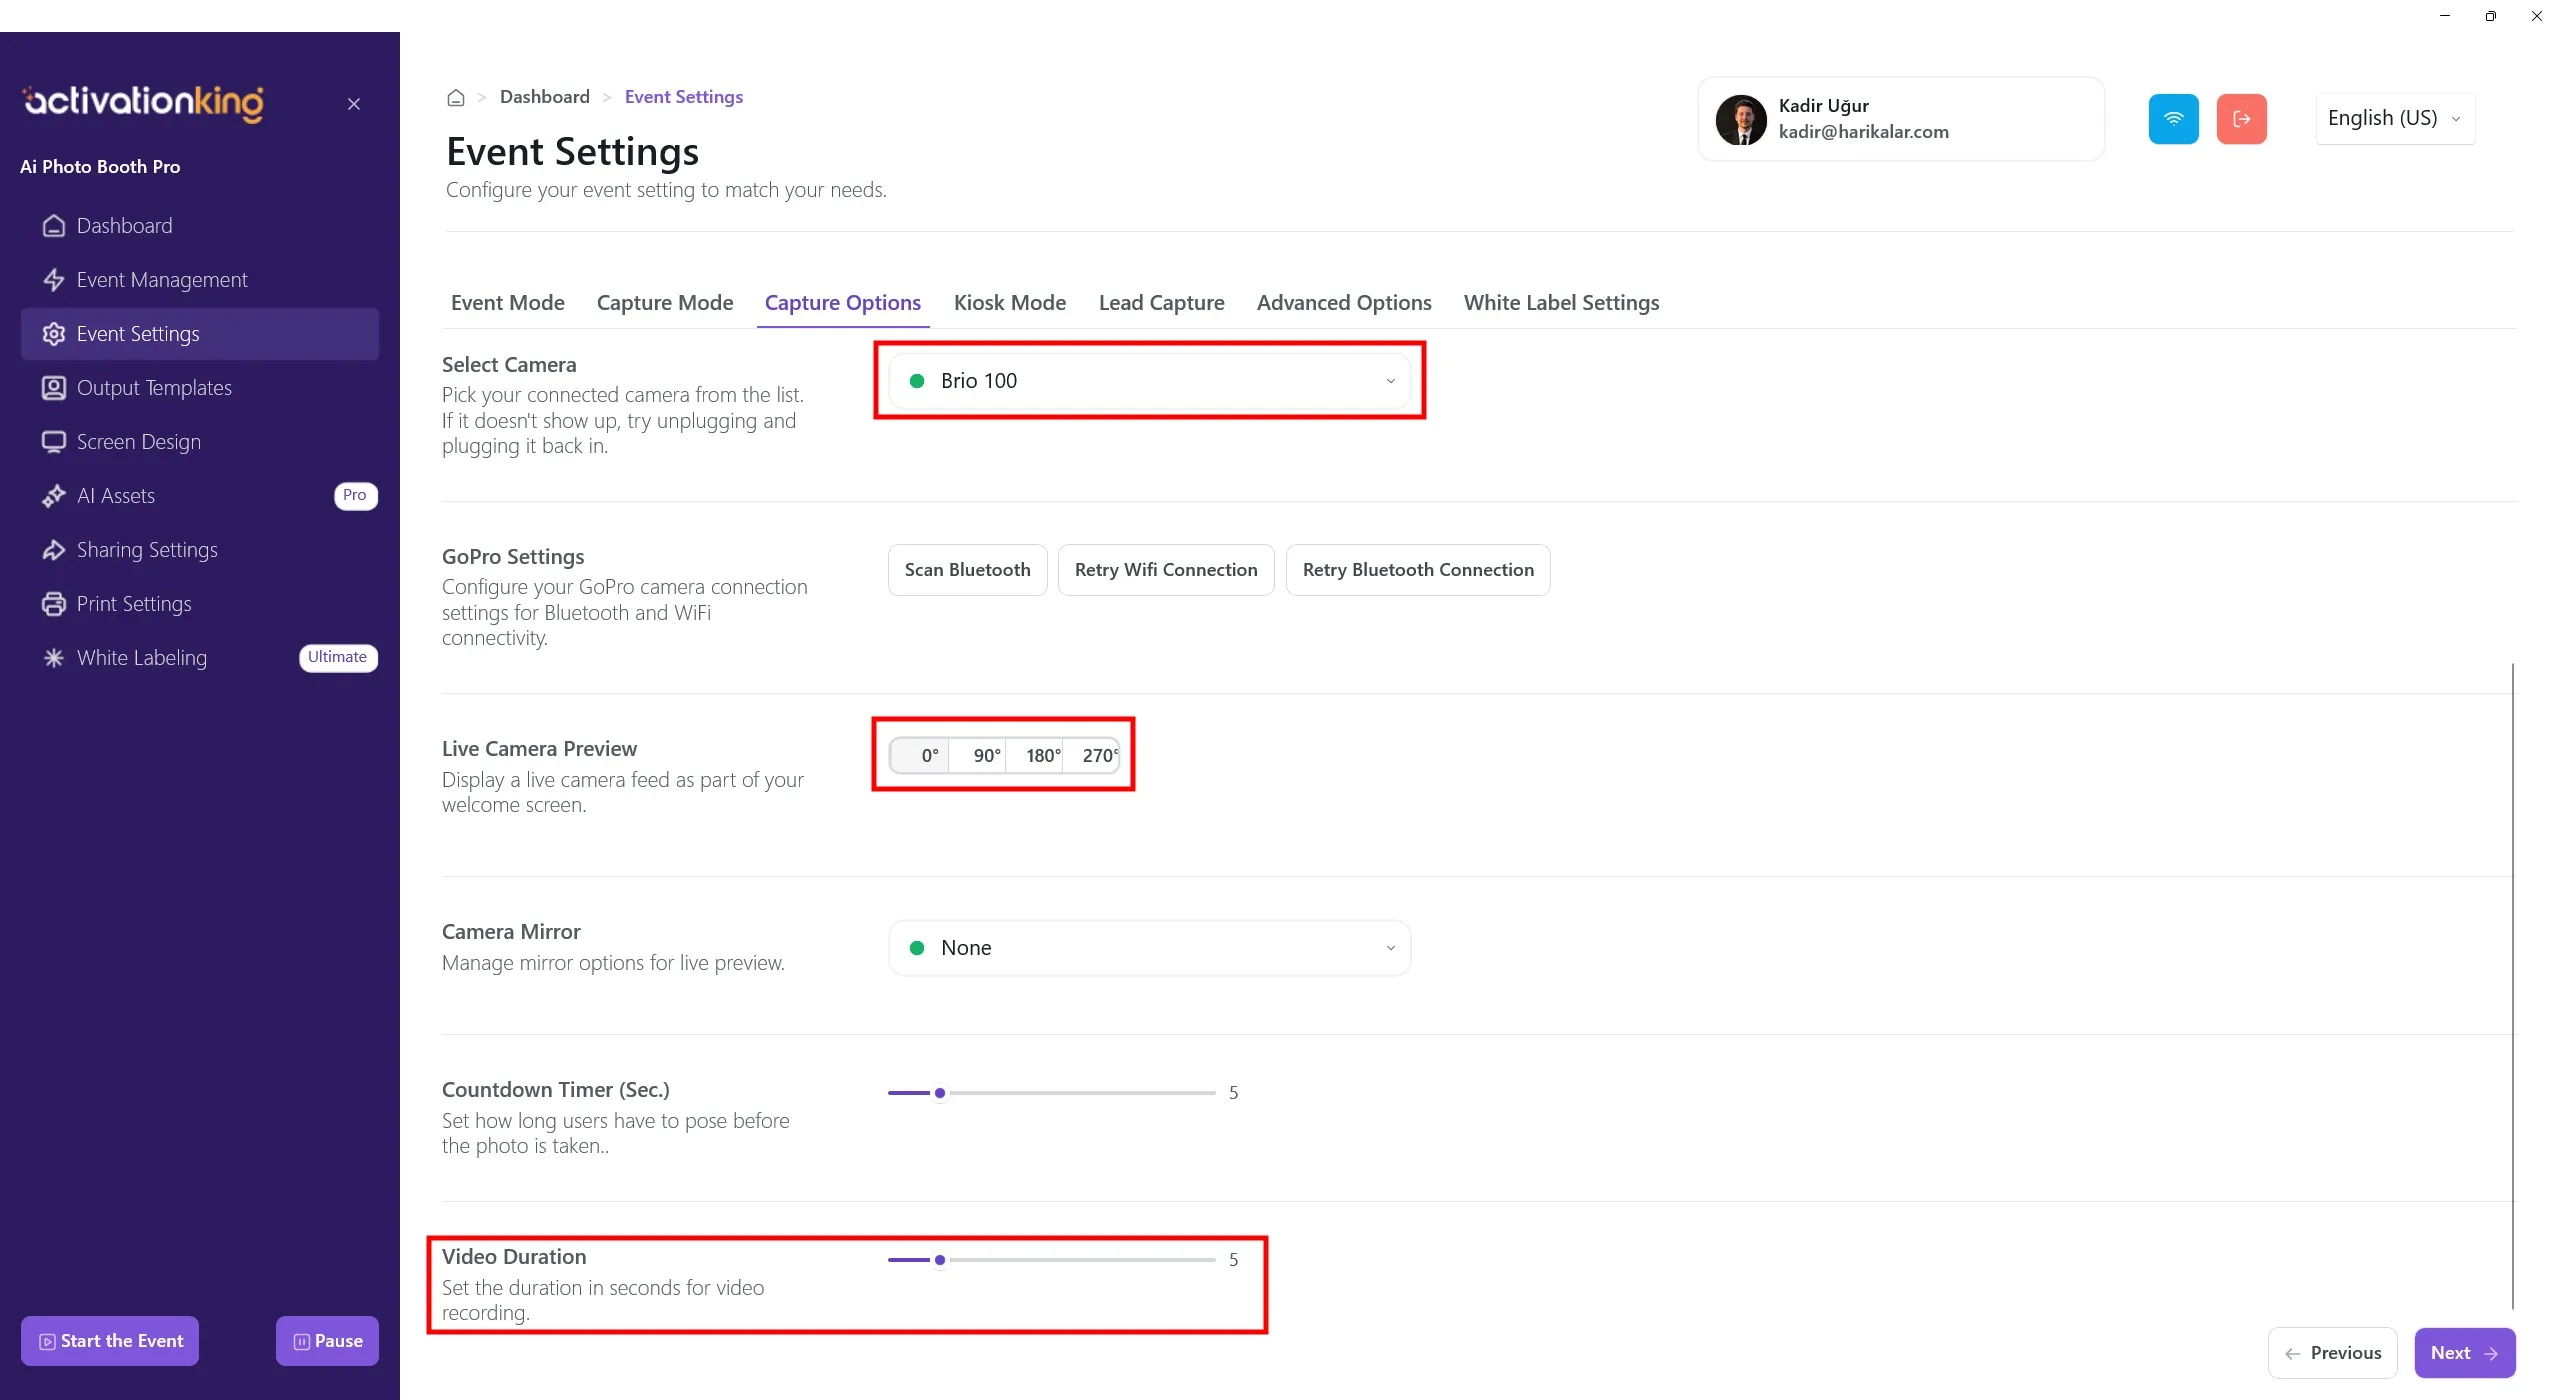
Derulati in jos pentru a regla unghiul camerei. Puteti configura si setarile oglinda ale camerei si puteti seta timpul de numaratoare inversa inainte de fotografiere. Durata videoclipului se seteaza din setarile Durata videoclipului. Ajustarea duratei nu este disponibila pentru Boomerang.
Sabloane de iesire

Cand se deschide pagina, mergeti la fila Video/GIF. Veti vedea sabloanele implicite furnizate. Puteti folosi acest sablon ca atare sau il puteti elimina si adauga unul nou daca doriti.
Pentru a crea un sablon pentru AI Video si Boomerang, faceti clic pe butonul + Adaugati & Creati. Ambele folosesc acelasi sablon si nu sunt necesare setari suplimentare.
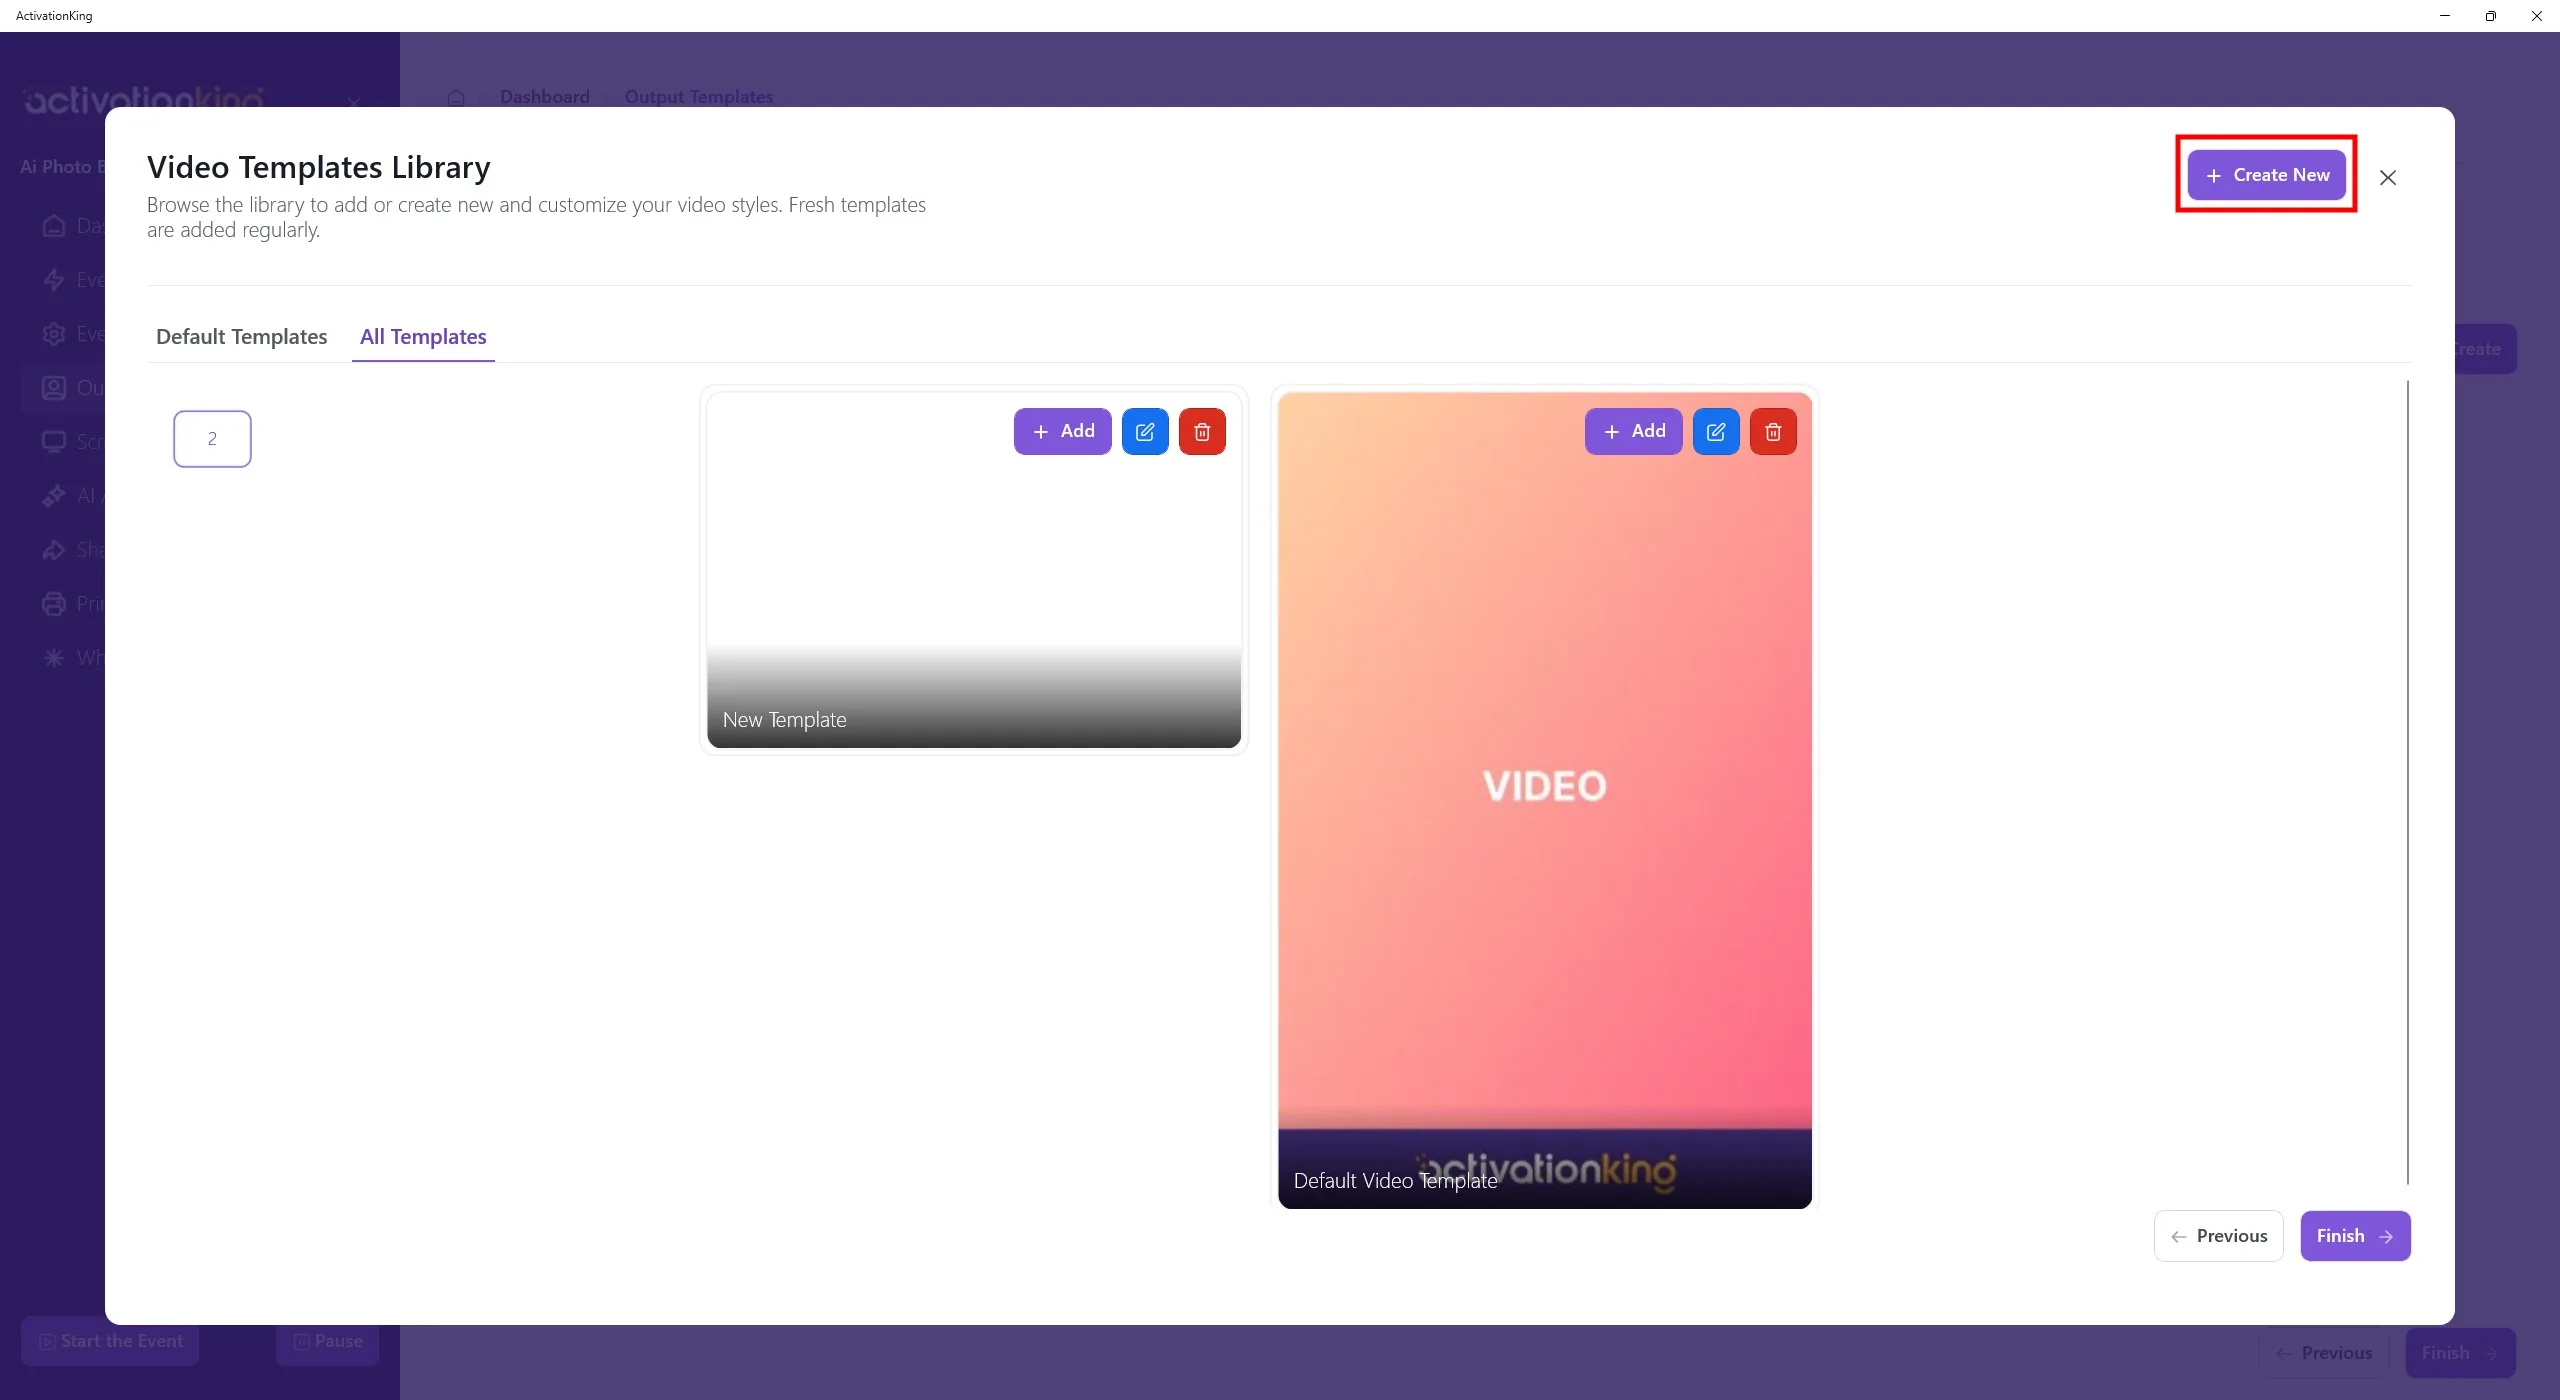
Chiar daca stergeti sabloanele, le puteti adauga rapid din nou din aceasta sectiune. Deocamdata, faceti clic pe butonul Creati nou.
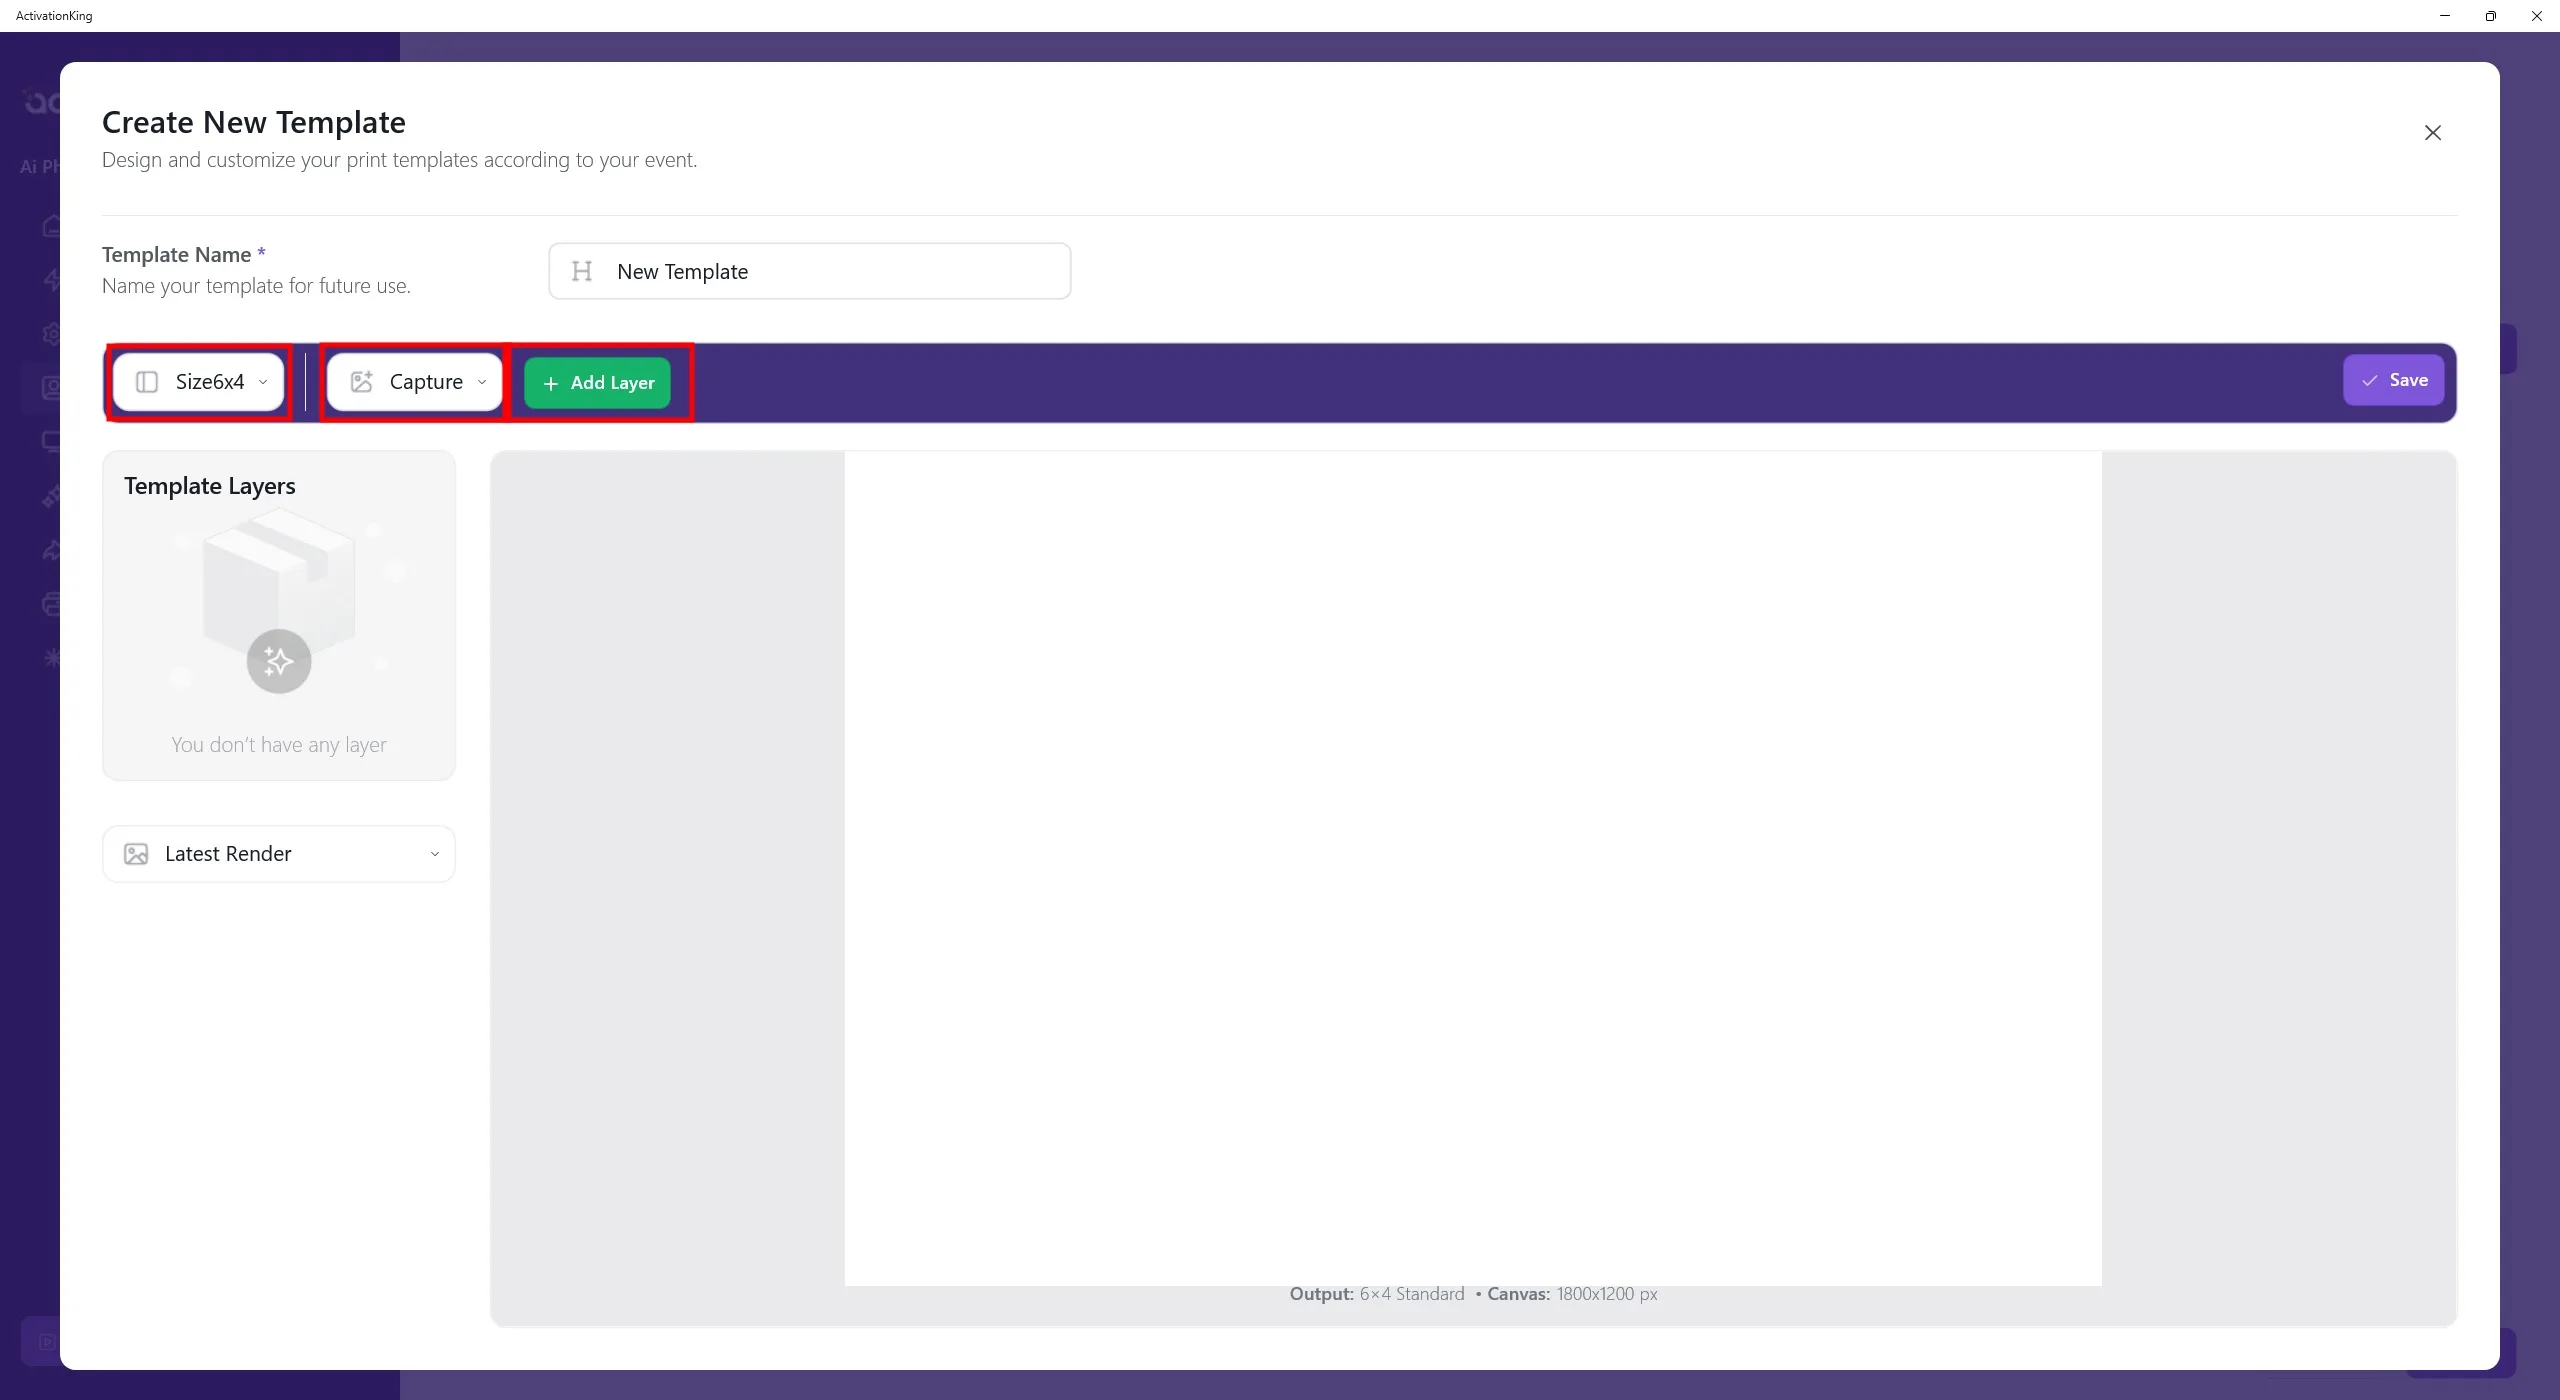
Daca planificati sa folositi mai multe sabloane pe aceasta pagina, le puteti atribui nume. Daca folositi un singur sablon, acest lucru nu este necesar. Setati dimensiunea sablonului din sectiunea din stanga sus. Cu Captura selectata, faceti clic pe butonul + Adaugati strat.
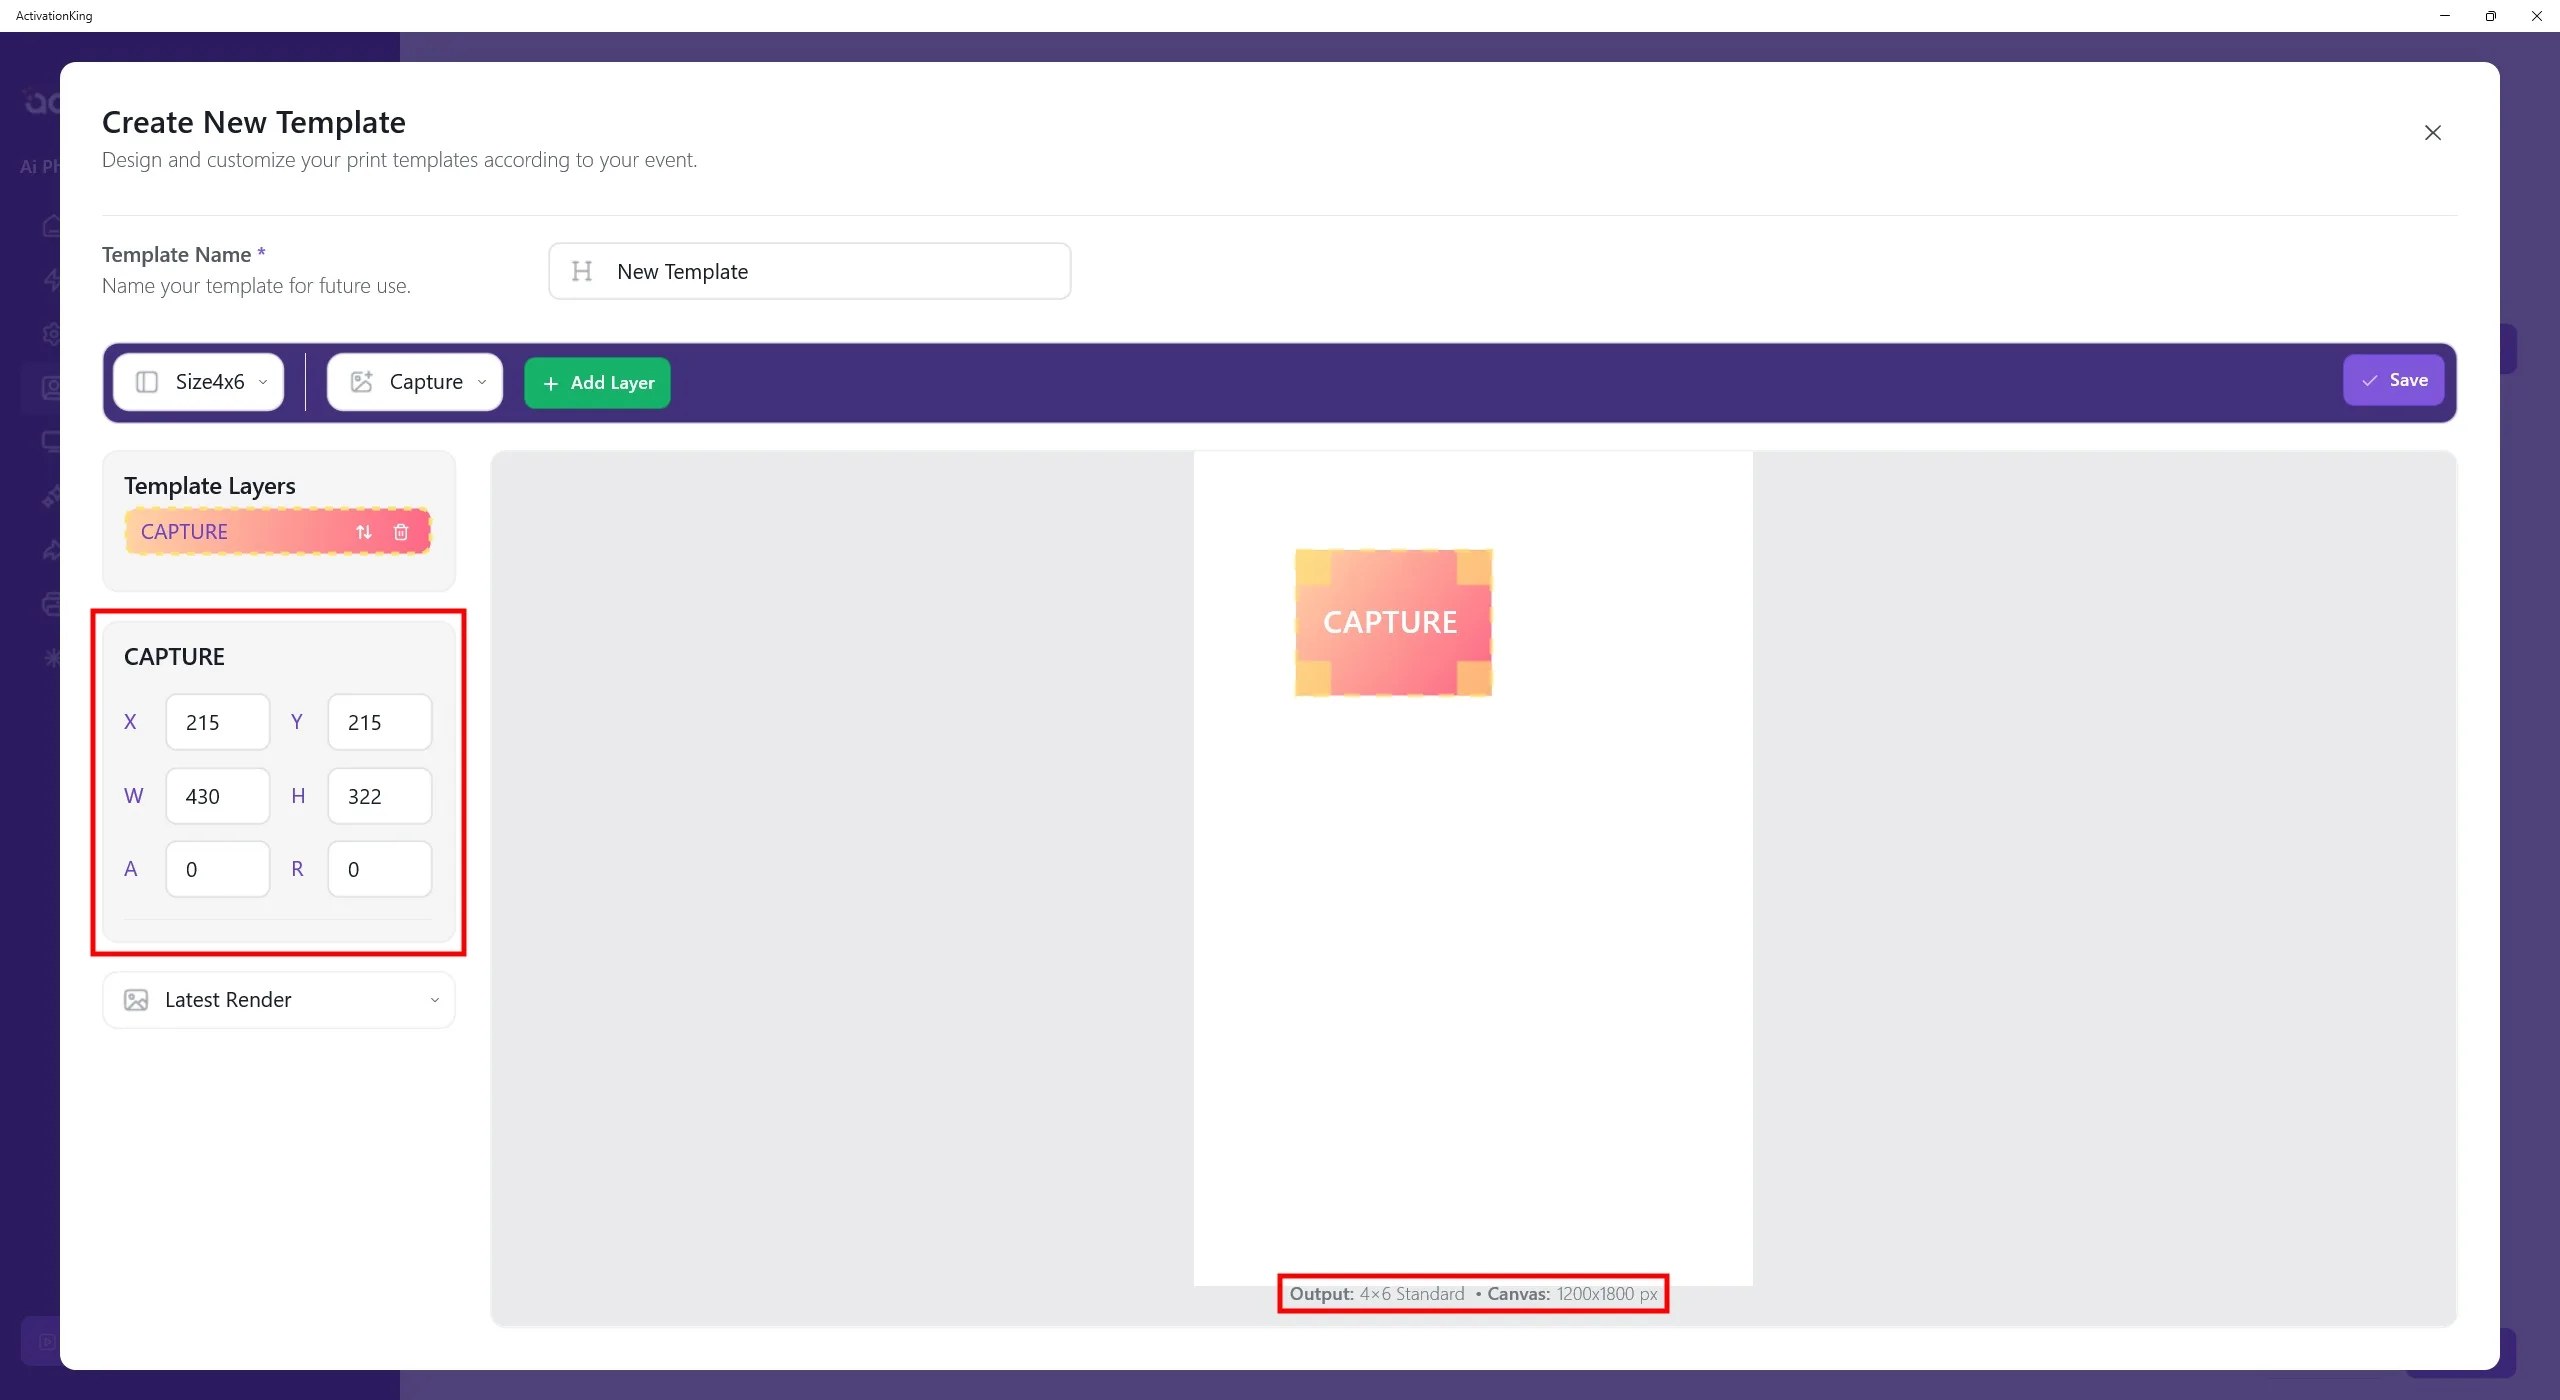
Dupa ce stratul apare pe ecran, reglati dimensiunile acestuia. Dimensiunile sablonului sunt afisate in partea de jos a sablonului; introduceti 1200 × 1800 din panoul din stanga.
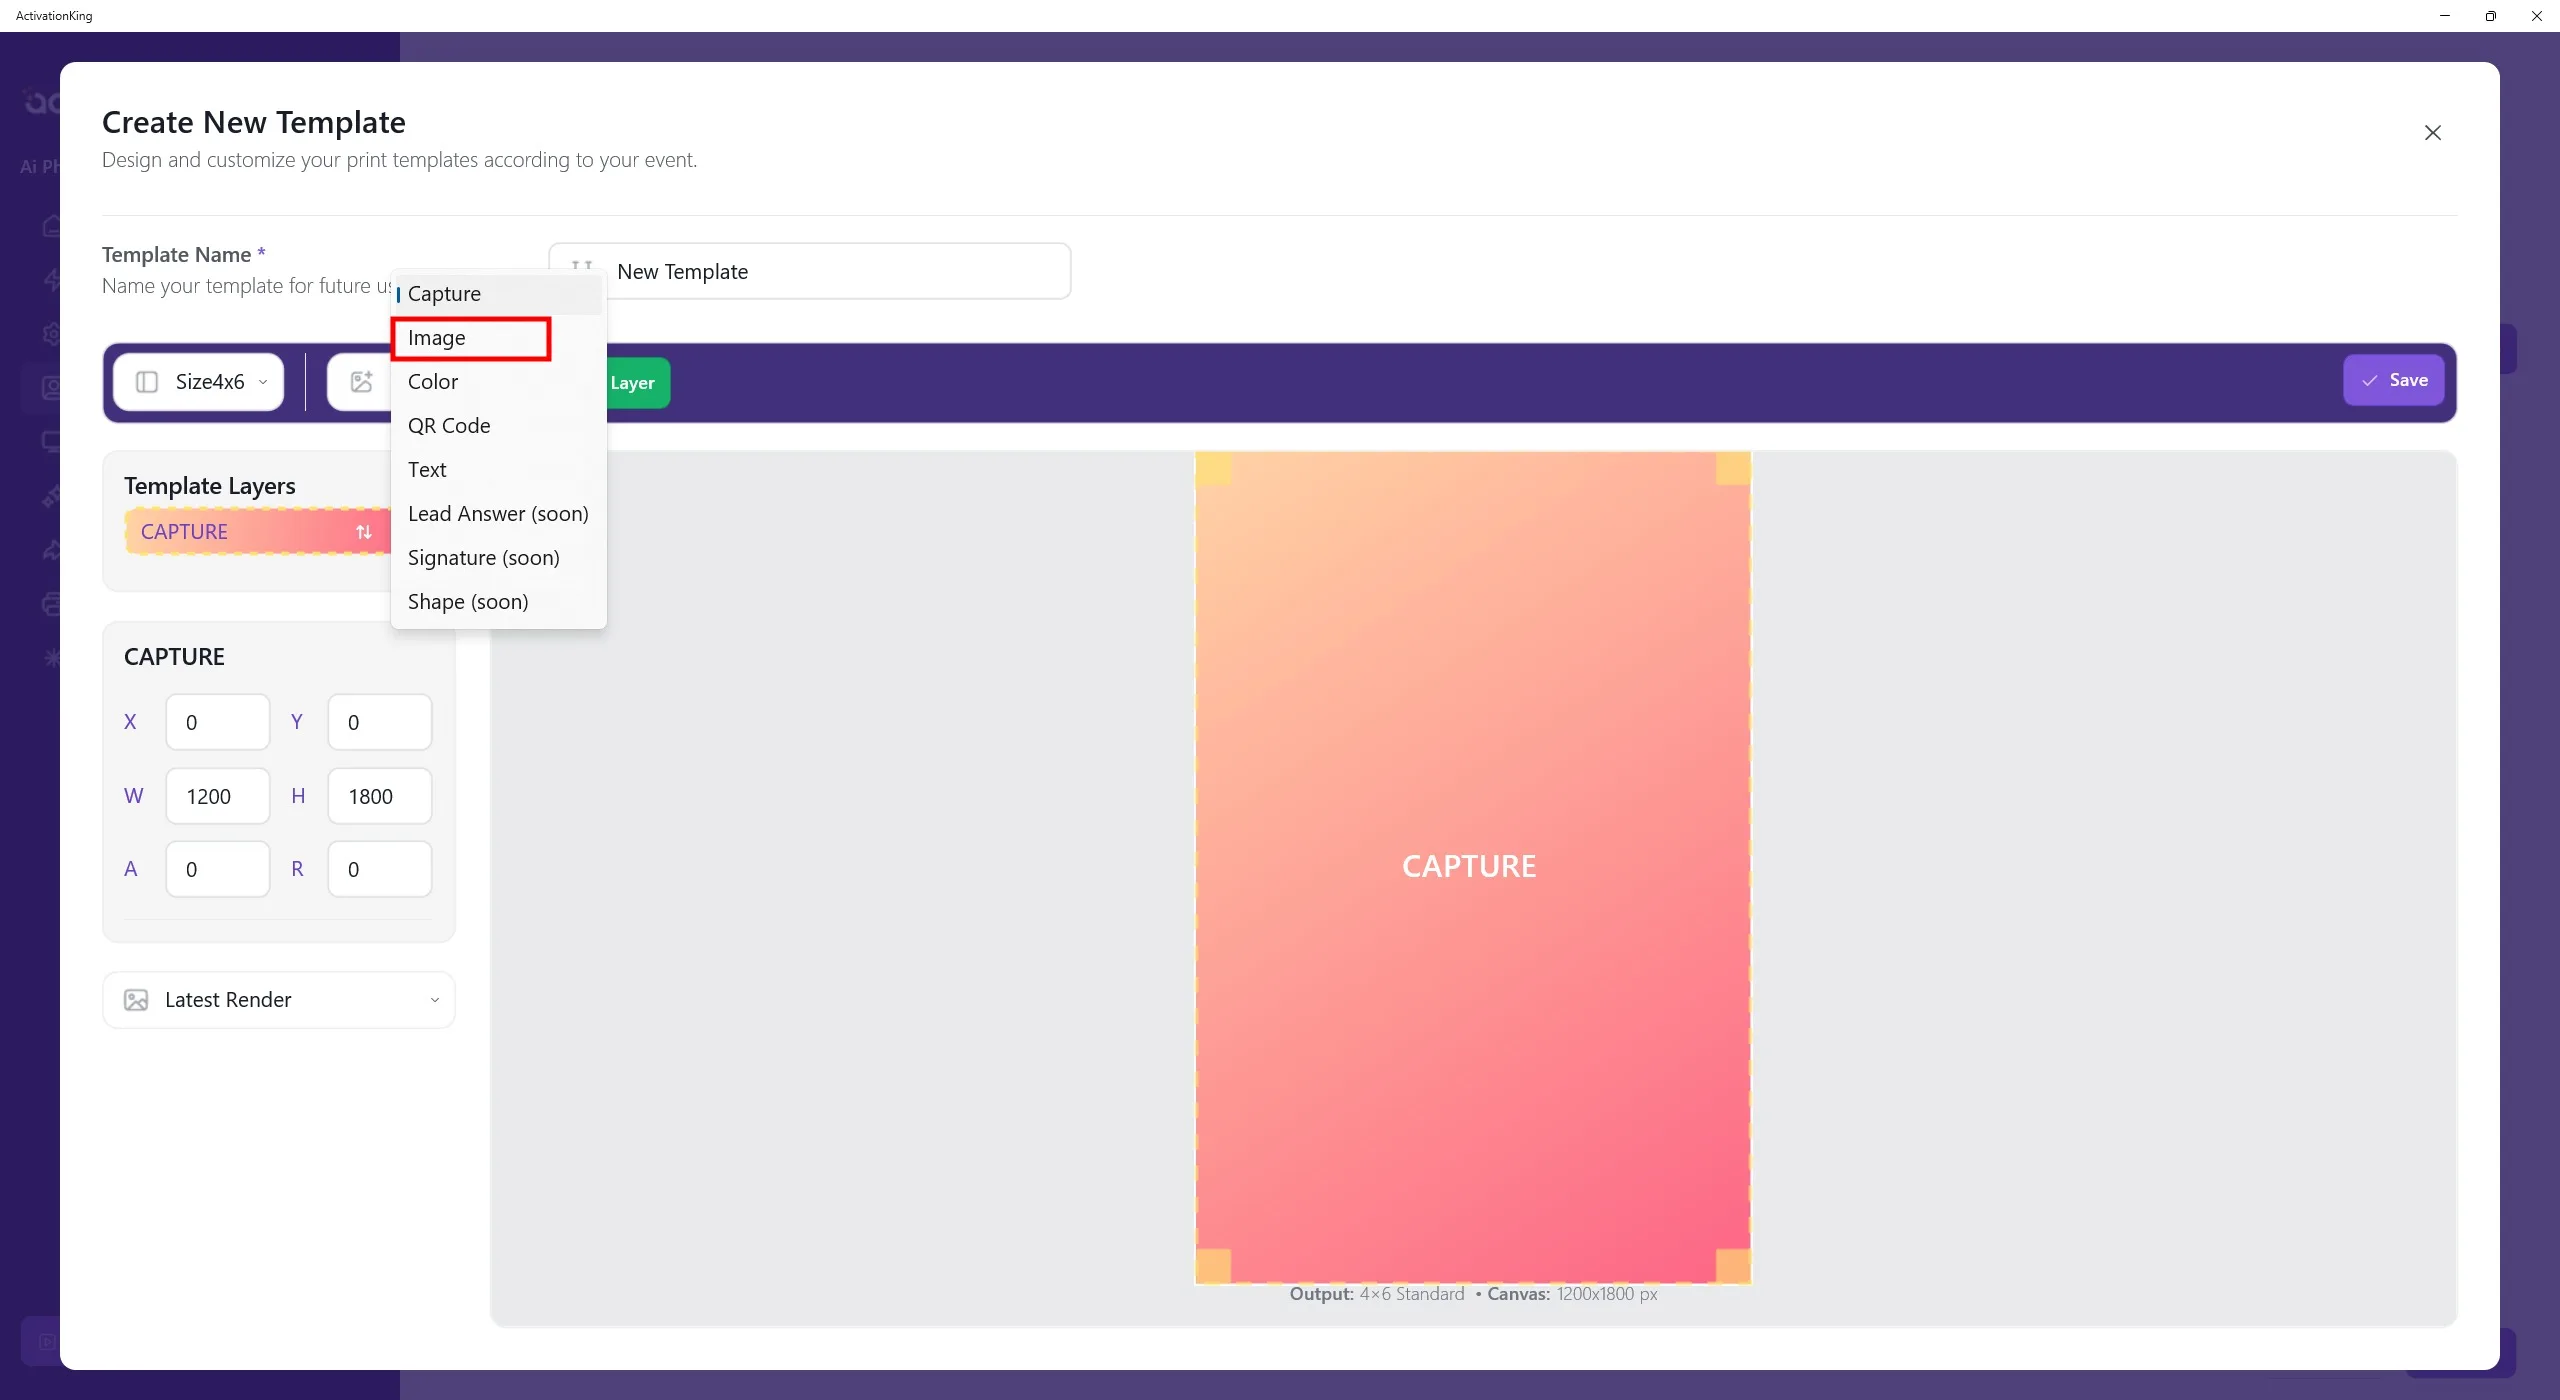
Pentru a adauga un cadru deasupra imaginii, selectati Imagine din meniul superior, apoi faceti clic pe butonul Adaugati strat.
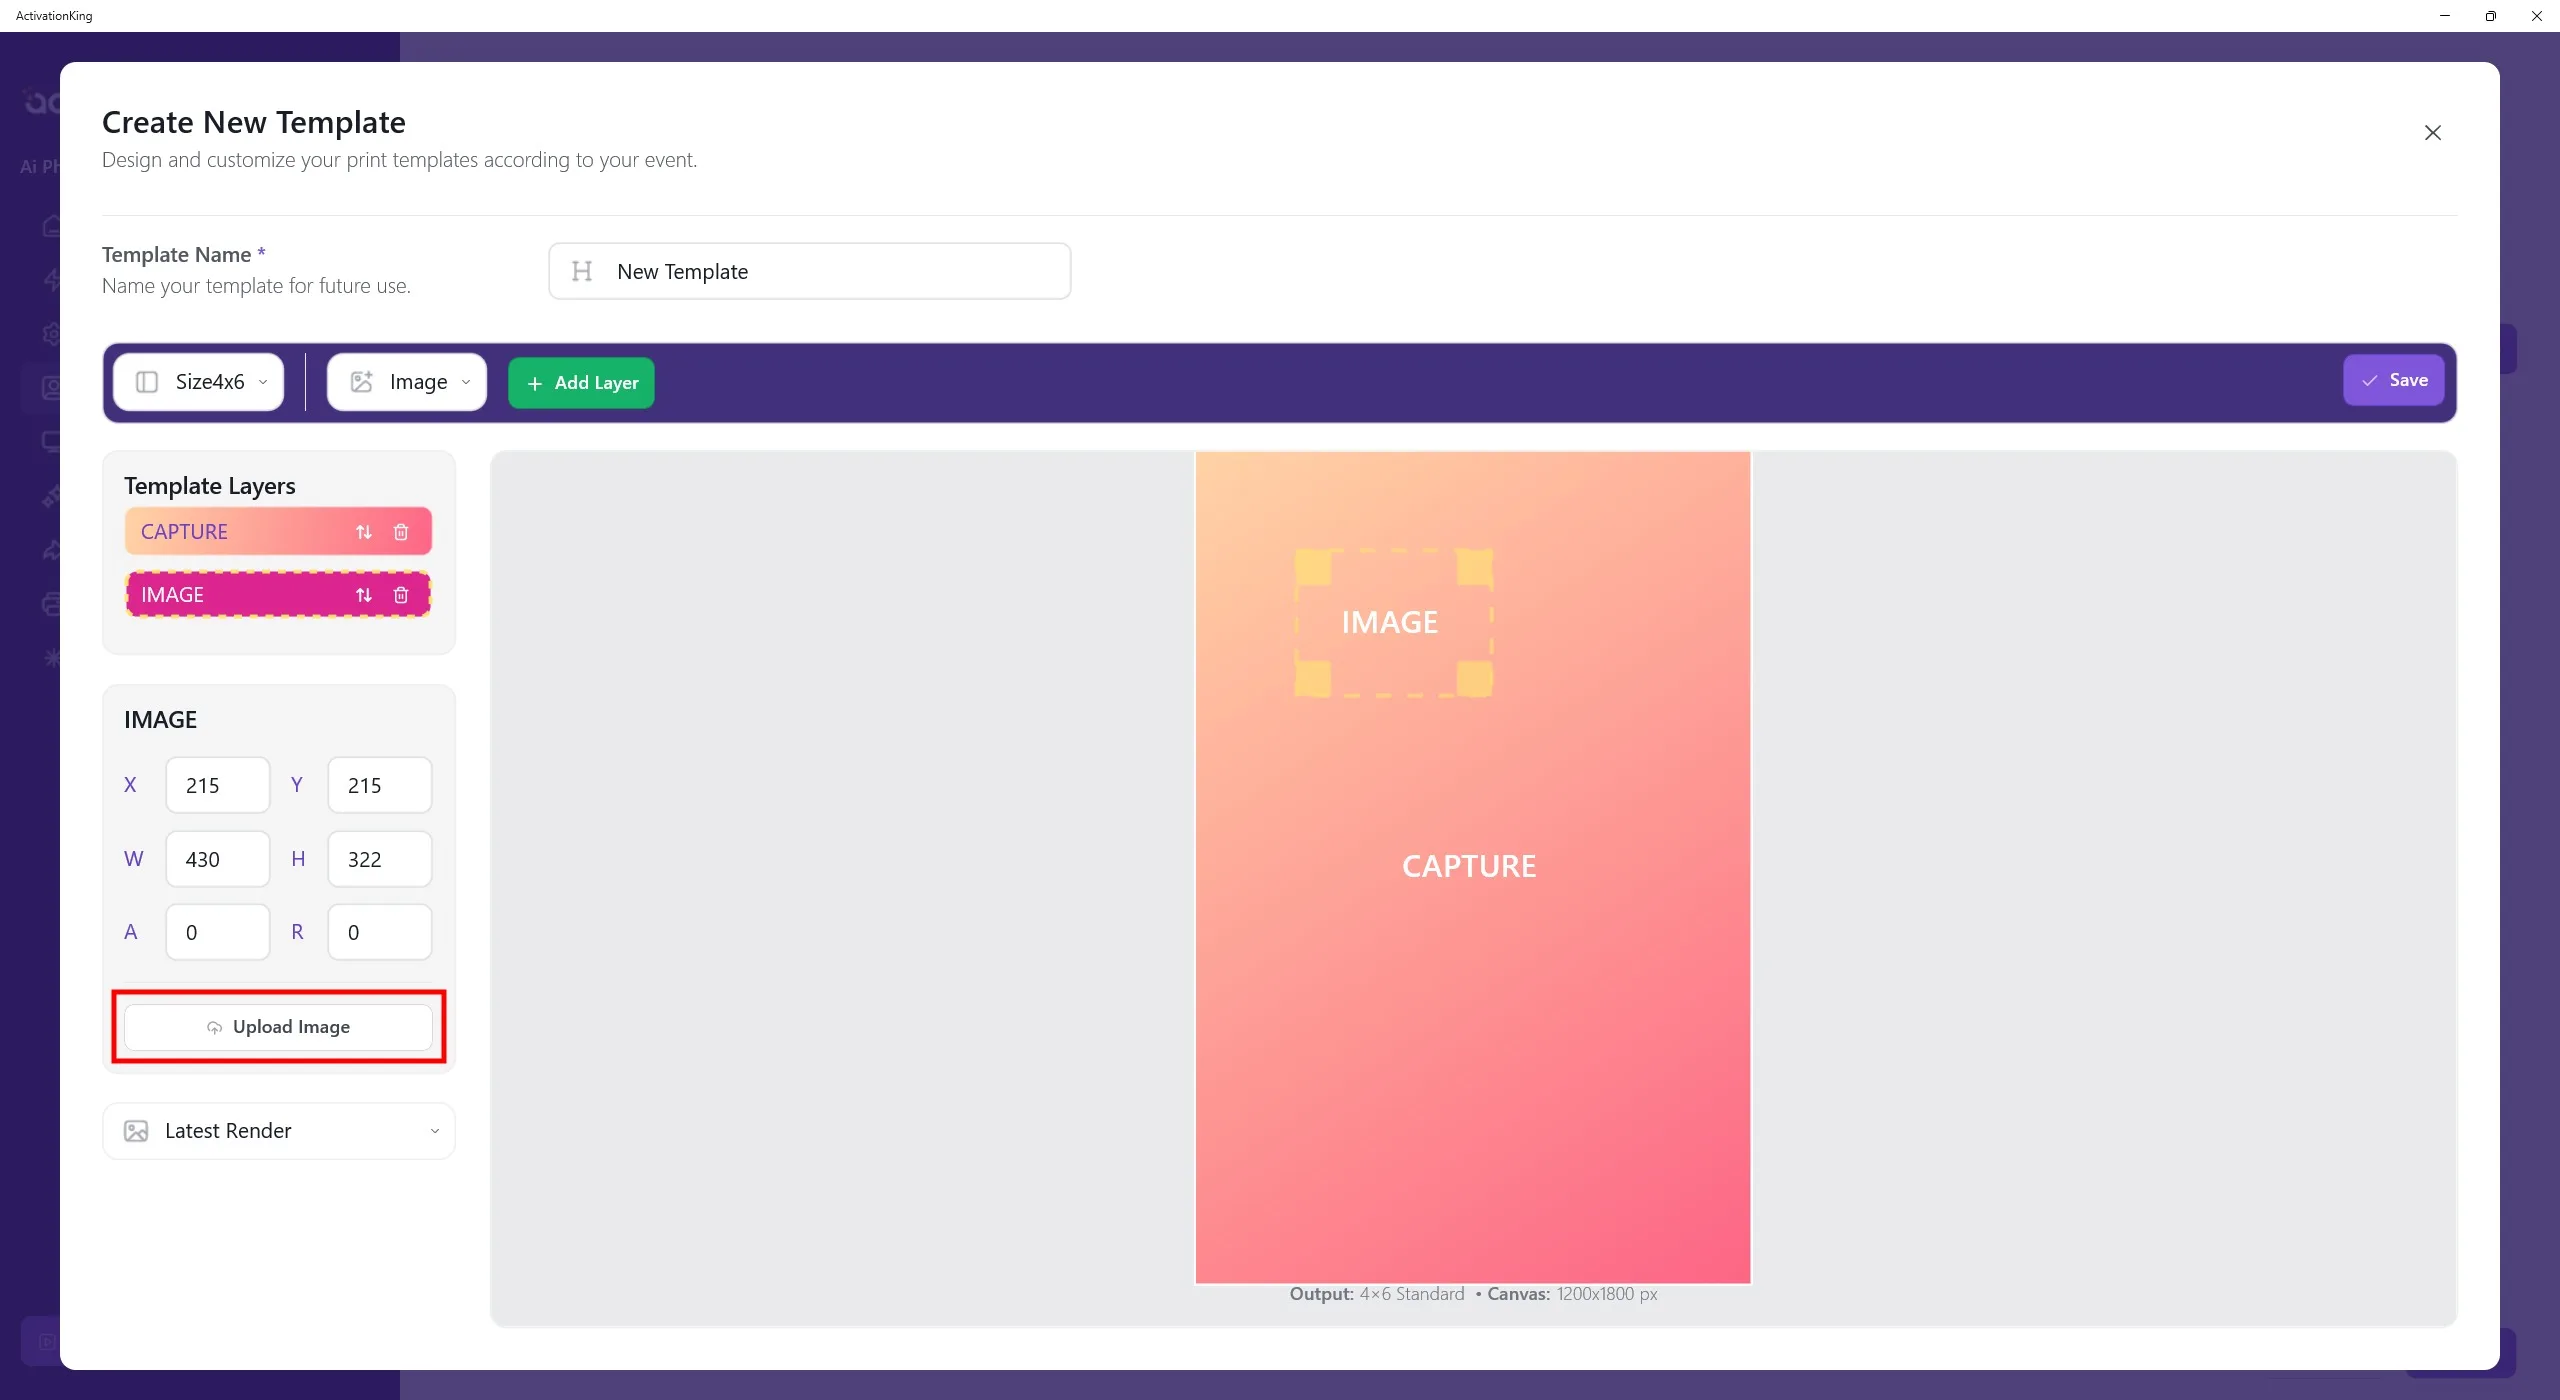
Dupa adaugarea stratului Imagine deasupra sablonului, faceti clic pe butonul Incarcati imaginea din partea stanga. De aici puteti incarca un cadru sau un logo.
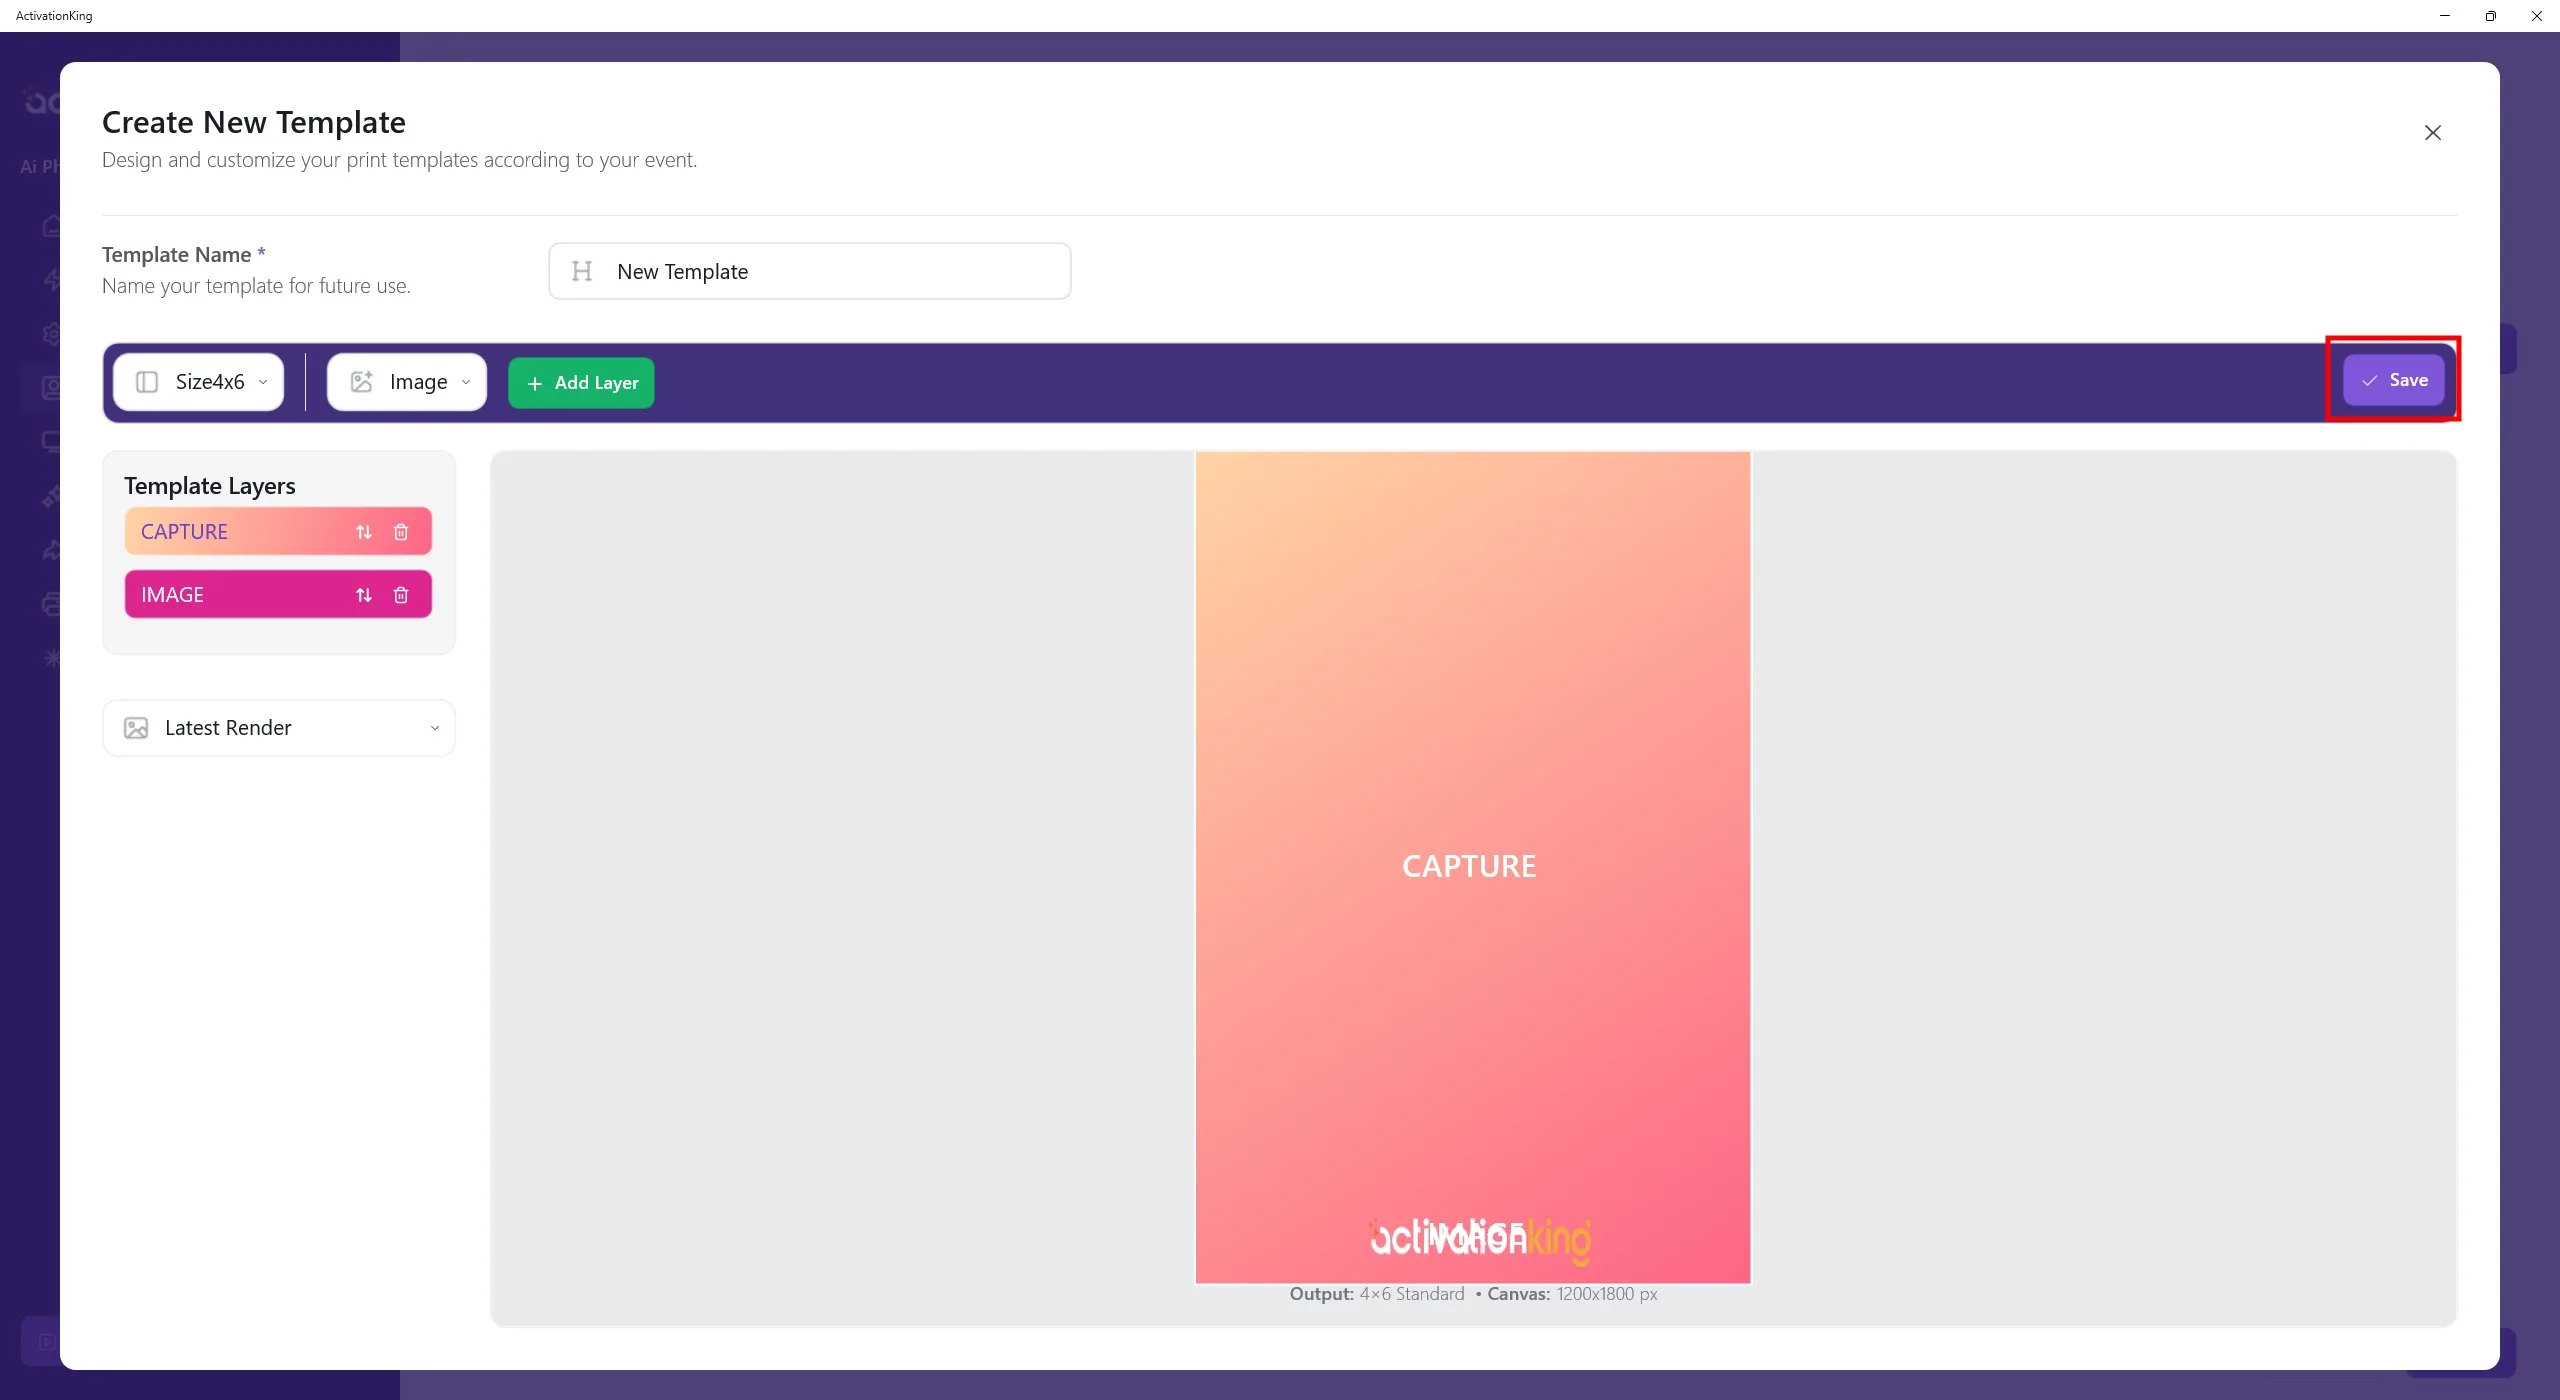
Dupa adaugarea logo-ului sau cadrului, reglati pozitia si scala, apoi faceti clic pe butonul Salvati.
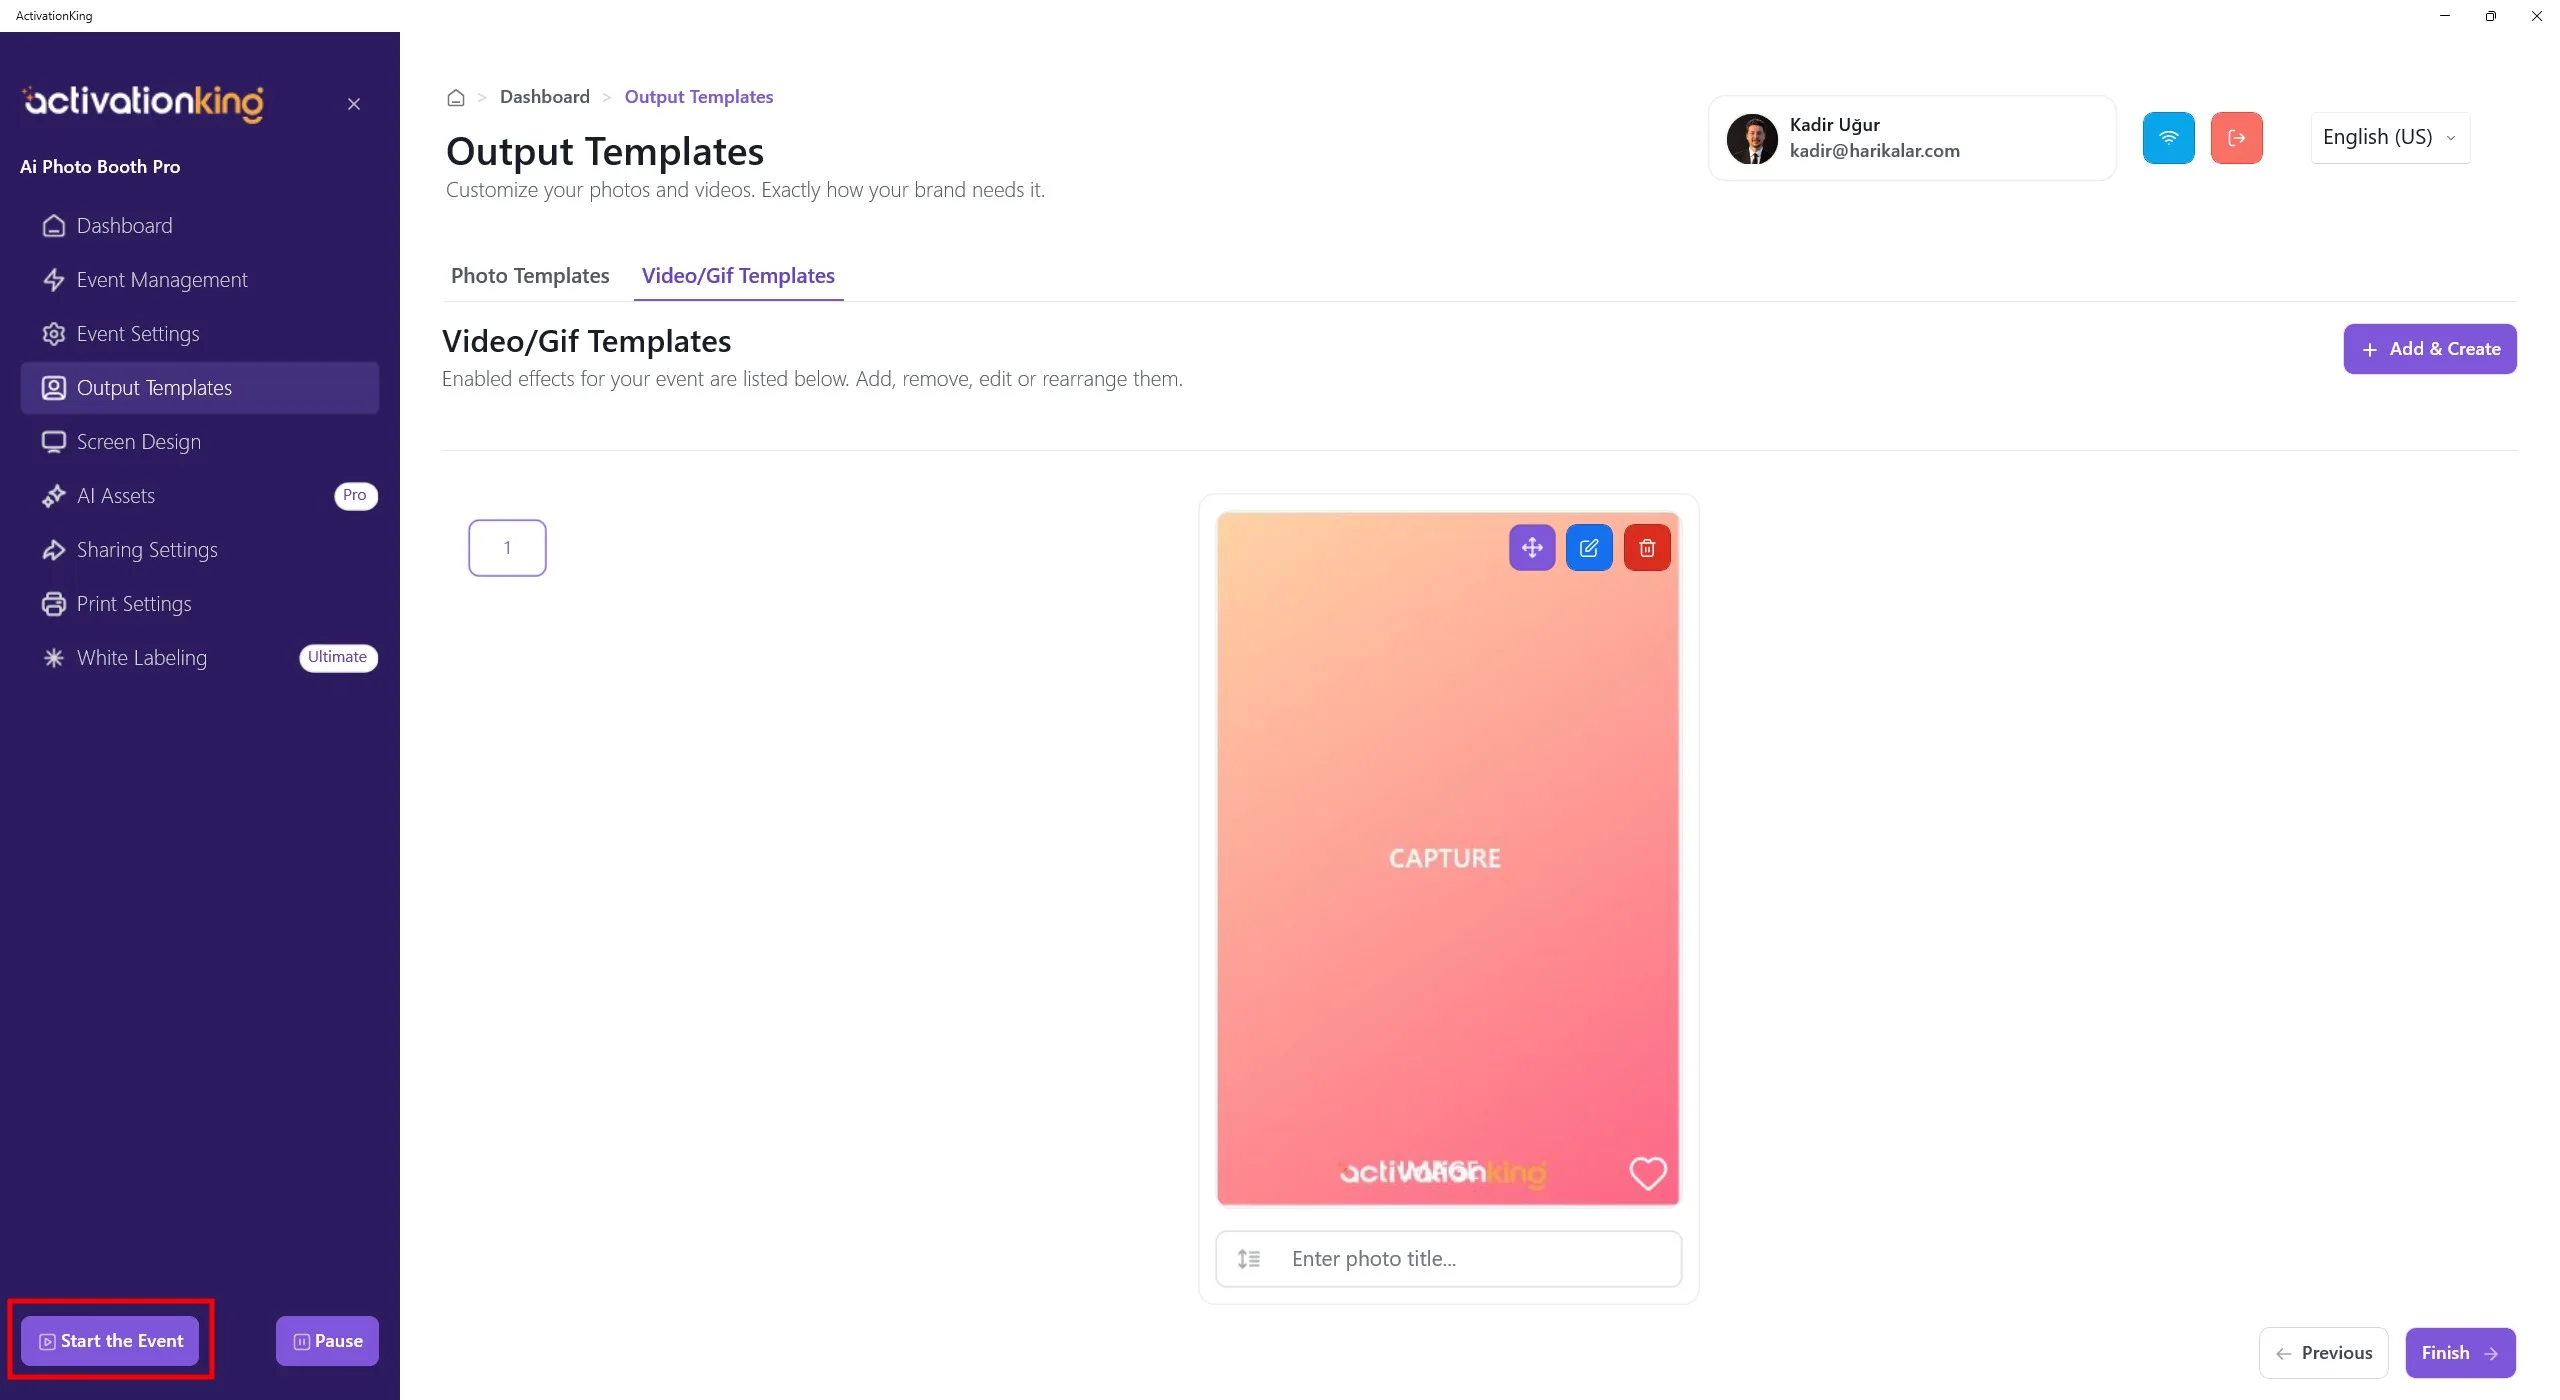
Dupa configurarea sablonului, faceti clic pe butonul Porniti evenimentele.
Porniti evenimentul

Pentru a incerca modul Video, faceti clic pe butonul Video. Dupa ecranul de numaratoare inversa, incepe inregistrarea video.
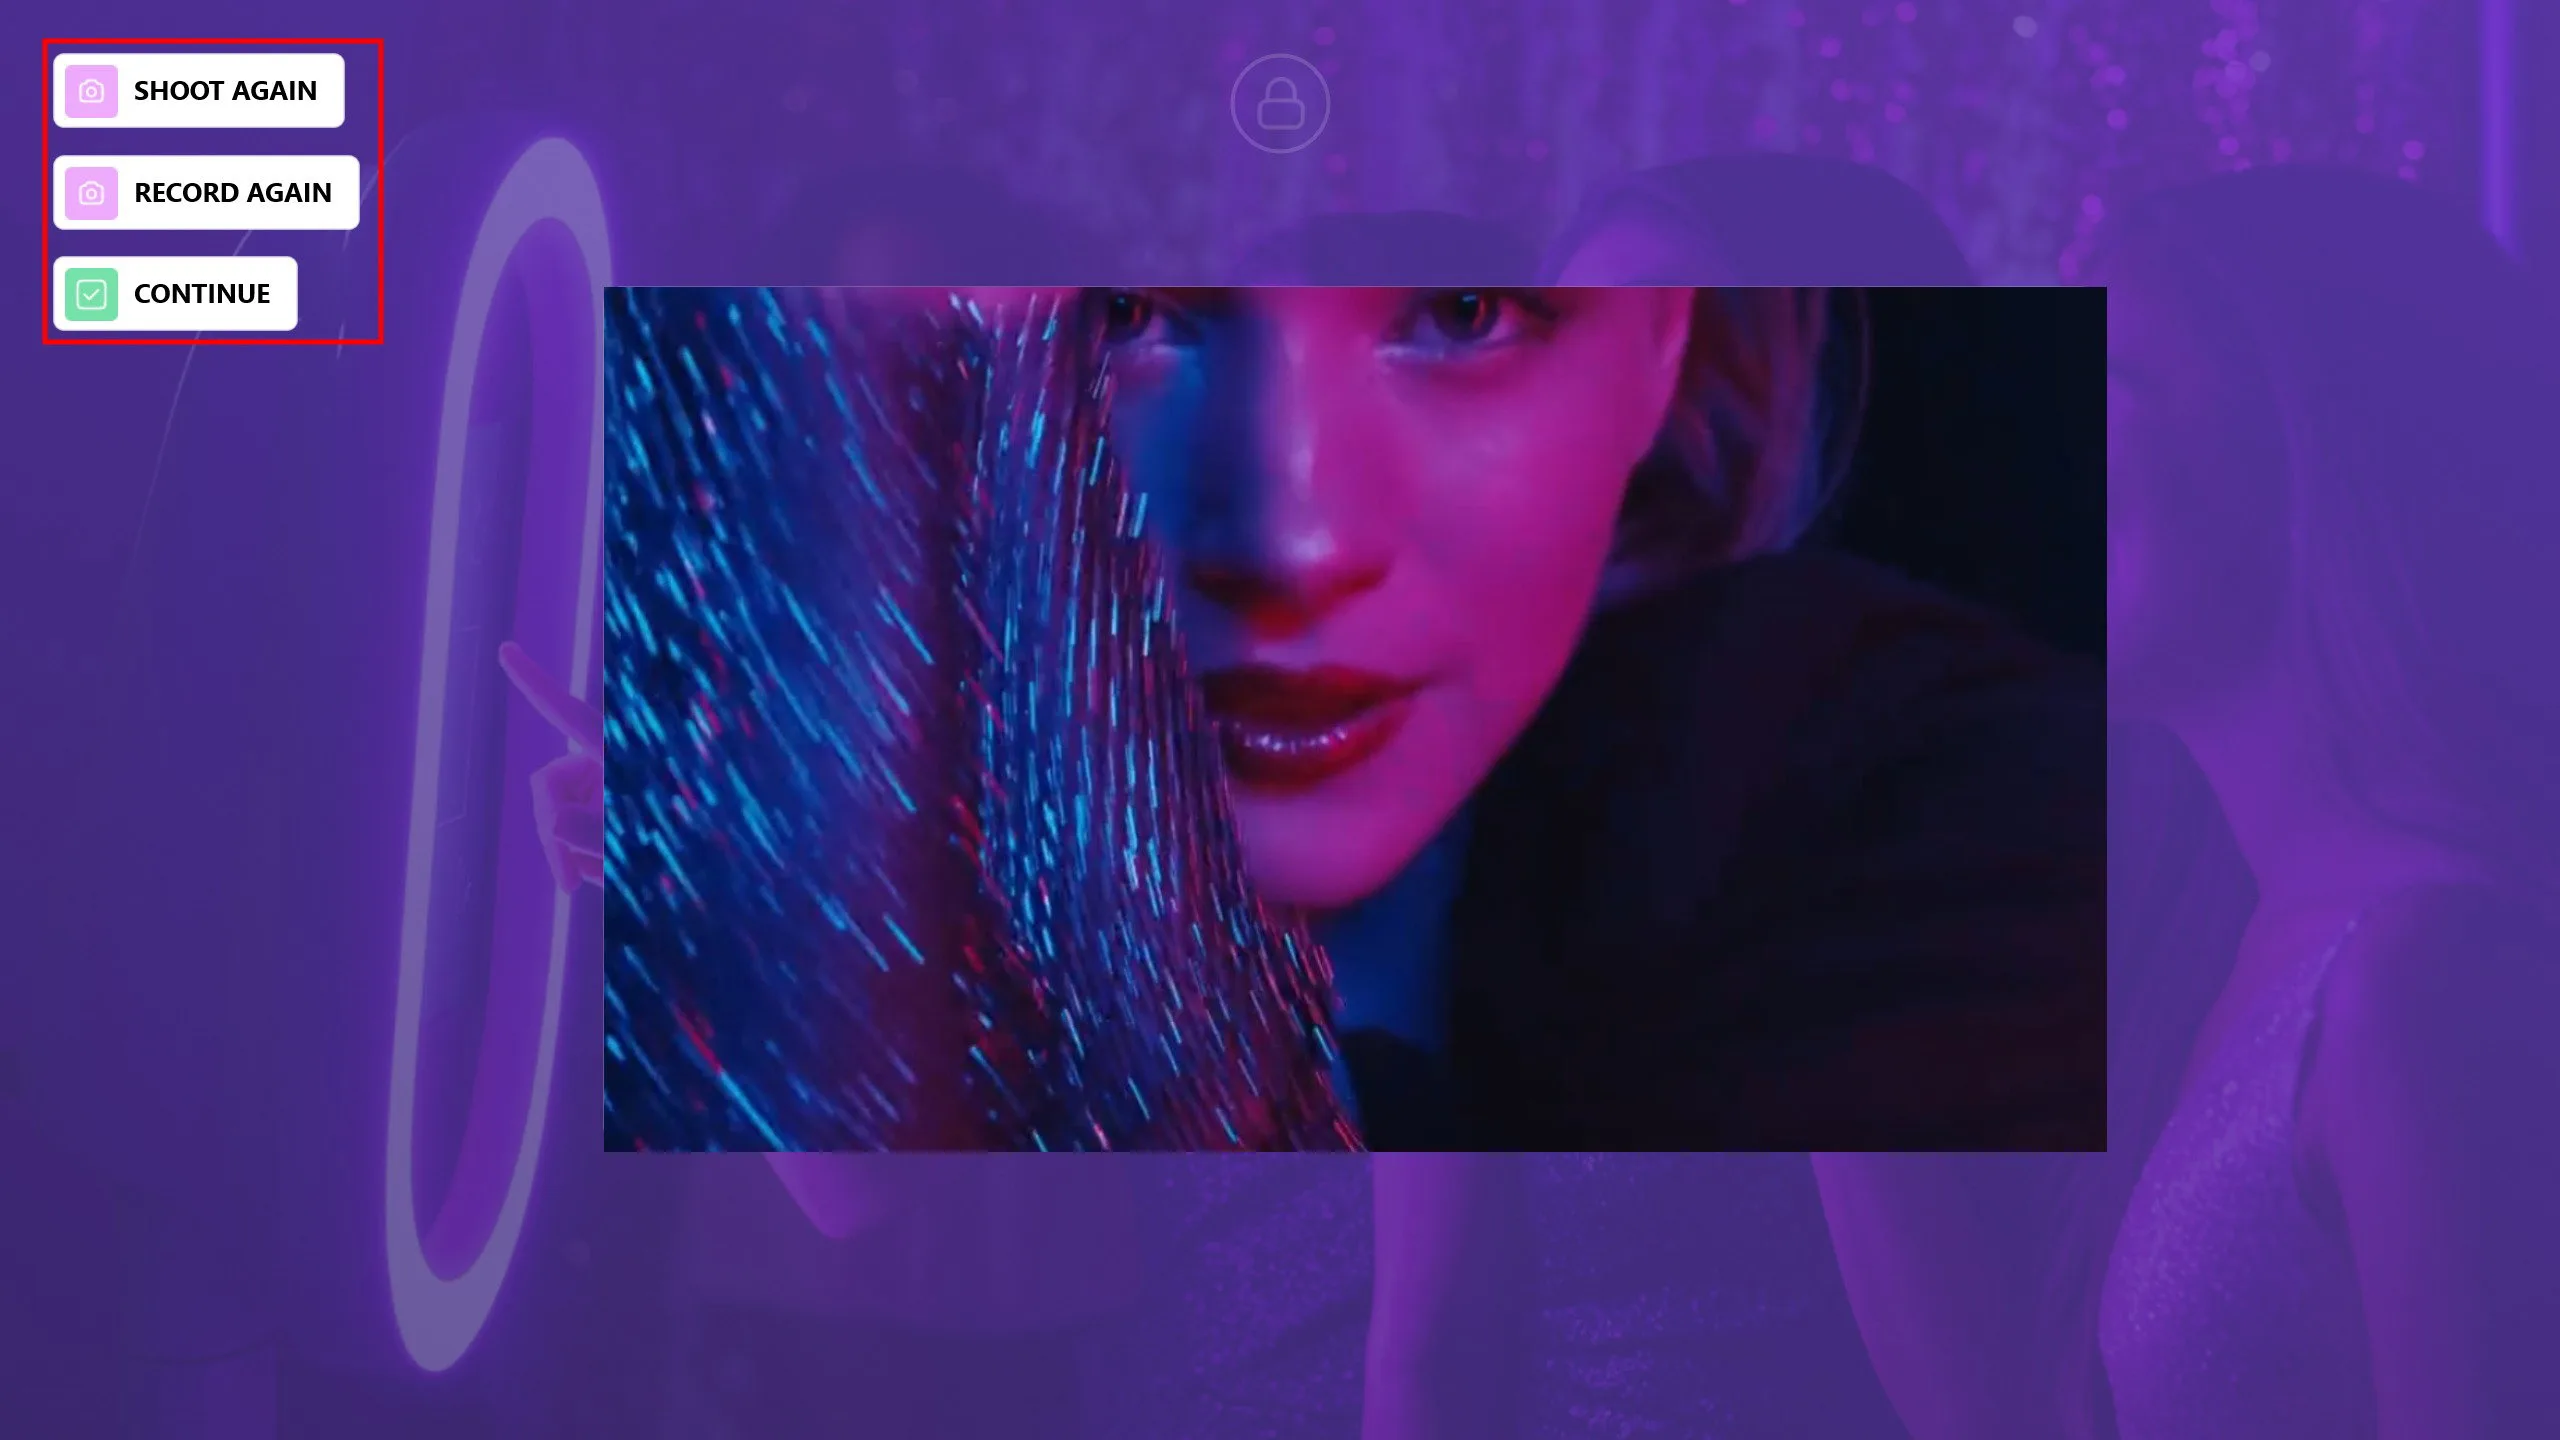
Dupa terminarea inregistrarii, faceti clic pe butonul Continuati pentru a continua.
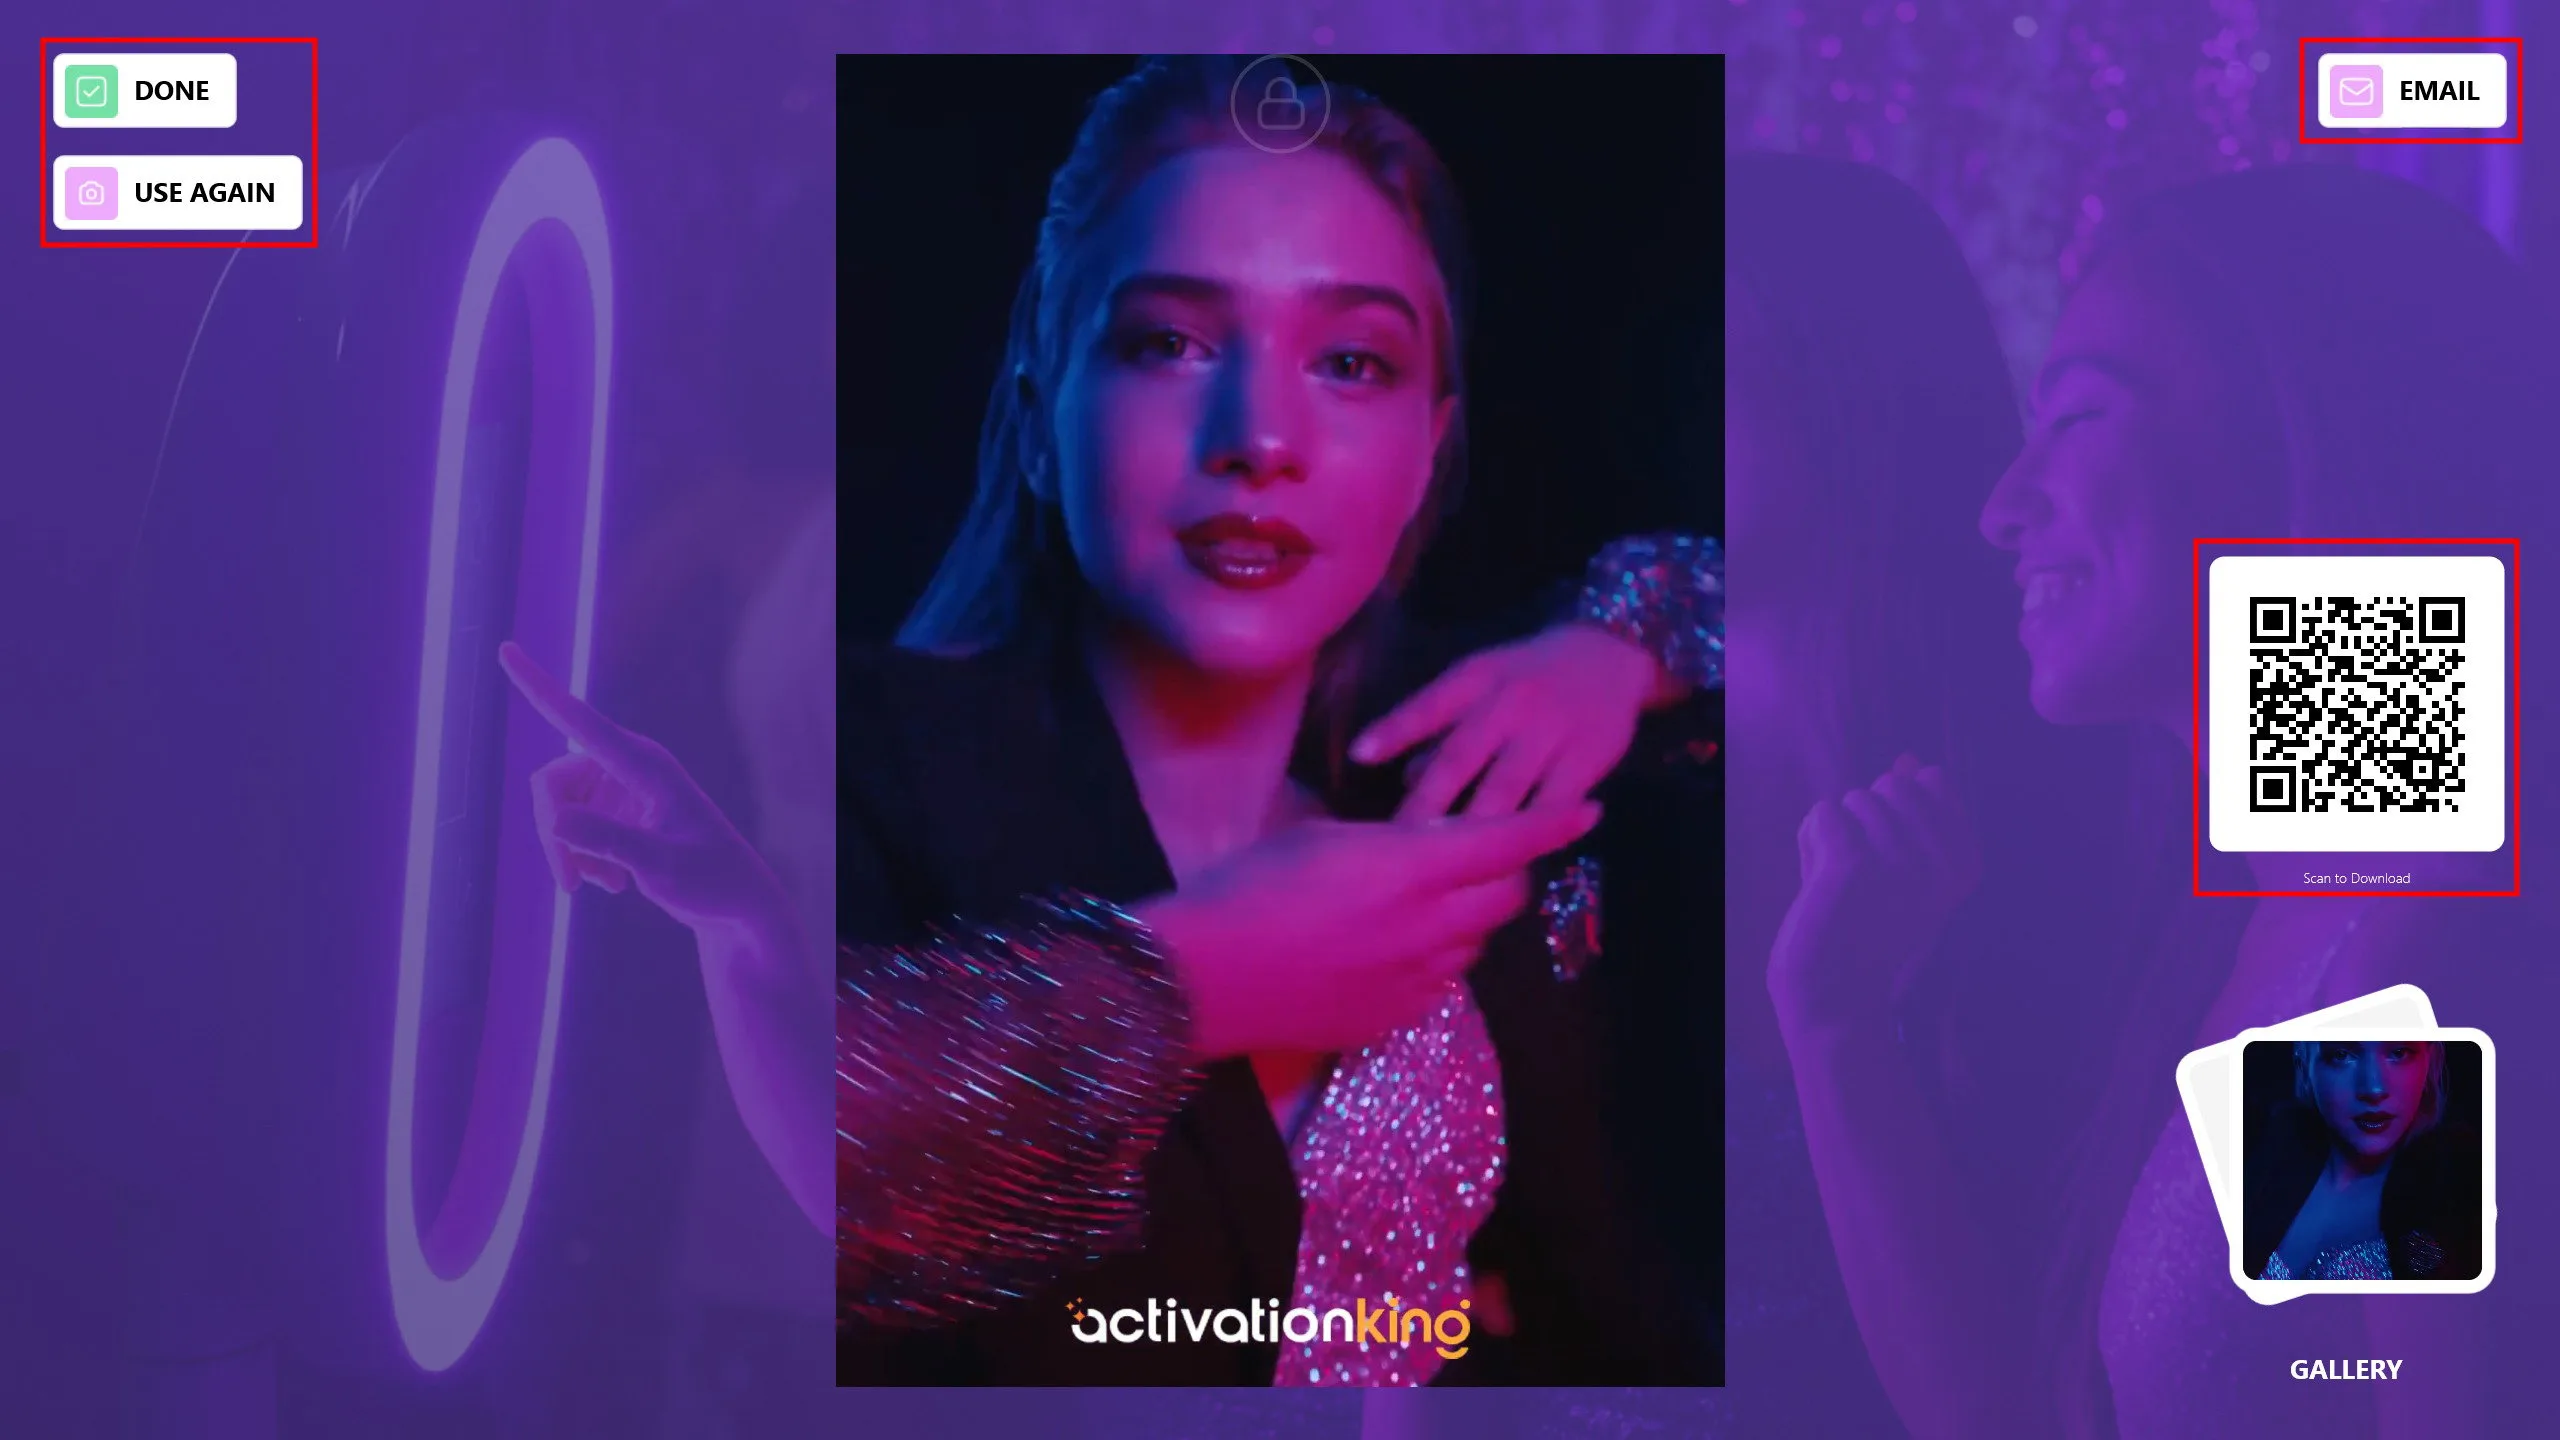
Videoclipul va fi generat impreuna cu cadrul si logo-ul adaugate. Puteti livra videoclipurile clientilor prin e-mail sau prin scanarea unui cod QR.
Pentru a incerca modul Boomerang, faceti clic pe butonul Gata si selectati butonul Boomerang.
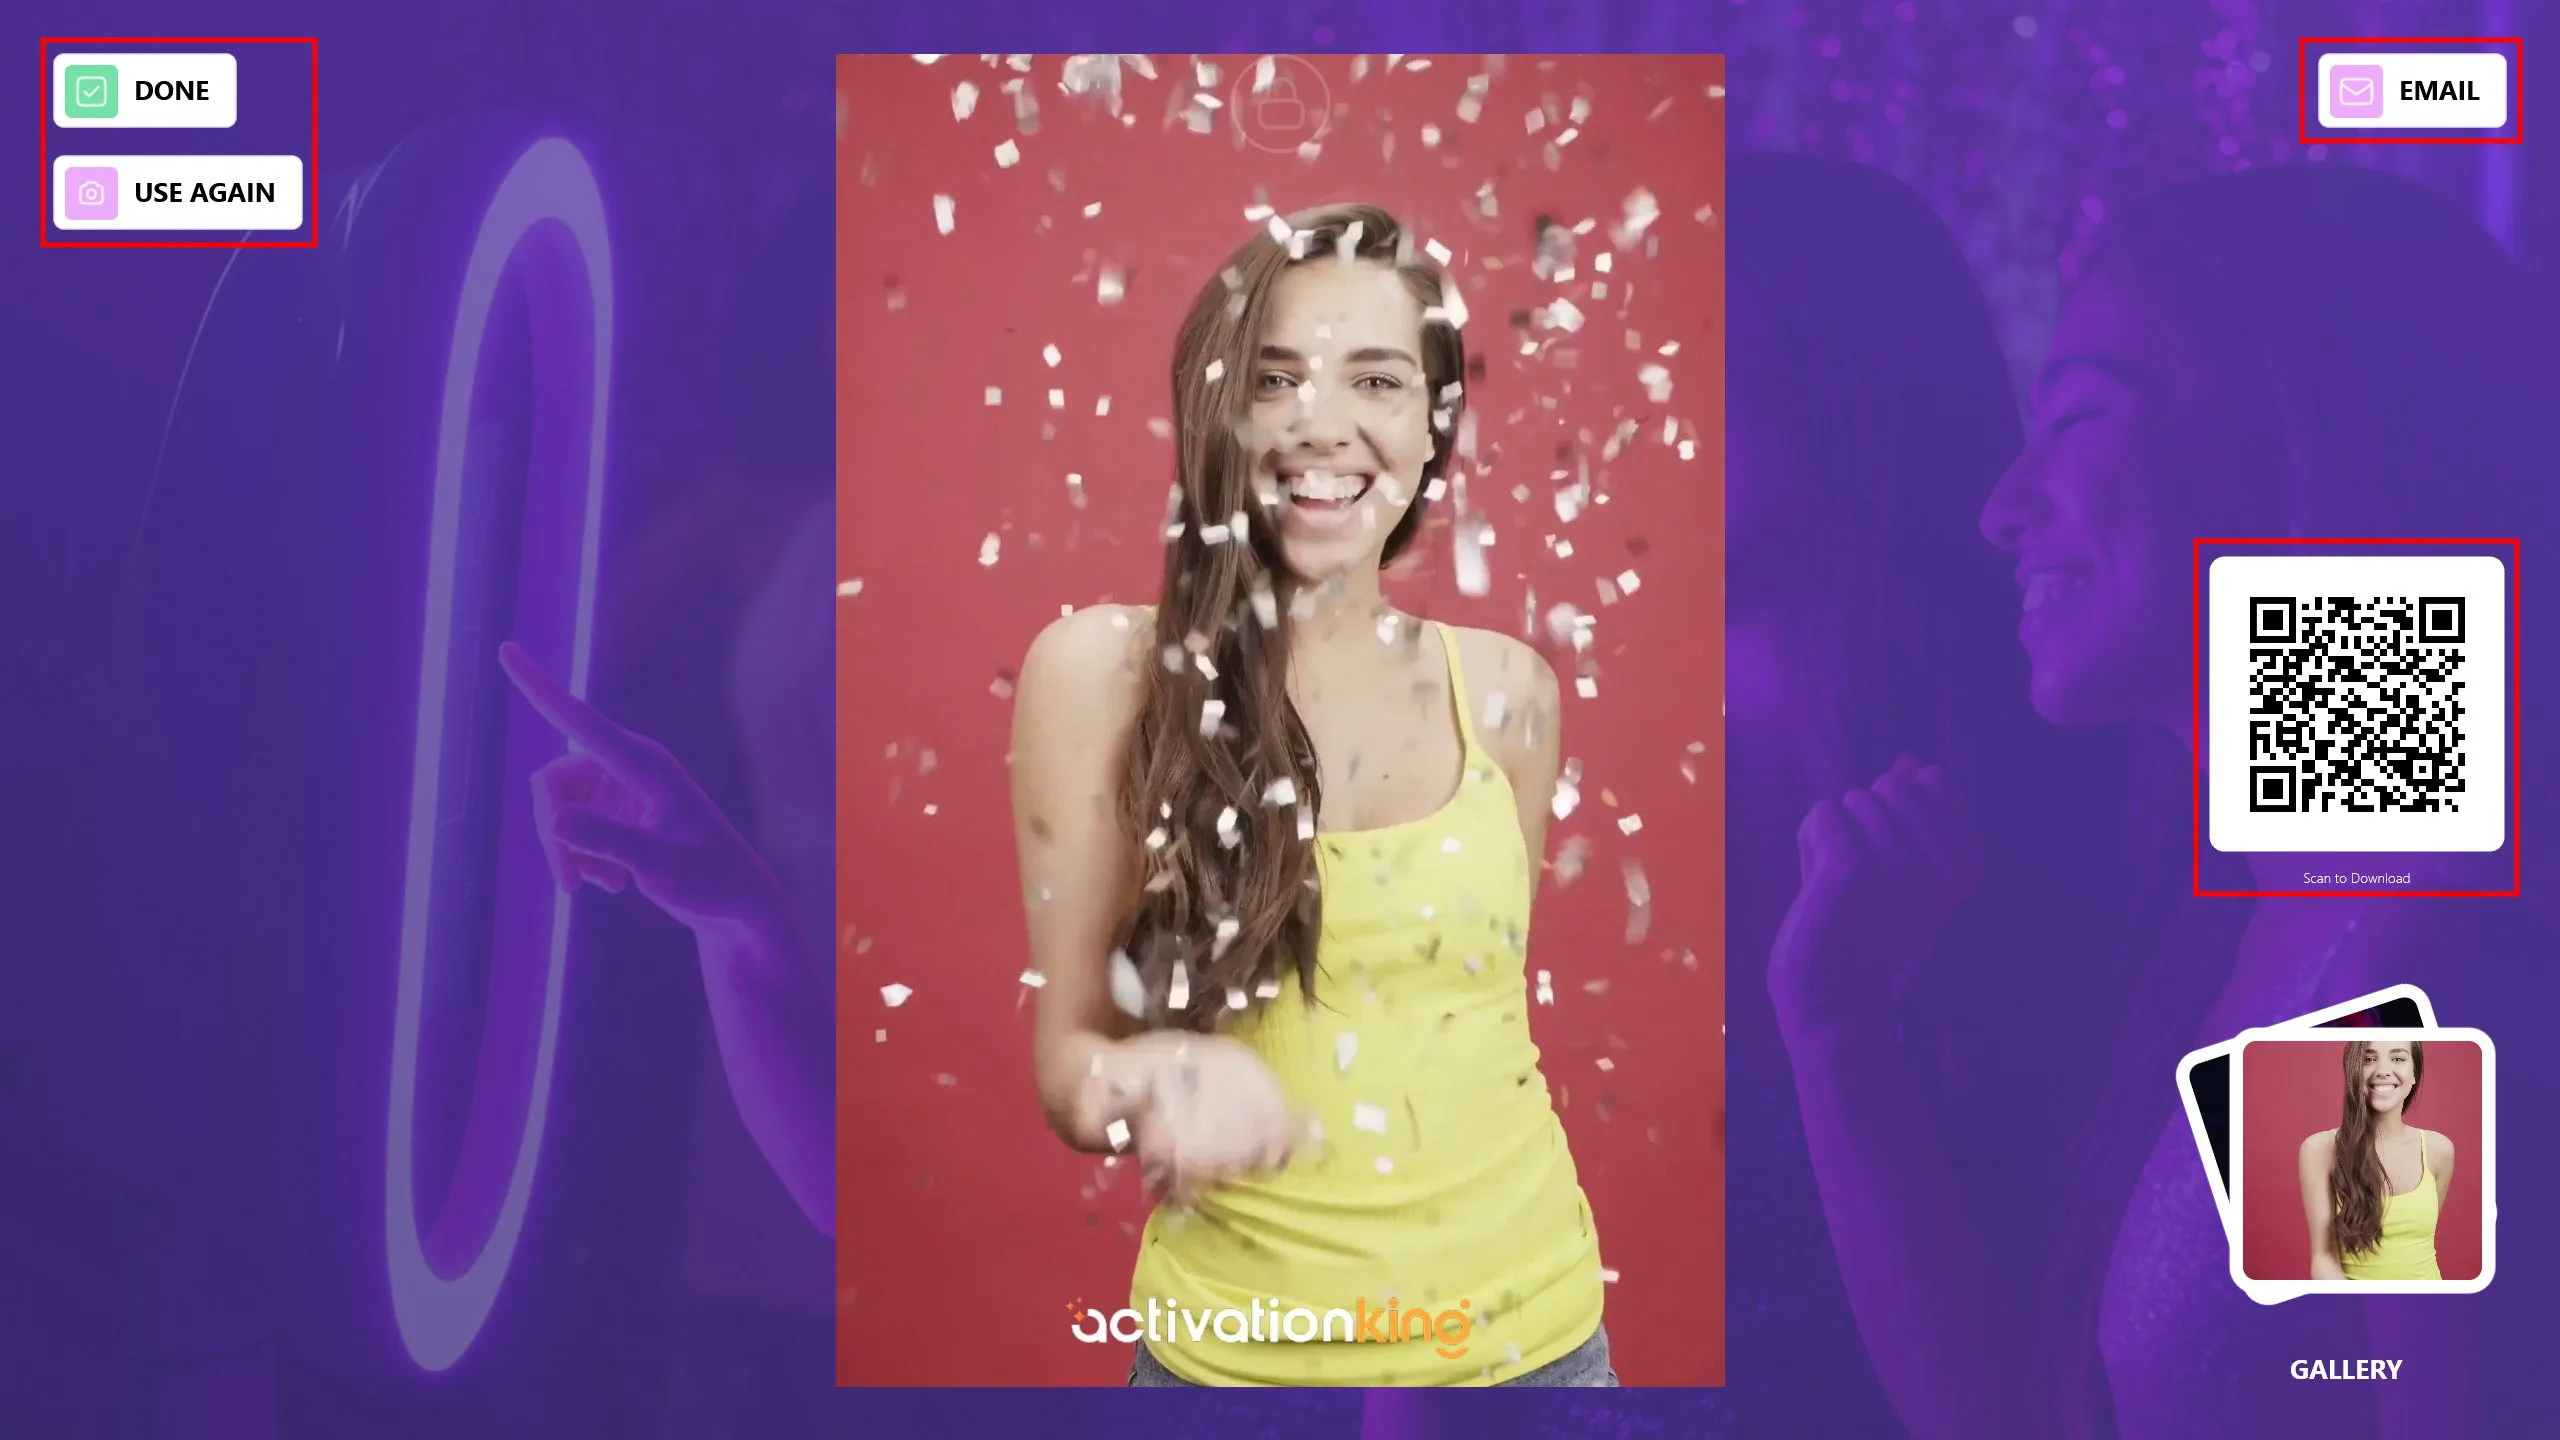
Puteti vizualiza rezultatele scanand codurile QR de pe imagini.