Event Management
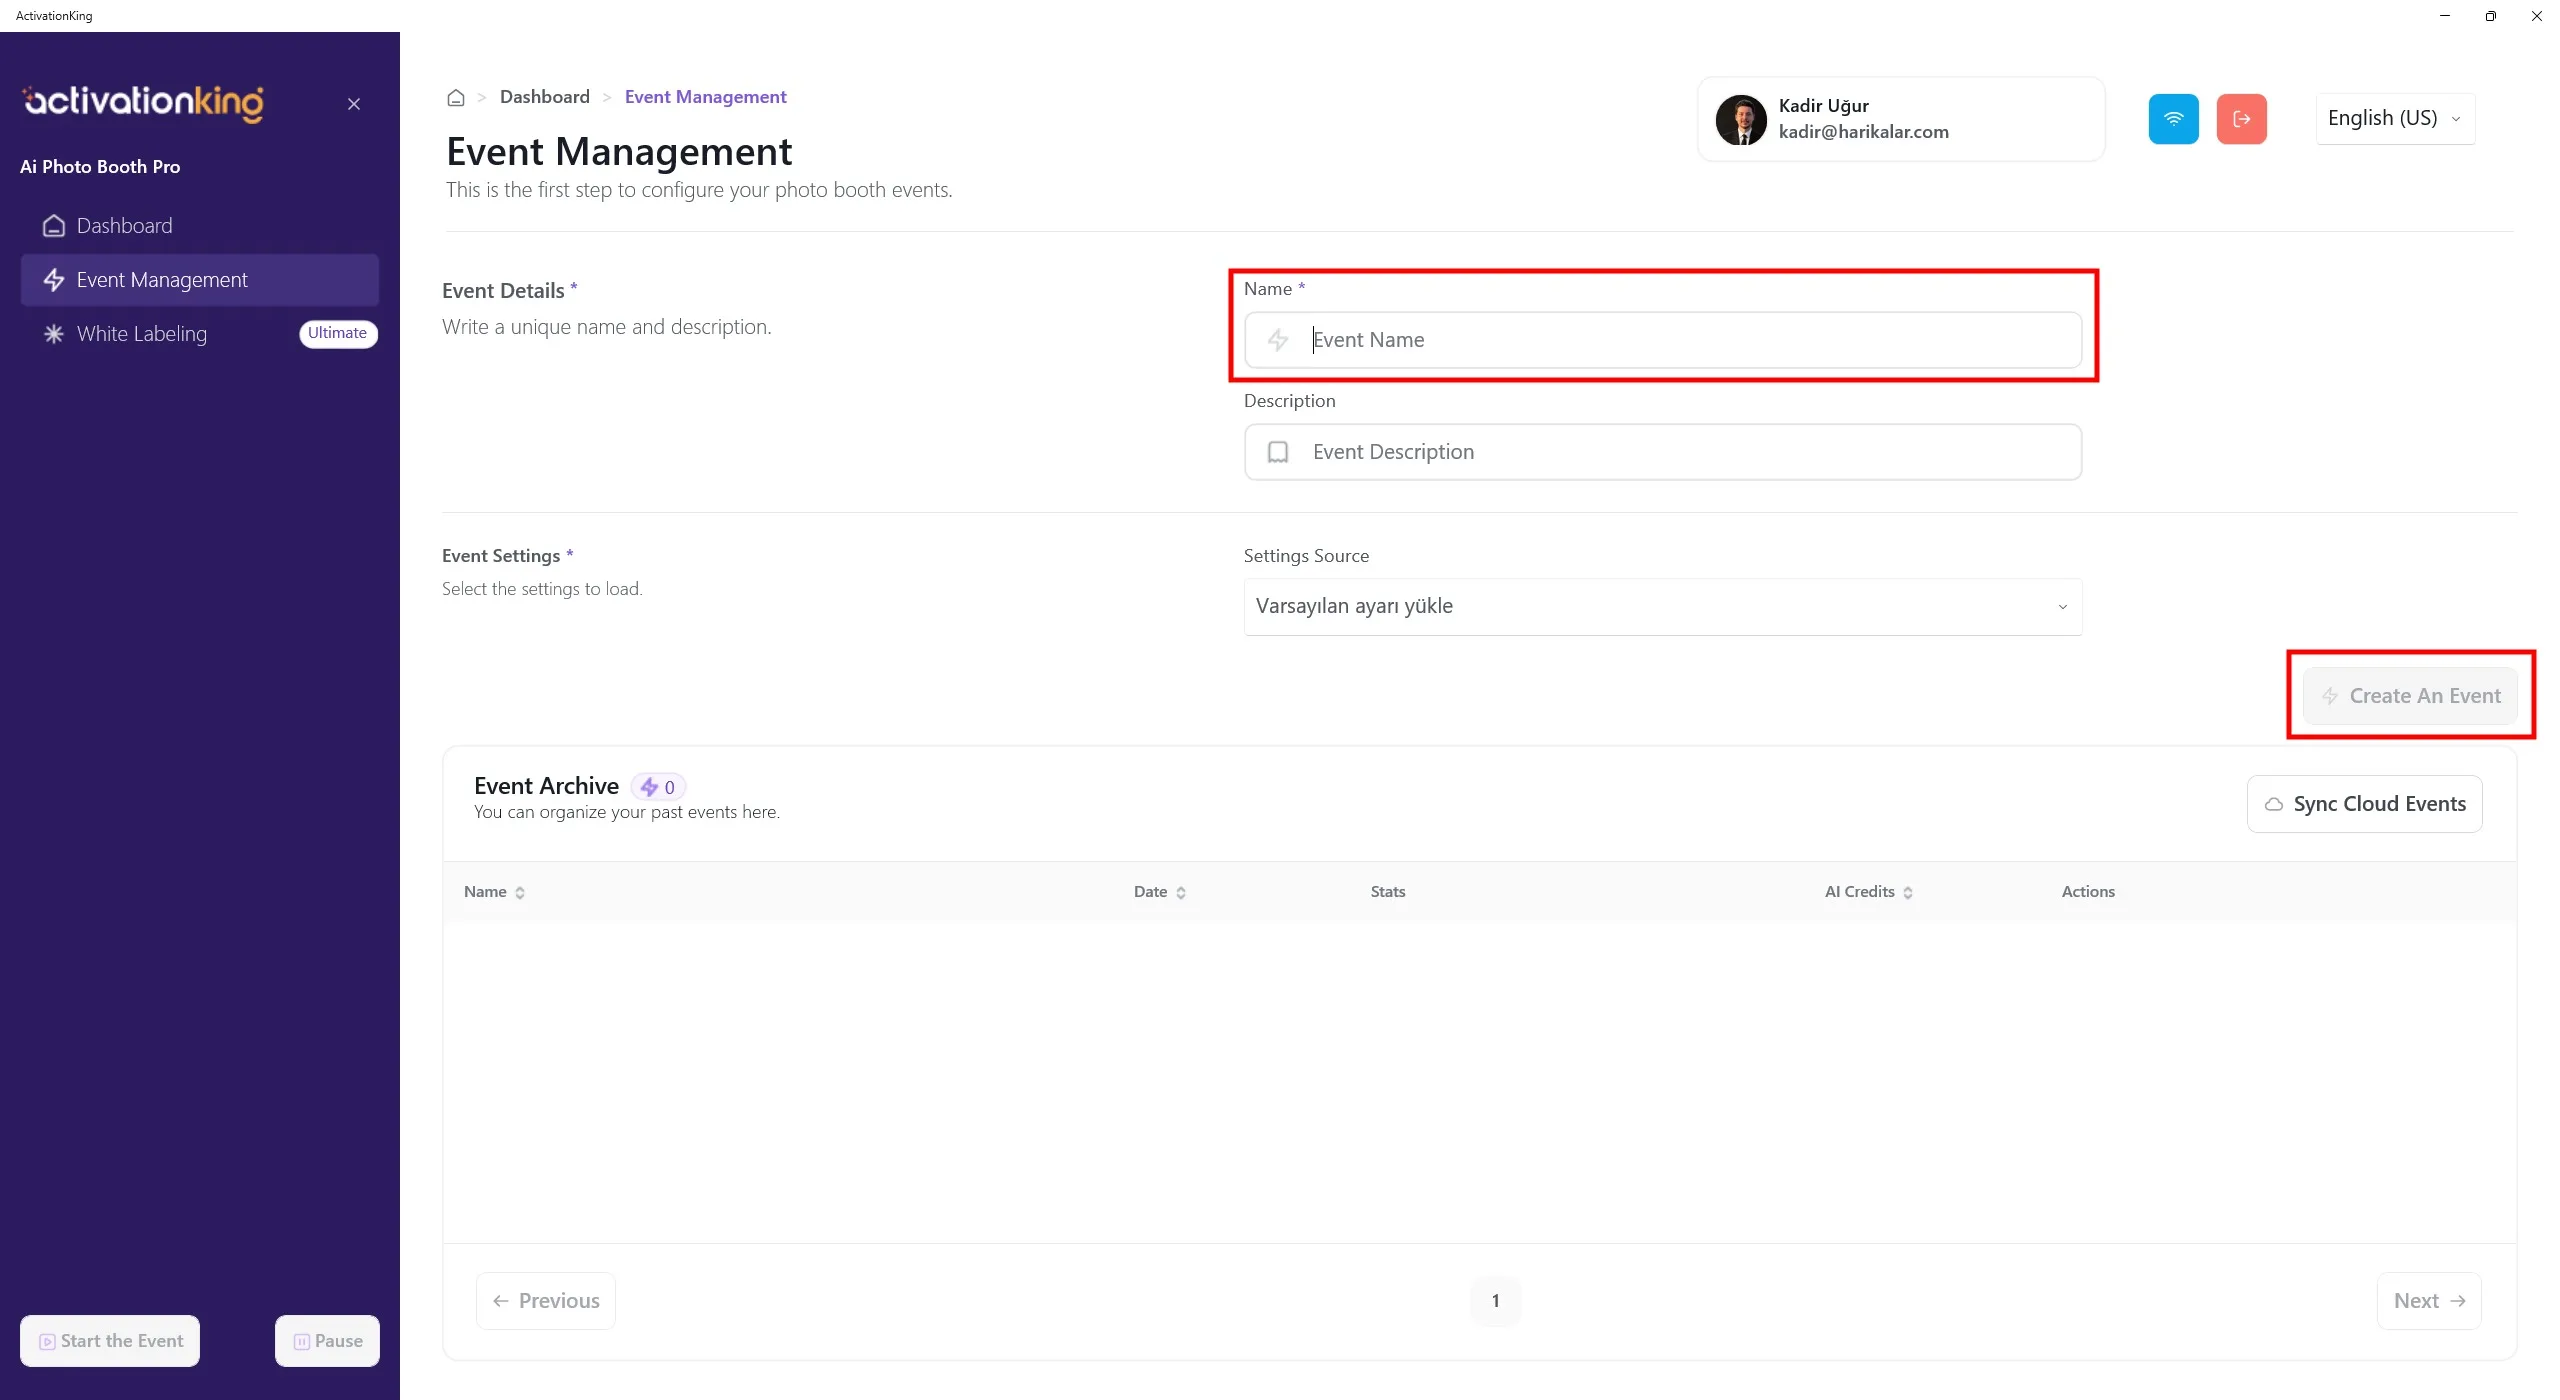
After logging into the software, you first need to create an event. Enter the event name and then click the Create an Event button.
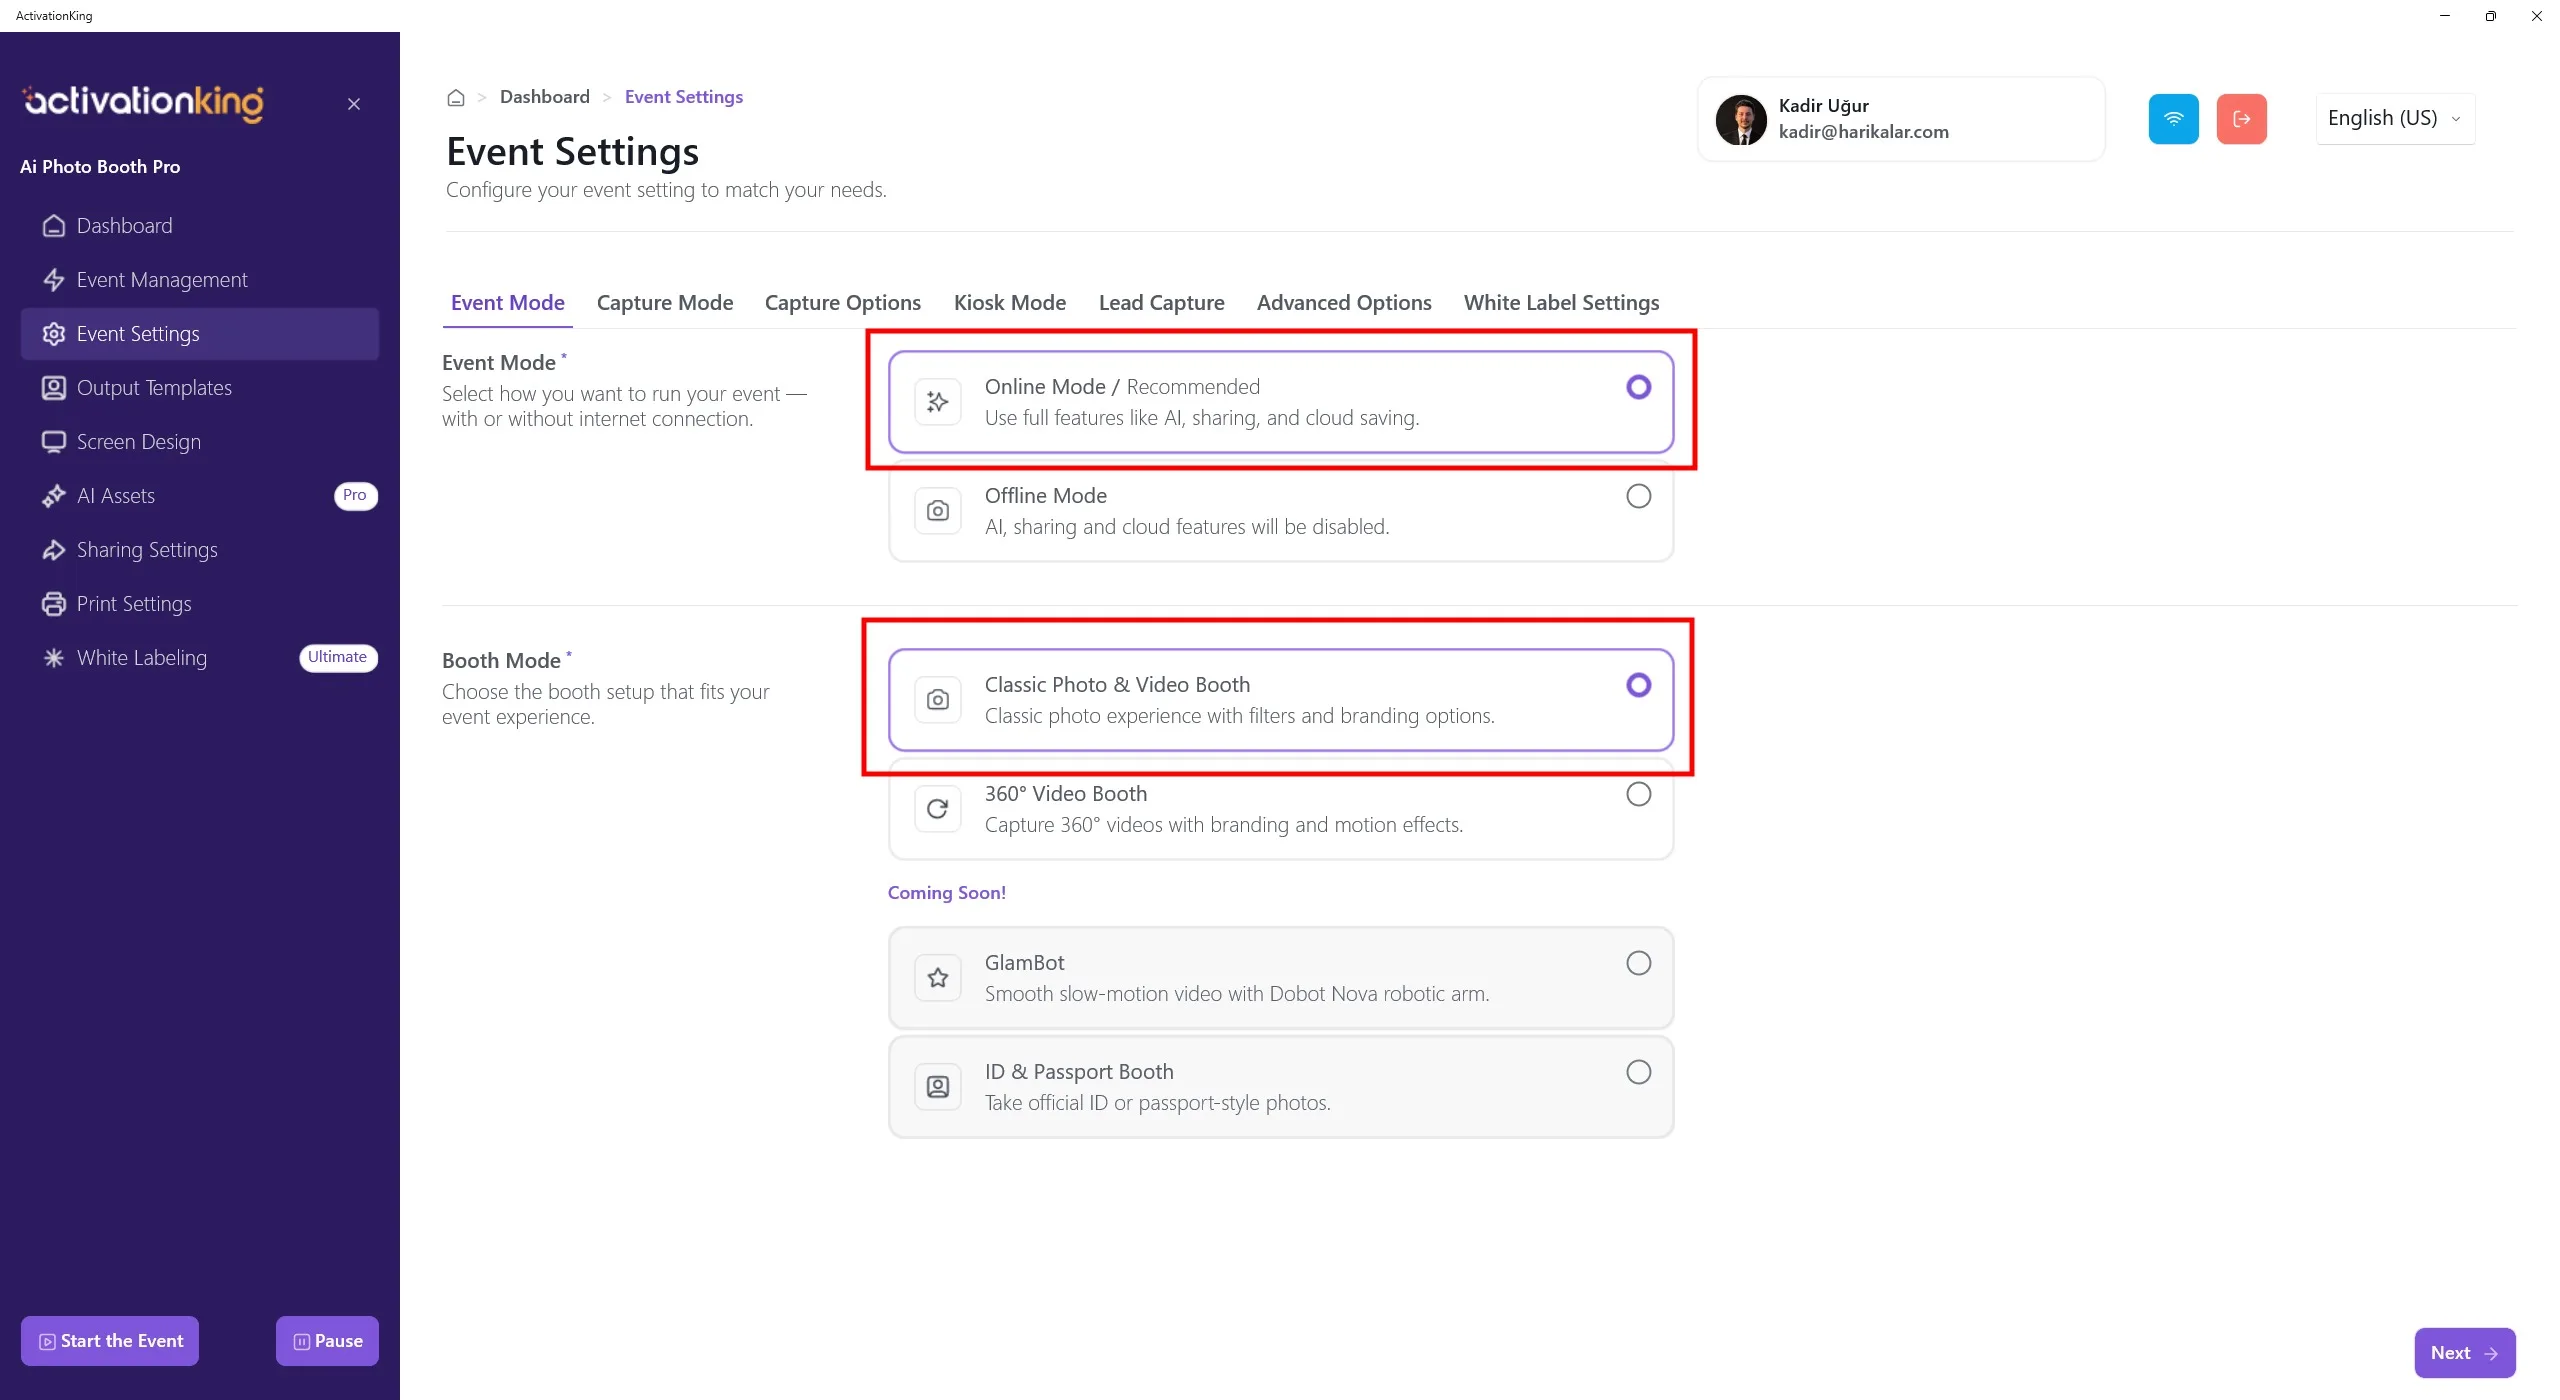
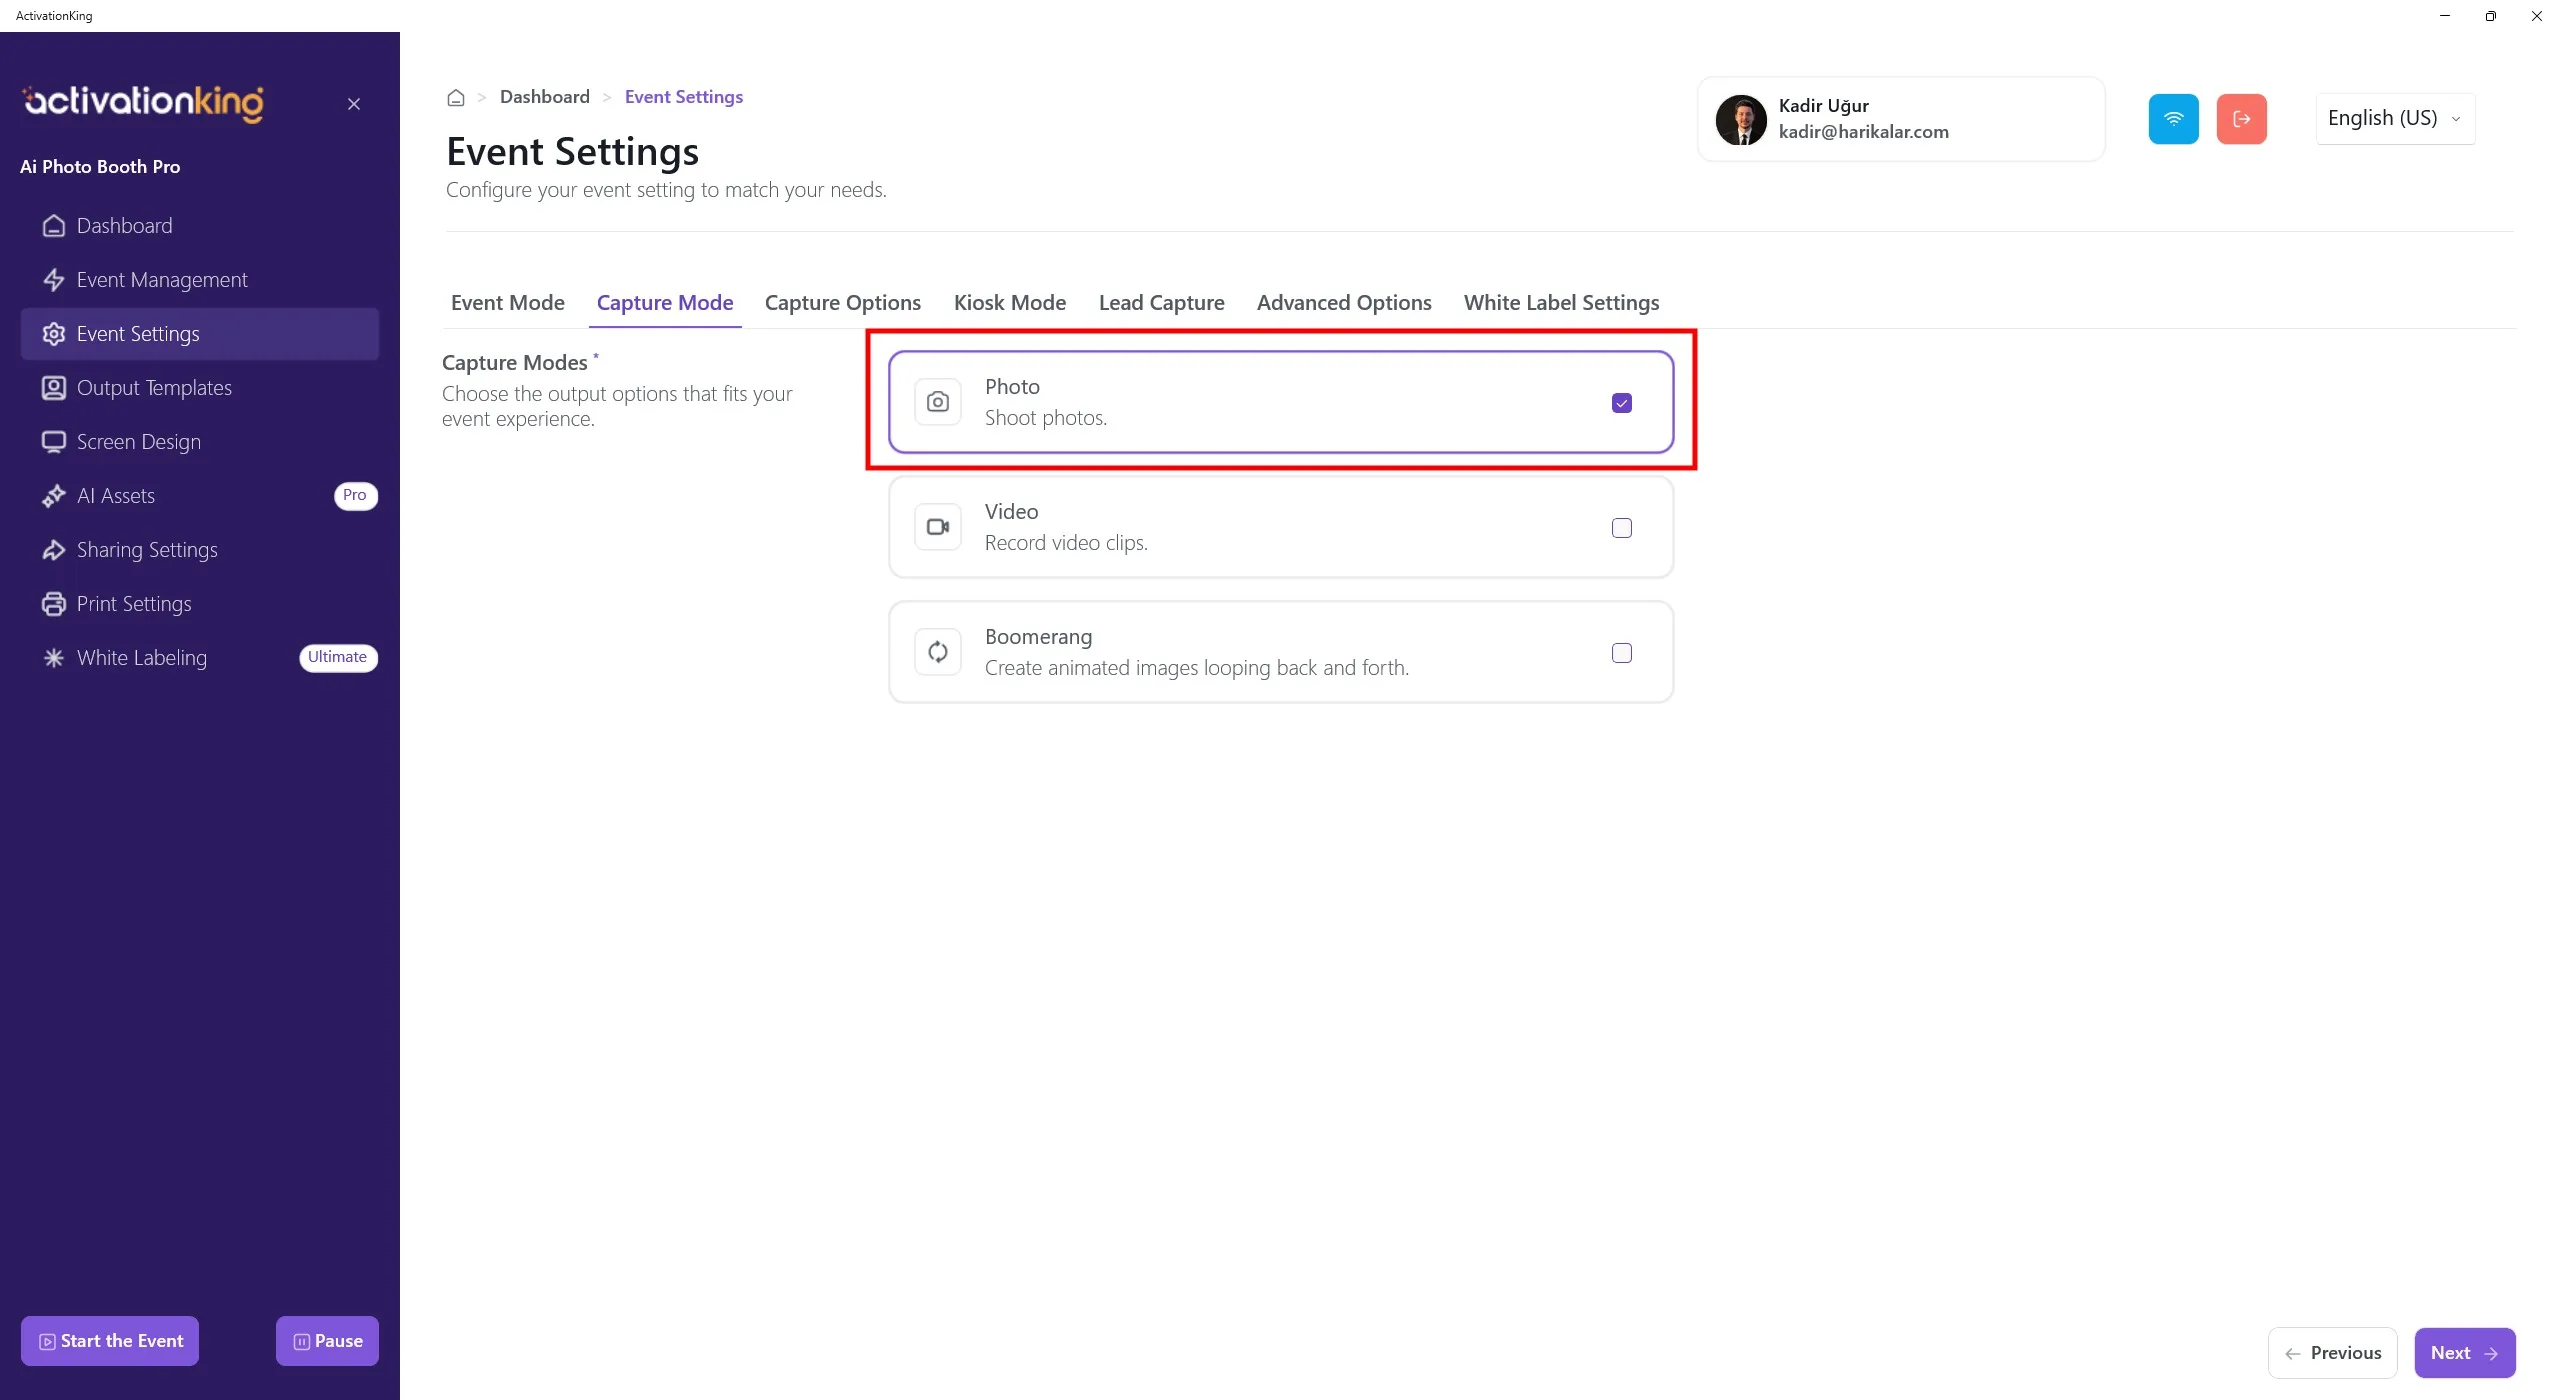
First, select the mode you will use and then navigate to the Capture Options page.
Capture Options
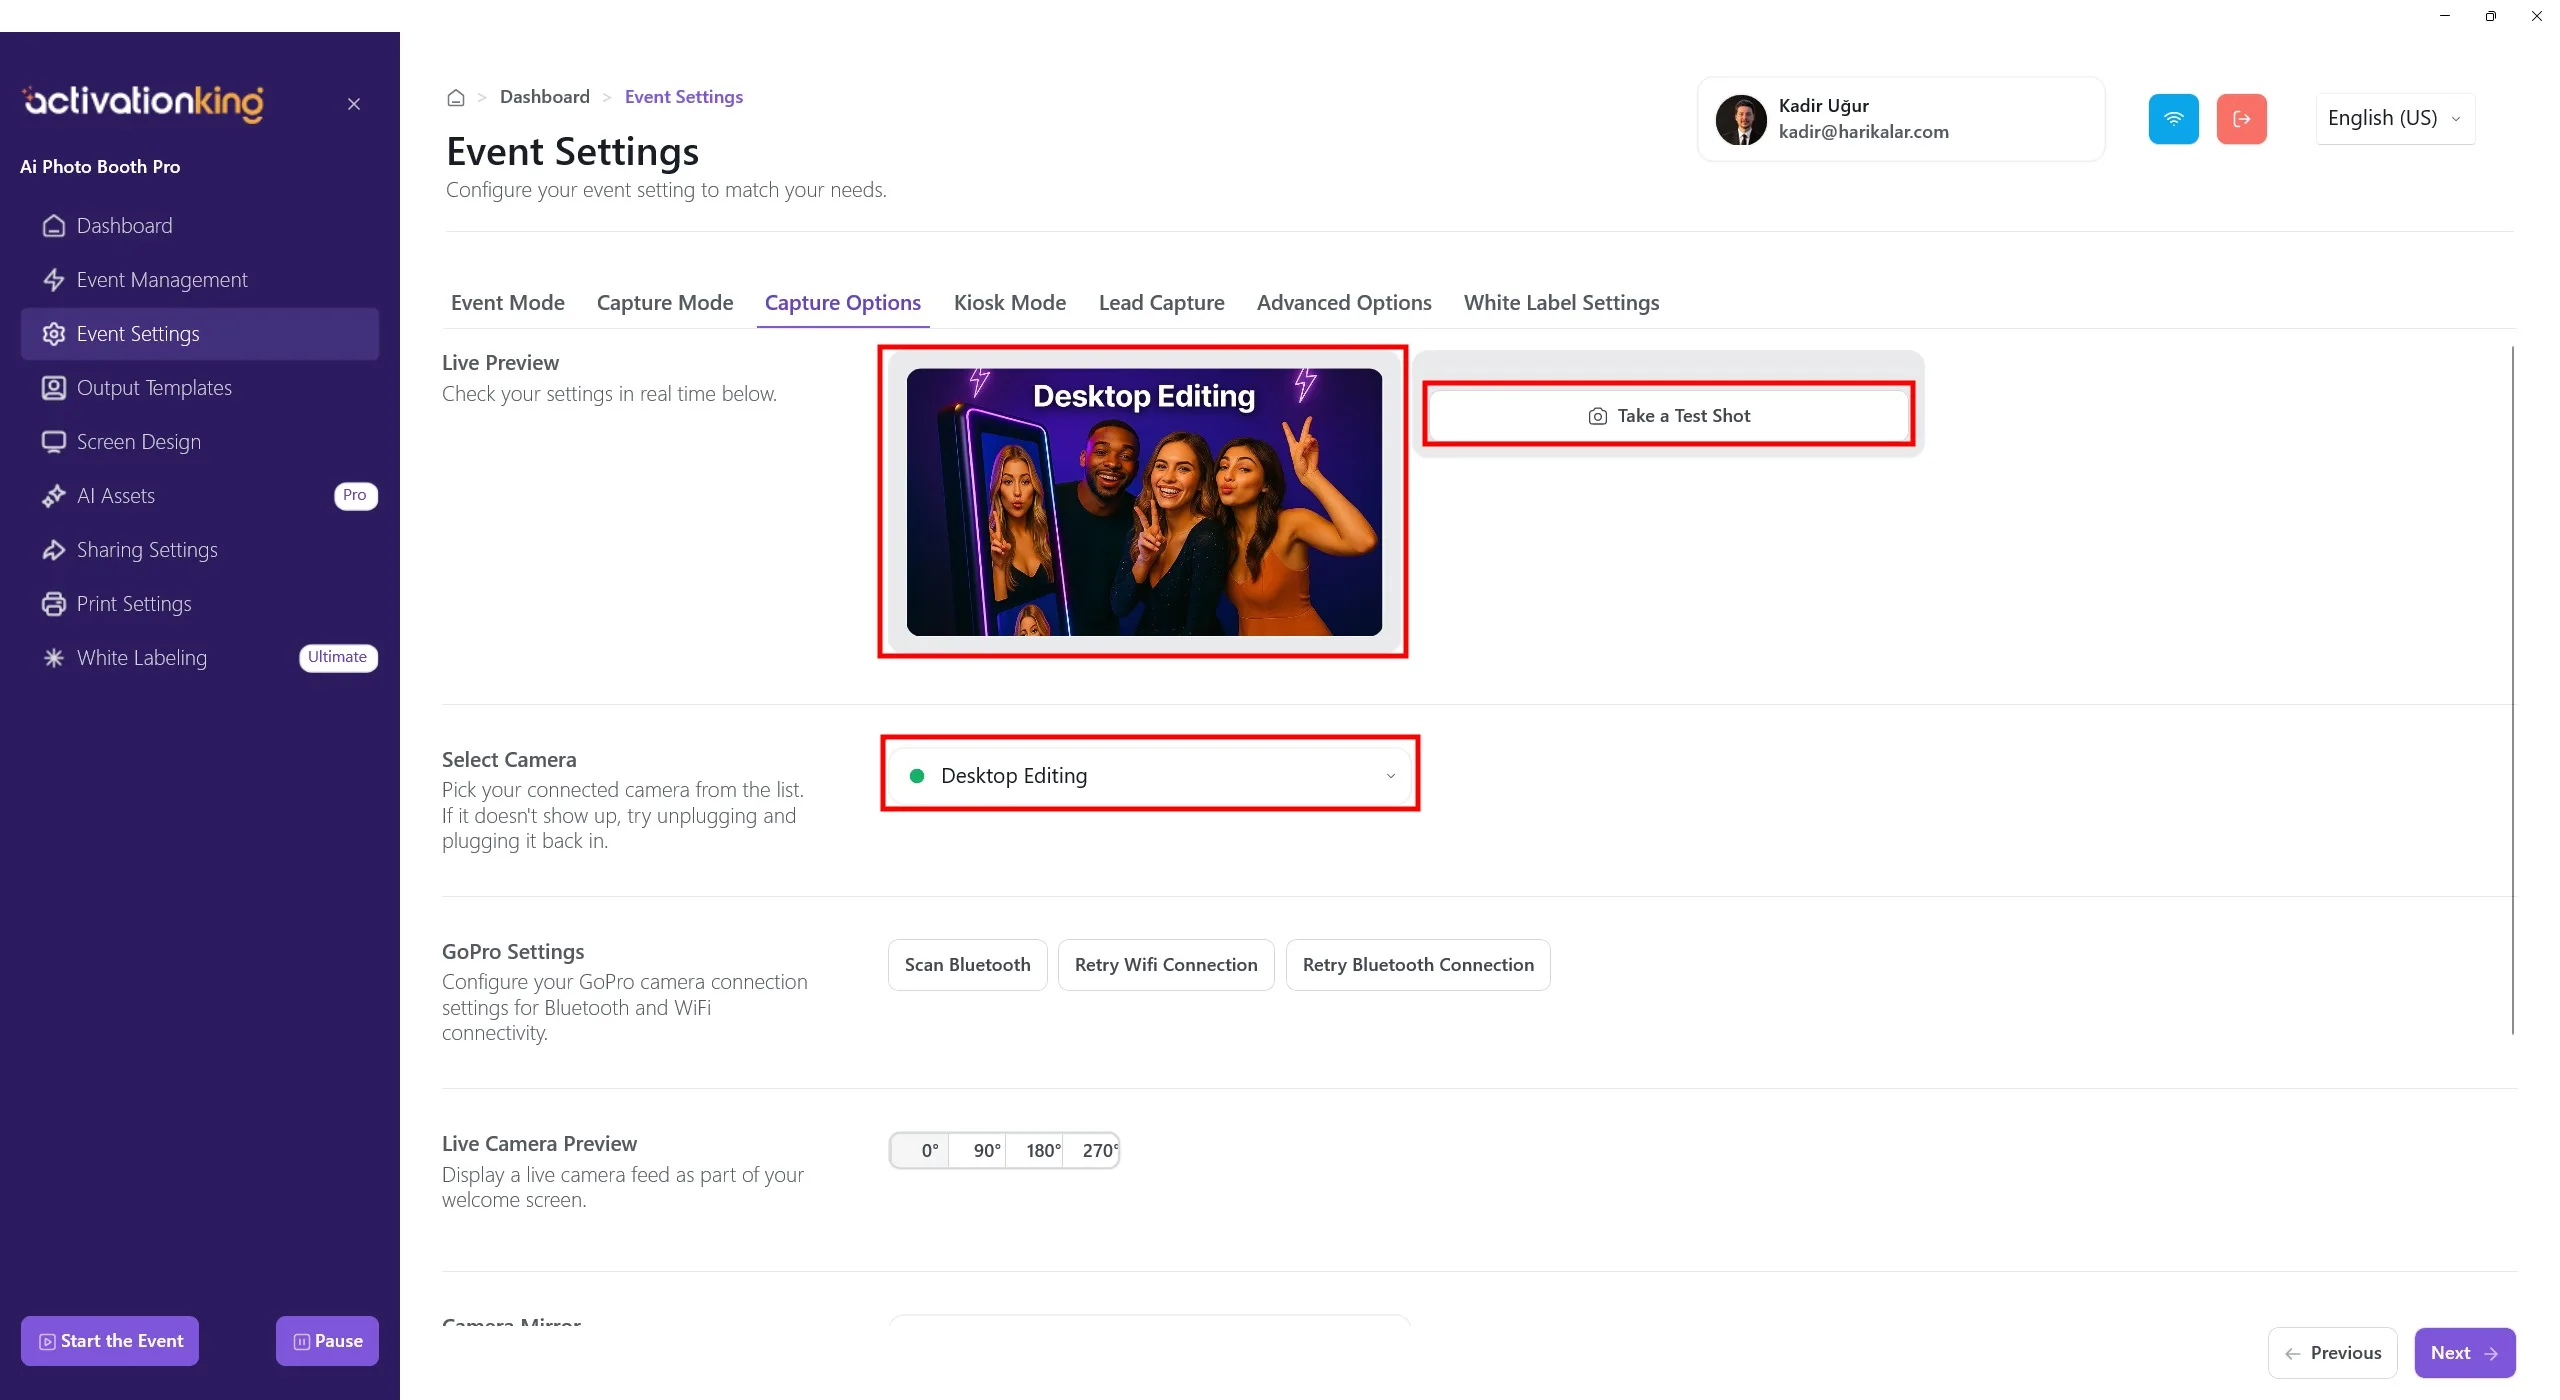
On this page, you can configure all your camera settings. If you select Desktop Editing from the Select Camera section, you can work with existing photos on your device without connecting a camera. You can also select a camera connected to your device from the same section. Once a camera is selected, your live image will appear in the Live Preview section. You can take test photos to check the lighting conditions and your current camera settings.
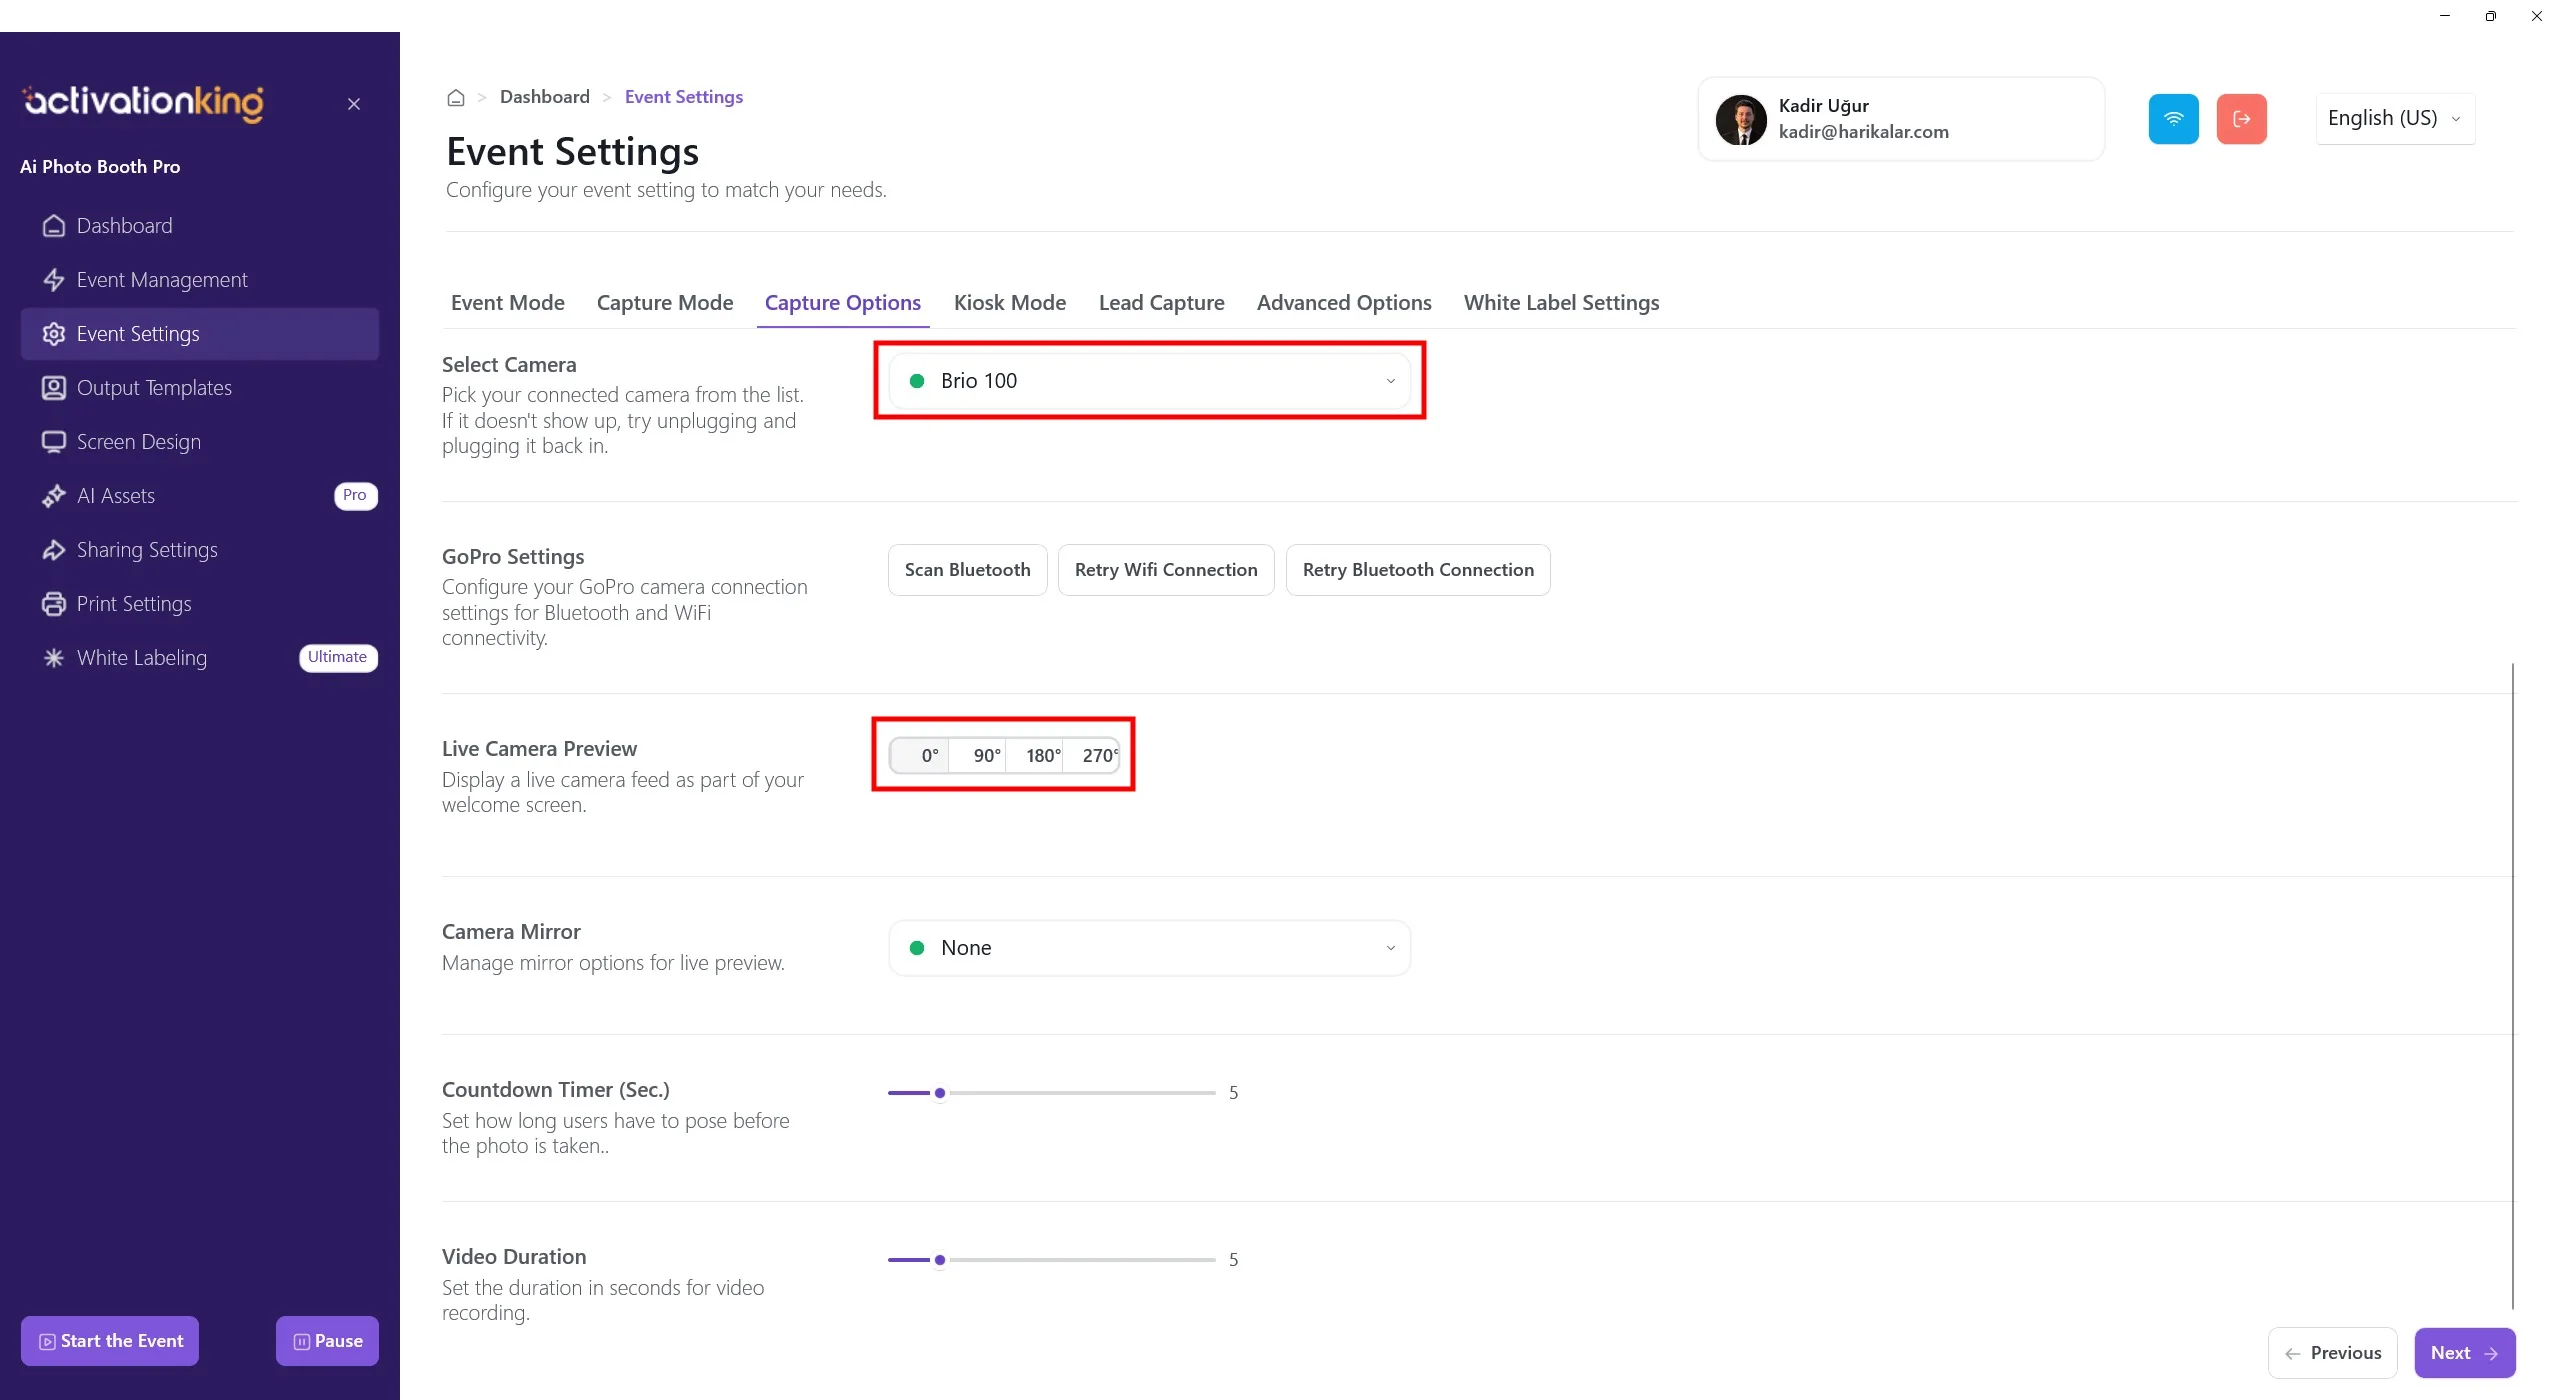
When you scroll to the bottom of the page, you can adjust the camera angle. You can also configure the camera mirror settings and set the countdown time before the photo is taken.
Output Templates
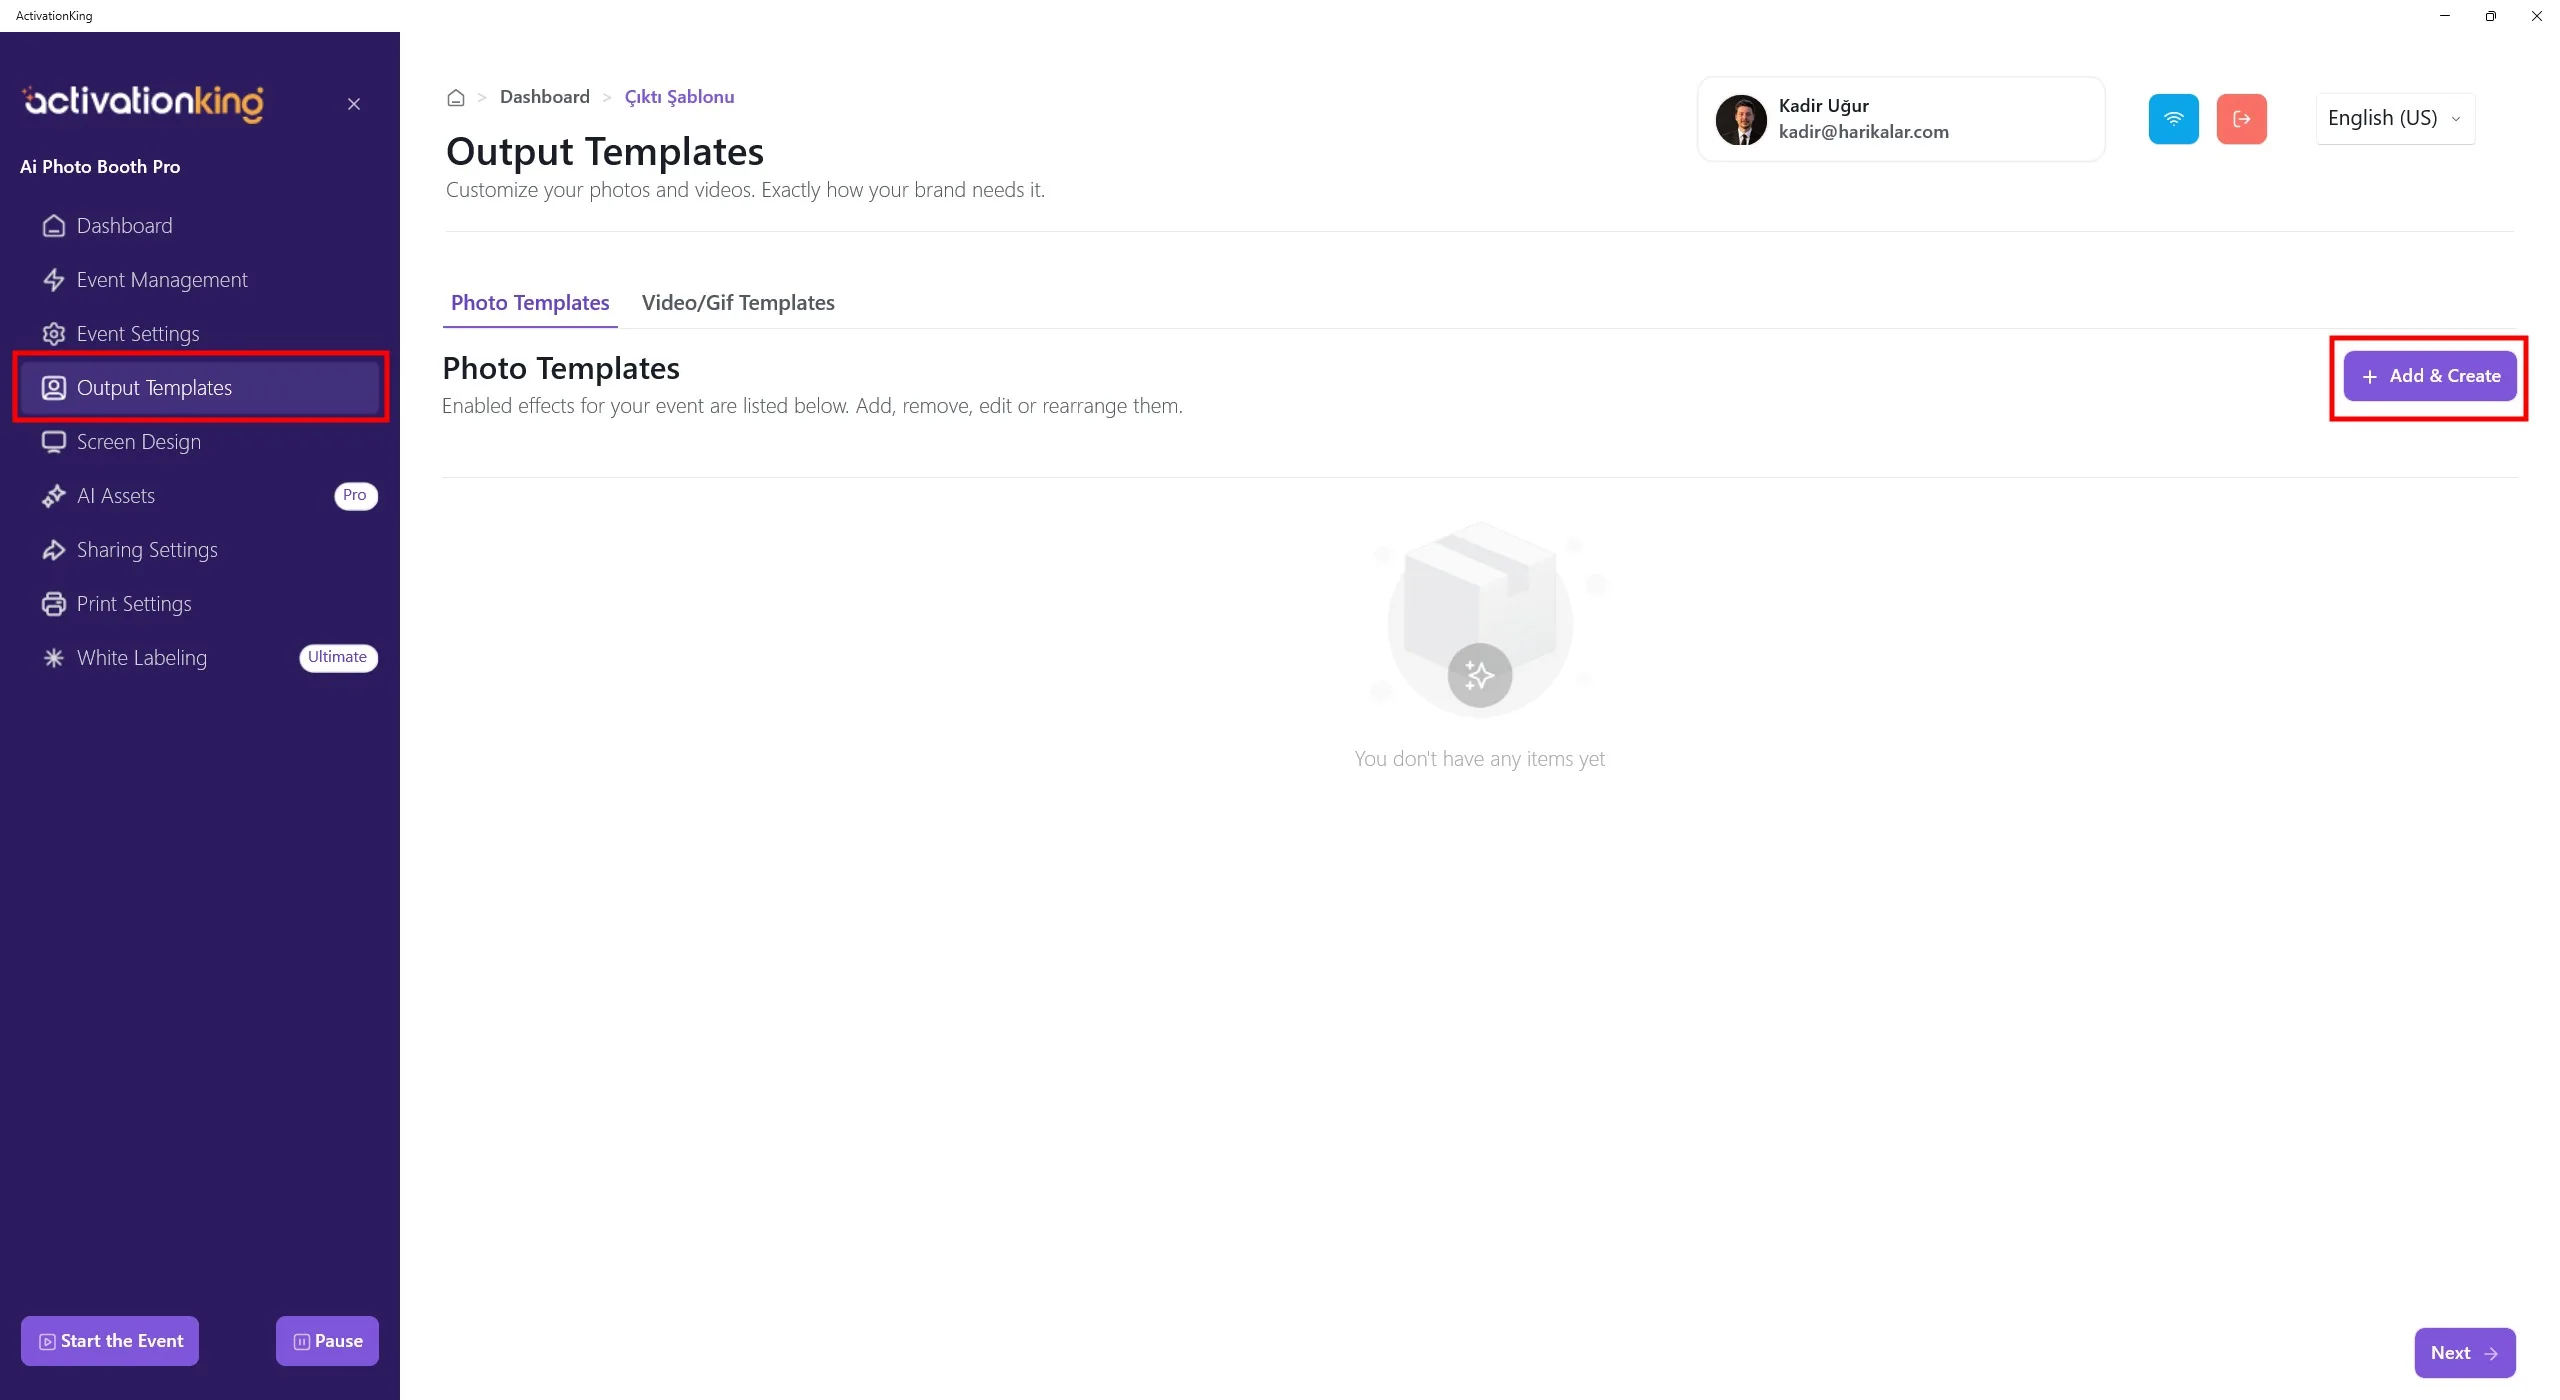
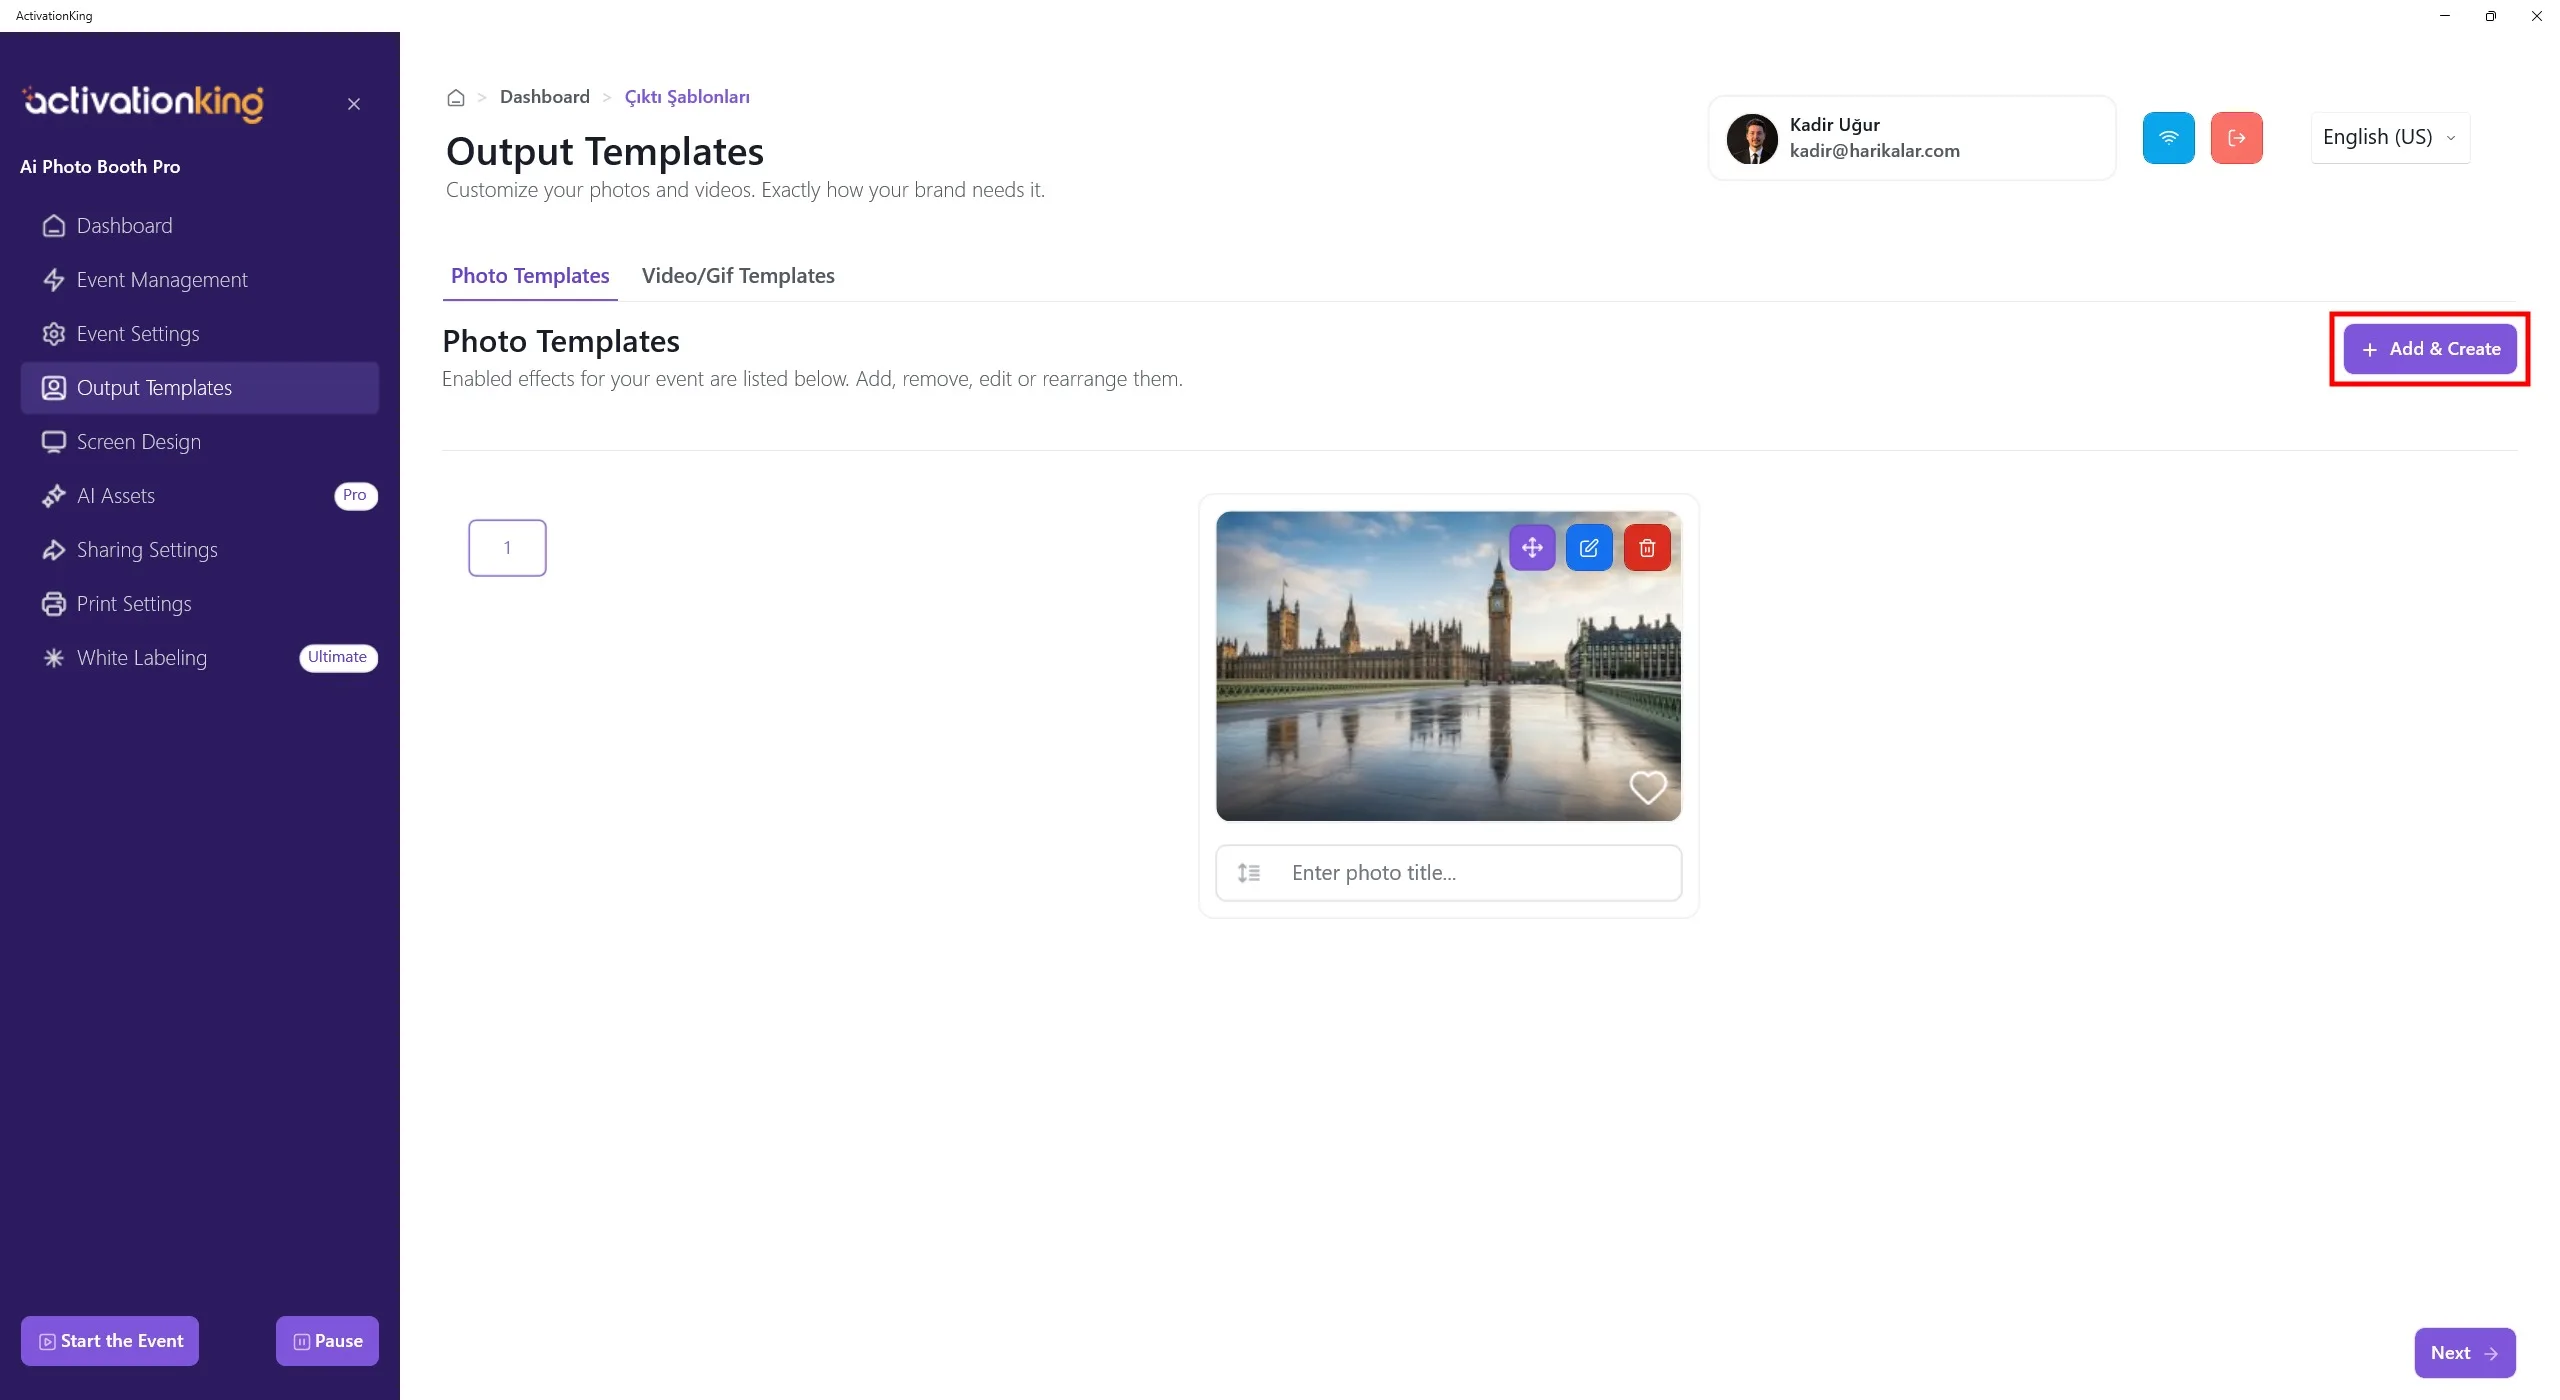
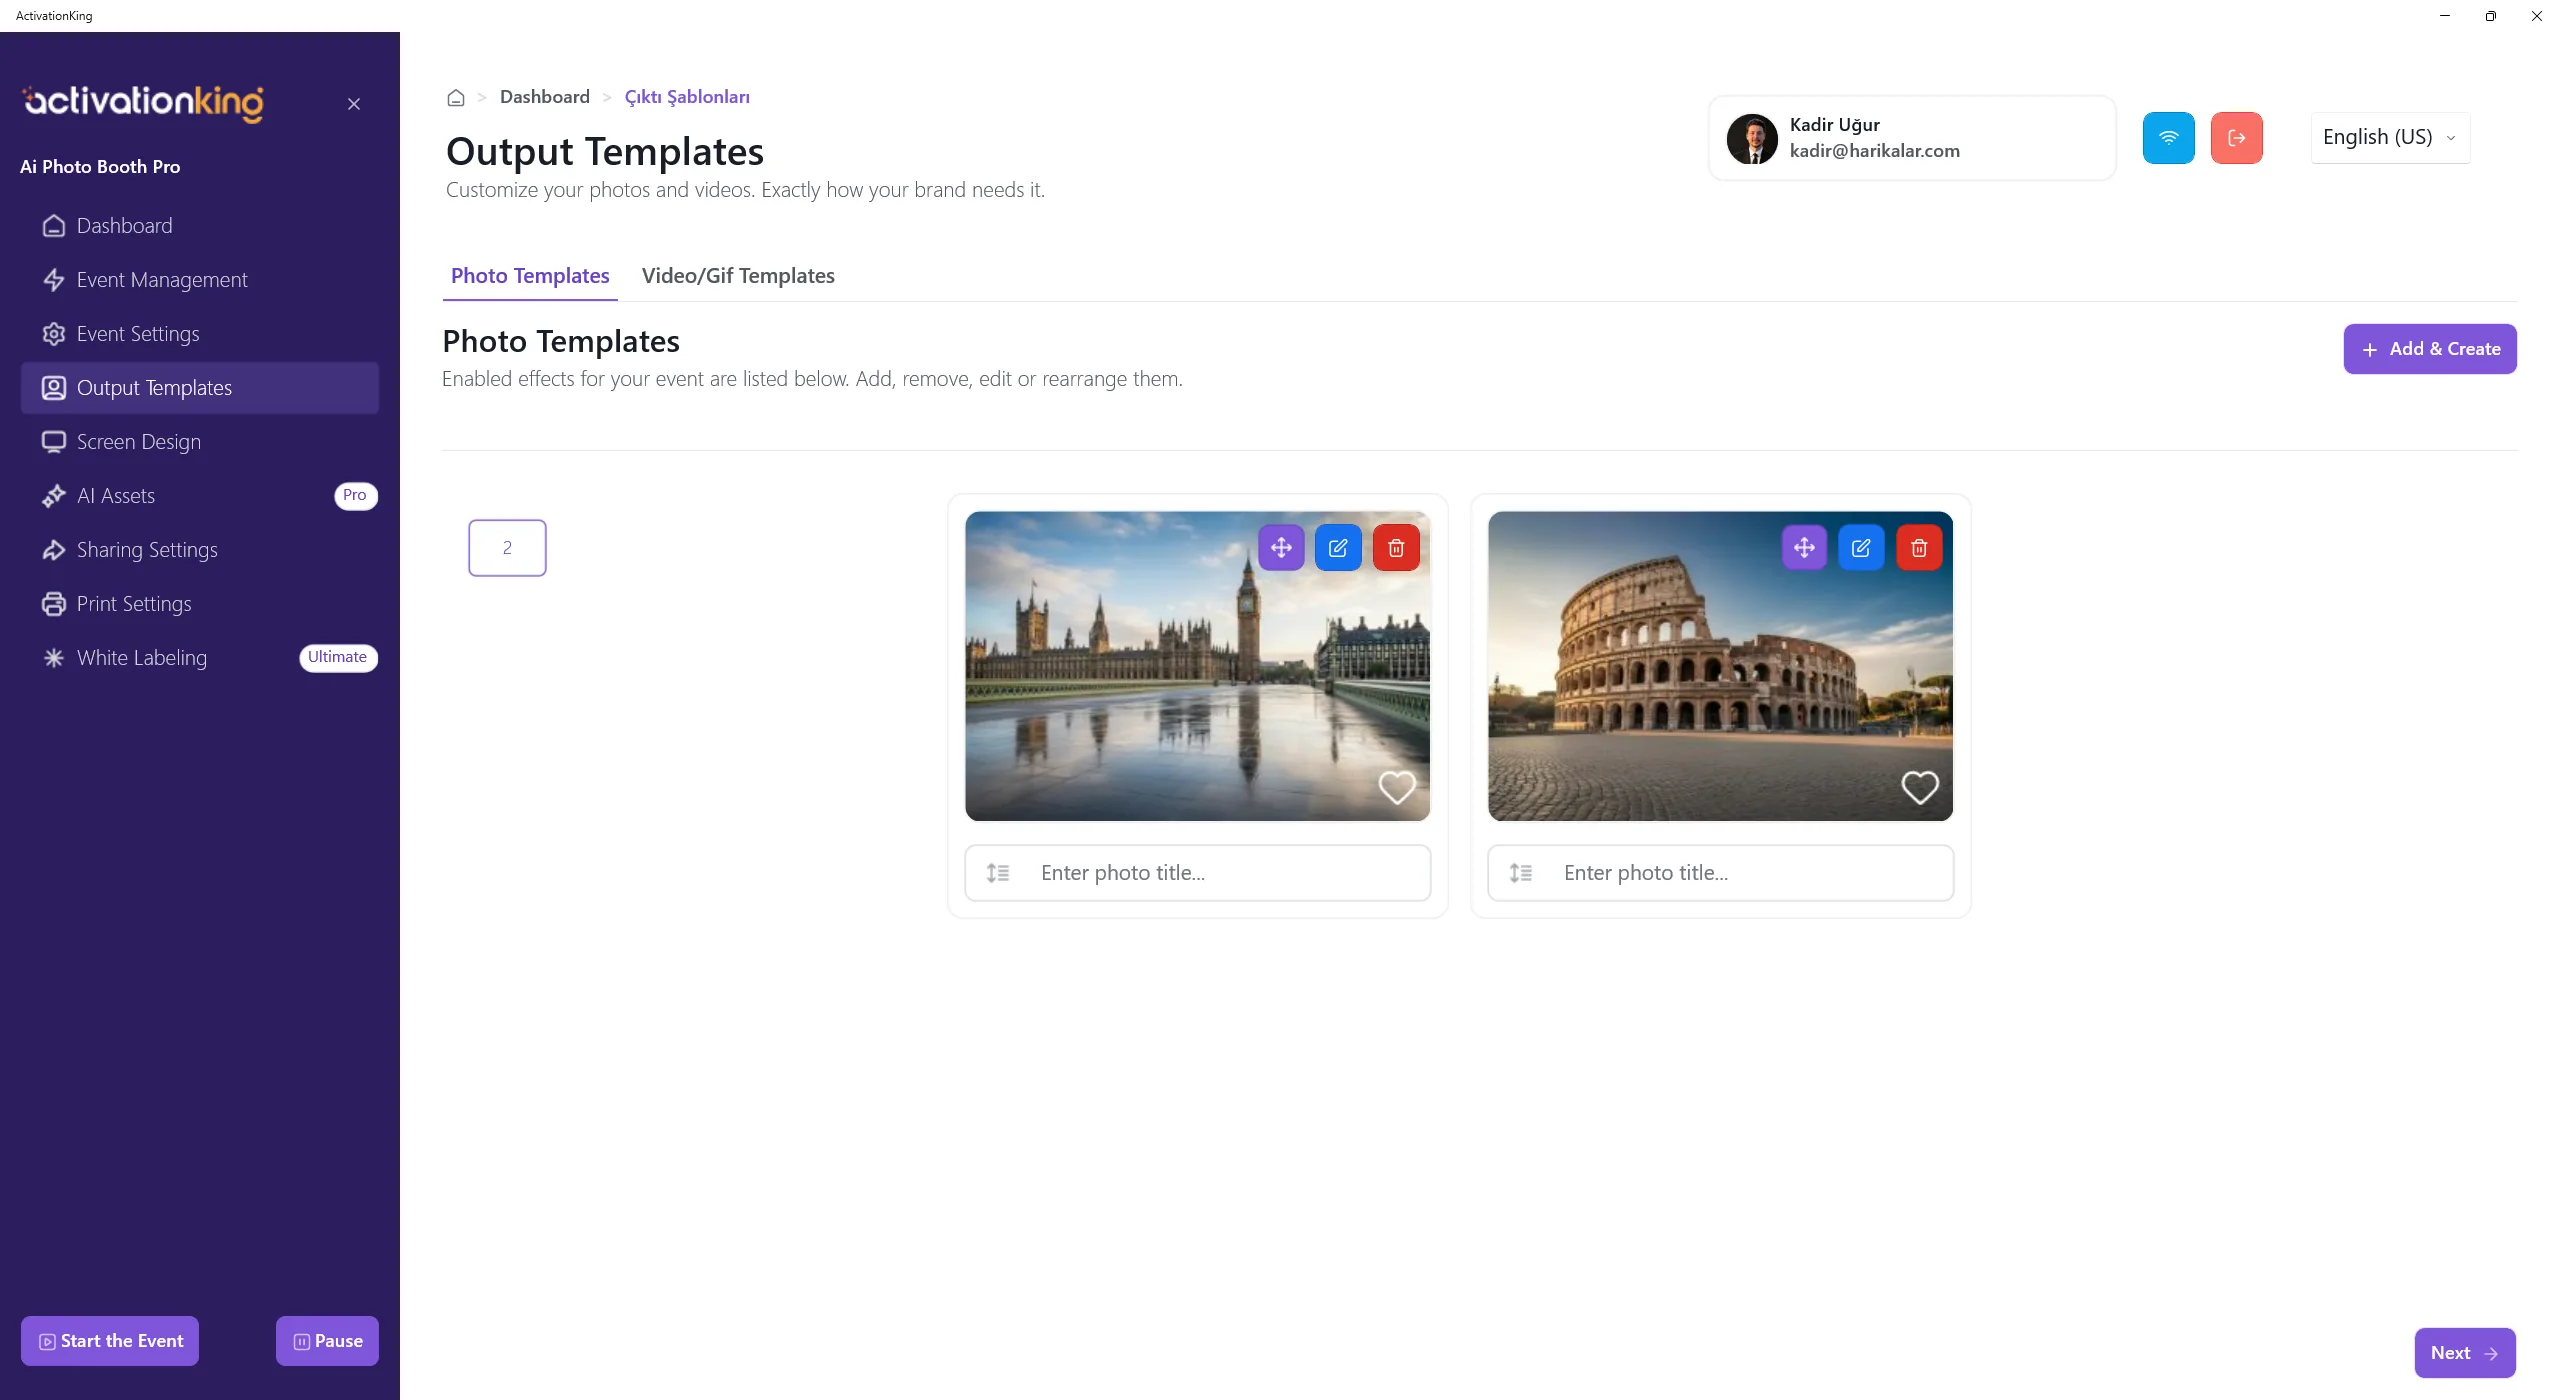
When the page opens, you will see the default templates. You can use these templates if you wish, or delete all of them and create a new template only for the mode you need.
Having multiple templates in this section requires selecting a template before taking a photo. If you are not using multiple AI modes or multiple frames/templates, this is not necessary. You can delete all templates and restore them quickly at any time.
To create a template for AI Background, click the +Add & Create button.
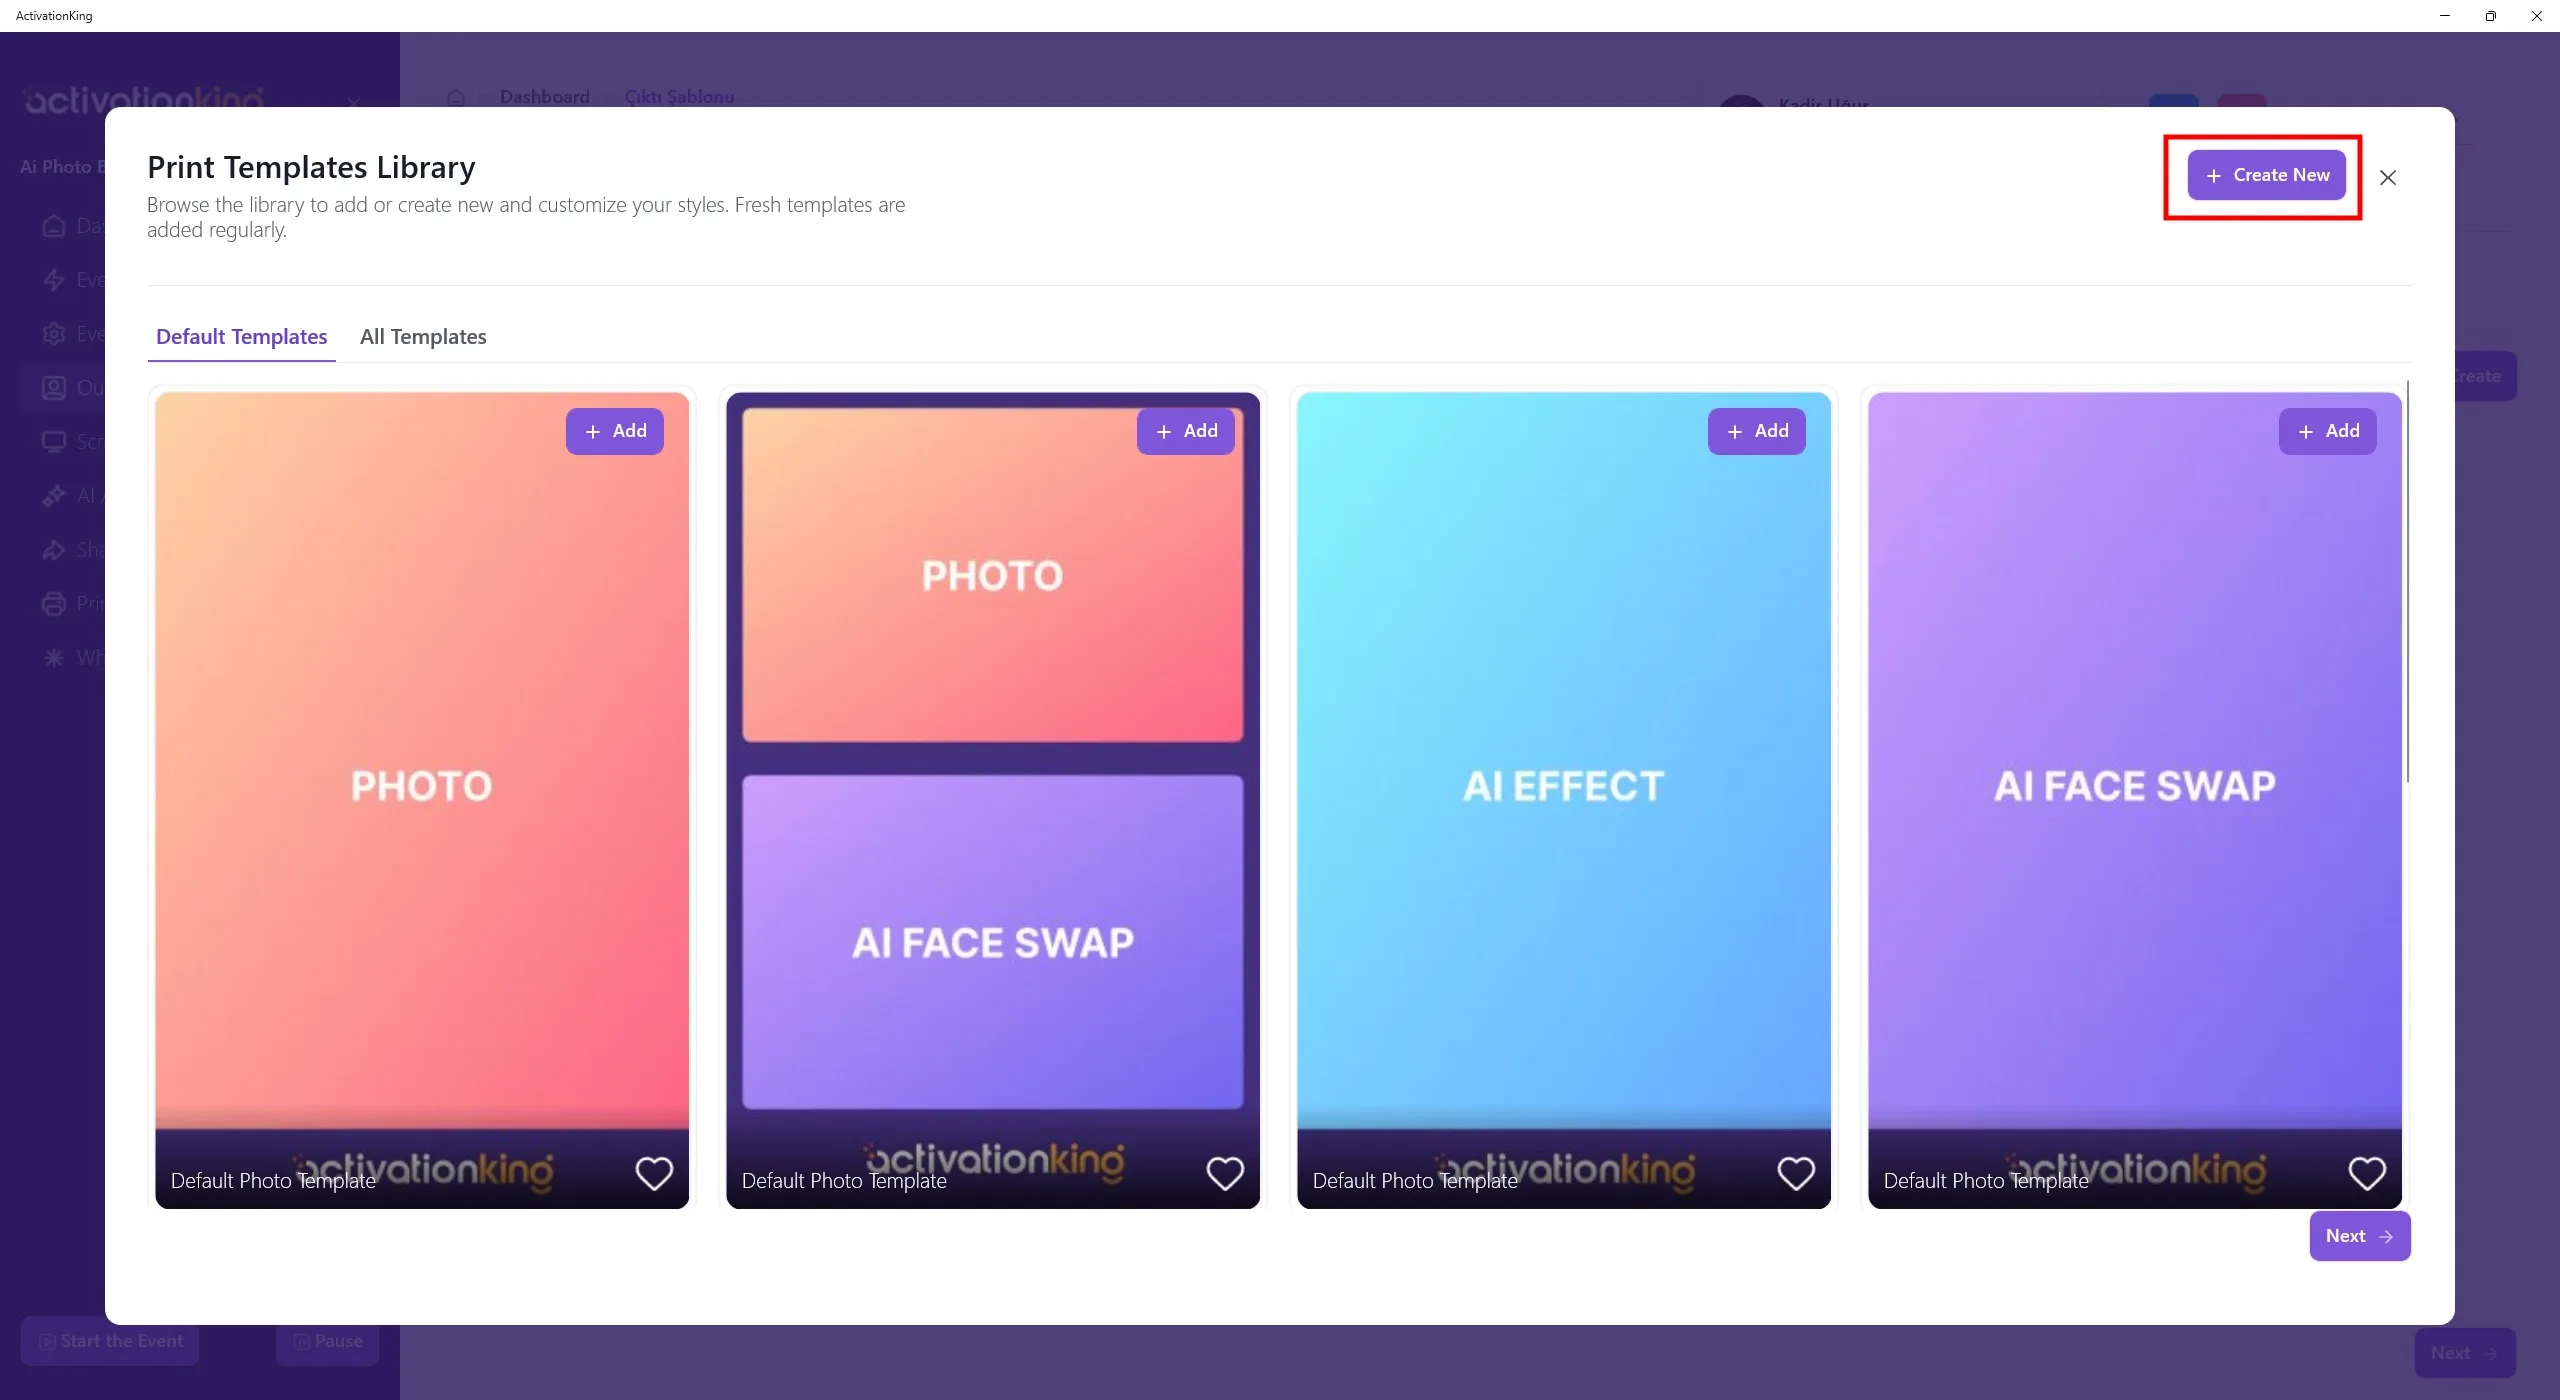
Even if you delete the templates, you can quickly add them again from this section. For now, click the Create New button.
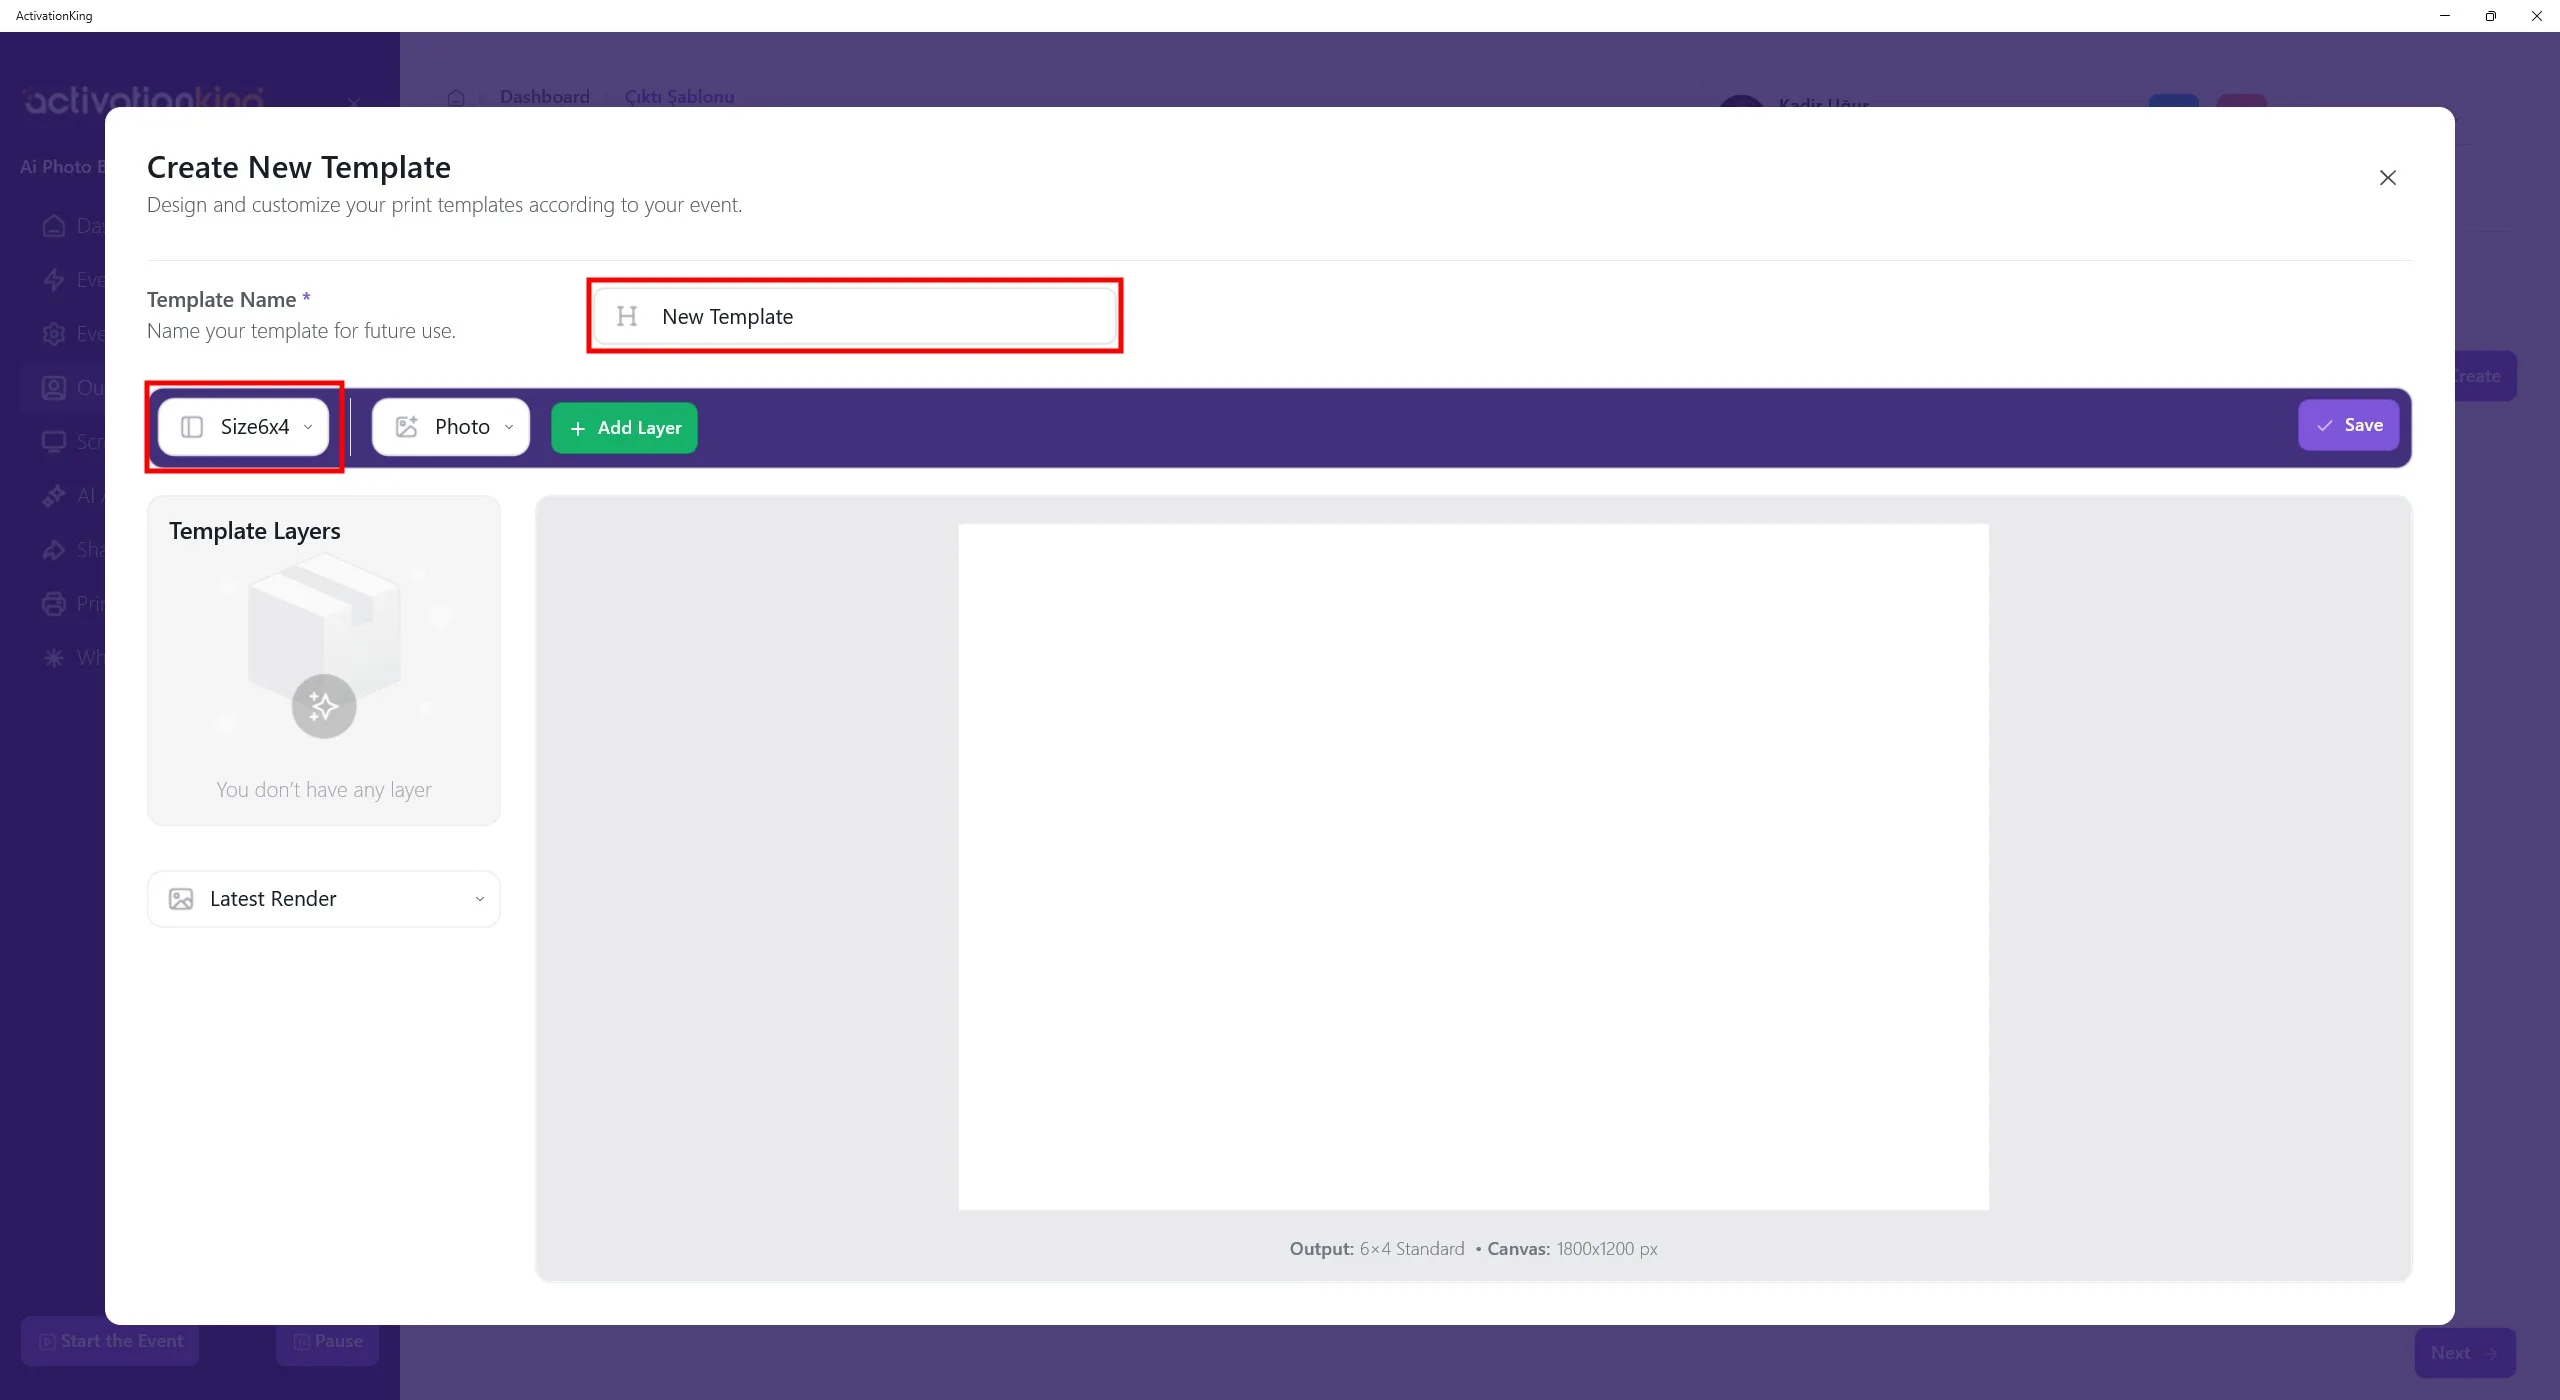
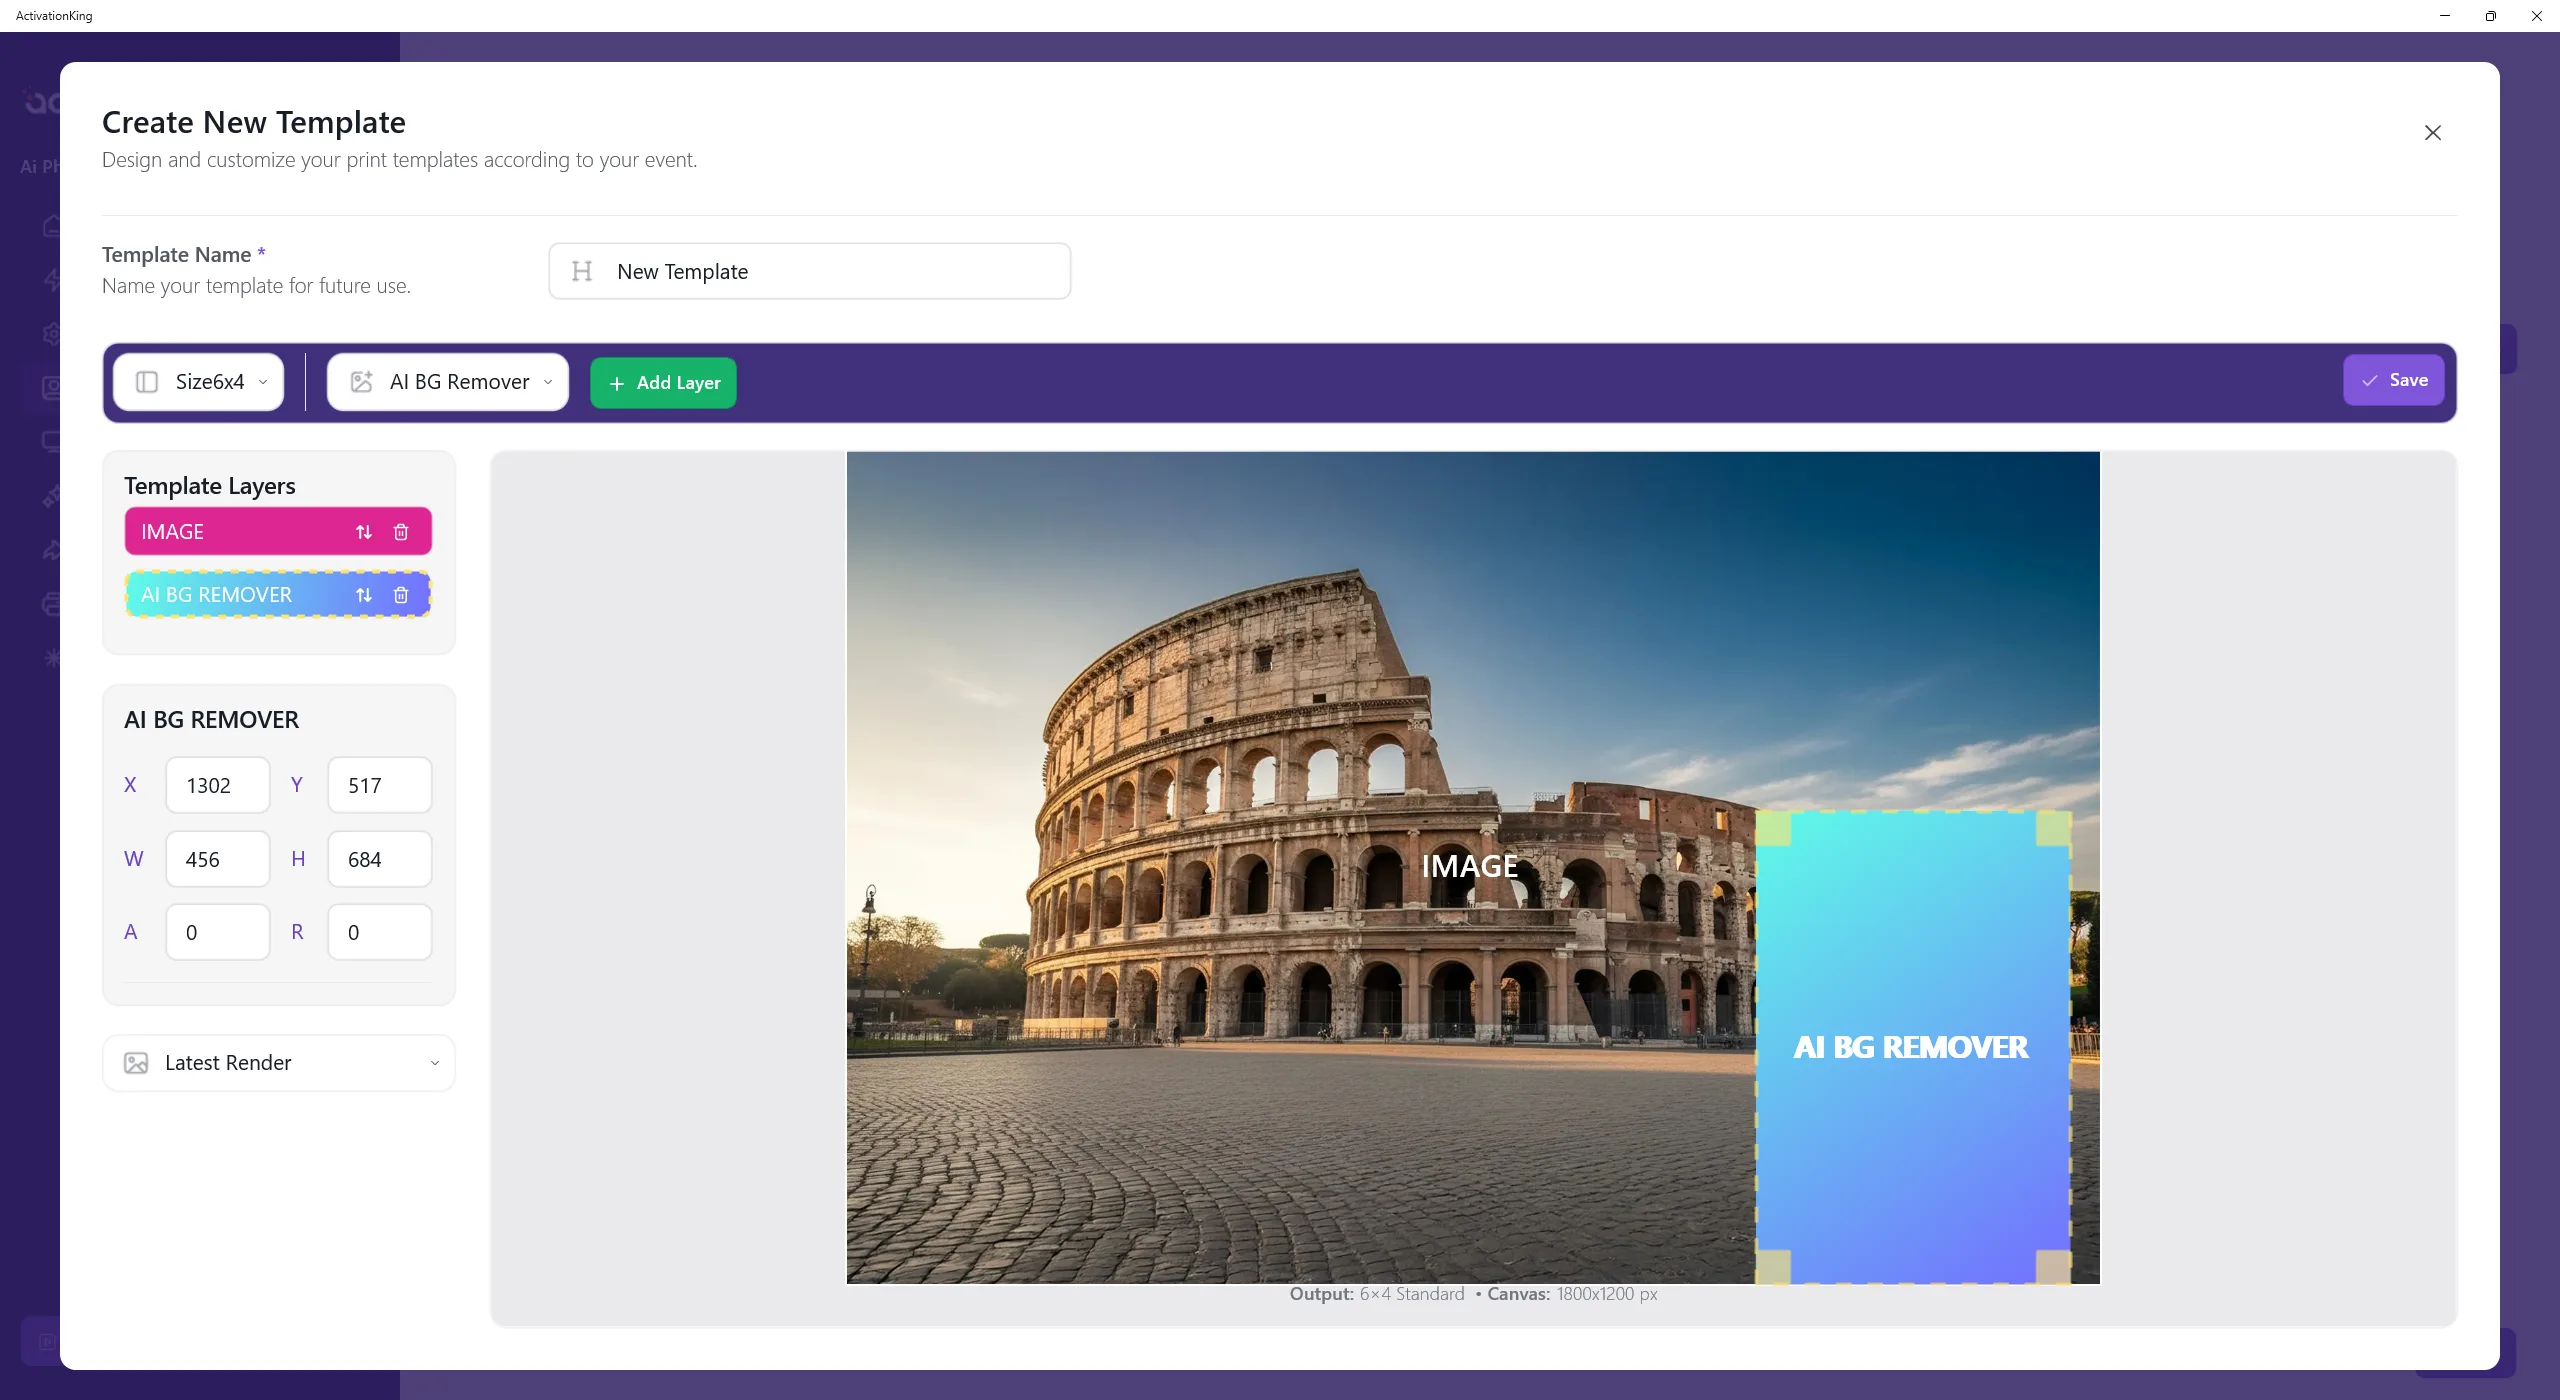
On the page that opens, you can name your template if you plan to use more than one. If you will only use a single template, this is not necessary. Adjust the template size from the top-left section.
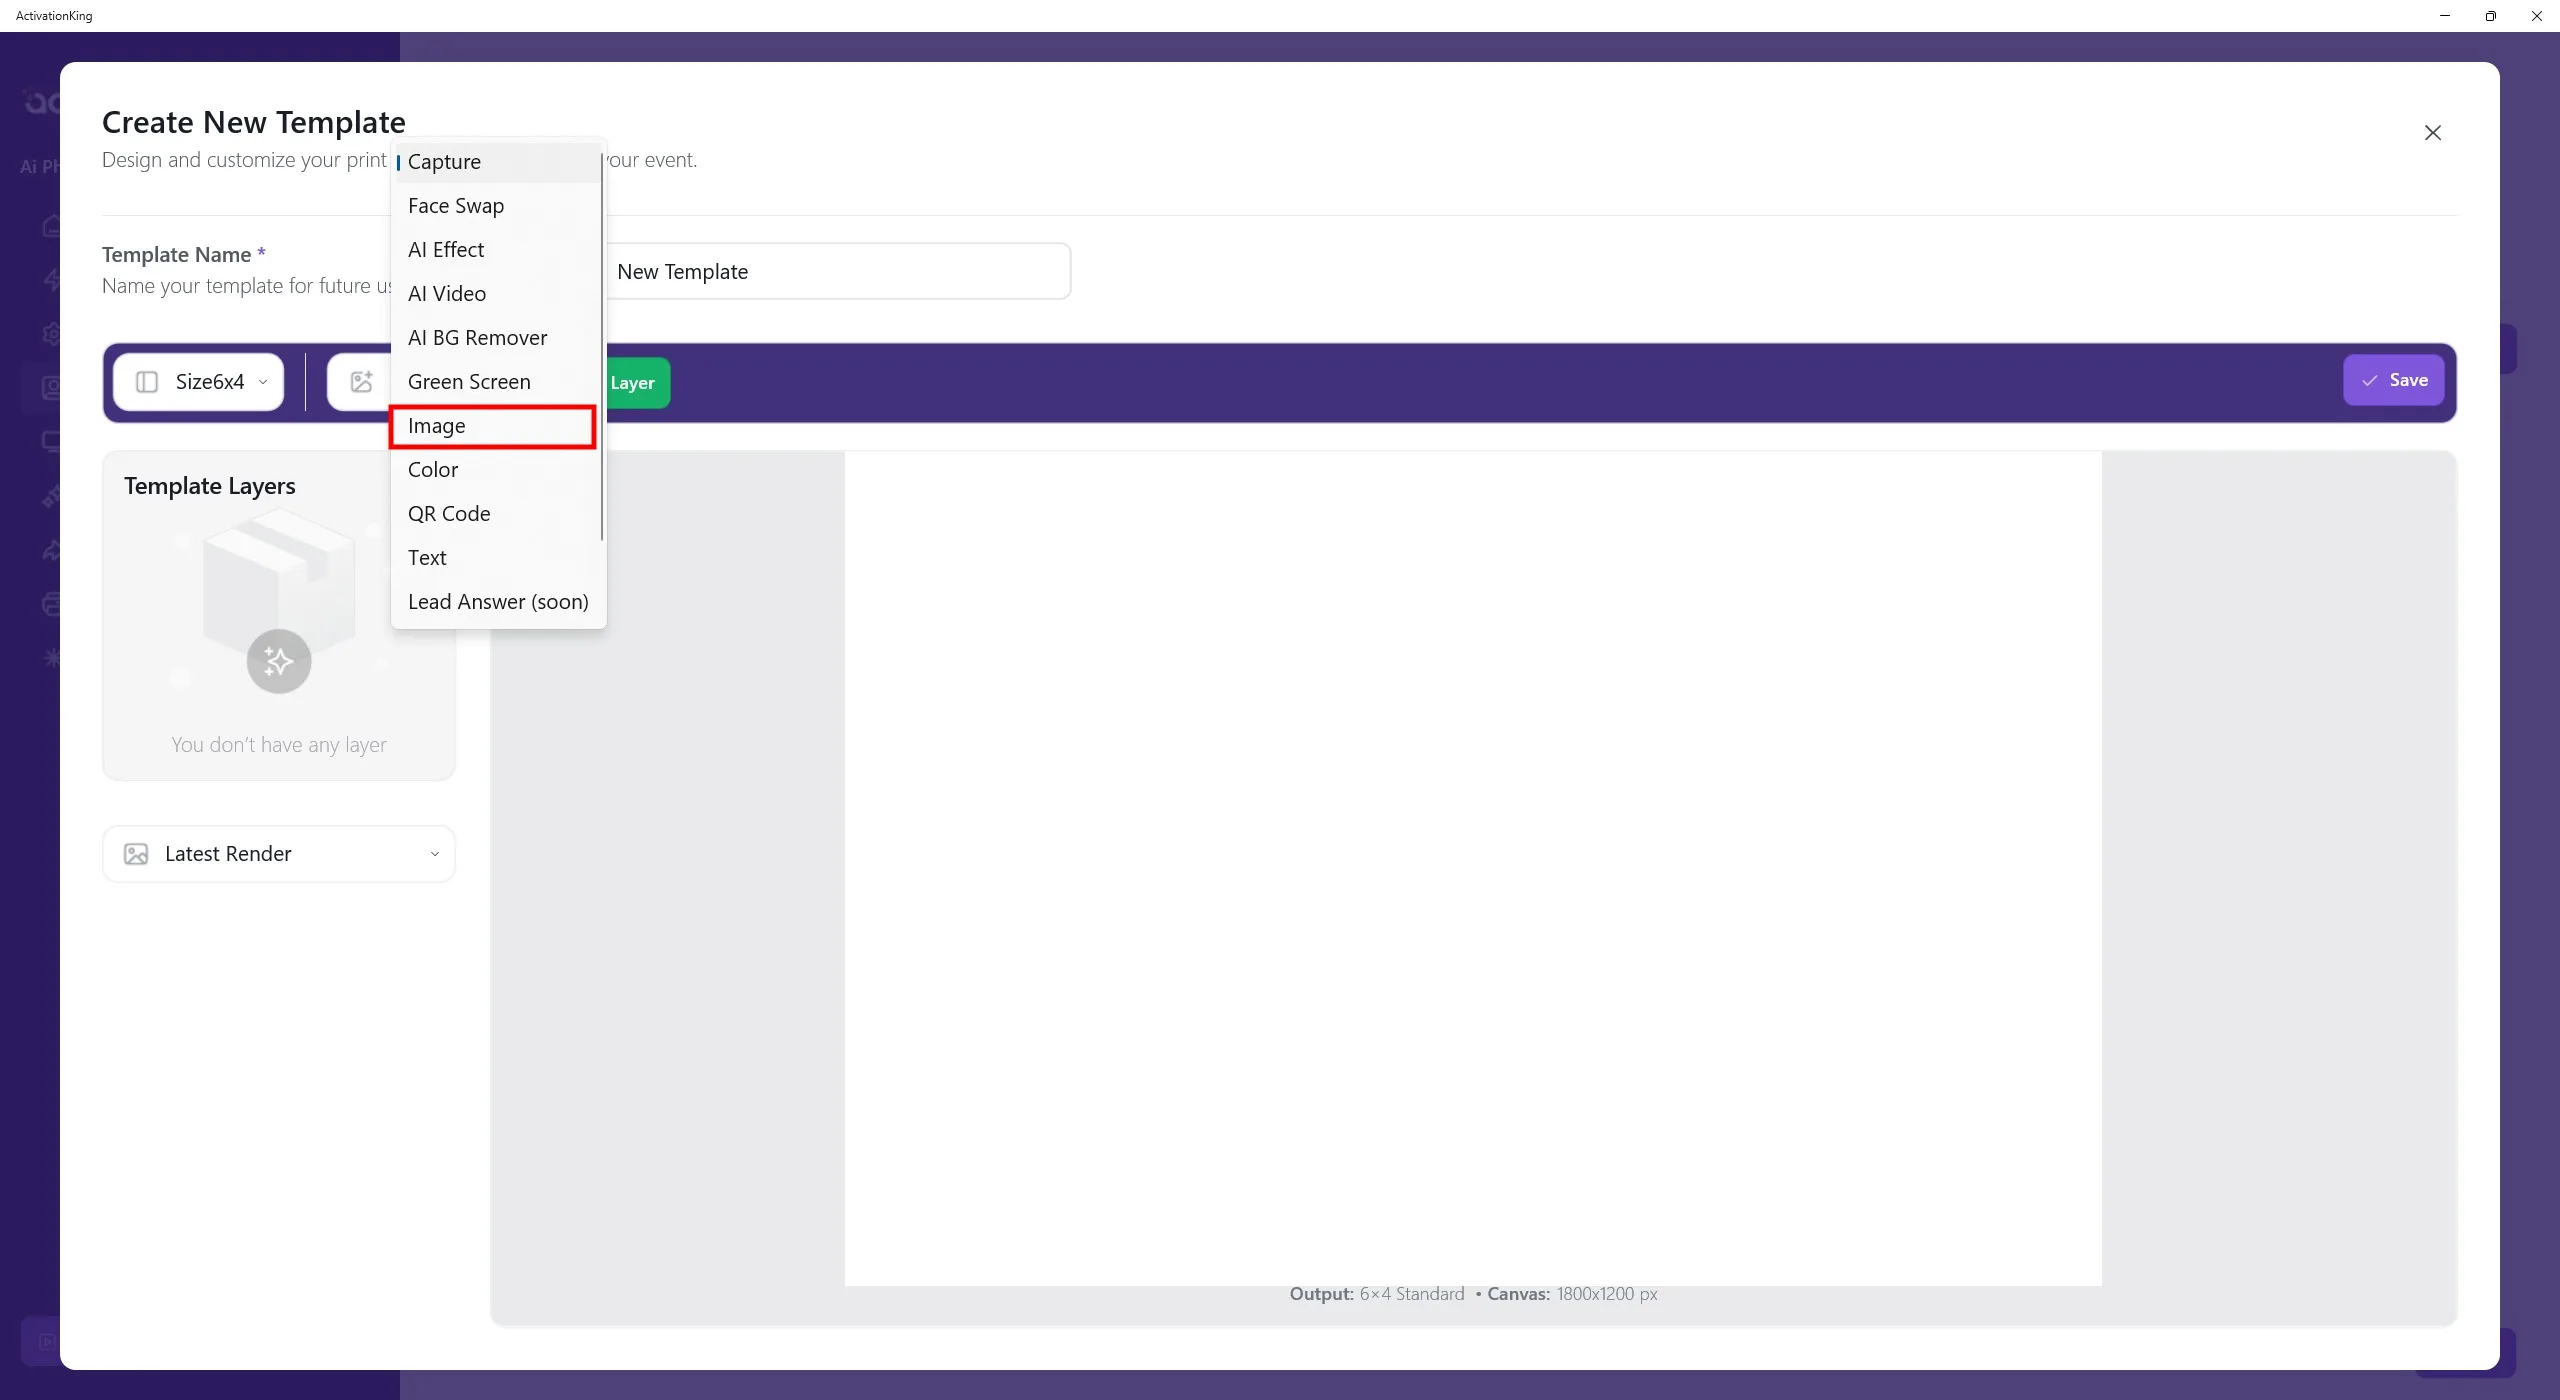
When you click the button next to the size controls, multiple mode options are displayed. To add the background image first, select Image and then click the Add Layer button.
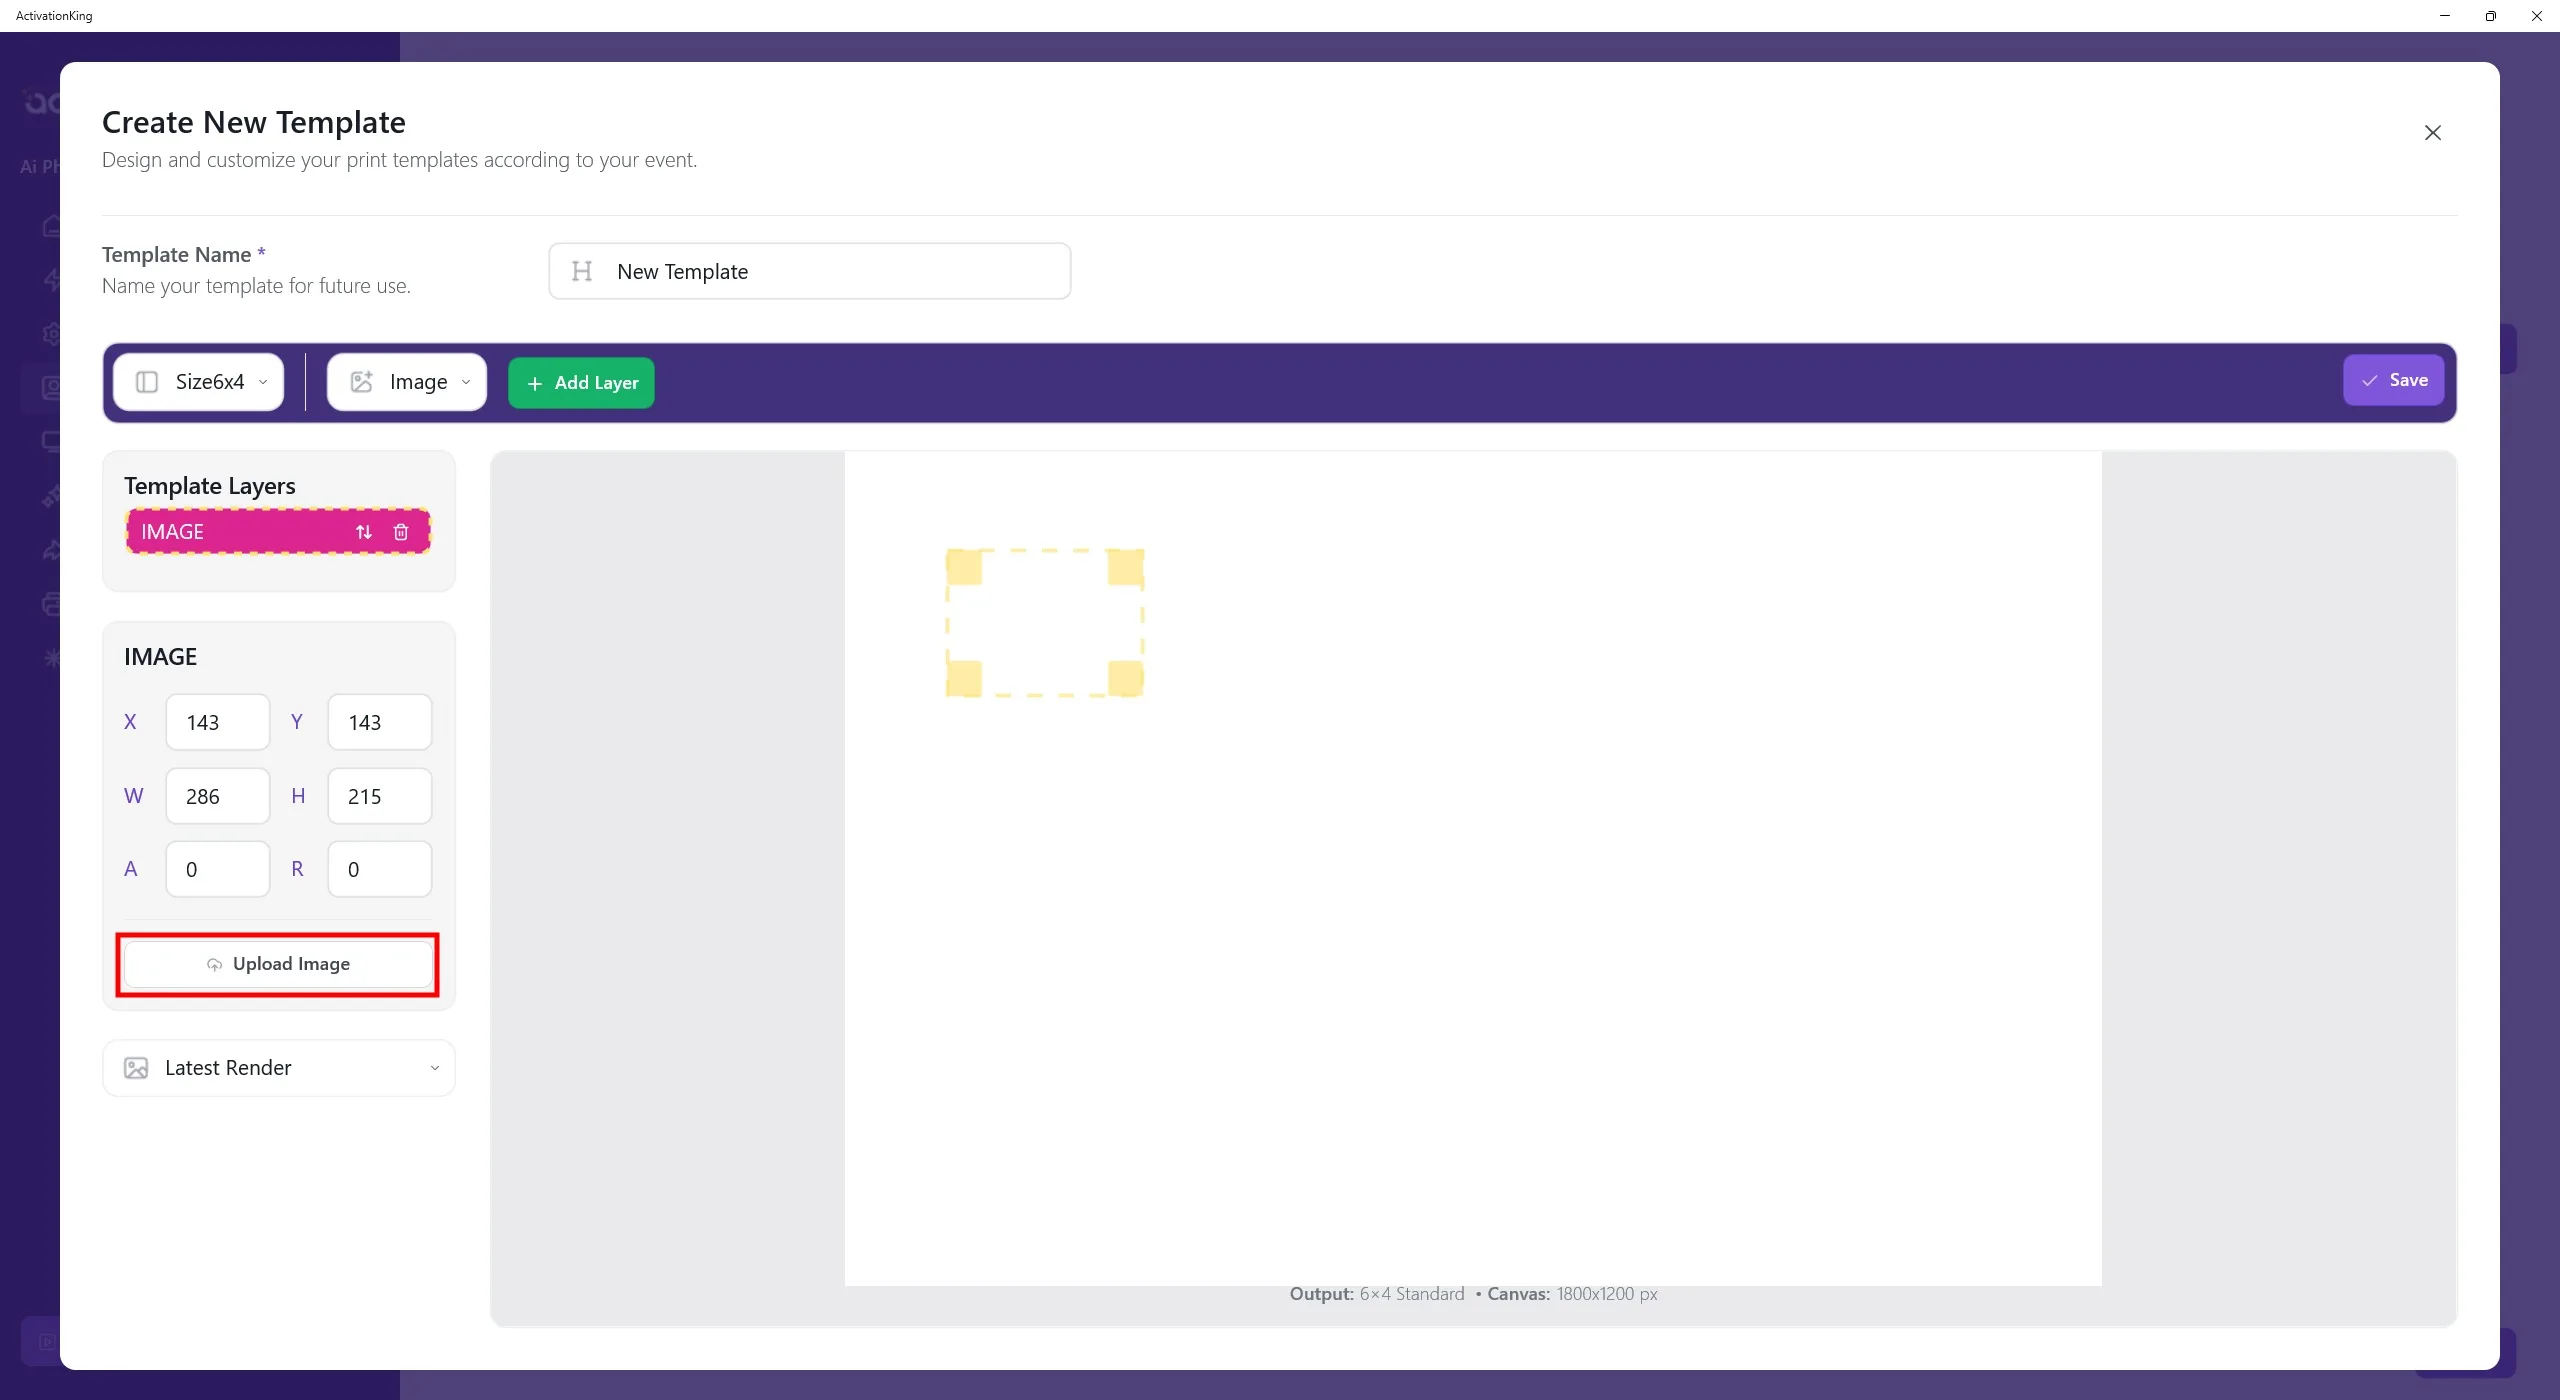
After the layer panel opens, click the Upload Image button and upload the background you want to use.
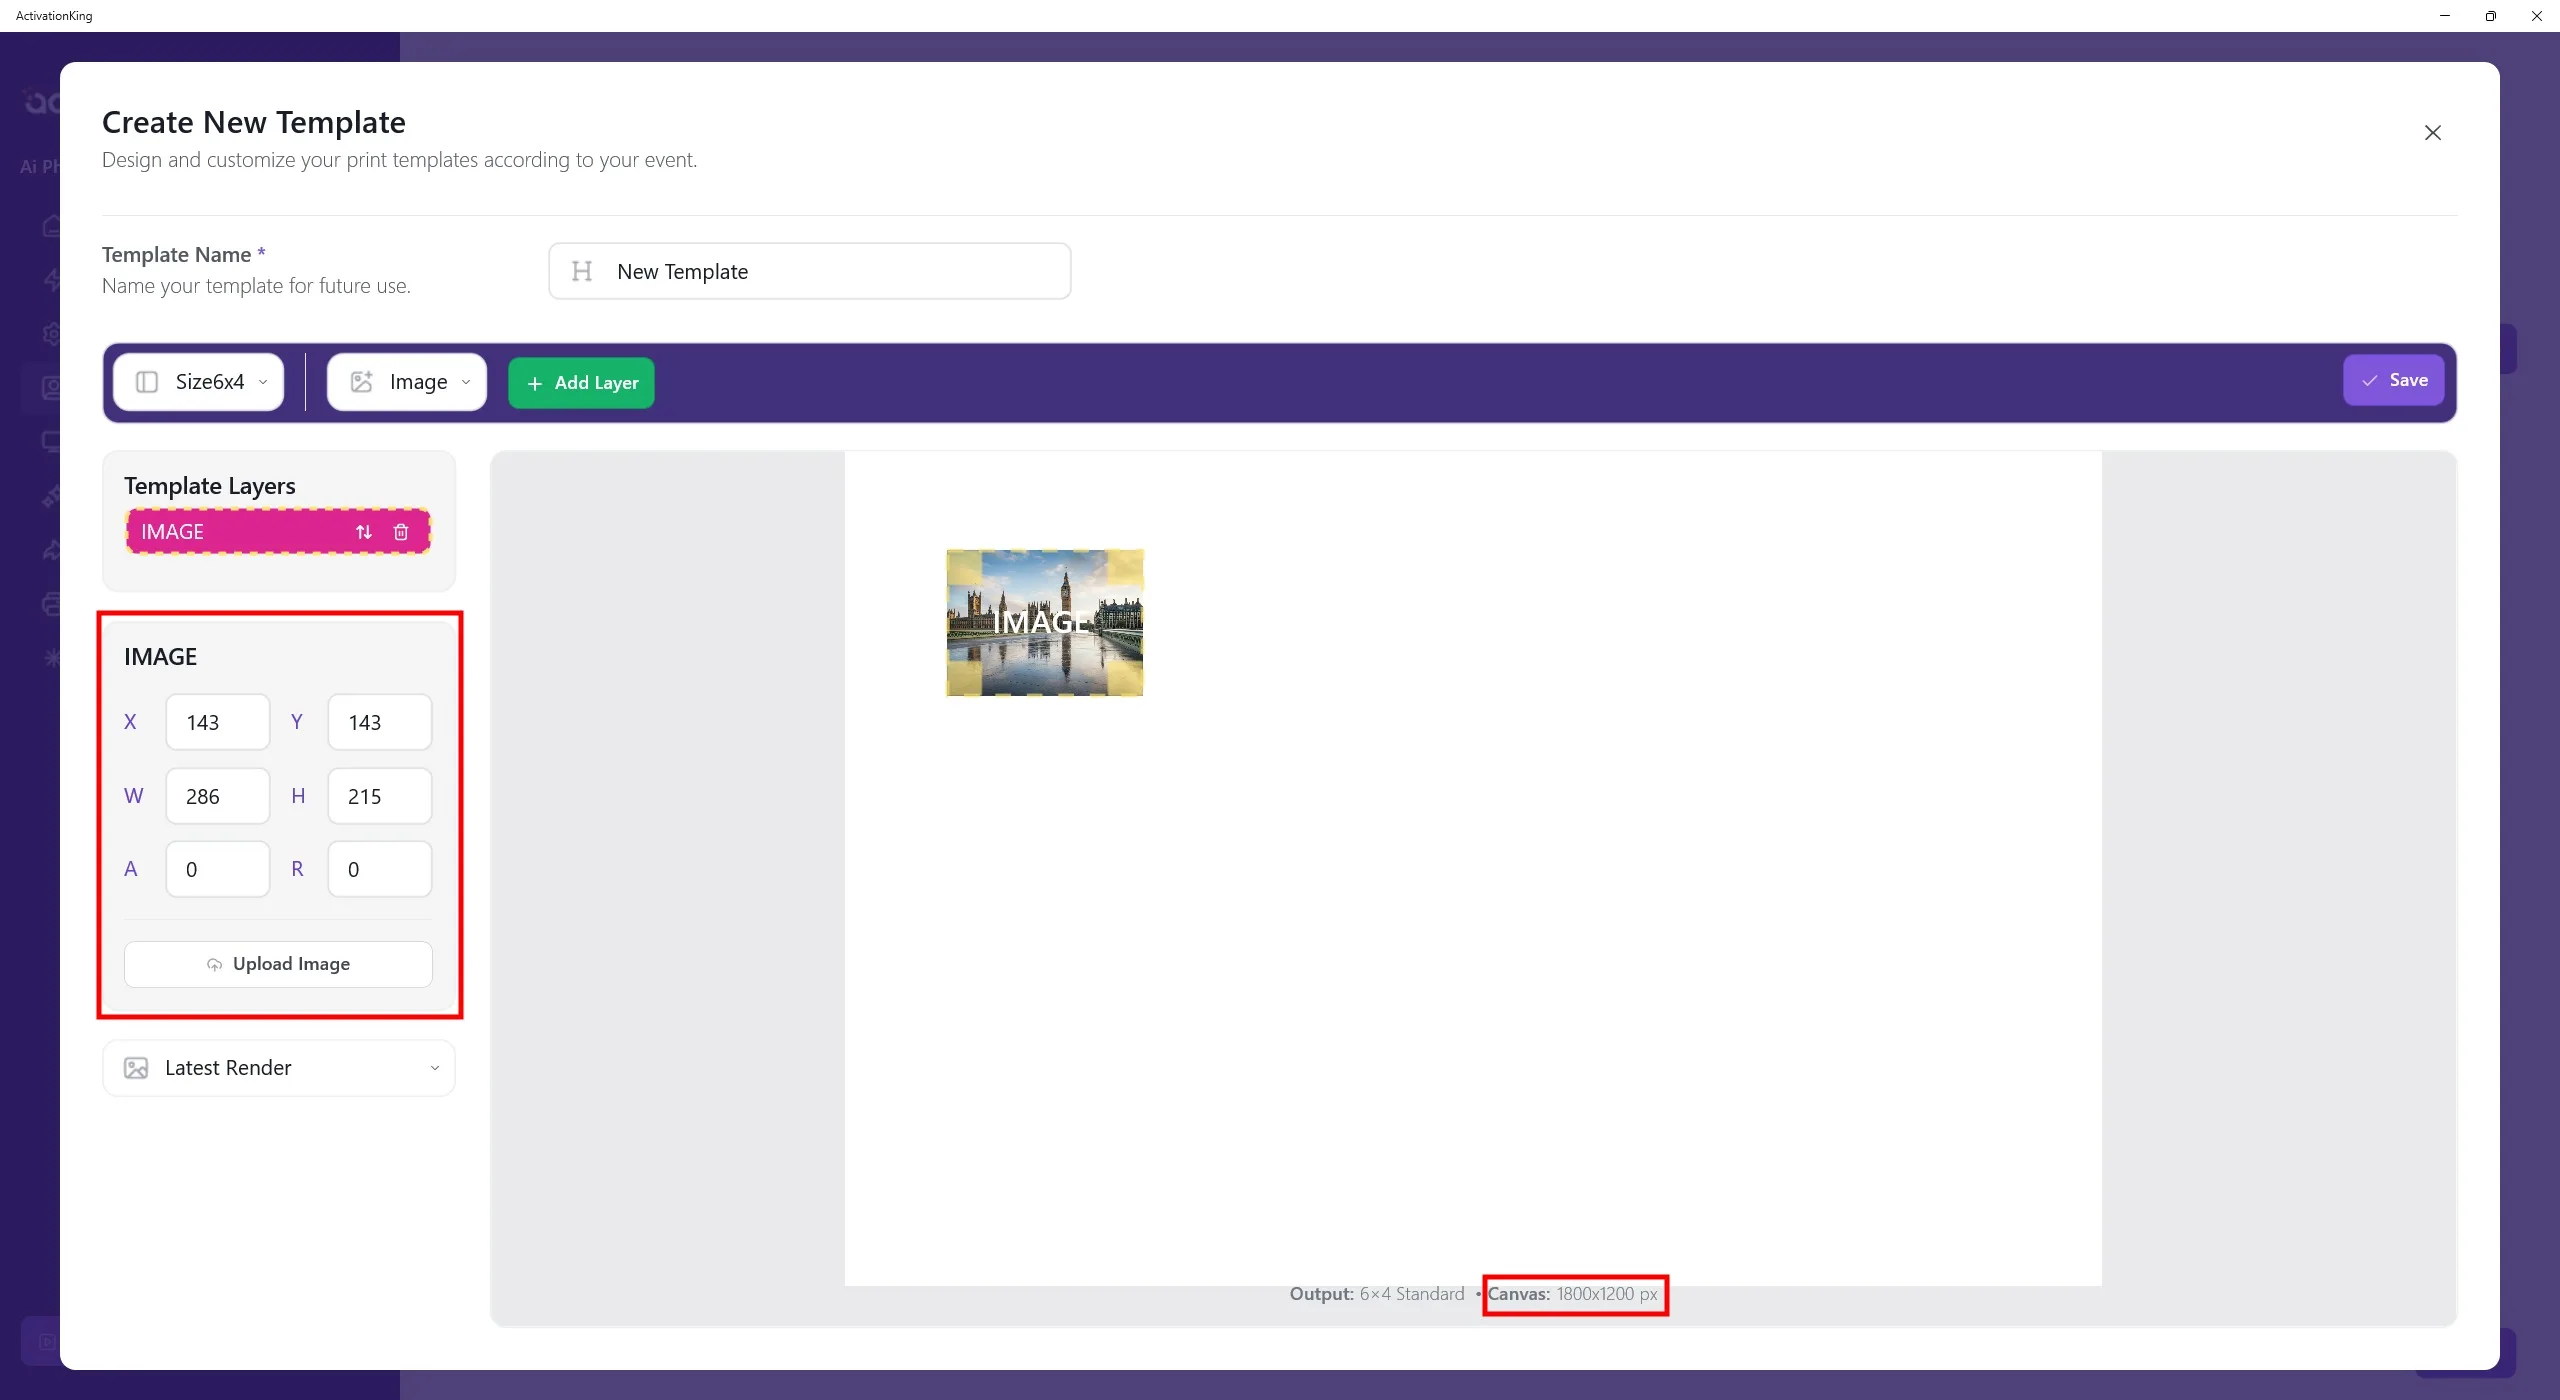
The template dimensions are shown at the bottom of the template. Enter the dimensions as 1800 x 1200 in the left panel.
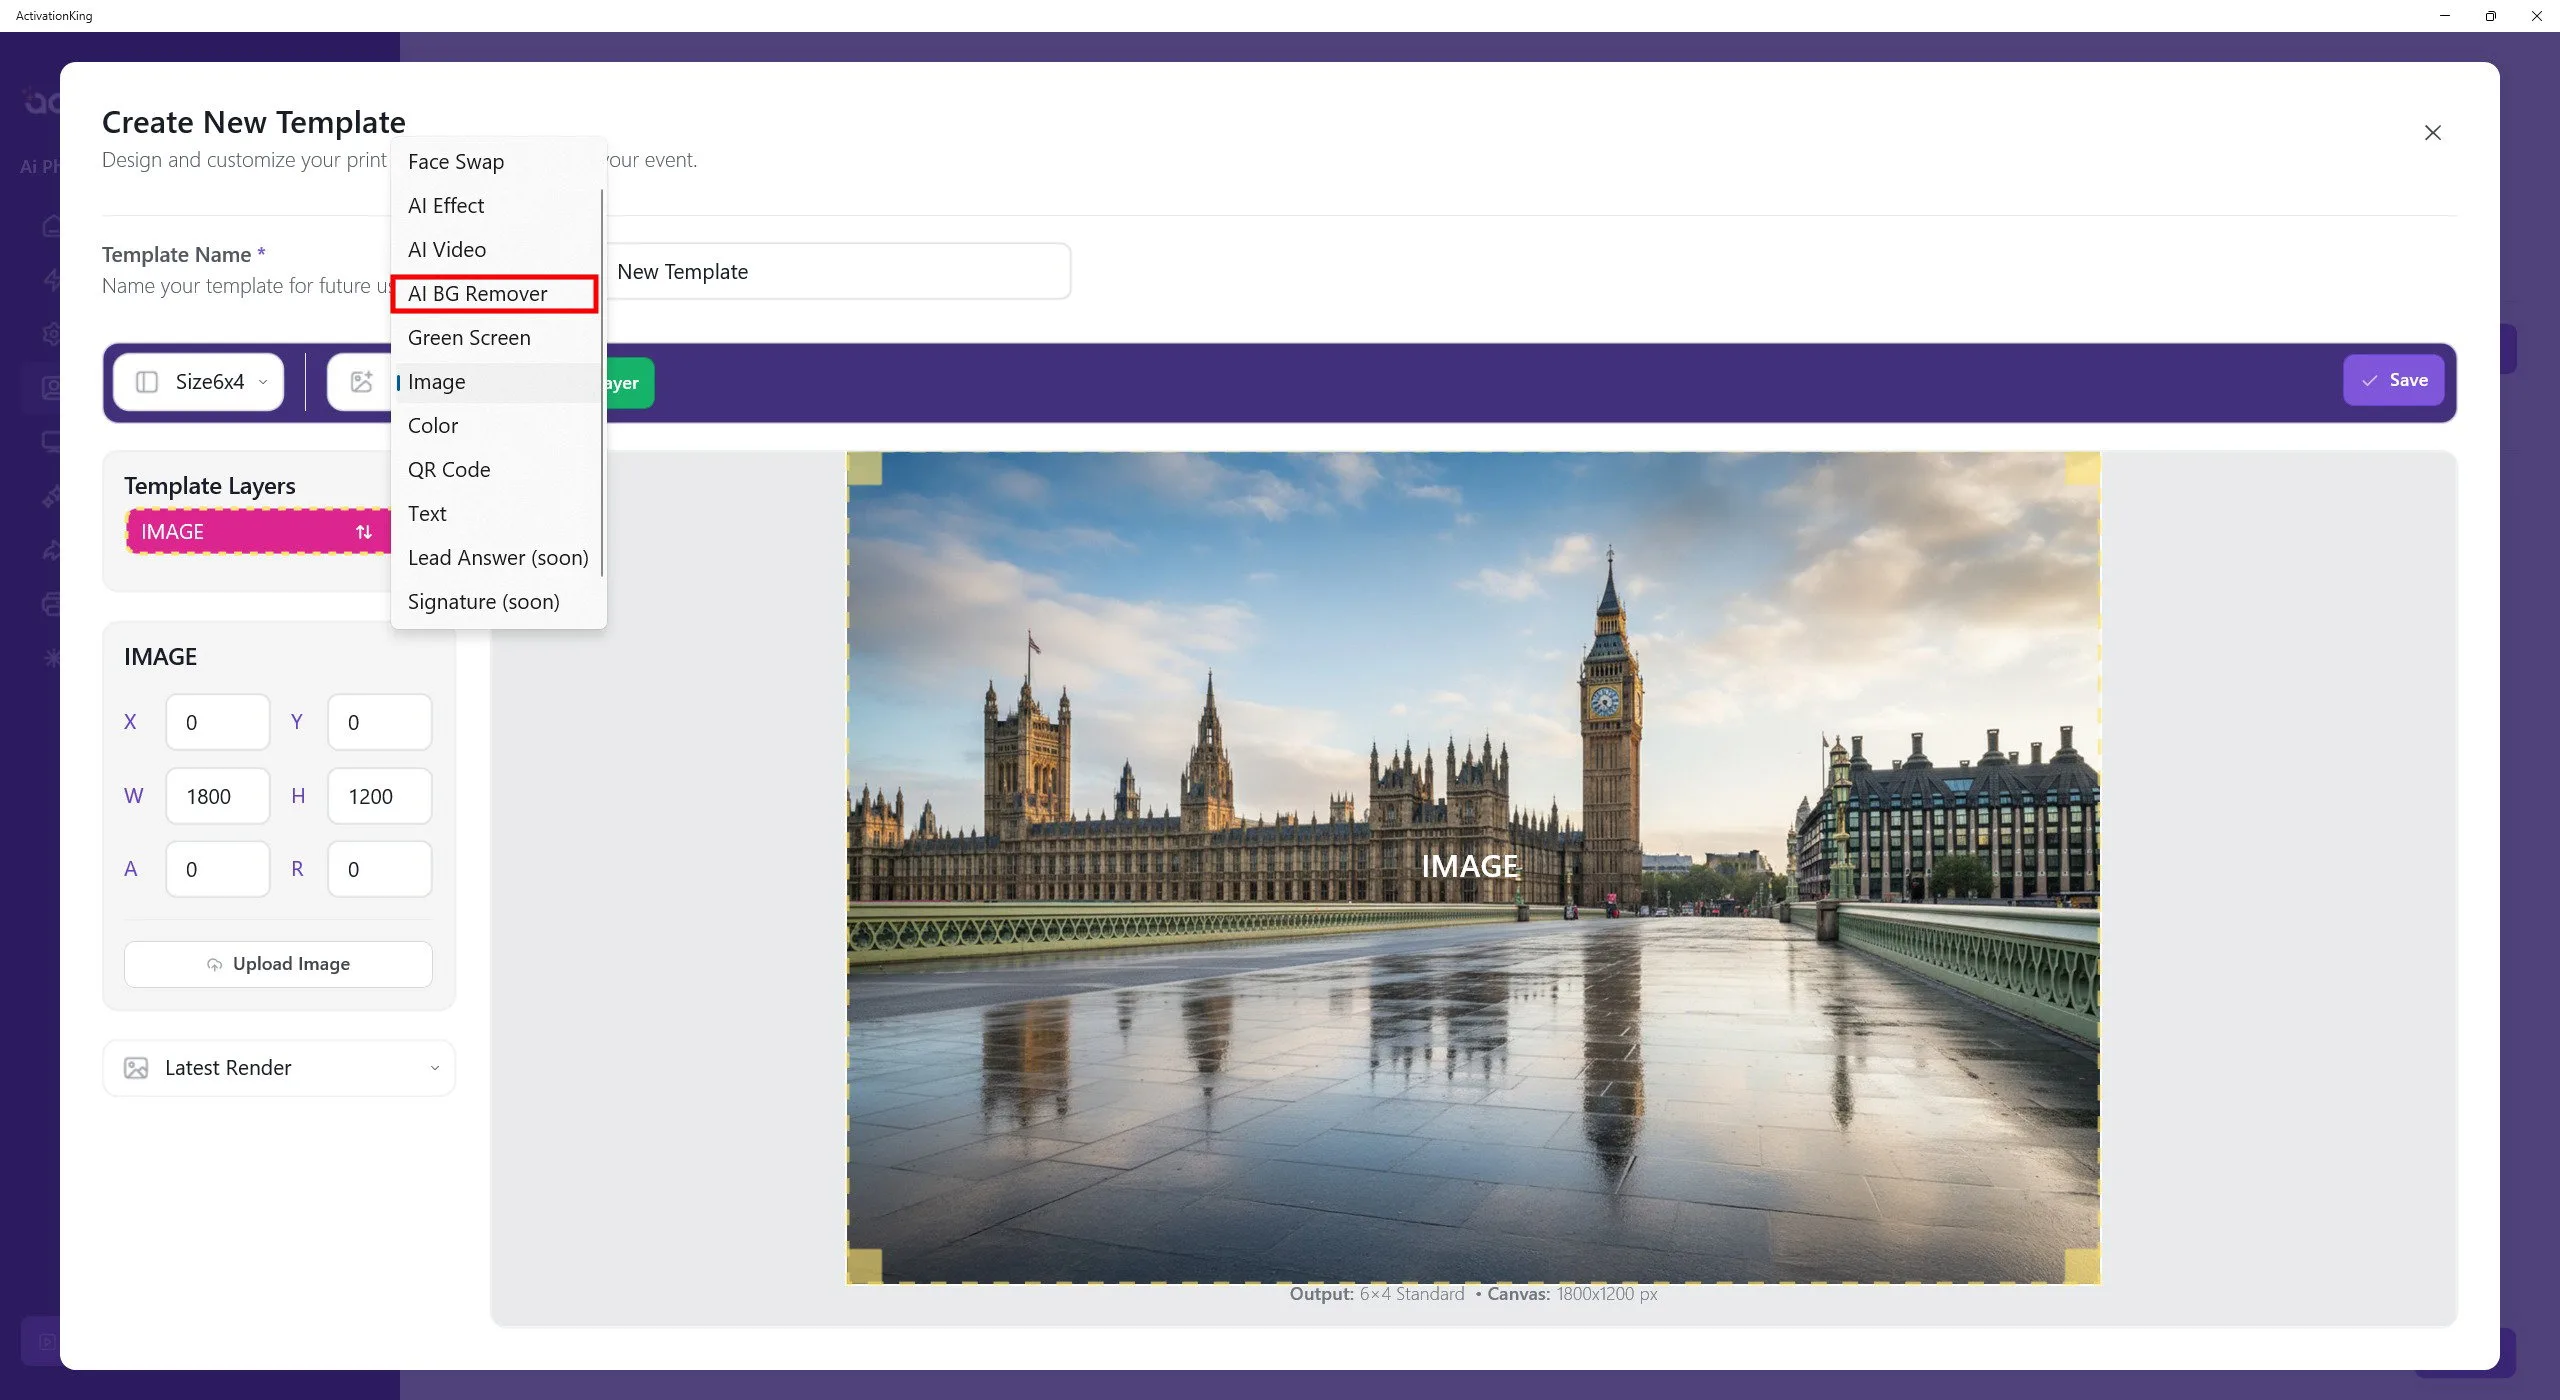
After adjusting the dimensions, select AI Background and add a new layer.
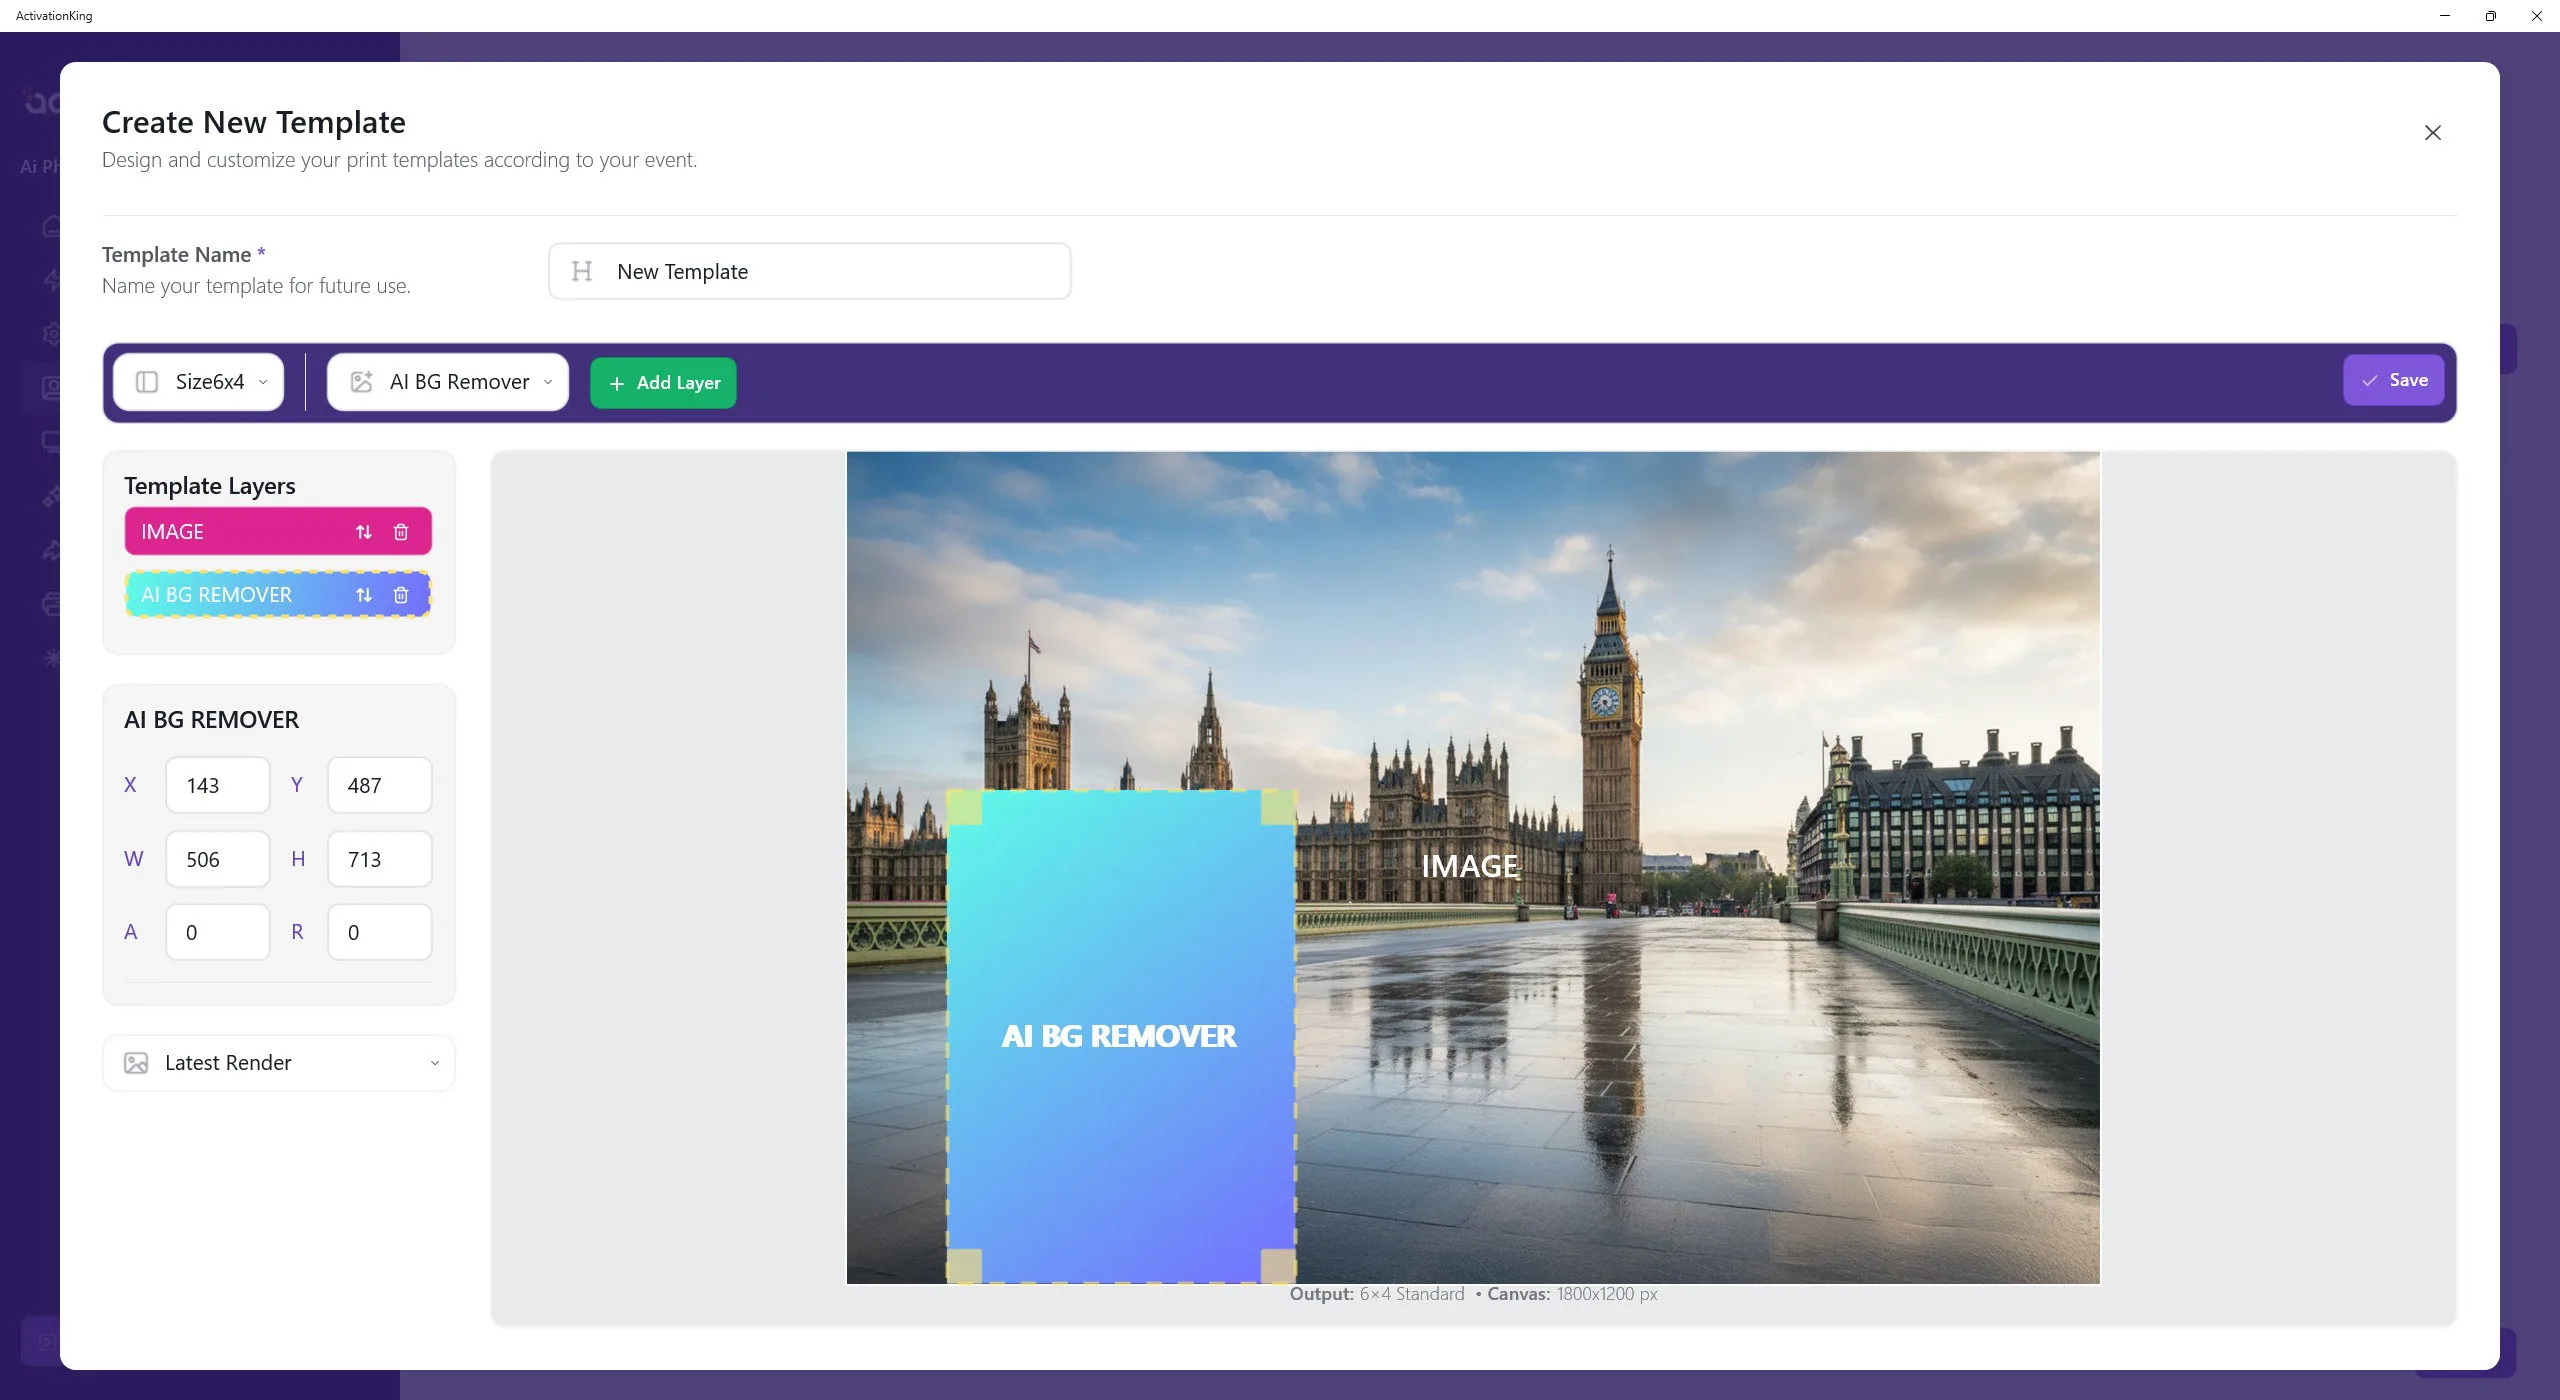
The layer you added indicates where the person will be positioned in the photo. Adjust its position visually. If you are using the camera in portrait mode, keep this layer in a vertical orientation as shown. If you are using the camera in landscape mode, adjust the layer horizontally.
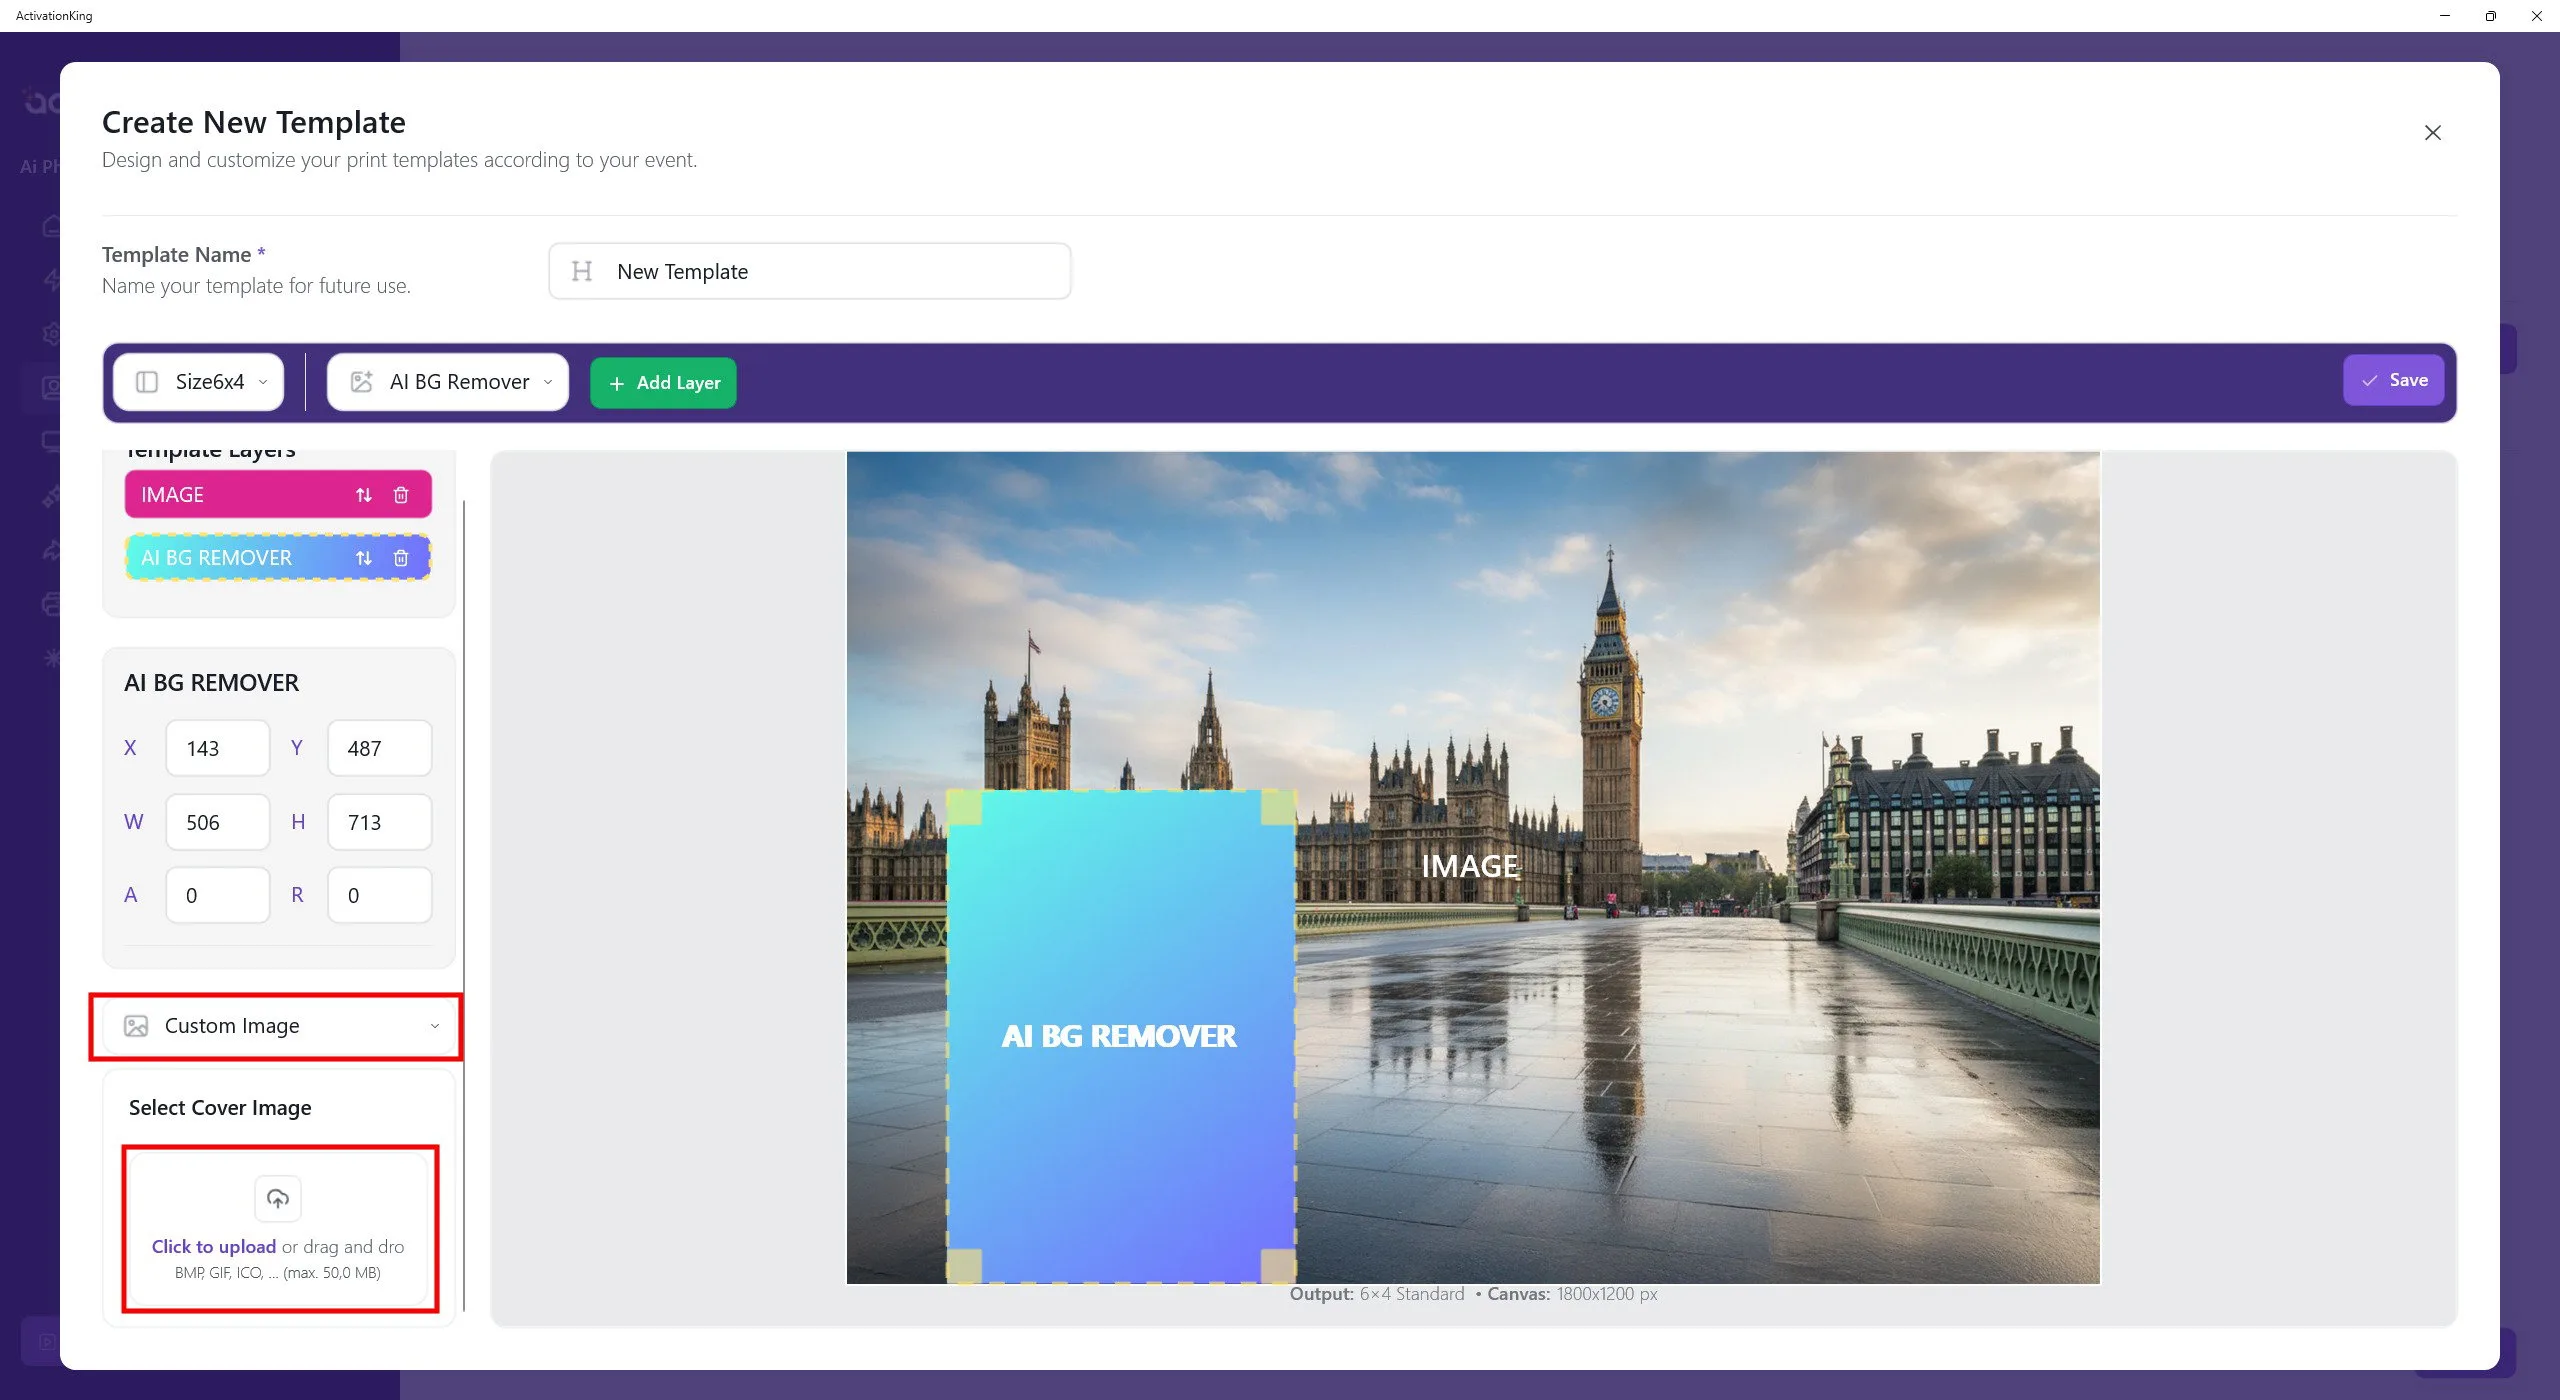
Click the thumbnail box on the left side and select Custom Image. Choose the image you added as the background. This produces a cleaner and more visually appealing template selection screen.
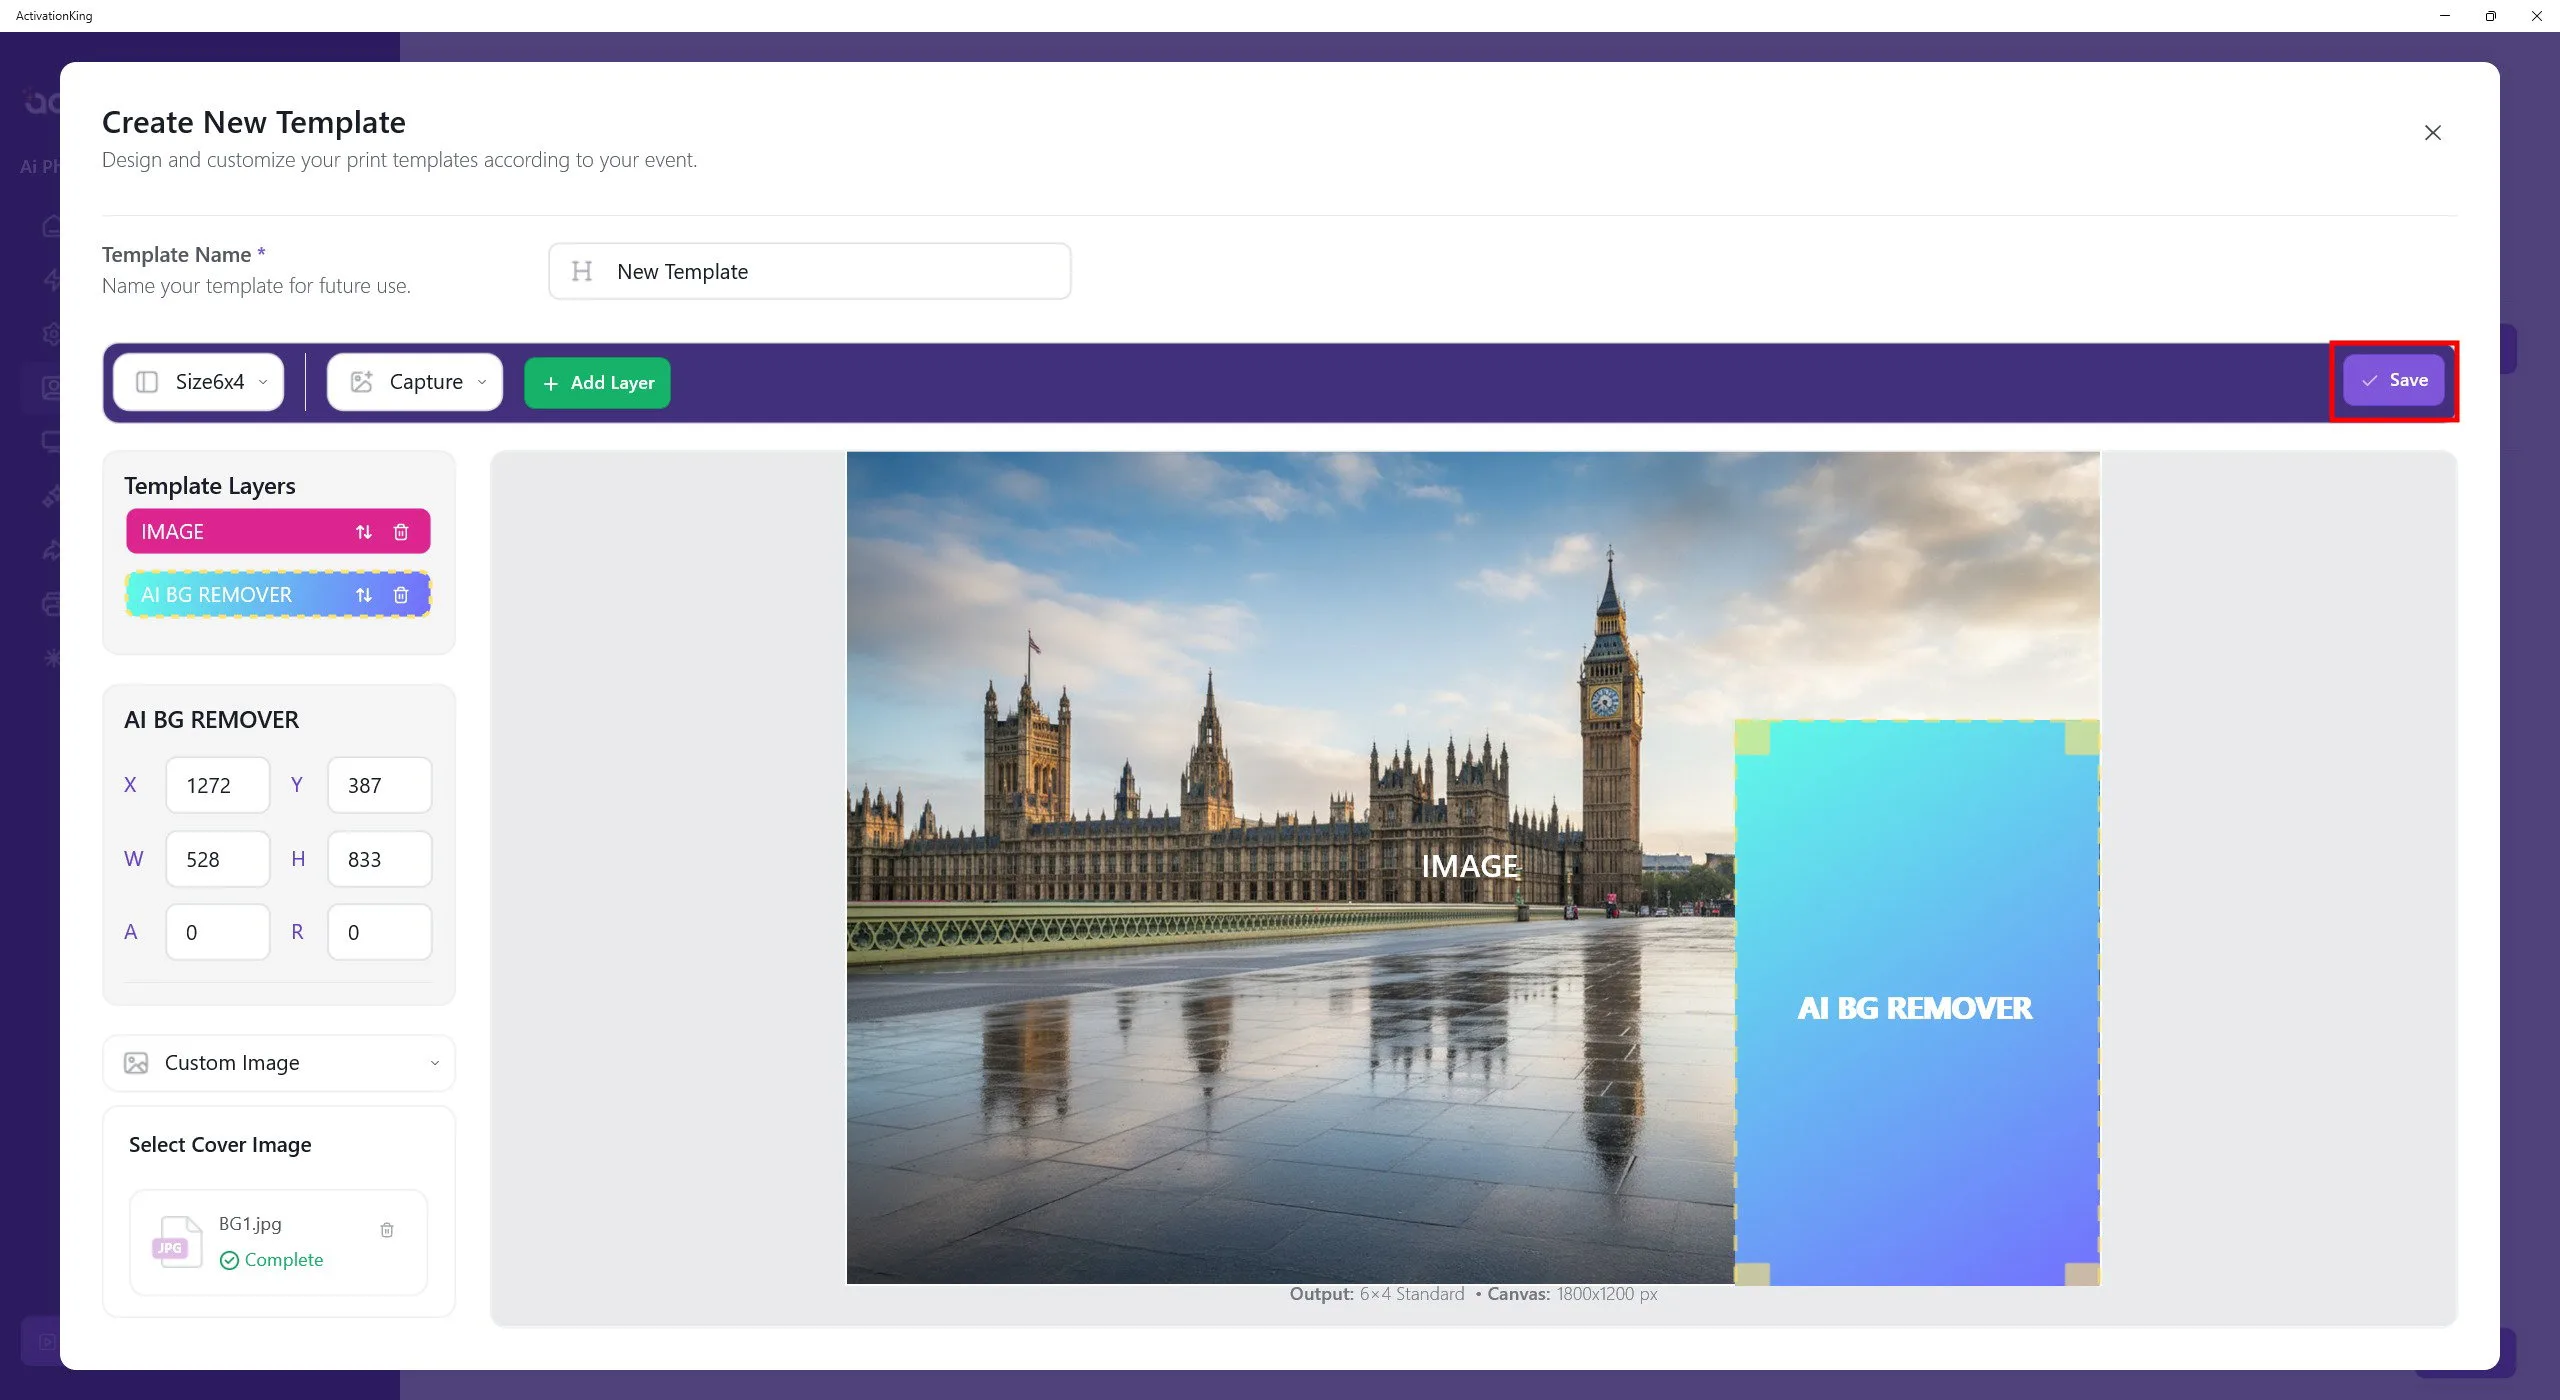
After completing all the settings, click the Save button.
Your first visual is now ready for use. By following the same steps, you can add as many backgrounds as you like. To provide more options, prepare additional templates in the same way.
After adding your visuals, click the Start the Event button.
Start the Event
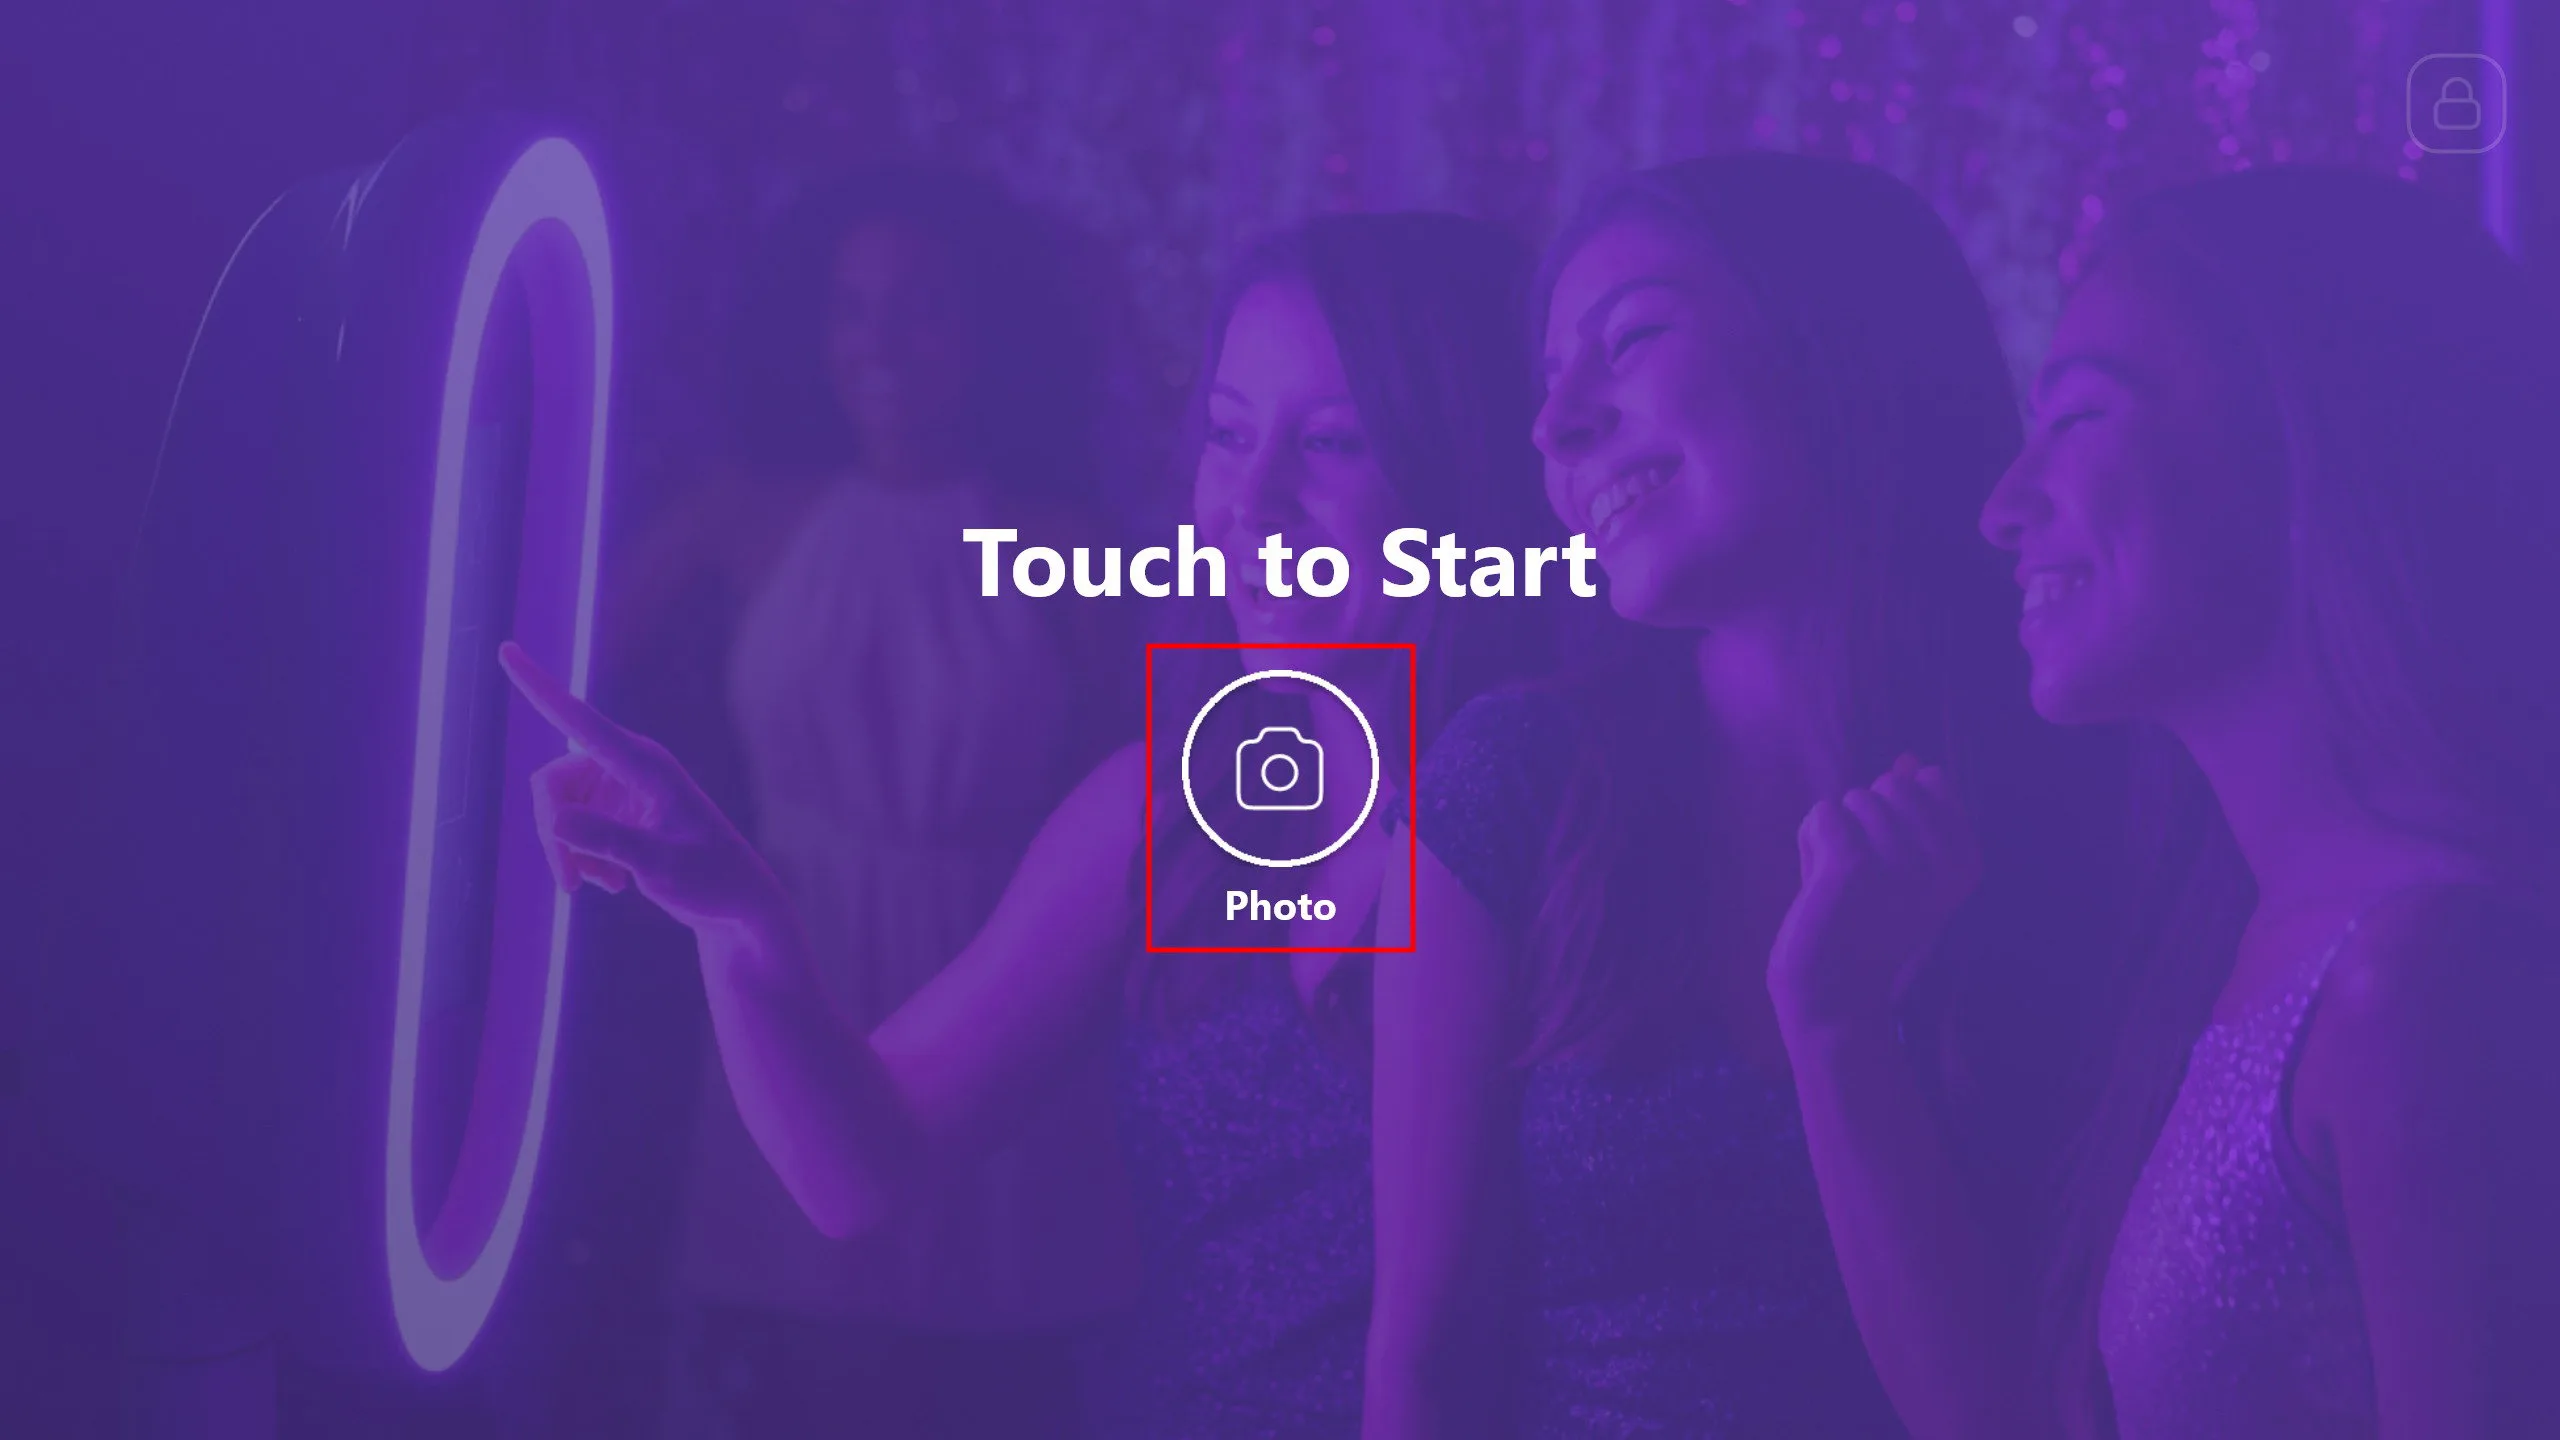
You can customize this screen in the software as you wish. Then click the Photo button.
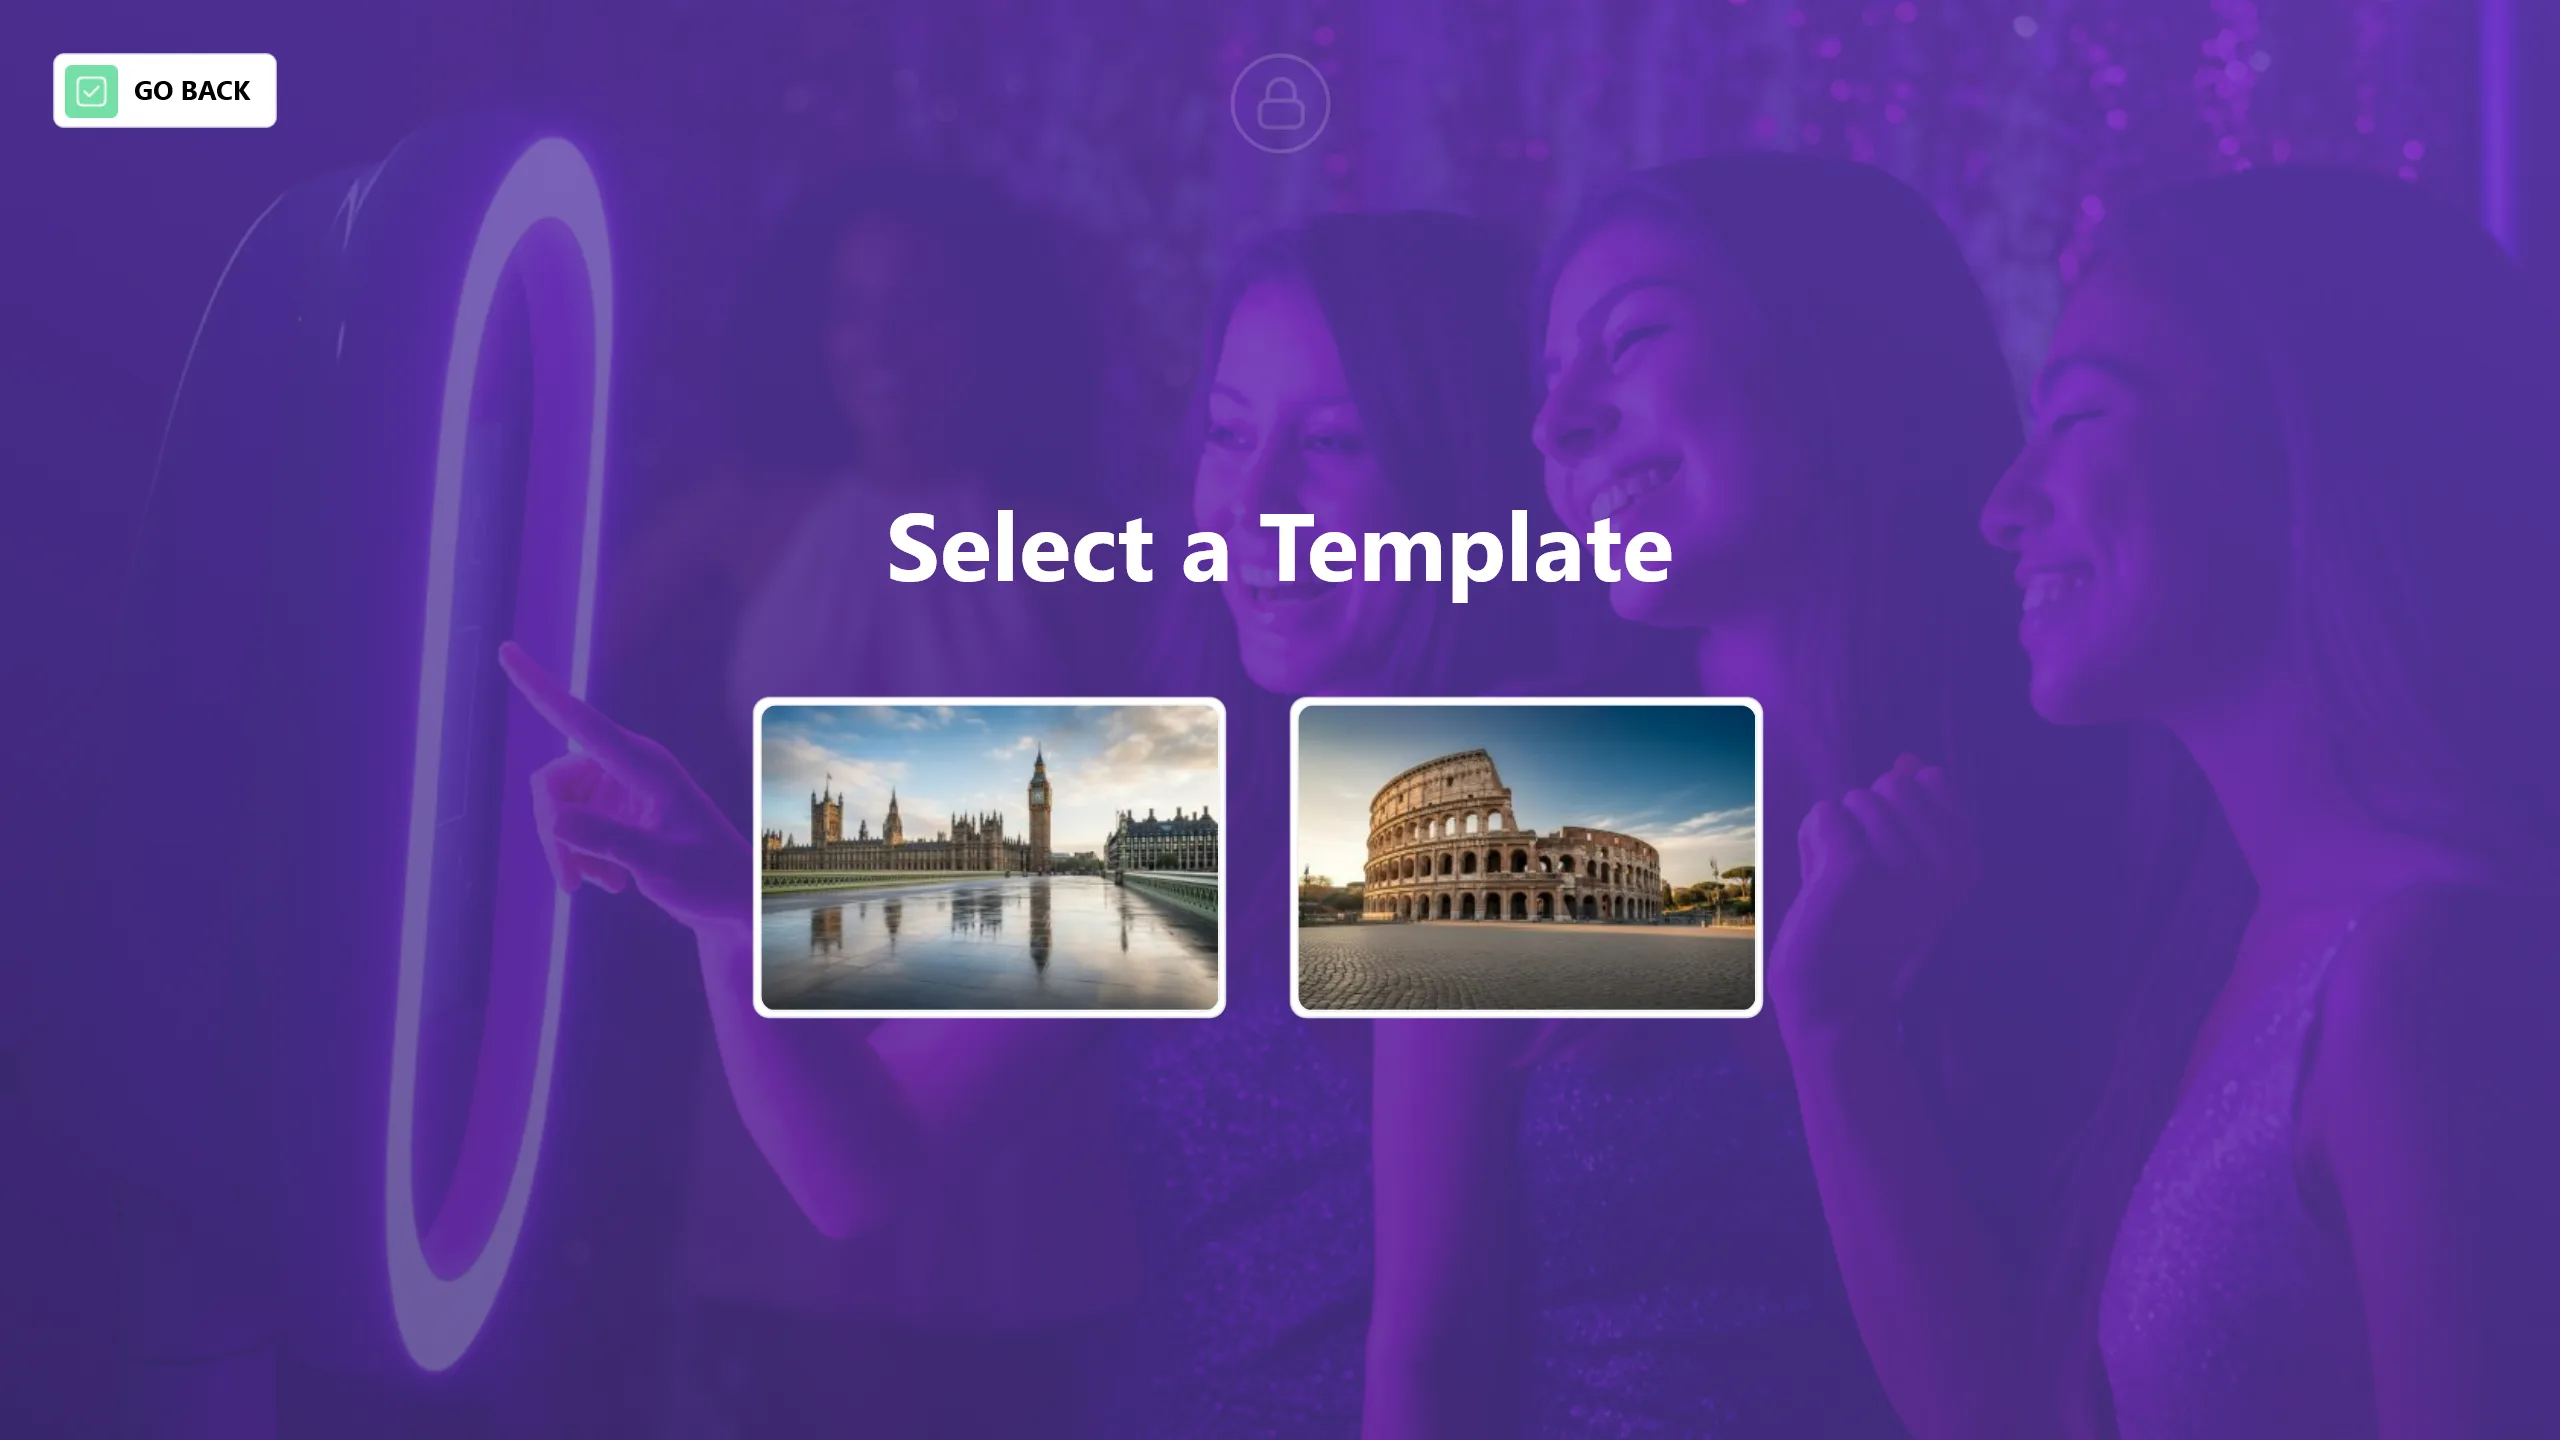
Before taking the photo, select the background you want to use.
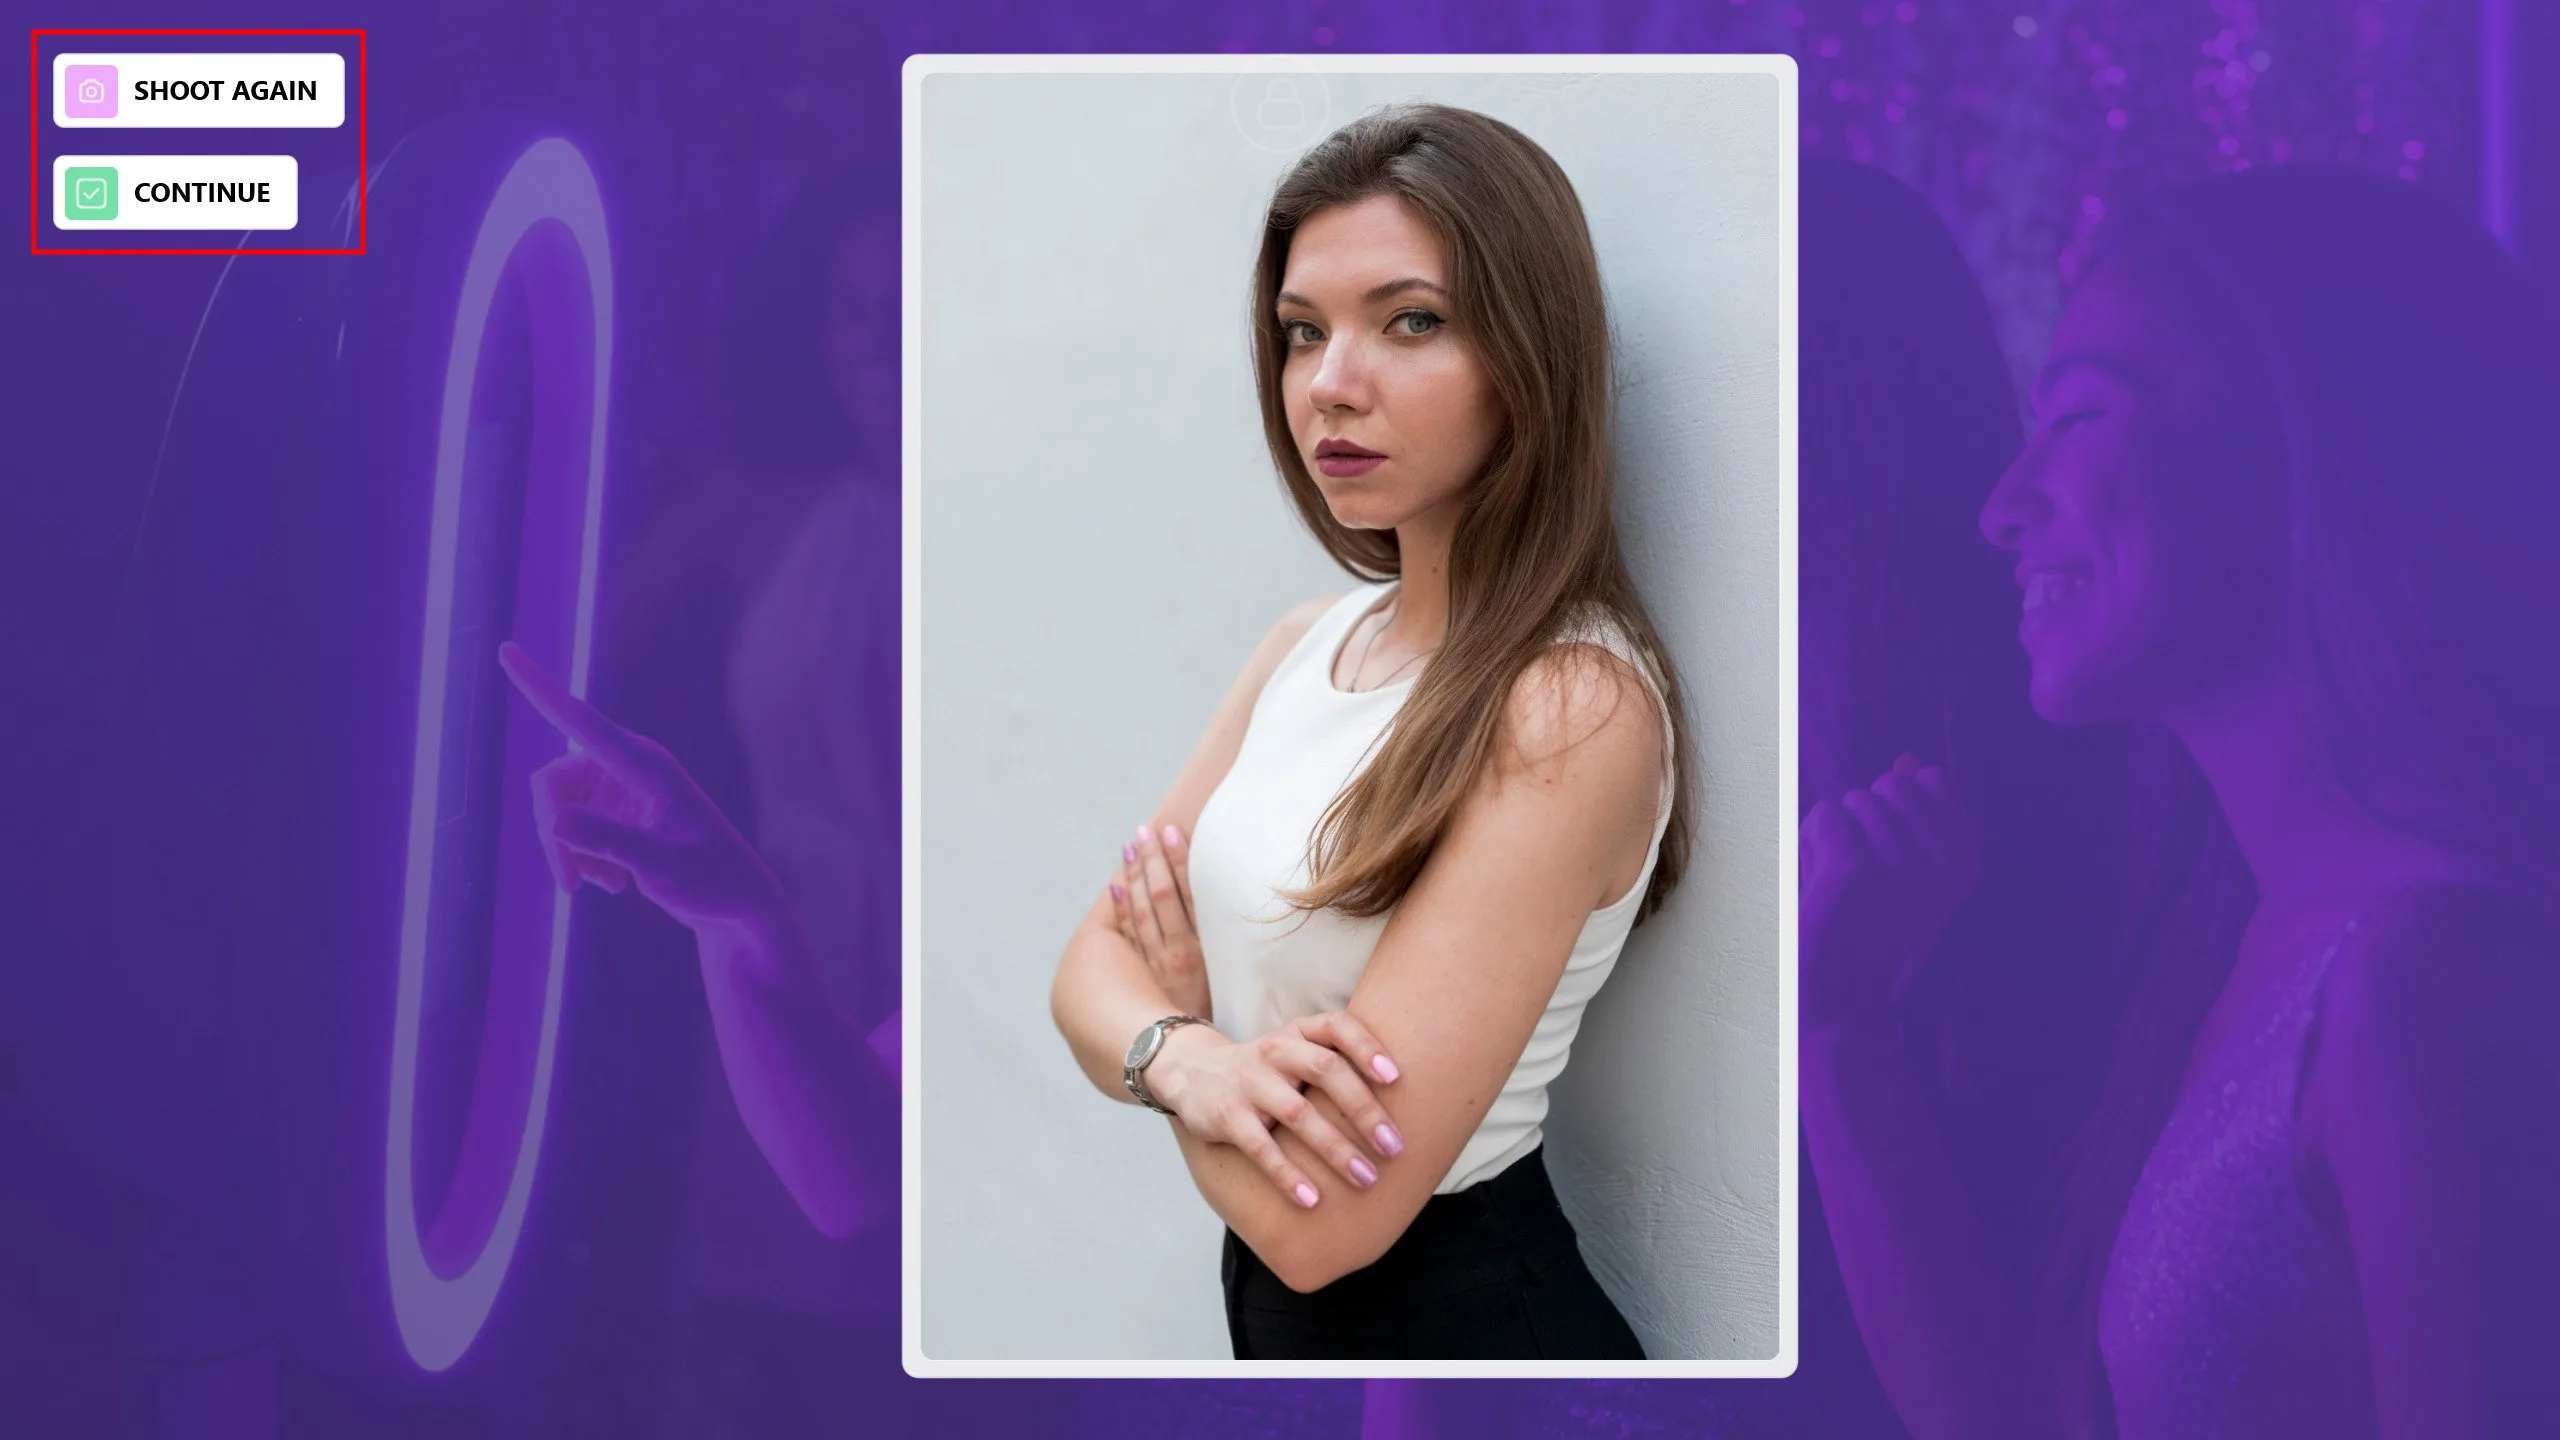
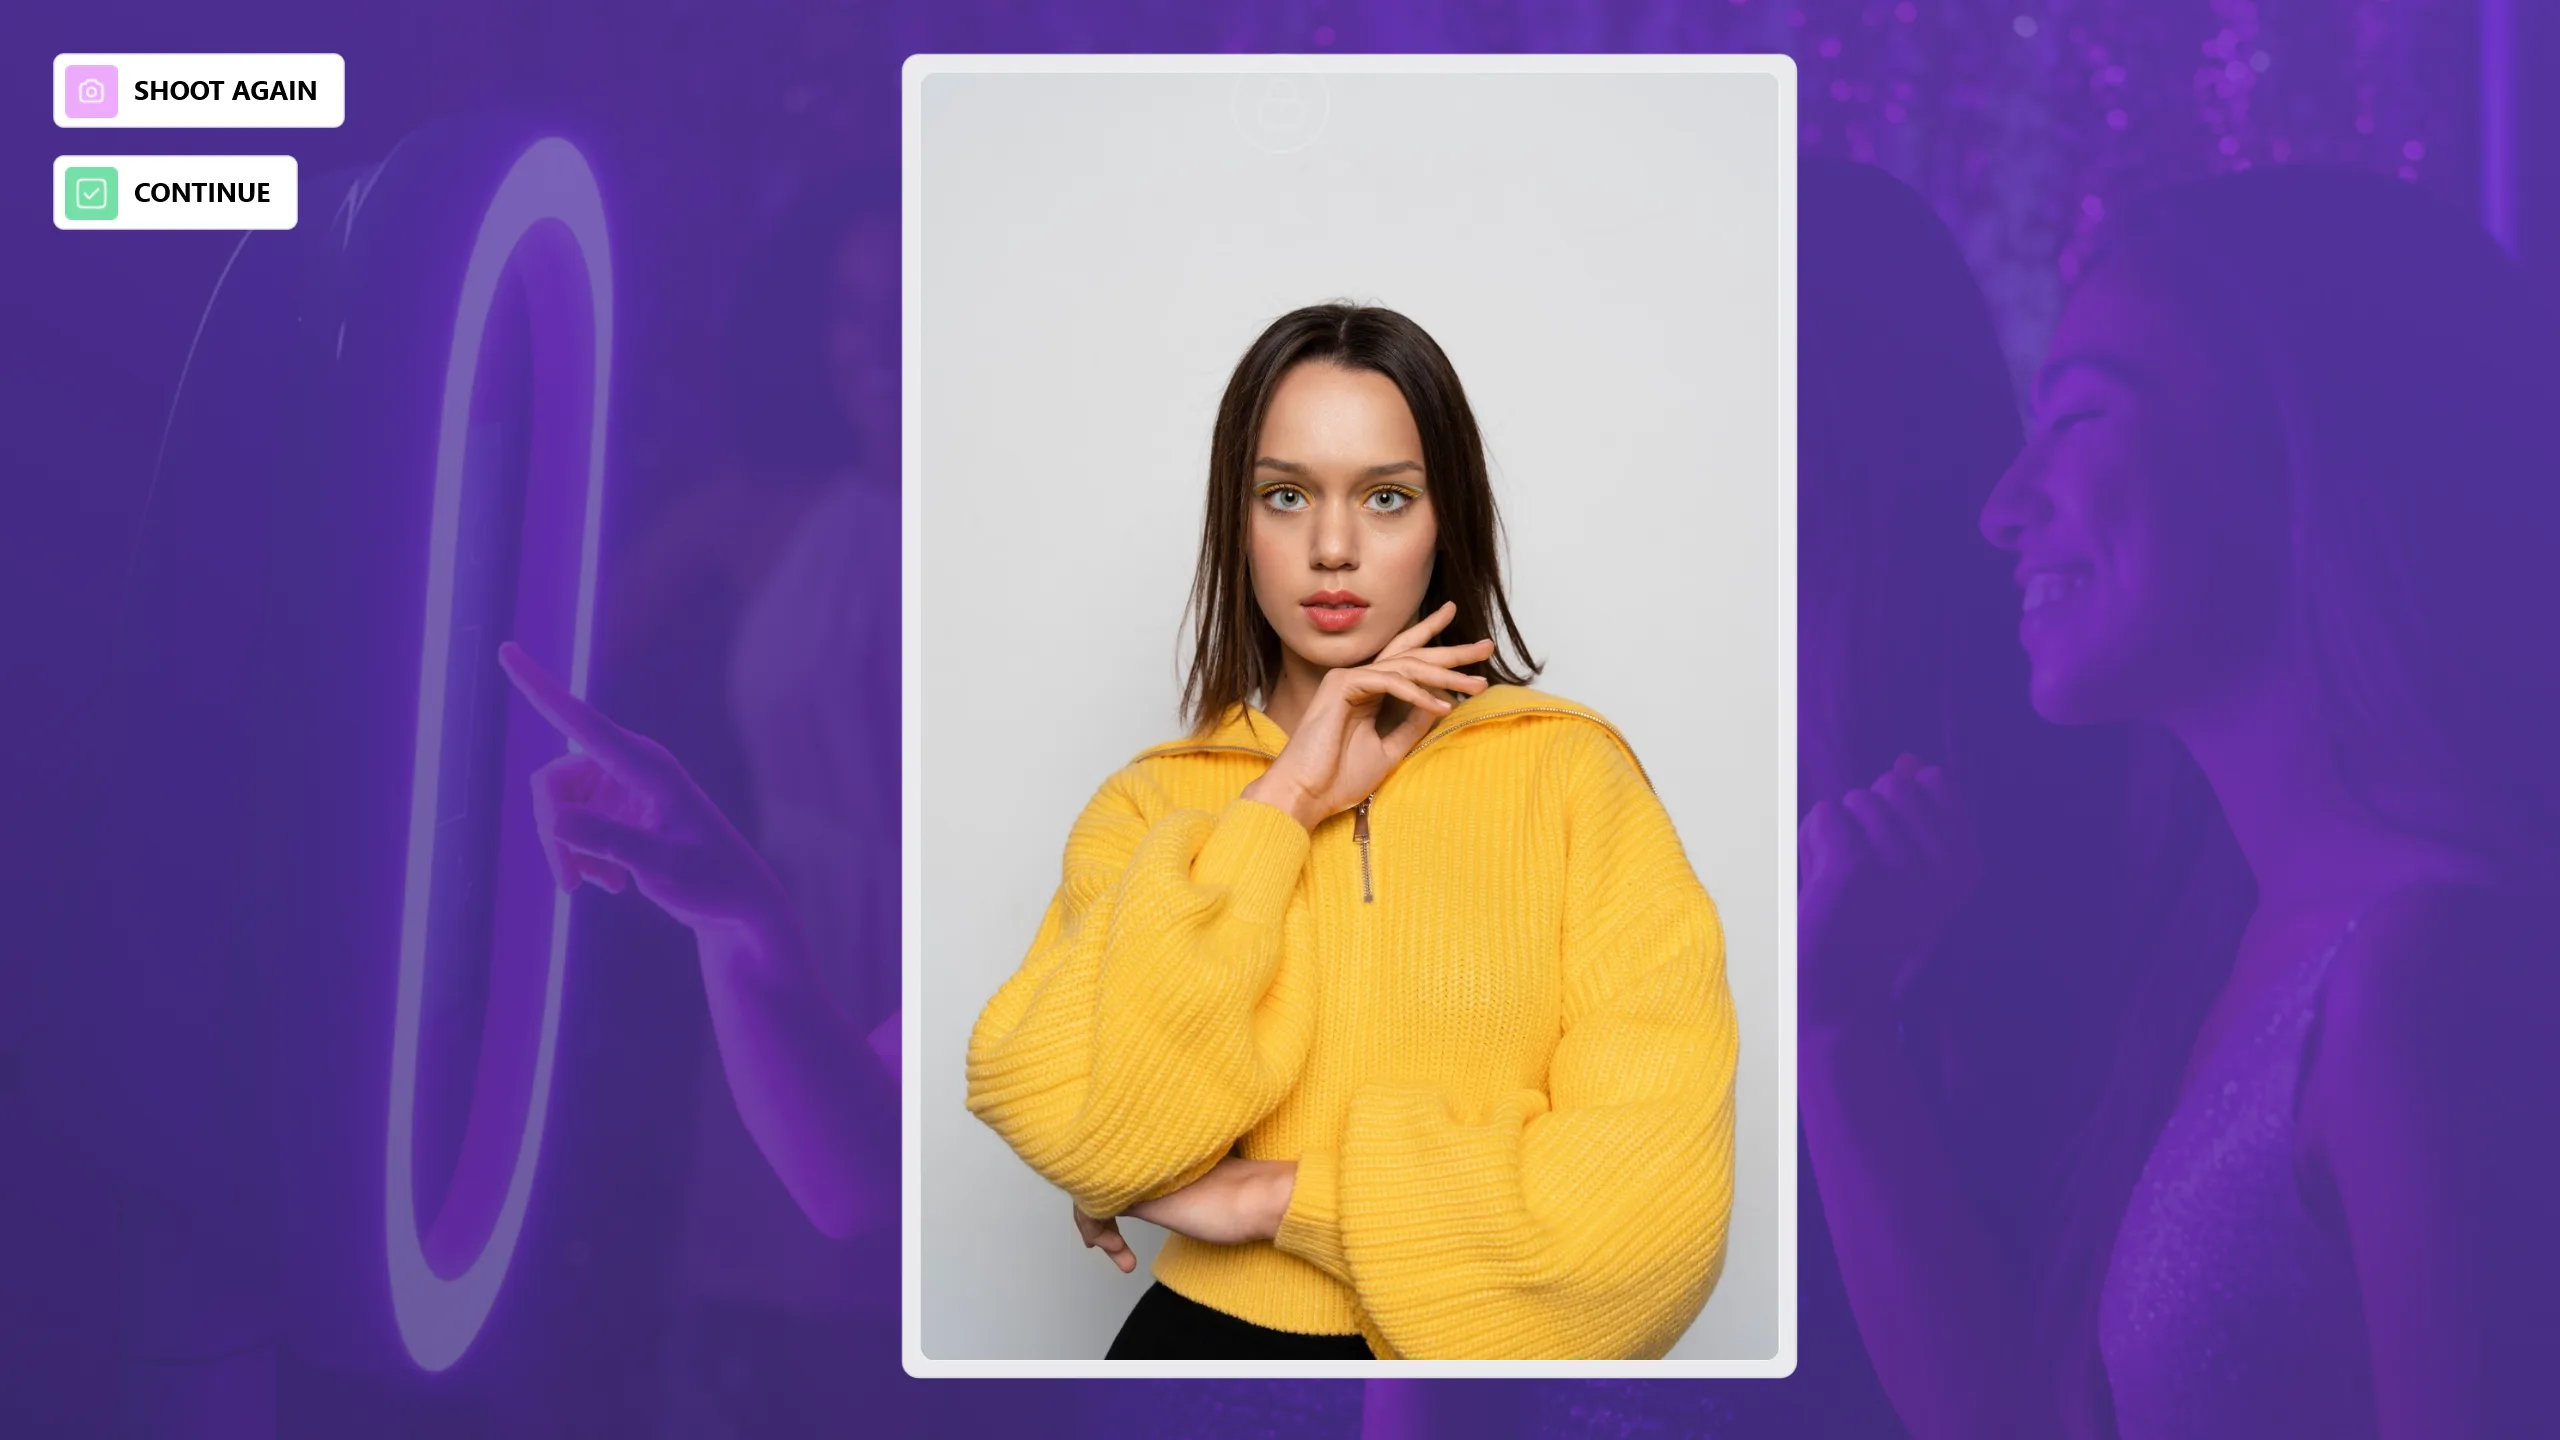
After the photo is taken, if the person does not like the result or an unwanted photo is captured, you can retake it by clicking the Shoot Again button. Once photo capture is complete, click the Continue button.
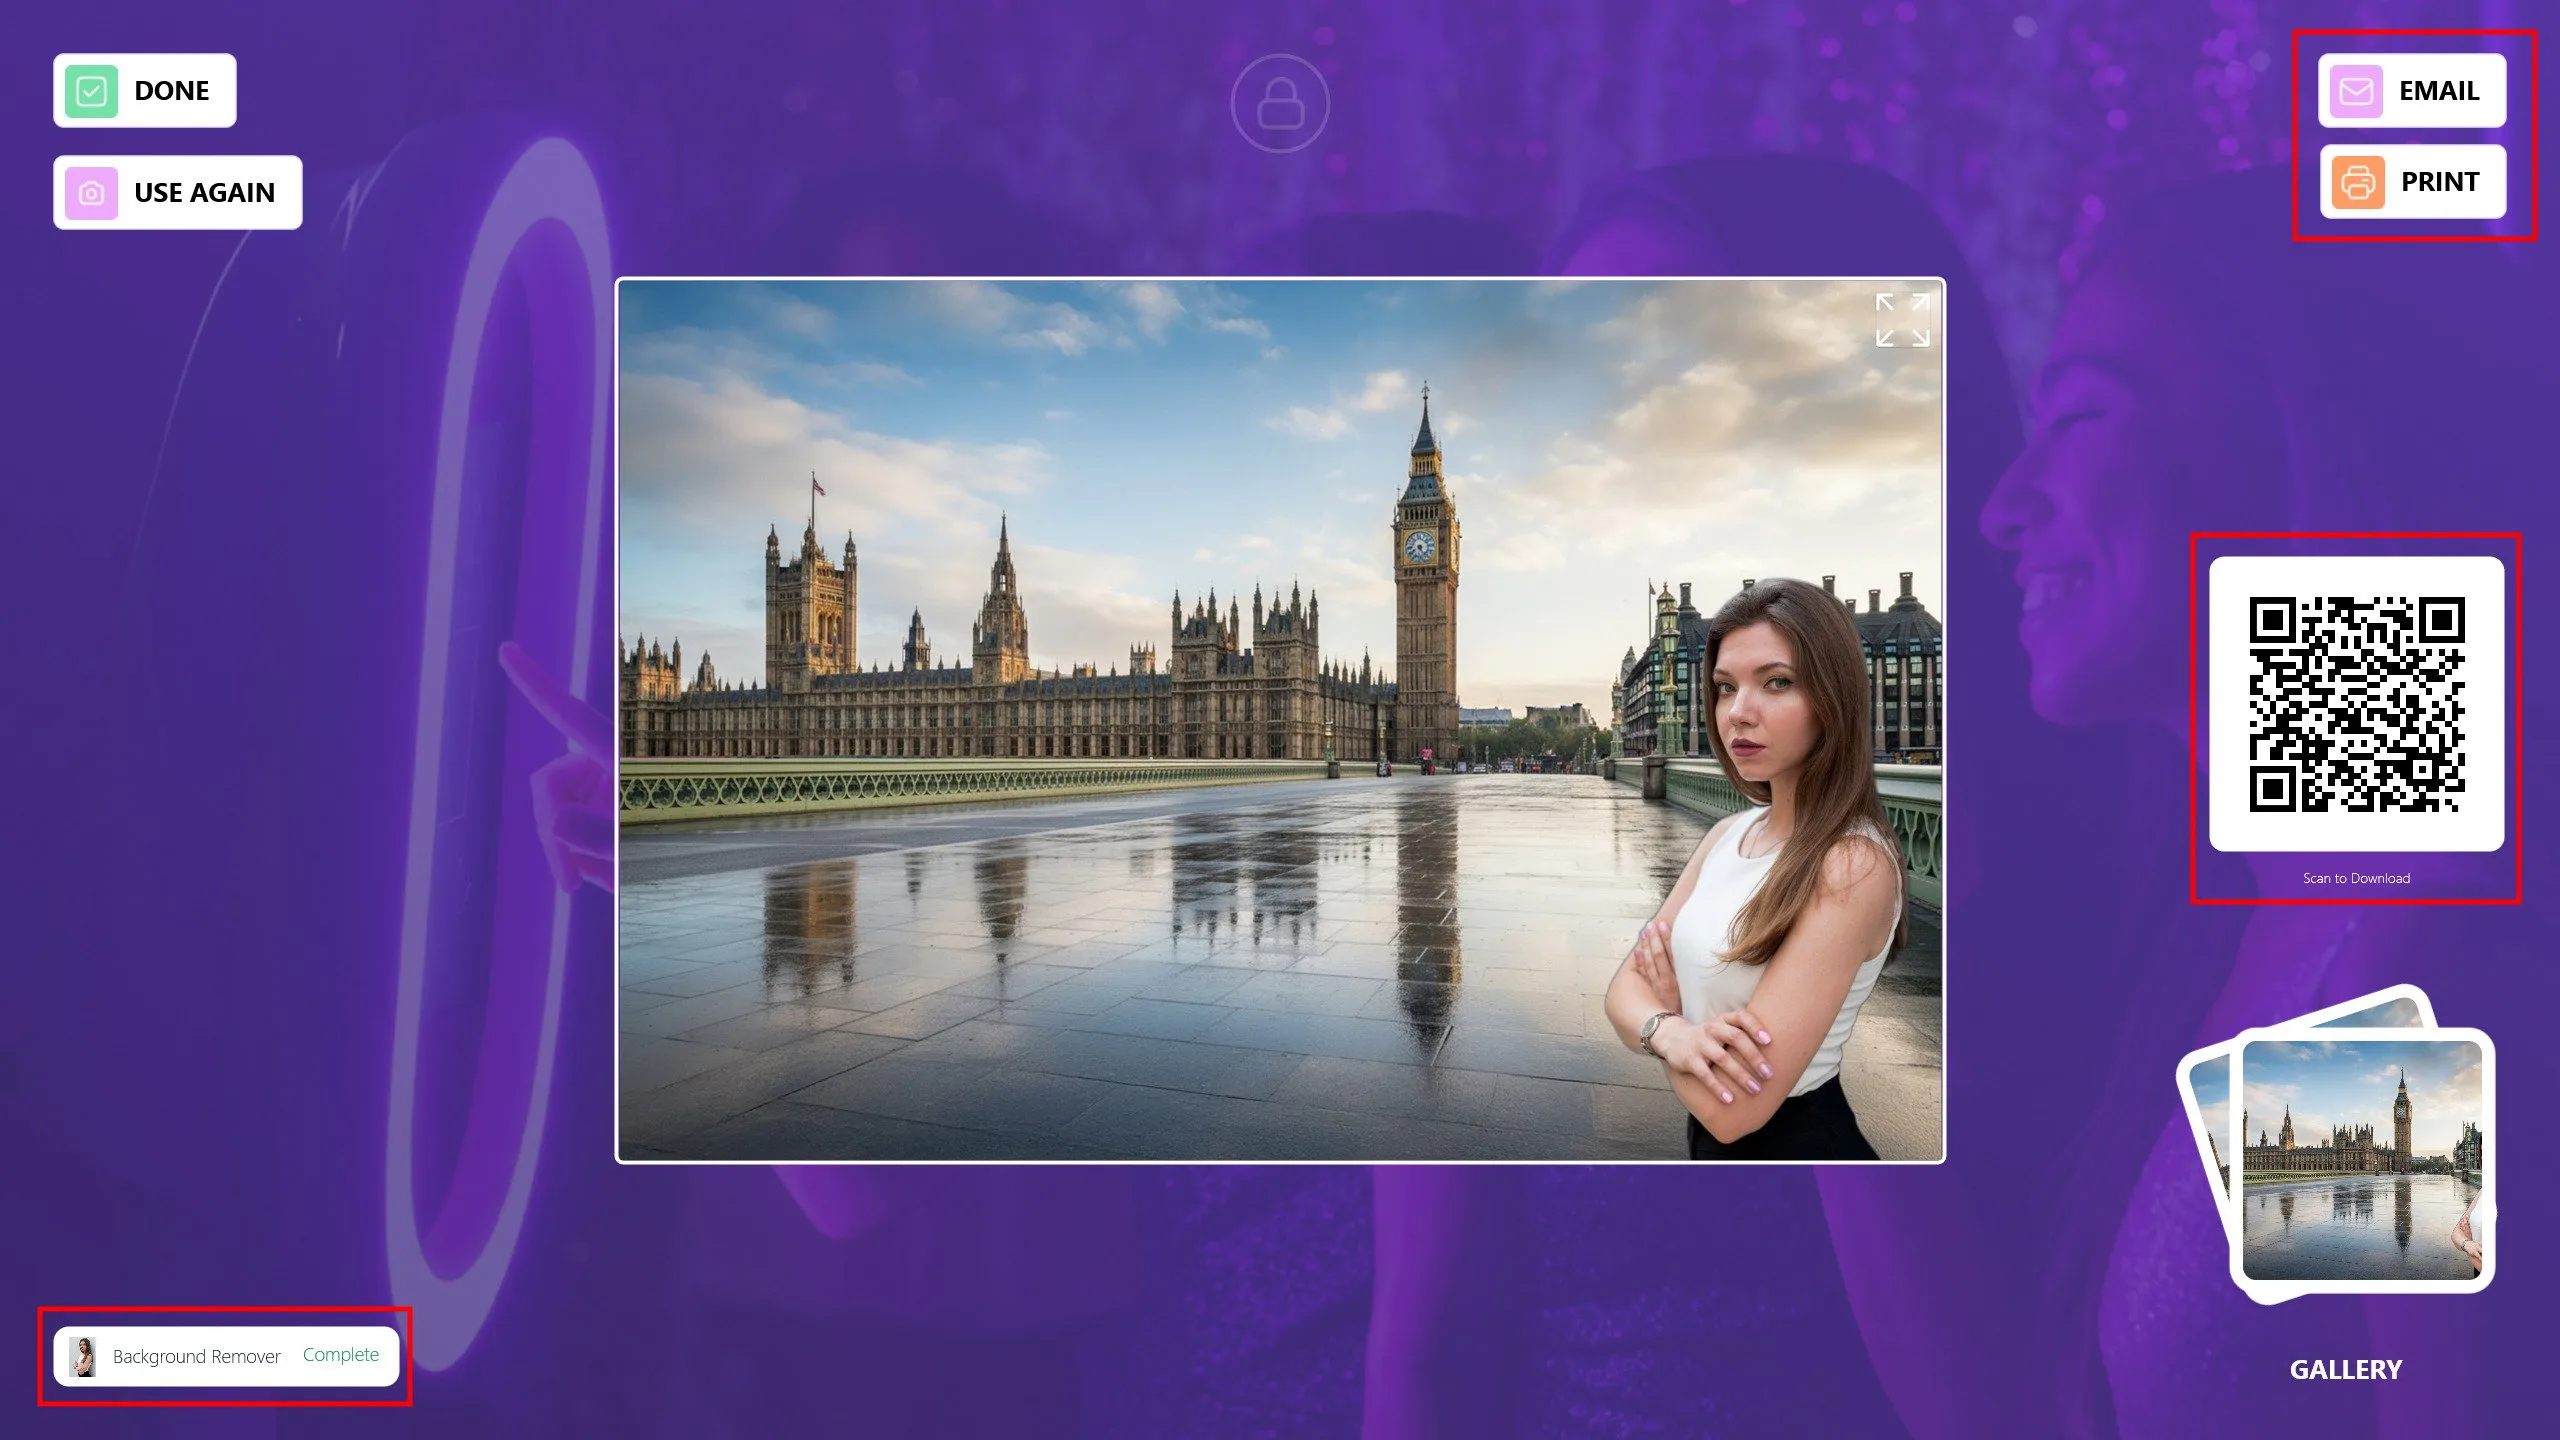
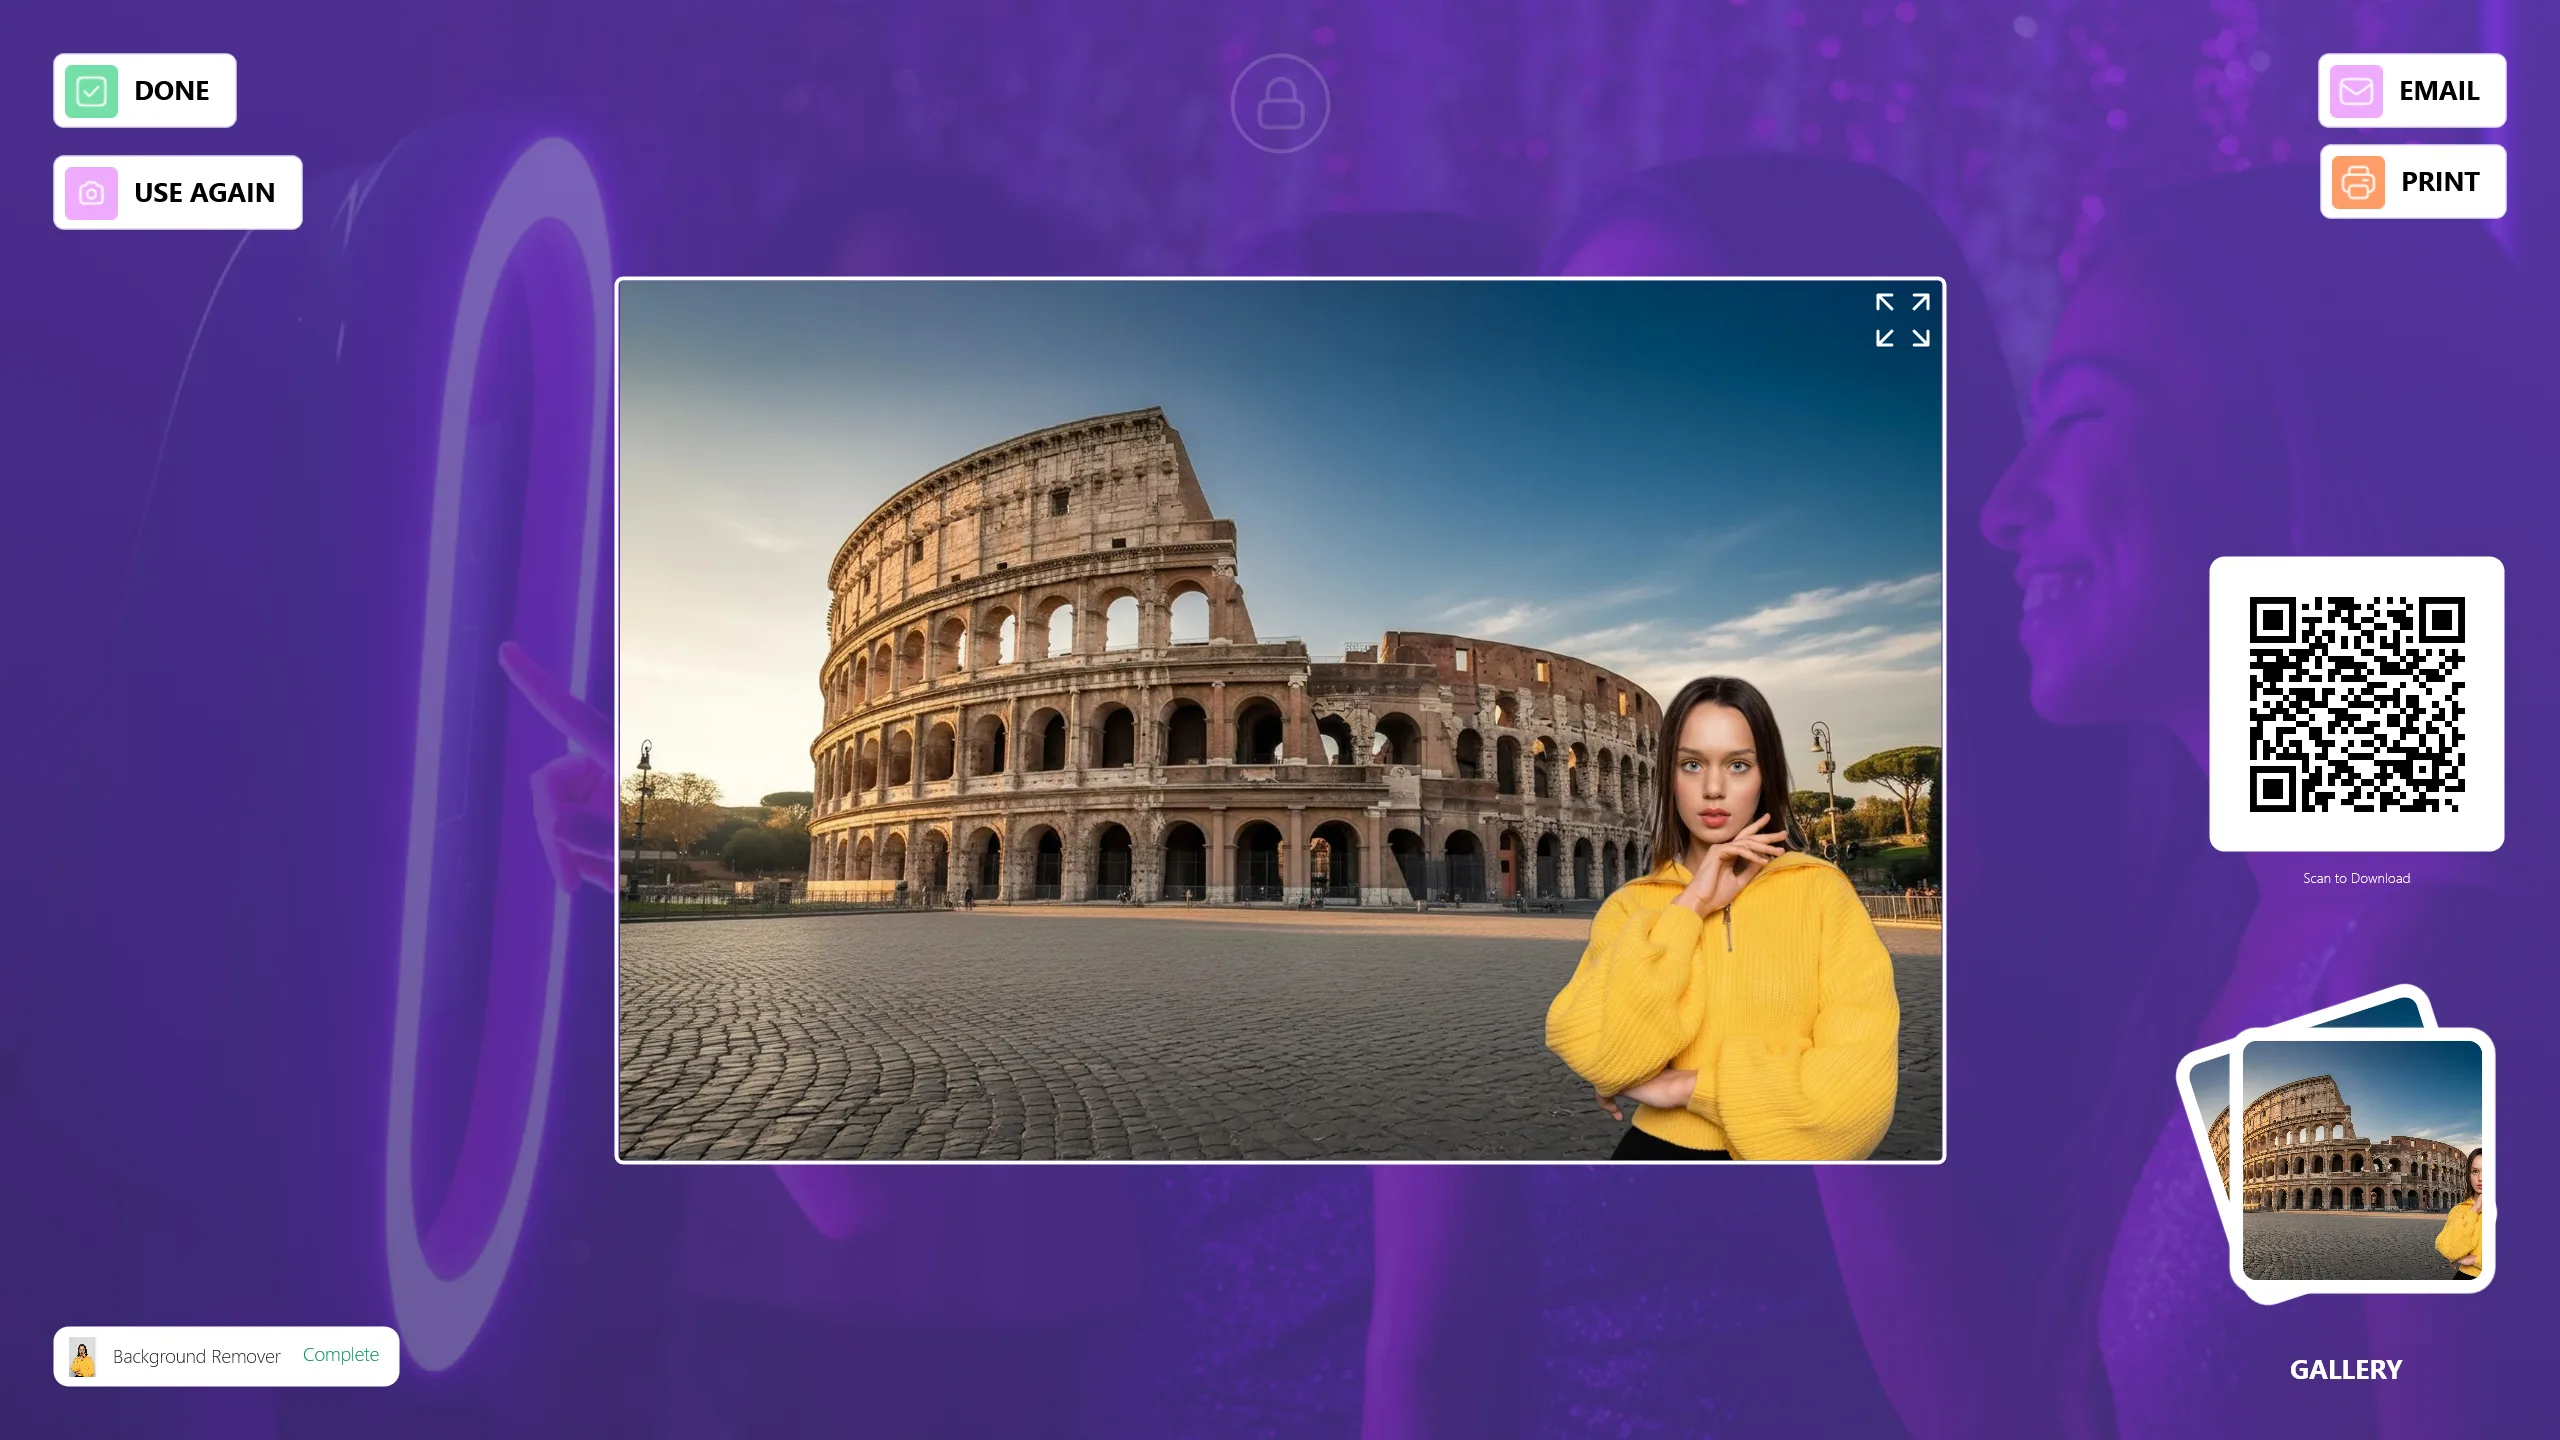
Your photo will be ready shortly. You can share it with your guests via Email, Print, or QR code. If you would like to apply another background using the same photo, click the Use Again button. Click Done to return to the main screen and get ready for the next guest.
Things to Keep in Mind When Using AI Background Remove Mode
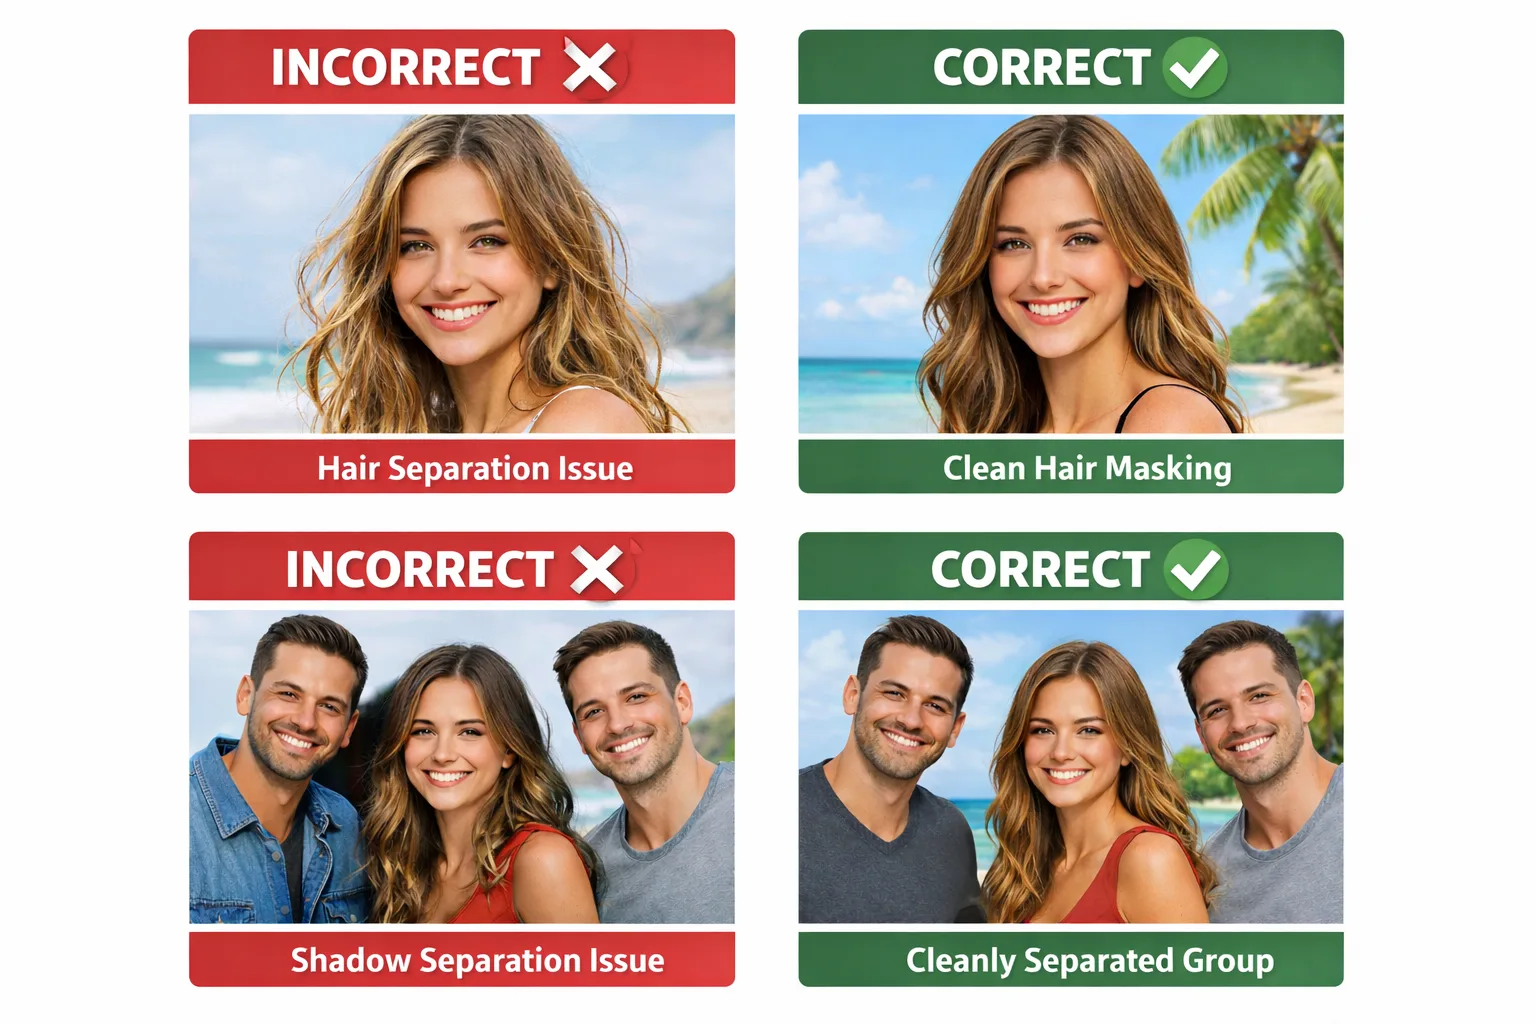
AI Background Errors: Hair and Multi-Person Shadow Issues
Hair Masking Issues: Thin, semi-transparent hair, low contrast, backlighting, or messy hair can cause inaccurate separation.
Multi-Person Shadow Issues: When people stand too close together, real shadows between them are interpreted as part of the subject, not the background.
Best Practices:
- Maintain distance between subjects.
- Use soft, single-source lighting.
- Avoid side lights and hard spots.
- Avoid crowded group shots.
1) Camera Angle and Framing Must Be Correct
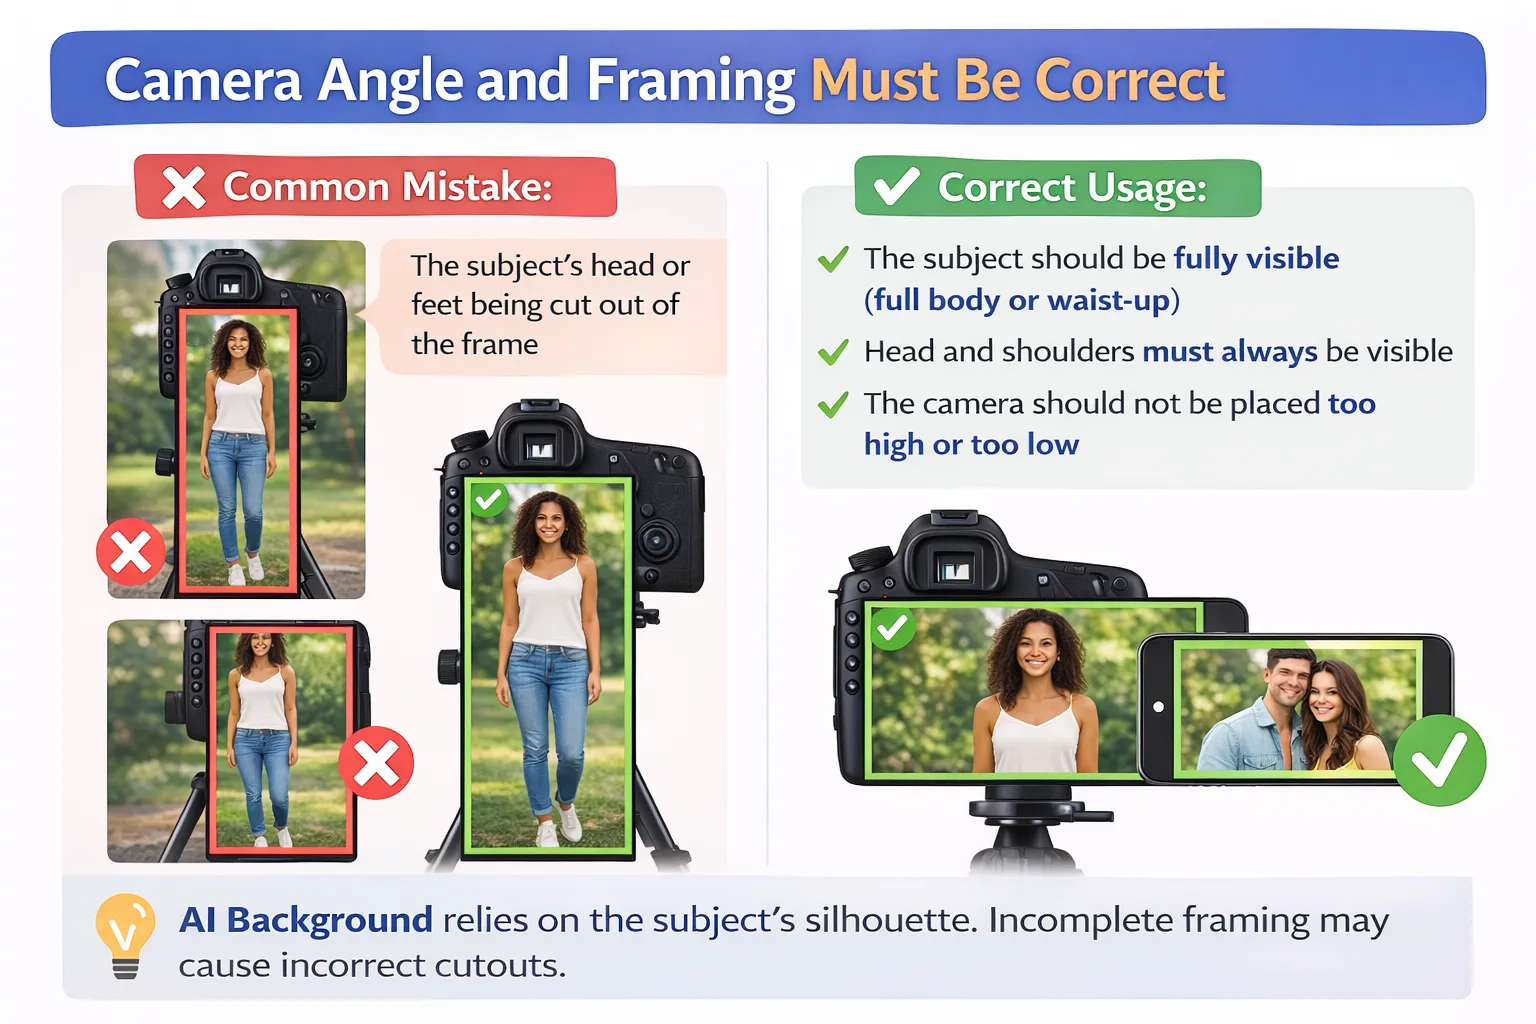
Common Mistake:
- The subject's head or feet being cut out of the frame.
Correct Usage:
- The subject should be fully visible (full body or waist-up).
- Head and shoulders must always be visible.
- The camera should not be placed too high or too low.
AI Background relies on the subject's silhouette. Incomplete framing may cause incorrect cutouts.
2) Portrait / Landscape Camera and Layer Alignment
Common Mistake:
- Using a horizontal layer while the camera is in portrait mode.
Correct Usage:
- Portrait camera: use a portrait layer.
- Landscape camera: use a landscape layer.
The layer defines where the person will appear in the image. Incorrect alignment leads to poor background matching.
3) Lighting Must Be Clear and Balanced
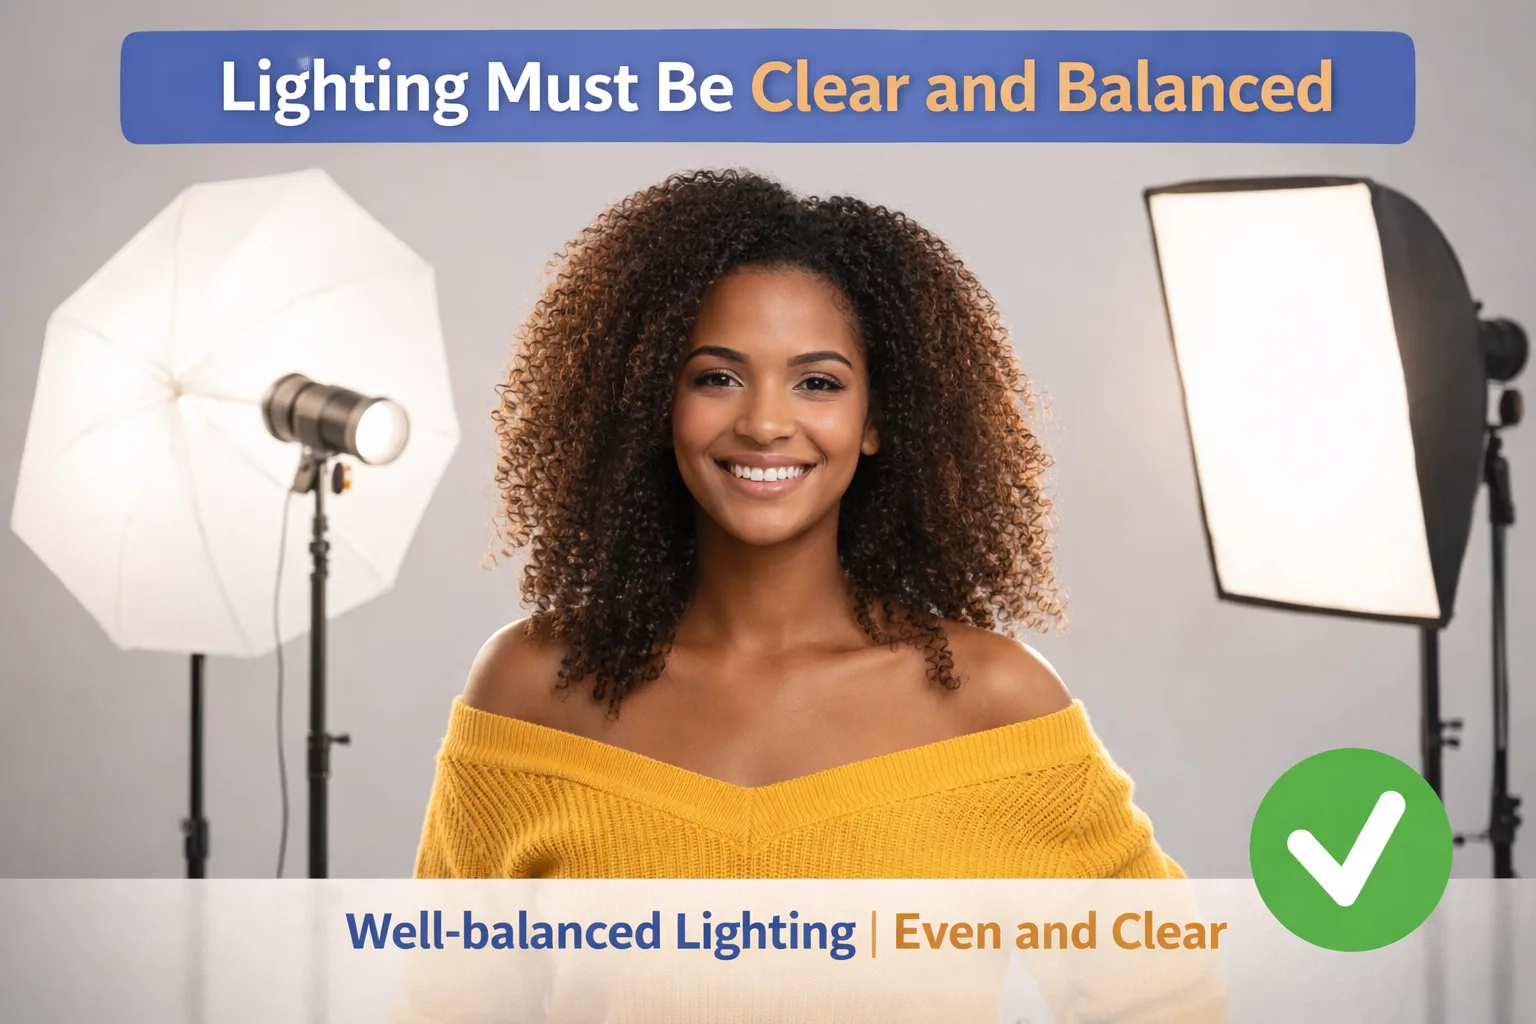
Common Mistake:
- Harsh facial shadows.
- Dark environments.
- Strong backlighting.
Correct Usage:
- Face and body should be evenly lit.
- Avoid strong backlight.
- Prevent shadows on the face.
Unbalanced lighting may cause the AI to misinterpret hair and shoulder edges.
4) Background Should Be Clean and Simple
Common Mistake:
- Patterned, colorful, or cluttered real backgrounds.
Correct Usage:
- Use solid-color backgrounds.
- White, gray, or single-tone backdrops are ideal.
- No people or objects in the background.
The simpler the background, the cleaner the AI Background result.
5) Avoid Motion Poses
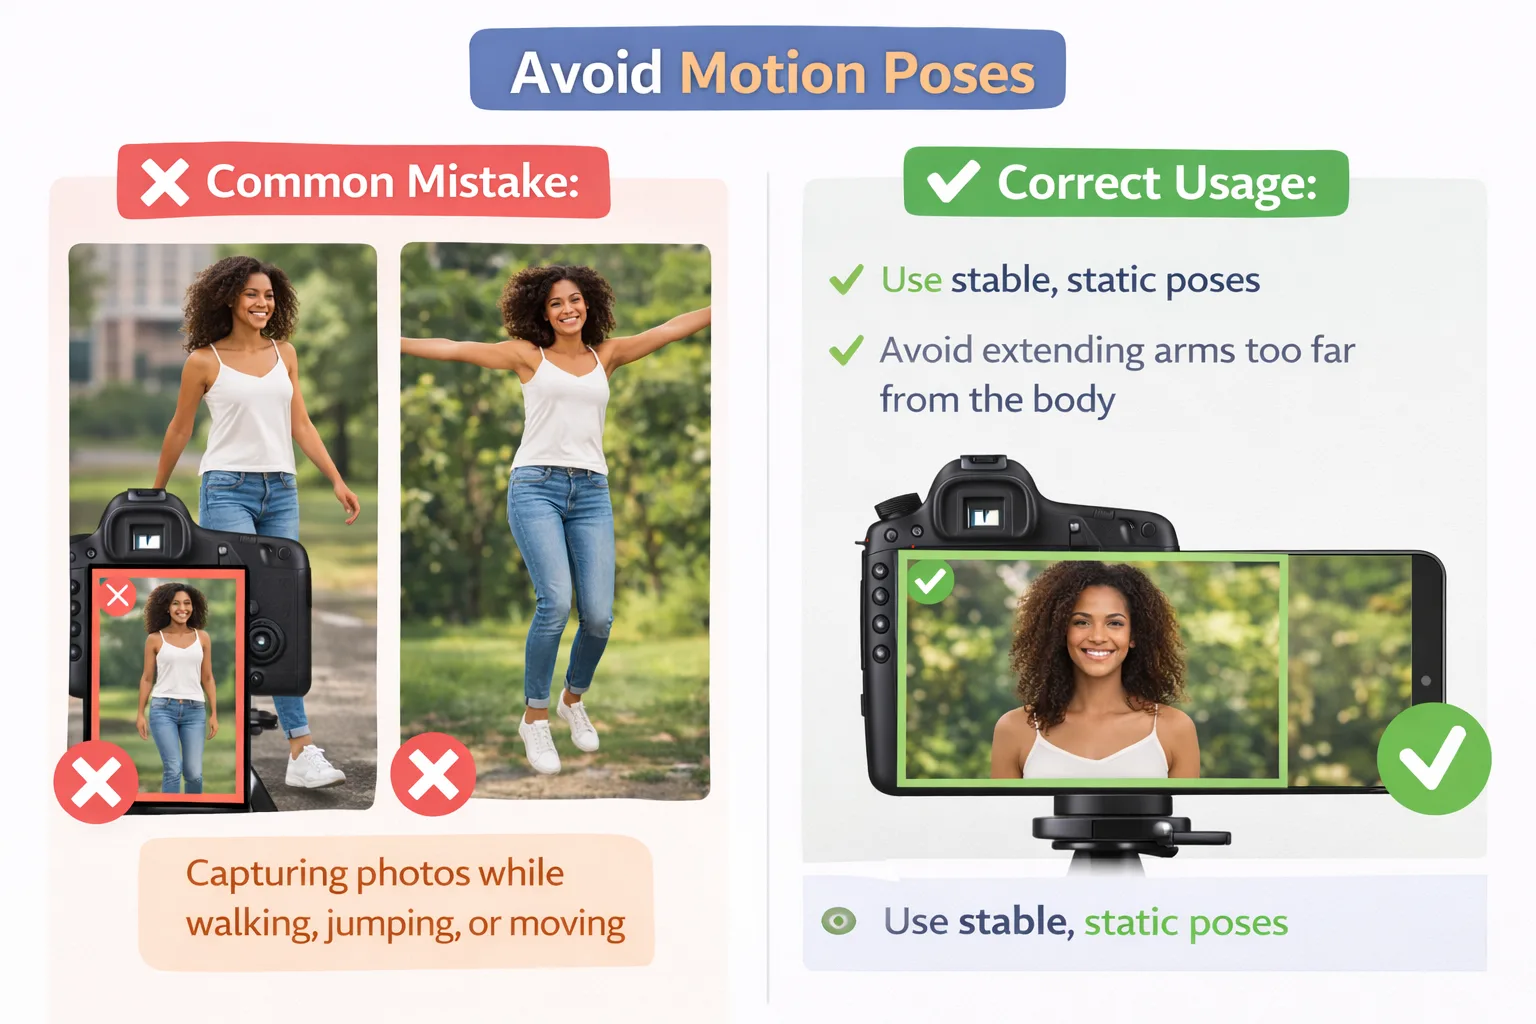
Common Mistake:
- Capturing photos while walking, jumping, or moving.
Correct Usage:
- Use stable, static poses.
- Avoid extending arms too far from the body.