You can switch photo booth software without risking a booking if you keep your hardware, rebuild your templates from the artwork you already have, and run the new setup through one full test before the next event. Your camera, printer, tablet or computer usually stay the same; what changes is the software, its templates and its sharing setup.
This guide is for operators who use dslrBooth, Snappic, LumaBooth or a similar app and want to move to AI Photo Booth Pro, for example to add AI effects, AI face swap or AI video, or to run Windows, Mac, iPad and Android devices from one account. If you are still comparing options, start with our photo booth software alternatives overview or the dslrBooth alternative comparison.
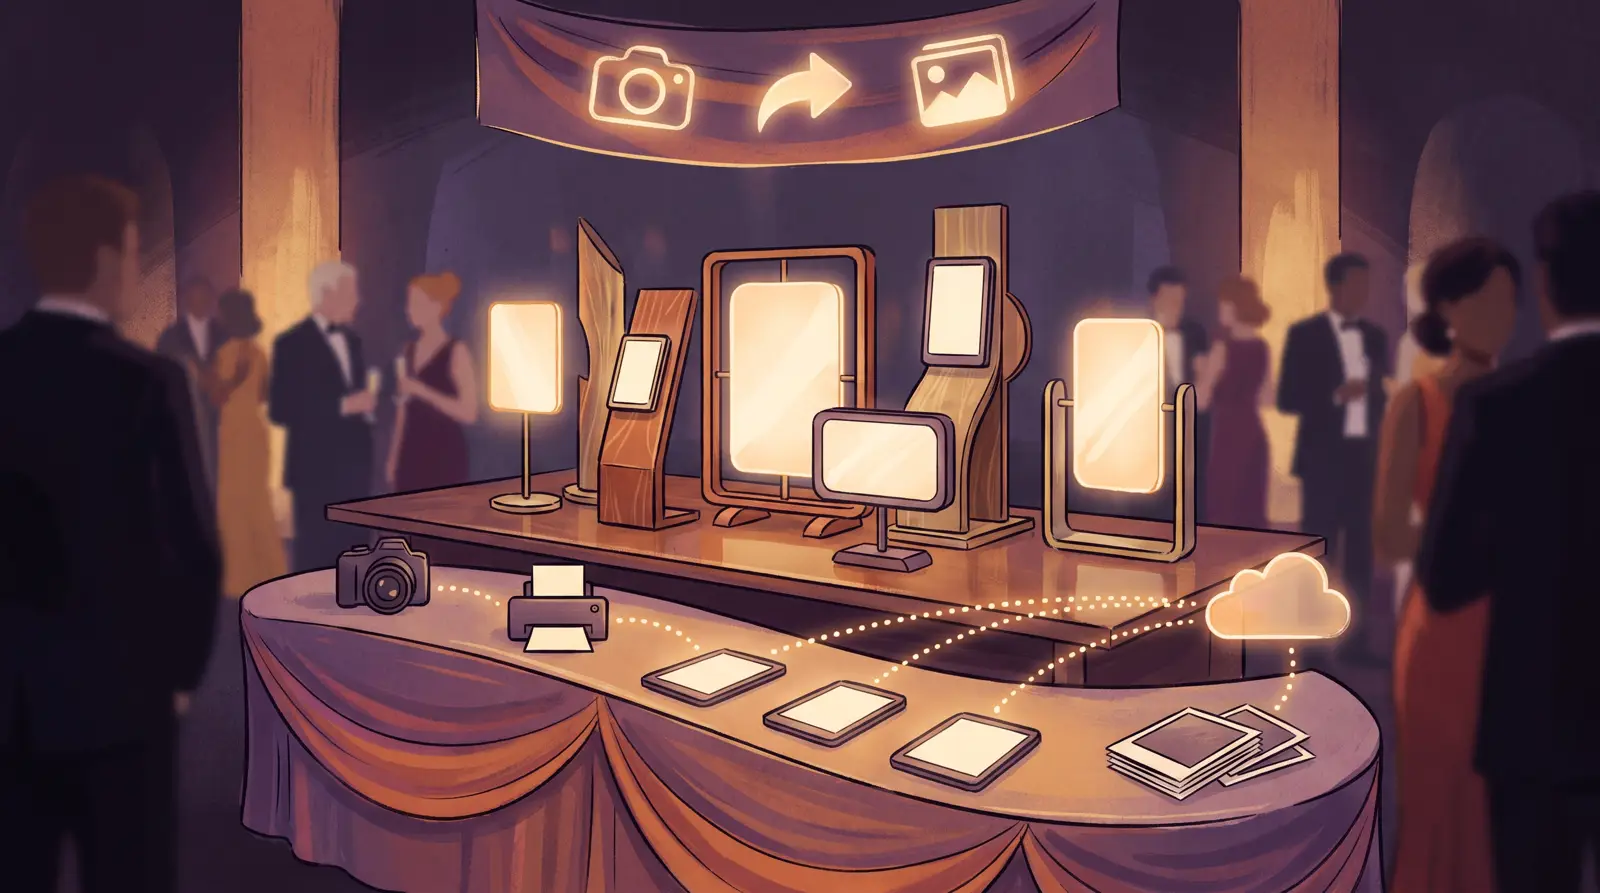
What carries over and what you rebuild
| Item | What happens when you switch |
|---|---|
| Computer or tablet | Keep it. AI Photo Booth Pro runs on Windows, Mac, iPad, iPhone and Android. |
| DSLR or mirrorless camera | Keep it if it is a supported Canon or Nikon model connected by USB. Webcams, GoPro and the tablet's own camera also work. |
| Photo printer | Keep it. DNP and Citizen dye-sublimation printers are common choices, and 2 inch cut strips work on DNP and Citizen. |
| Overlay and frame artwork | Reuse the PNG and image files. Templates do not transfer between apps, so you rebuild the layout in the template editor. |
| Booth screens | Rebuild the welcome, capture and sharing screens with your own colours, texts and logo. |
| Sharing | Set up QR sharing, email and SMS again. Guests get a gallery page for their photos. |
| Past event photos | Keep them where they are. Download anything you still need from your old app before you cancel it. |
Step 1: Install and sign in
Install AI Photo Booth Pro on the device you use at events and sign in with an Activation King account. The 14-day trial needs no credit card and includes 100 free AI credits; trial outputs include a watermark. One subscription covers 2 devices, so you can run a capture booth and a sharing or print station at the same time.
Step 2: Create your first event
Events hold everything for one booking: booth modes, templates, screens, sharing and print settings. Create a new event, pick the orientation (portrait, landscape or both) and choose the booth modes you sell. The create an event guide shows each step. Once one event is ready, you can copy it for the next booking instead of starting over.
Step 3: Connect your camera
Connect a supported Canon or Nikon camera with a USB cable, select it in the camera settings and check the live preview. The Canon and Nikon camera guide covers the advanced settings. If you came from an iPad app such as Snappic, you can keep using the iPad camera and lock the tablet to the booth with kiosk mode.
Step 4: Rebuild your templates
Open Templates, press Create New and choose the print size and layout. Add your existing overlay or frame artwork, your logo and the number of poses. Templates from other apps cannot be imported, so plan about 15 to 30 minutes per template the first time. The photo template guide walks through the editor. Ready-made templates are also available in the library if you want a starting point.
Step 5: Set up printing and sharing
Add your printer in the print settings, run a test print and set automatic printing and copies. Then turn on the sharing options you offer: QR code, email and SMS. For tablets, print through a printer with a wireless module or through a computer that works as a print station.
Step 6: Add the AI modes your old app did not have
This is usually the reason to switch. Add AI effects, AI face swap or AI video to the event, pick a few styles that fit the client and test them with real guests' photos. Each AI result uses credits, and the cost per mode is shown on the pricing page.
Step 7: Run a full test before the live event
- Take at least 20 sessions in each booth mode you will sell.
- Print several photos and check the colour and alignment.
- Send a QR, email and SMS share to your own phone.
- Test on the same internet connection you will have at the venue, and keep a mobile hotspot as a backup.
- Keep your old app installed until your first event on the new software is finished.
A safe switching timeline
- Week 1: install, sign in, create one event and connect the camera and printer.
- Week 2: rebuild your most used templates and screens, then run the full test.
- First booking: use the new software at a smaller event first, with the old setup ready as a backup.
- After that: copy your finished event as the starting point for new bookings and cancel the old subscription when you no longer need it.