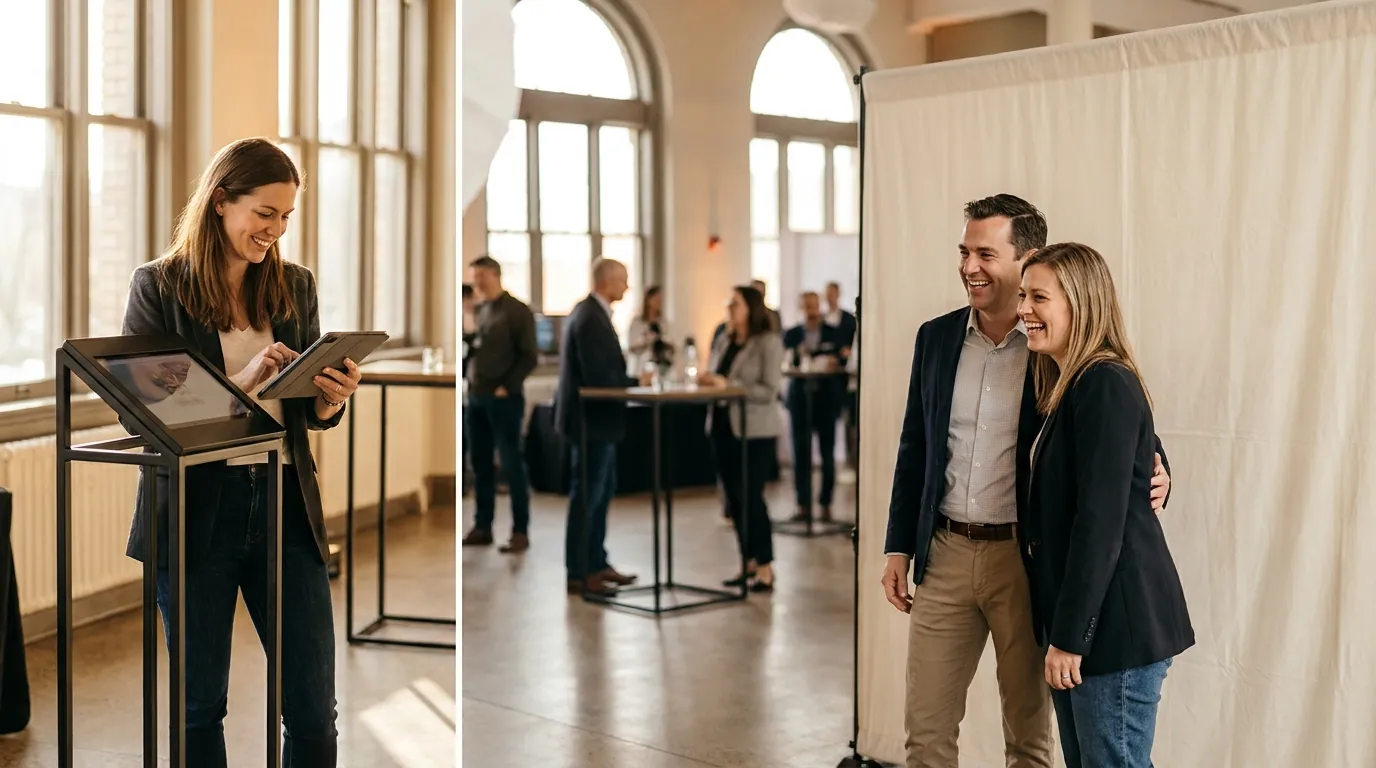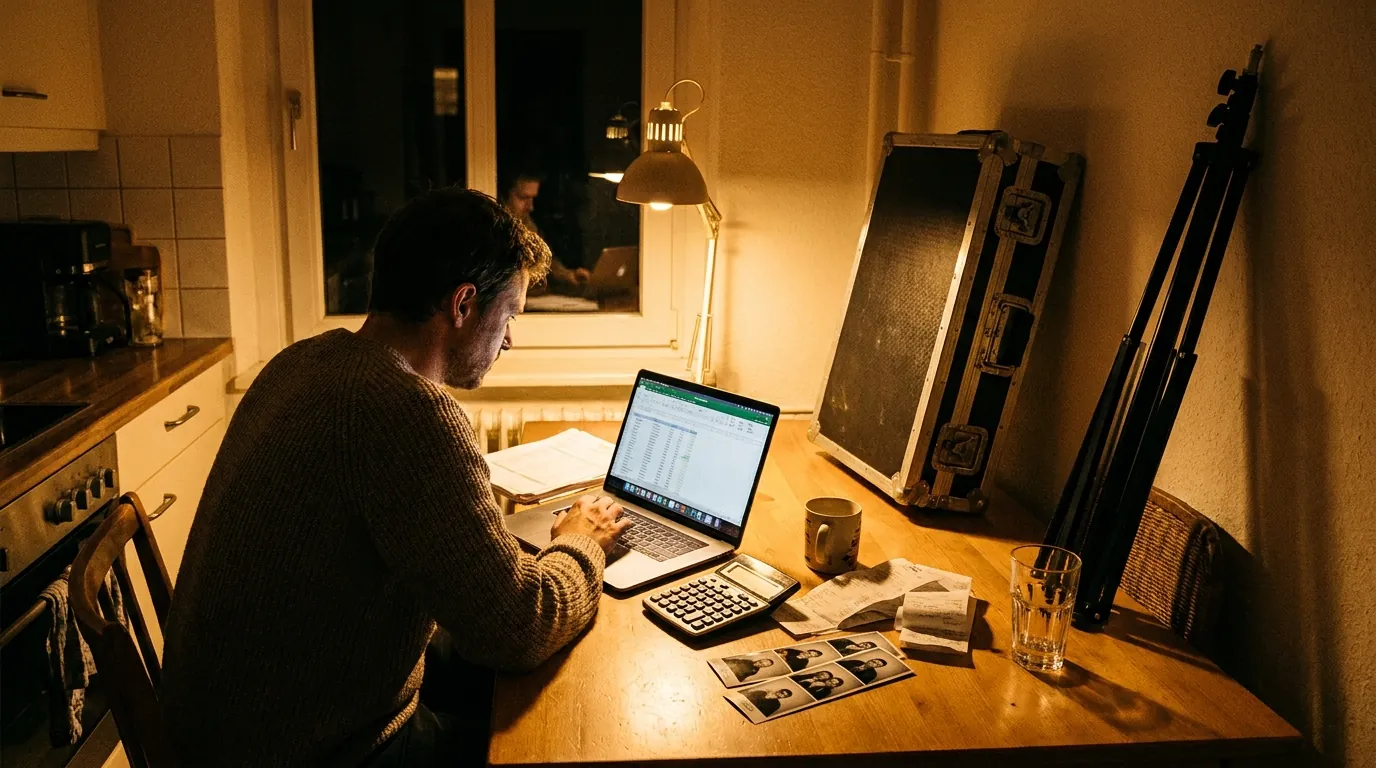



An Android tablet in a stand is one of the lightest ways to run a photo booth. There is no laptop, no cable run to a camera and no separate screen: the tablet is the camera, the touchscreen and the booth software in one device. With the right app, the same tablet can run classic photos, GIFs, AI effects and AI video.
This guide explains how to set up AI Photo Booth Pro on an Android tablet: installing and signing in, the camera, printing, sharing, what happens without internet, and the features that work differently on Android than on a computer.
Why run a photo booth on an Android tablet
A tablet booth suits events where space, setup time and transport matter more than studio-level camera control:
- Fast setup: mount the tablet, power it, open the app and run the event.
- Light to carry: several tablet booths fit in the space of one computer booth.
- Same event everywhere: events sync across devices, so an event you design on a computer opens on the tablet when you sign in with the same account.
- One subscription, 2 devices: the tablet can run as the capture booth while a second device works as a sharing station or print station.
The Android app offers the same 12 booth modes as the other platforms, including classic photo, GIF and strips, green screen, 360 video, AI face swap, AI effects, photo to AI video, video to AI video, mirror booth, AI background removal, video booth and cinematic slow motion. AI runs in the cloud, so the tablet does not need special processing power for AI results.
What you need before you start
- An Android tablet with Google Play: AI Photo Booth Pro for Android is distributed only through Google Play, and APK files are not provided. If the device has no Google Play, or Play says the app is not available for it, the device is not supported.
- An Activation King account: the same account signs in on every device. The 14-day trial needs no credit card and includes 100 free AI credits; trial outputs include a watermark.
- A reliable internet connection: needed for sign-in, AI, sharing and cloud sync. For a dedicated line, aim for at least 10 Mbps upload and 15 Mbps download, and keep a 5G hotspot as a backup.
- A stand, power and light: a secure tablet stand, a power cable to the wall and soft, even light on the guest's face.
Step by step: setting up the app on Android
- Install the app: open Google Play on the tablet and install AI Photo Booth Pro, or open Dashboard, then Downloads on activationking.com and choose the Android build.
- Sign in: tap Login with Activation King. On Android the login page opens in a Chrome tab; sign in with any method and you return to the app automatically. If you close the browser by mistake, tap Cancel on the Authenticating screen and start again. You can also choose Login with Email Code and enter the code sent to your inbox.
- Create or open an event: on the dashboard, create a new event or open one you already designed on another device.
- Allow the camera: open Event Settings, then Camera. Android asks for camera permission on first use. Allow it, because without permission the booth cannot open the camera.
- Choose the mode and template: select the booth mode for the event and add a template in Templates.
- Set up sharing and printing: turn on the sharing channels you want and add a printer in the print settings (see below).
- Protect the booth: in Event Settings, then Kiosk, set a 4-digit PIN. The PIN protects the way from the running booth back to the operator settings.
- Run a full test: take a photo, wait for the result, scan the QR code with your phone and print a test copy before guests arrive.
Camera options on Android
On Android, the booth uses the tablet's own camera. Some camera options that exist on a computer work differently:
- Camera permission: if permission is denied, the app shows "Camera permission denied. Switched to Desktop Editing mode." and the real camera does not open. Allow the camera in the device settings, close the app fully and open it again.
- DSLR control: full DSLR control with ISO, shutter speed and aperture is a Windows feature. On Android the advanced DSLR settings panel is not shown.
- GoPro and virtual cameras: GoPro connection and virtual cameras such as OBS appear only on Windows.
If your event needs a DSLR, a GoPro or OBS, plan a Windows computer for capture. Our guide to photo booth software for Windows covers that setup.
Run AI Photo Booth Pro on your Android tablet
14-day free trial with 100 AI credits. No credit card needed.
Start FreePrinting from an Android tablet
A tablet cannot drive a USB photo printer directly, and dye-sublimation printers such as DNP, Fujifilm ASK-400 or Citizen generally cannot be driven from a tablet. There are two supported ways to print:
- Wireless print module: a DNP or Citizen printer with a WCM Pro or WCM Plus module can be reached over the network. Connect the module to the same Wi-Fi as the tablet and add the printer in the print settings.
- Print station: connect the printer by USB to a Windows or Mac computer, open AI Photo Booth Pro there with the same account and the same event, and add the printer. Keep the app running on that computer. On the tablet, open Print, then Add Printer, and choose the computer's printer from the Remote Printers list. Prints are sent to the computer and printed automatically.
A few points to know:
- Every device that is signed in and running the app uses one seat, including a computer that only receives prints. A tablet plus a print computer needs 2 seats.
- Third-party wireless print boxes in the AirPrint style are not a verified printing path.
- For photo strips, the 2 inch cut on Android works through a WCM Pro module, not over USB.
Sharing from the tablet
Guests can get their photos by QR code, email, SMS and the web gallery. On a tablet screen, the QR code is shown on the sharing screen, so guests scan it with their own phone. Email and SMS are off by default in a new event, so turn them on in the sharing settings and use the Test button before the event. All sharing channels need an internet connection.
What happens without internet
Each event can run in online mode or offline mode, set in Event Settings, then Event Mode. Online mode is recommended and unlocks AI, sharing and cloud saving. Offline mode intentionally turns off AI, sharing and cloud features, so the booth works as a classic photo booth.
One Android-specific note: on Android, the app's connection check always reports the device as online, so the "Waiting for internet connection" banner that appears on other platforms does not appear. Check the tablet's Wi-Fi or hotspot yourself before the event.
Limits to plan around on Android
- Video codec: the HEVC (H.265) option appears only if the tablet has a hardware HEVC encoder. Otherwise the app uses H.264 automatically, which is not a missing setting.
- Green screen on video templates: the Clear Background option on a template's video layer is hidden on Android. Use iOS, Mac or Windows if you need green screen video layers.
- Run on Startup: starting the booth automatically when the device starts is available only on Windows and macOS.
- Save folder: choosing a custom save folder is a Windows setting; on Android the system does not allow writing to a free folder.
If you also use Apple devices, our iPad photo booth setup guide and photo booth software for Mac guide cover those platforms with the same account and events.