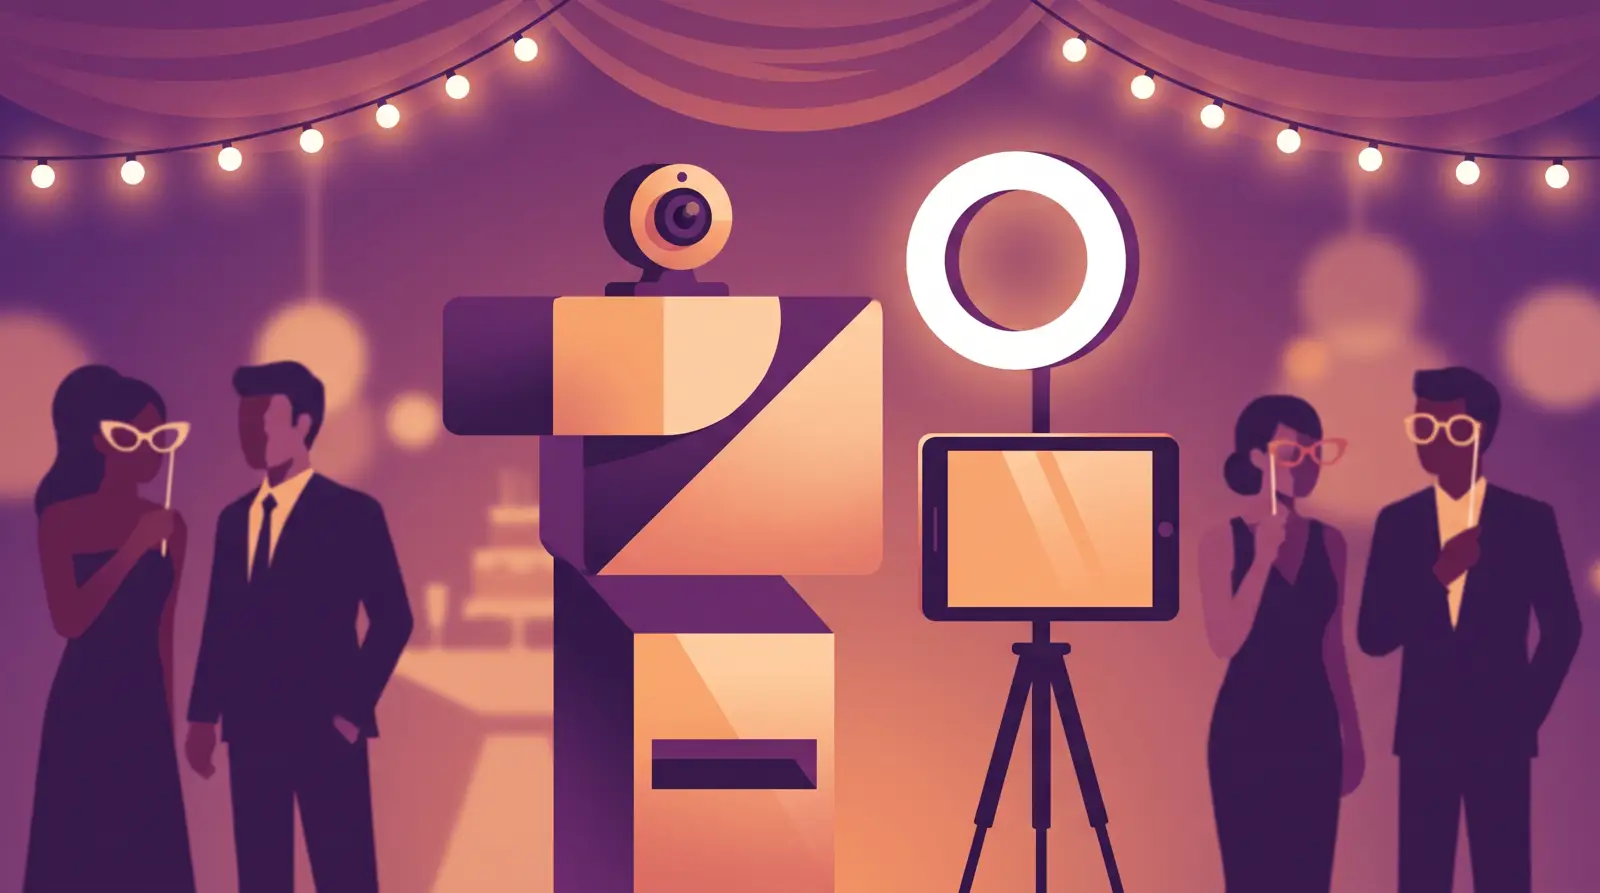
You do not need a three-thousand-dollar mirrorless rig to run a profitable corporate activation or private party. A modern photobooth webcam paired with robust software can produce vibrant, razor-sharp digital shares and crisp photo strip prints at a fraction of the startup cost.
By bypassing expensive dummy batteries, fragile HDMI capture cards, and heavy mounting hardware, you can build a lightweight, highly mobile station. In this guide, we break down how to assemble, calibrate, and operate an event-ready commercial booth using a USB camera setup.
Why Modern Webcams Are a Viable Rig for Commercial Photo Booths
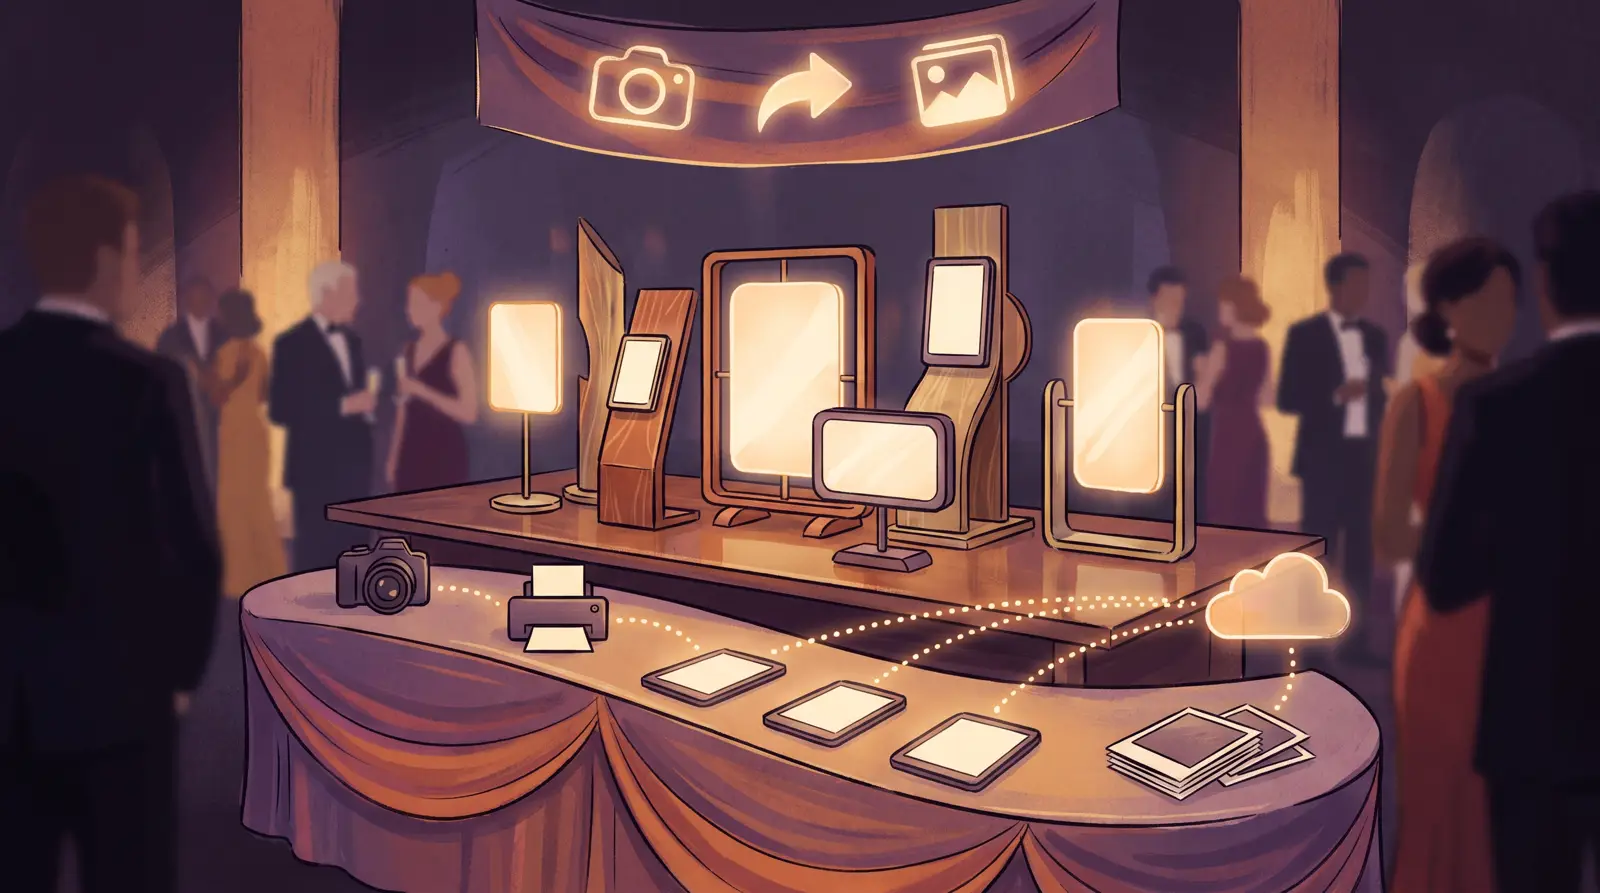
Modern commercial activations often prioritize instant digital distribution via QR codes, text messages, and email over heavy studio prints. Current 1080p and 4K USB webcams provide dense sensor output, low latency, and continuous power delivery over a single cable.
Using a webcam eliminates camera shutdown problems caused by camera sleep timers or overheating HDMI feeds. It also allows you to deploy a versatile photo booth app for laptop environments on Windows or Mac without configuring complex manufacturer SDK drivers.
When you pair this accessible setup with modern ai photo booth software, your margins jump immediately. You spend less capital upfront on fragile glass while delivering smooth, interactive experiences that clients love.
Photobooth Webcam or DSLR: When a Webcam Is Enough
A photobooth webcam is enough when:
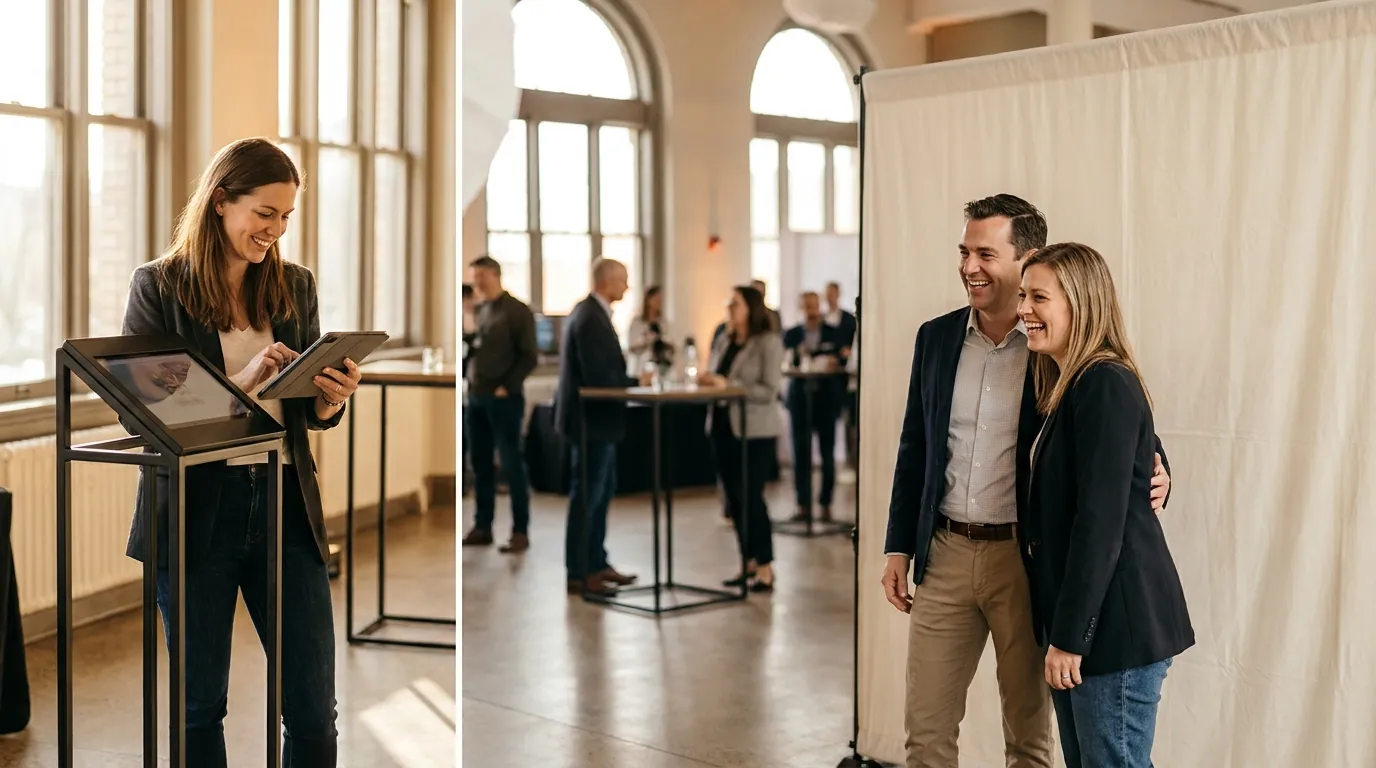
- Most guests take their photos digitally, by QR code, text message or email.
- You can light the booth with even, continuous light, so the smaller sensor stays clean.
- Groups are small, about two to four guests at 4 to 6 feet from the backdrop.
- You want a light, mobile station that sets up fast.
Choose a DSLR when the venue is dark and you cannot add lighting, when large groups need a wider and sharper frame, or when the client wants large prints where fine detail shows. AI Photo Booth Pro works with both, so you can start with a webcam and add a DSLR later.
Essential Hardware and Positioning for High-Quality Webcam Output
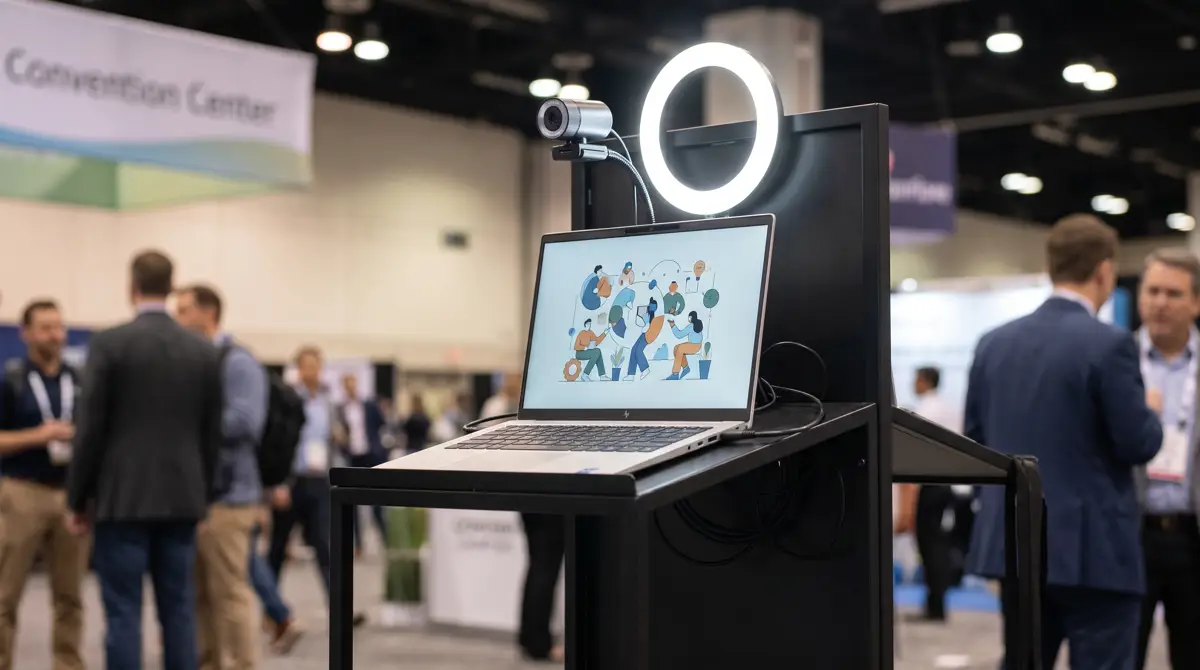
Quality begins with physical placement and solid support hardware. Never clip your camera to a loose laptop display; instead, lock it down to a rigid bracket or dedicated kiosk frame.
- Camera Mount: Secure the webcam at eye level (roughly 55 to 60 inches from the floor) using a solid 1/4-inch thread adapter. This prevents distorted facial angles and keeps the horizon level.
- USB Connection: Plug your camera directly into a powered USB 3.0 port on the host machine. Avoid unpowered hubs, which often throttle bandwidth and drop frame rates during live preview rendering.
- Distance: Position the kiosk between 4 and 6 feet from the backdrop. This framing allows groups of two to four guests to comfortably fit within standard wide-angle webcam lenses without heavy edge distortion.
If you prefer a complete turnkey system rather than a DIY rig, commercial enclosures like the AK Photo Booth Pro 32″ offer purpose-built mounting positions and internal power management designed for continuous event floors.
Configuring Camera Settings and Virtual Feeds in AI Photo Booth Pro
Once your hardware is positioned, you configure the capture feed directly inside AI Photo Booth Pro. Proper software selection ensures your system maintains consistent exposure throughout the night.
- Launch the app and log in using your Activation King credentials or your email verification code.
- Create a new event in the dashboard or launch Guided Setup from the Event Management screen.
- Navigate to Event Settings → Camera to select your connected USB webcam from the device dropdown.
- Check your live preview to confirm framing and adjust rotation or mirror settings to give guests an intuitive preview experience.
- If you run advanced custom graphics, you can also select OBS Virtual Camera on Windows to route pre-composited scenes straight into the booth.
On Windows workstations, always verify your system settings to prevent mid-event drops. Go to your Windows Power Options, open Advanced Settings, and disable USB selective suspend so the operating system never shuts down the USB camera port during idle periods between guests.
Start an AI Photo Booth Pro 14-day trial
The active catalog lists a 14-day trial. Review the software page for current details.
Start FreeLighting, Exposure, and Aspect Ratio Calibration for Flawless Prints and Shares
Webcam sensors are smaller than DSLR sensors, meaning they require uniform, continuous lighting to keep grain low. Mount a dimmable bi-color LED panel or ring light directly behind and slightly above the webcam lens to cast balanced light across faces.
Never rely on automatic webcam exposure. Ambient room lighting changes will cause the webcam to hunt for brightness, creating flickering shots and grainy shadows. Lock your exposure and white balance using your camera control utility before opening the kiosk to guests.
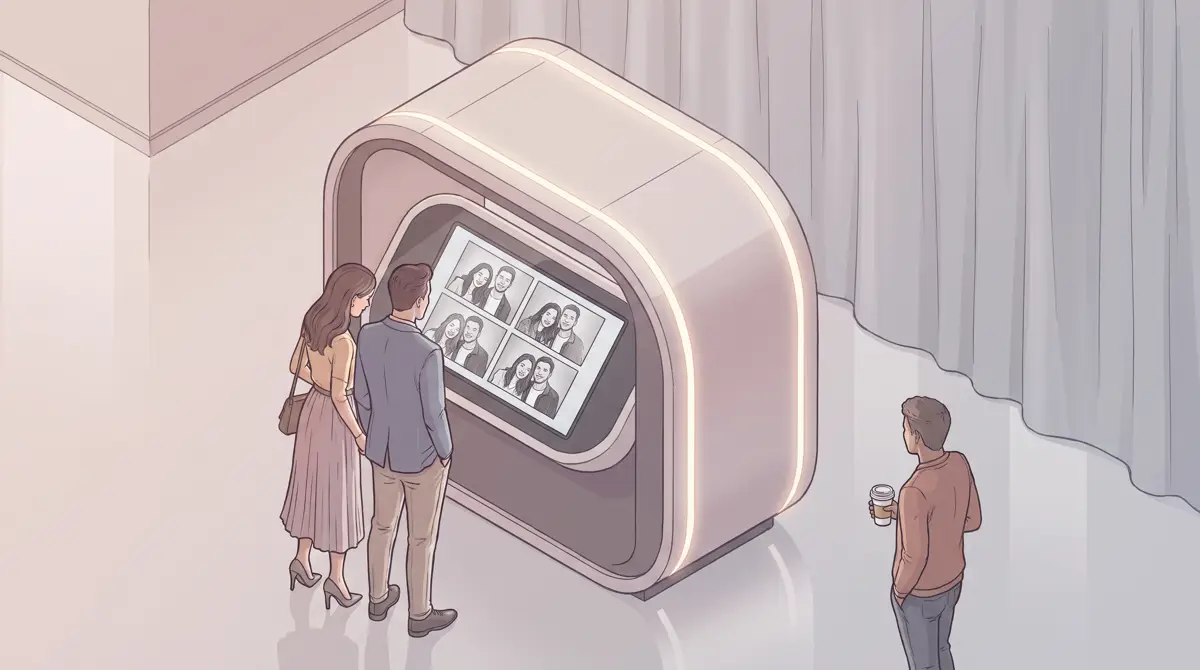
Next, configure your output format under the Templates section in the left menu. Whether you are generating 4×6 prints, 2×6 strips, or digital squares for social sharing, align your canvas aspect ratio with your physical layout to eliminate unexpected cropping during the capture sequence.
To verify your calibration, run three test sessions from the Welcome screen to the Sharing screen. Confirm that your print margins are aligned, QR code delivery triggers instantly, and preview frames show zero motion blur under your continuous event lights.
Ready to see the current plans?
AI Photo Booth Pro monthly plans start at $79/mo in the active catalog.
See Plans and Pricing