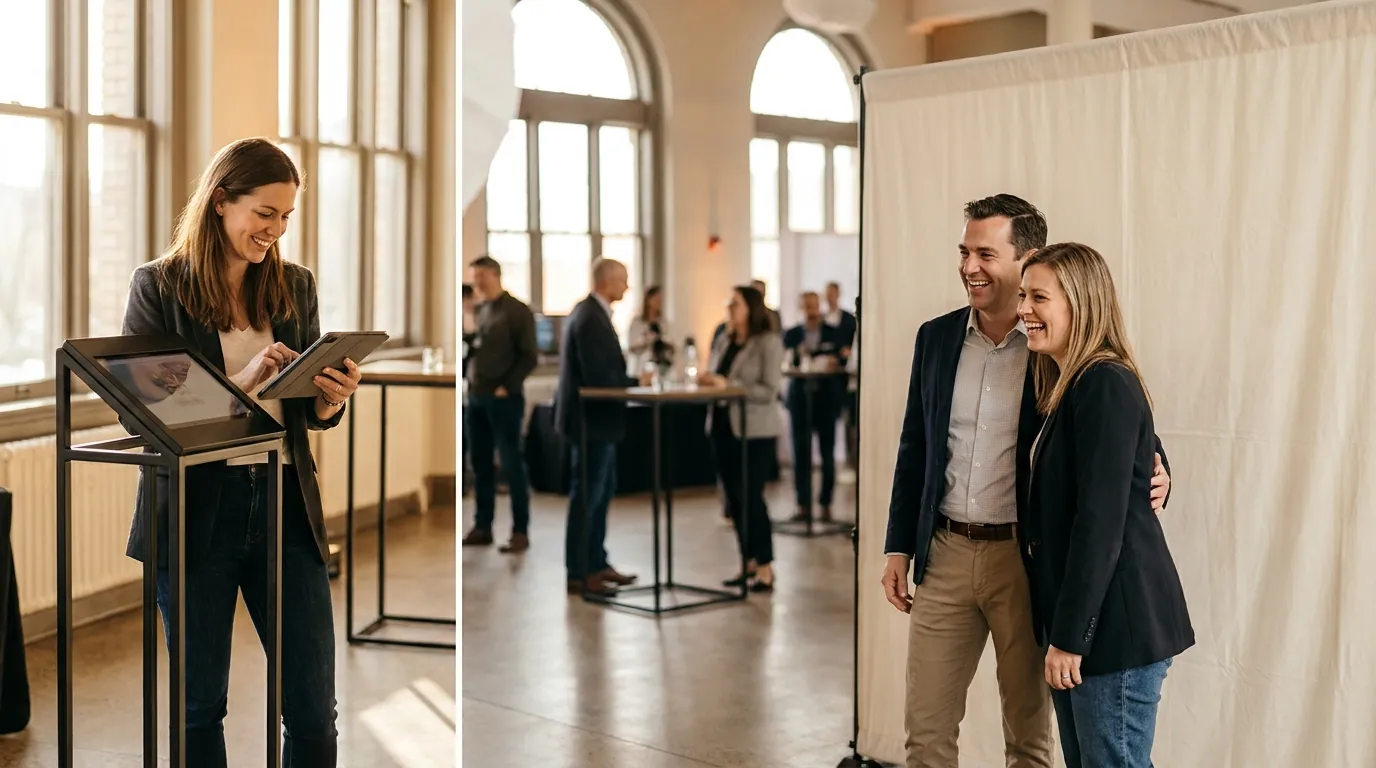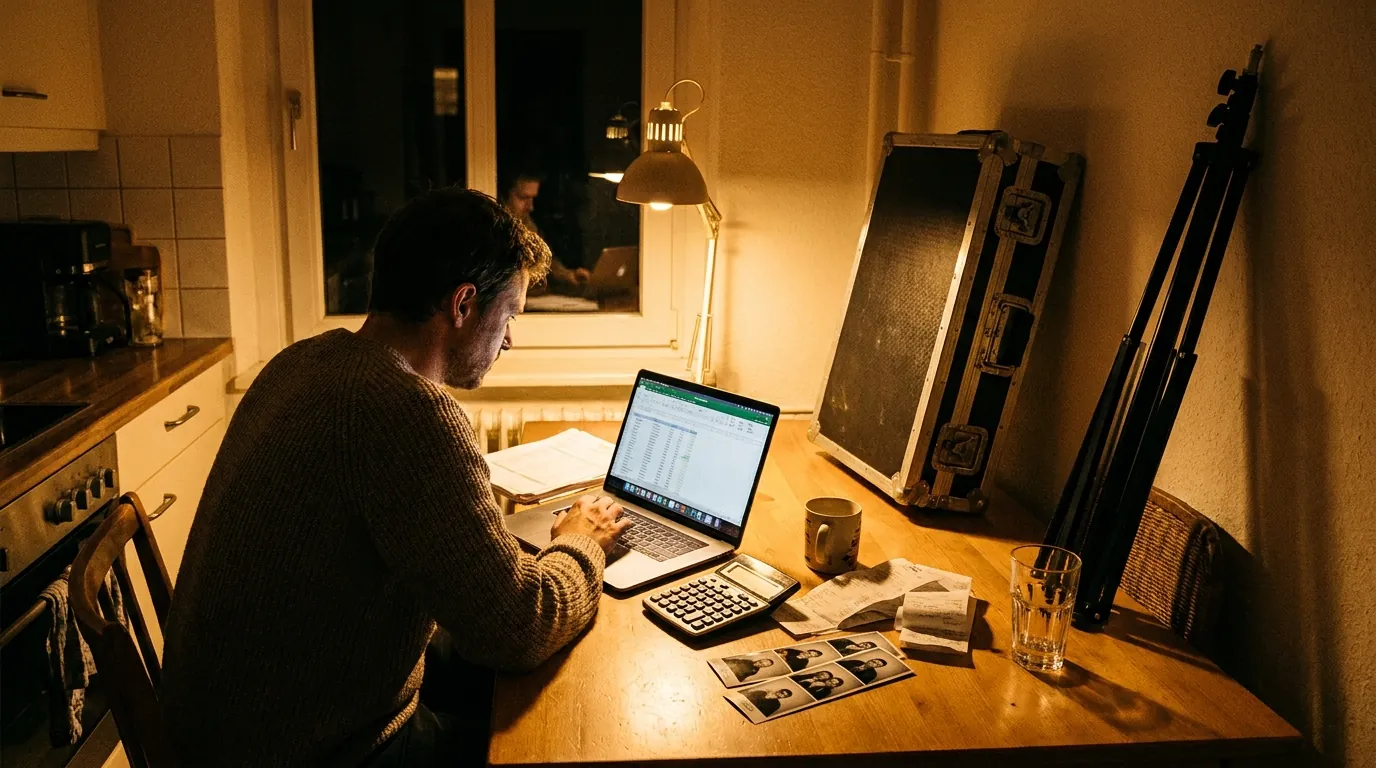


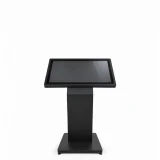
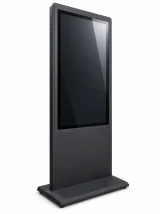

You do not need to invest thousands of dollars into proprietary tablet shells or iPad enclosures to deliver a commercial activation. A modern MacBook or Windows machine running a reliable photo booth app for laptop deployment outperforms mobile devices on raw processing, wired stability, and tethered camera control.
By using AI Photo Booth Pro on desktop platforms, you gain full control over native camera drivers, local print spooling, and interactive guest interfaces. Here is the operational blueprint to build a solid laptop photo booth setup for corporate events and private parties.
Why Run Photo Booth Software on a Laptop Instead of an iPad?
Tablets are lightweight, but high-volume activations expose operational limits. Heavy graphic processing under continuous use can trigger thermal throttling, mobile USB-C adapters are vulnerable to accidental tugs, and wireless print routing frequently stumbles in crowded venue radio environments.
Running professional photobooth software on a laptop workstation gives you direct USB tethering to Canon and Nikon cameras with direct exposure management. You also benefit from robust desktop print drivers that handle long runs of dye-sub strips without AirPrint latency, along with sufficient CPU and GPU capacity to render high-resolution assets smoothly.
Comparing mobile workflows with desktop performance in our guide on photo booth software for Windows highlights why dedicated hardware maintains higher queue clearance and dependable event uptime.
Hardware & Camera Setup: Connecting DSLRs and Webcams to Your Laptop
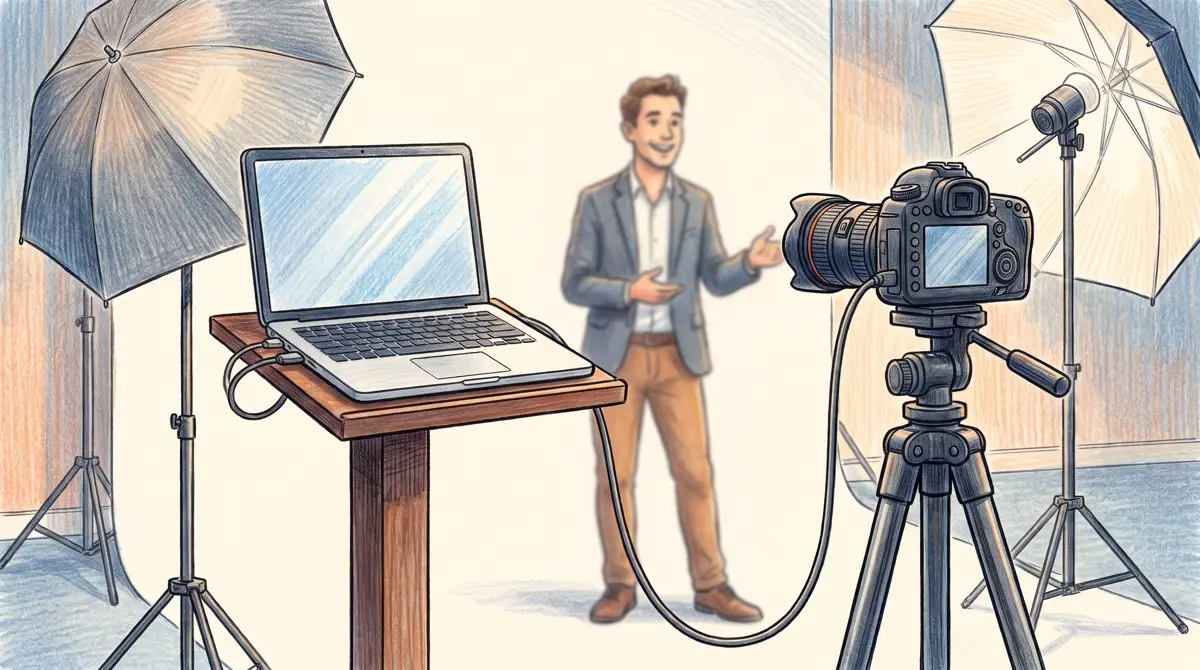
Before launching your software, prepare your physical gear to prevent communication dropouts during busy periods. Position your laptop on a stable high-boy stand or secure counter, and keep the power adapter connected at all times.
Tether your camera using a shielded, active USB cable. AI Photo Booth Pro connects directly to Canon and Nikon DSLRs, allowing you to fine-tune ISO, shutter speed, and aperture from inside the software interface. On Windows machines running OBS Virtual Camera, you can also route customized video feeds right into the booth session.
To preserve an uninterrupted USB connection on Windows laptops, adjust the operating system power profile:
- Open Windows Control Panel and navigate to Hardware and Sound → Power Options.
- Select High Performance to keep background system throttling from interrupting active hardware ports.
- Click Change plan settings → Change advanced power settings.
- Expand USB settings → USB selective suspend setting and change it to Disabled.
Disabling selective suspend ensures Windows does not cut power to dormant USB ports during pauses in foot traffic, keeping your camera preview active and ready.
Configuring AI Photo Booth Pro on Windows and macOS
AI Photo Booth Pro delivers an identical feature workflow whether you deploy on macOS or Windows. Each subscription includes 2 concurrent device seats, allowing you to operate a primary capture station alongside a separate sharing kiosk at the same venue.
Sign in to the software and follow this event sequence:
- Create the Event: In Event Management, start the Create New Event wizard, enter your activation title, and select your orientation format.
- Select Booth Mode: In Event Settings → Event Mode, pick your booth layout (Classic, 360°, or GlamBot) and enable your chosen output formats, such as Photo, GIF, or Video.
- Assign the Camera: Head to Event Settings → Camera, pick your tethered DSLR or webcam, verify live view framing, and adjust lighting controls.
- Apply Templates: Open Templates to load your branded graphics. If outputting 2×6 prints on site, activate the split cut setting directly in the template editor, as outlined in our photo booth strip printing guide.
Start an AI Photo Booth Pro 14-day trial
The active catalog lists a 14-day trial. Review the software page for current details.
Start FreeKiosk Lock, Print Routing & Live Cloud Sharing from a Laptop Station
For unattended setups, preventing users from closing the app or reaching desktop settings is essential. Reliable software needs strict kiosk security.
Go to Event Settings → Kiosk and enter a 4-digit Dashboard PIN. This prevents guests from minimizing the kiosk or browsing local files. On desktop environments, enable Run on Startup to re-enter full-screen booth mode automatically after an accidental reboot.
Set up media distribution channels:
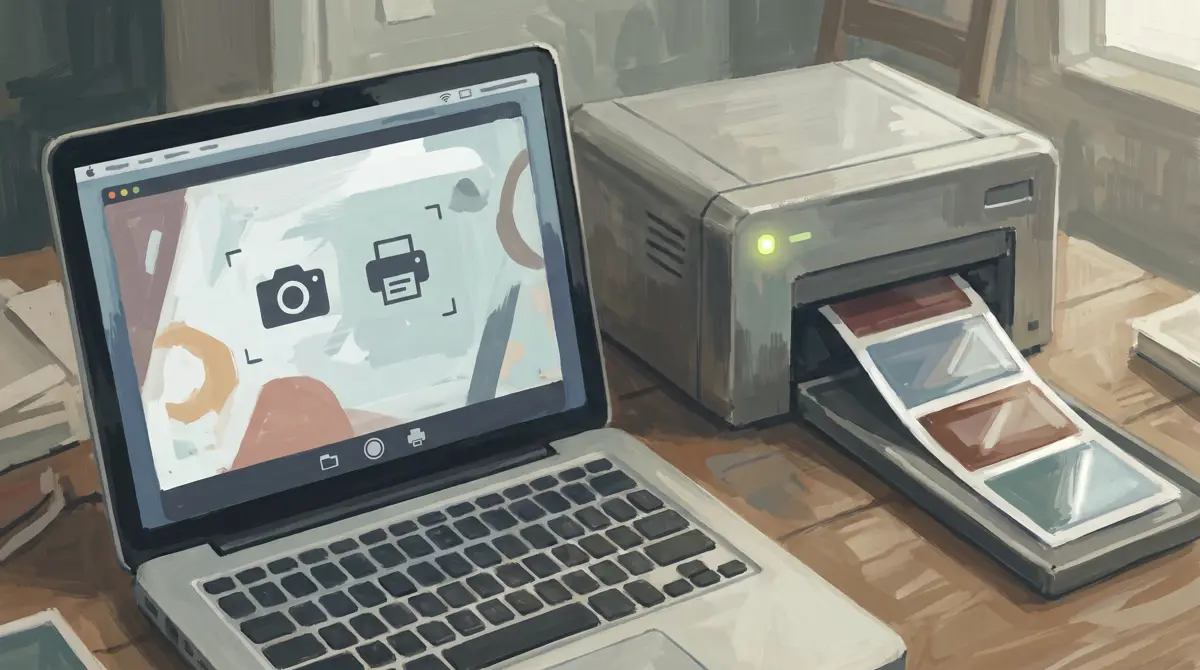
- Printer Routing: In Run → Print, connect your USB dye-sub unit, check test alignment, and choose between instant auto-printing or guest-prompted manual prints.
- Activation Share: Under Sharing Settings → Activation Share, turn on QR code delivery so attendees can scan the screen to retrieve branded files via the cloud.
- Email & SMS: In the adjacent tabs, configure email routing using integrated accounts or custom SMTP, or connect your Twilio credentials to push links over SMS.
Before welcoming guests, fire three full test sessions. Confirm exposure, check print alignment and cut cleanly, and scan the sharing QR code to verify live cloud delivery.
Ready to see the current plans?
AI Photo Booth Pro monthly plans start at $79/mo in the active catalog.
See Plans and Pricing